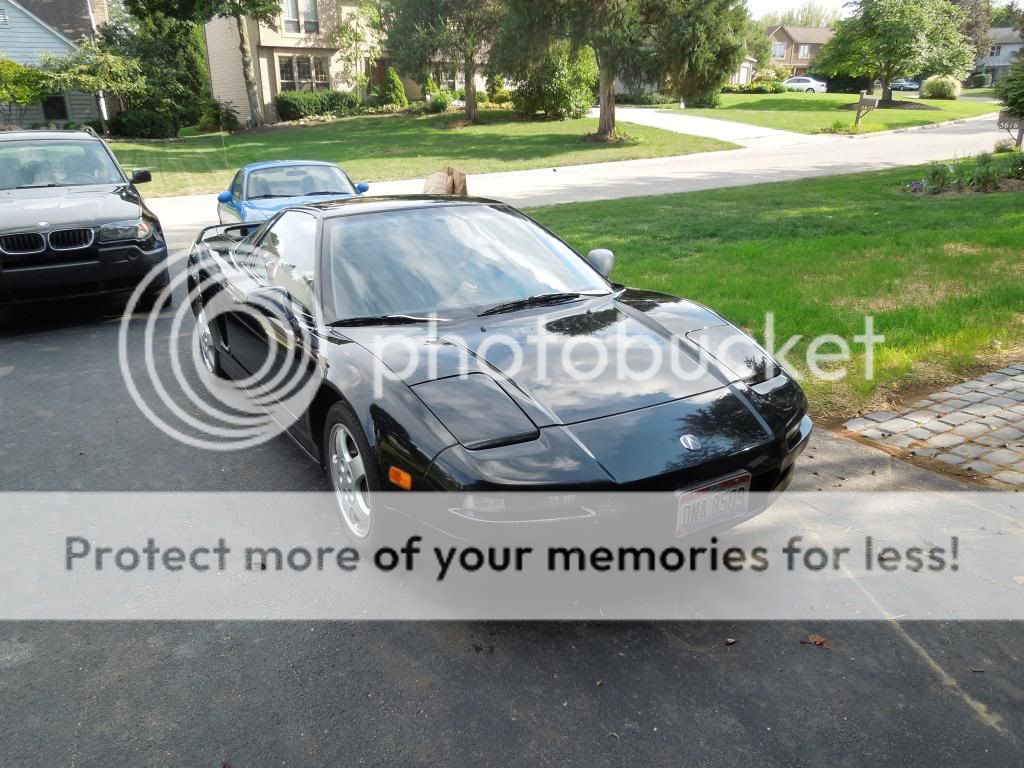
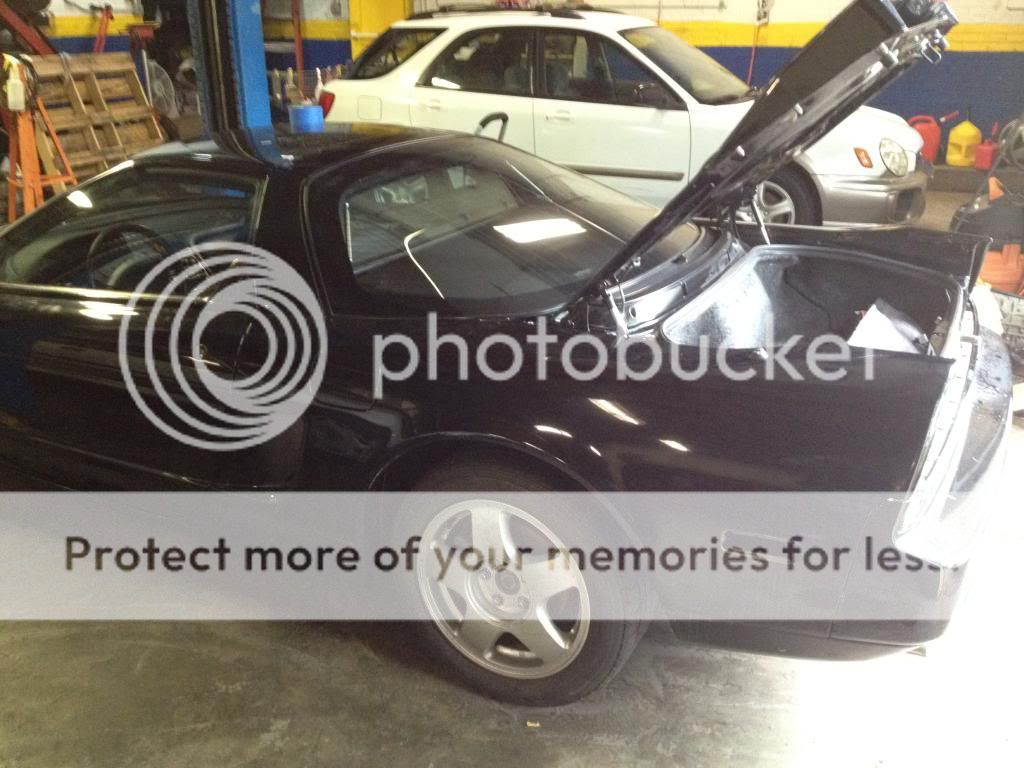
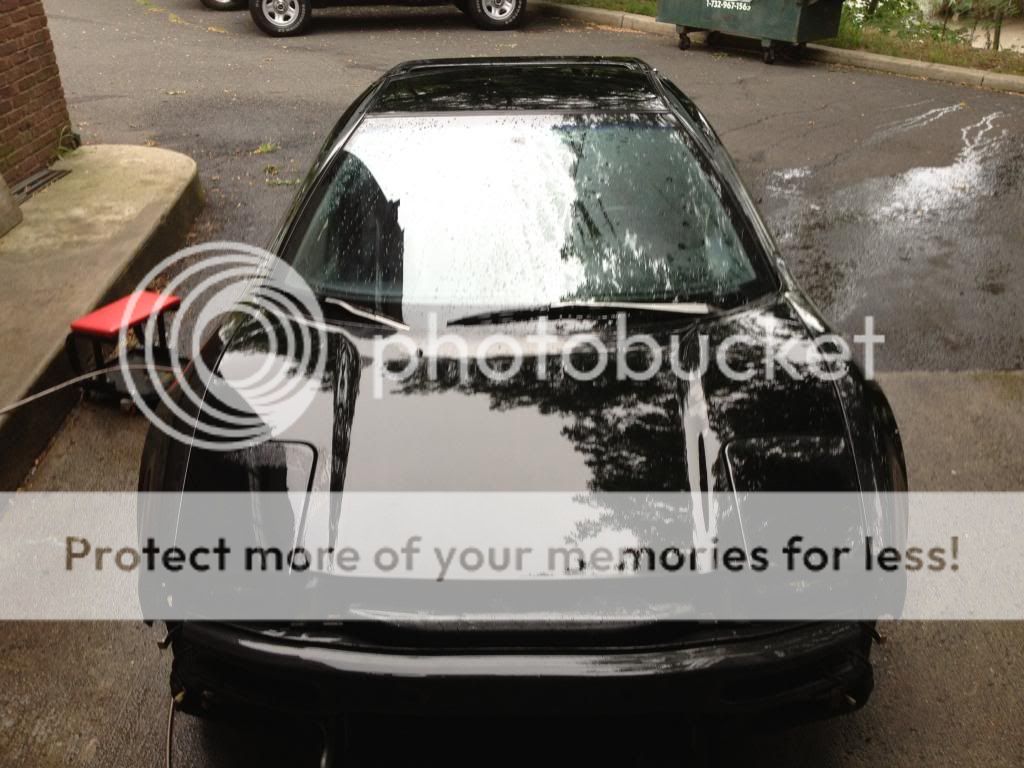
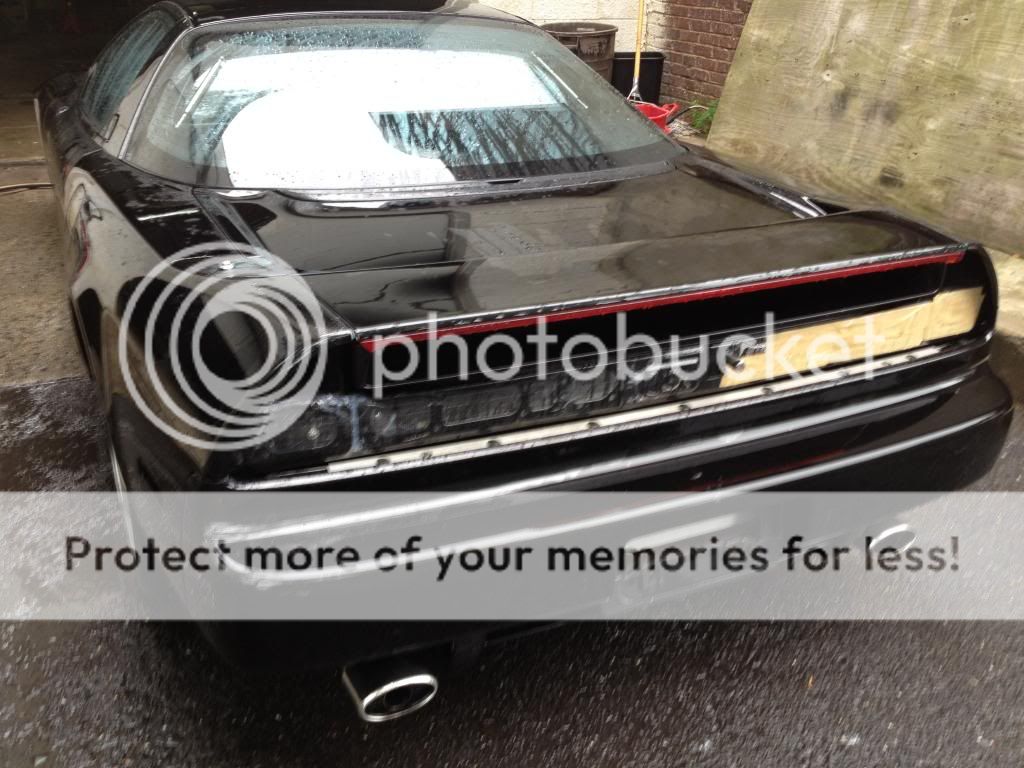
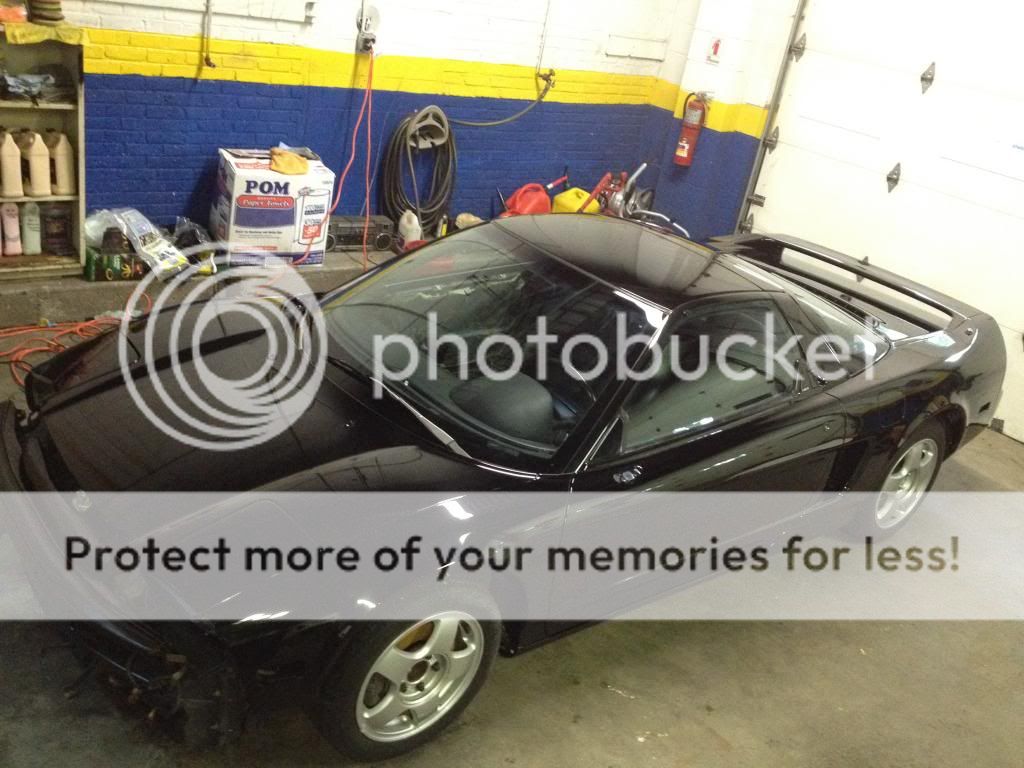
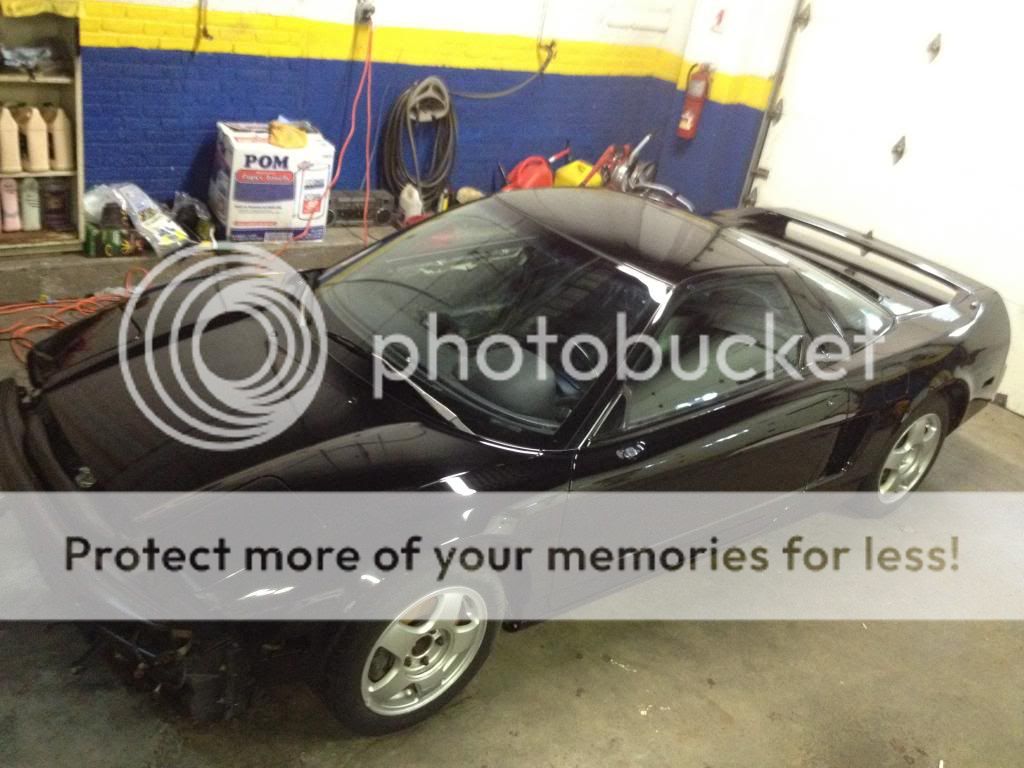
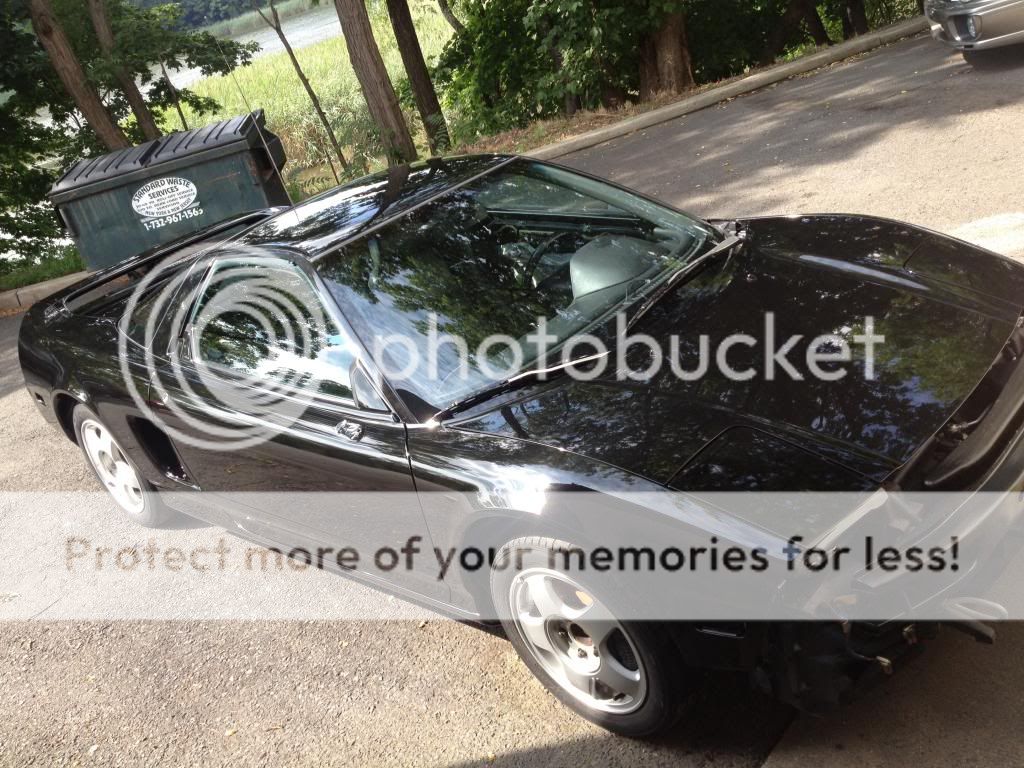
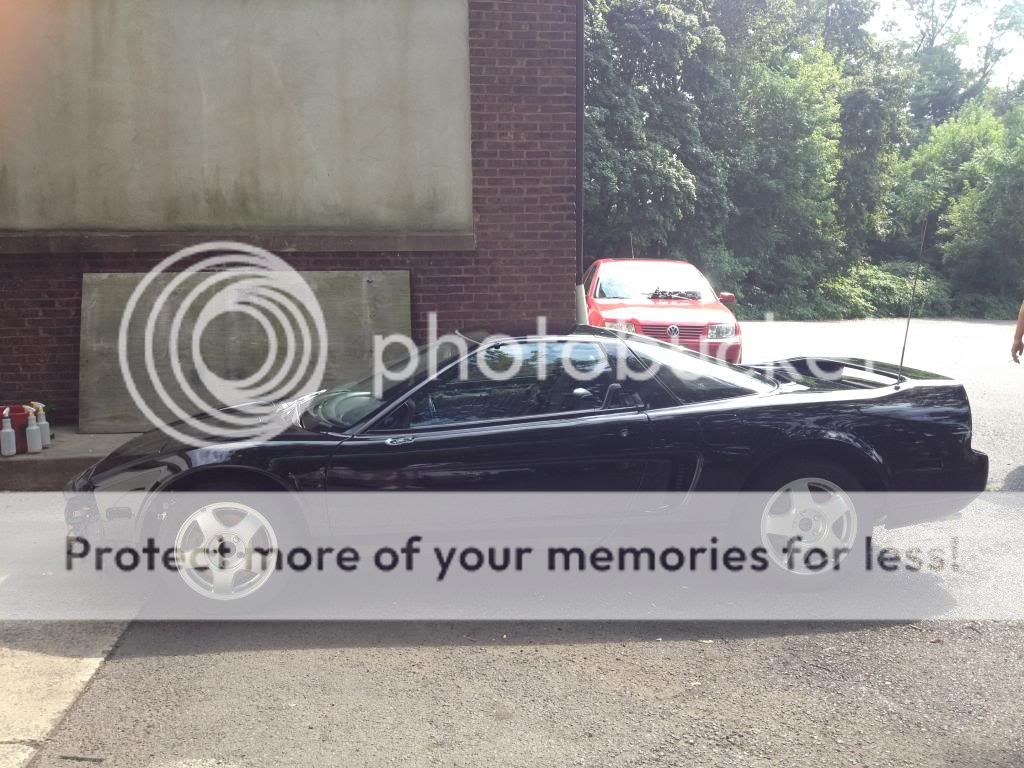
Hey guys, this is my first post ever here on Prime, but have always been a huge fan and look forward to many posts from here on out. Let me start out by saying I purchased a Berlina Black/Black 91' 5 speed from Matt, a fellow member here on prime, u00mem91. I purchased the car from him with 168k miles out in Ohio and drove it back here to NJ with the intent to ship it overseas and keep it there at my beach house. Since then, I have decided to keep it here and restore it back to showroom shape. Well, as close as possible I should say. When I picked up the car, it was in this condition.
http://www.nsxprime.com/forum/showthread.php?t=164592
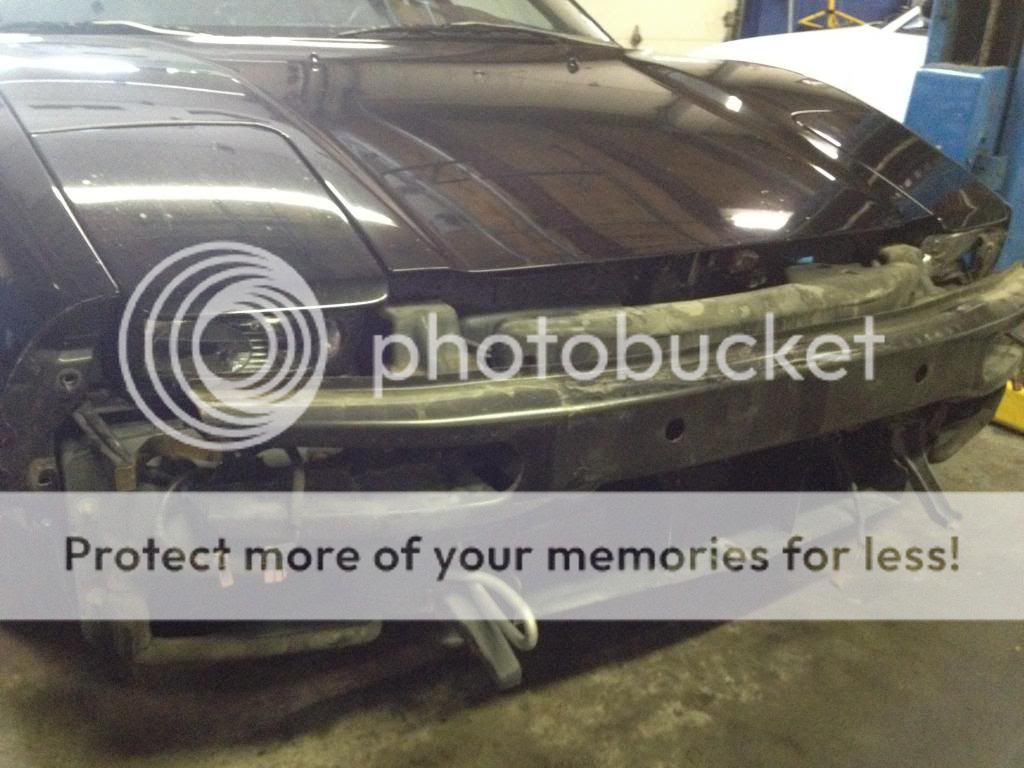
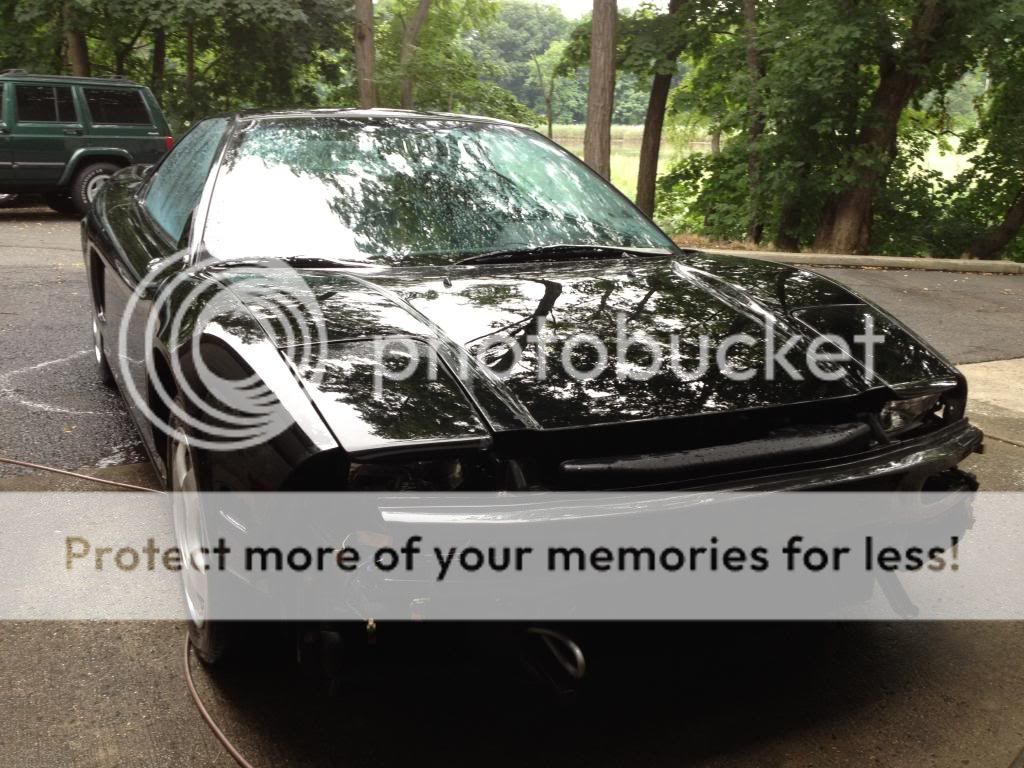
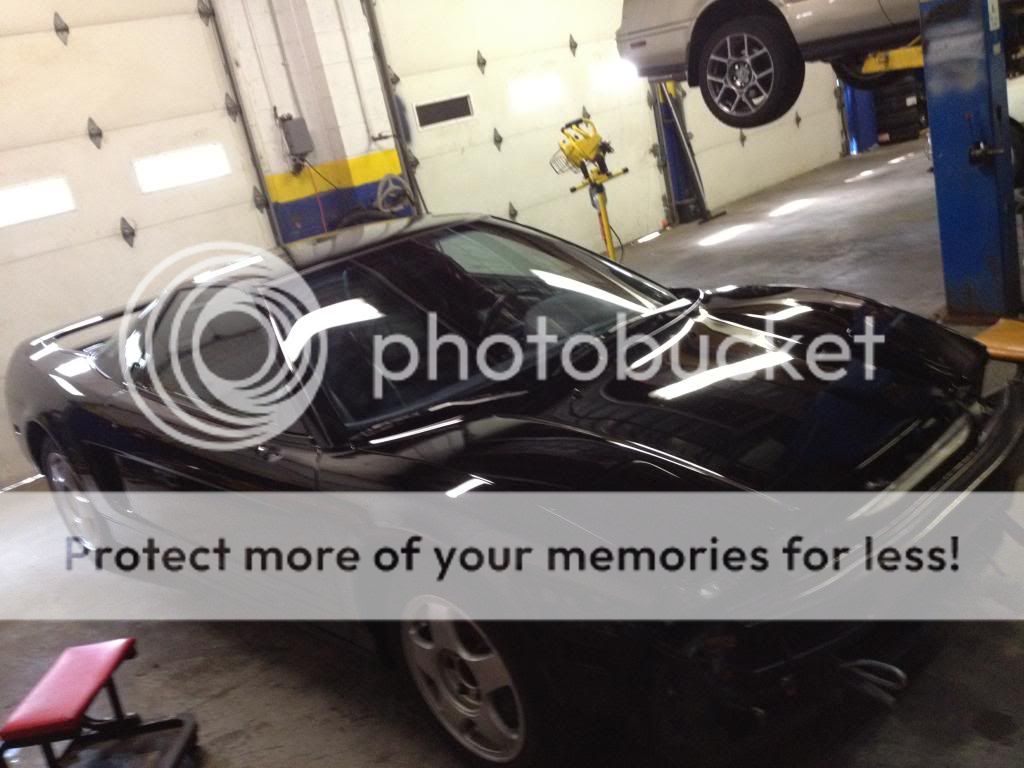
Matt drove this car daily and maintained it properly with many service records, but the paint was in poor condition even though he garage kept it. The front bumper needed paint, and so did the two side mirrors, but other than that, the rest of the paint is original and needed a good amount of tlc. Motor-wise, all of the major services were taken care of at 105k (timing belt, water pump, etc.) but it had minor leaks (oil pan gasket mostly and rear valve cover gasket). This is what the car looked like before I took ownership.
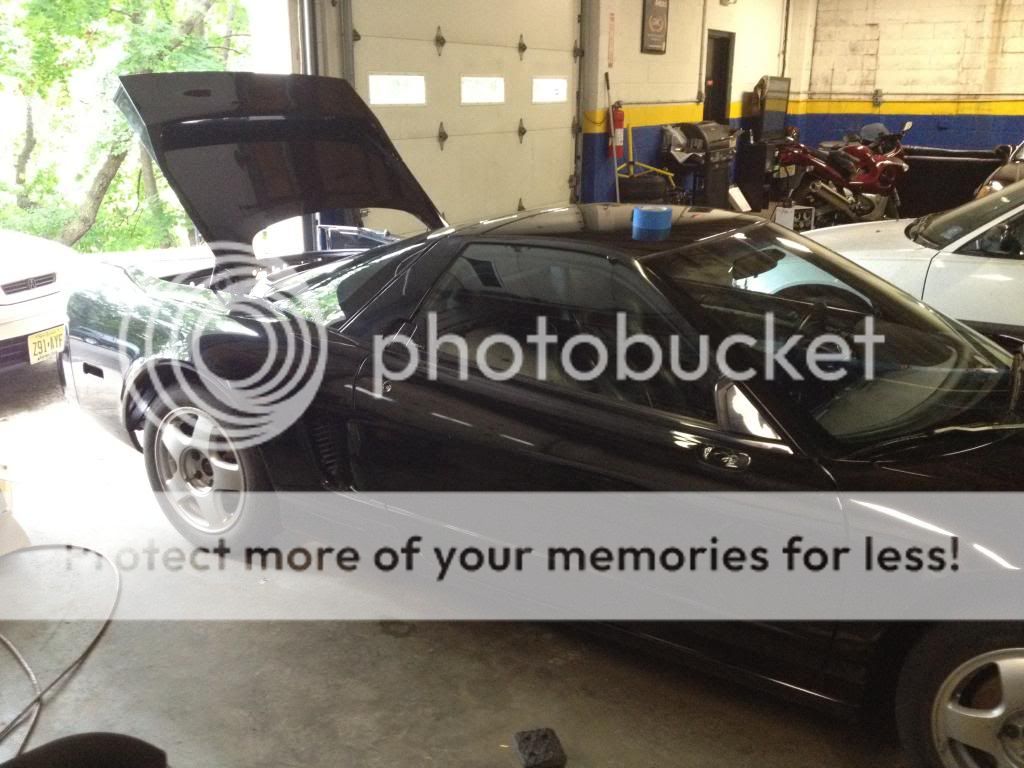
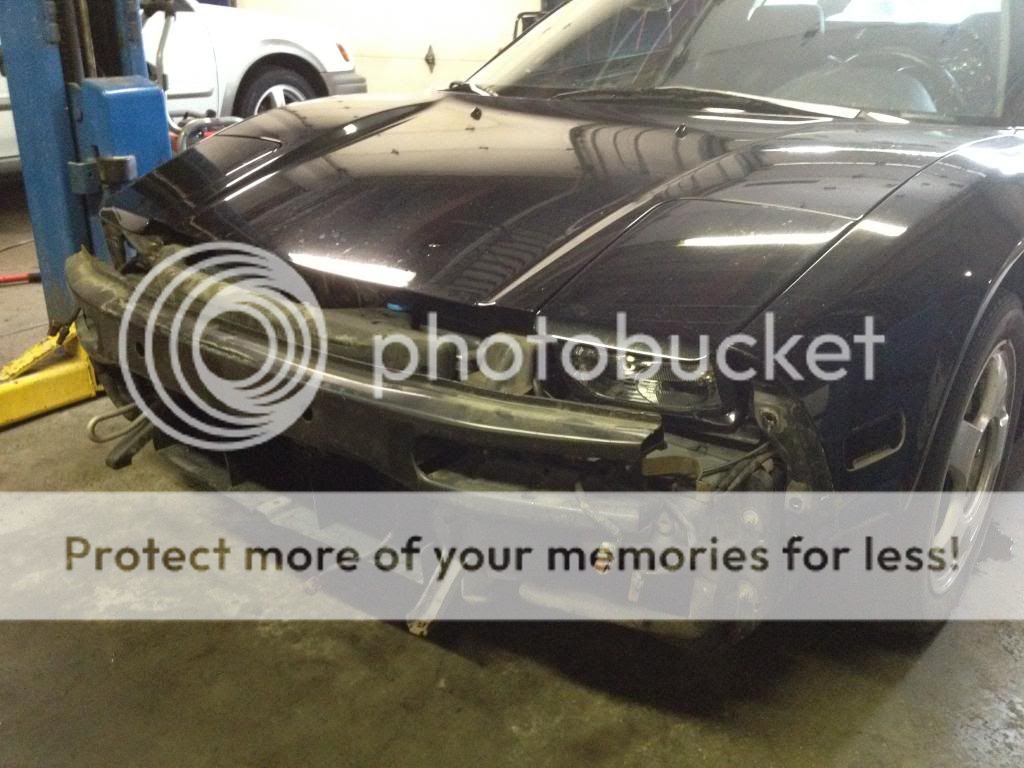
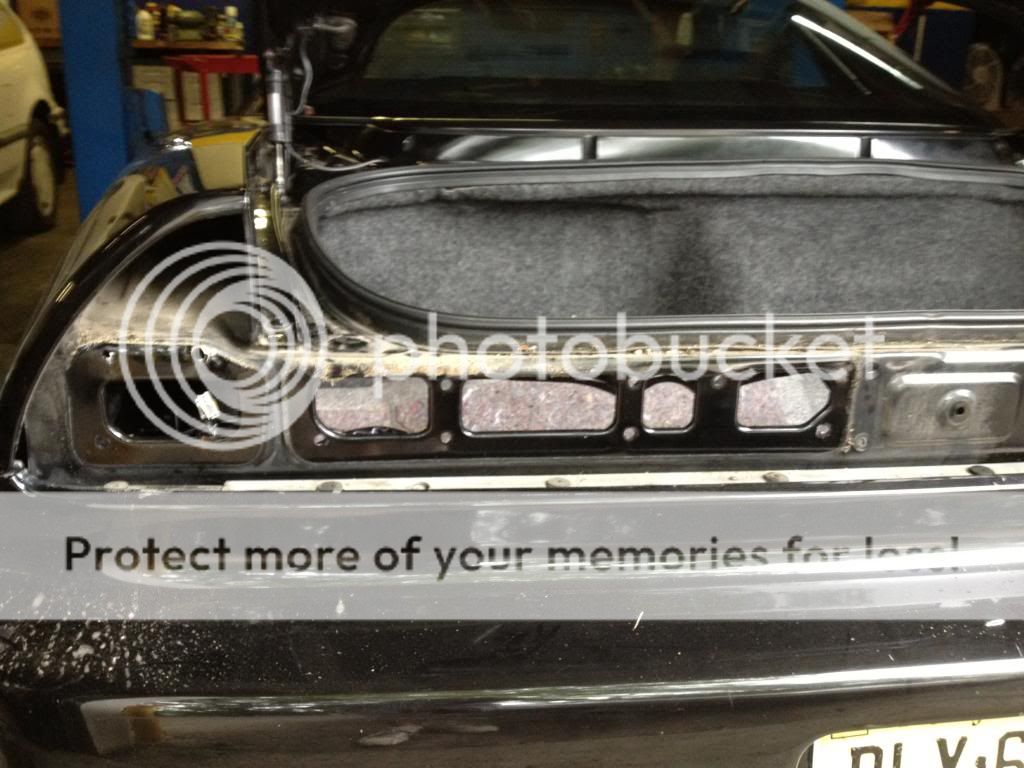
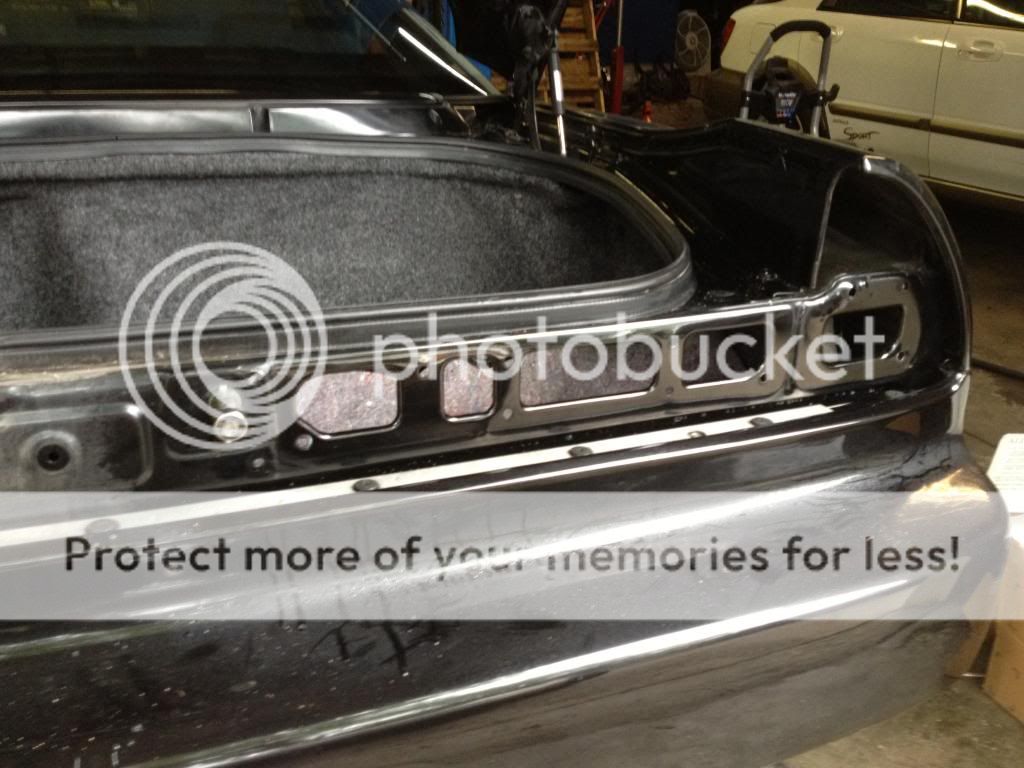
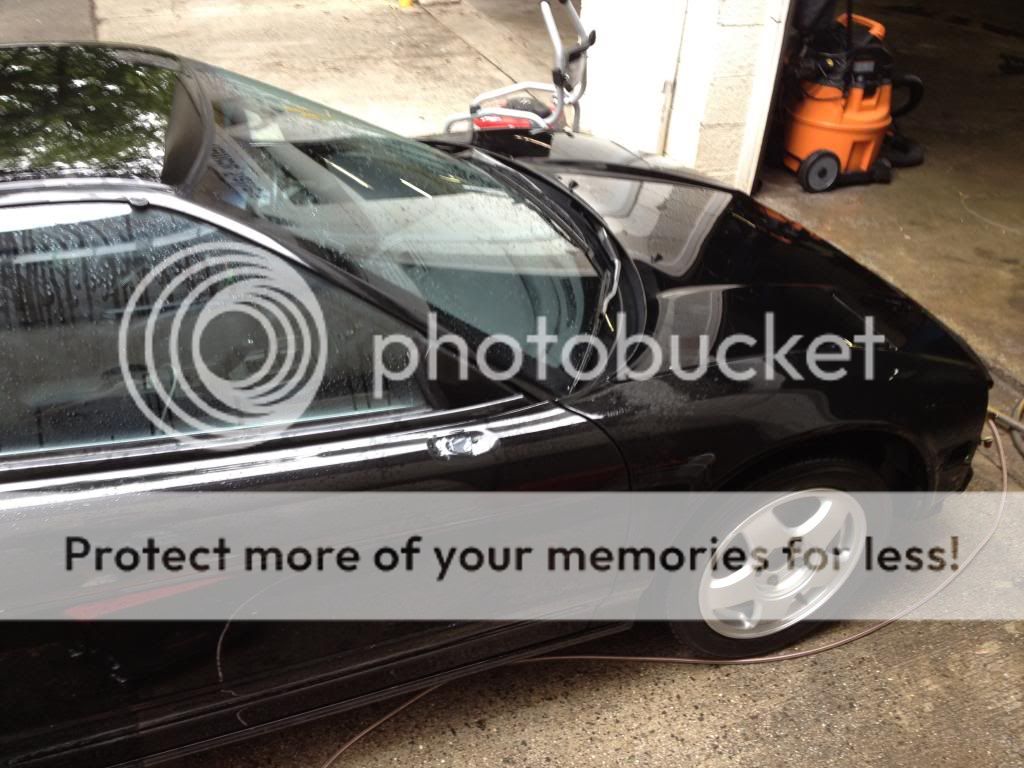
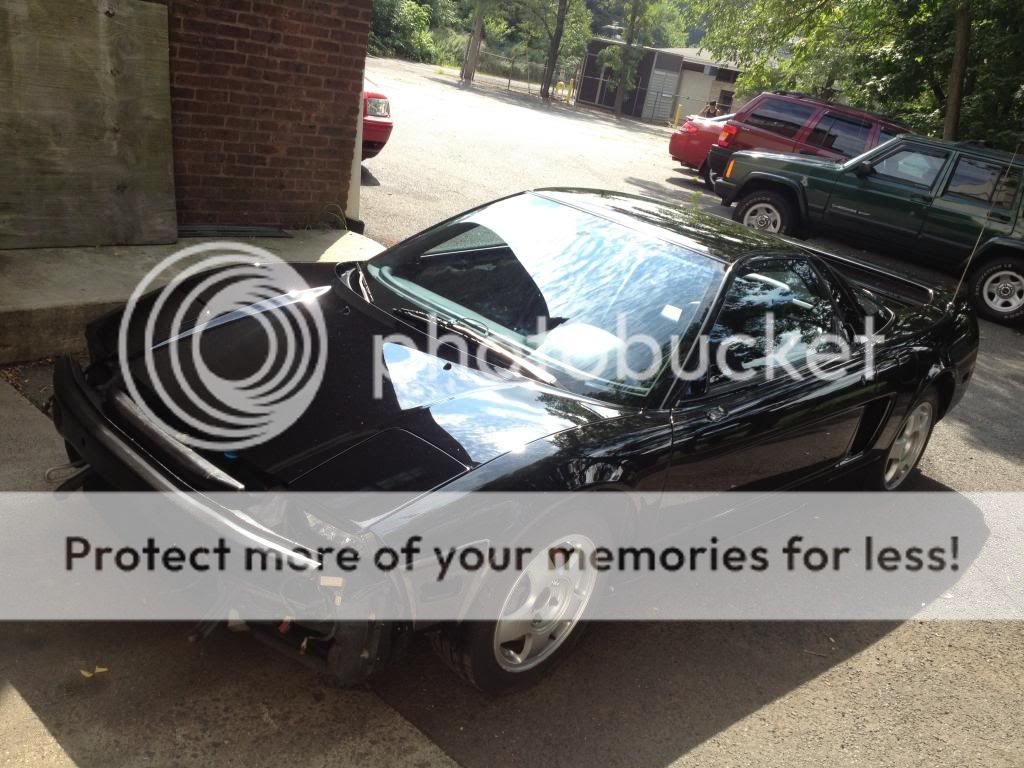
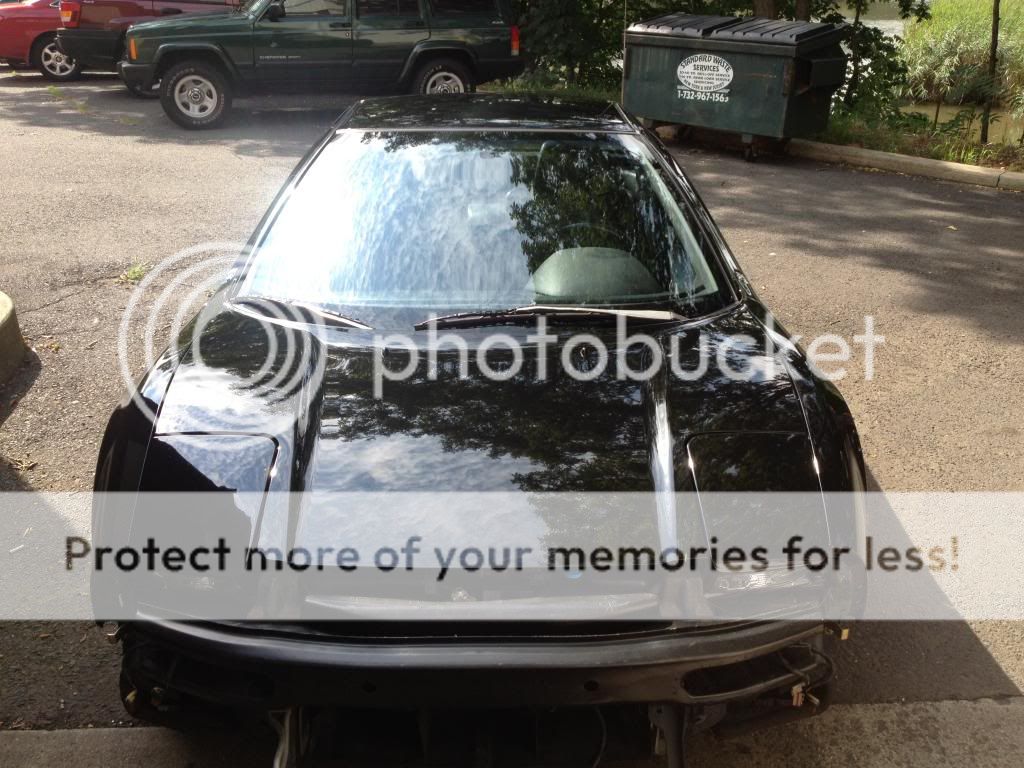
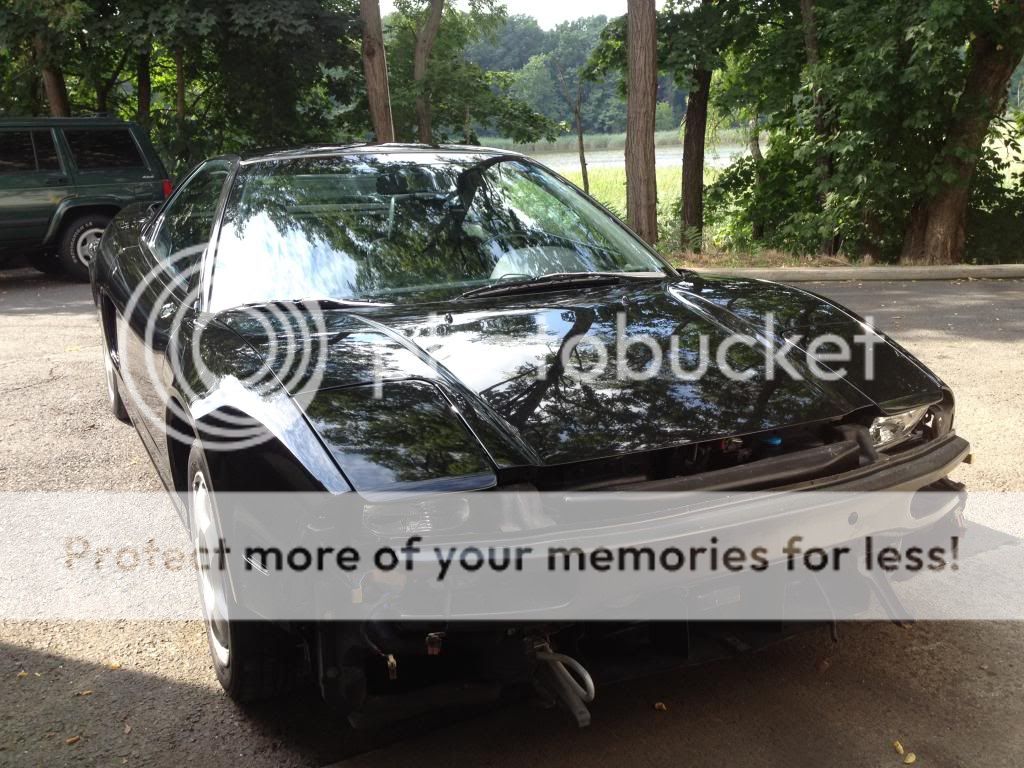
Upon getting the car back to my shop, I immediately began stripping it apart and preparing to fully detail the car while sending the front bumper and mirrors to get painted. I even removed all of the wheel wells.
I power-washed the whole car, stripped it from all of it's previous waxes with detergent, and clay barred it
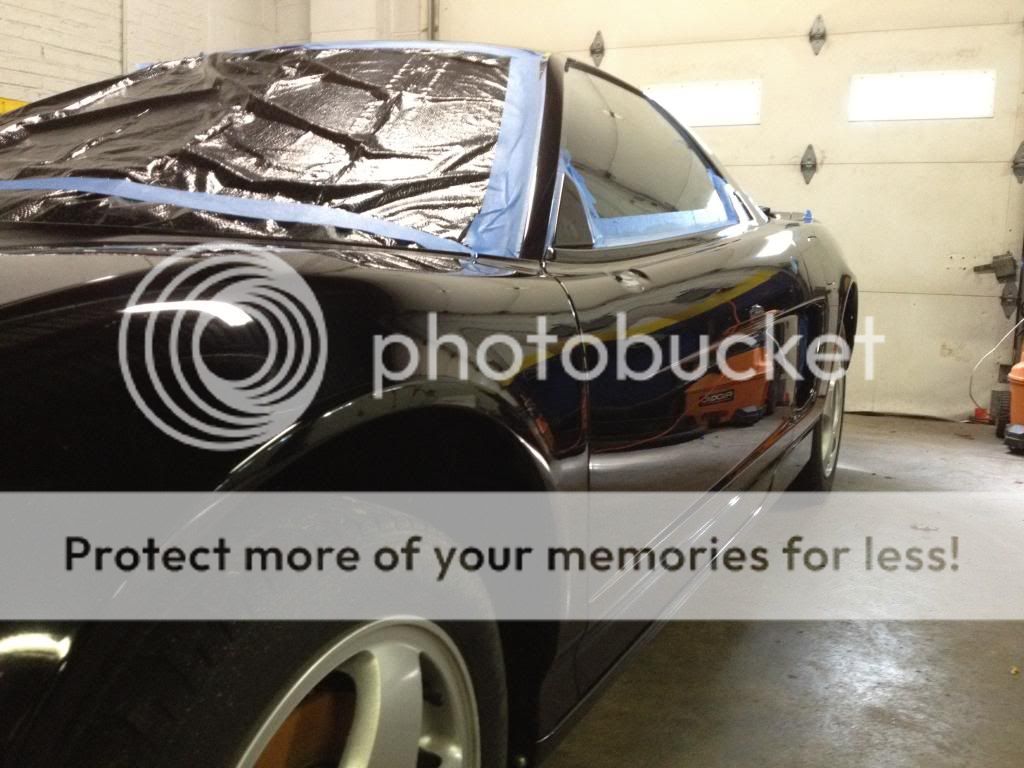
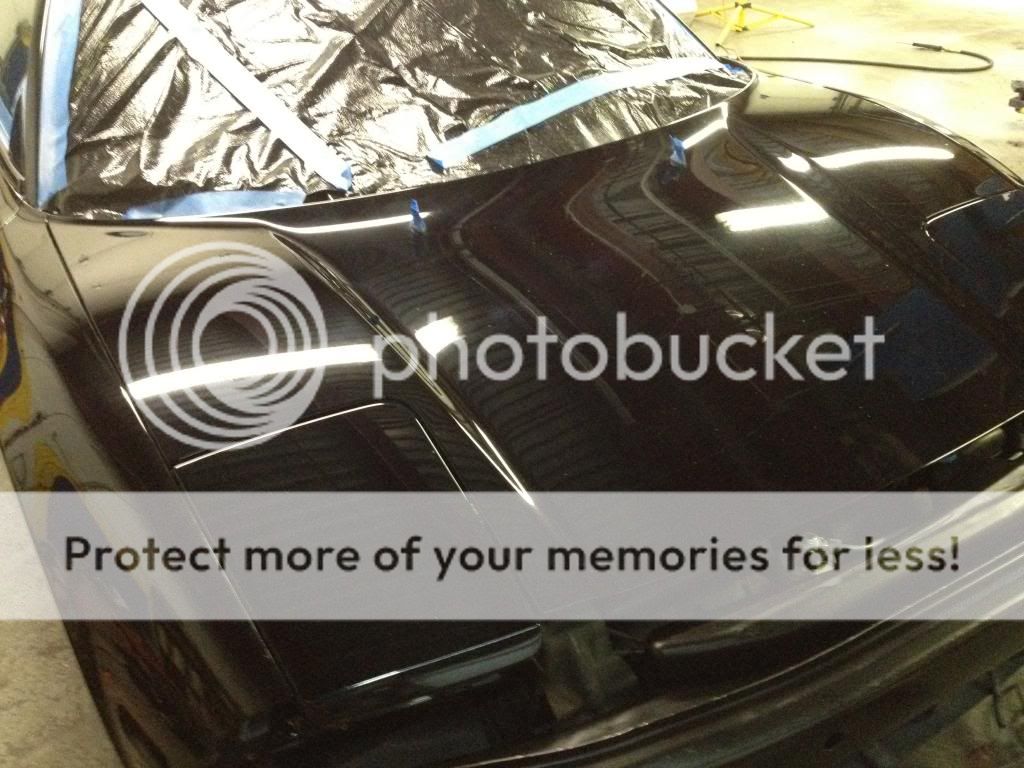
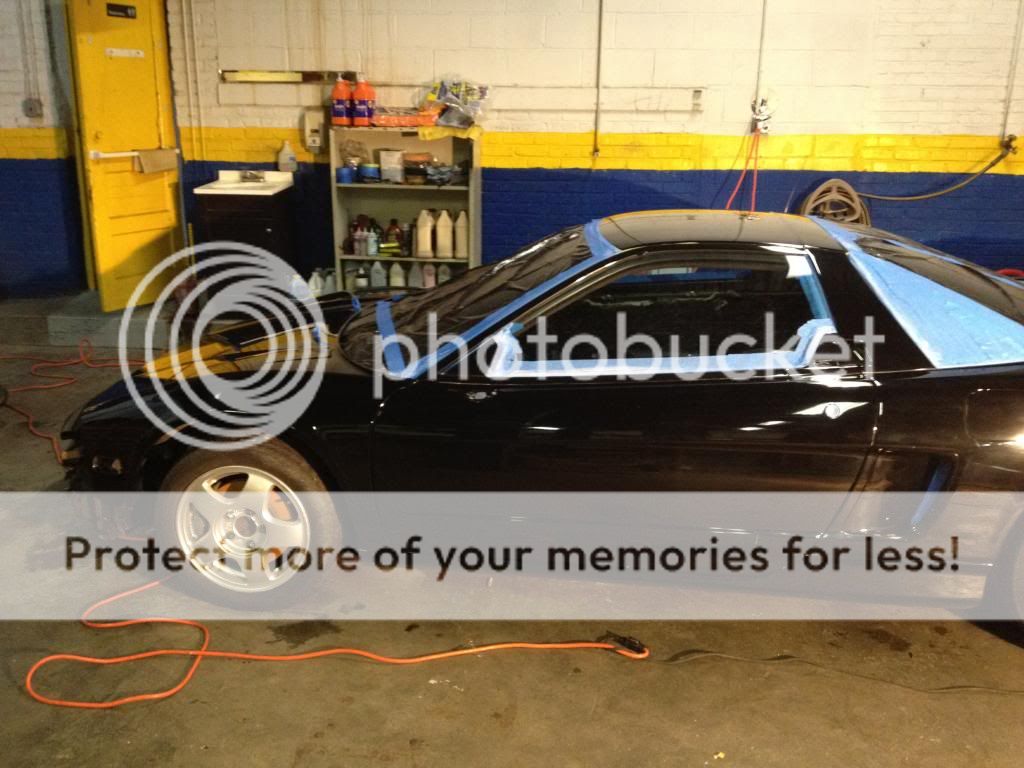
I then began to tape up all of the windows, trim, etc.
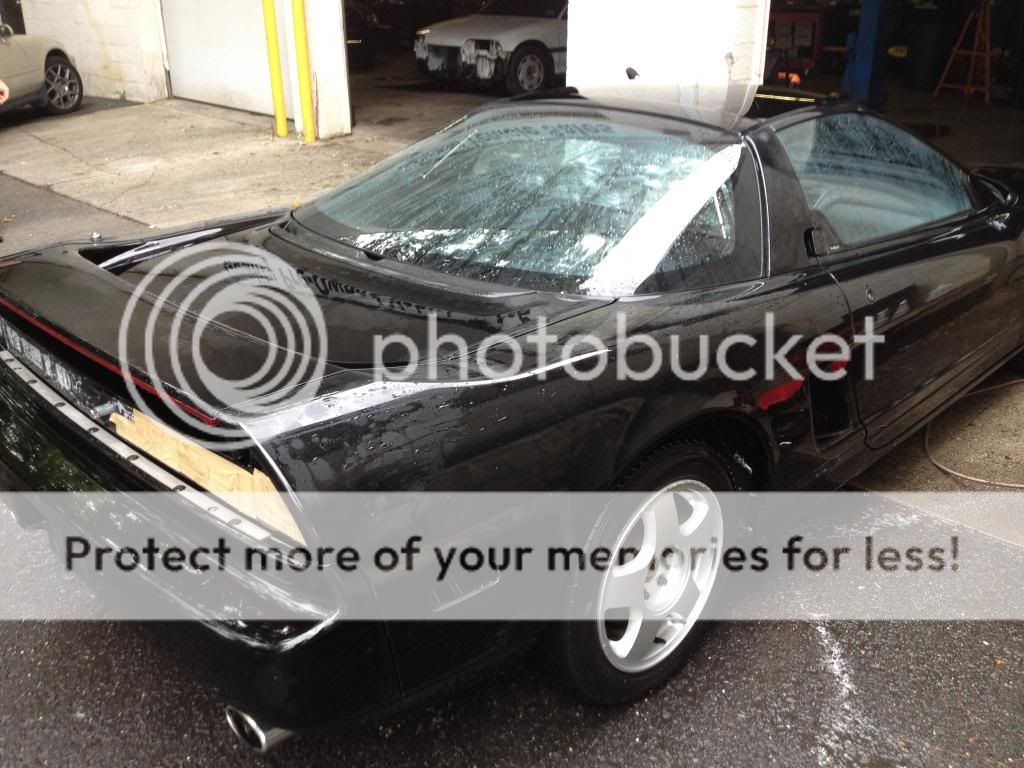
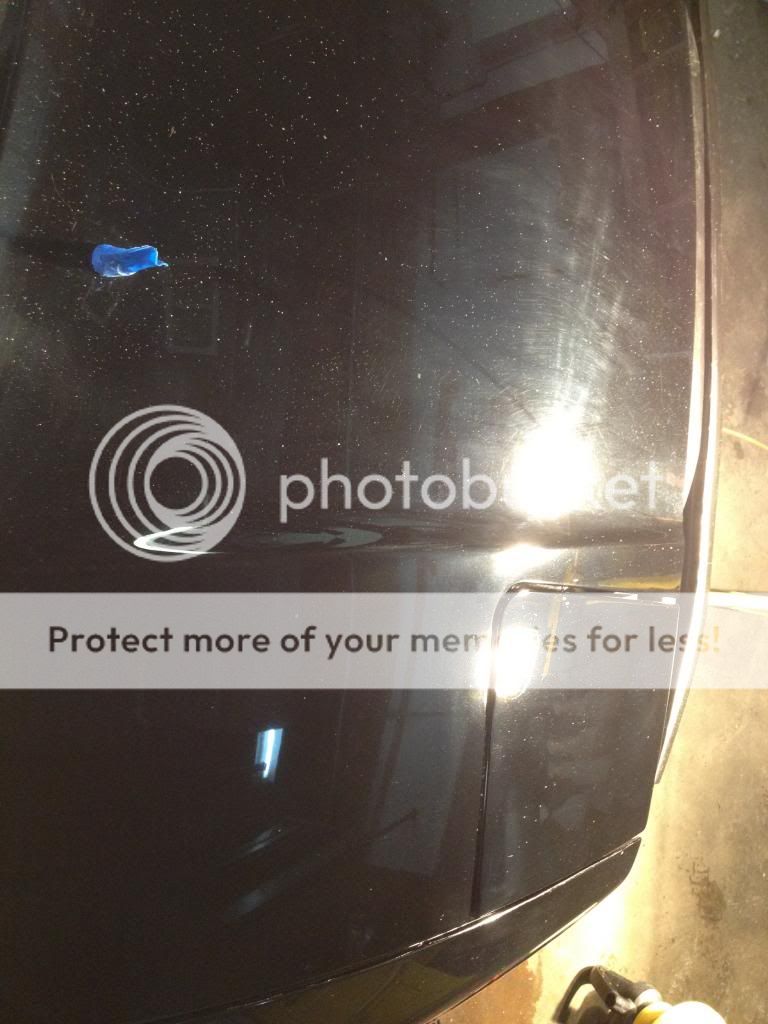
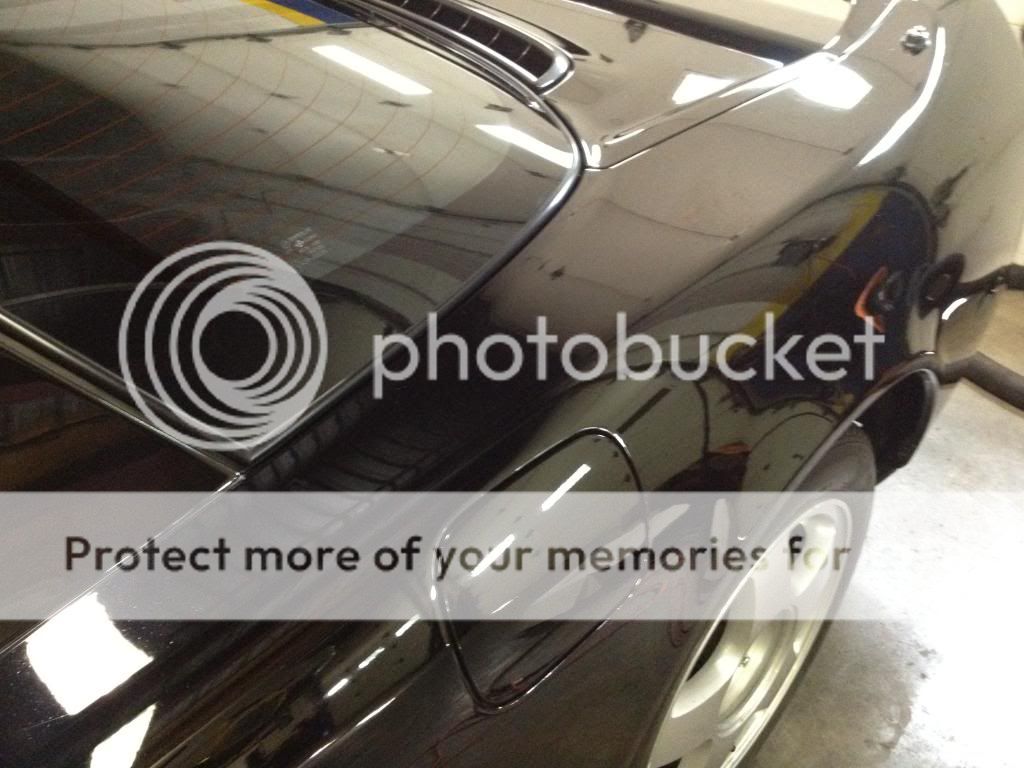
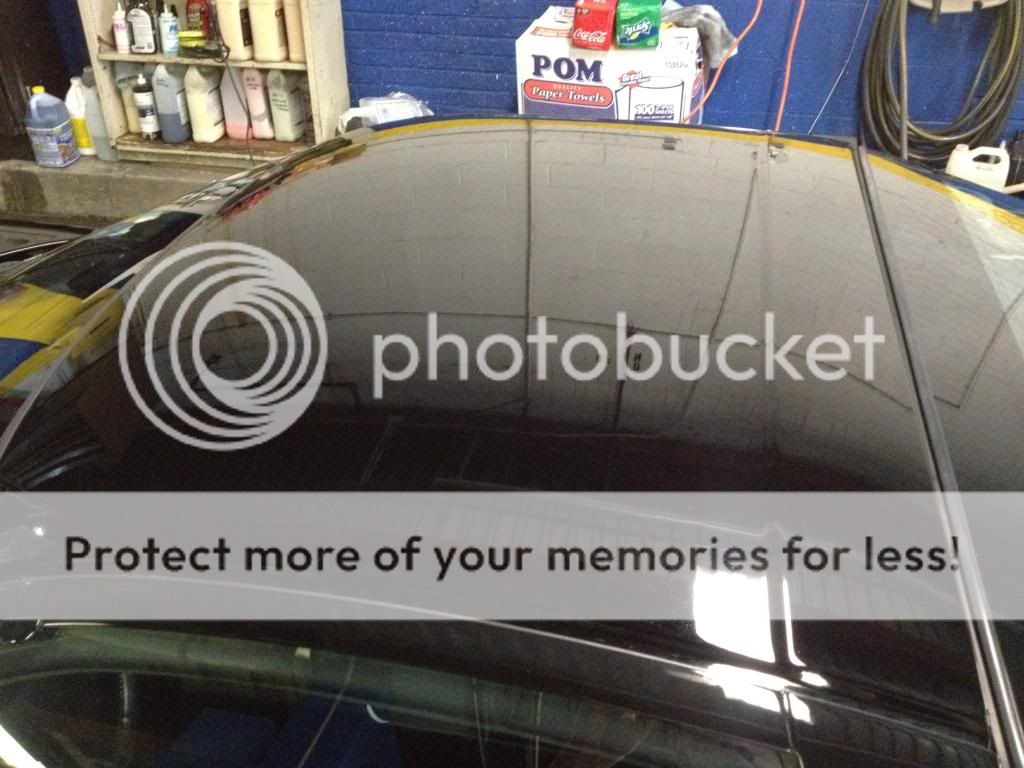
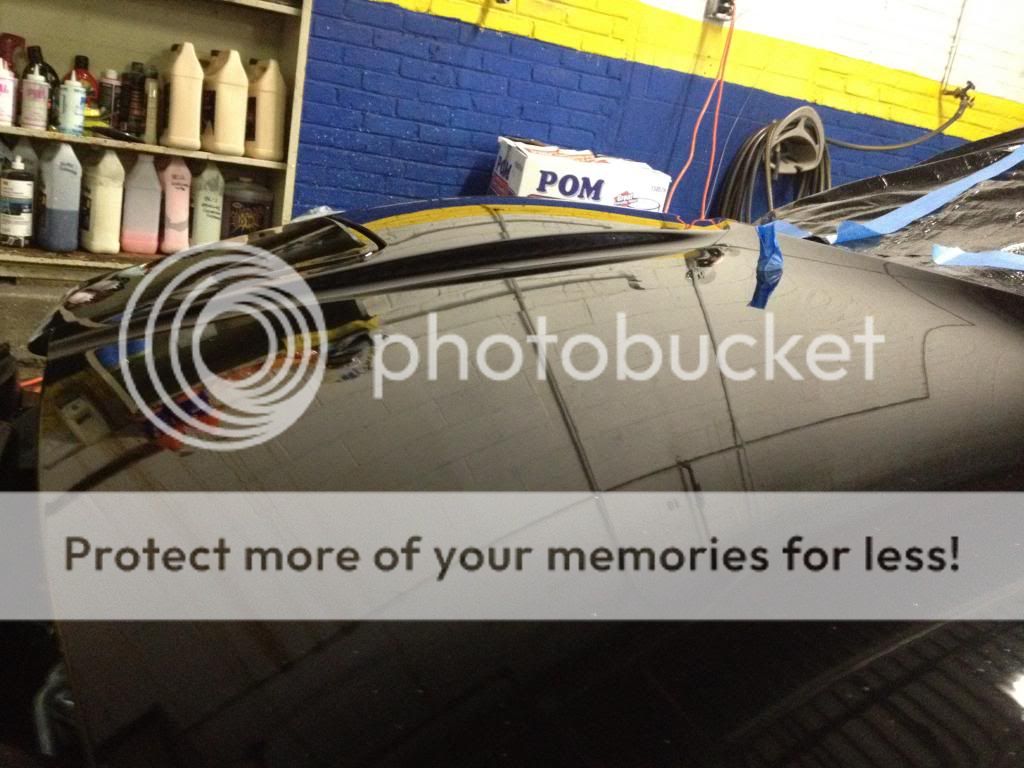
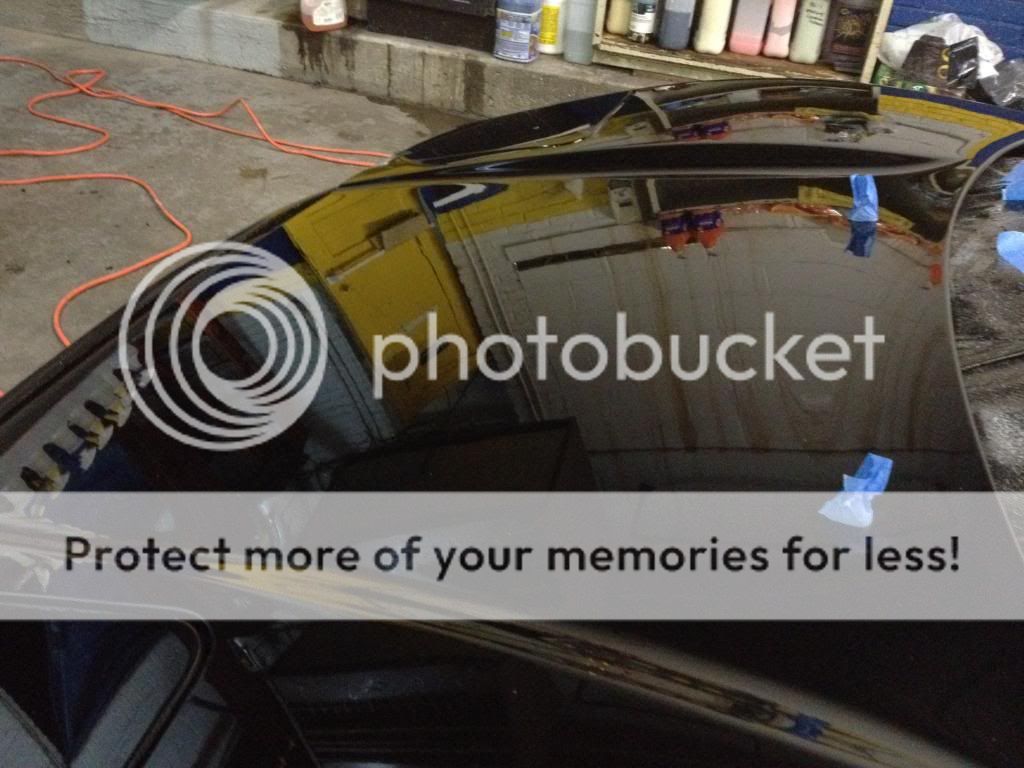
The following are up-close pictures of the condition of the paint before the compound. YUCK!
On to the compounding.....
And the polish....
Then comes the wax... I use a Meguiar's DA and Meguiar's compund/polish/wax for everything by the way! I detail cars for a living and swear by this stuff.
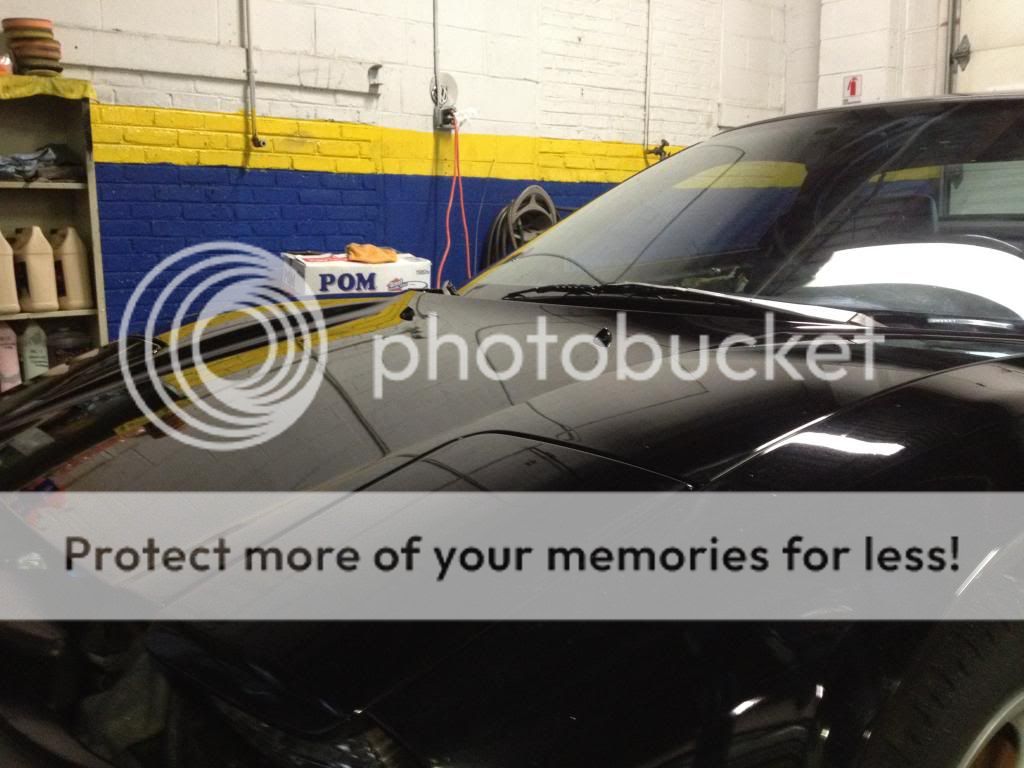
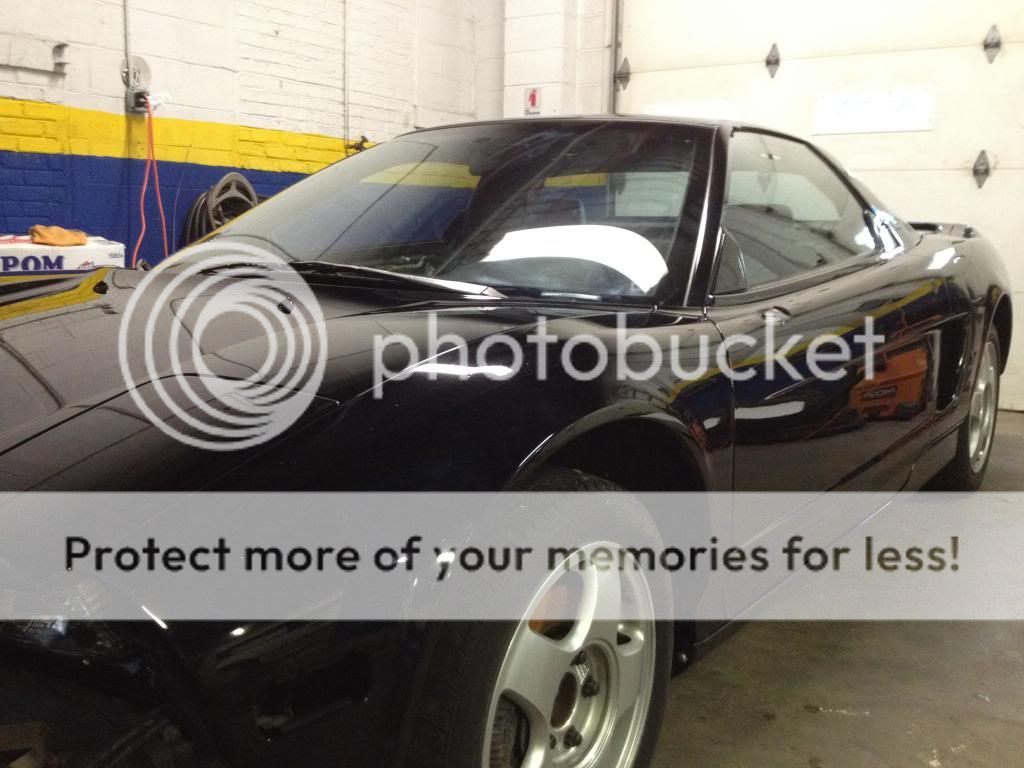
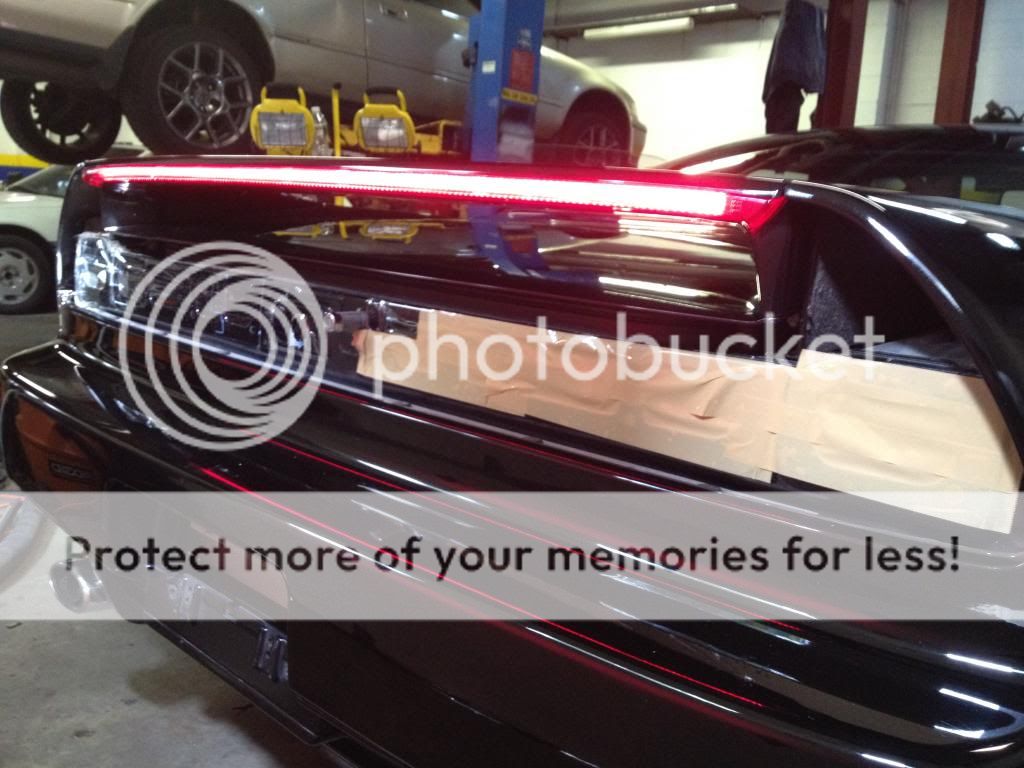
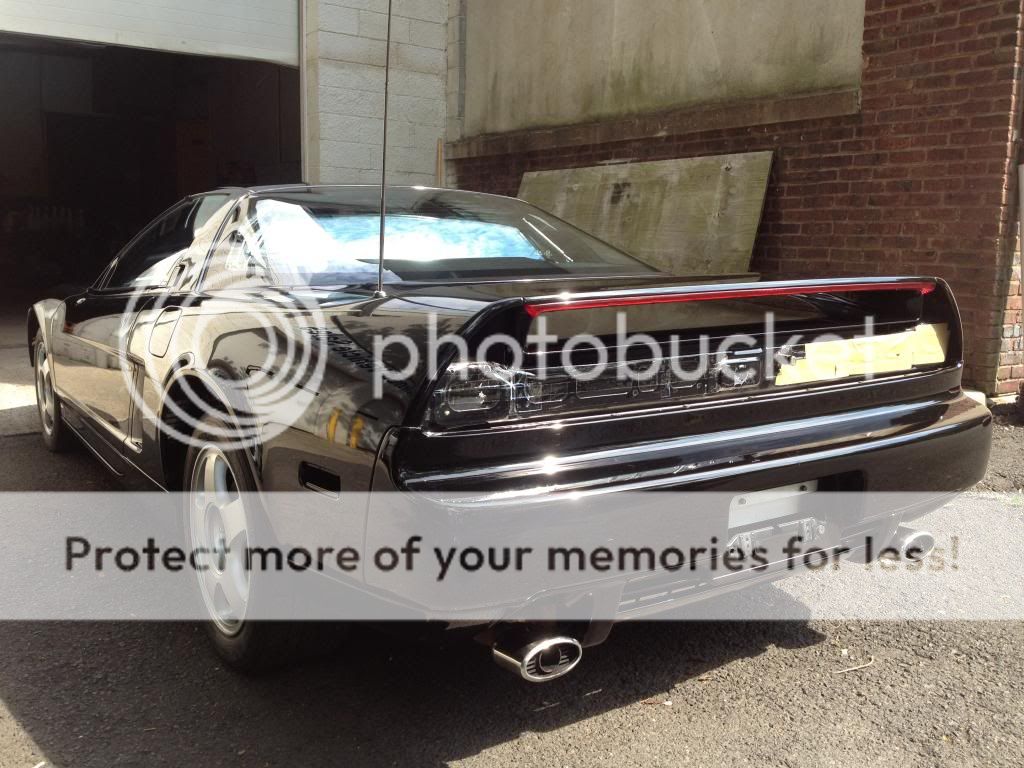
After what felt like forever, the bumper, mirrors, and tail light gaskets came in...YAYYY :biggrin::biggrin:
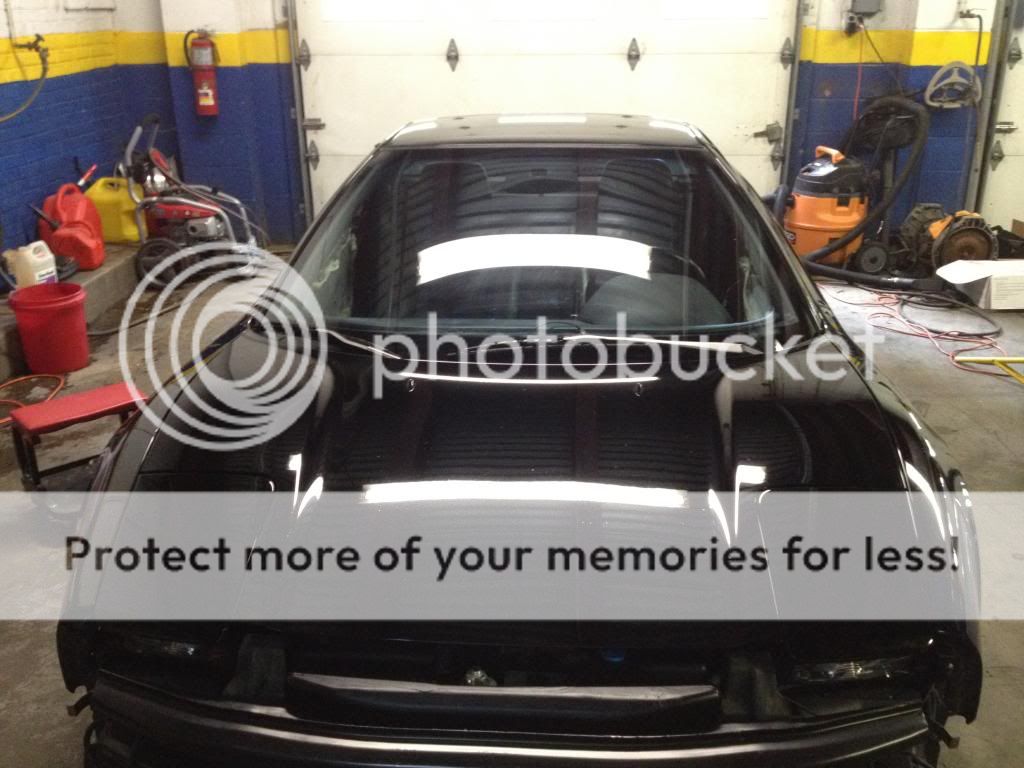
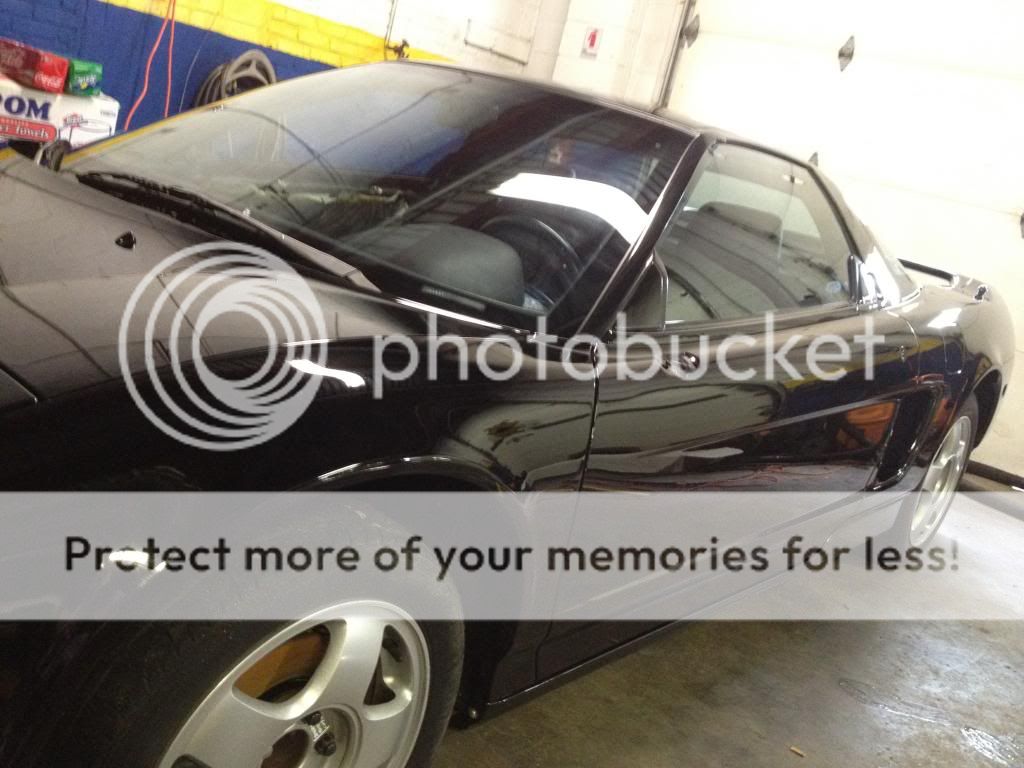
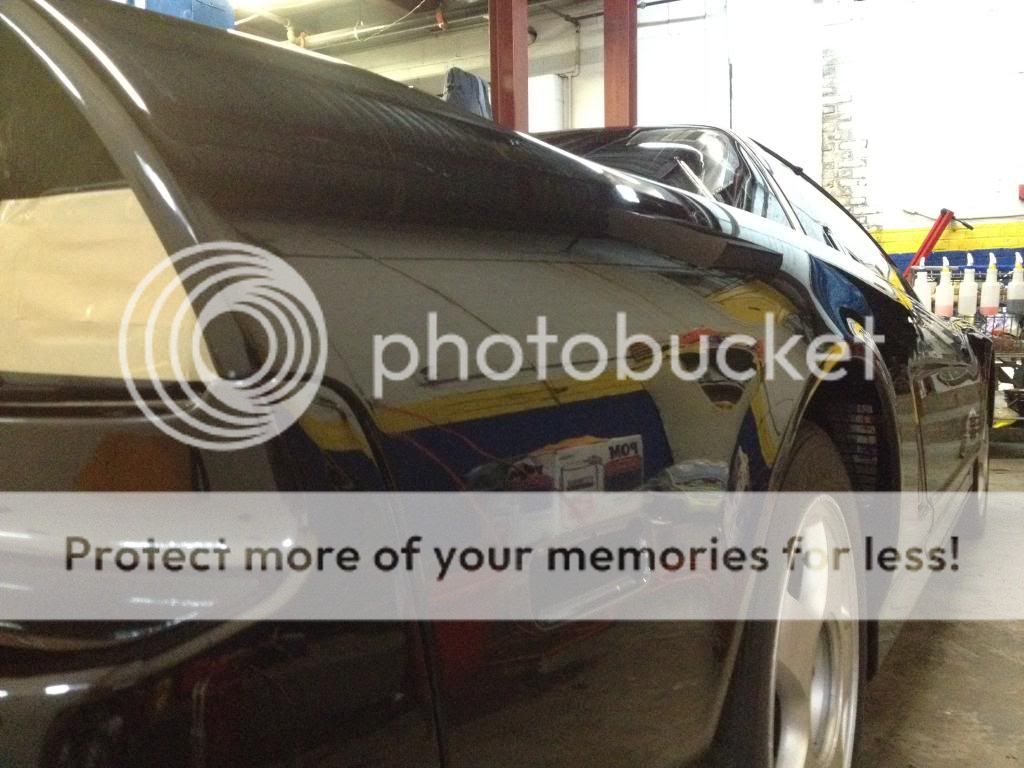
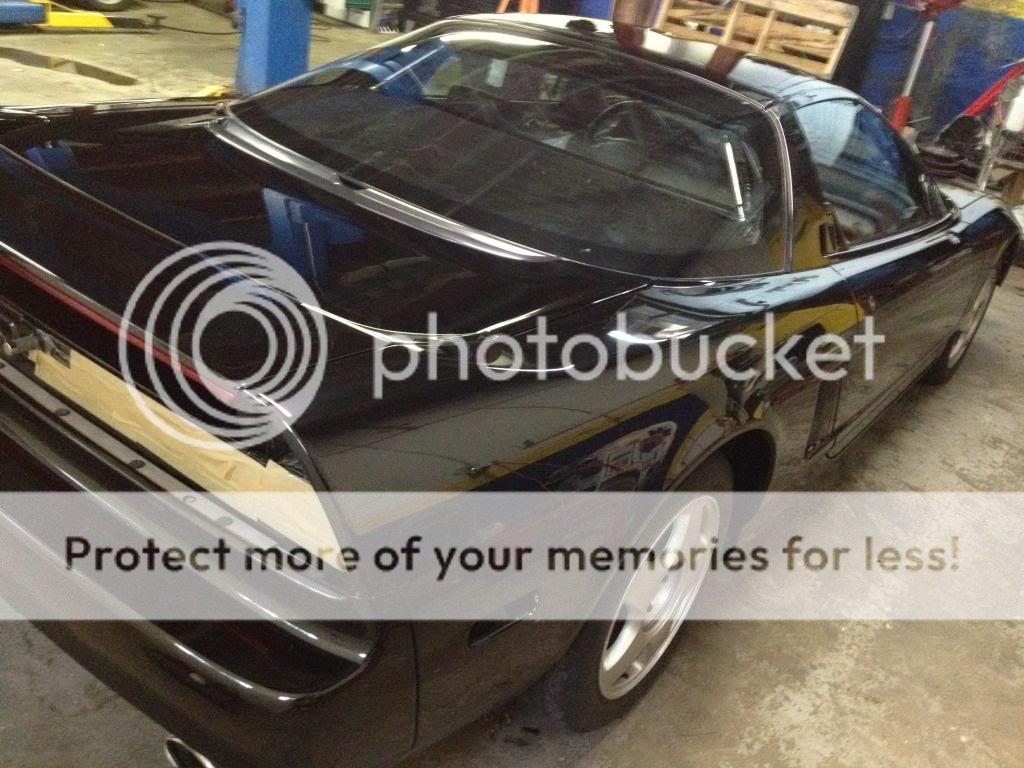
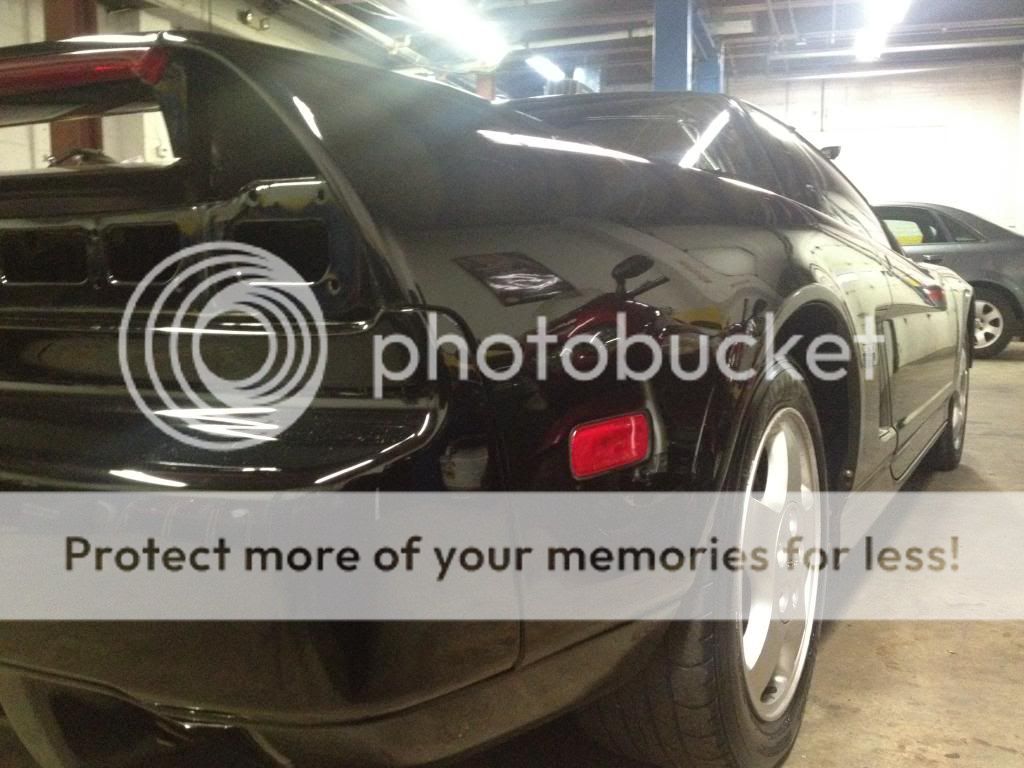
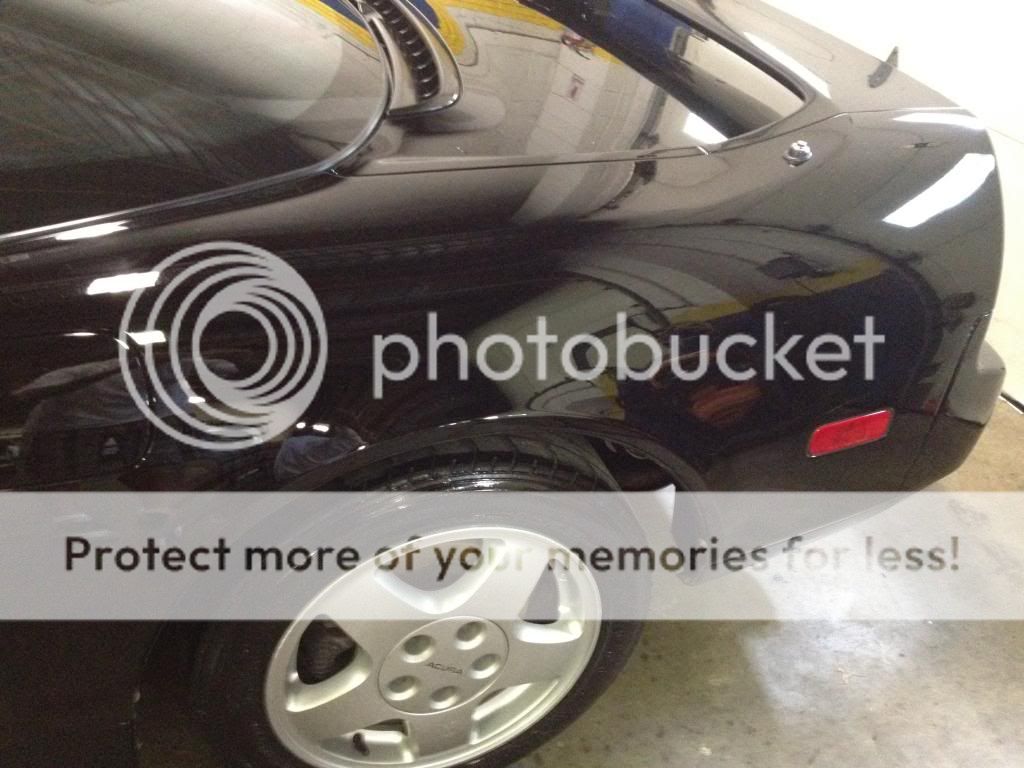
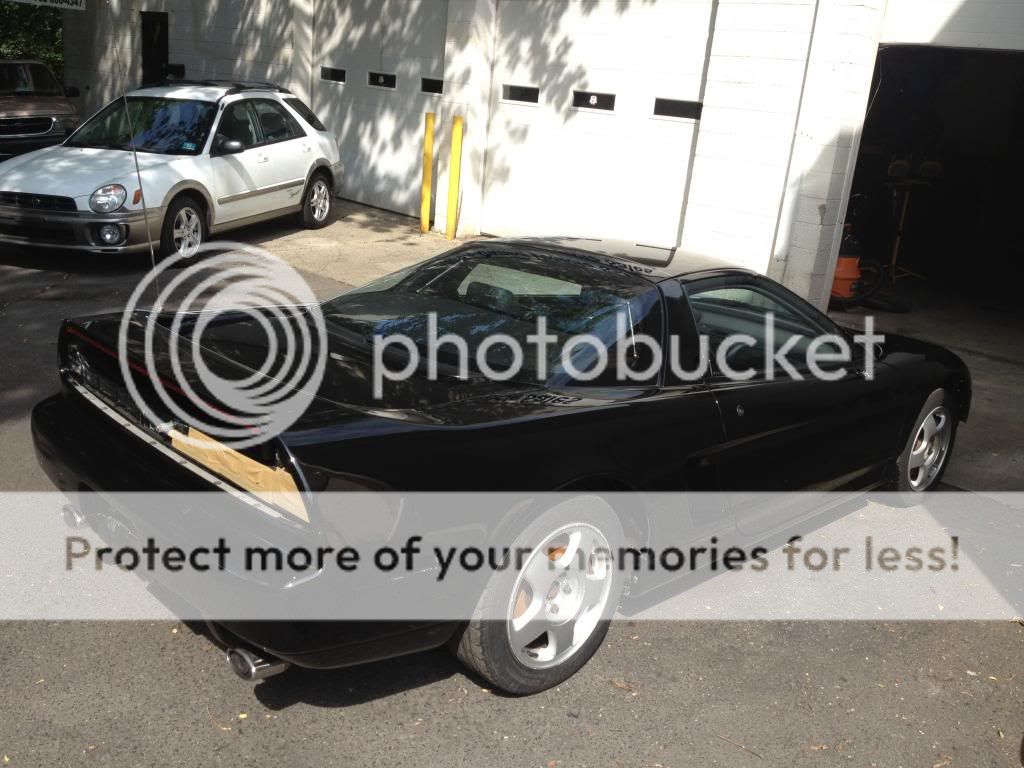
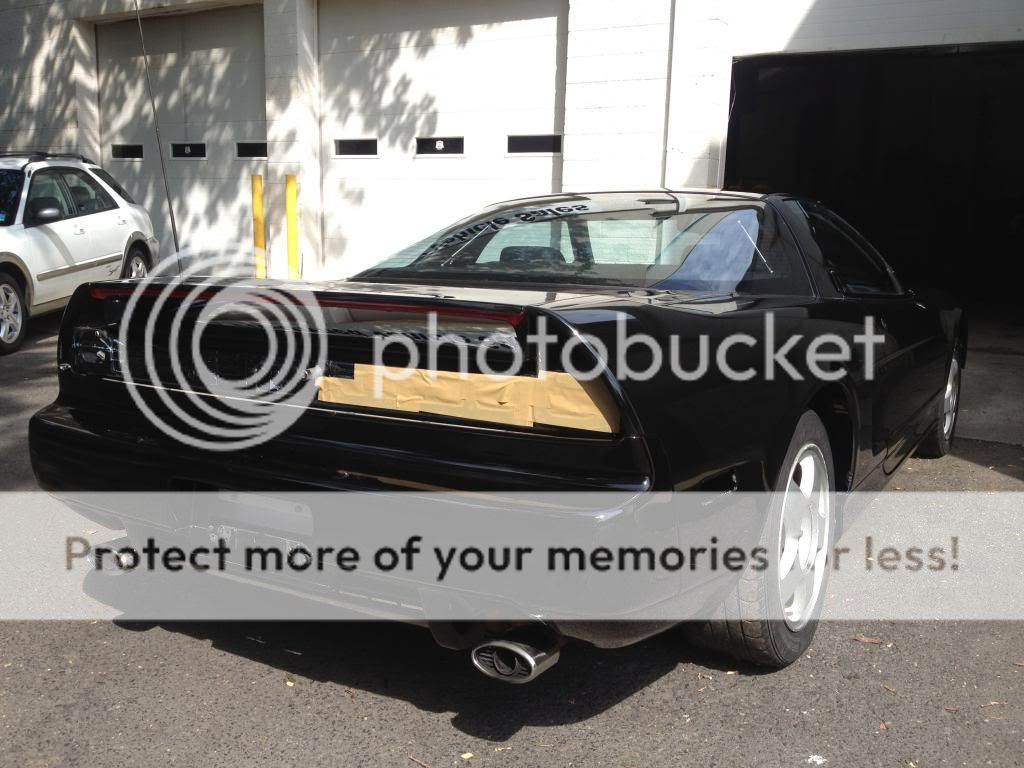
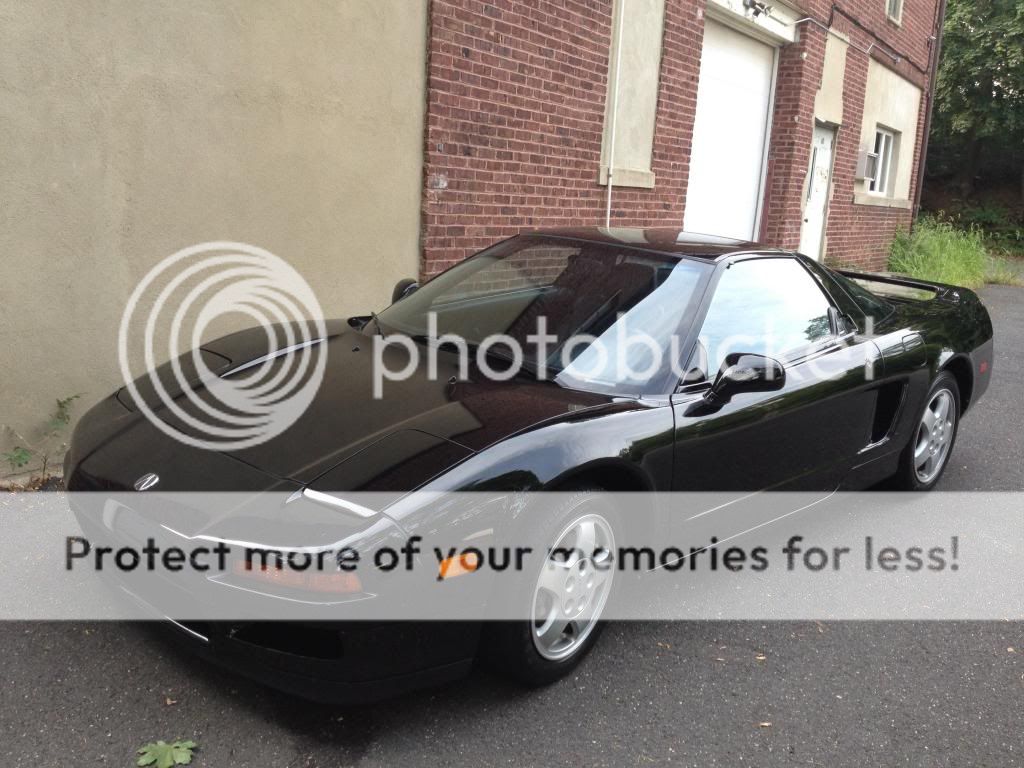
And that pretty much sums up the detail part of my build. I was extremely satisfied with the results!
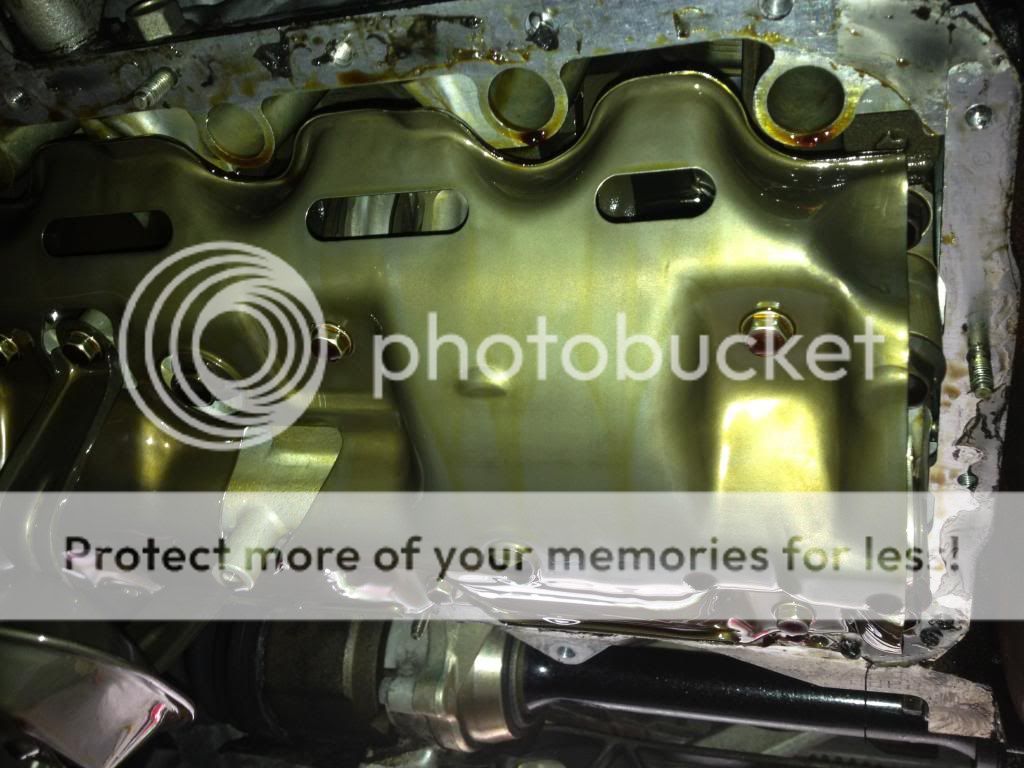
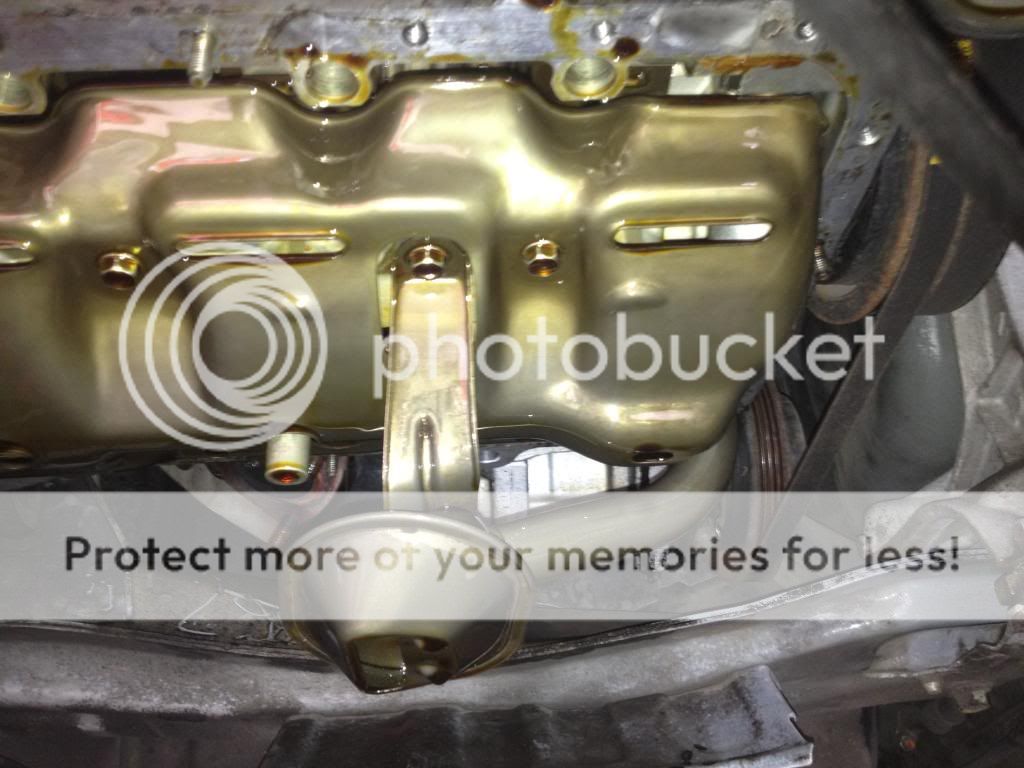
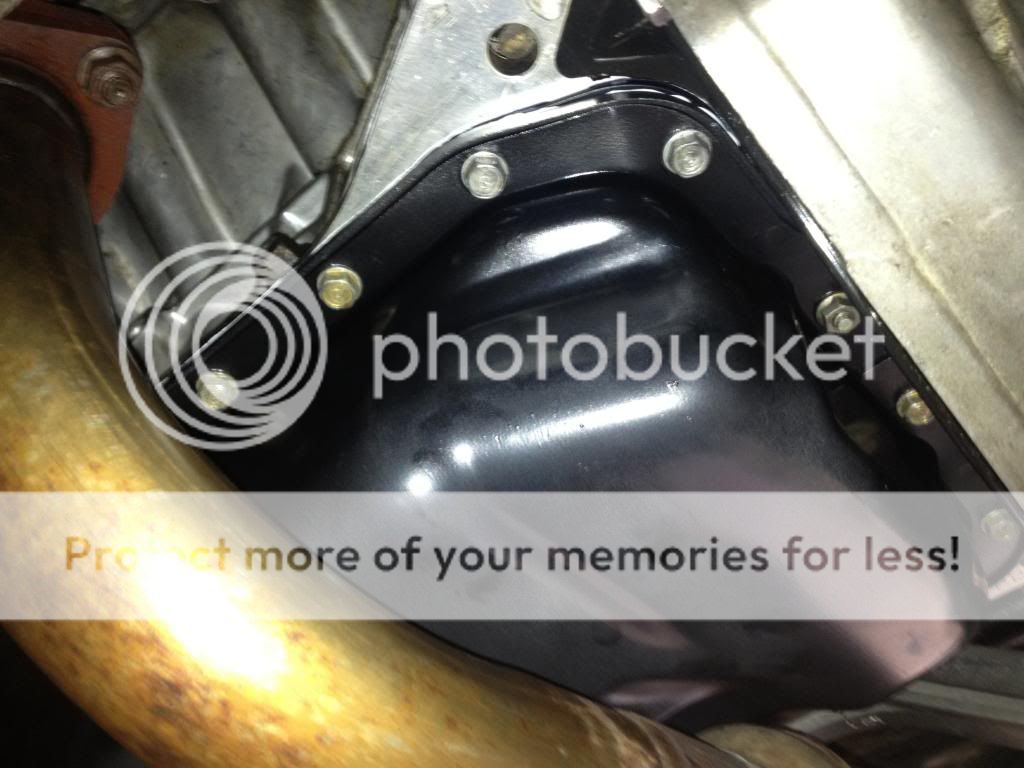
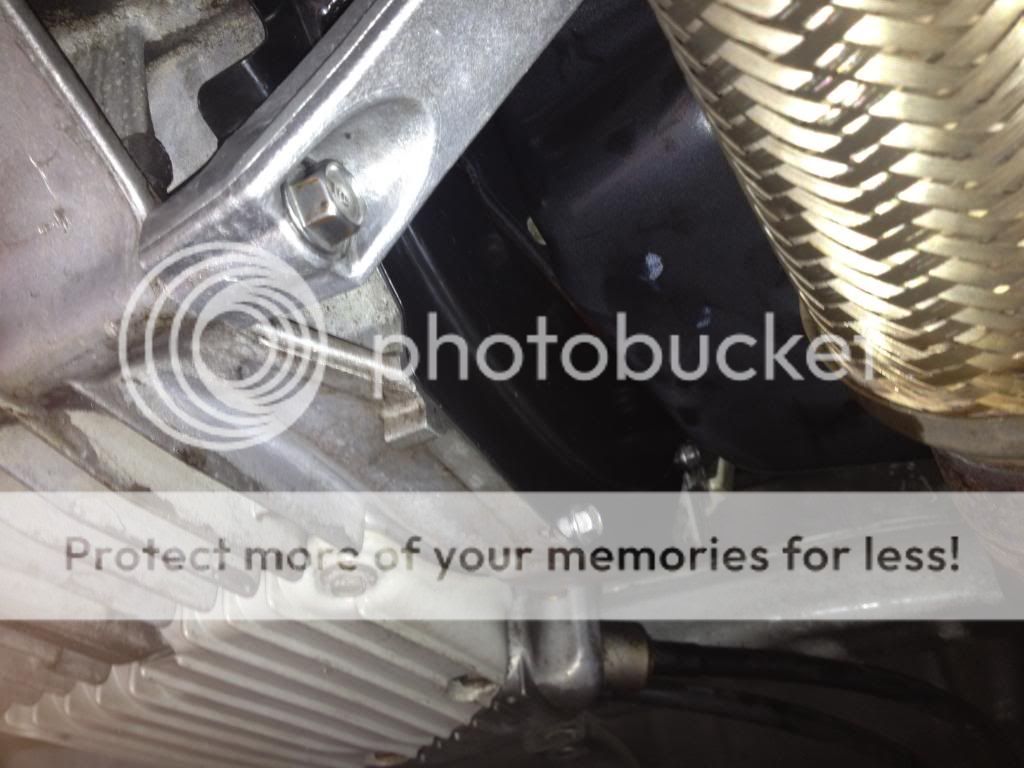
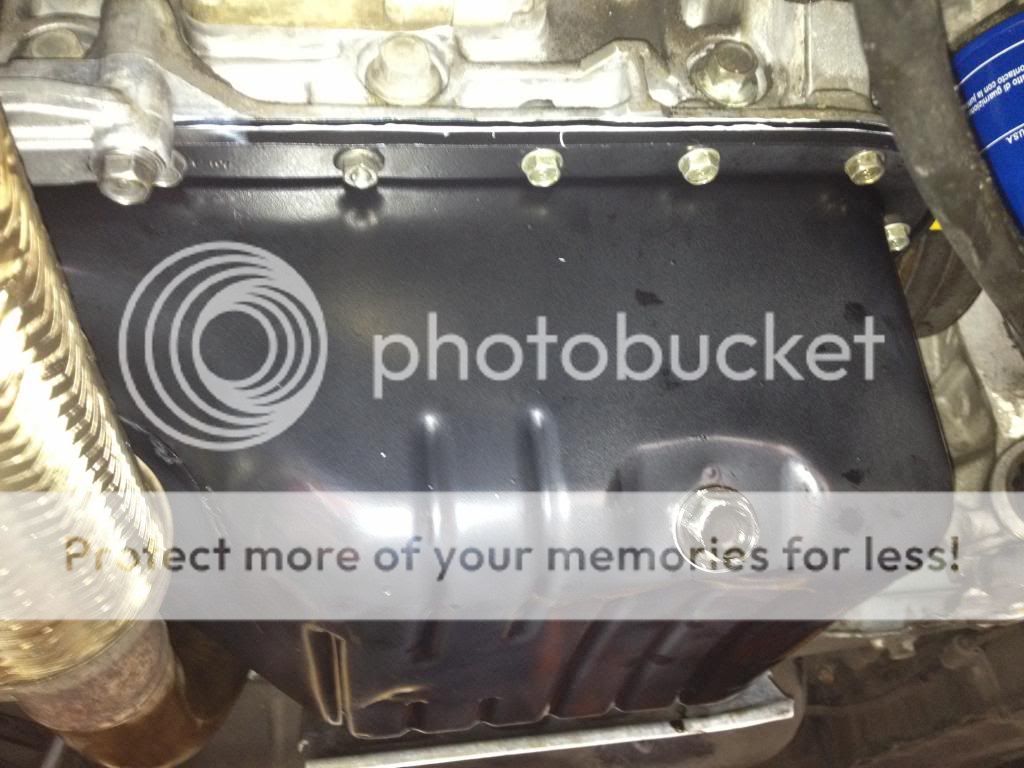
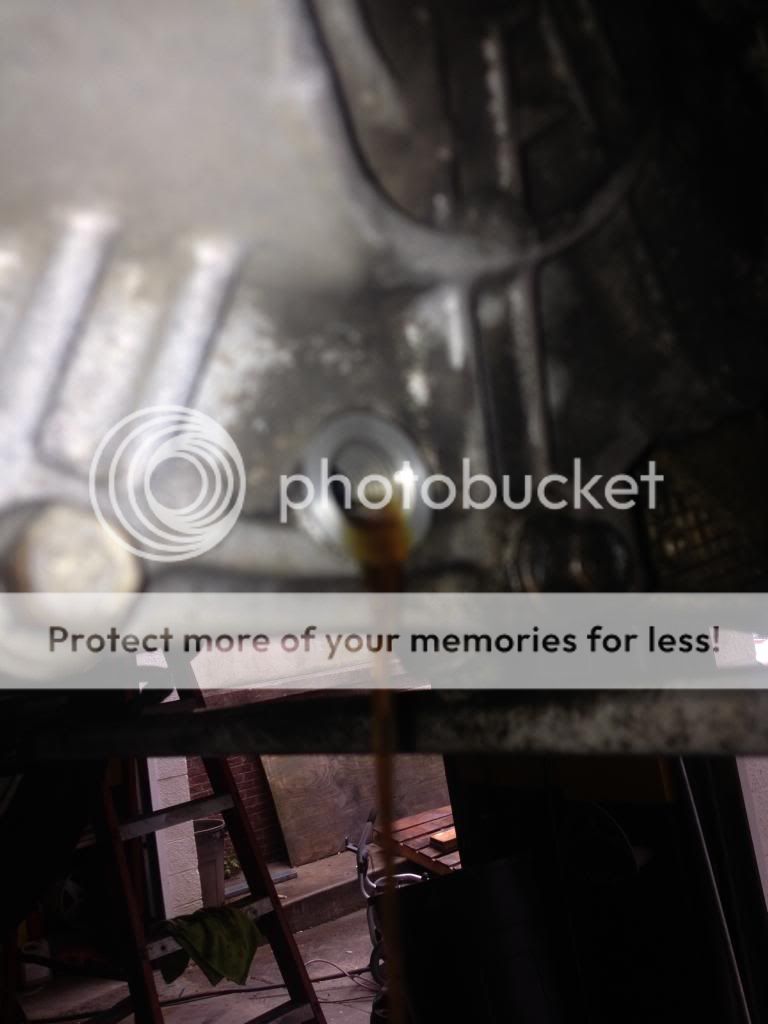
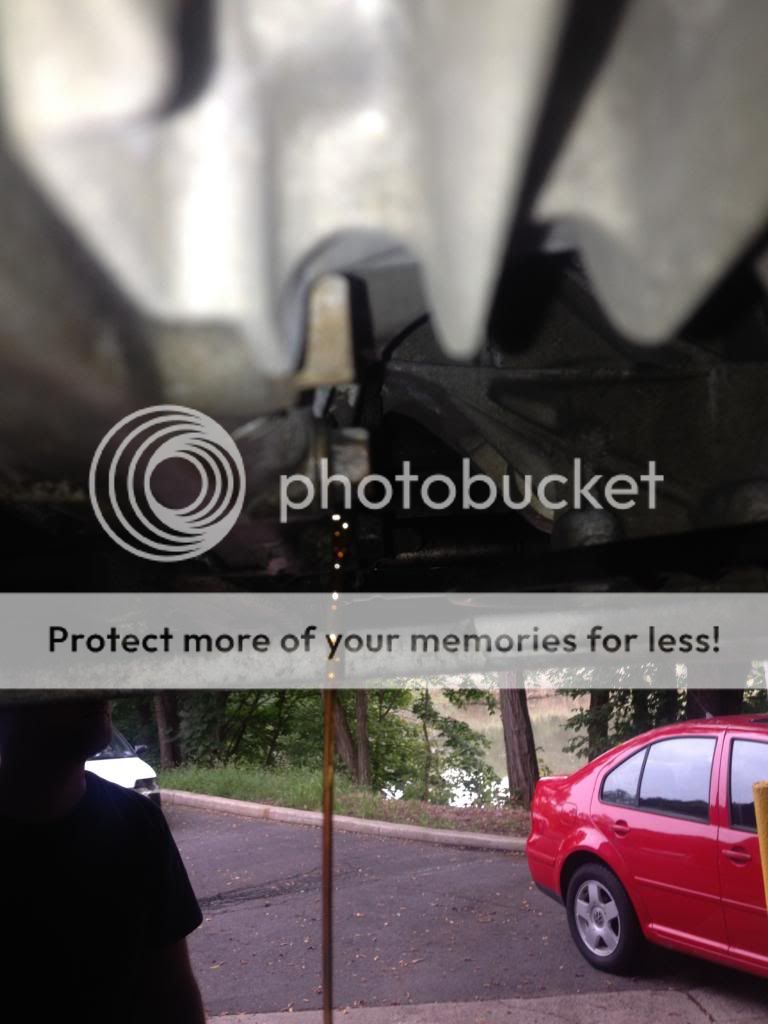
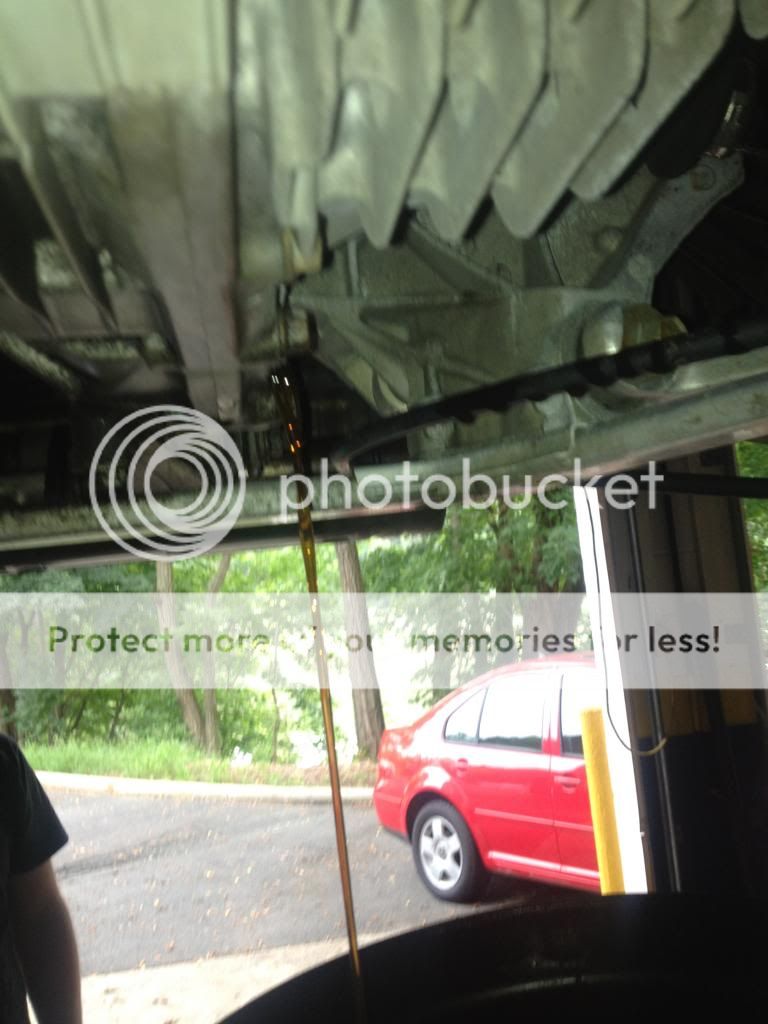
A few weeks later, I put the car on the lift to address the oil pan leak... Upon removal of the pan, I was extremely surprised at how clean the pick-up was. Not a single bit of evidence of sludge anywhere!!!!
The rear main seal was also bone dry.
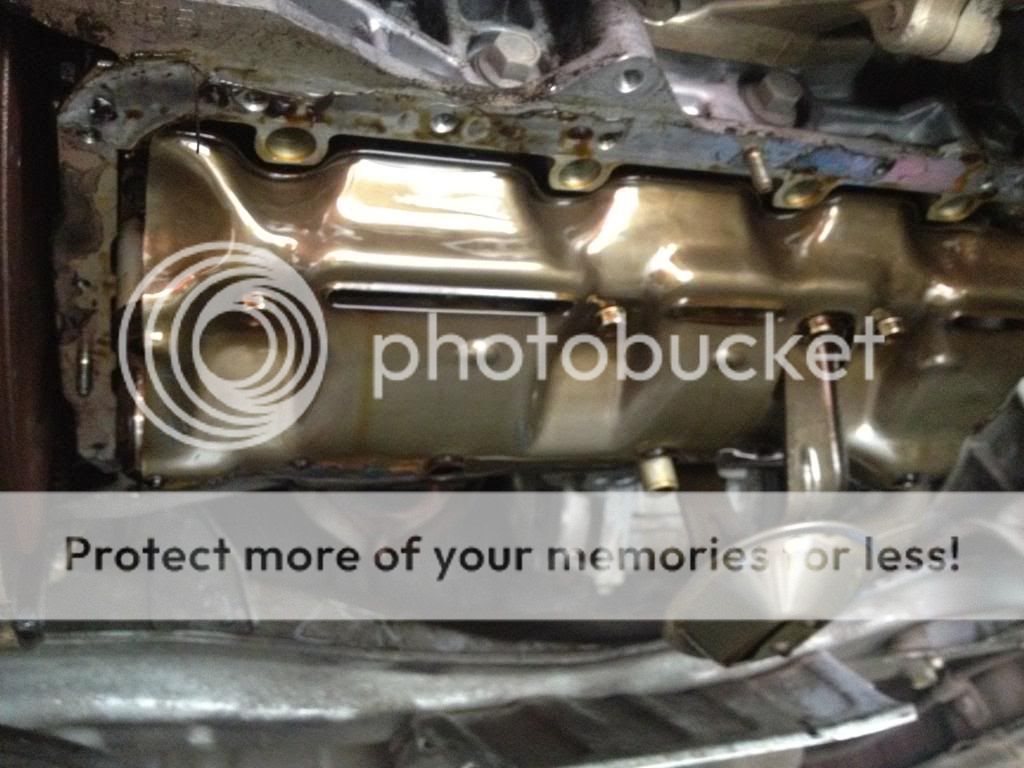
So I changed the gasket along with a fresh motor oil + filter change, and since I had my hands in the mud already, I also changed the transmission fluid with the Factory Honda MTF...


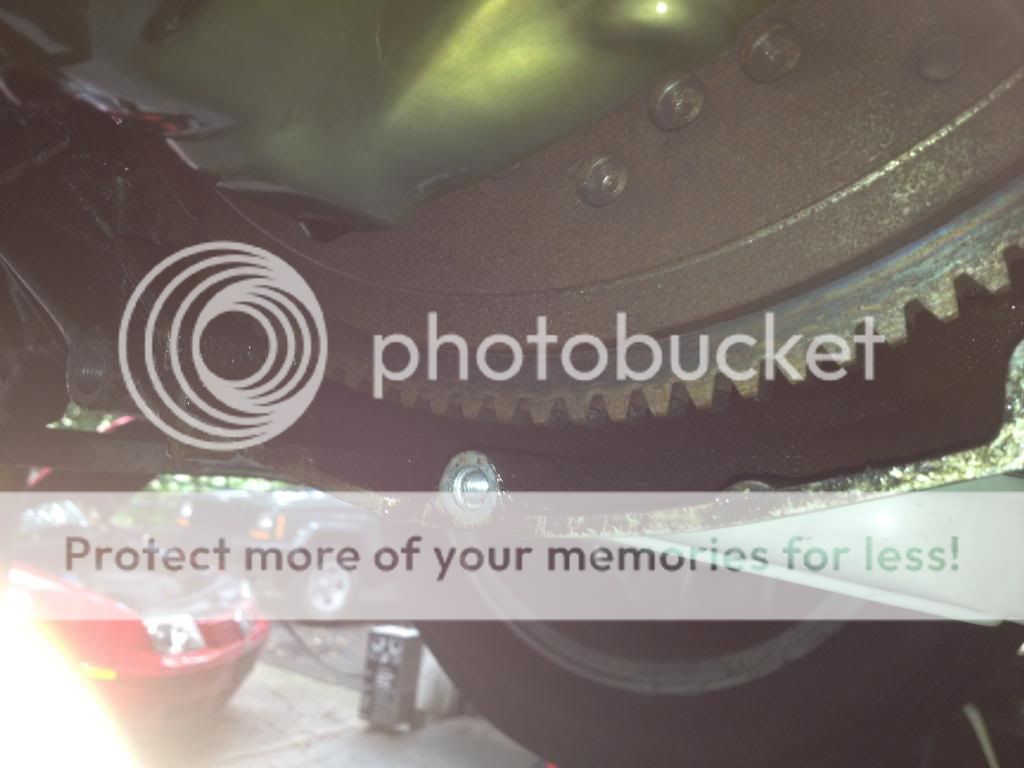
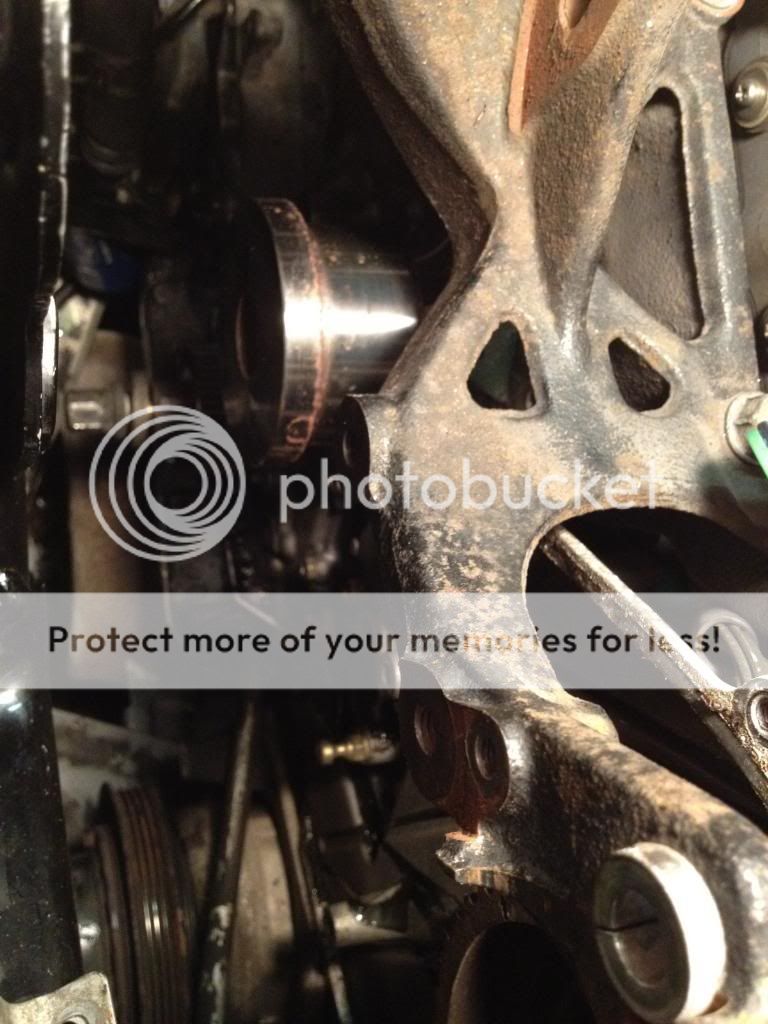
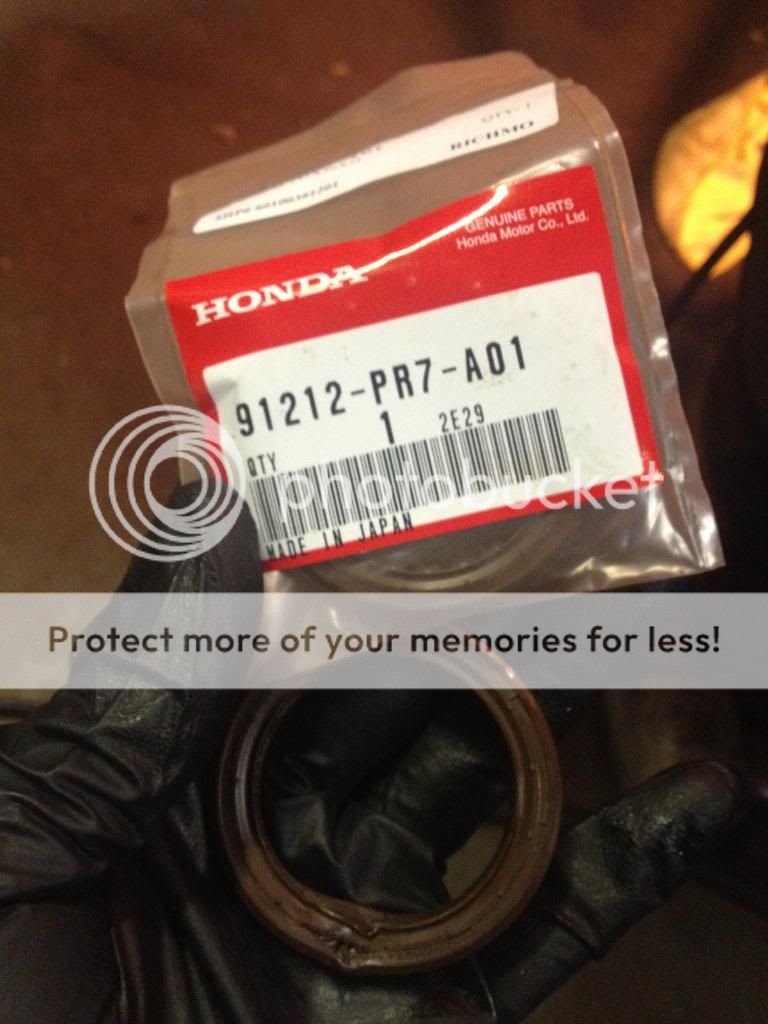
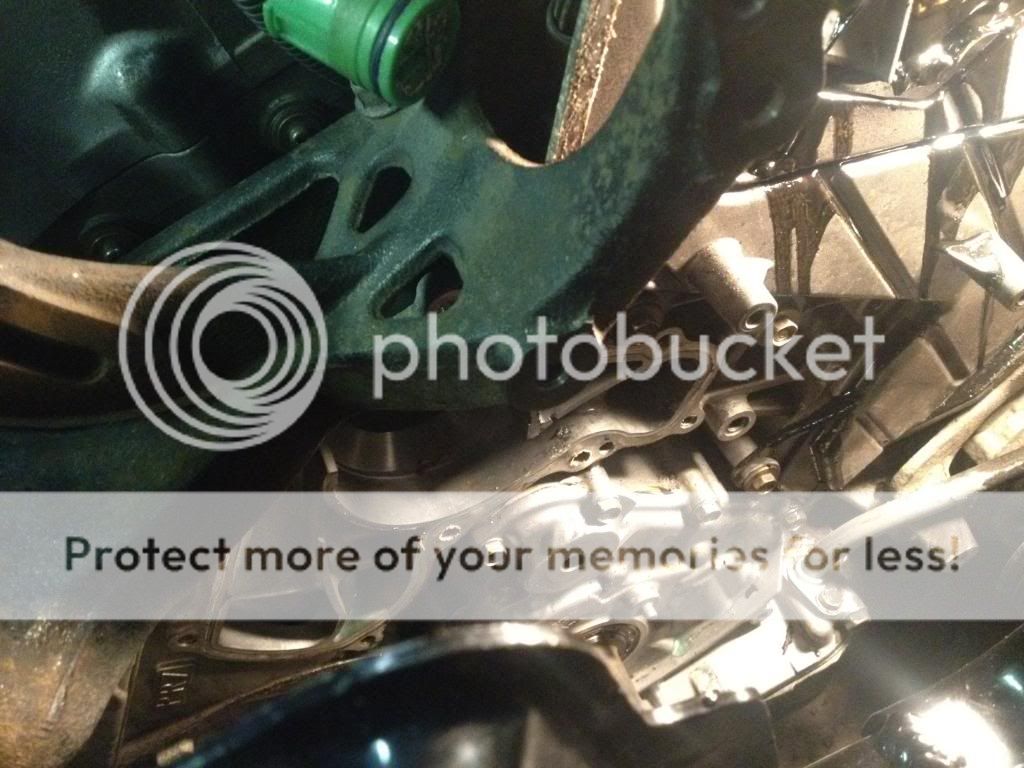
So approximately a week ago, I began my latest engine maintenance/preventative maintenance project. I Literally purchased over $2,000 worth of gaskets, oil seals, including the timing belt, water pump, fuel filter, etc. I started by removing the valve cover gaskets and intake manifold cover, and I sent them over to a local powder-coating shop(G.S.D. in Keyport, NJ) to get them done in NSX-R wrinkle red :biggrin:. I haven't received the head covers yet, but I've seen their work before and am pretty confident that I'll be satisfied with the results. Since then I have removed the old belt (which was still in "like new" condition!), removed all of the cams, replaced the water pump, replaced the crank seal (which had no signs of leakage), cleaned both heads to prepare it for the hondabond and new seals, and I also cleaned out all of the cam holders and bridges.
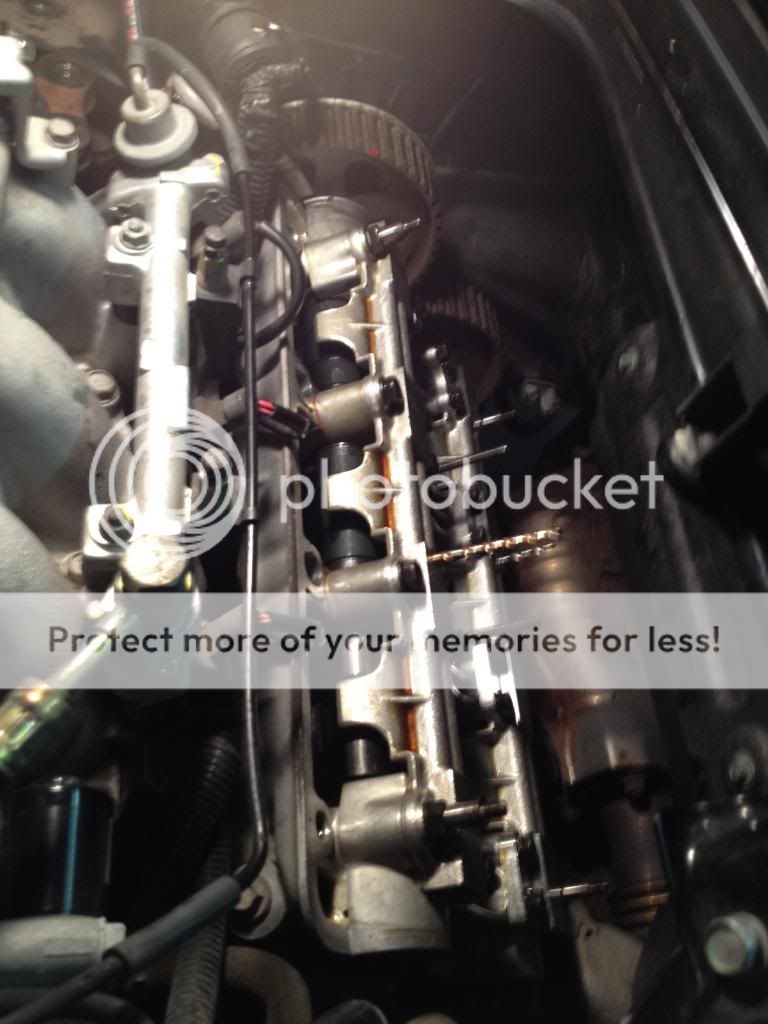
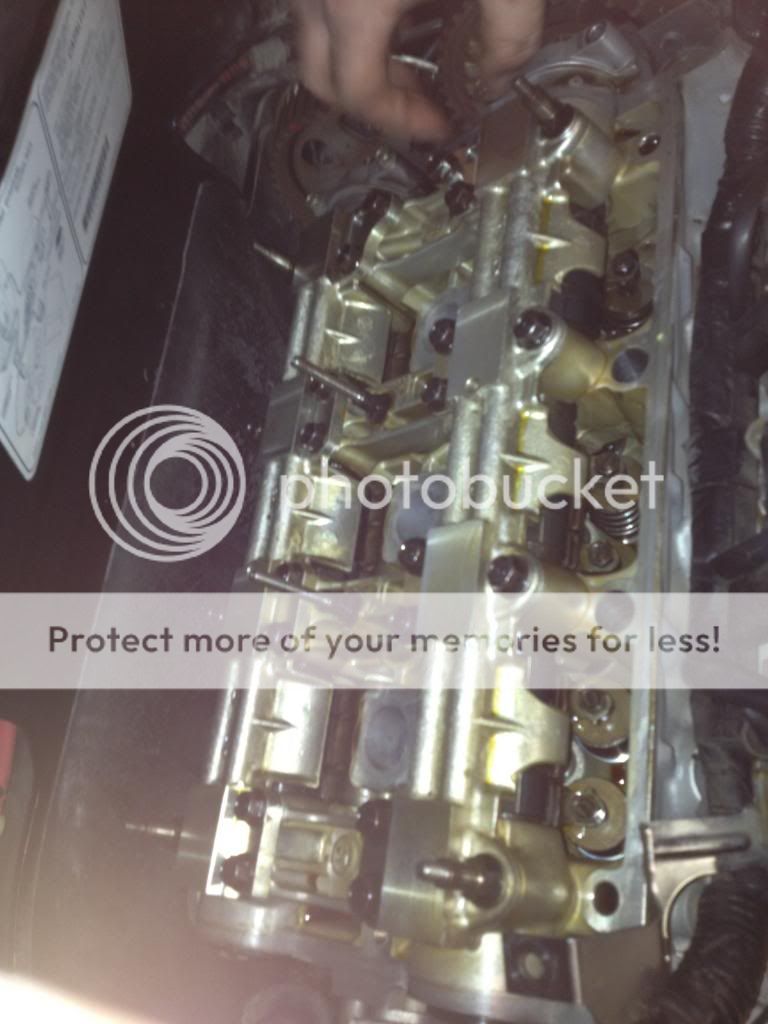
Here are some pics of the valve covers off..
Engine at TDC and belt marked, then taken off
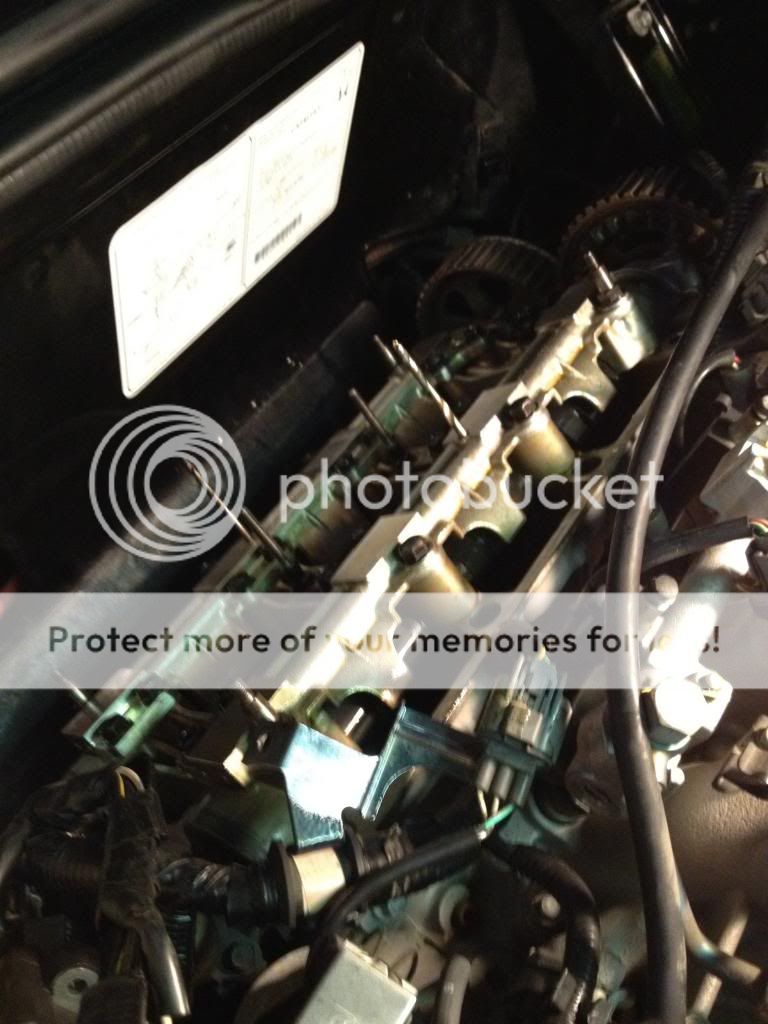
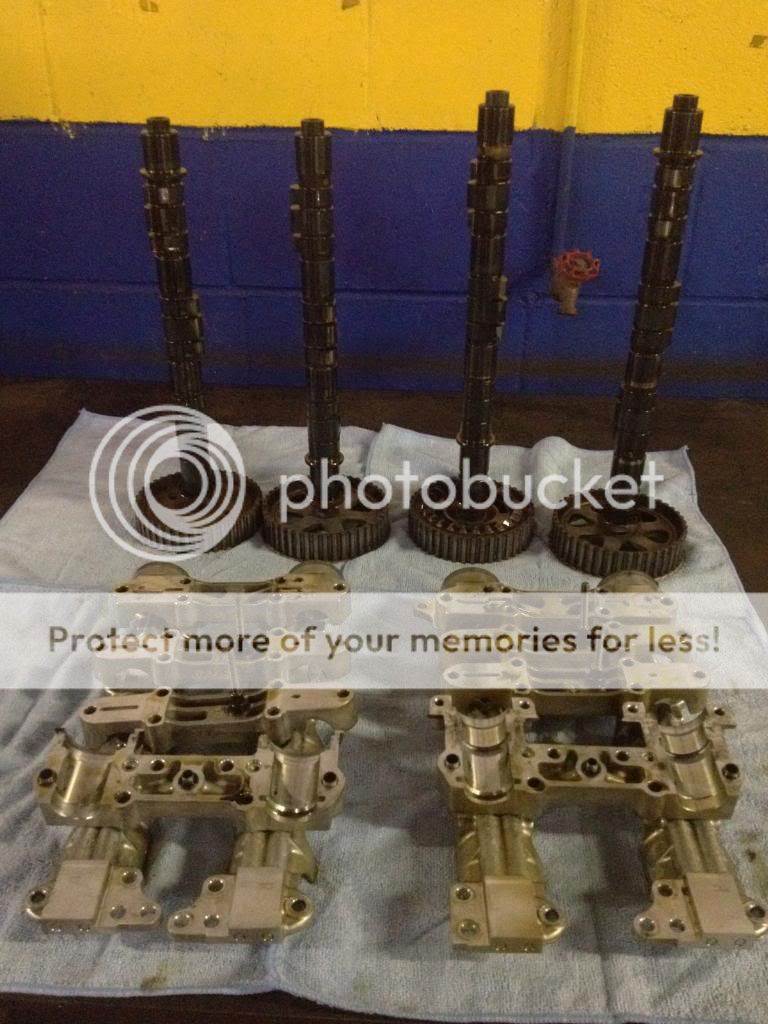
Cams off..
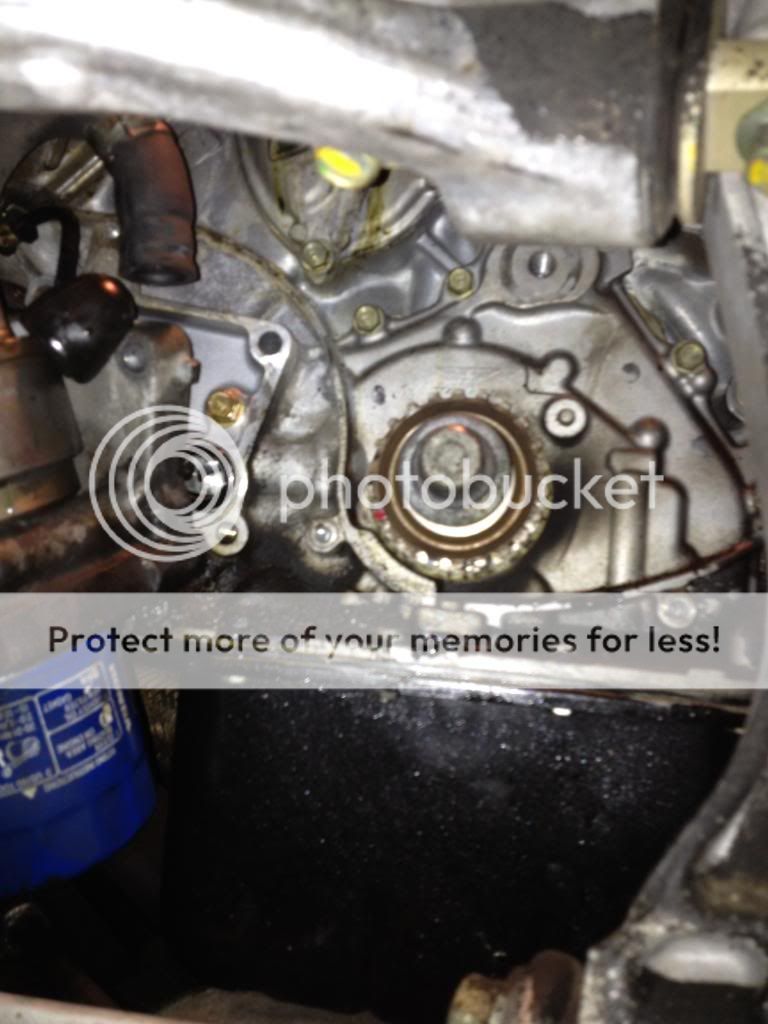
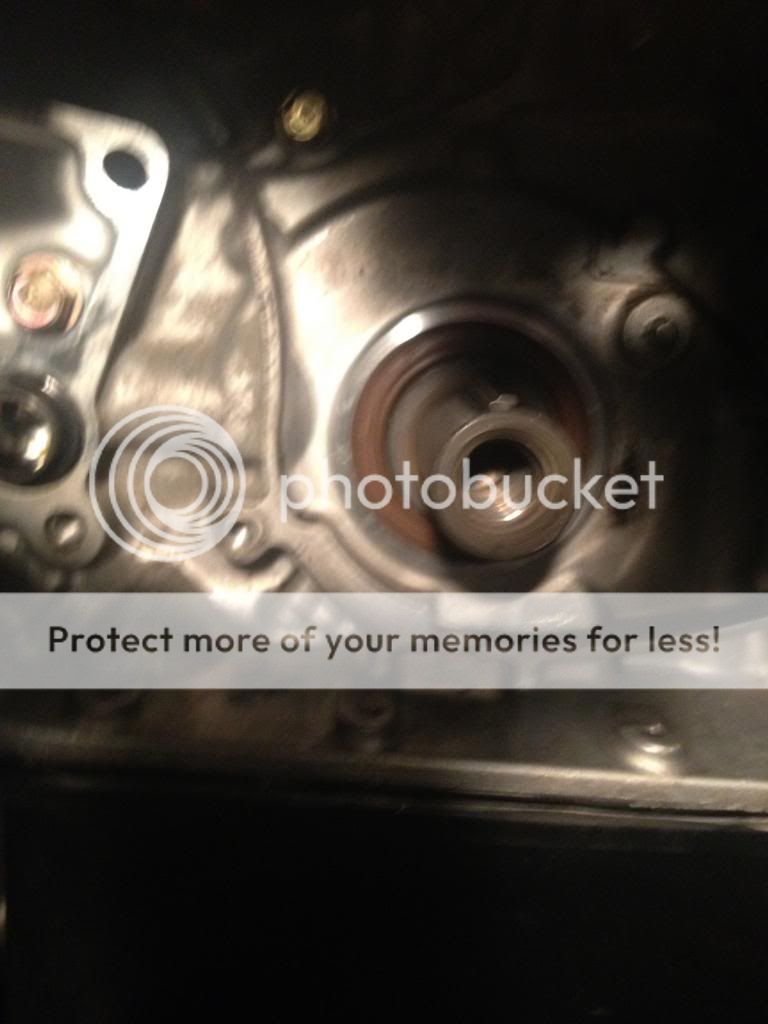
Old crank seal off...
New crank seal installed...
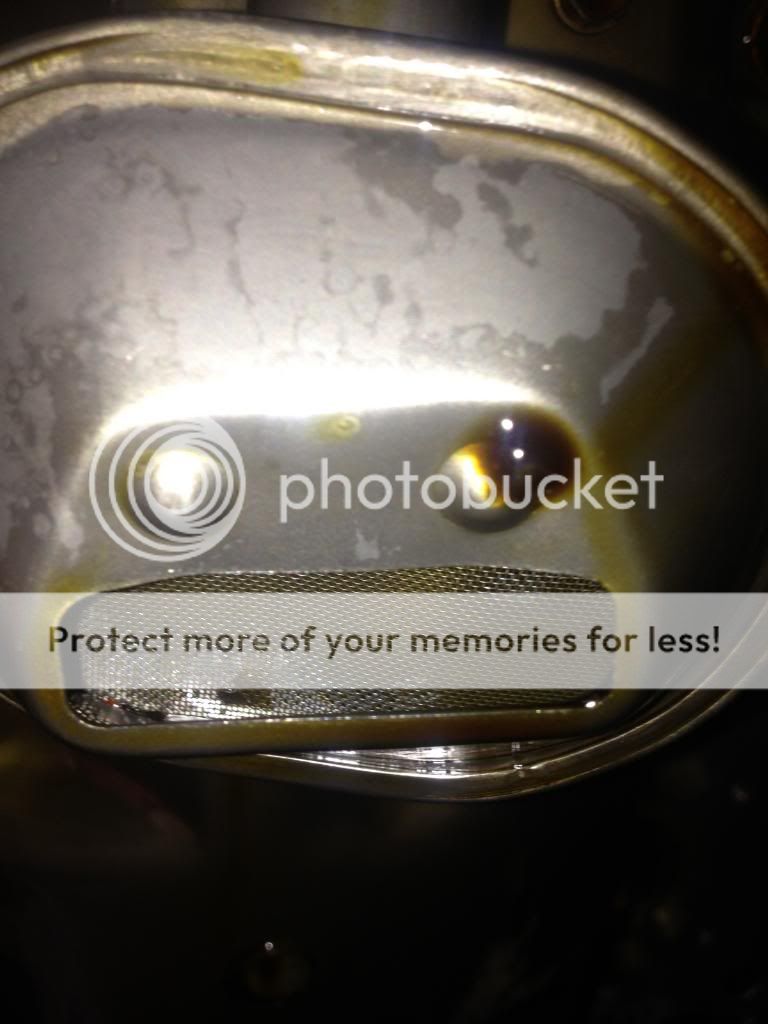
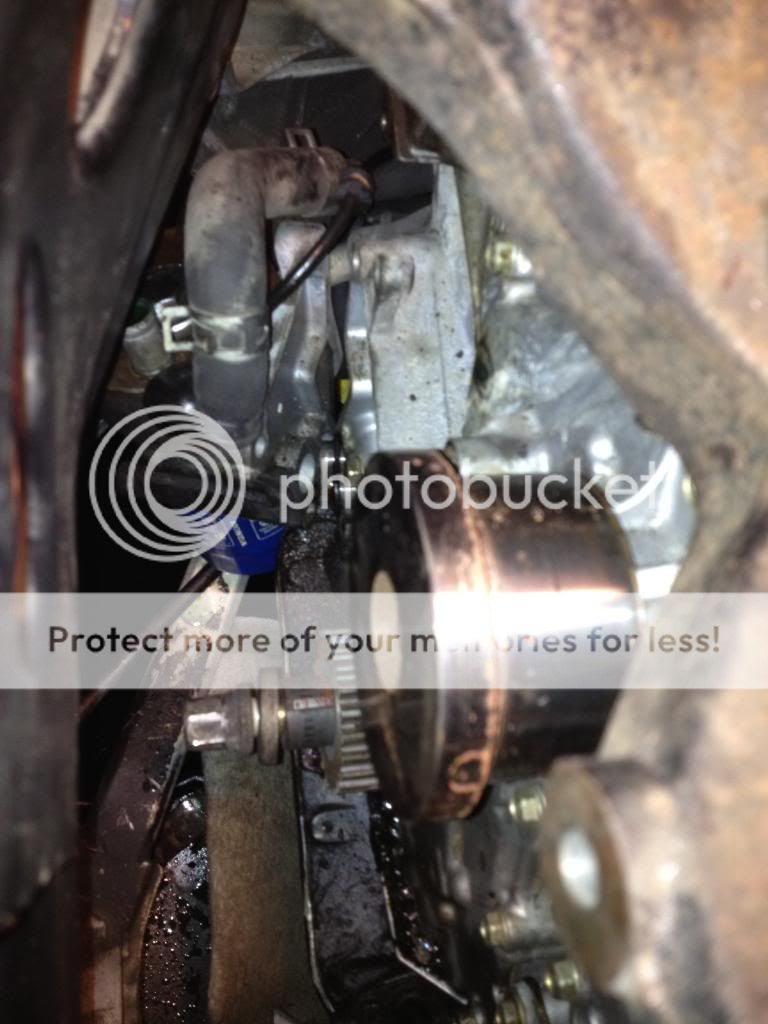
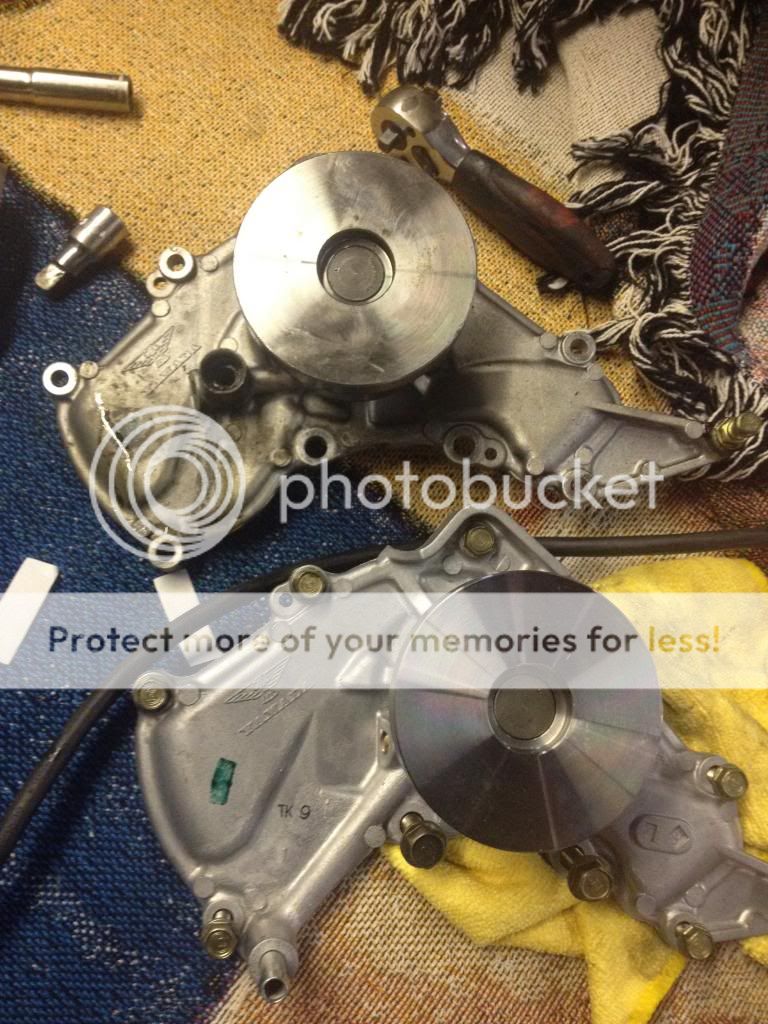
Old water pump off, and comparison to the newer style water pump with the relocated weep hole.
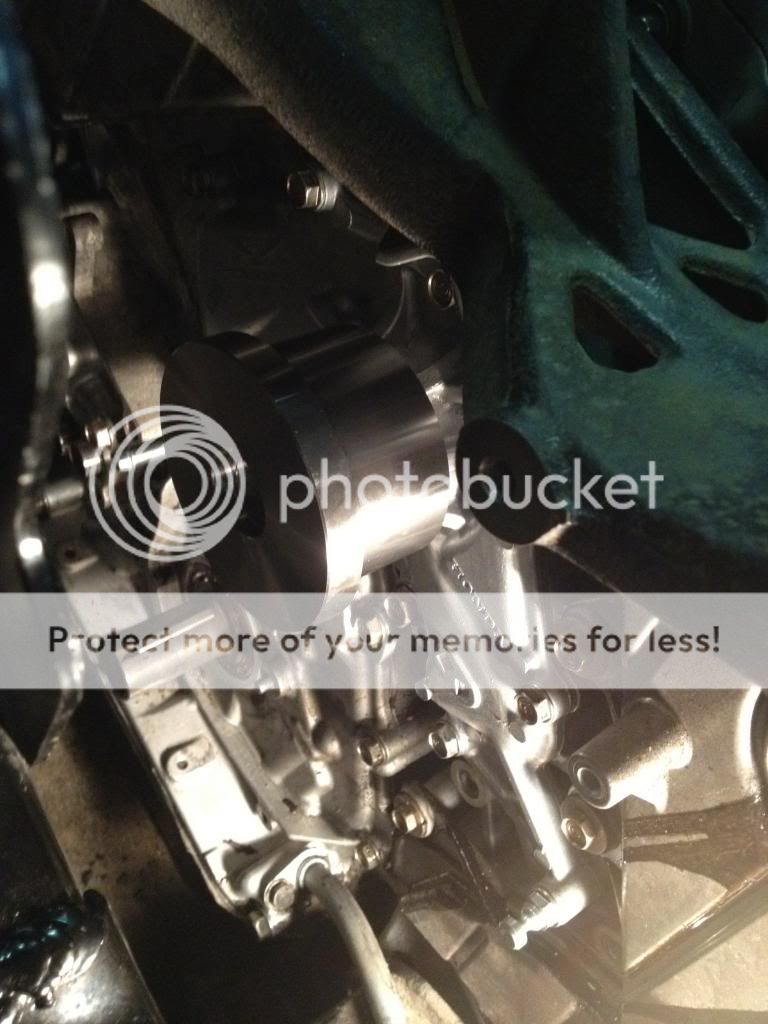
and the water pump installed..
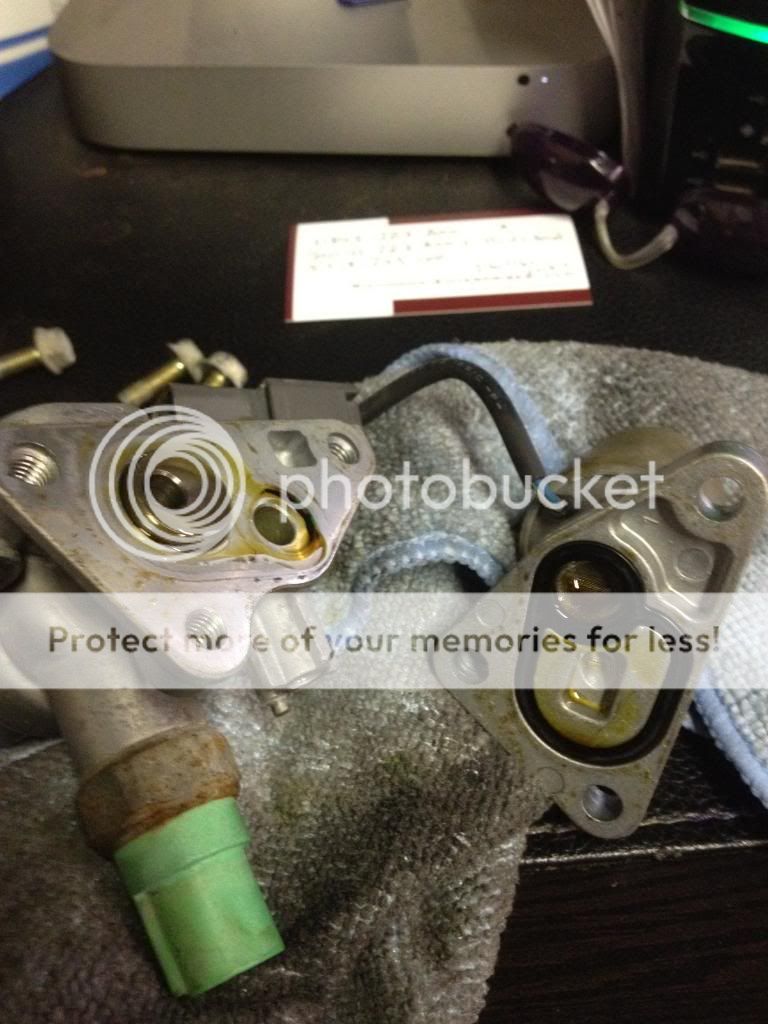
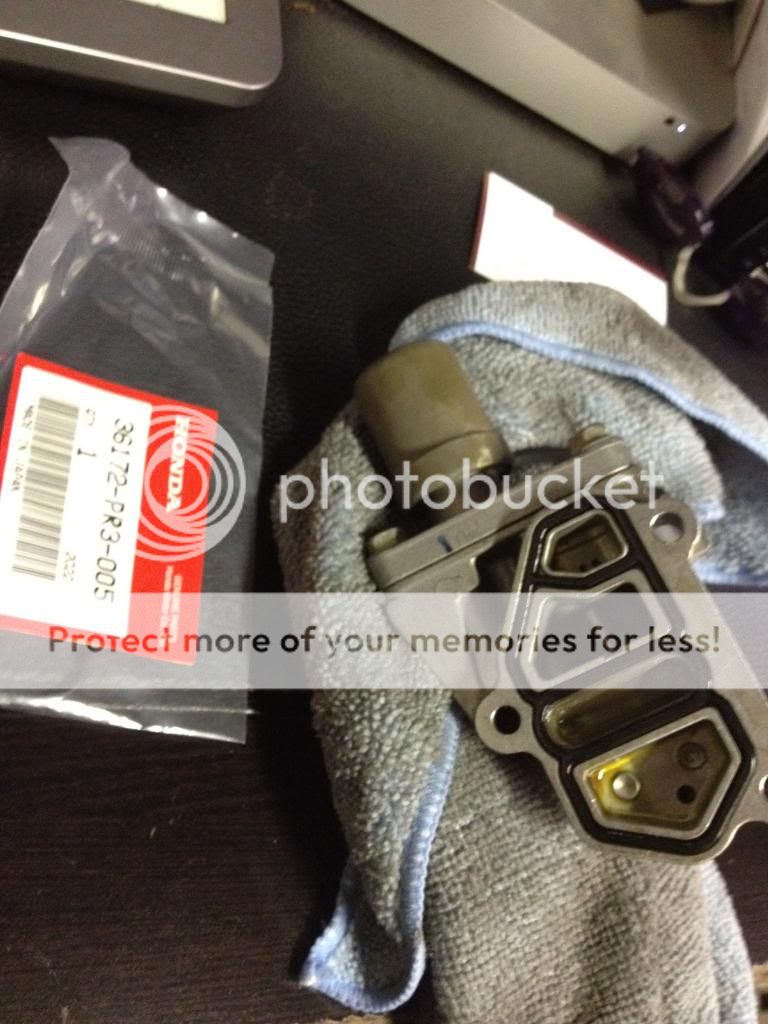
I am currently awaiting on some o-rings from acura to re-install the cams, a new oil pressure sender, and also the valve adjustment tools should be arriving sometime this week.. I was bored today so I took off the spool valves, and replaced the inner o-ring/filter.
The following are up-close pictures of the condition of the paint before the compound. YUCK!
On to the compounding.....
And the polish....
Then comes the wax... I use a Meguiar's DA and Meguiar's compund/polish/wax for everything by the way! I detail cars for a living and swear by this stuff.
After what felt like forever, the bumper, mirrors, and tail light gaskets came in...YAYYY :biggrin::biggrin:
And that pretty much sums up the detail part of my build. I was extremely satisfied with the results!
A few weeks later, I put the car on the lift to address the oil pan leak... Upon removal of the pan, I was extremely surprised at how clean the pick-up was. Not a single bit of evidence of sludge anywhere!!!!
The rear main seal was also bone dry.
So I changed the gasket along with a fresh motor oil + filter change, and since I had my hands in the mud already, I also changed the transmission fluid with the Factory Honda MTF...
So approximately a week ago, I began my latest engine maintenance/preventative maintenance project. I Literally purchased over $2,000 worth of gaskets, oil seals, including the timing belt, water pump, fuel filter, etc. I started by removing the valve cover gaskets and intake manifold cover, and I sent them over to a local powder-coating shop(G.S.D. in Keyport, NJ) to get them done in NSX-R wrinkle red :biggrin:. I haven't received the head covers yet, but I've seen their work before and am pretty confident that I'll be satisfied with the results. Since then I have removed the old belt (which was still in "like new" condition!), removed all of the cams, replaced the water pump, replaced the crank seal (which had no signs of leakage), cleaned both heads to prepare it for the hondabond and new seals, and I also cleaned out all of the cam holders and bridges.
Here are some pics of the valve covers off..
Engine at TDC and belt marked, then taken off
Cams off..
Old crank seal off...
New crank seal installed...
Old water pump off, and comparison to the newer style water pump with the relocated weep hole.
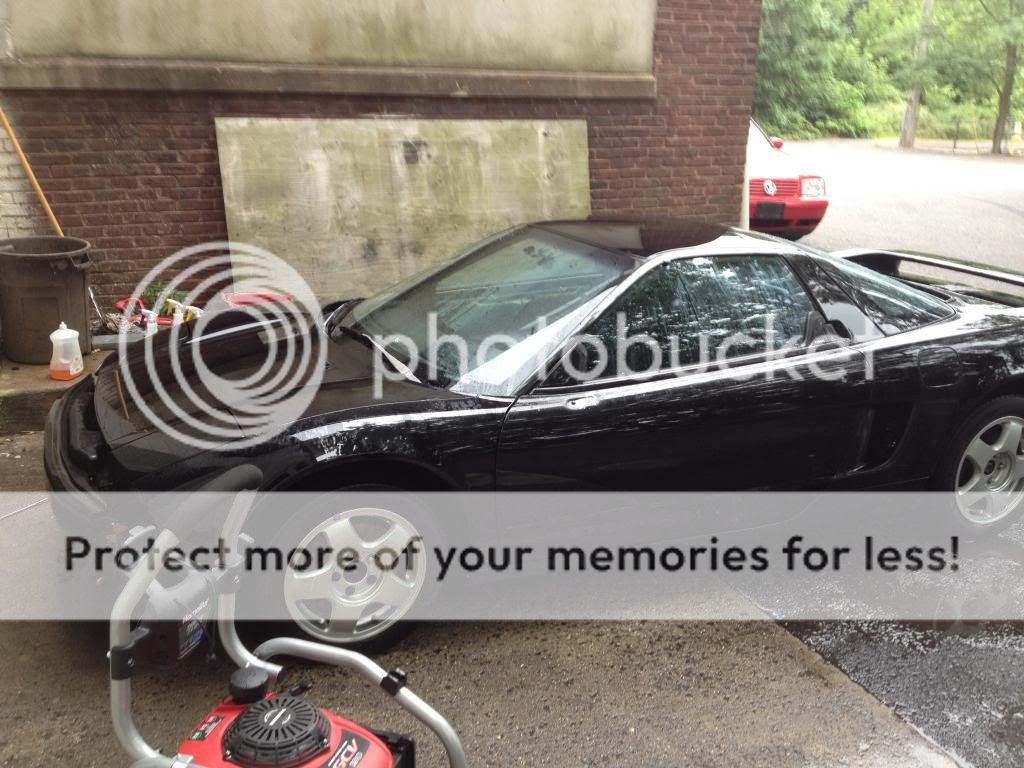
And this is how she sits as of now. I will try to keep documenting my build, but this is my first time ever doing something like this, so please have patience with me:redface:!!!