- Joined
- 2 January 2015
- Messages
- 106
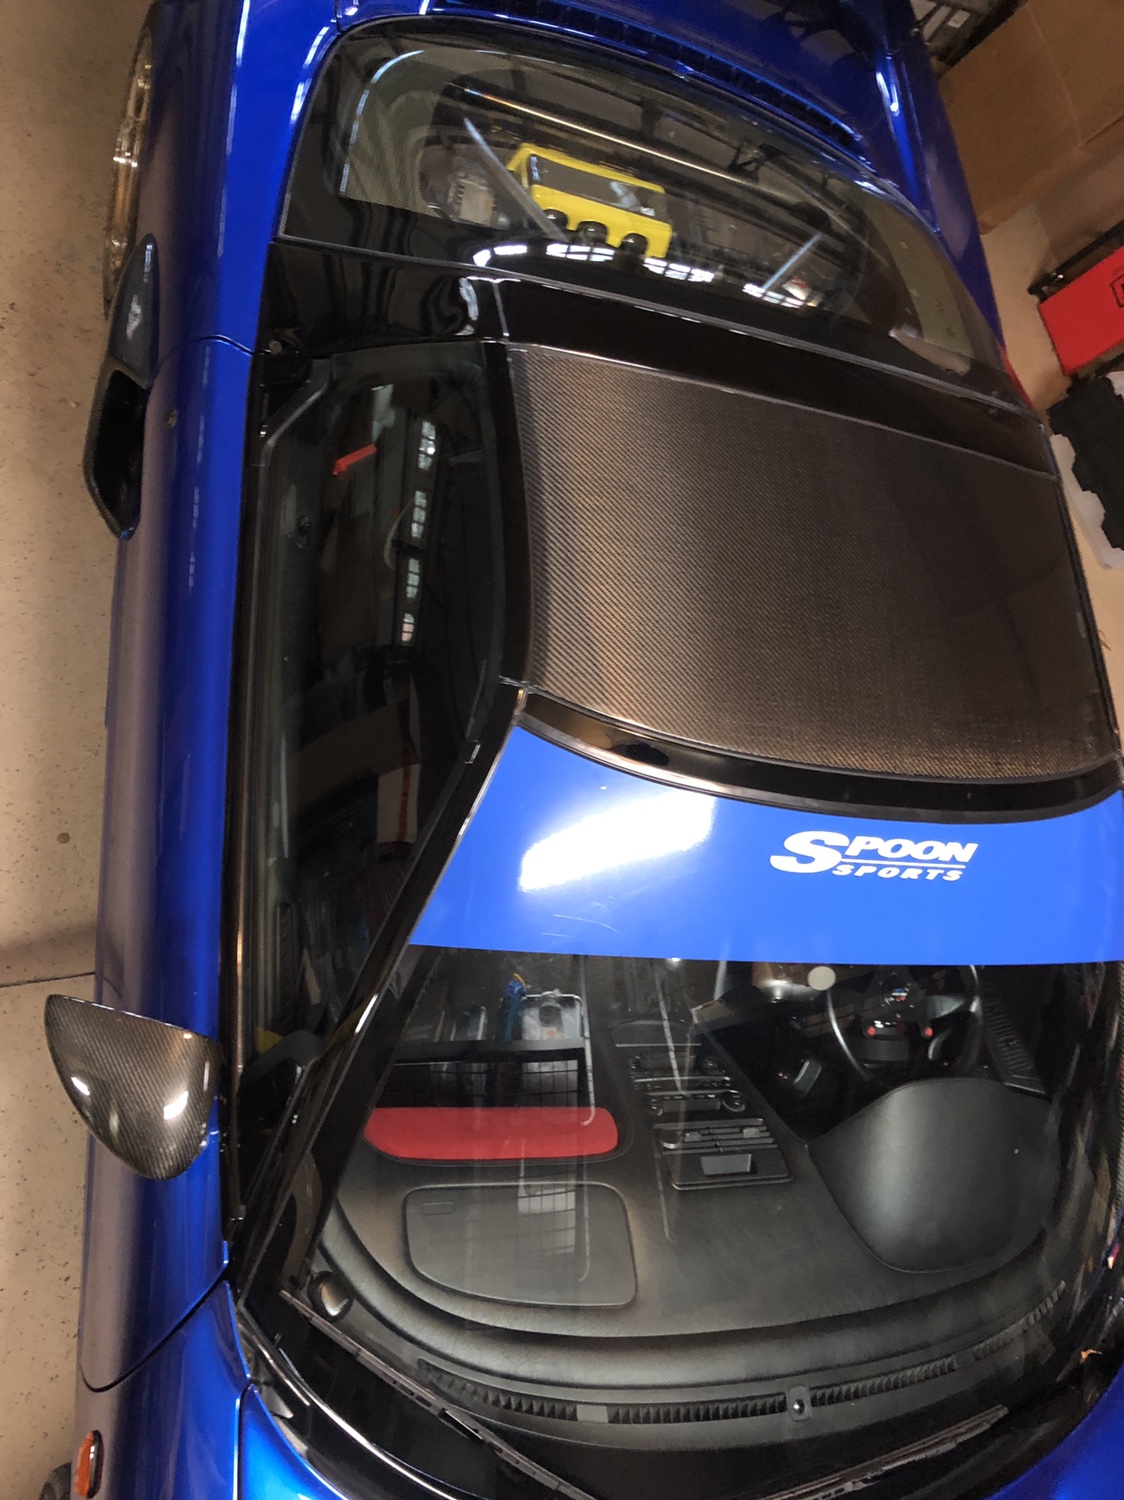
I am one of the lucky few that was able to obtain Steve's newest product, the CF Targa top. Upon seeing pictures of the first one he made, I knew I needed it. He started a group buy on facebook and I promptly jumped on the opportunity. Fast forward some months. After a lot of hassle which was 100% on my end, (Steve literally jumped through hoops for me. Outstanding guy) we finally were able to exchange payment for the product. Guys, this piece is gorgeous. Parts of this caliber are VERY hard to find. Steve is the man....seriously he is. Upon initial inspection, I could tell it was lighter than the OEM top. After swapping the latching hardware, removal and installation of the top is less stressing. Both on my arms and on my back. I usually remove the top myself and this new top makes that chore a breeze. I mainly wanted the top to lower my car's center of gravity. I planned on getting the top painted to match my car, but I may keep it exposed for a while before changing my mind, lol.
ANYWAYS!!!! Onto the write-up and installation pictures....probably what you guys really came here to see, lol.
I neglected to take step by step pictures of the removal of the OEM top an such, but it really isn't hard to determine. The headliner slides out towards the back after removing the rubber bumper thingie.
Tools required are: A phillips head screw driver, 10mm ratchet/socket, and a pick tool or equivalent.

Firstly, you'll want to remove all the plastic panels off your OEM top. This can be done with your phillips screw driver and your bare hands. On each side there are 3 screws oriented on the back and 2 screws oriented on the front.


^^^^Rubber bumper thingie
Next you'll want to remove three screws behind the rubber weather stripping. You do not have to remove the entire stripping. I got to the screws fairly easily just pulling it back. The two outward screws took some tricky angles to remove and install, but I managed without excessive cussing. The screws can easily be located because they screw into three orange tabs. You'll want to remove 6 in total, 3 screws in each side.


Now the reason you're going to want to remove these three screws is because you have to basically seat the new top between the latch assembly. I tried doing this without removing it and I found that it would not install with the gasket. The tolerance is VERY tight, so I just made my life easier by removing the outward, painted piece. Also, if you've gotten this far in the write-up, you'll notice that there is a fair amount of butyl tape or sticky stuff holding this piece on. Try to salvage as much of this as possible, or replace with new tape. I was lucky enough to NOT have to replace as most came off with the OEM piece.

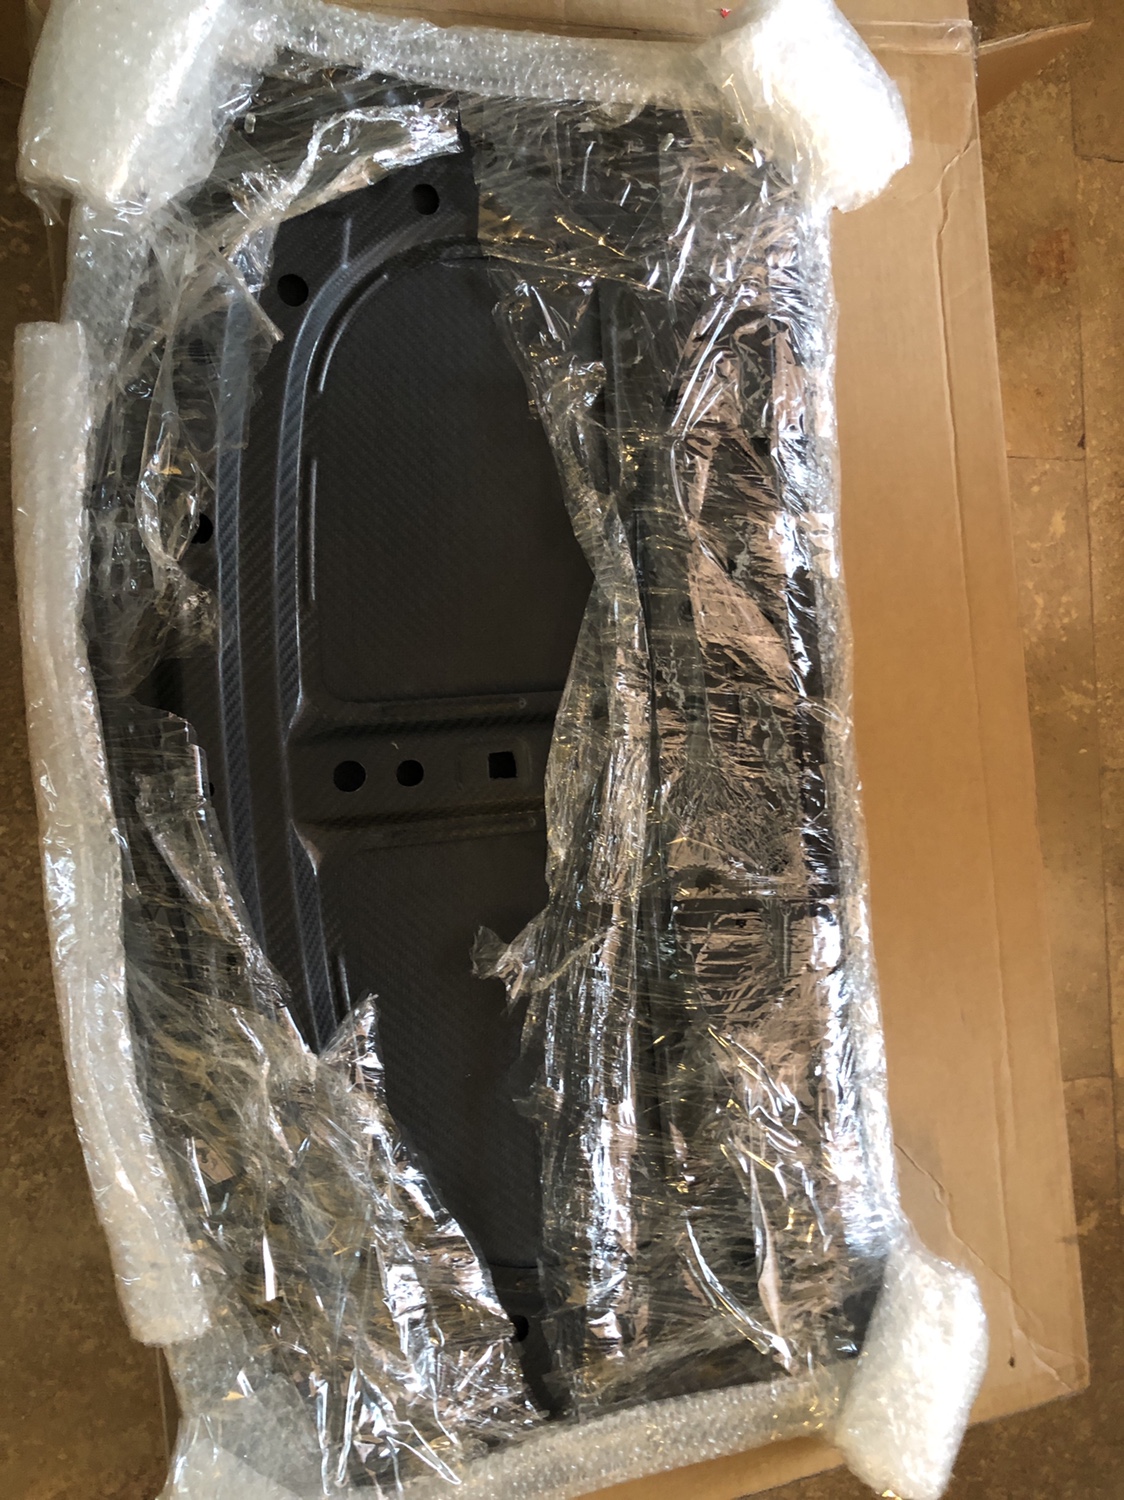
^^^^ This is how the gasket and painted OEM piece should look on your new top
Next, you'll want to take your pick tool and remove the cap on the handle. There is a phillips screw in there, but before you remove that turn the latch mechanism to the "Lock" position. You'll know it is in this position because the "pins" will be out. You know....the ones that slide into the NSX's pillars to fasten your top. This makes the next step possible as the rods will be in the way.


Next, you need to remove the 12 nuts (6 on each side) with your 10MM socket that you DEFINITELY didn't lose....right? Once these are removed, gently pry (I did this with my hands) the entire assembly off. This is where you'll probably see the tape I mentioned earlier if the painted part is still on. There is also a bracket that comes off. Other than being a bracing piece of some sort, I could not see the purpose of it. Just remember to put it back on during the swap.

You can see the bracket I mentioned in this picture ^^^

There you have it, install is the reversal of removal. Only tip I have is to line up the new studs, nuts, and screws back to their original location. The nuts will have a ghost mark from when they were originally installed. If not, your top may be slightly difficult to latch down.

If you have any questions, feel free to PM me or add me on facebook. Tony Seagle. Enjoy!!!!
ANYWAYS!!!! Onto the write-up and installation pictures....probably what you guys really came here to see, lol.
I neglected to take step by step pictures of the removal of the OEM top an such, but it really isn't hard to determine. The headliner slides out towards the back after removing the rubber bumper thingie.
Tools required are: A phillips head screw driver, 10mm ratchet/socket, and a pick tool or equivalent.
Firstly, you'll want to remove all the plastic panels off your OEM top. This can be done with your phillips screw driver and your bare hands. On each side there are 3 screws oriented on the back and 2 screws oriented on the front.
^^^^Rubber bumper thingie
Next you'll want to remove three screws behind the rubber weather stripping. You do not have to remove the entire stripping. I got to the screws fairly easily just pulling it back. The two outward screws took some tricky angles to remove and install, but I managed without excessive cussing. The screws can easily be located because they screw into three orange tabs. You'll want to remove 6 in total, 3 screws in each side.
Now the reason you're going to want to remove these three screws is because you have to basically seat the new top between the latch assembly. I tried doing this without removing it and I found that it would not install with the gasket. The tolerance is VERY tight, so I just made my life easier by removing the outward, painted piece. Also, if you've gotten this far in the write-up, you'll notice that there is a fair amount of butyl tape or sticky stuff holding this piece on. Try to salvage as much of this as possible, or replace with new tape. I was lucky enough to NOT have to replace as most came off with the OEM piece.
^^^^ This is how the gasket and painted OEM piece should look on your new top
Next, you'll want to take your pick tool and remove the cap on the handle. There is a phillips screw in there, but before you remove that turn the latch mechanism to the "Lock" position. You'll know it is in this position because the "pins" will be out. You know....the ones that slide into the NSX's pillars to fasten your top. This makes the next step possible as the rods will be in the way.
Next, you need to remove the 12 nuts (6 on each side) with your 10MM socket that you DEFINITELY didn't lose....right? Once these are removed, gently pry (I did this with my hands) the entire assembly off. This is where you'll probably see the tape I mentioned earlier if the painted part is still on. There is also a bracket that comes off. Other than being a bracing piece of some sort, I could not see the purpose of it. Just remember to put it back on during the swap.
You can see the bracket I mentioned in this picture ^^^
There you have it, install is the reversal of removal. Only tip I have is to line up the new studs, nuts, and screws back to their original location. The nuts will have a ghost mark from when they were originally installed. If not, your top may be slightly difficult to latch down.
If you have any questions, feel free to PM me or add me on facebook. Tony Seagle. Enjoy!!!!
Last edited:

")