
Hey all,
For the past three days I had Dan from Premier Shine Auto Detailing located by me to come over and perform a very thorough full correctional detail.
He has given me the code from his write-up so that I may post here, amazing results and I was very very satisfied! Really could not wait to show everyone here, enjoy!
Here is his post:
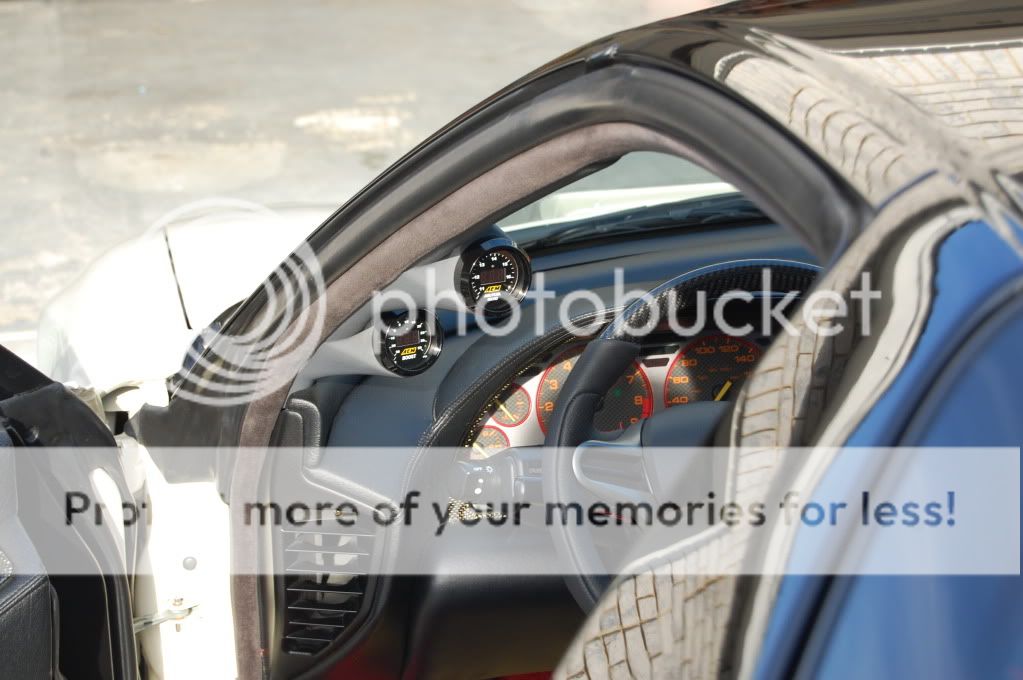
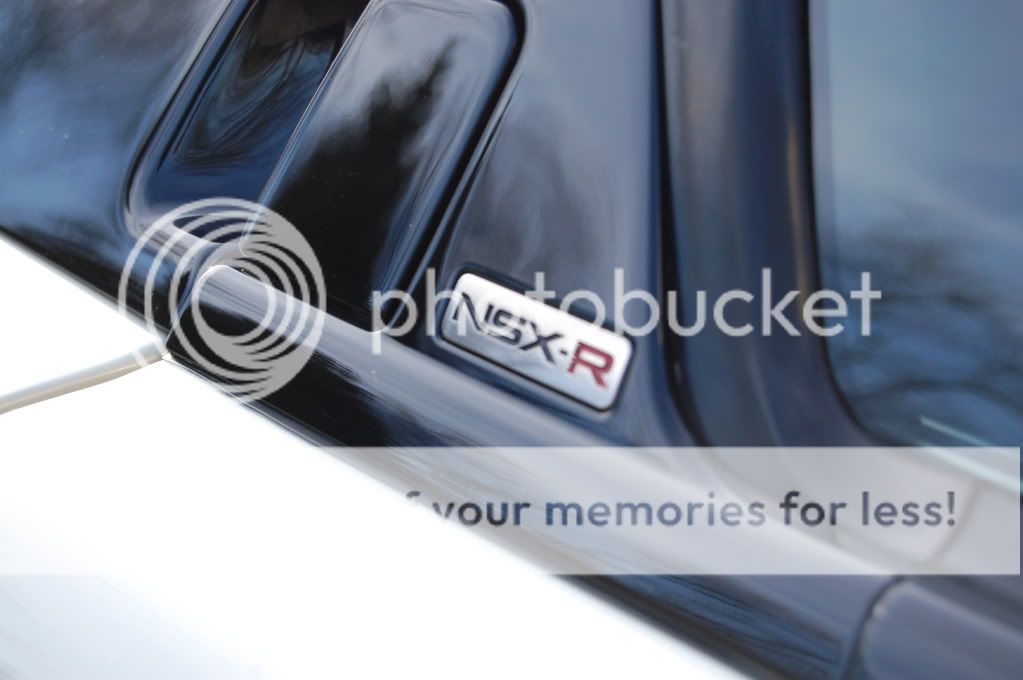
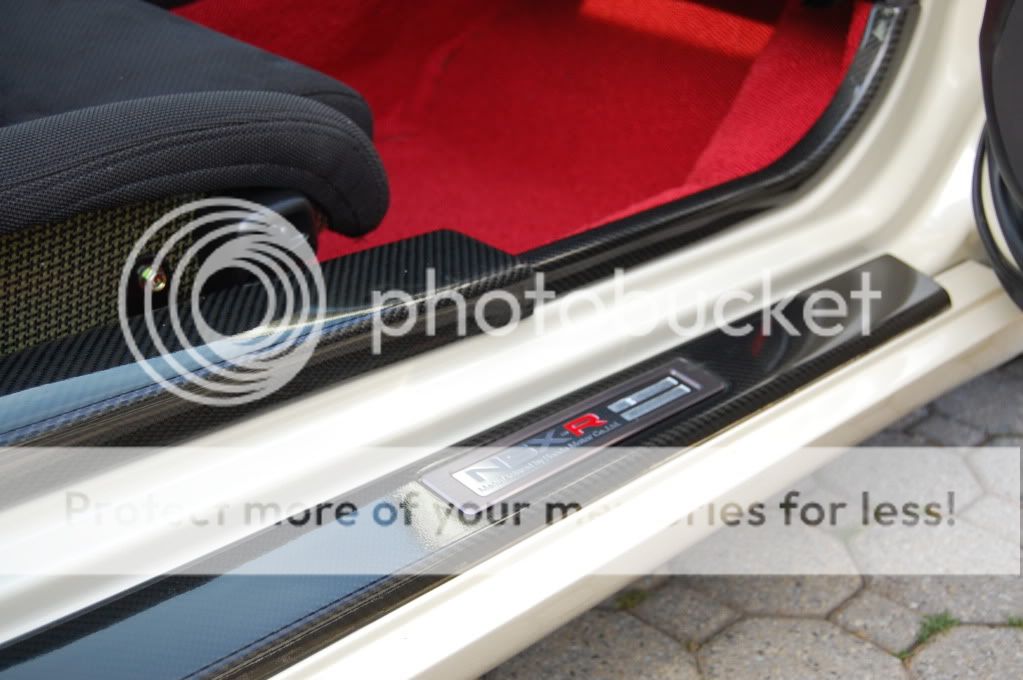
Over the last three days (27 hours total) I have had the opportunity to work on a 91 Acura NSX that has been converted and modified over many years into a Type R replica. The level of detail that went into the conversion is amazing. The car features a larger single turbo (T67) running low boost- 505 horses on the dyno.
The owner has been a great client to work with and since last fall him and I have been discussing the process I would take to carry out the detail.
The detail took 27 hours to complete over three days and him and I still have plans in the future (SV application) including an extremely thorough and regular maintenance schedule.
On with the detail- prepare for major scroll
Products/ tools used:
Products:
CG Maxi Sudz 2
CG Citrus Wash and Clear
Dawn Concentrate
Sonax FE wheel cleaner
Bleche White sidewall cleaner
Megs APC
Carpro Iron X
Uber Fine Clay
Leather Masters Suede/ Alcantara foam cleaner
DI Aggressive Clay
ONR
Tarminator
P21s Polishing Soap
Eagle One Nevr Dull wadding
Sonax Glass Cleaner
Zaino Z12 Glass polish
303 Aerospace Protectant
Adams VRT dressing
Folex Spot treatment
Megs 105
Menzerna Power Finish
Menzerna Super Finish
Menzerna 85rd
IPA 30%
Menzerna Powerlock
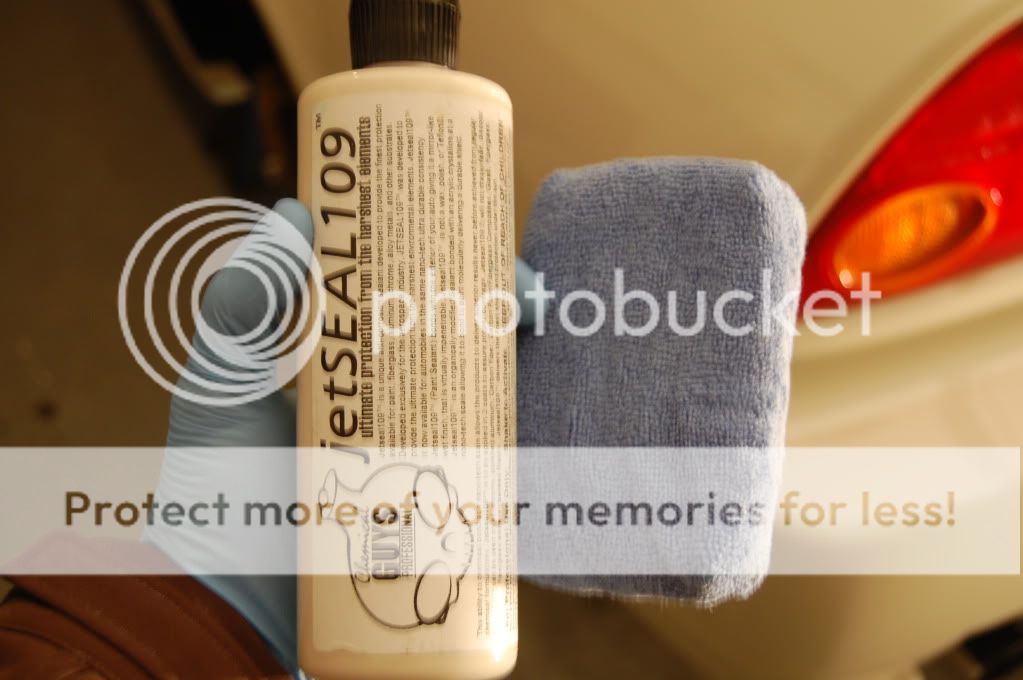
CG JetSeal 109
Tools:
3 Wool wash mitts
SV brushes- wheel, Pneu
Uber Spoke wheel brush
0000 steel whool
Ridgid shopvac
PC air compressor
3000 grit paper
Megs sanding block
Flex DA
PC DA
Various backing plates
Surbuf R series MF pads
Uber Green foam
Uber Orange foam
Uber yellow foam
Lake Country White foam
LC 3 in. yellow foam
LC 3 in. orange foam
Total time- 27 hours over 3 days
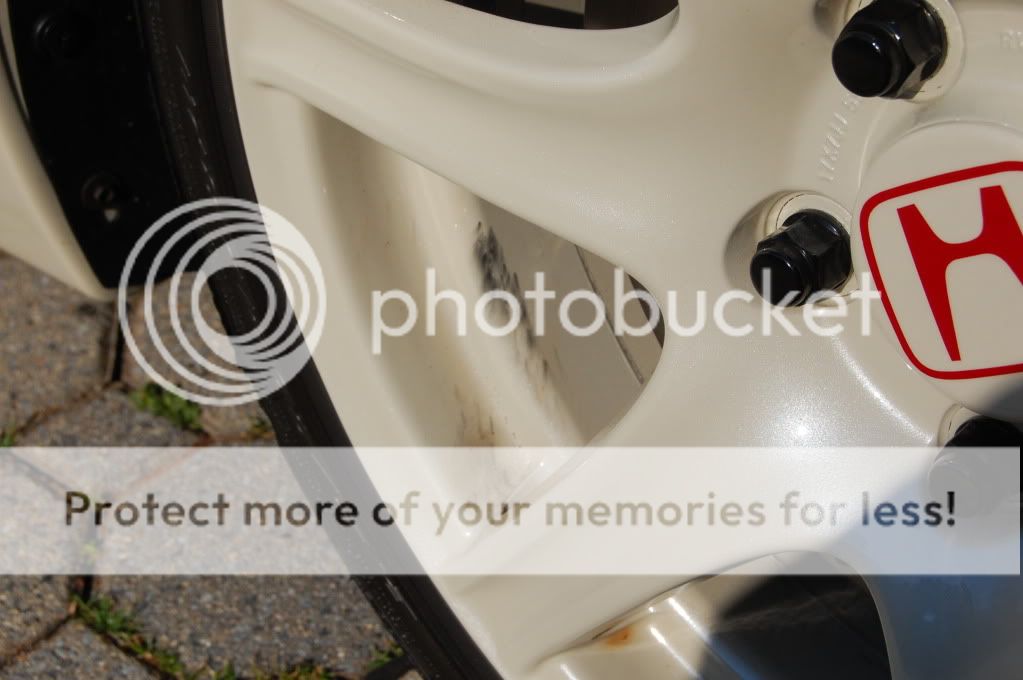
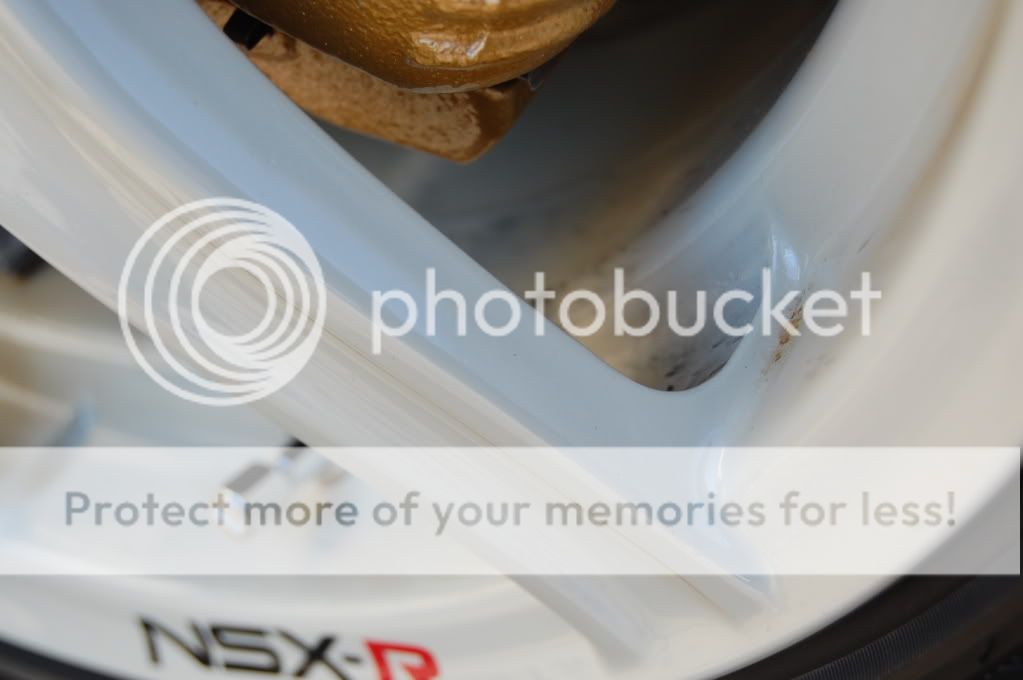
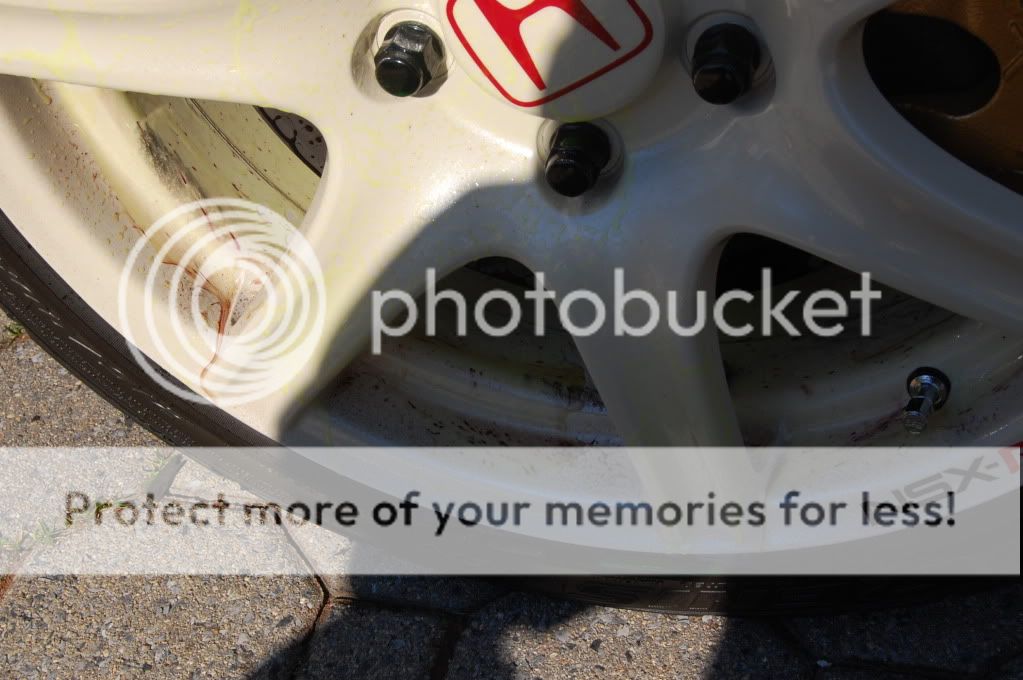
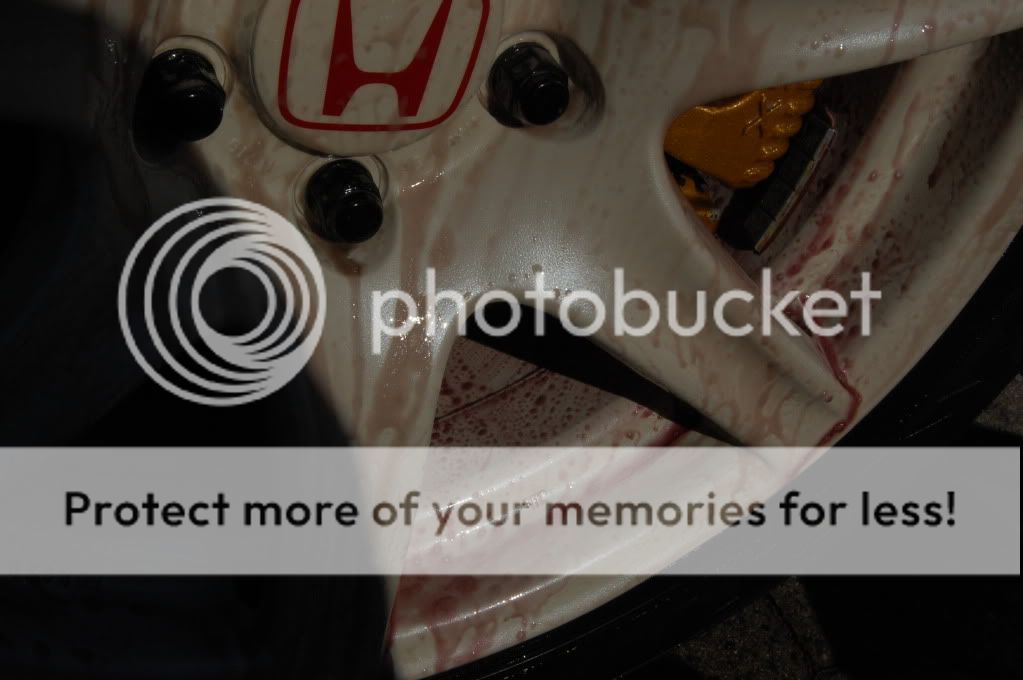
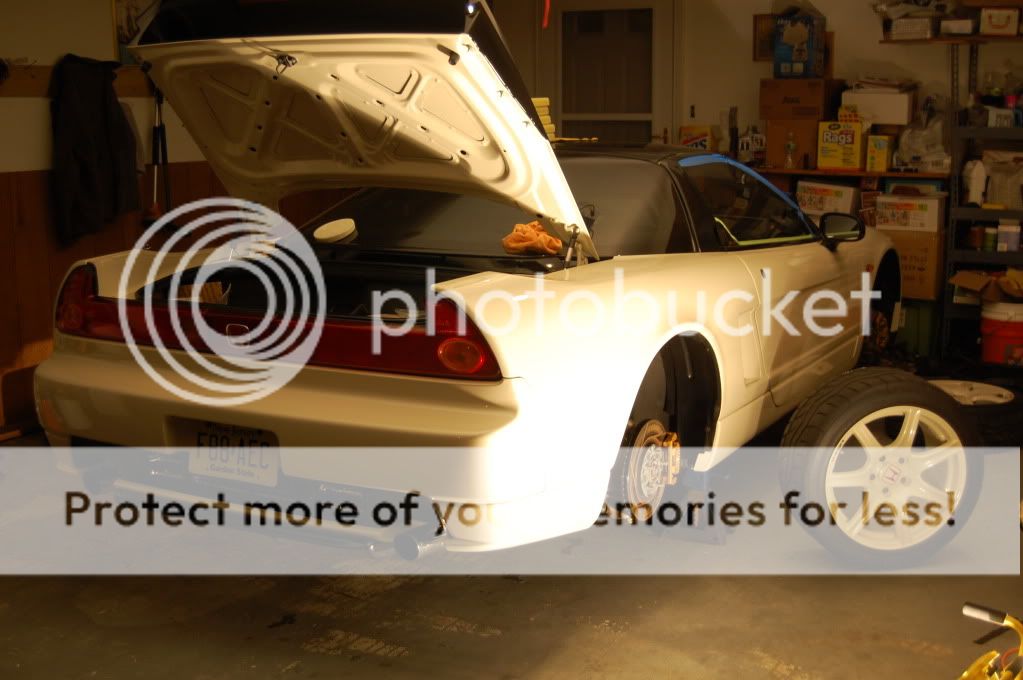
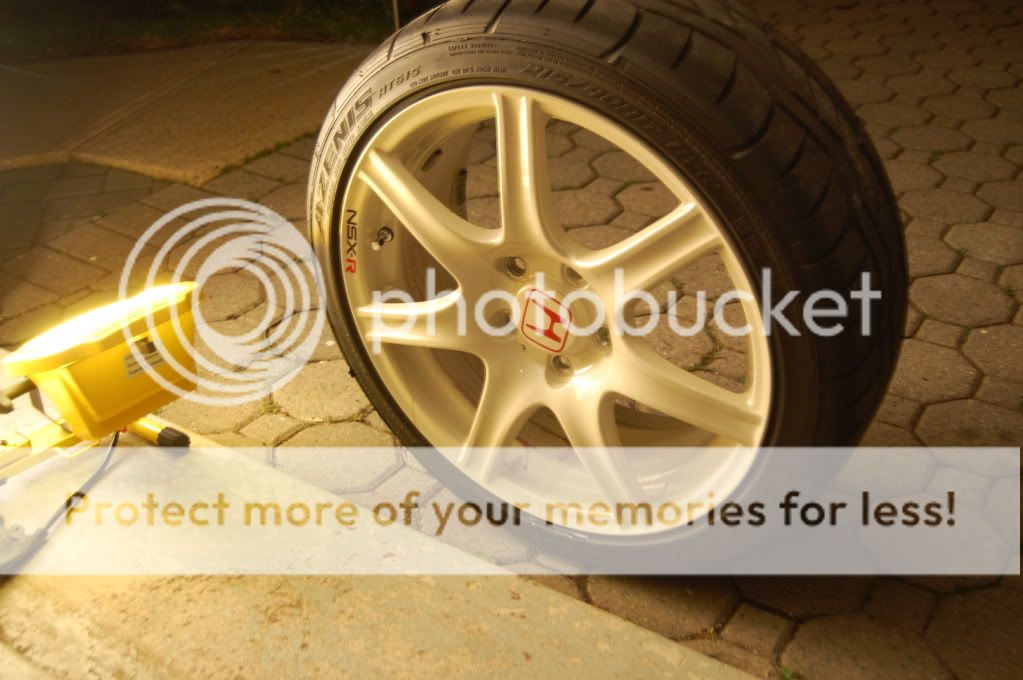
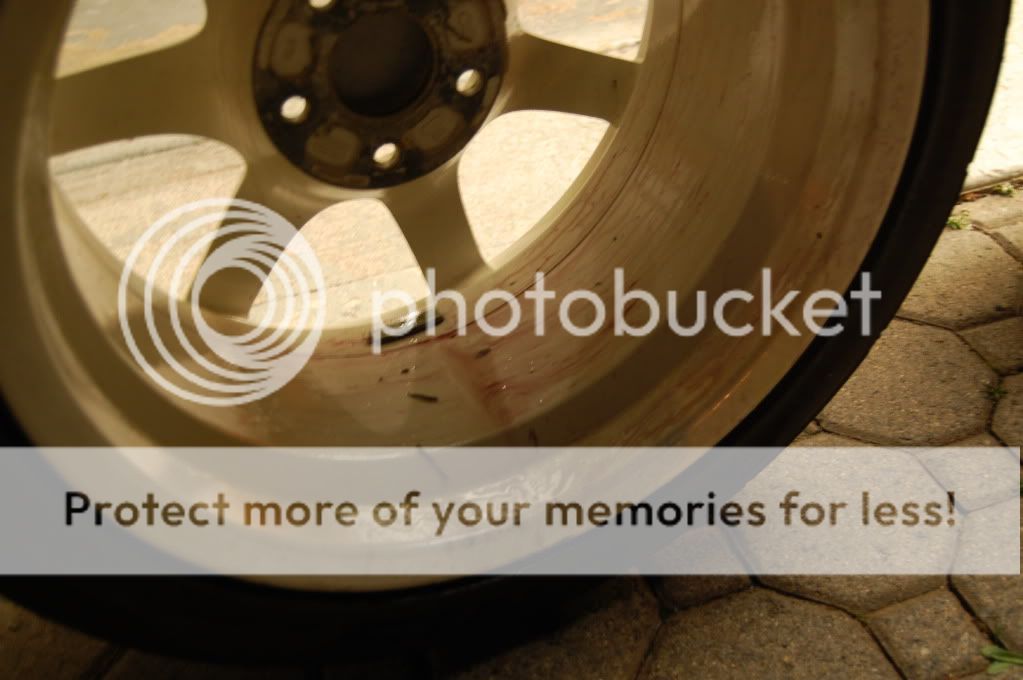
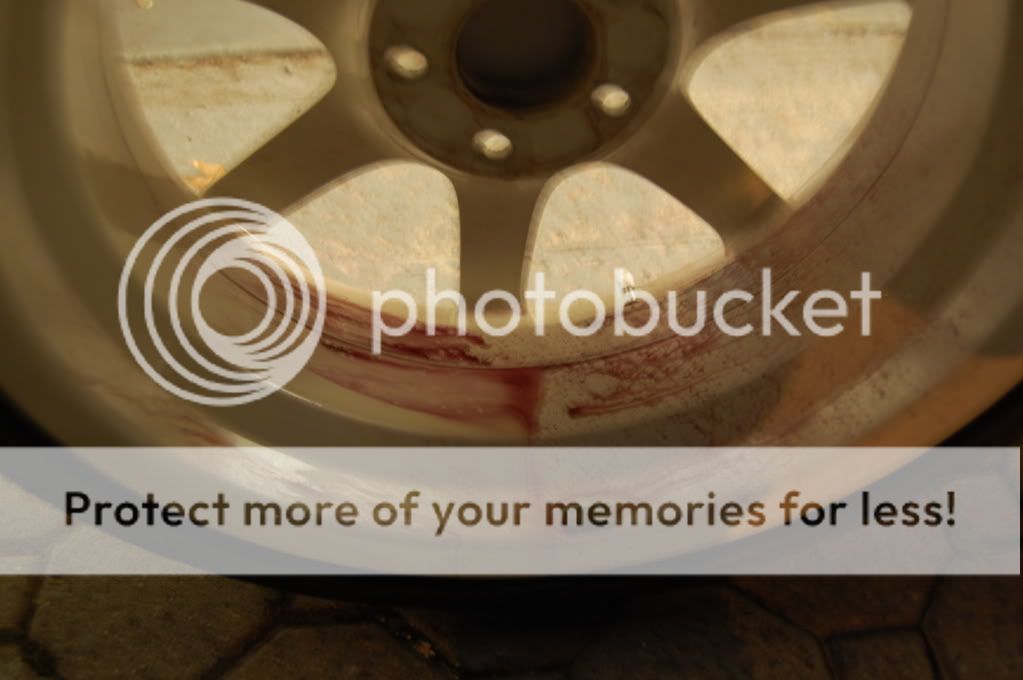
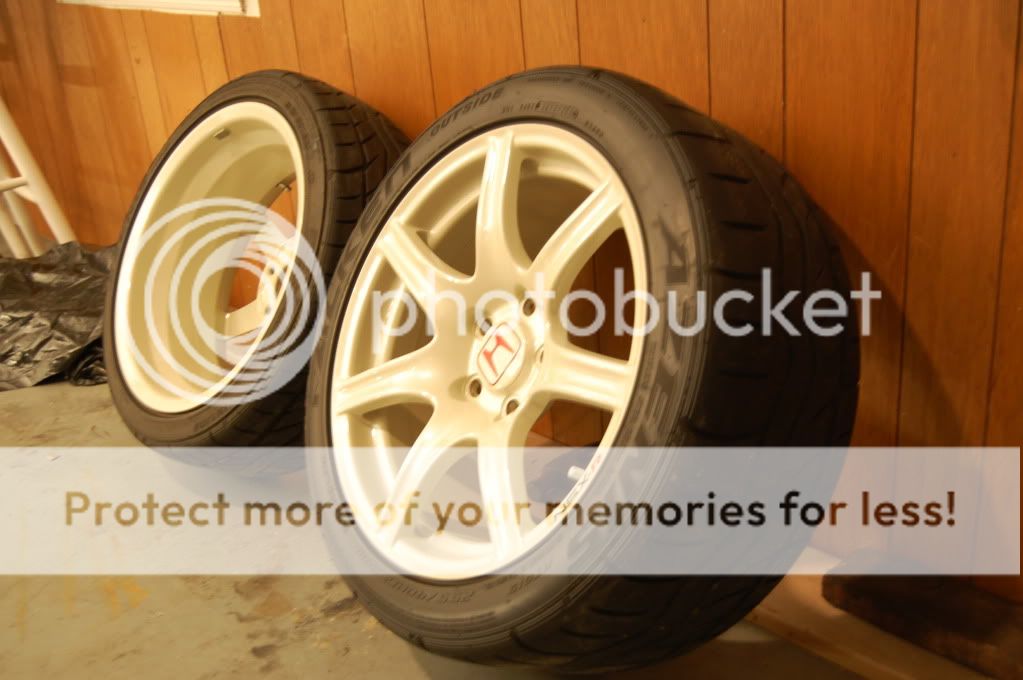
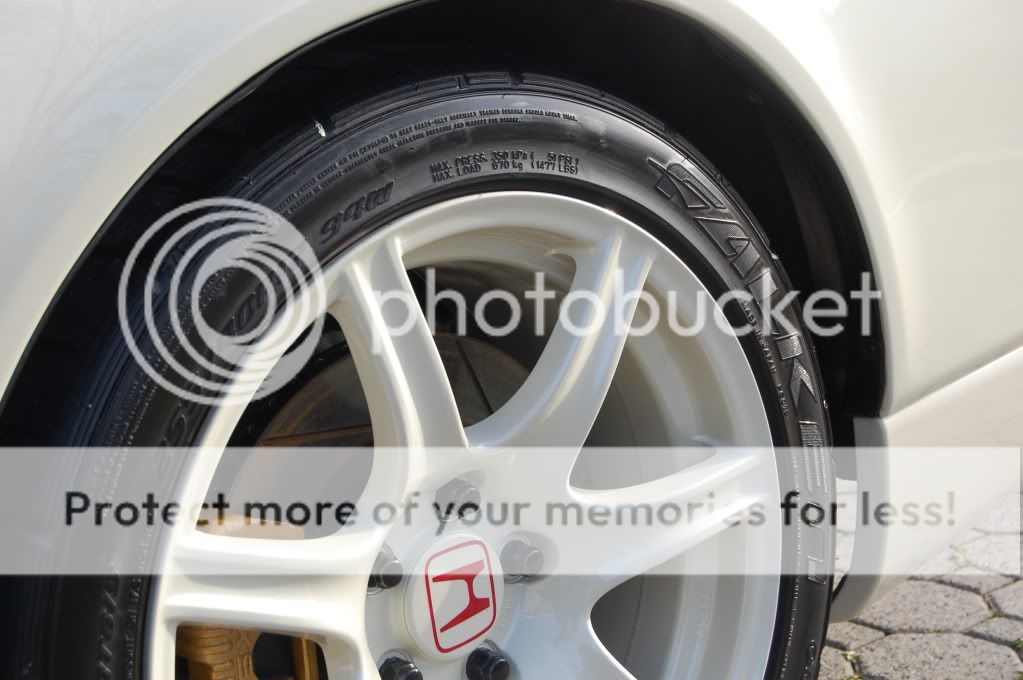
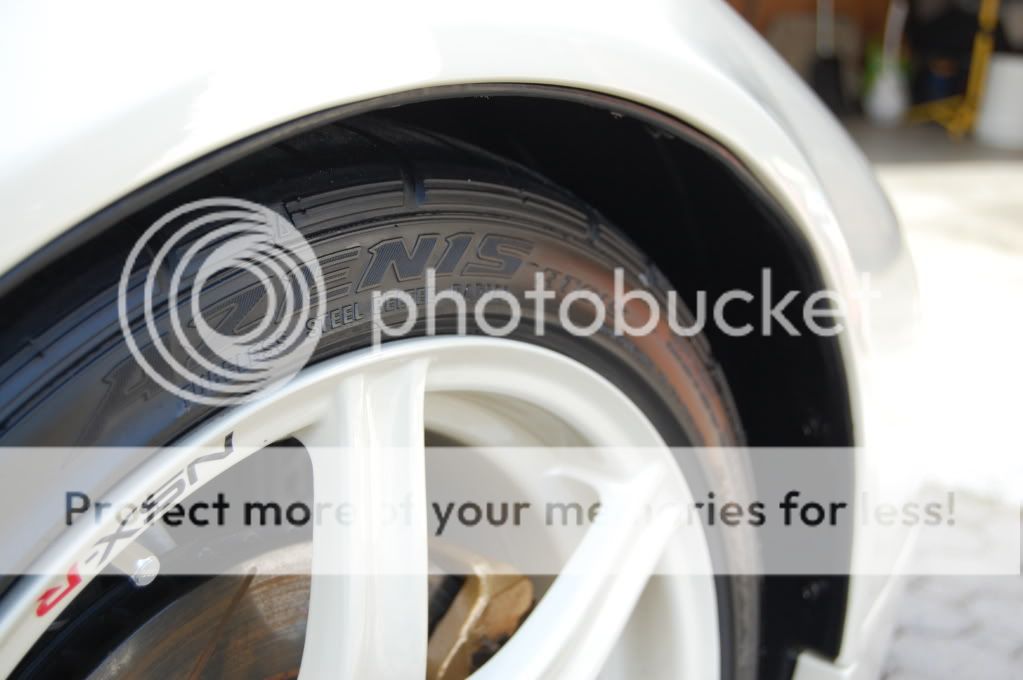
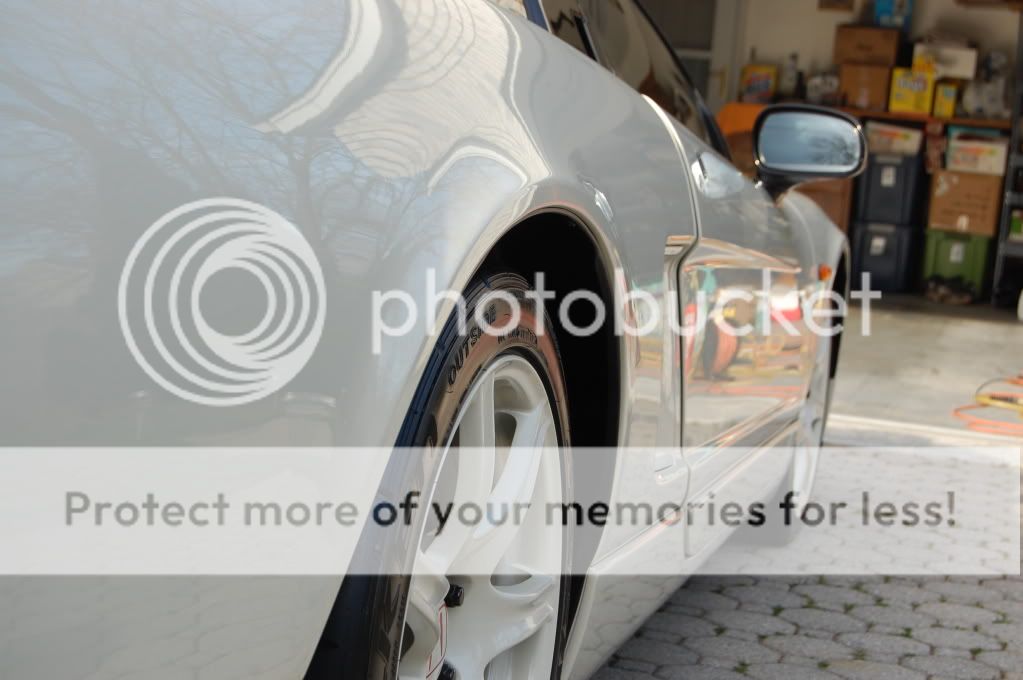
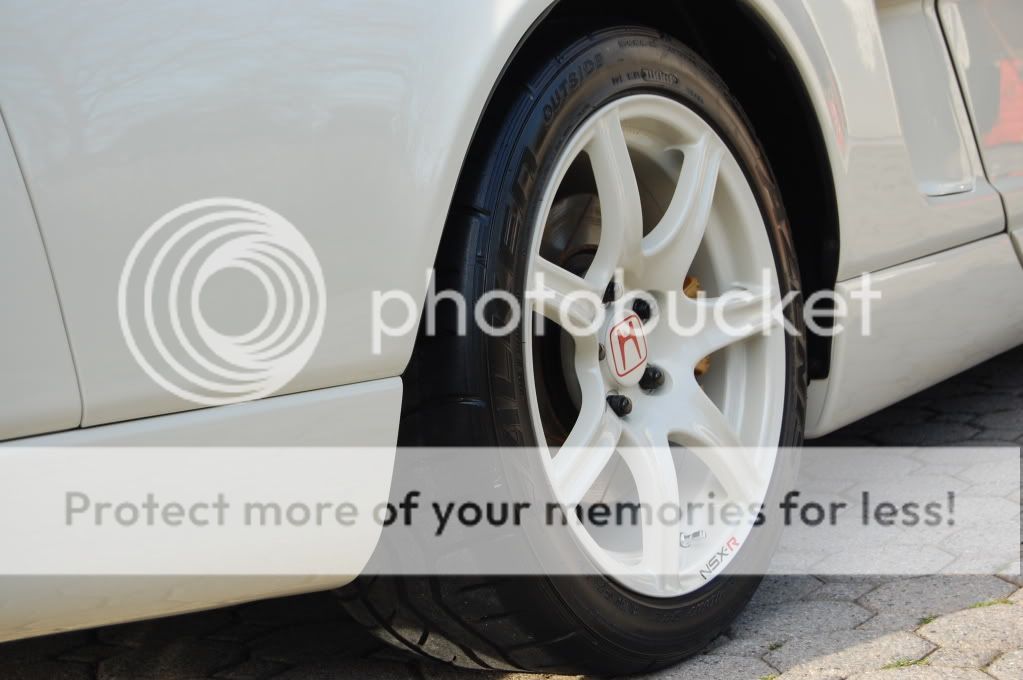
Wheels before:
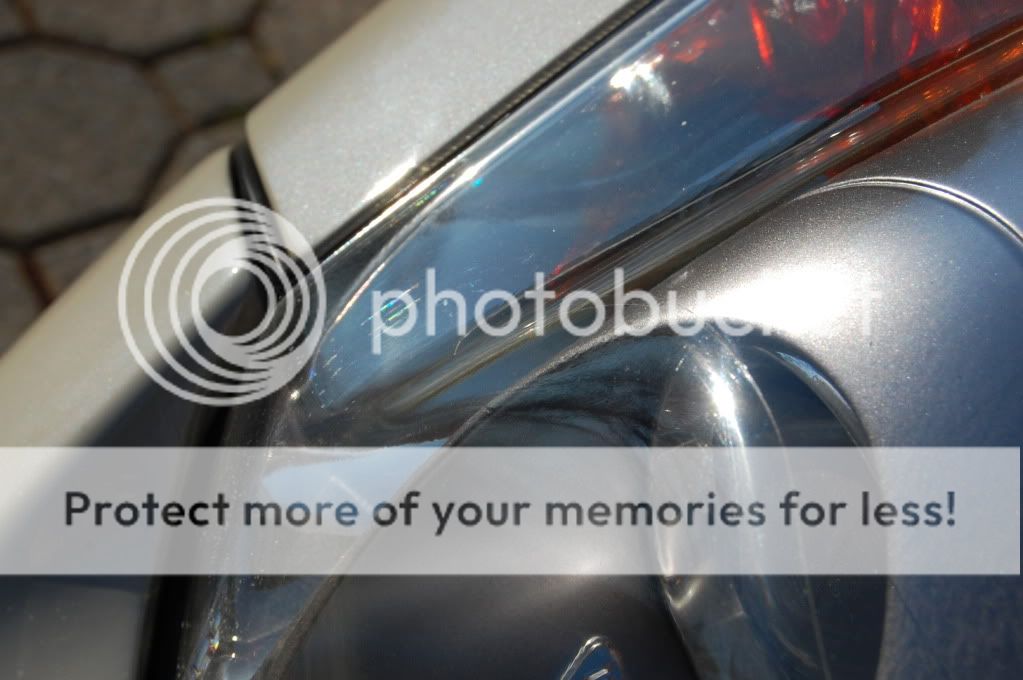
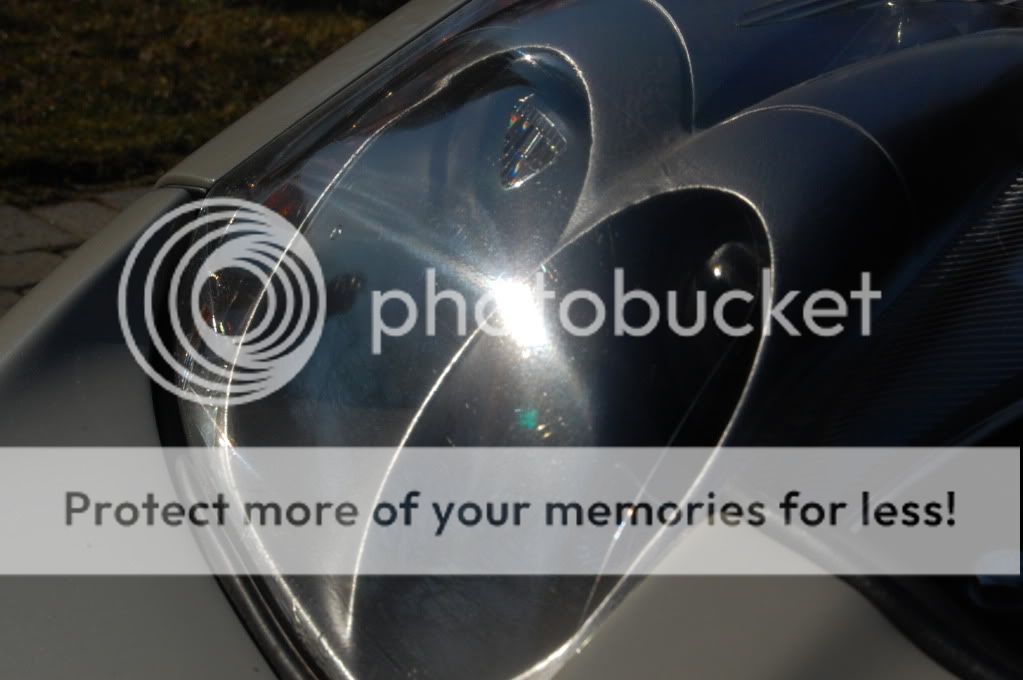
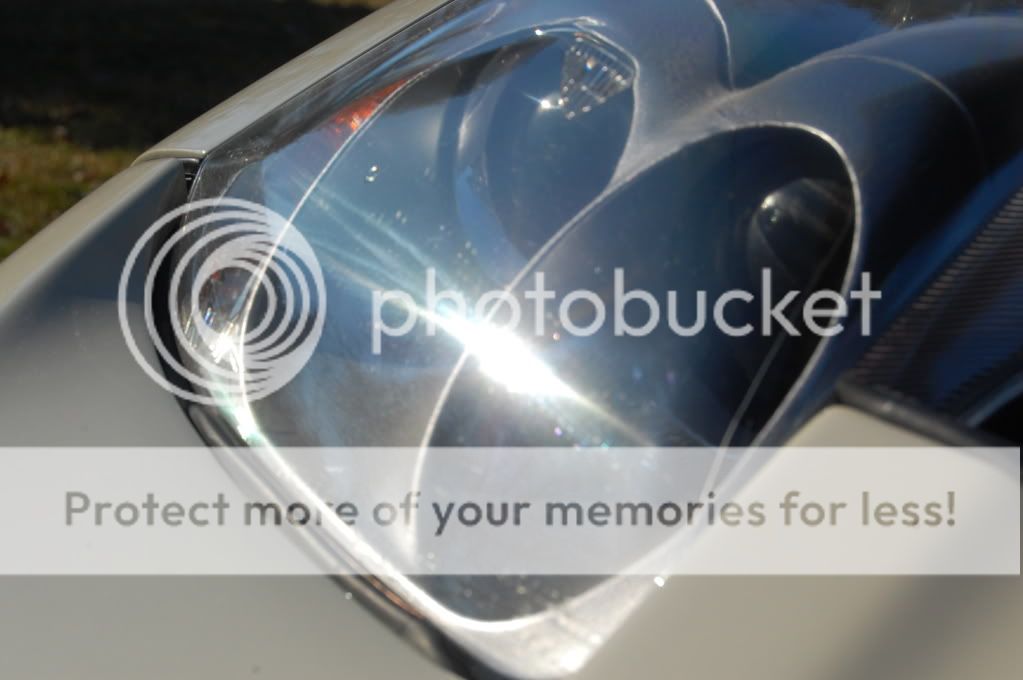
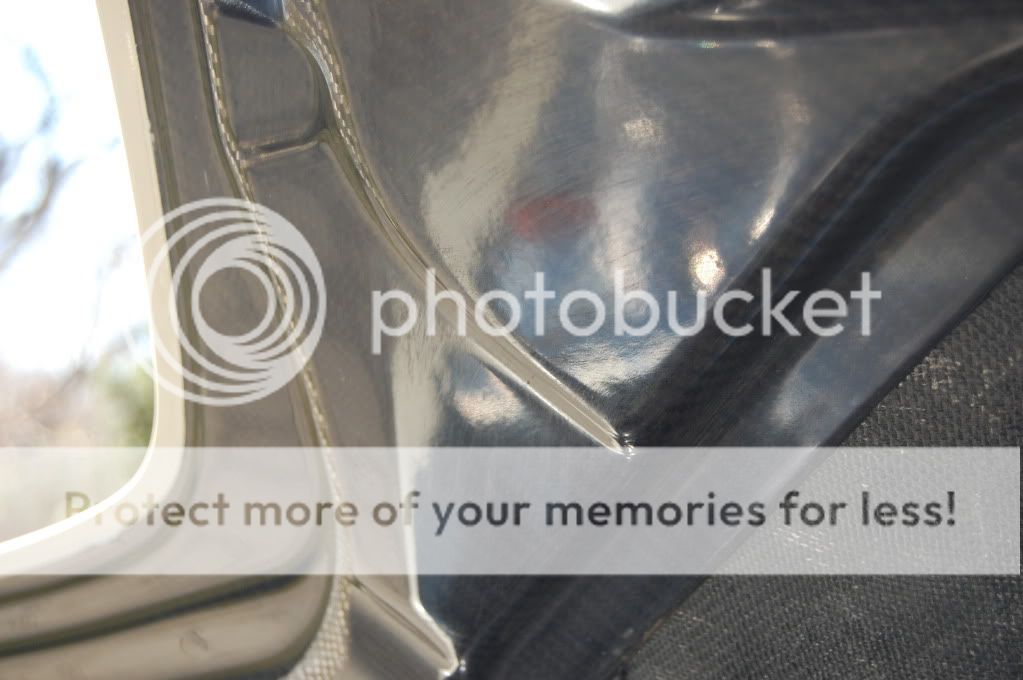
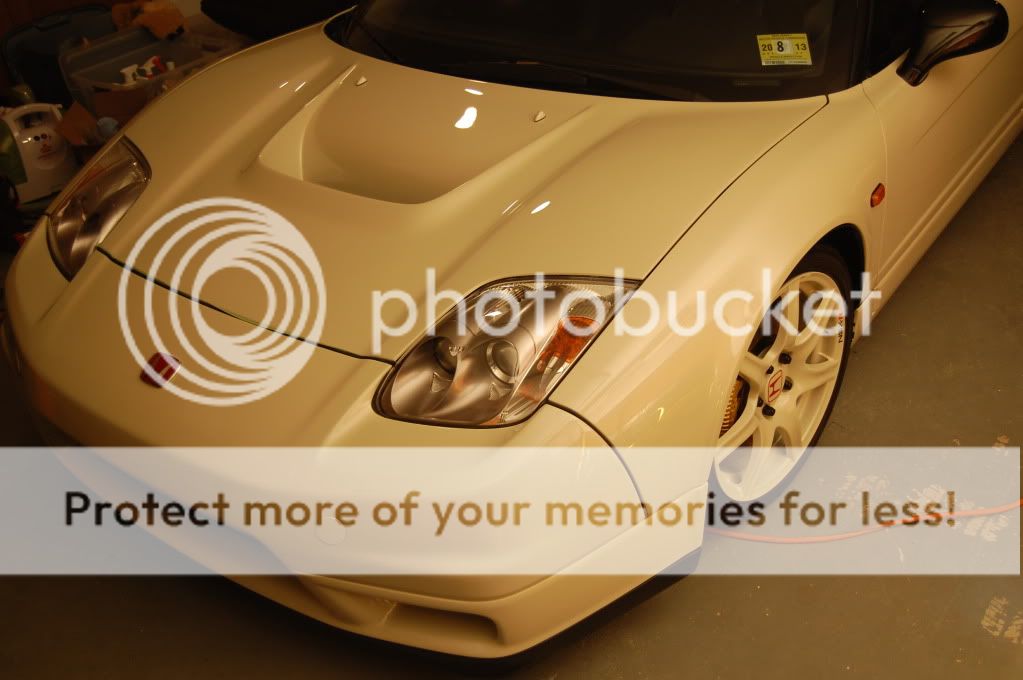
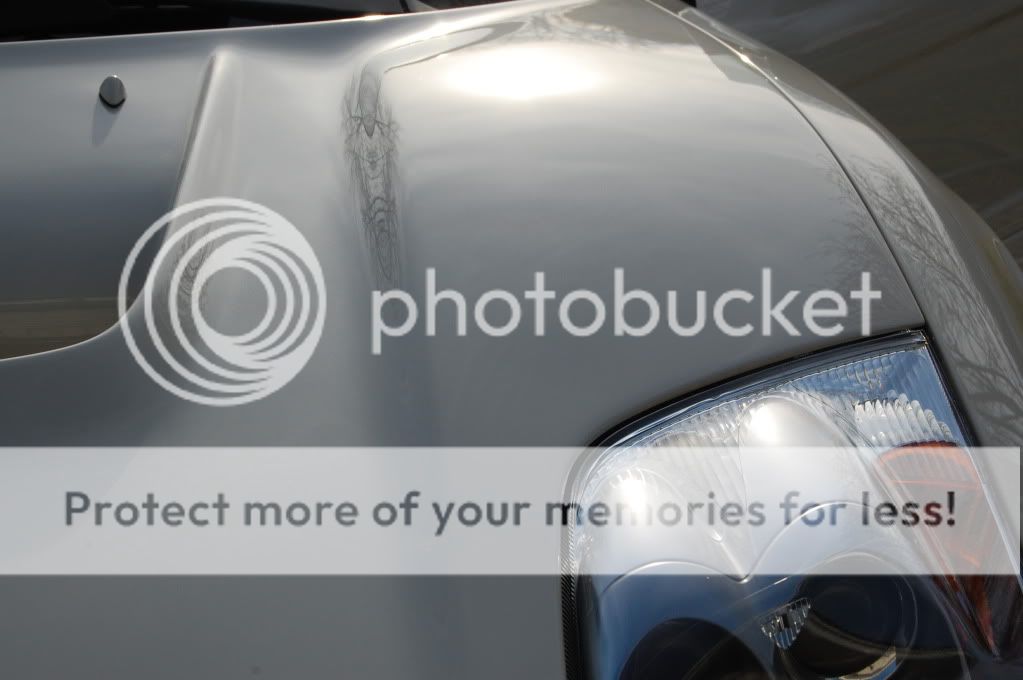
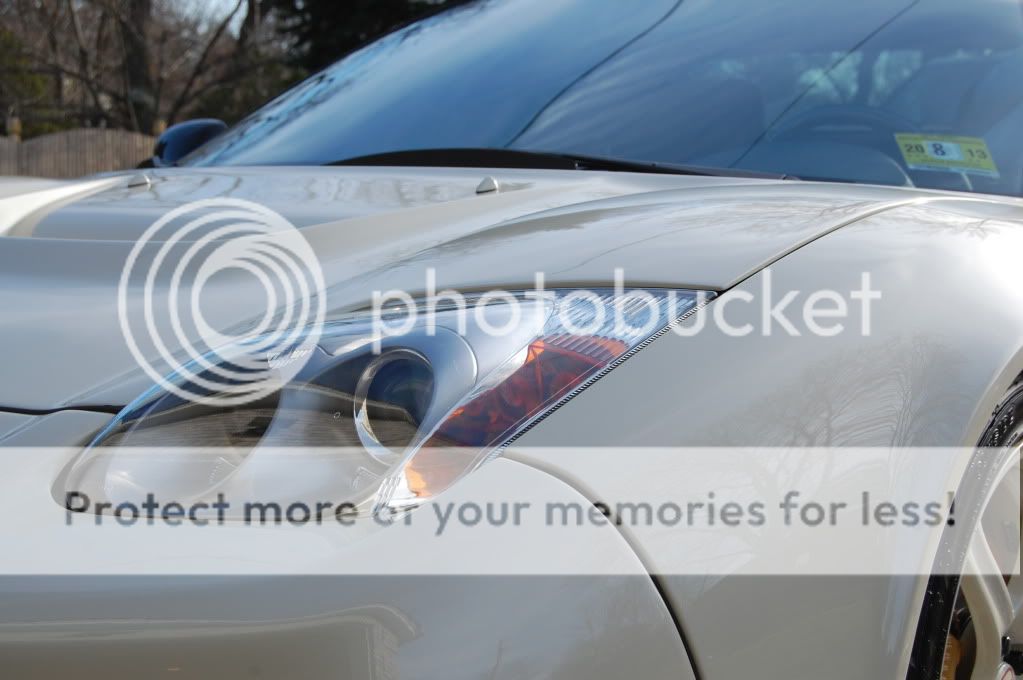
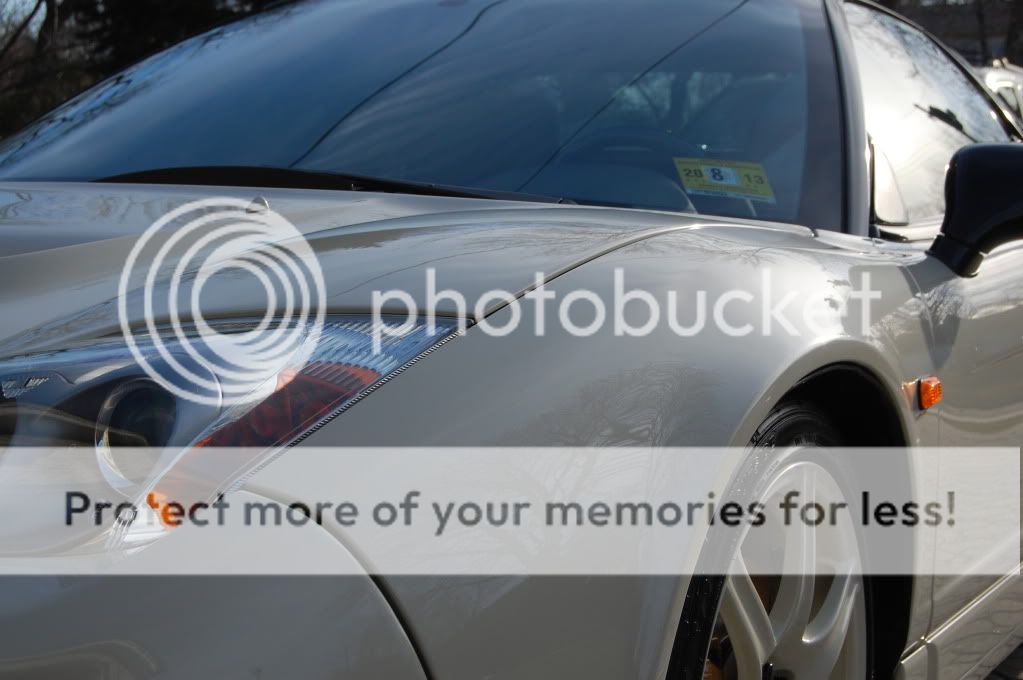
Headlight defects:
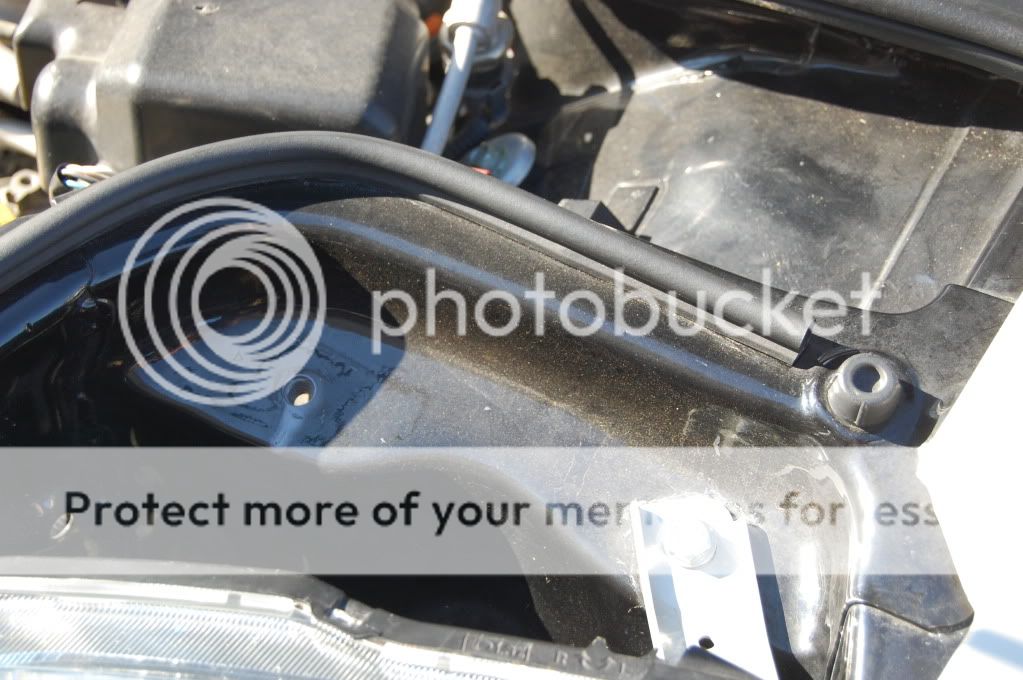
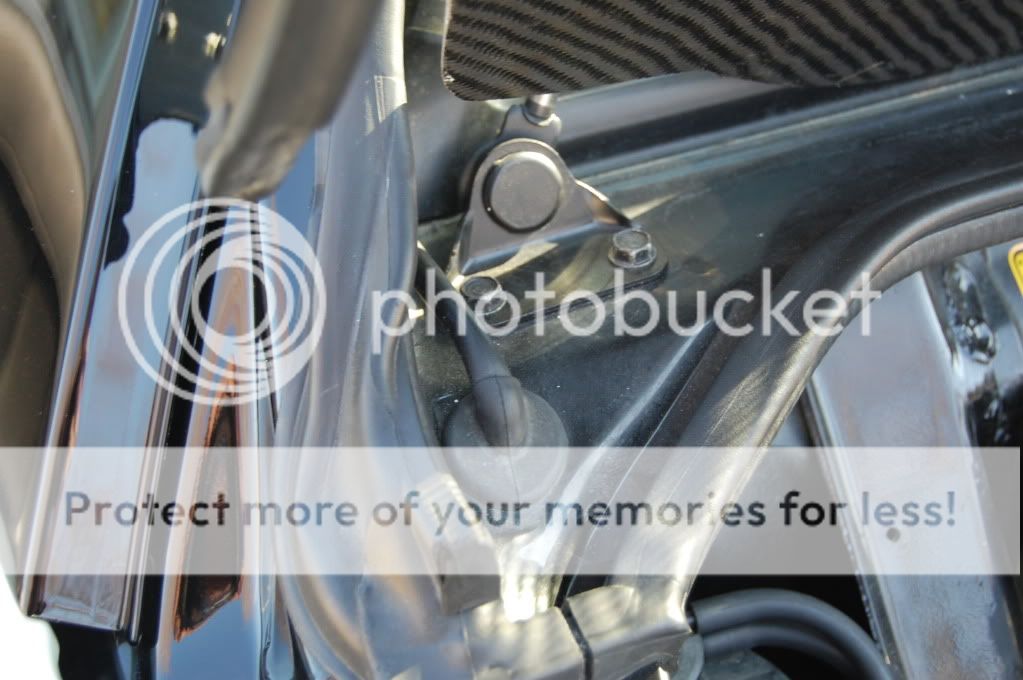
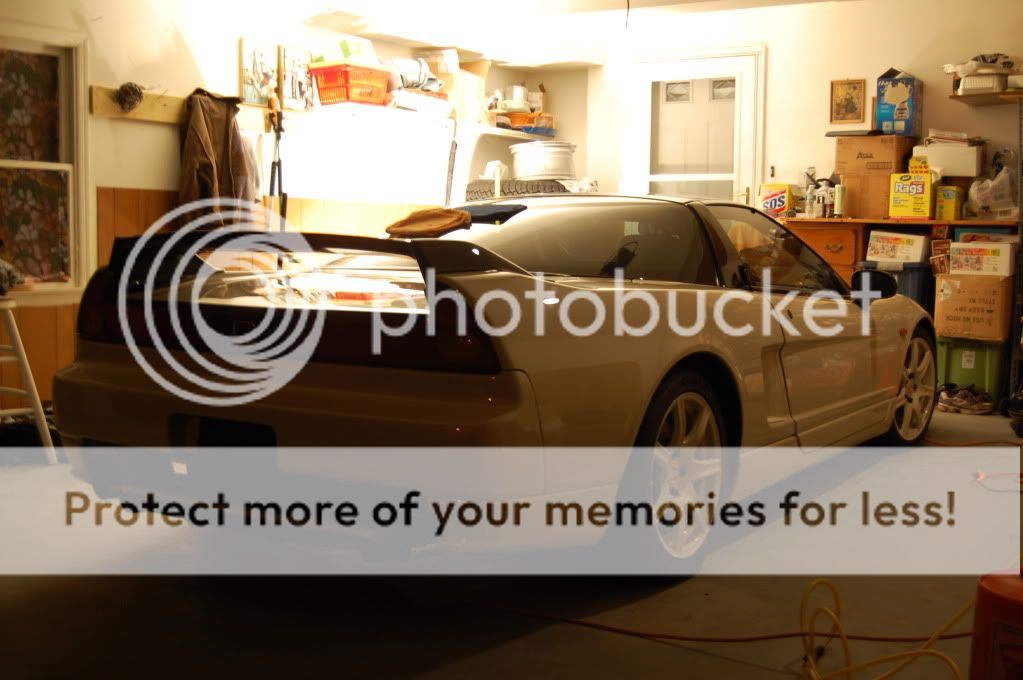
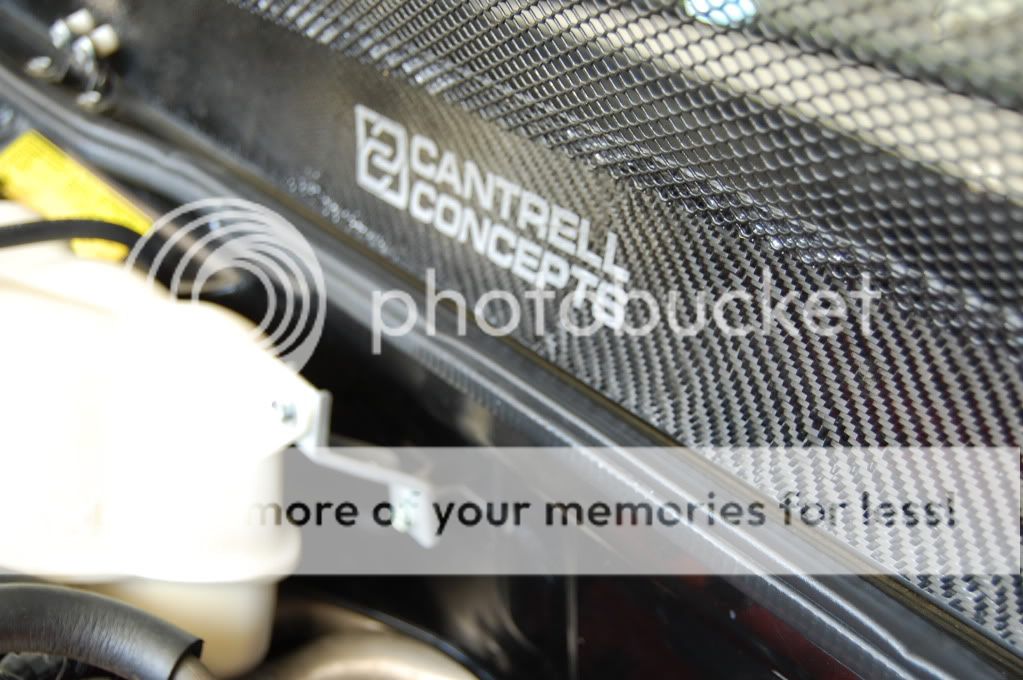
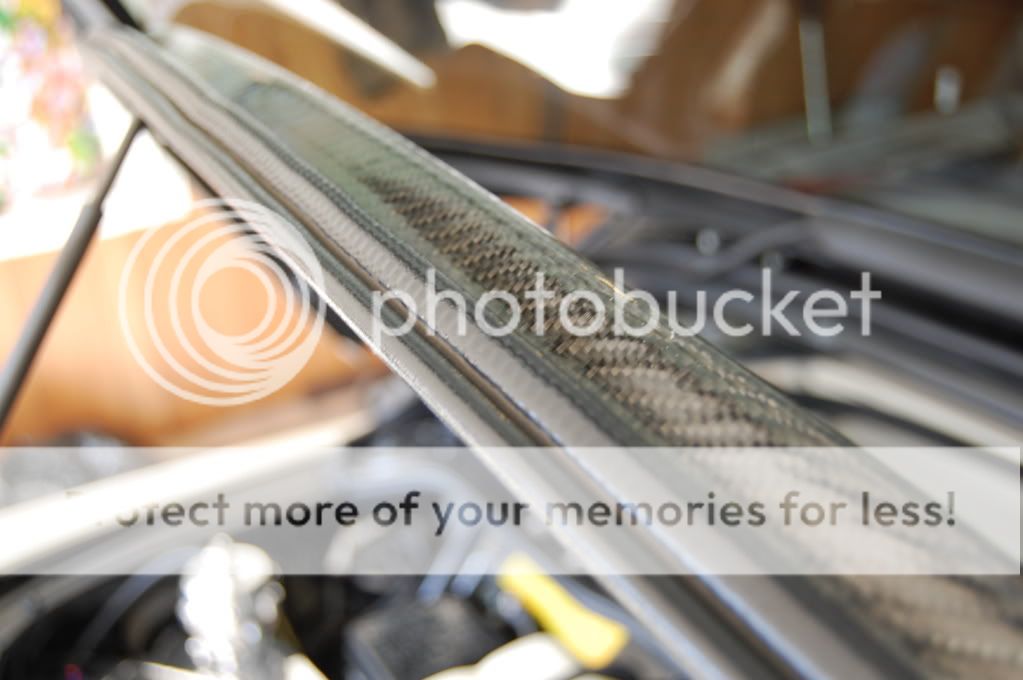
Before: Under front hood and bay:
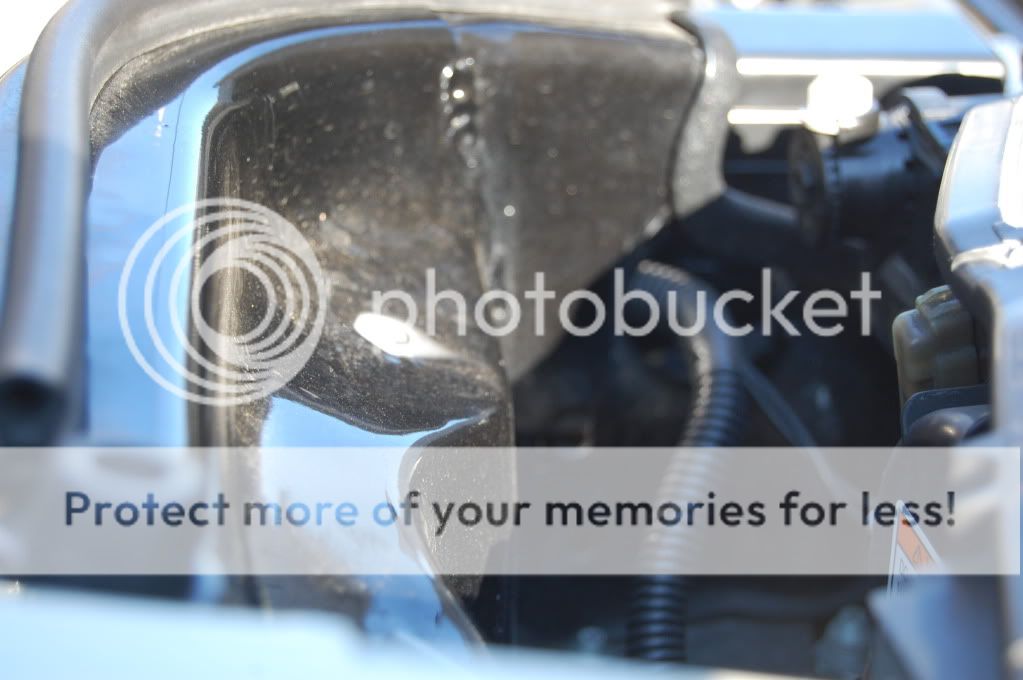
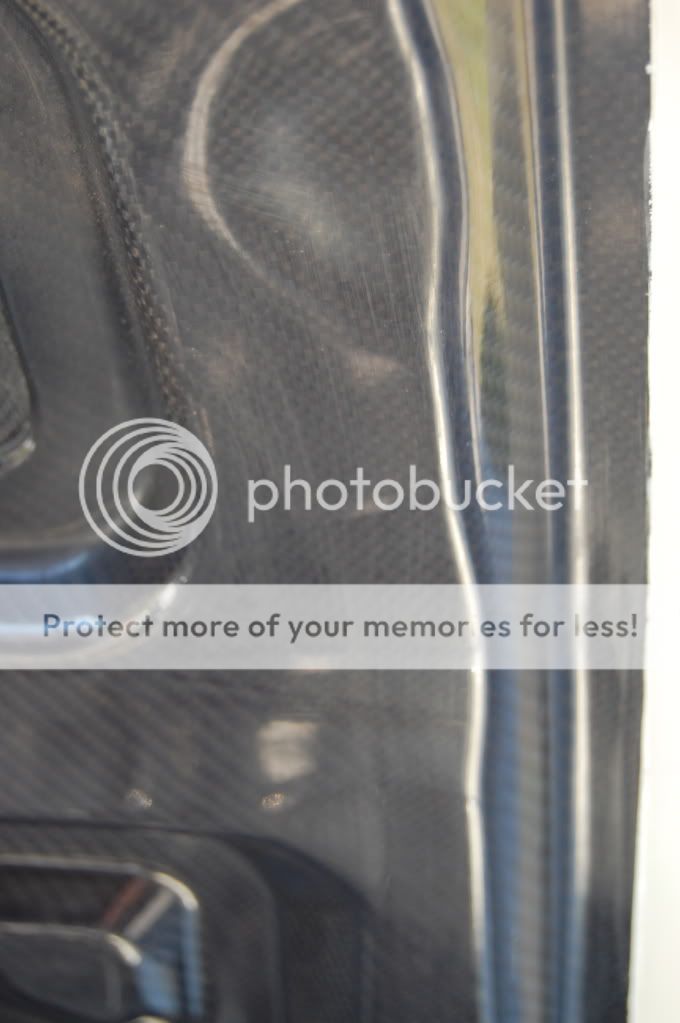
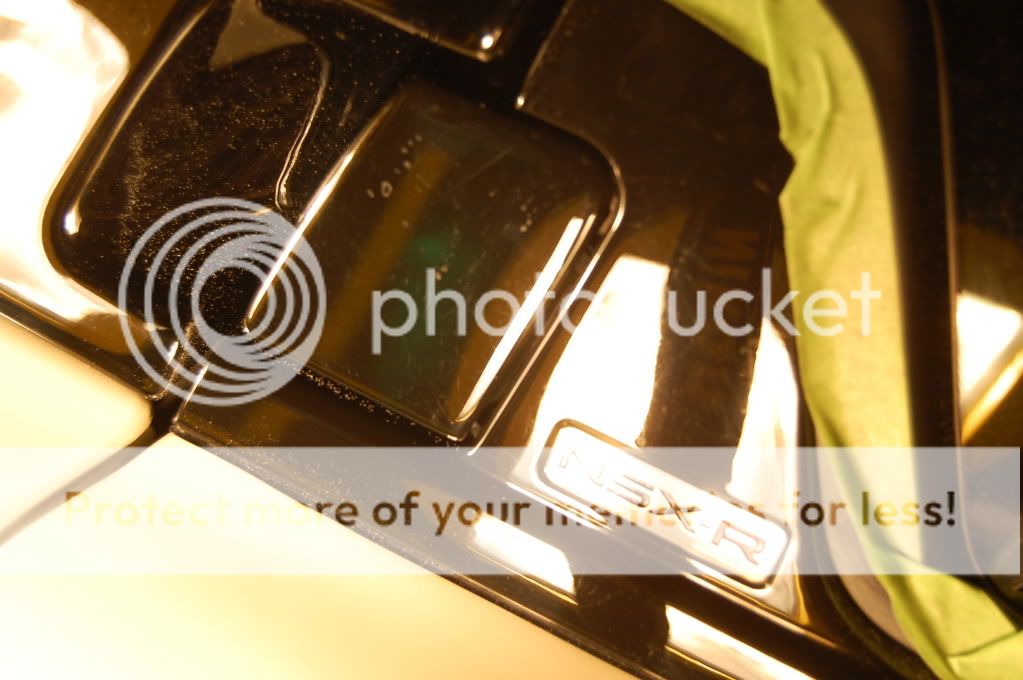
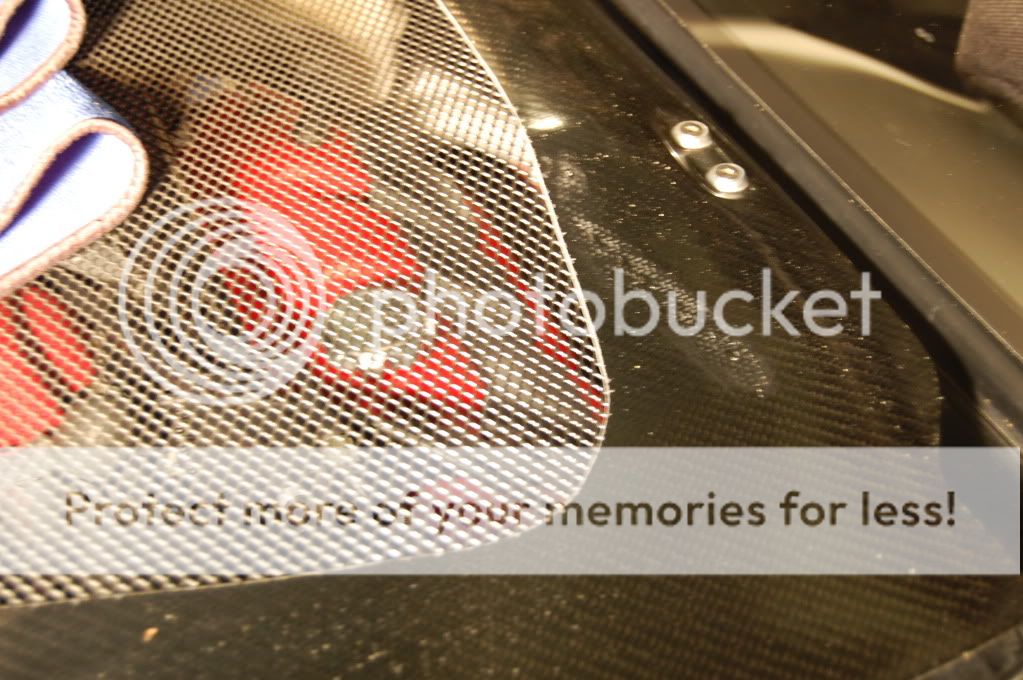
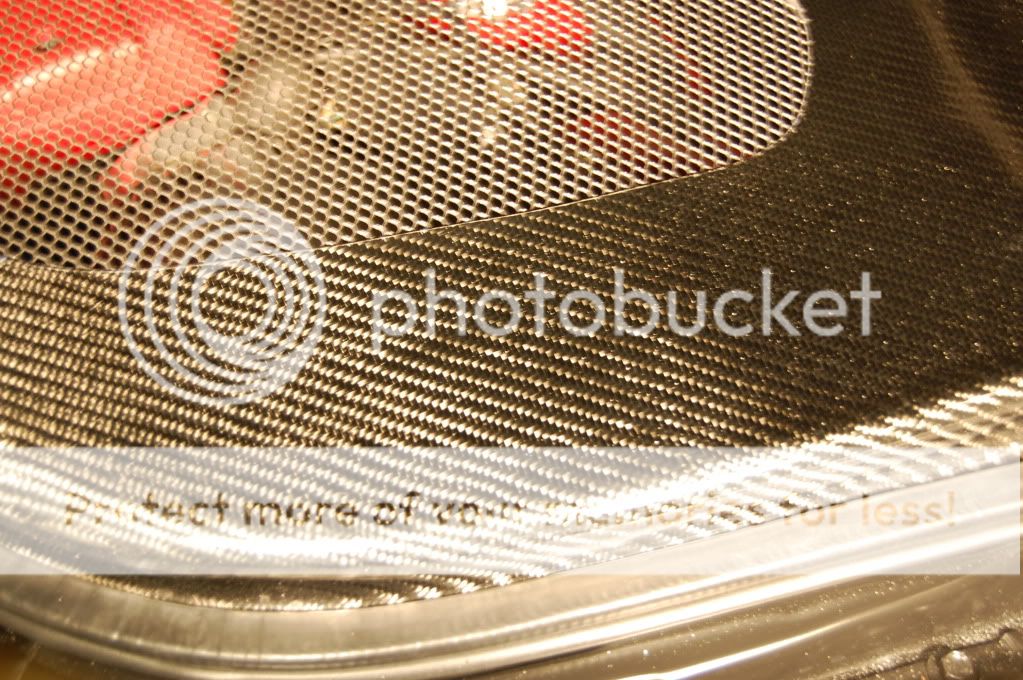
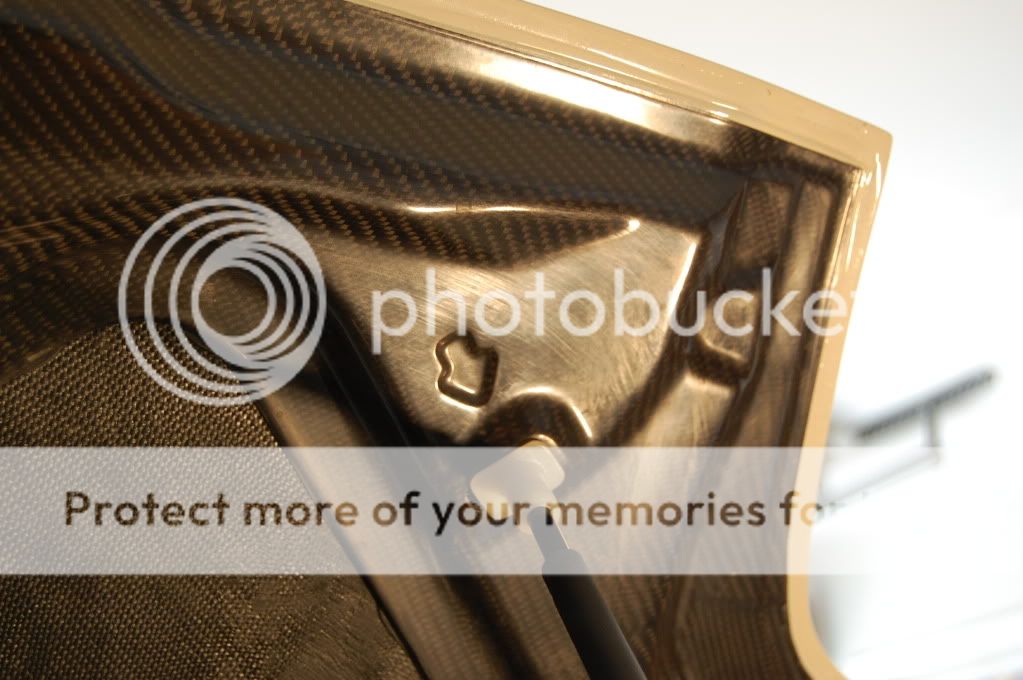
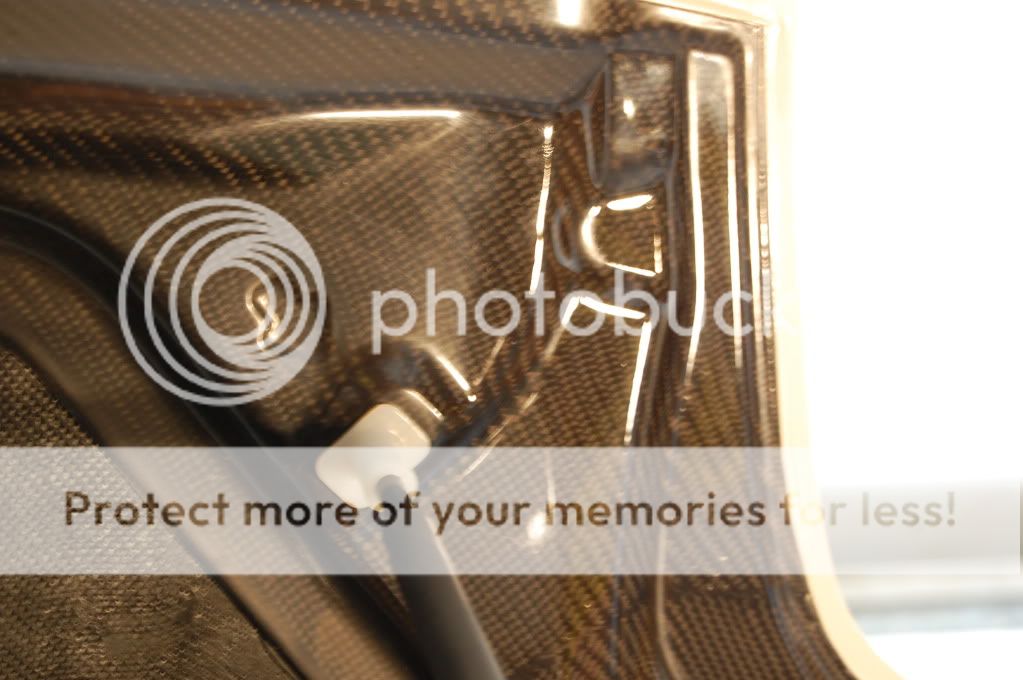
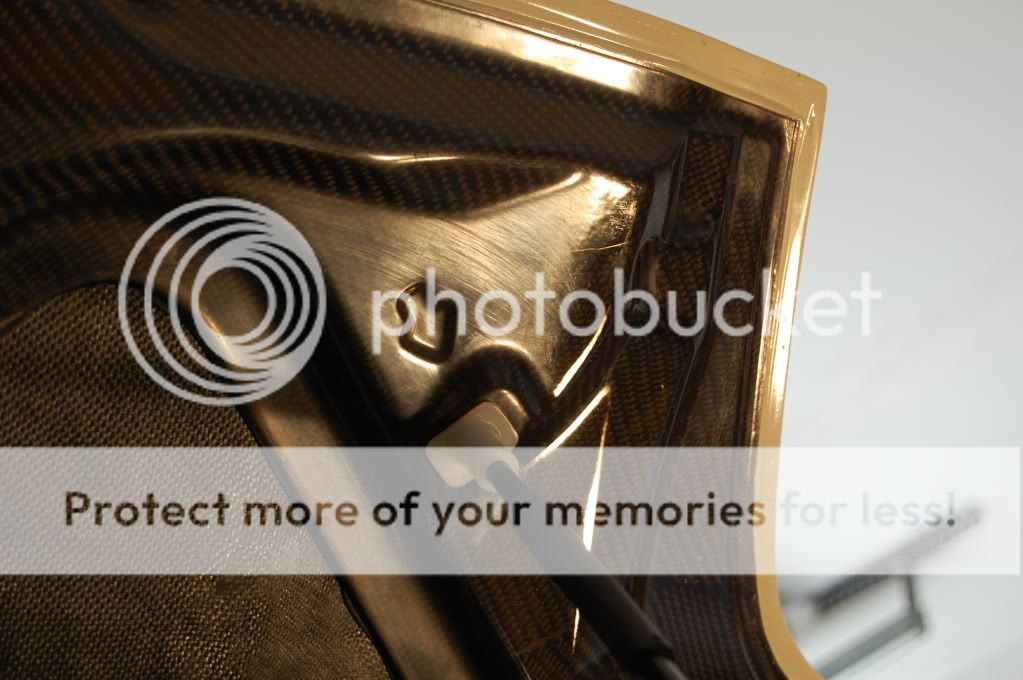
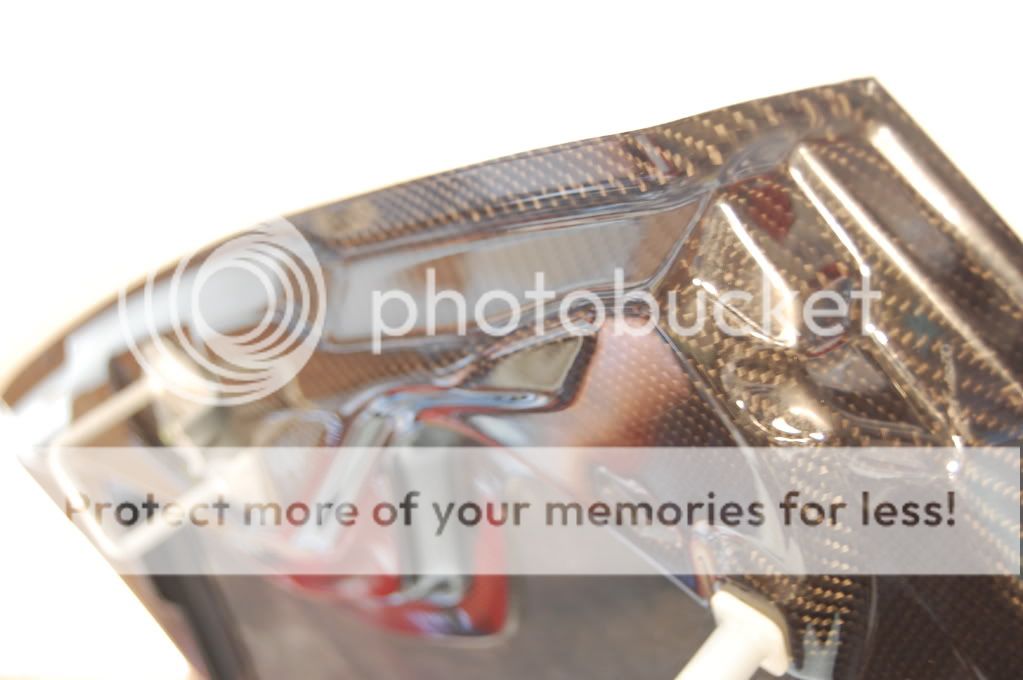
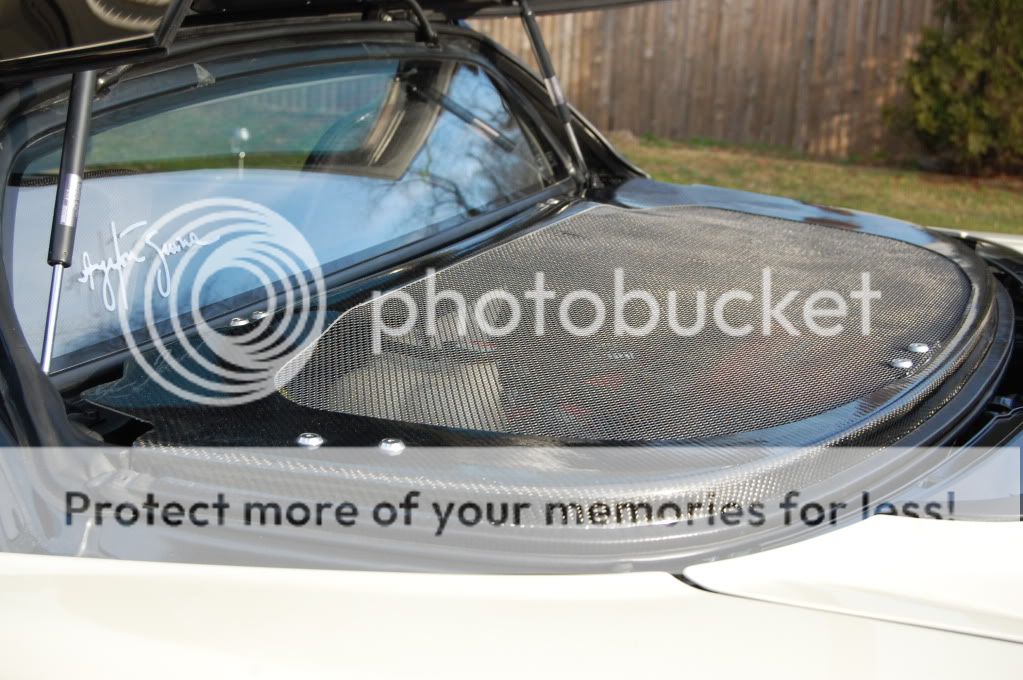
The underside of the carbon fiber hood had some nice oxidization and defects...more on that later
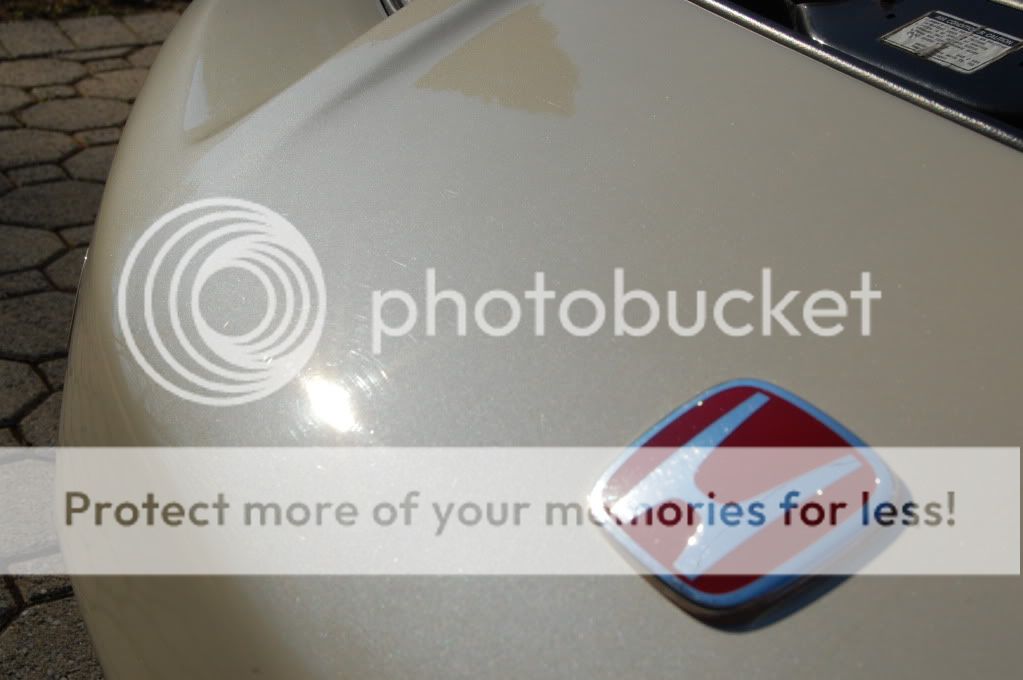
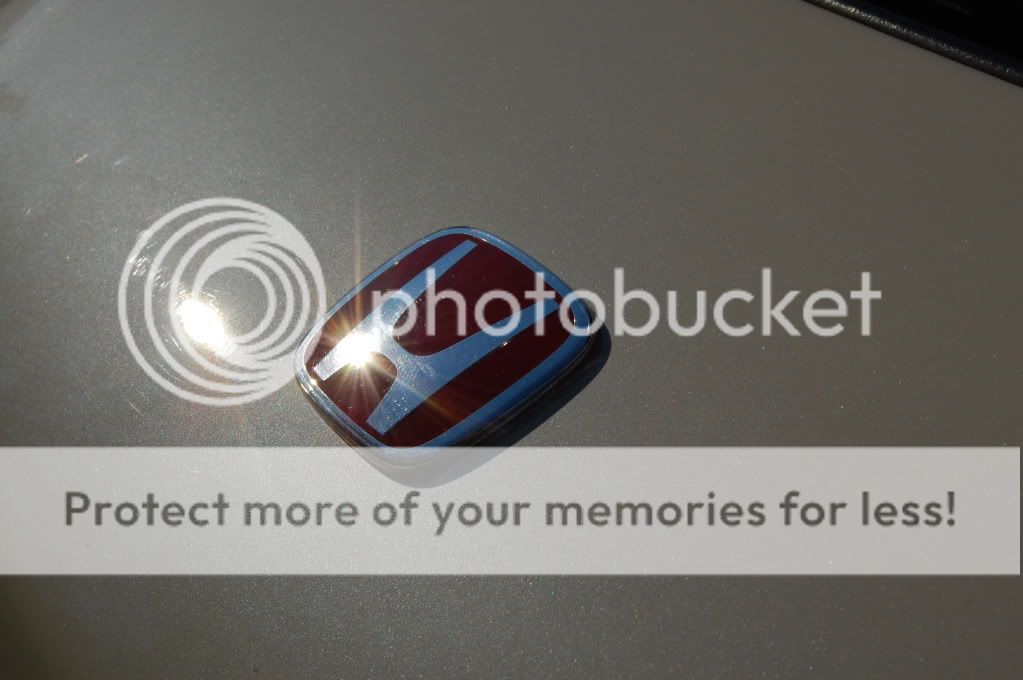
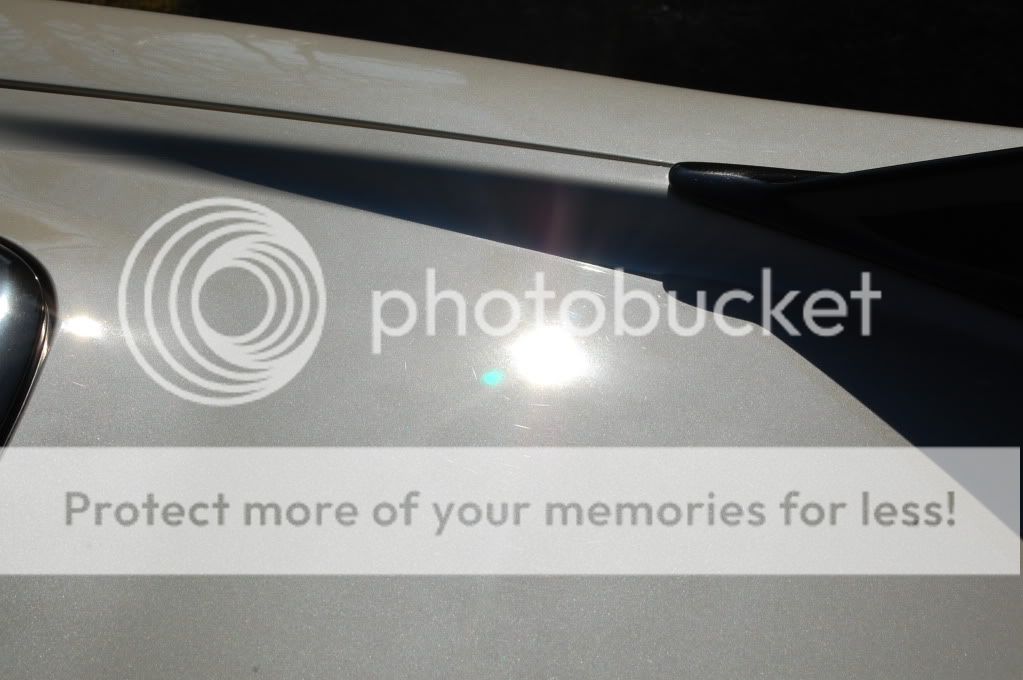
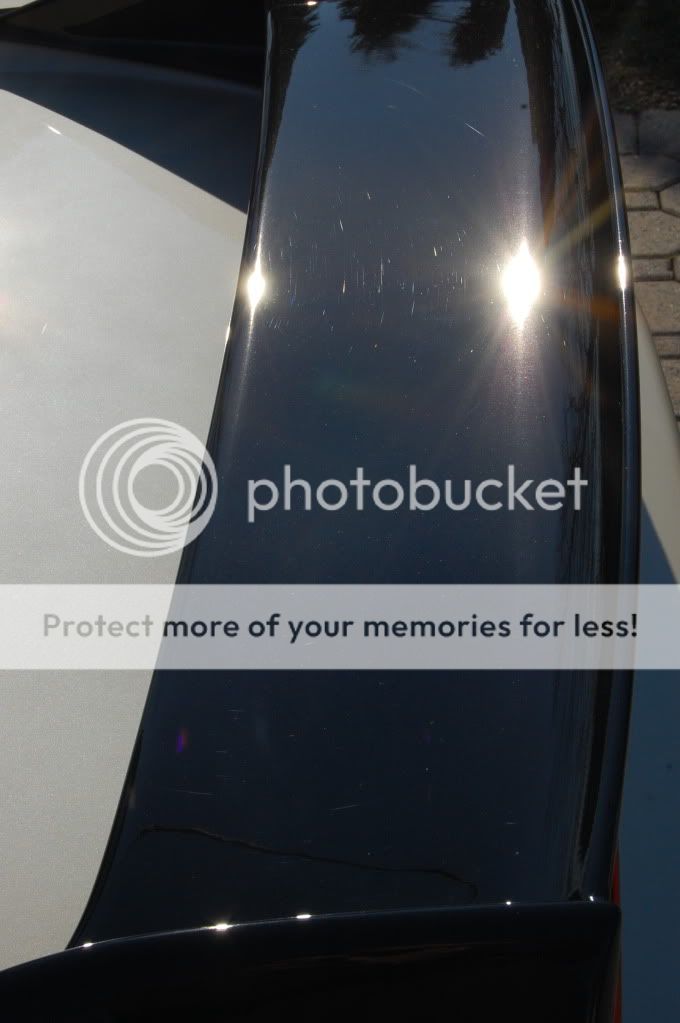
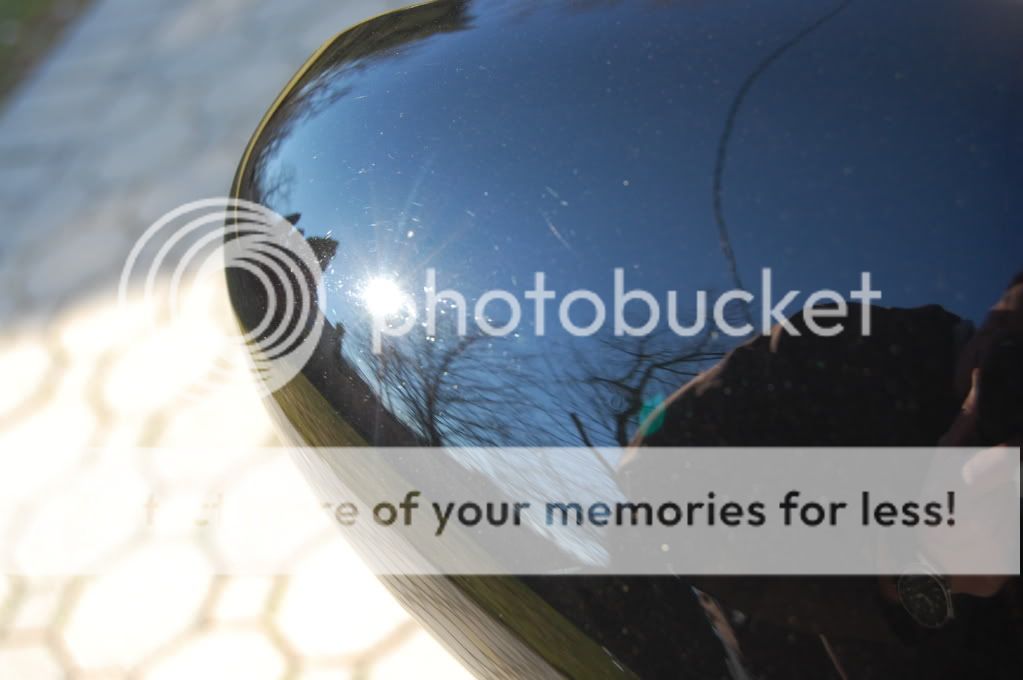
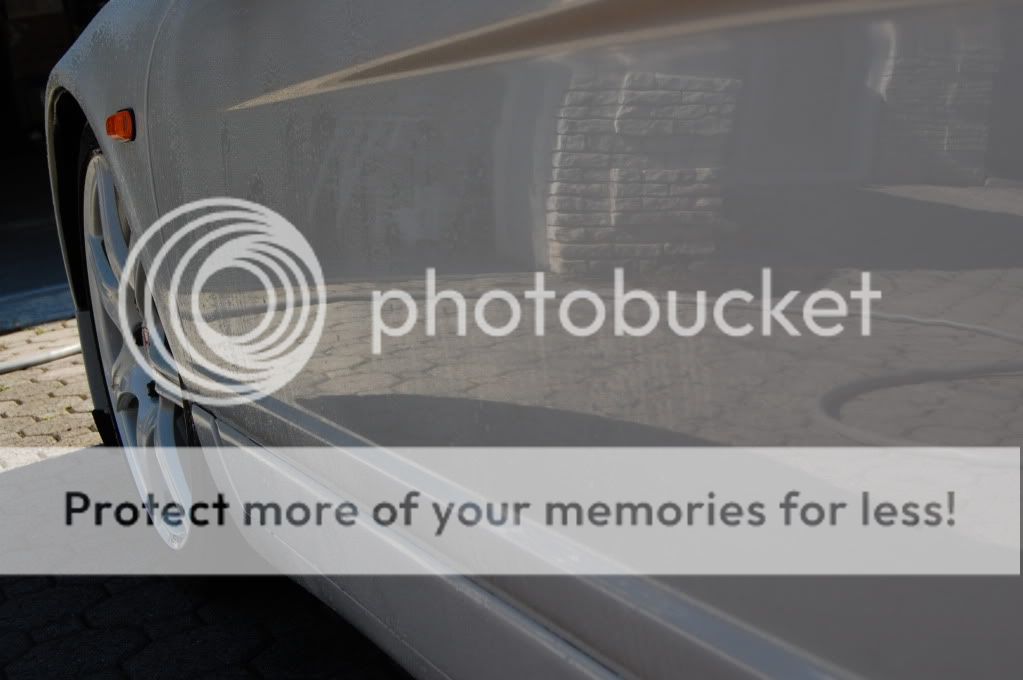
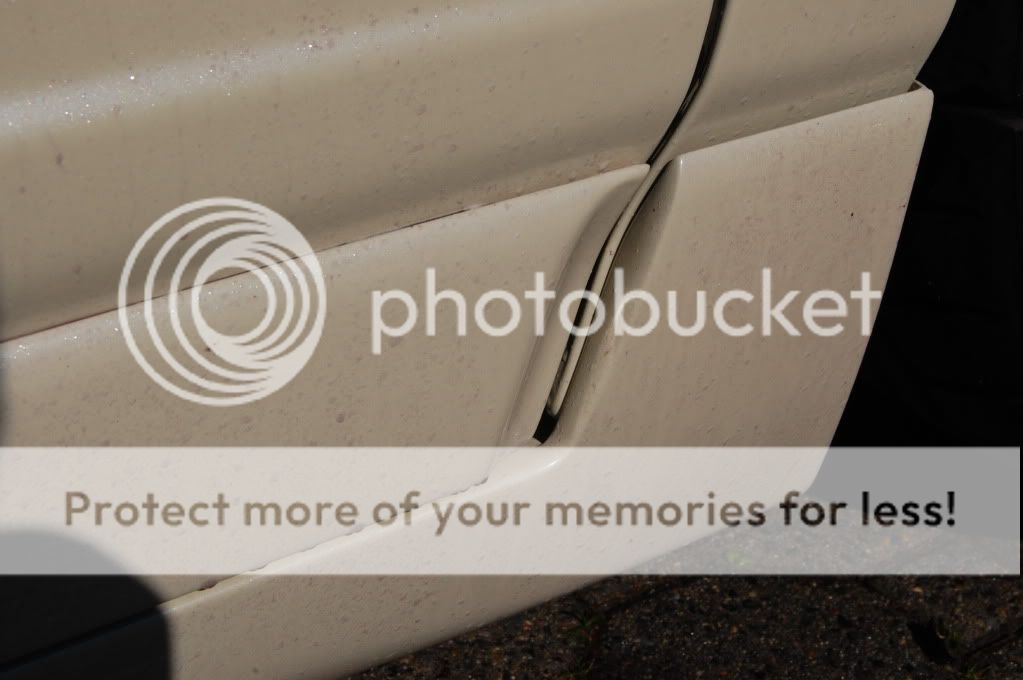
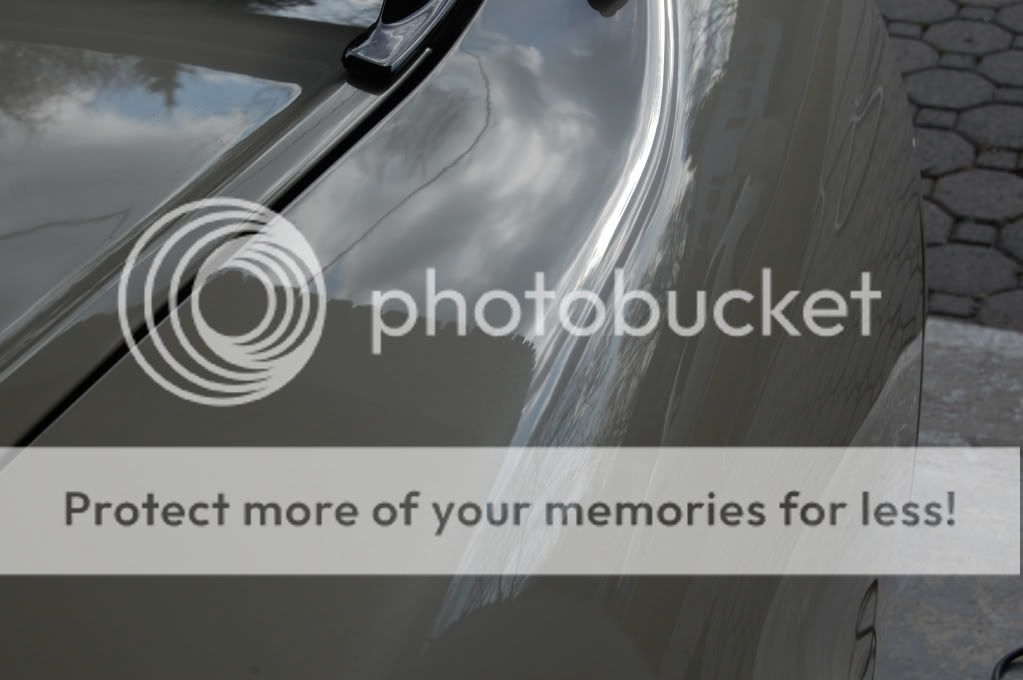
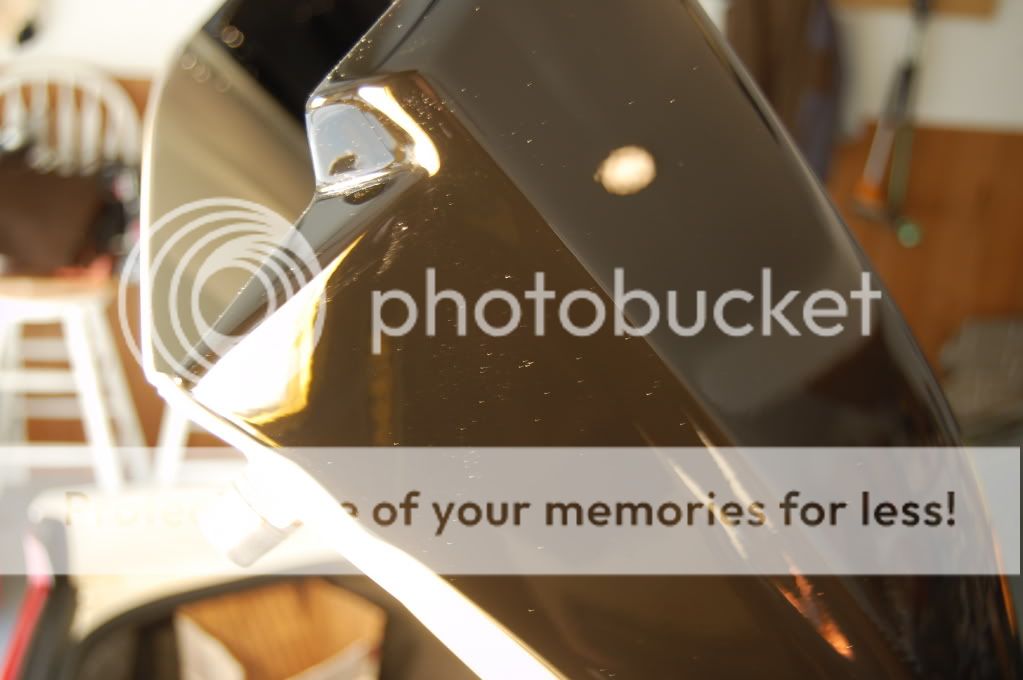
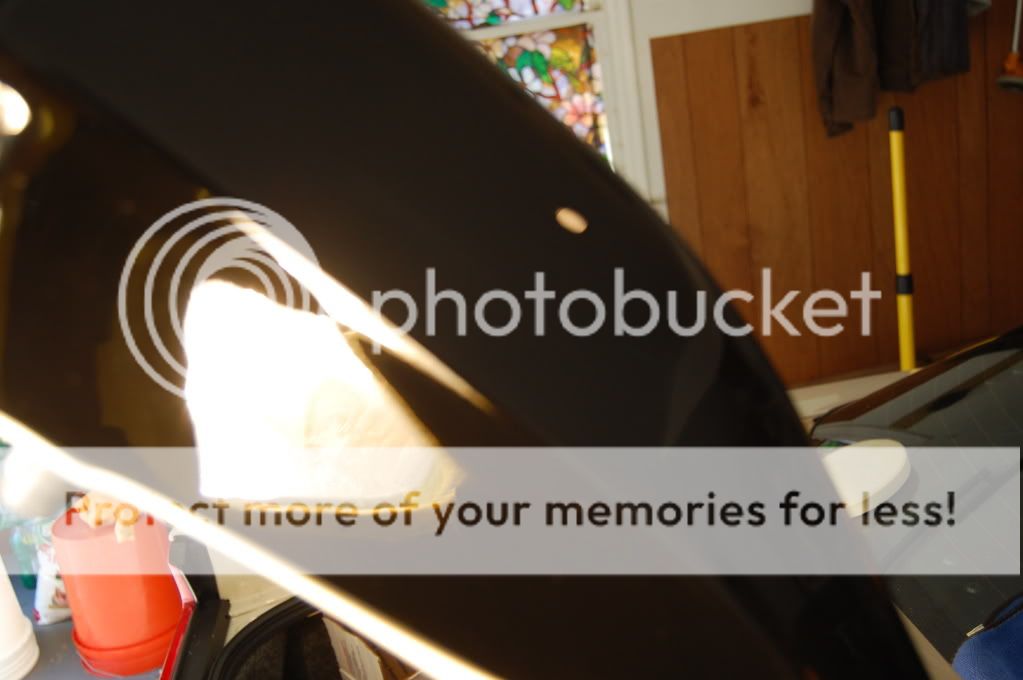
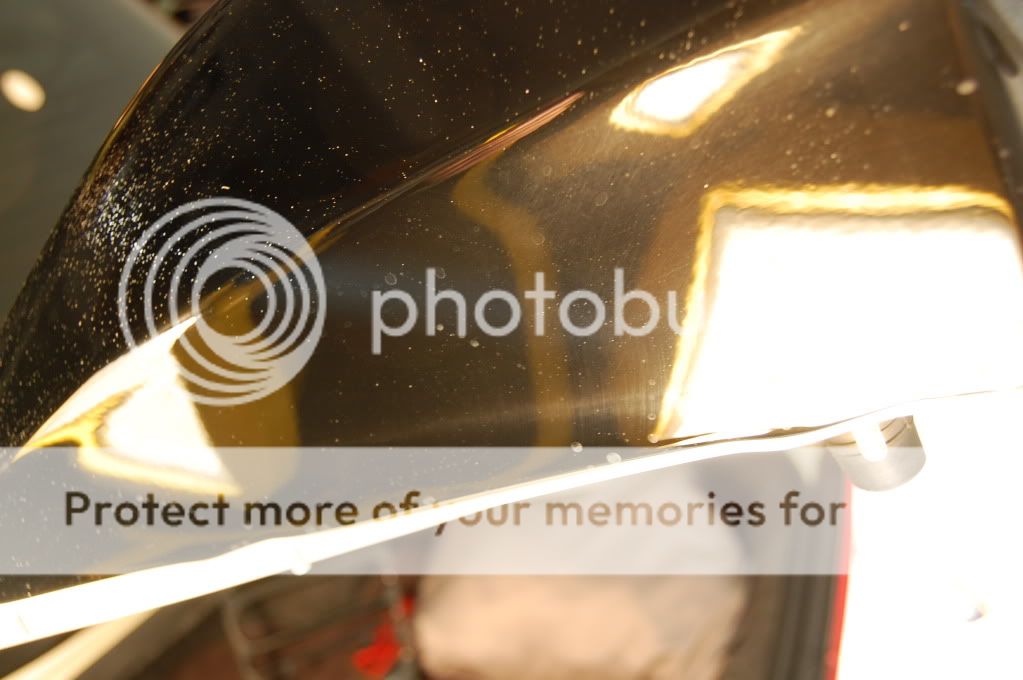
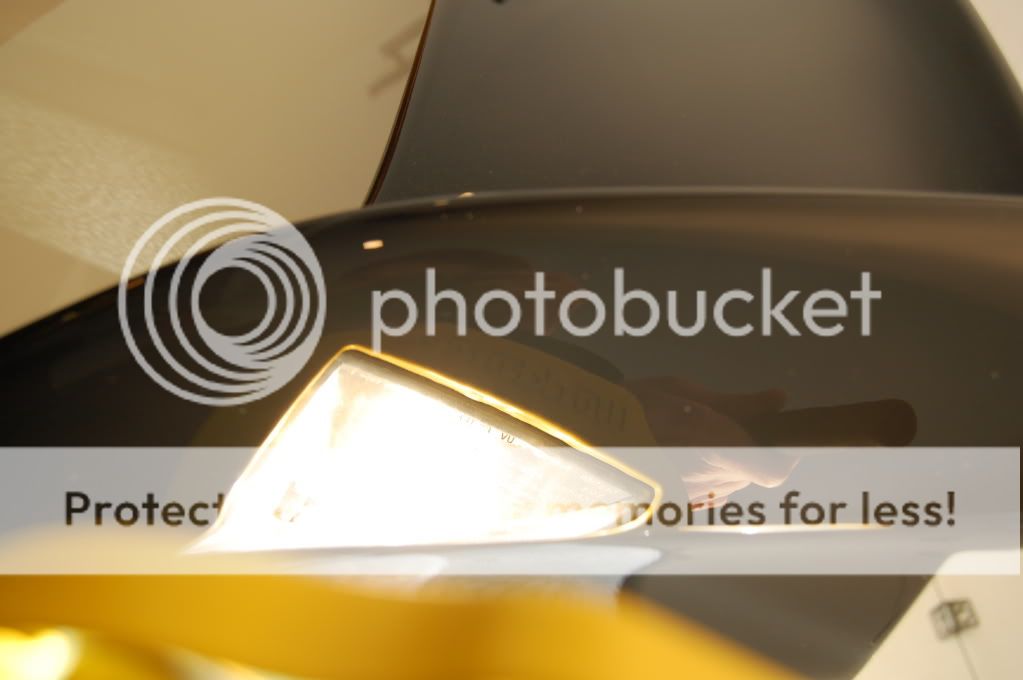
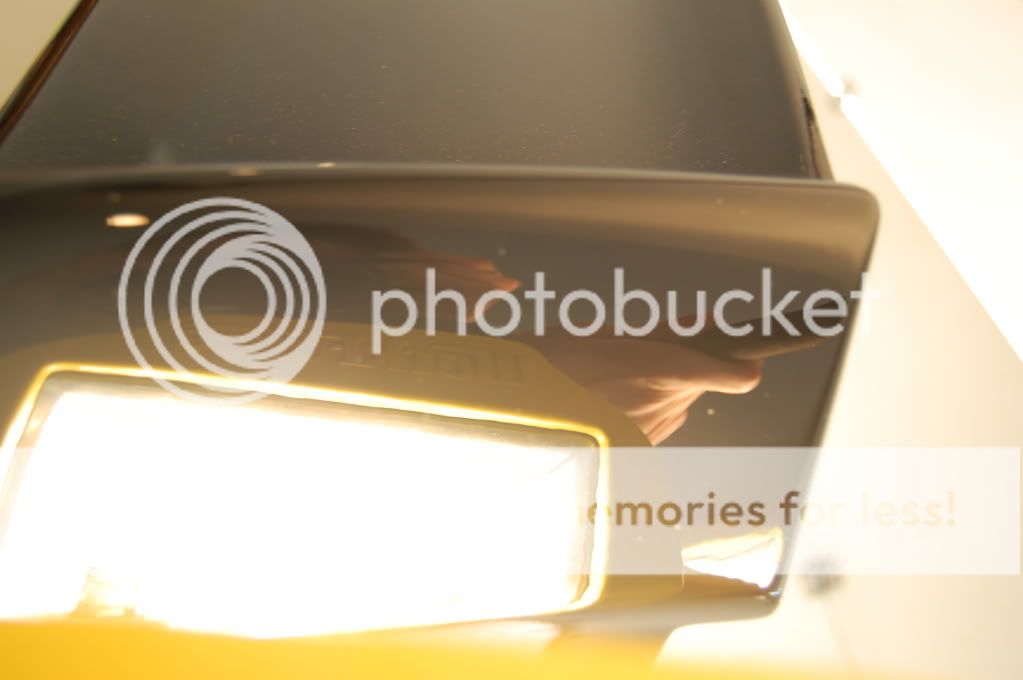
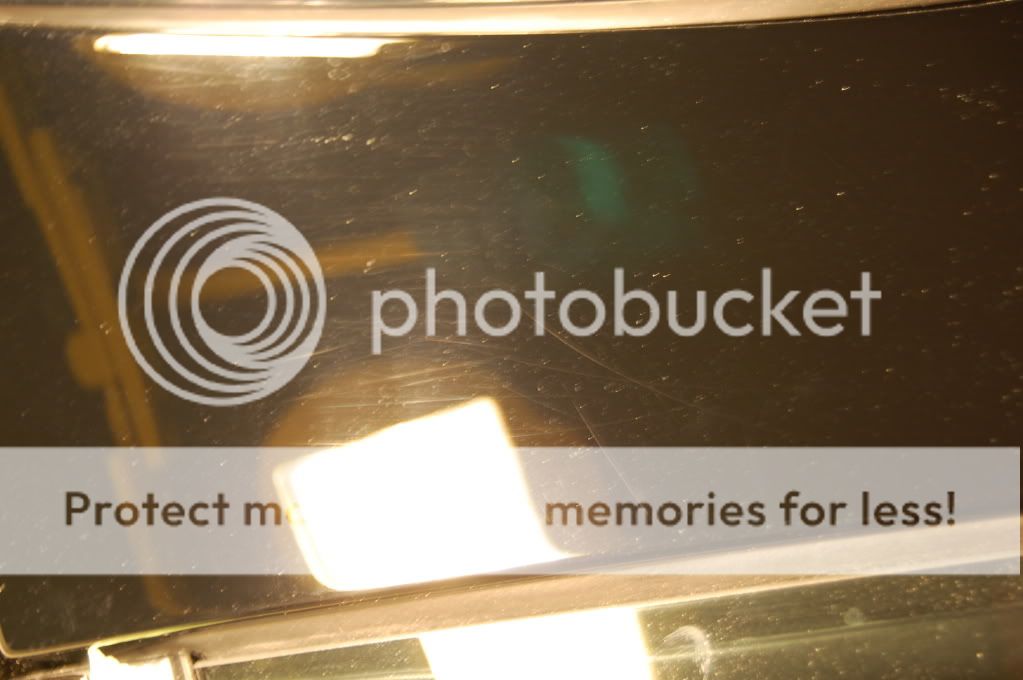
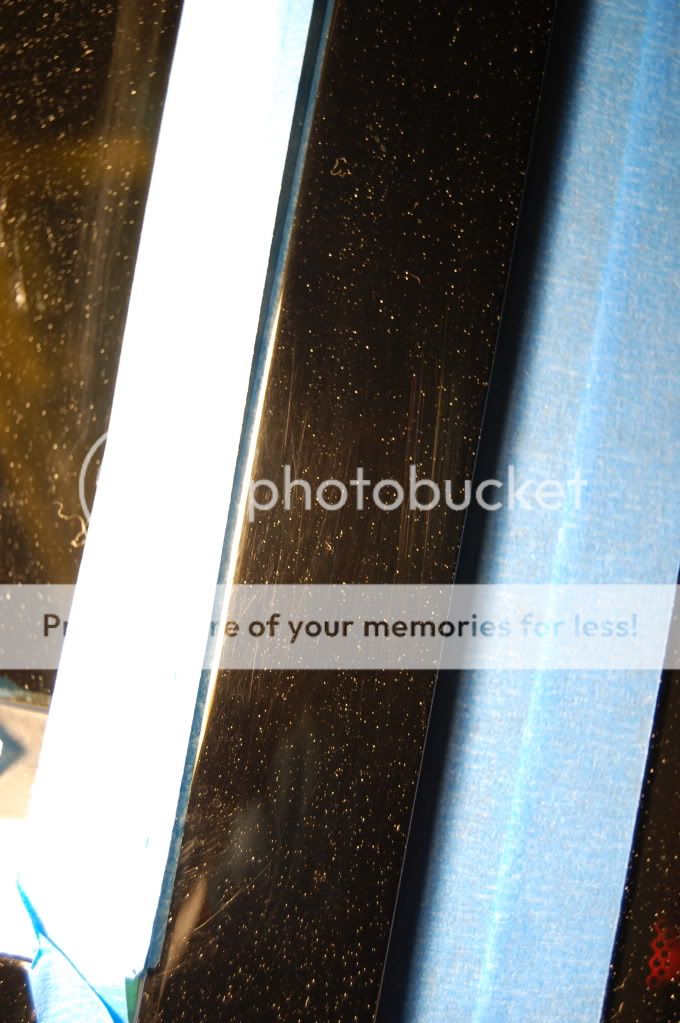
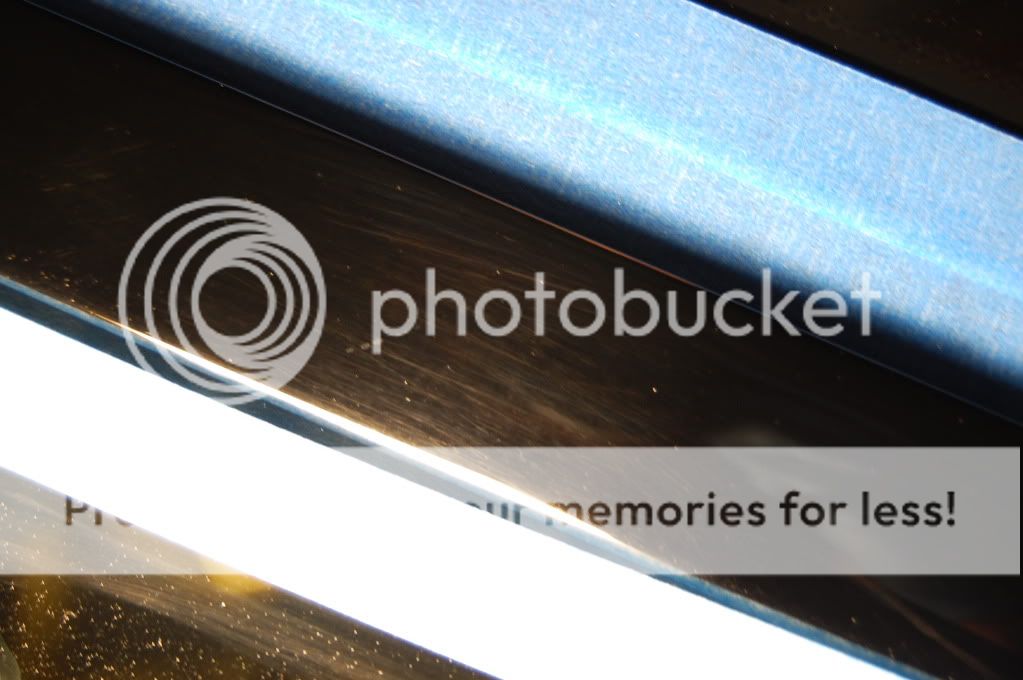
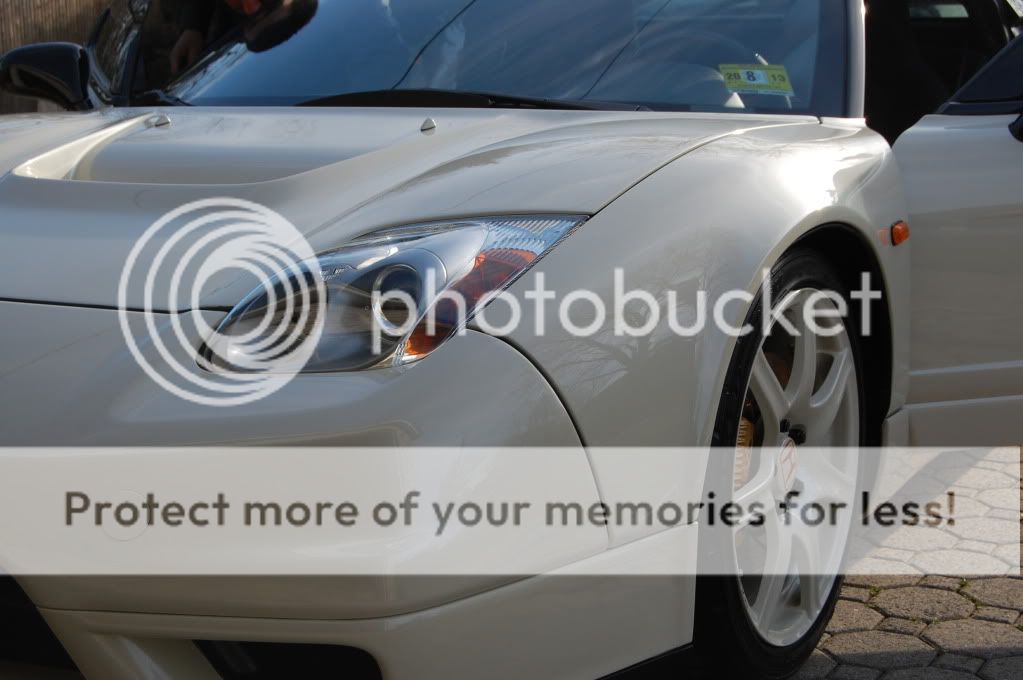
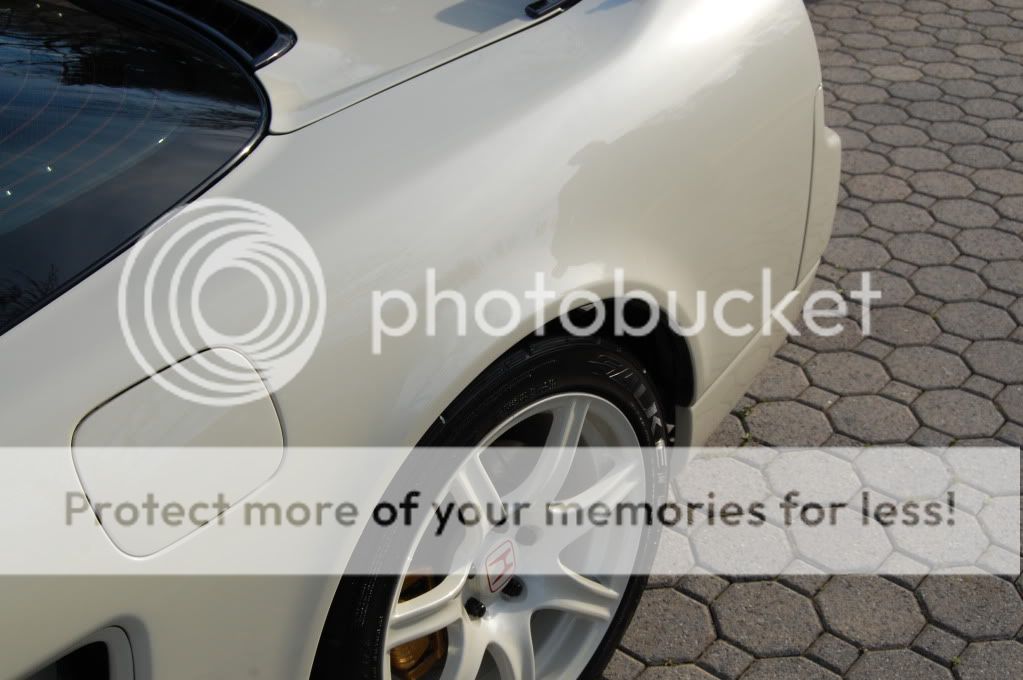
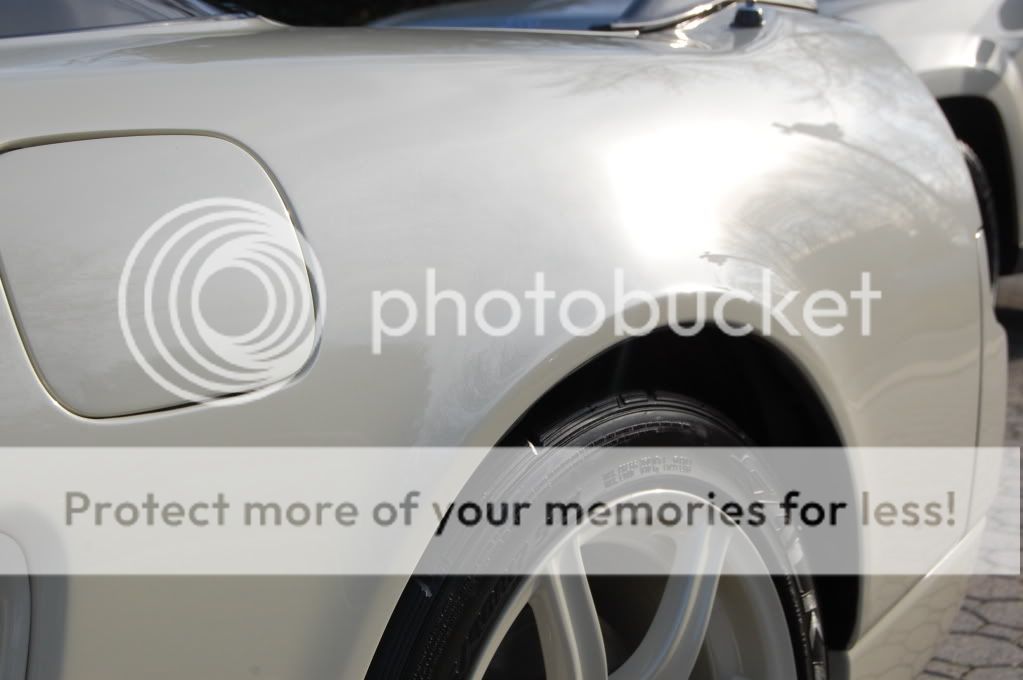
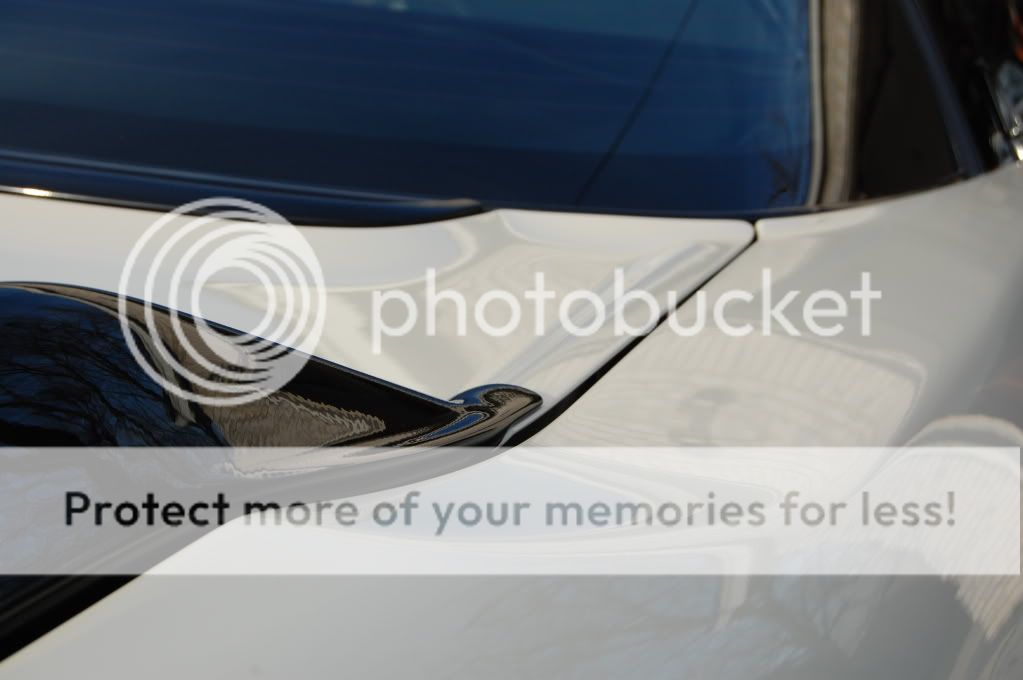
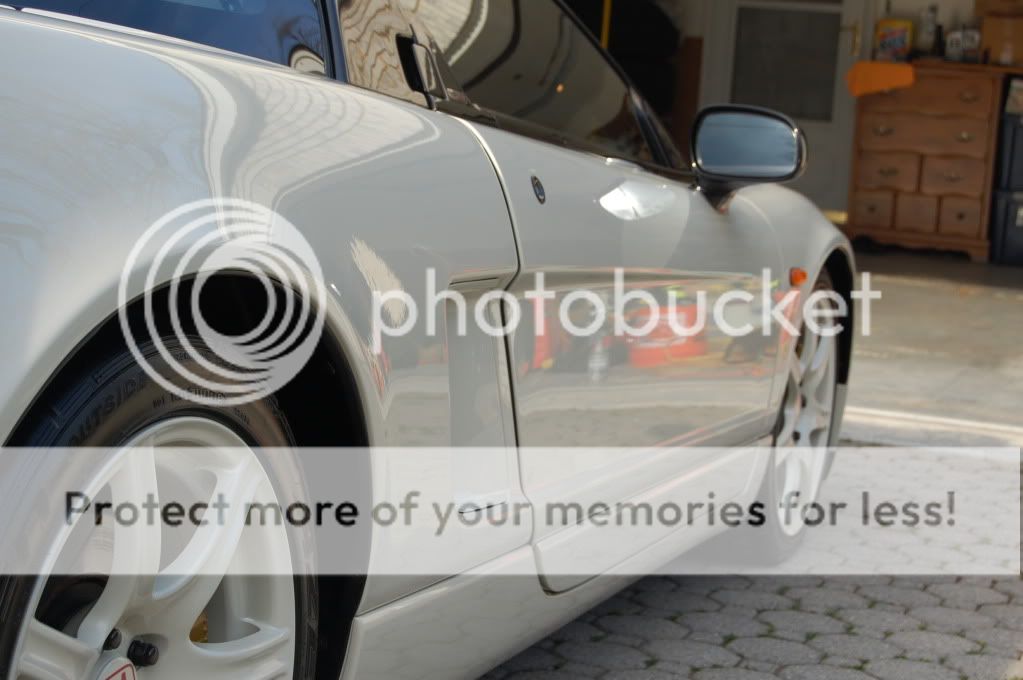
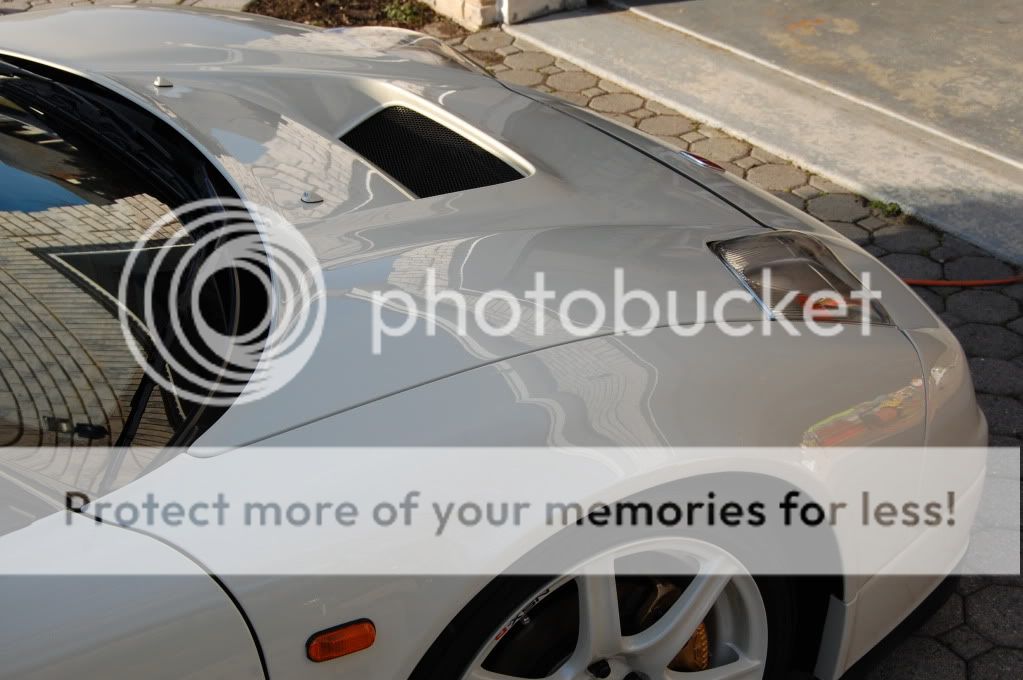
Visible Paint defects- swirling etc. viewable in sun

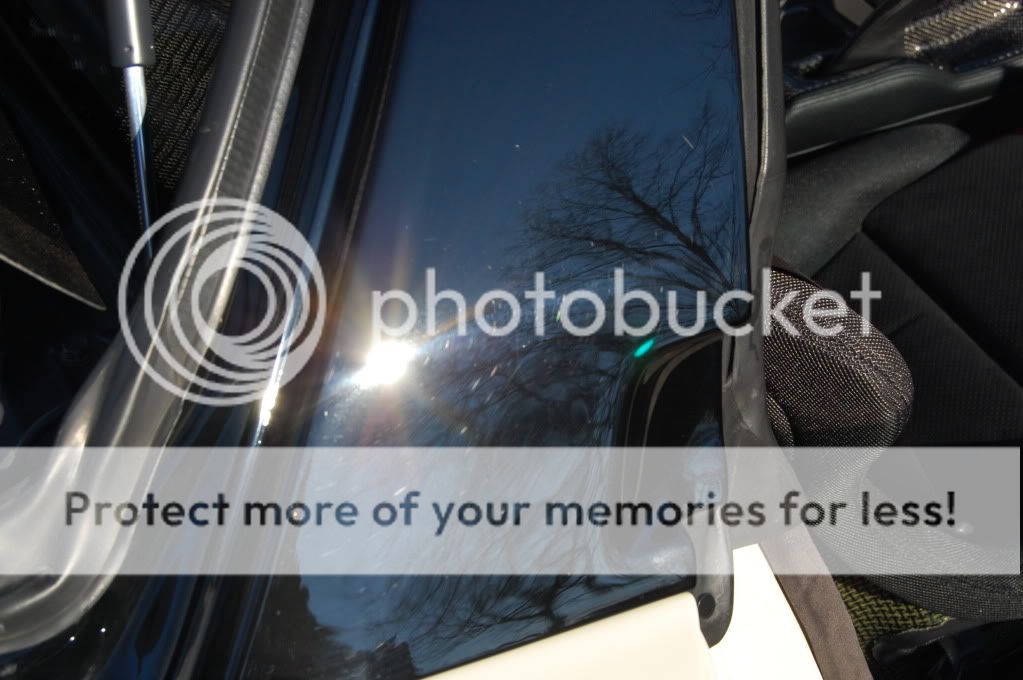
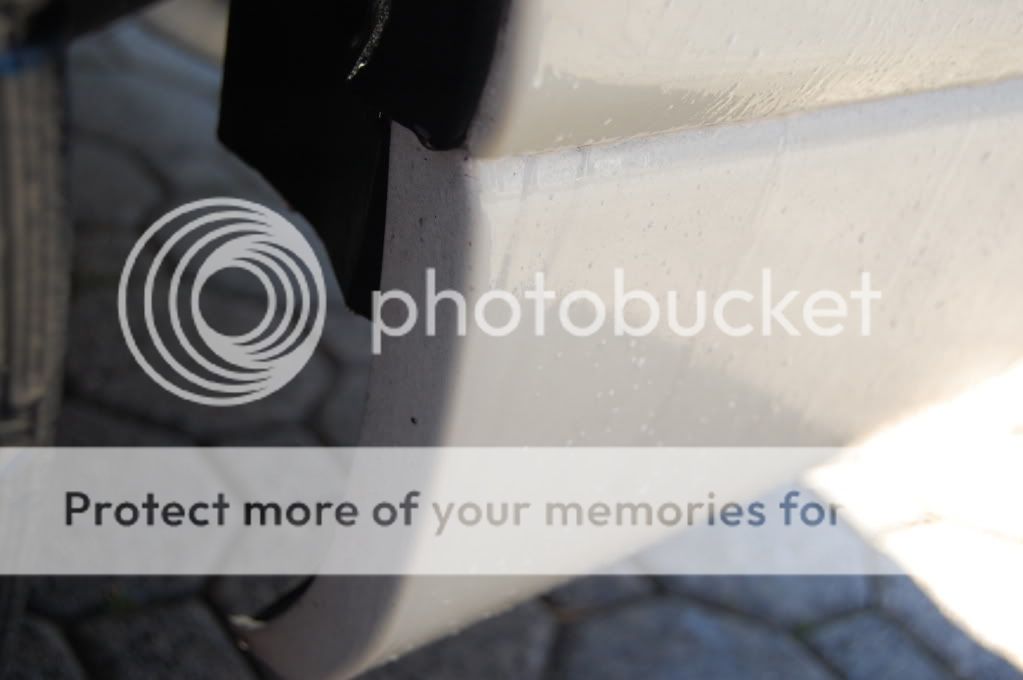
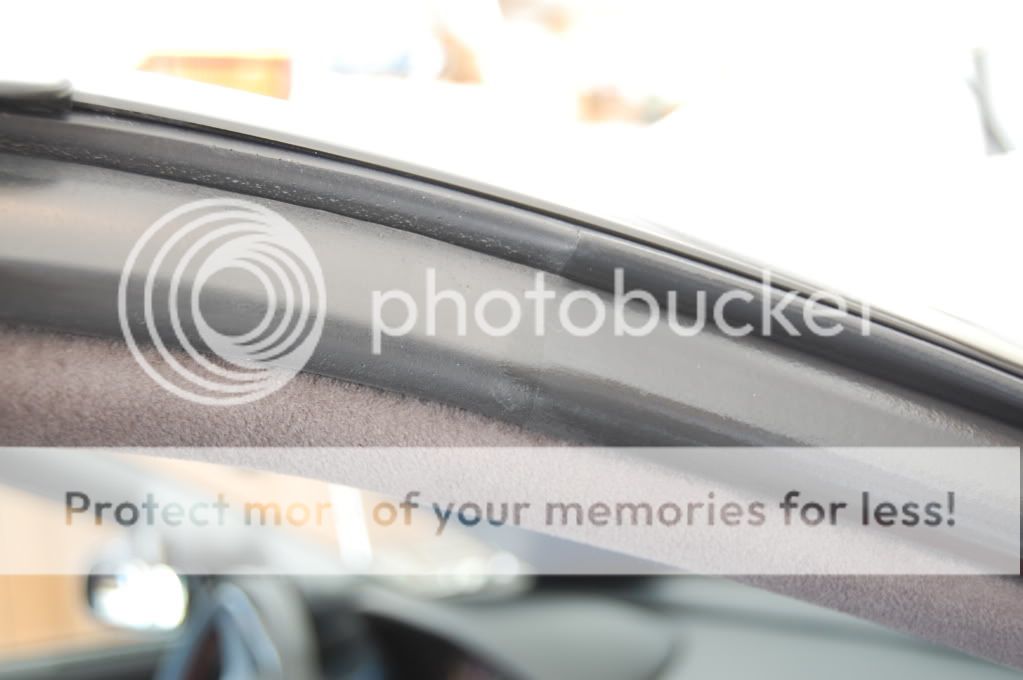
EXTREMELY soft pillars before:


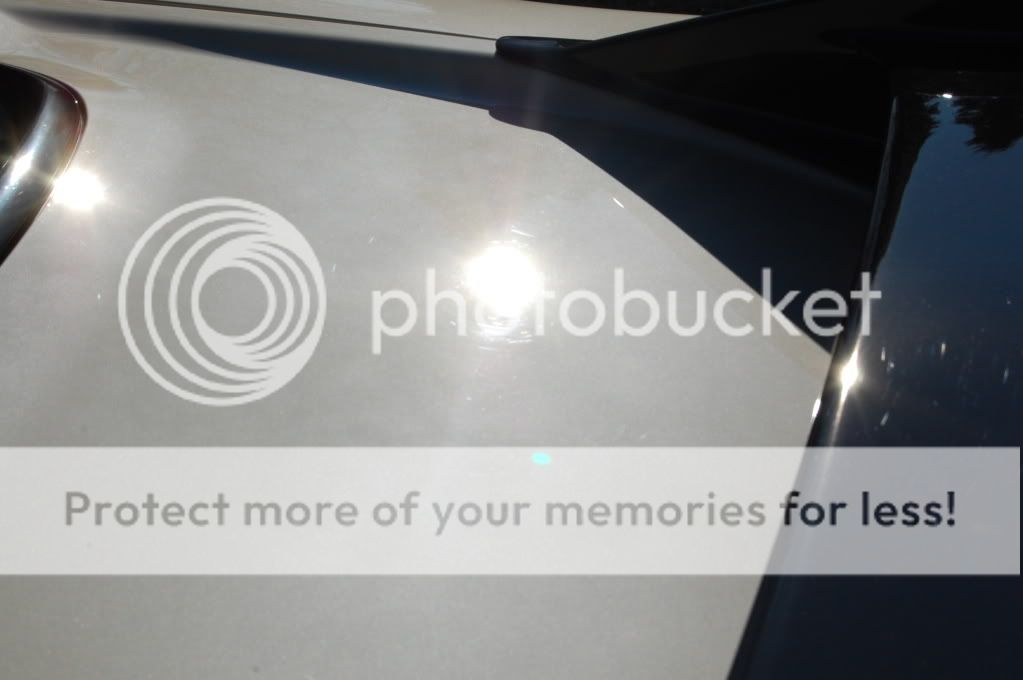
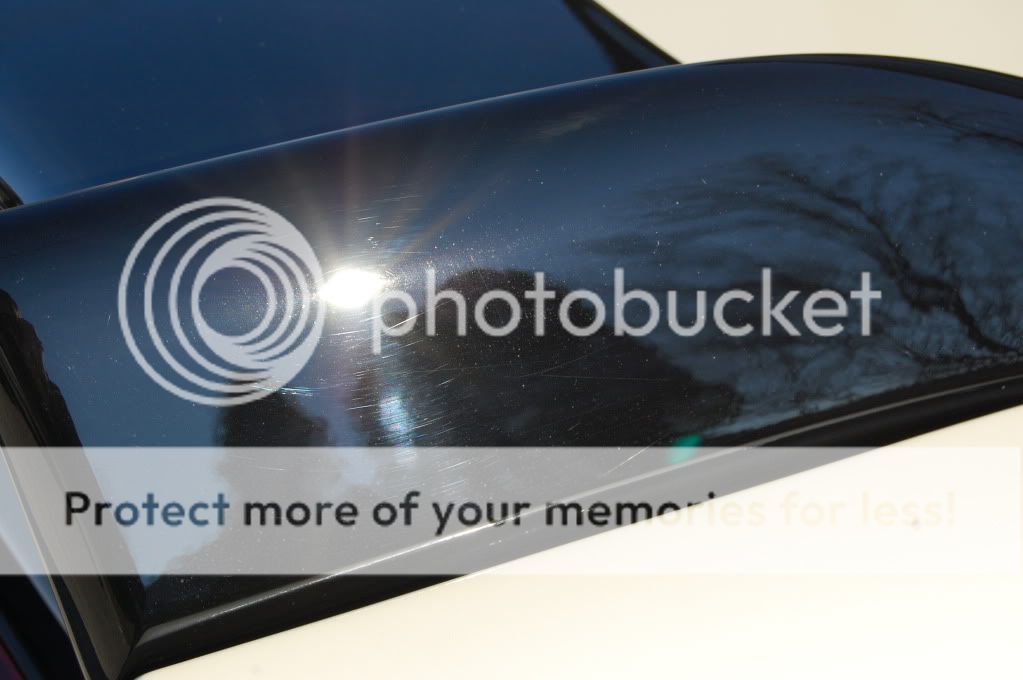
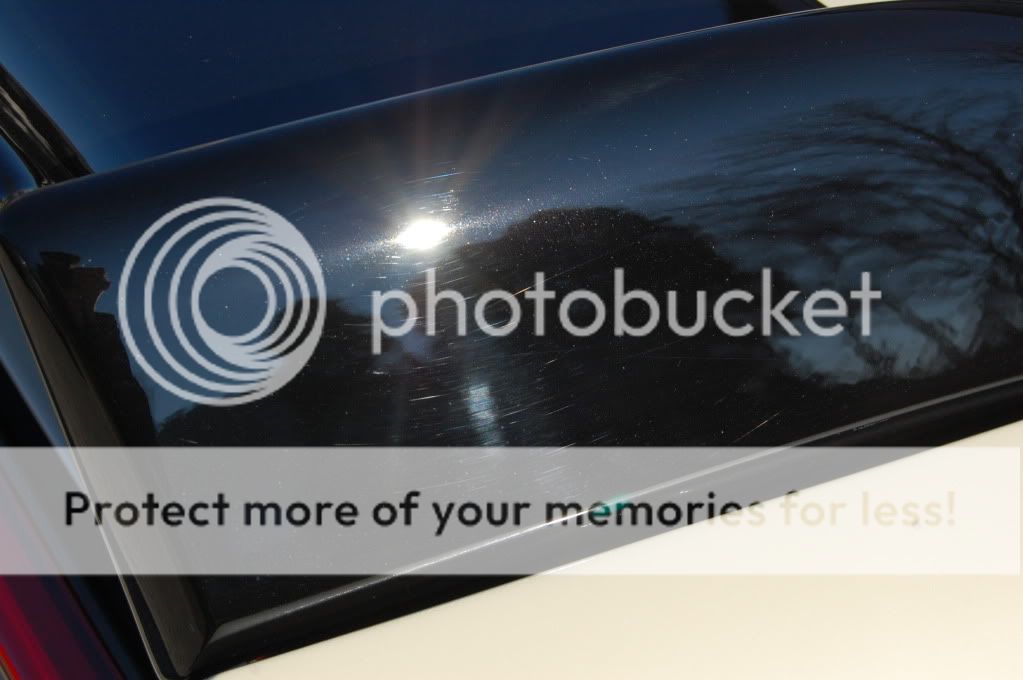
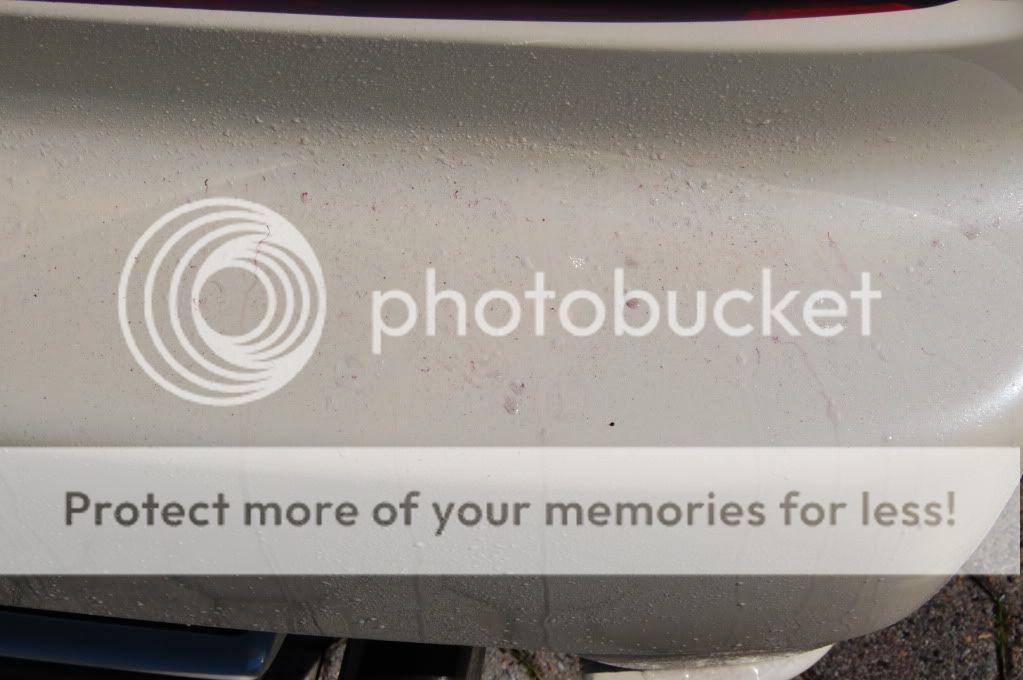
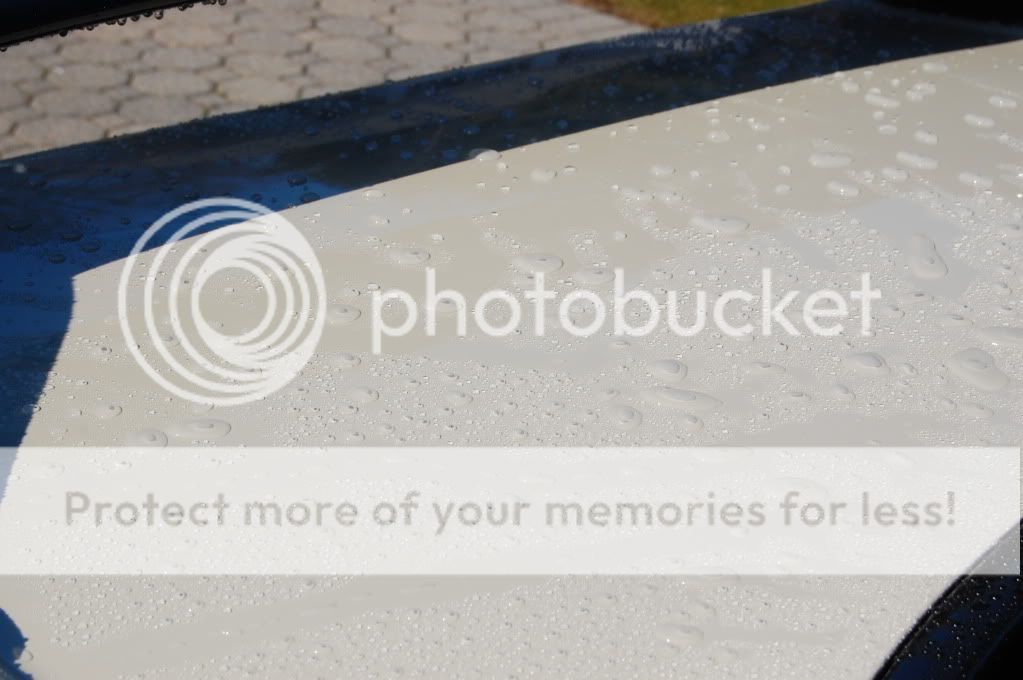
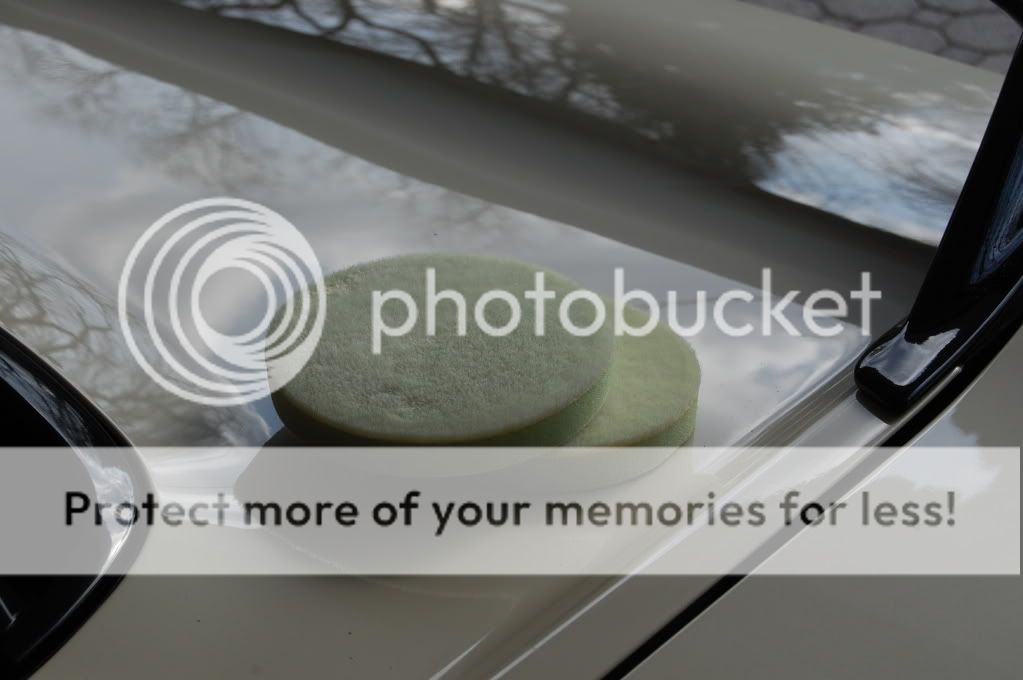
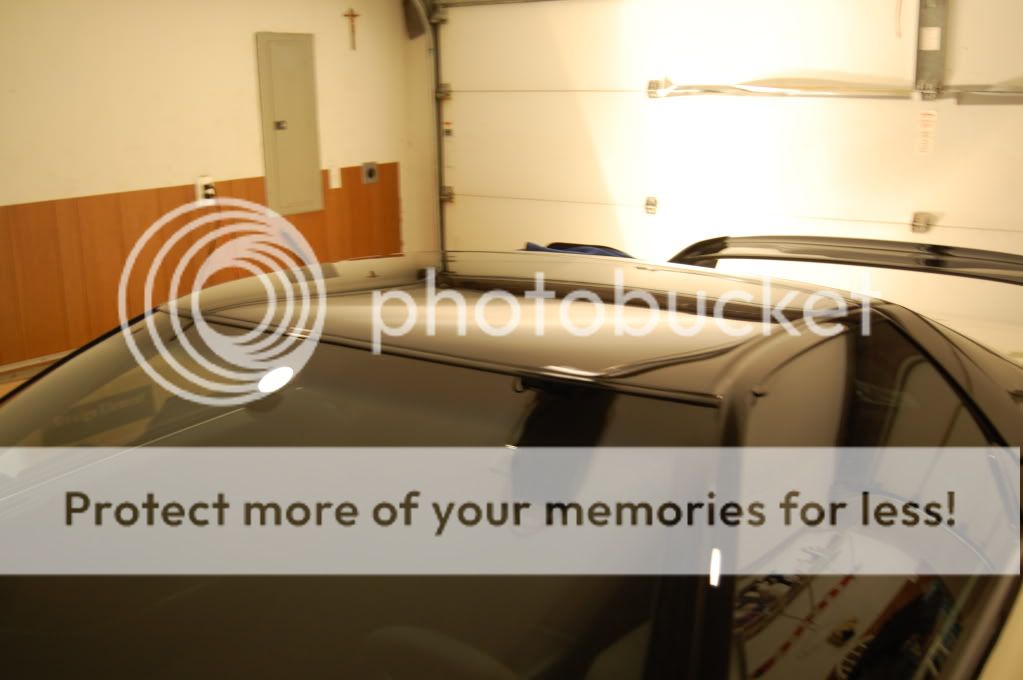
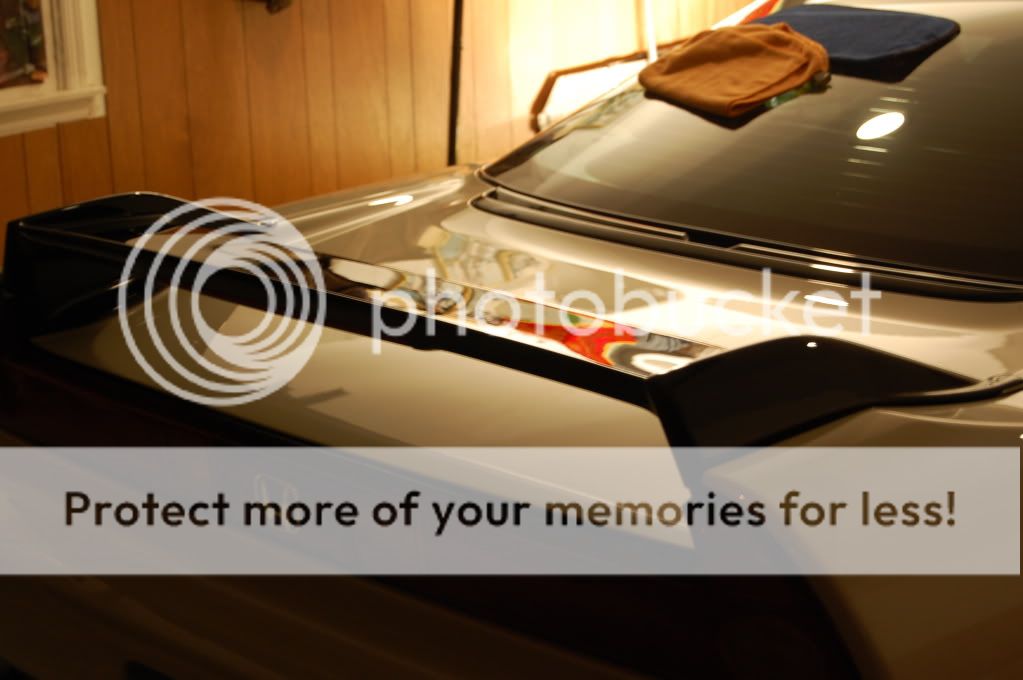
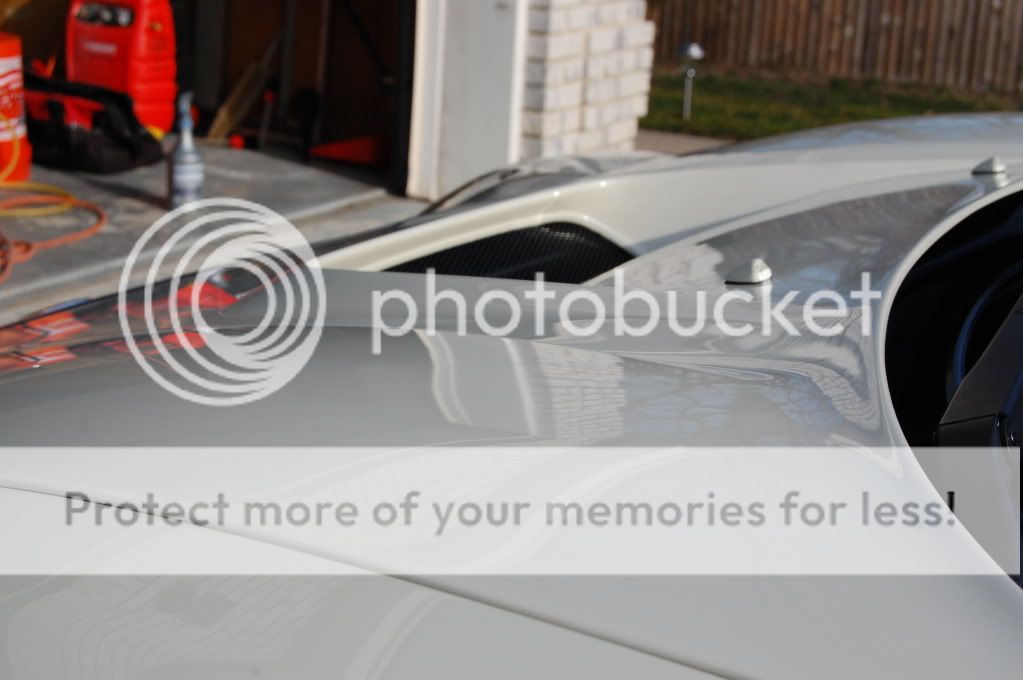
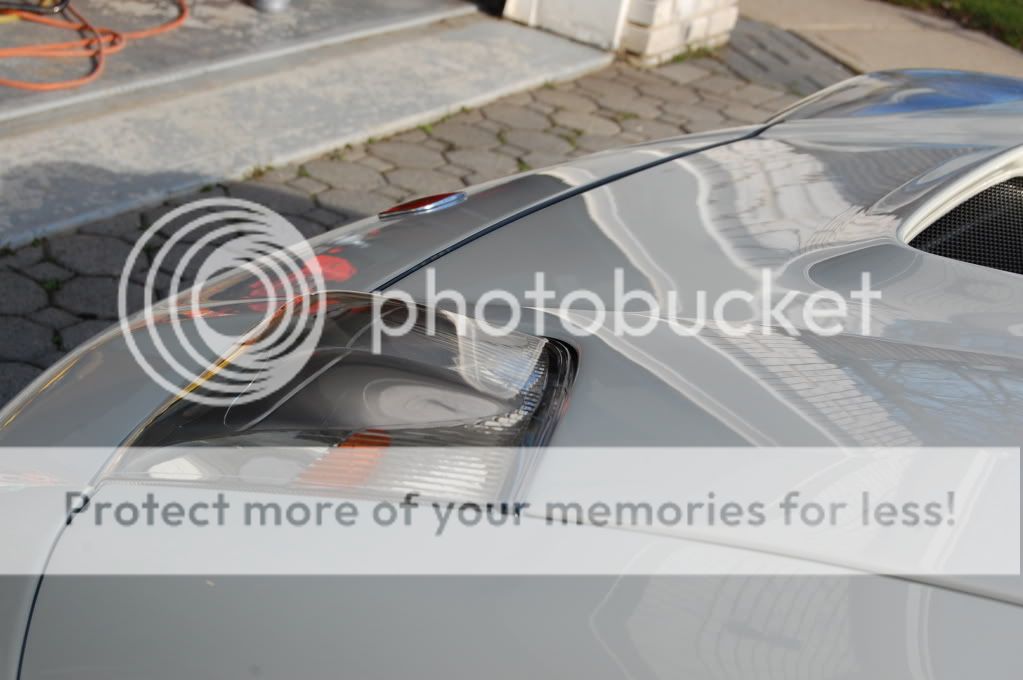
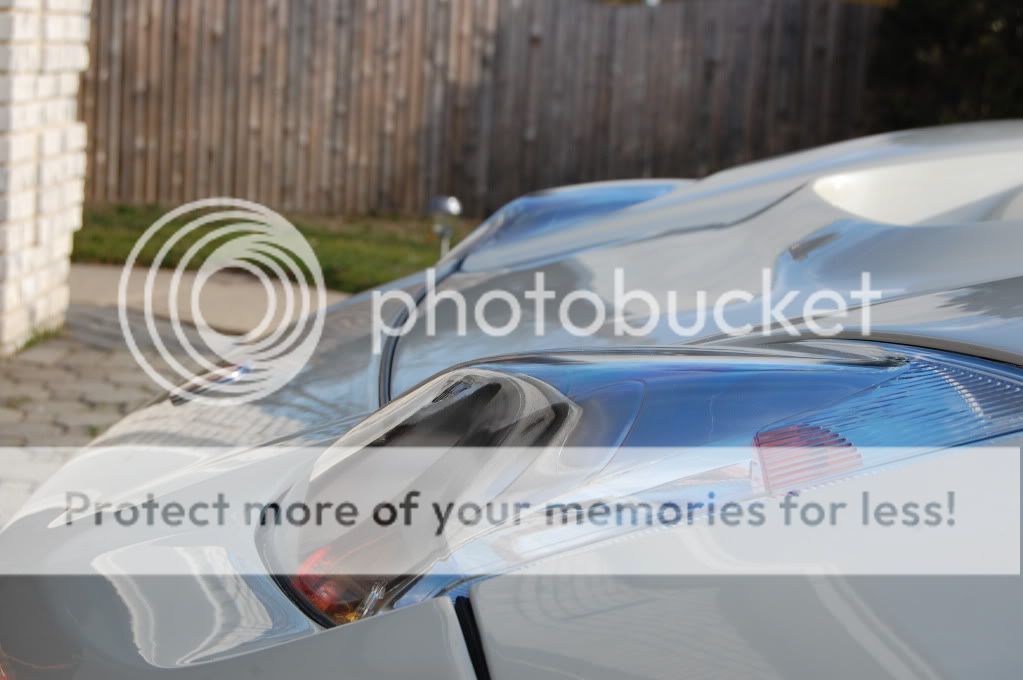
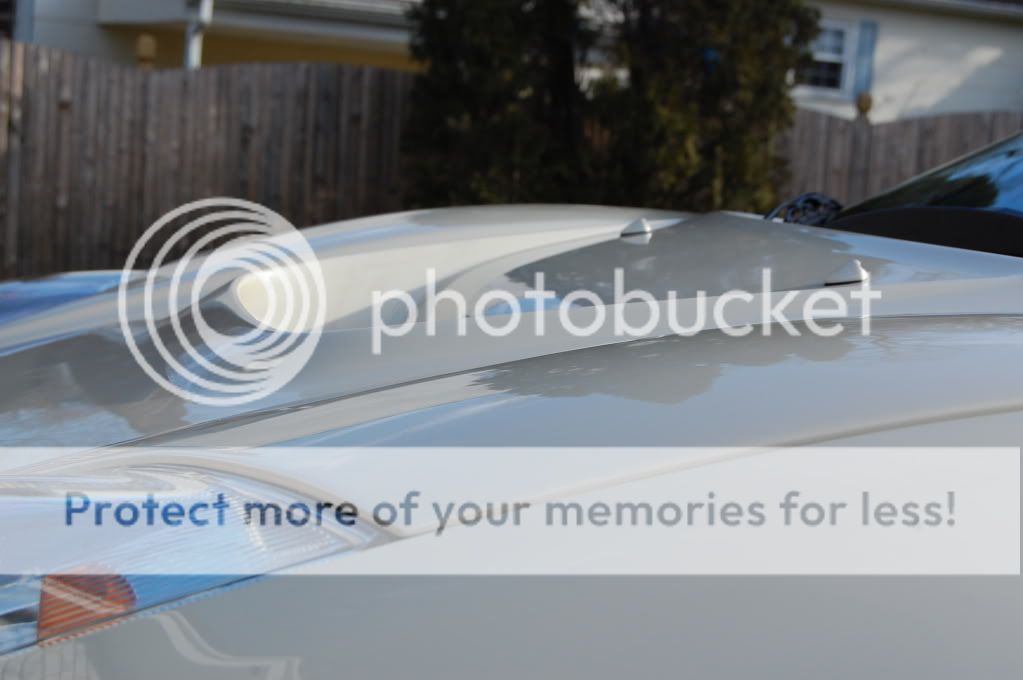
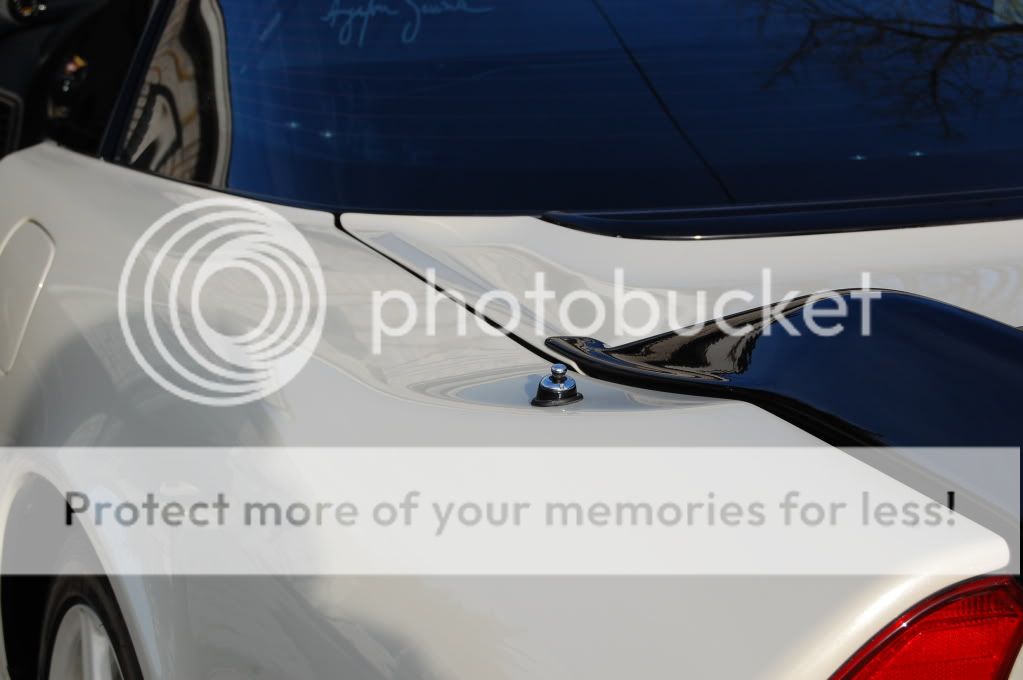
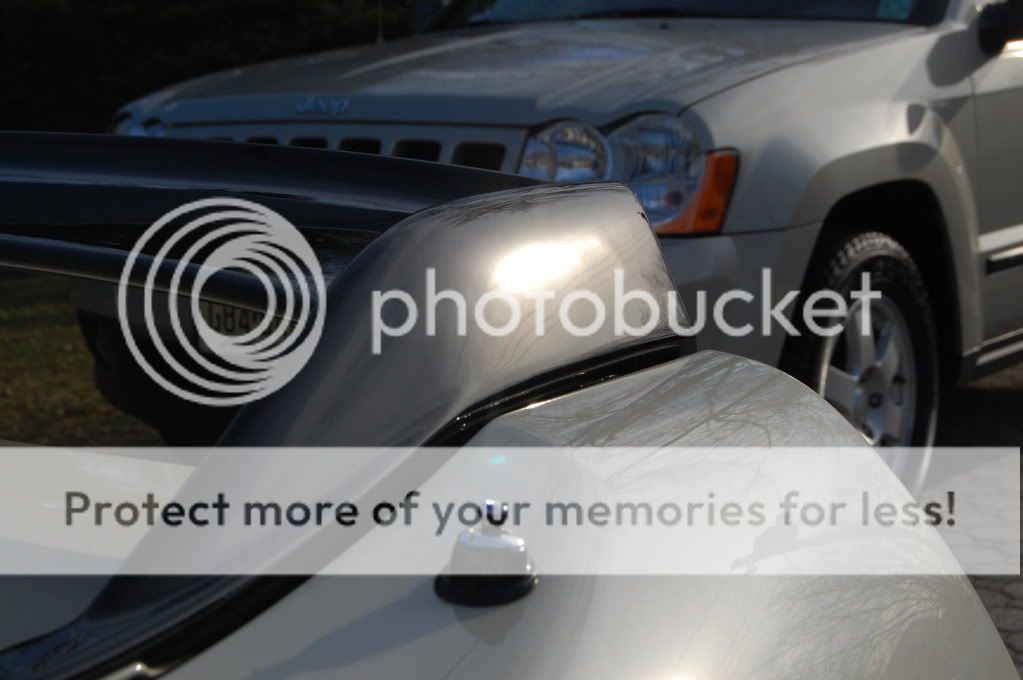
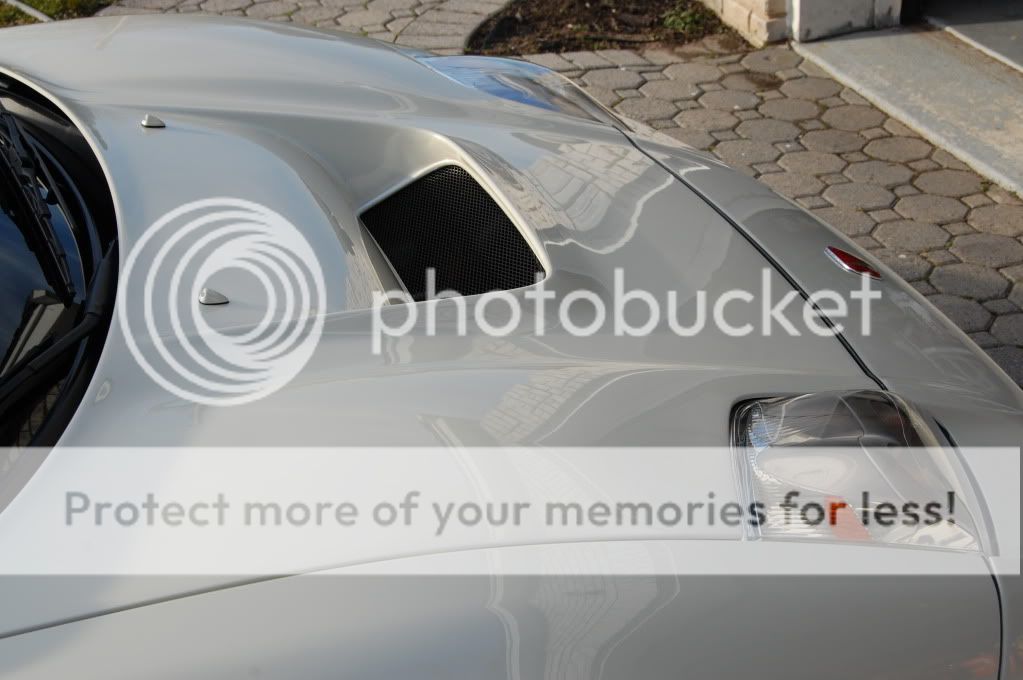
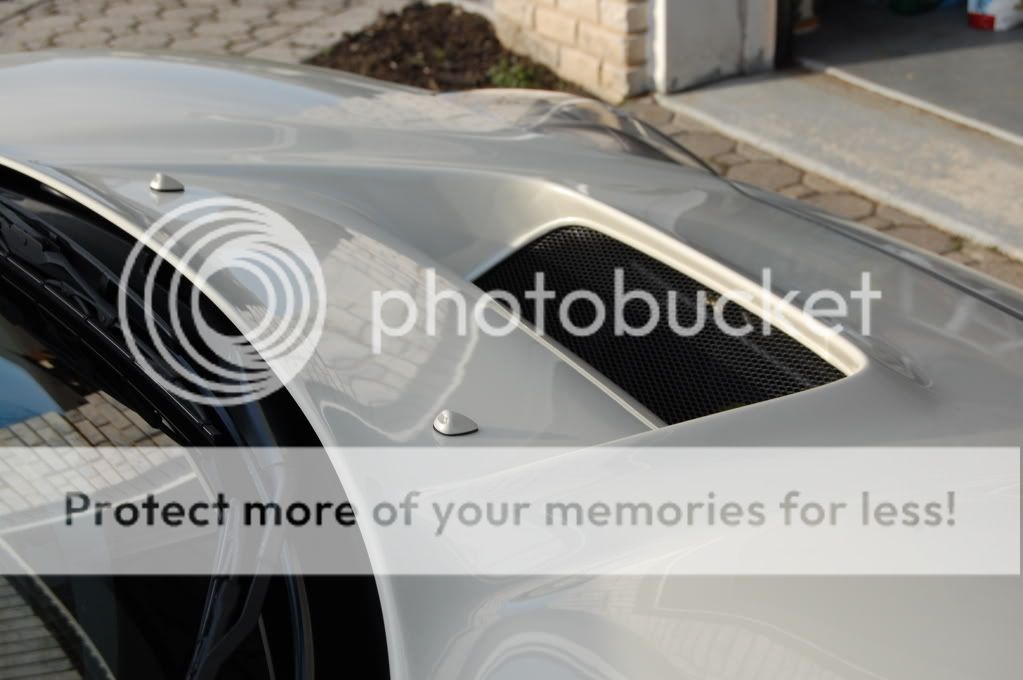
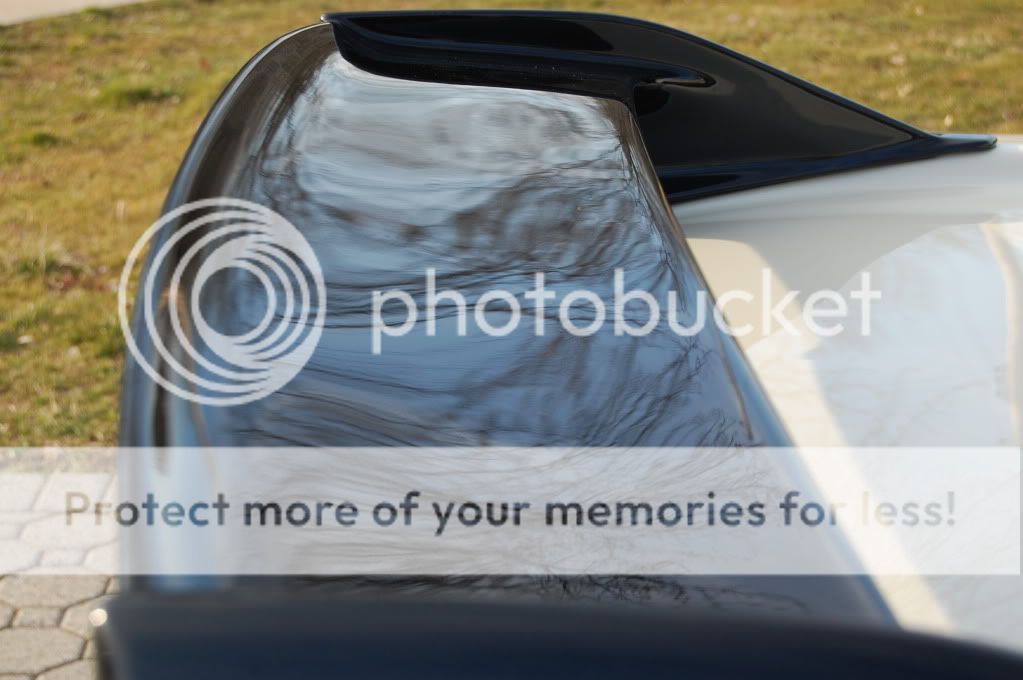
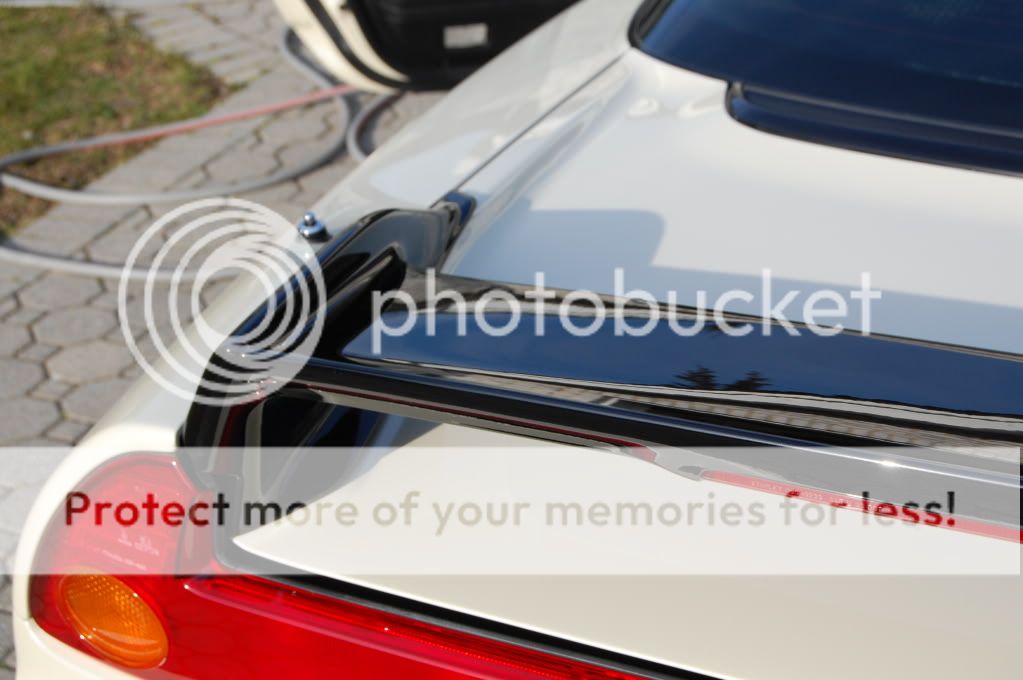
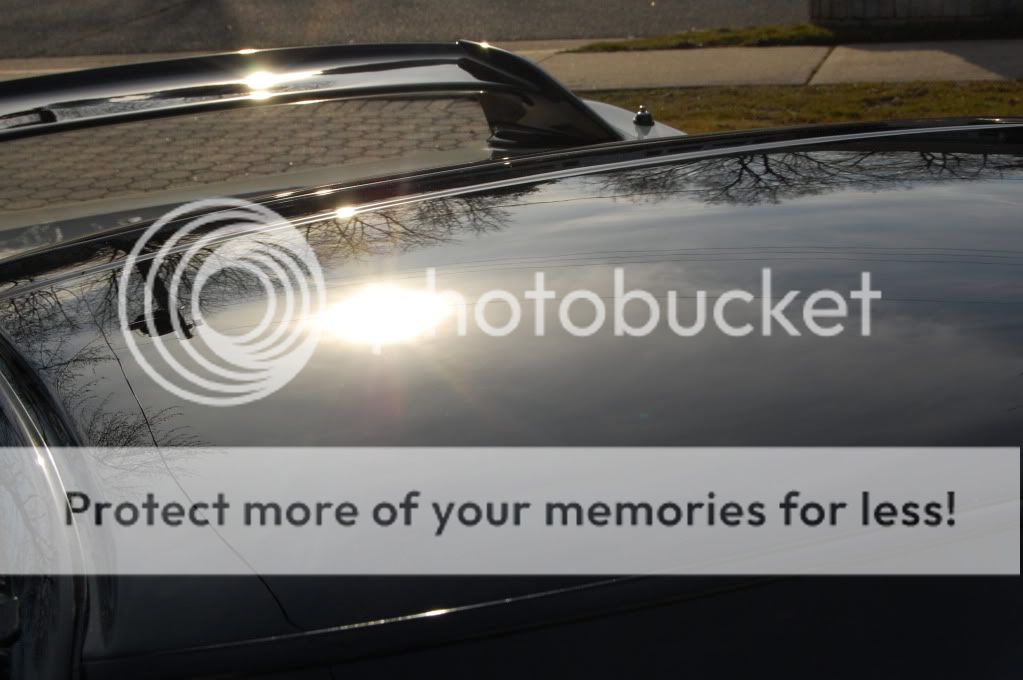
Same soft paint found on roof, and spolier:


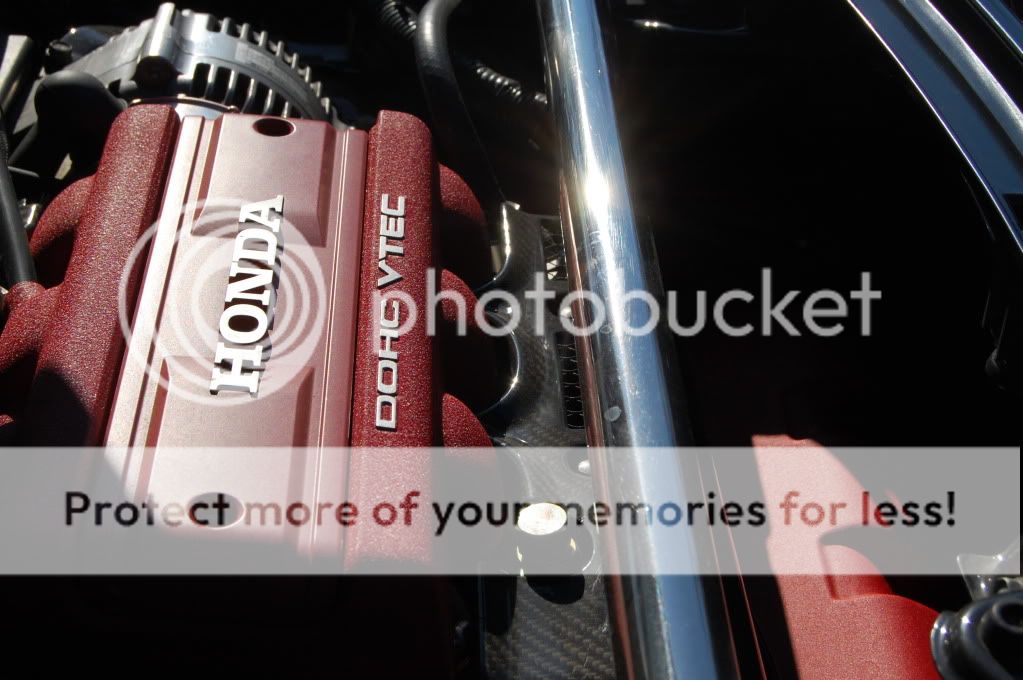
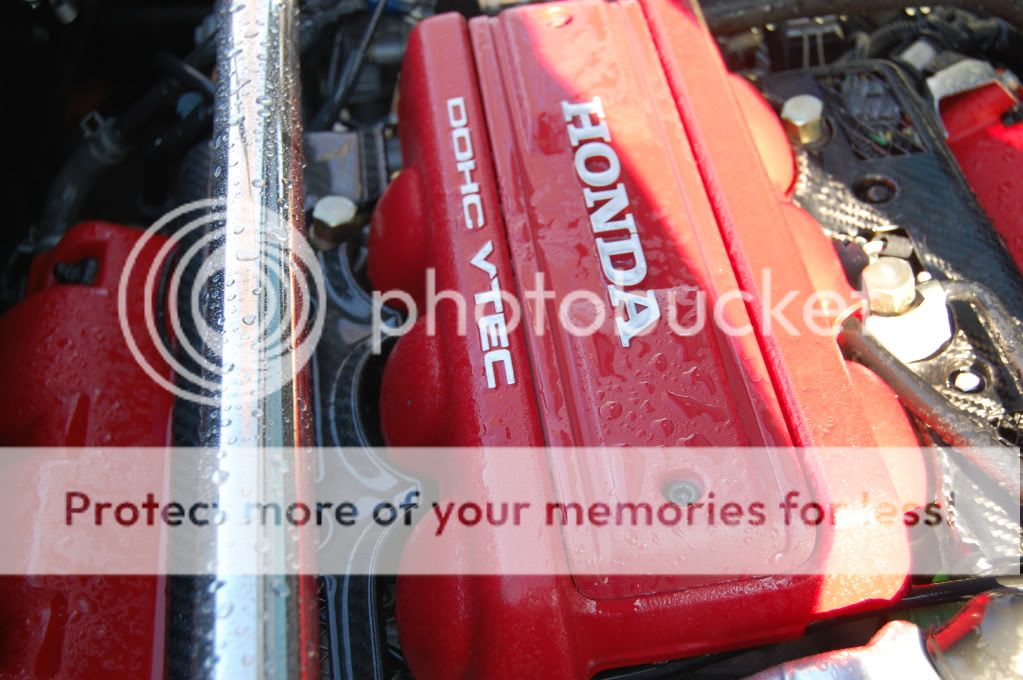
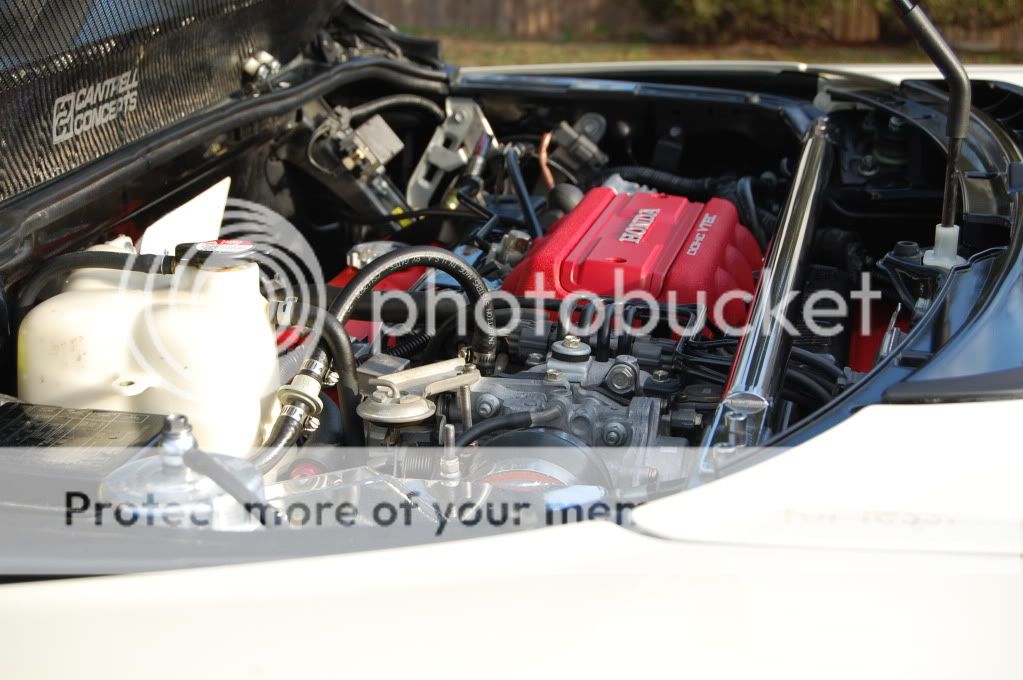
Motor before:
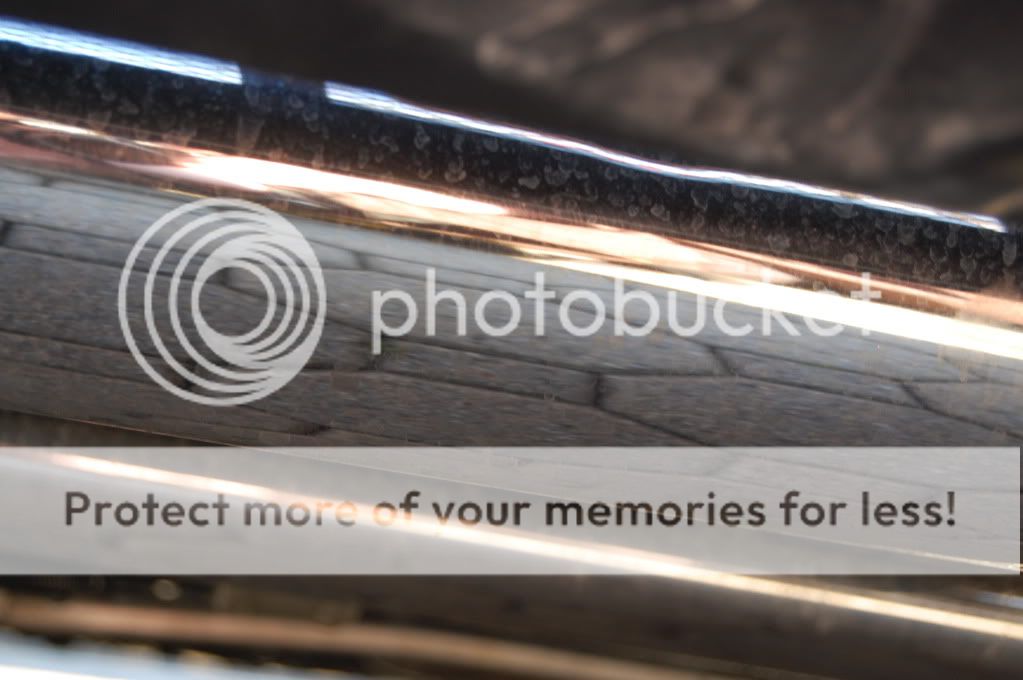
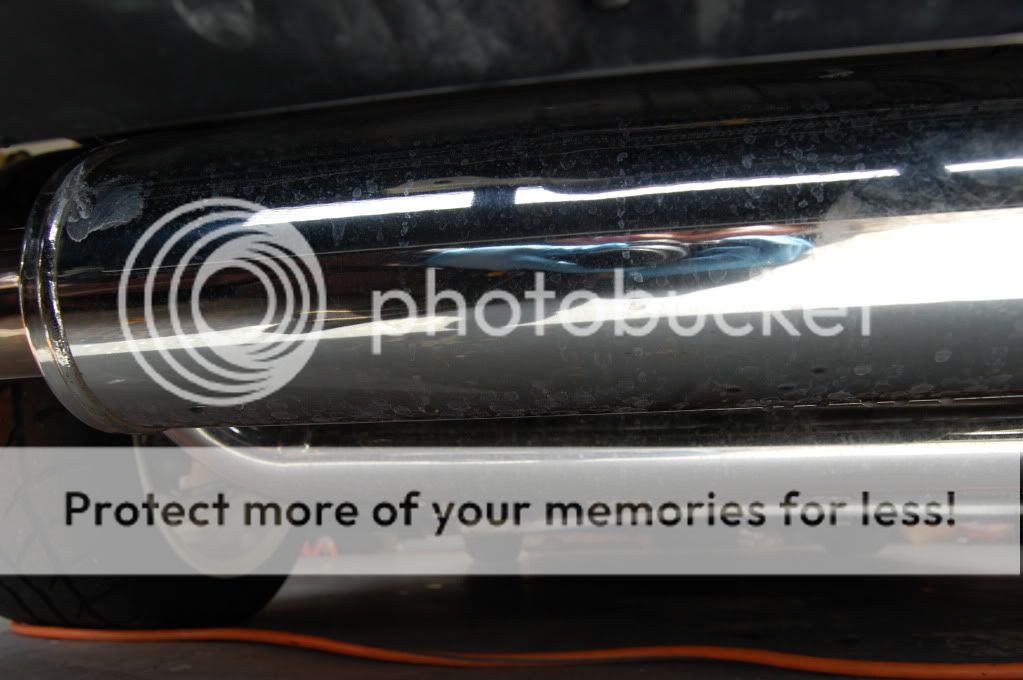
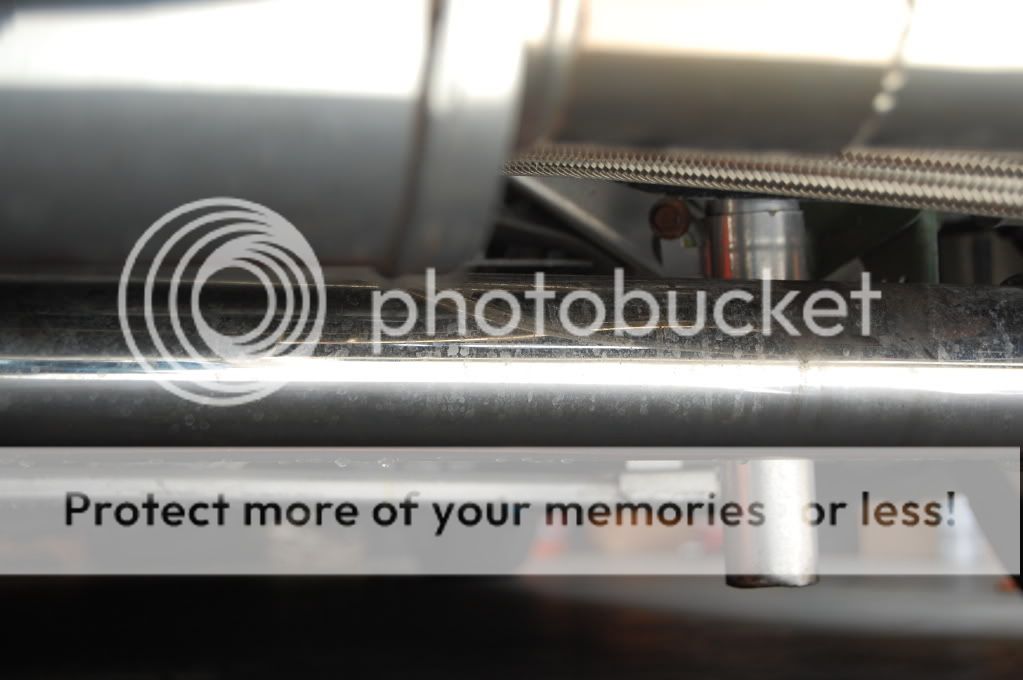
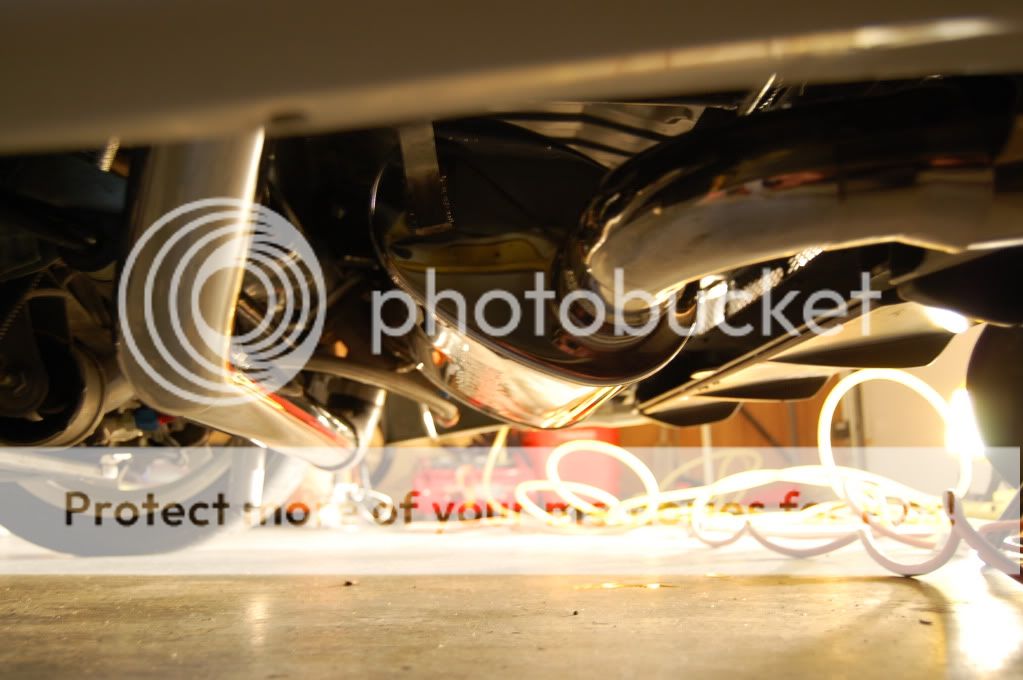
Exhaust system before: More on that later

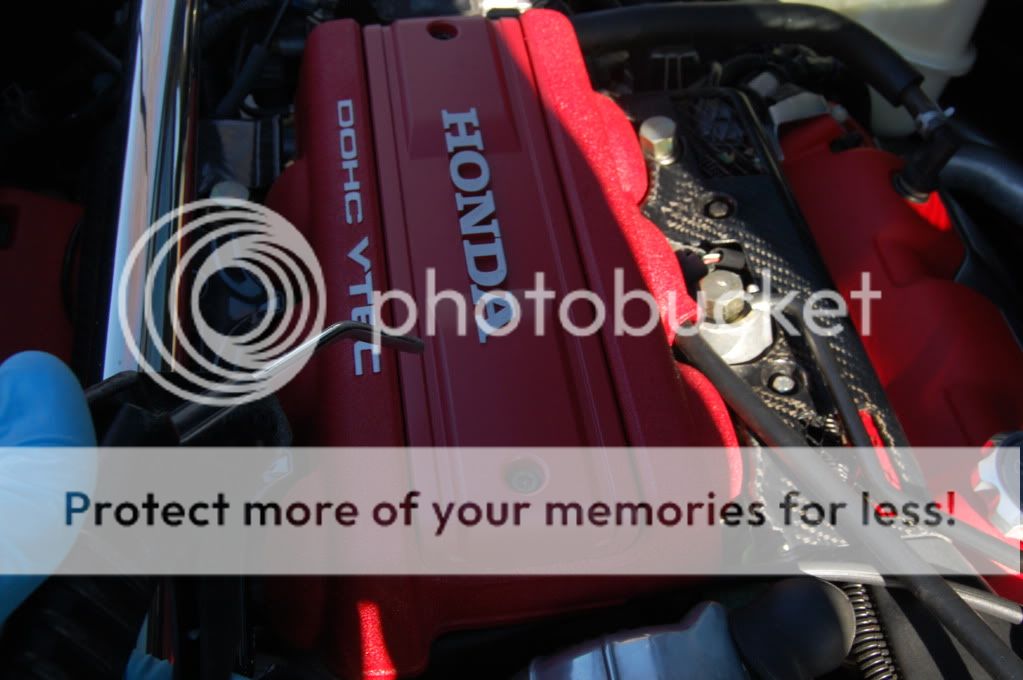
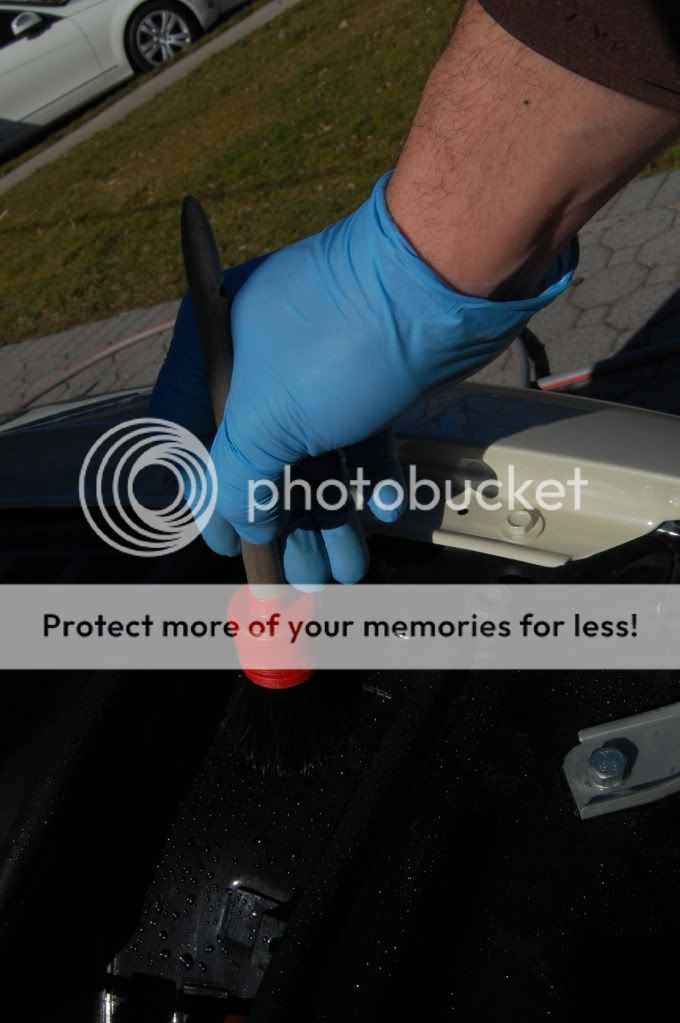
First up- motor cleaning
ONR with a designated SV wheel brush used here
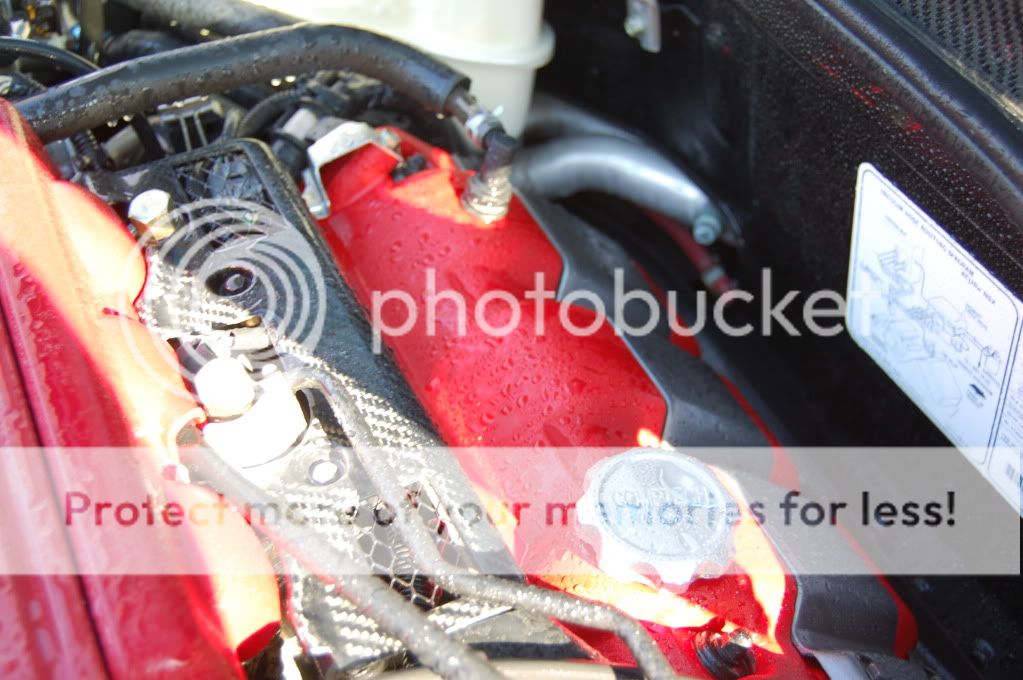
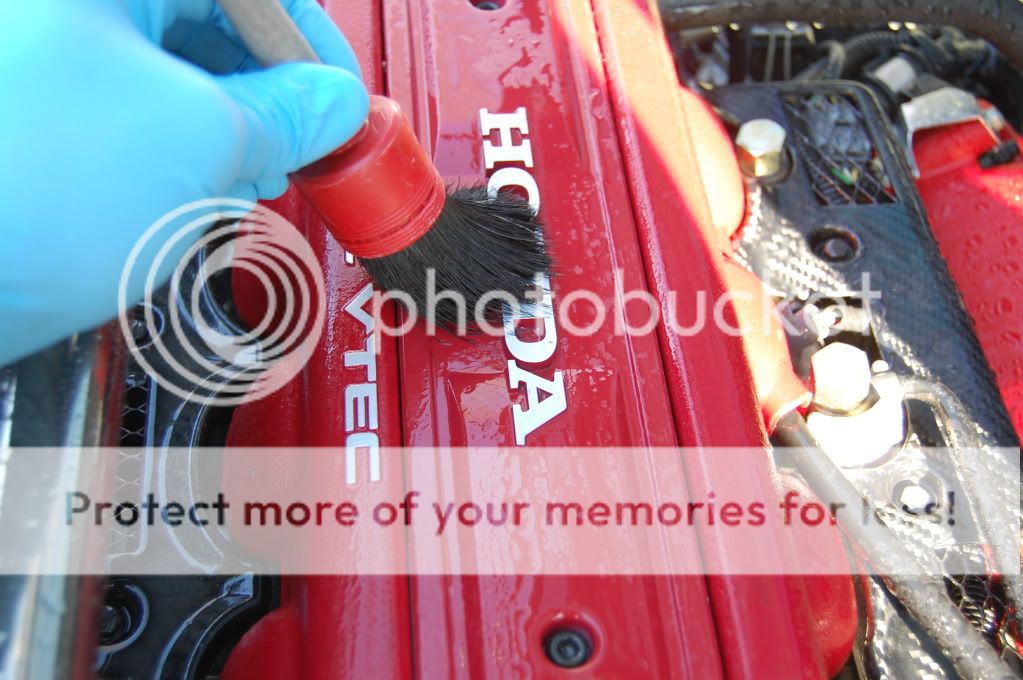
Blown dry with the leaf blower as well as the air compressor
Front end bay washed with ONR and Megs APC
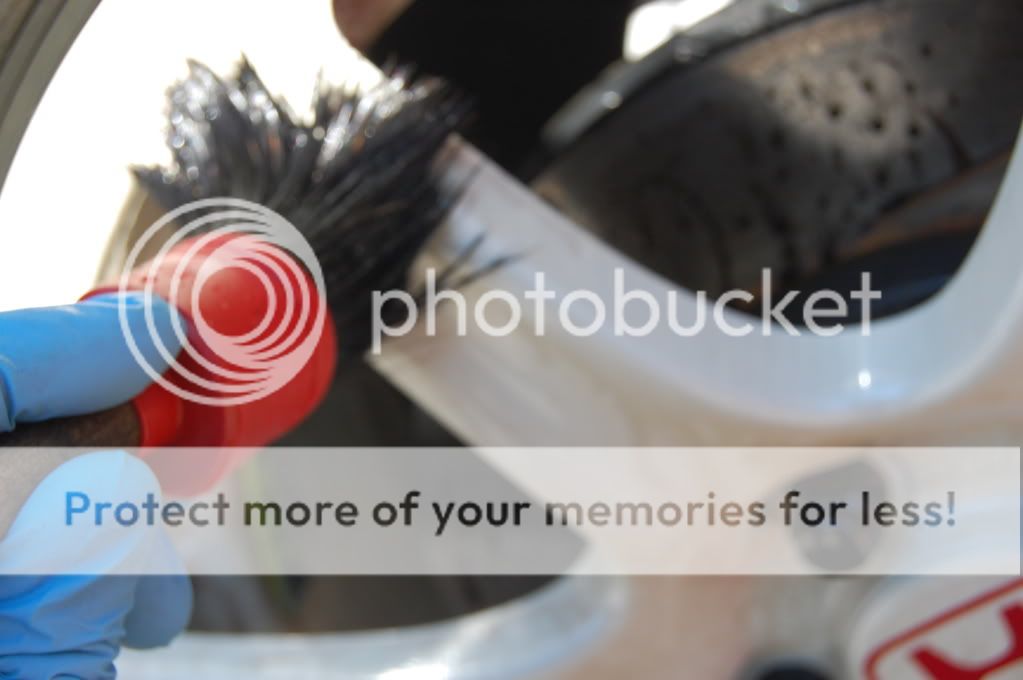
Sonax FE on the wheels
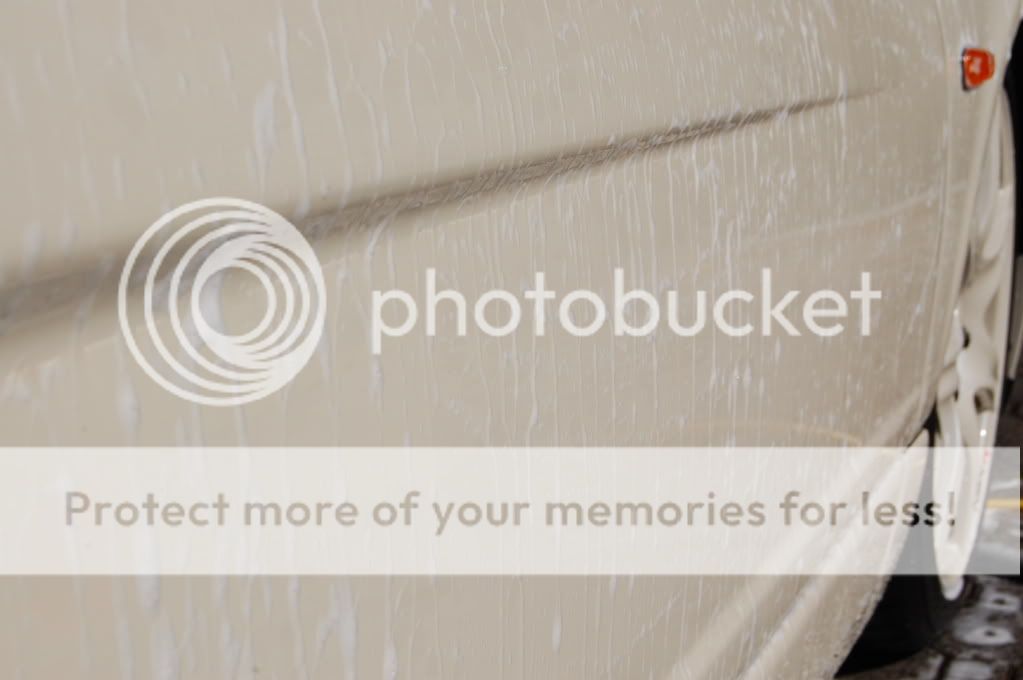
The body was then pre-rinsed with ONR, left to dwell and then an application of Iron X was sprayed on around the entire exterior


LSP still present- owner uses Zaino very often

To strip- Dawn and CG Citrus wash and clear
Two bucket method then carried out 3 times to clear as much LSP as possible

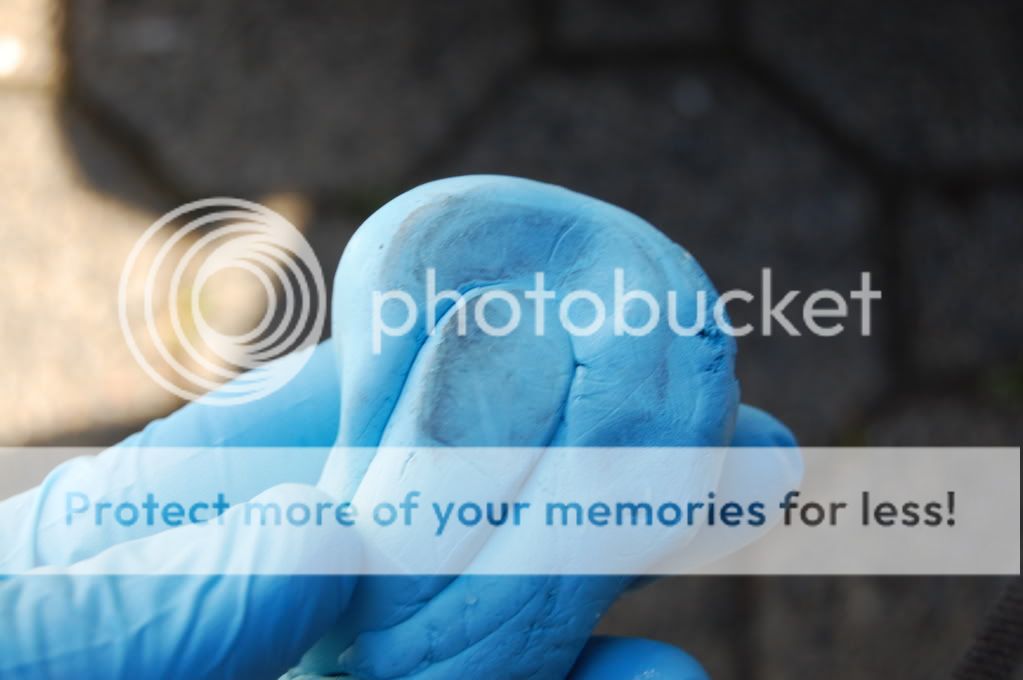
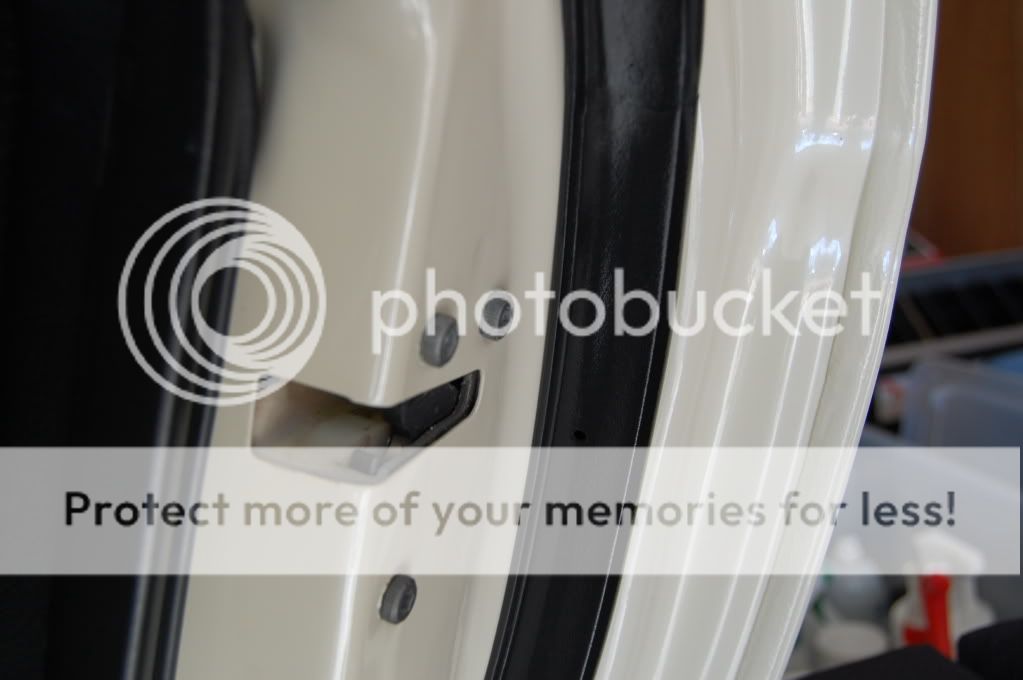
There was considerable overspray on the door jambs that the owner had concerns about- Aggressive clay used here
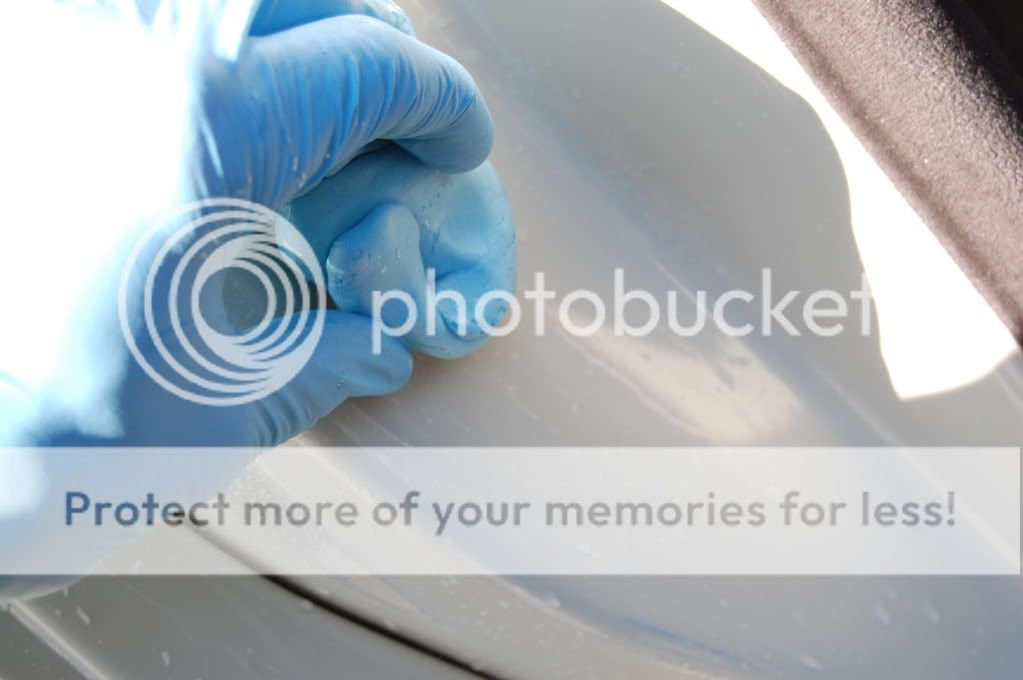
The car was then clayed with Uber fine clay using ONR as a lube and then re washed for the 3rd time- pulled inside to dry
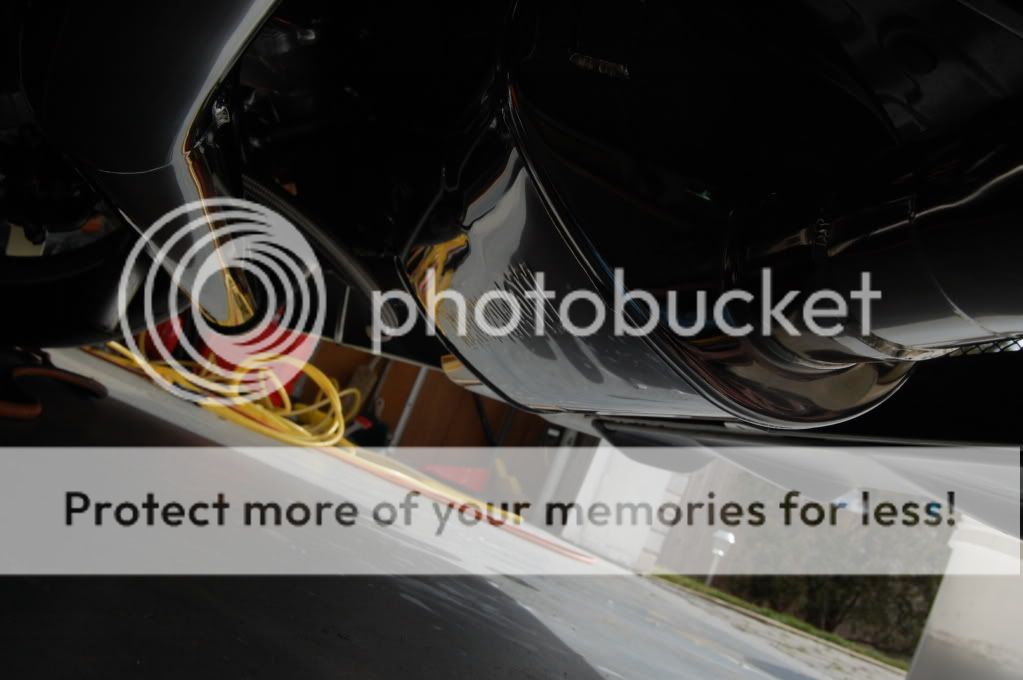
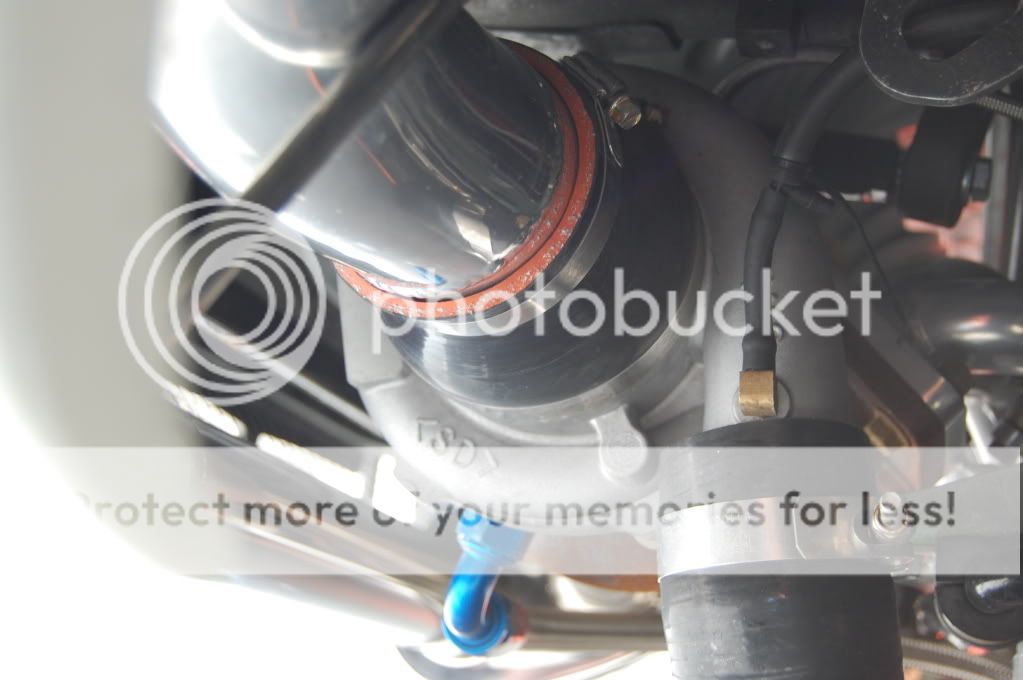
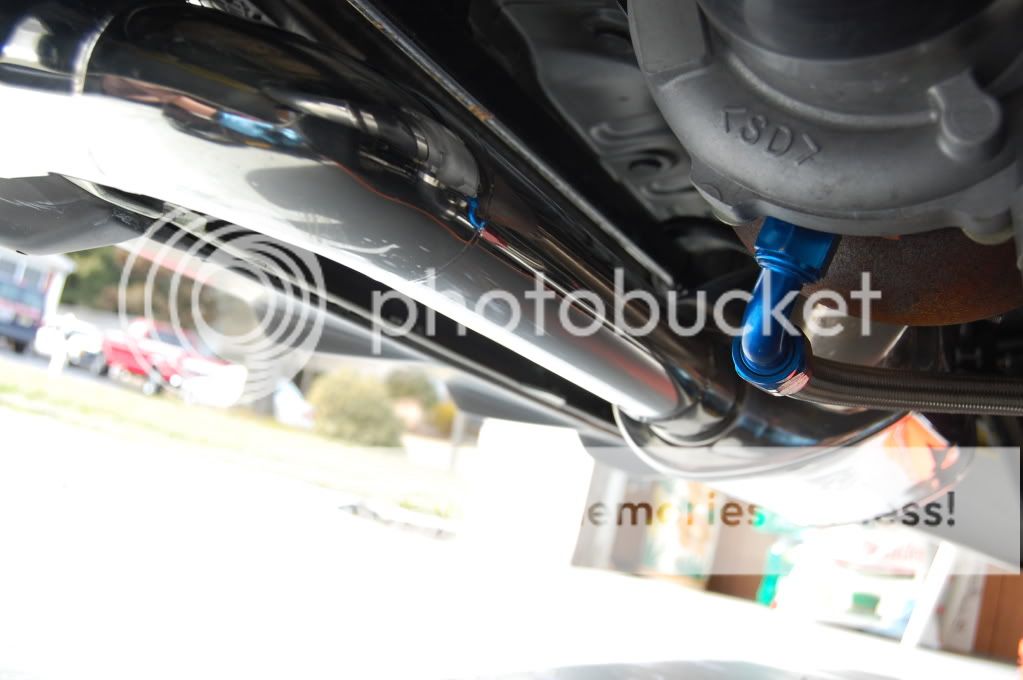
First thing to tackle- the water spotted and sad looking exhaust system
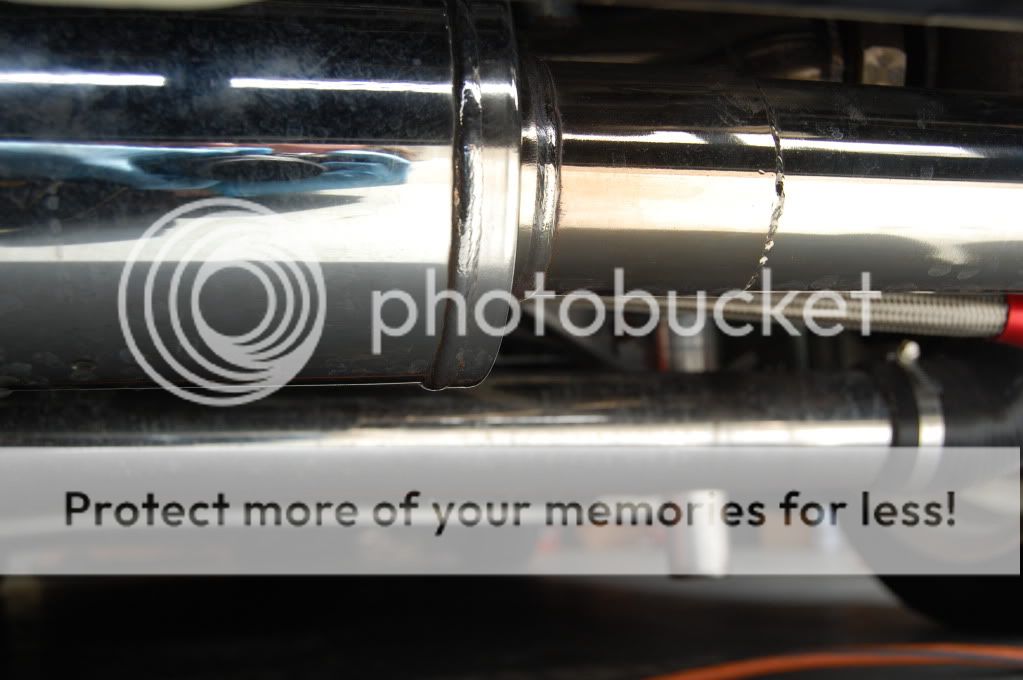
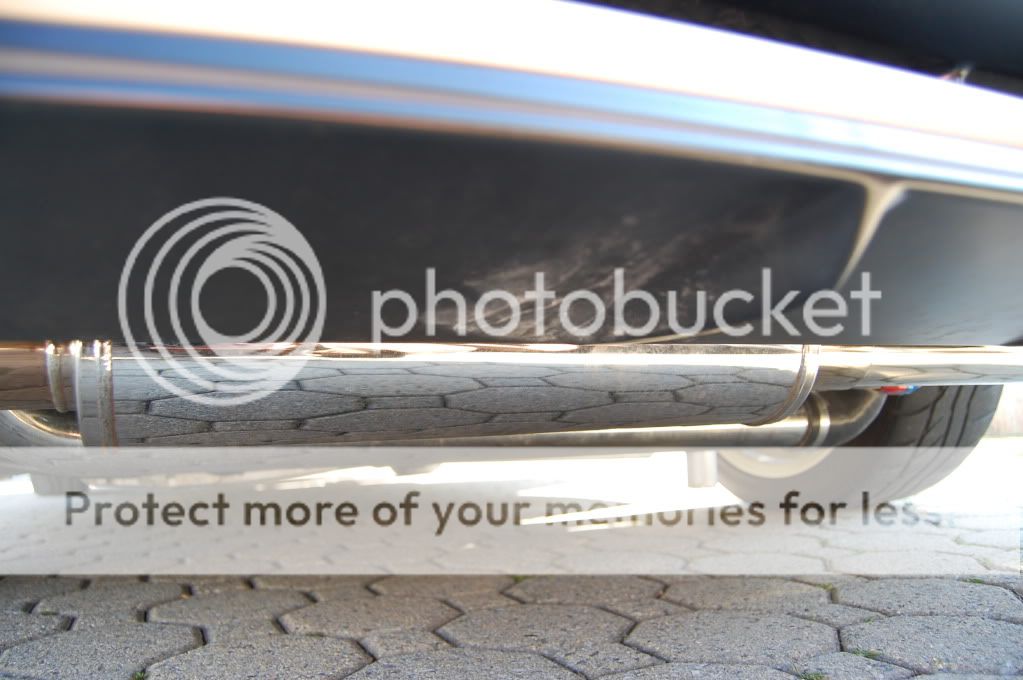
After an hour and P21s soap:
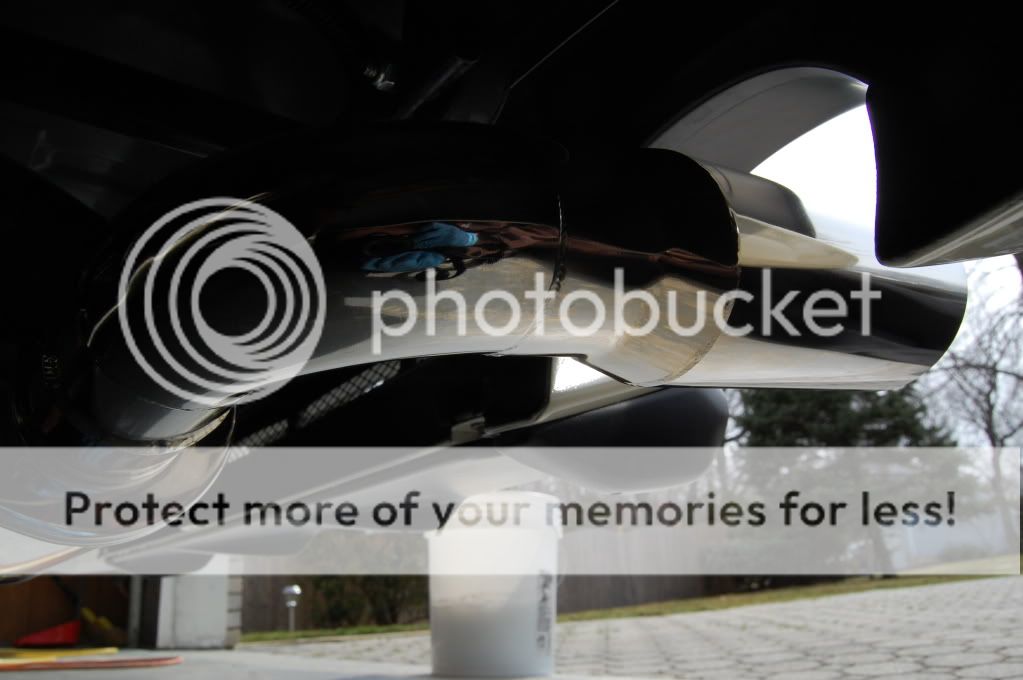
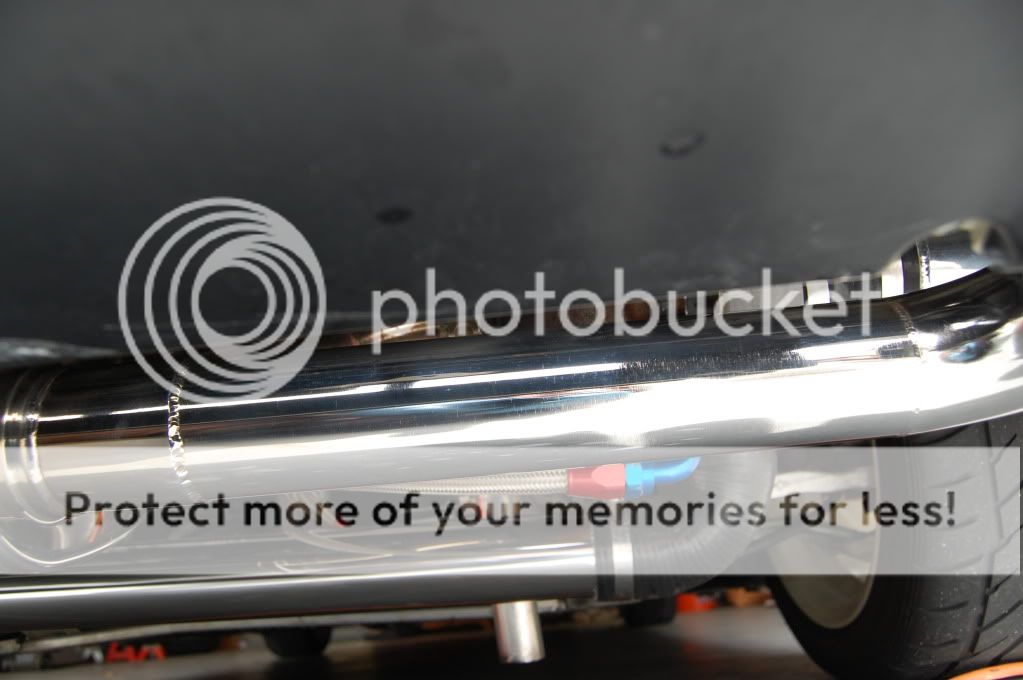
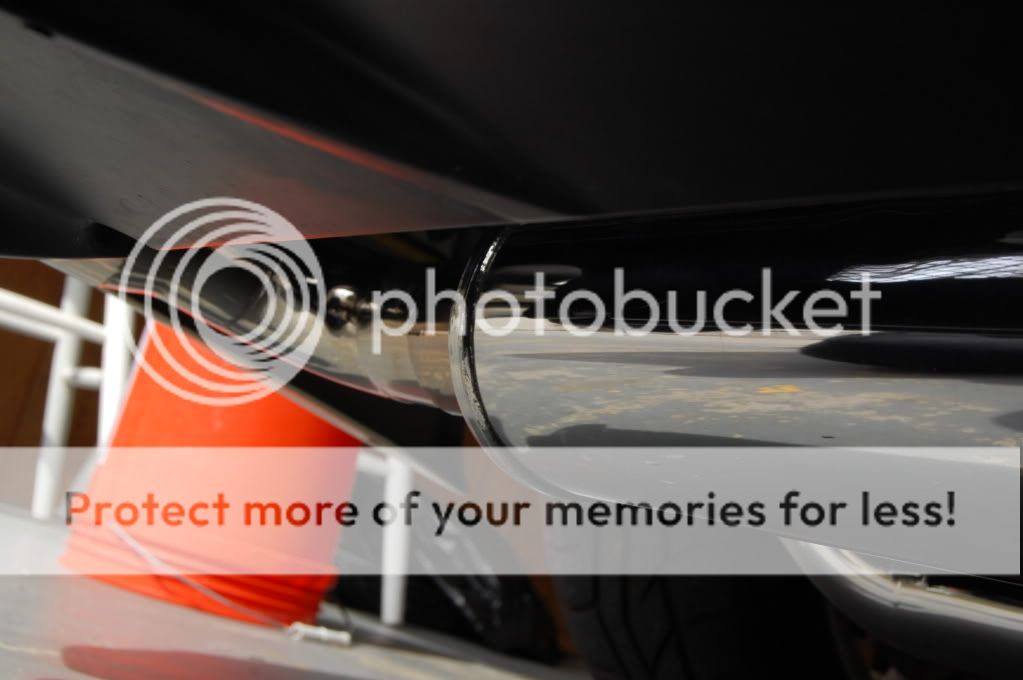
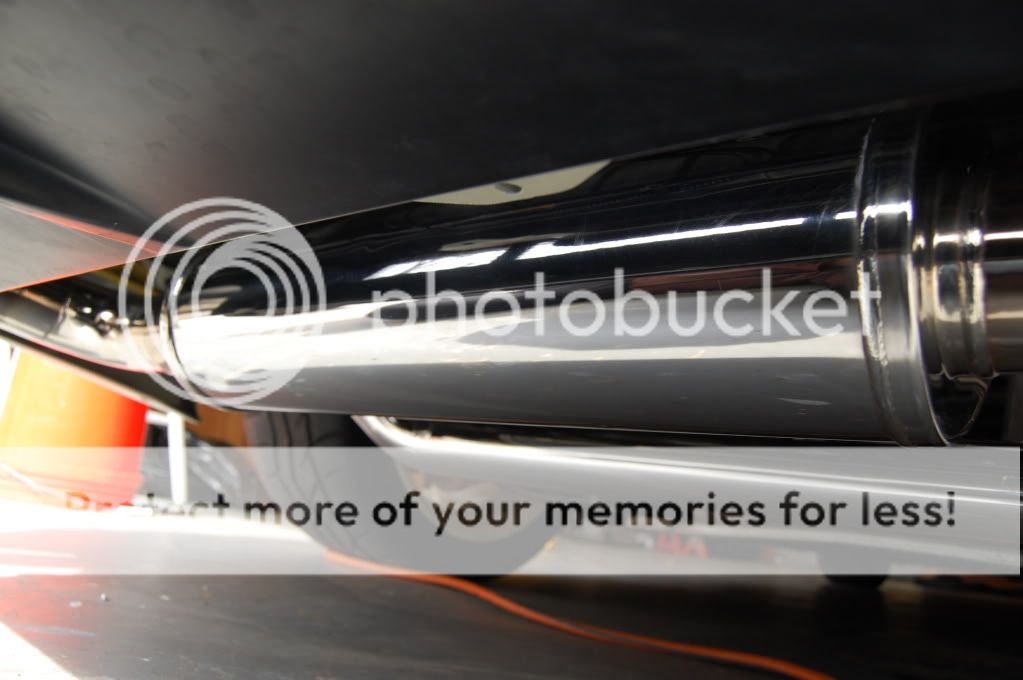
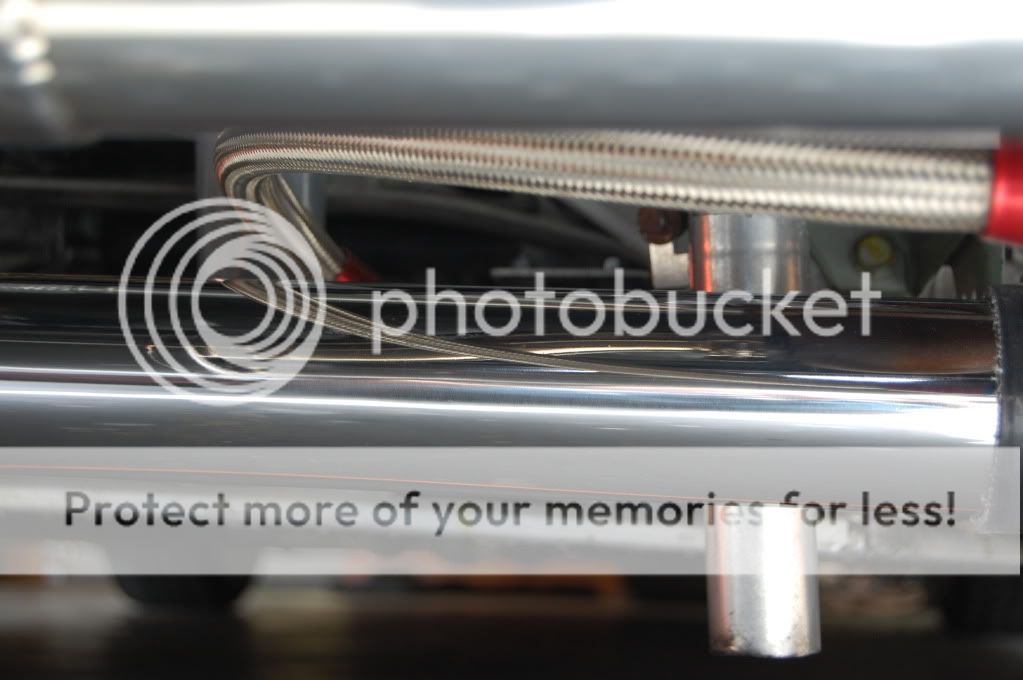
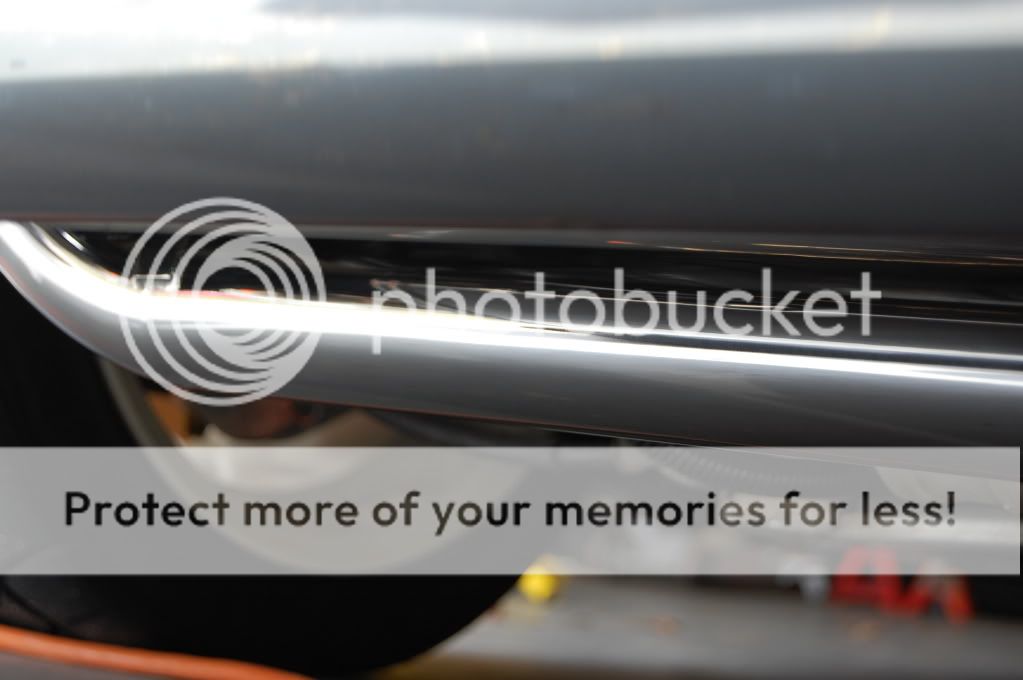
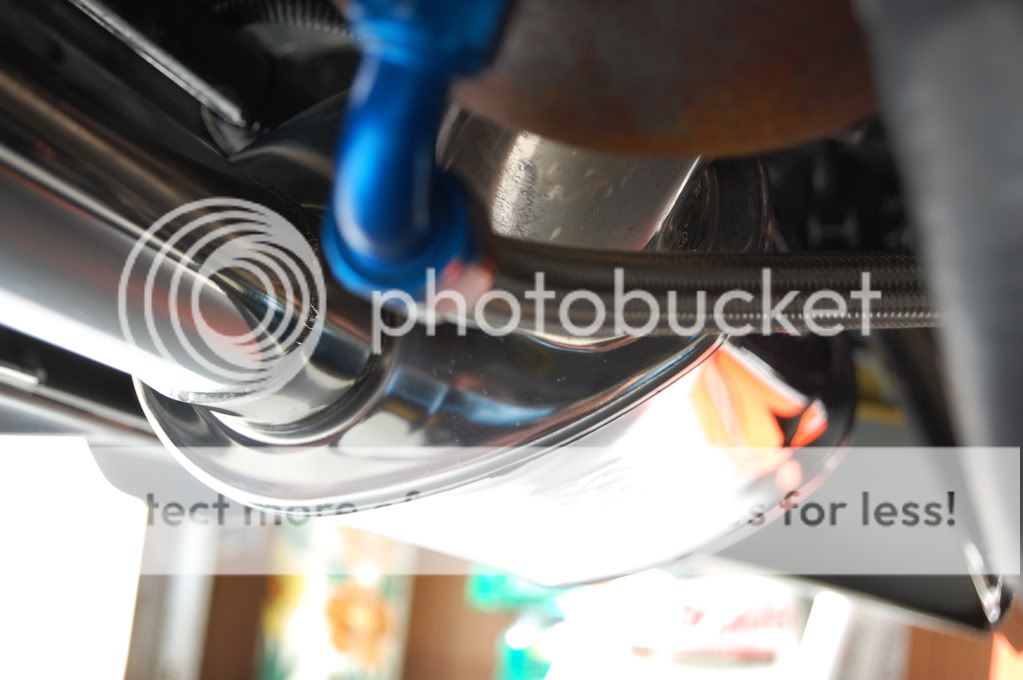
HELLO TURBO!
Paint correction time- 1st and 2nd day- 20 hours total
****Spotting paint defects was easy to do by eye however my Nikon SLR had trouble- Apologies for no before and after paint correction pics******* the pearl white paint was tricky!
Random sanding marks present

The process:
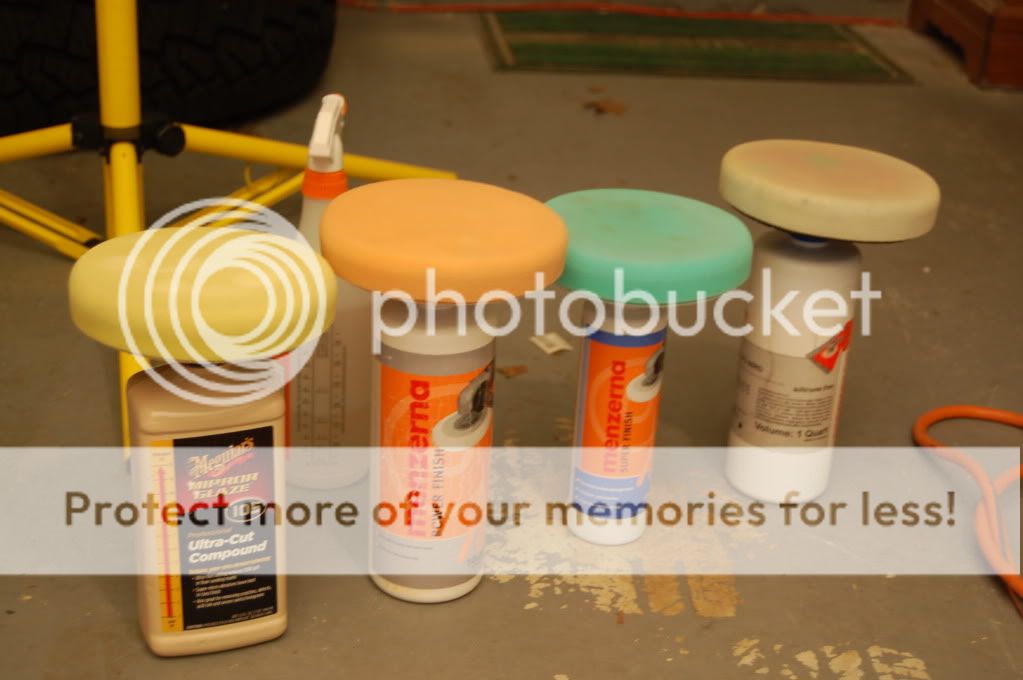
- add Surbuff R series pad to 105 as well
The finish was compounded with Megs 105 and a yellow cutting pad or a Surbuff Pad via my Porter Cable. Finished down with Menzerna Power finish on an orange pad, finished down even more with Menzerna Super Finish (106fa) on a green pad and finally jeweled out with Menzerna 85rd- IPA wipedowns performed in-between each step of course.
Coming along well

Surbuff R series pads used on rear decklid as well as areas where sanding marks were present
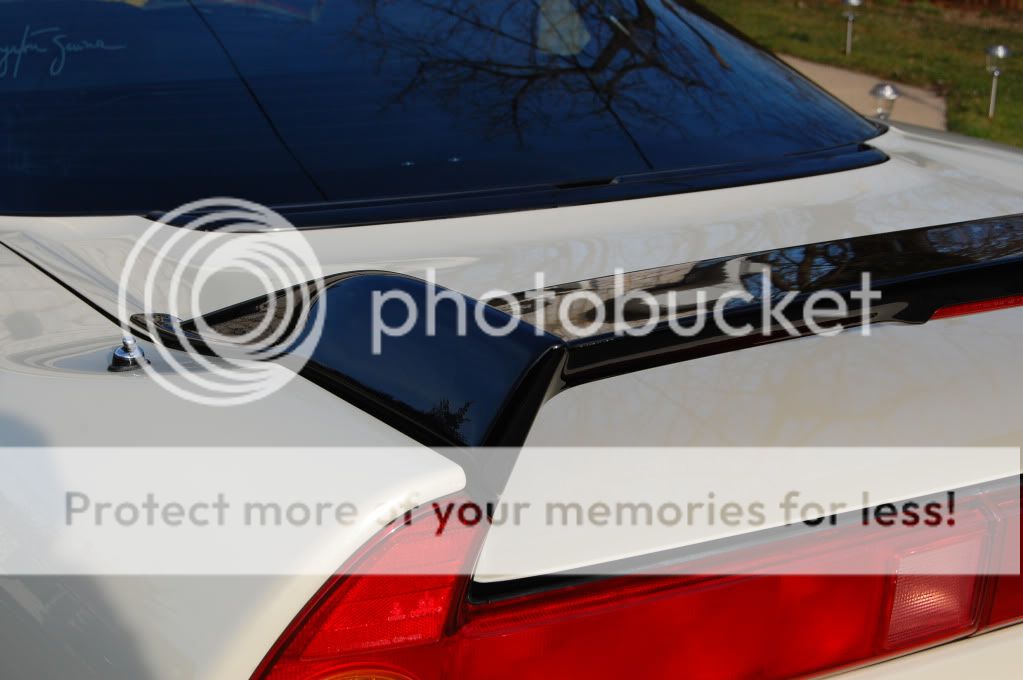
Spolier before:

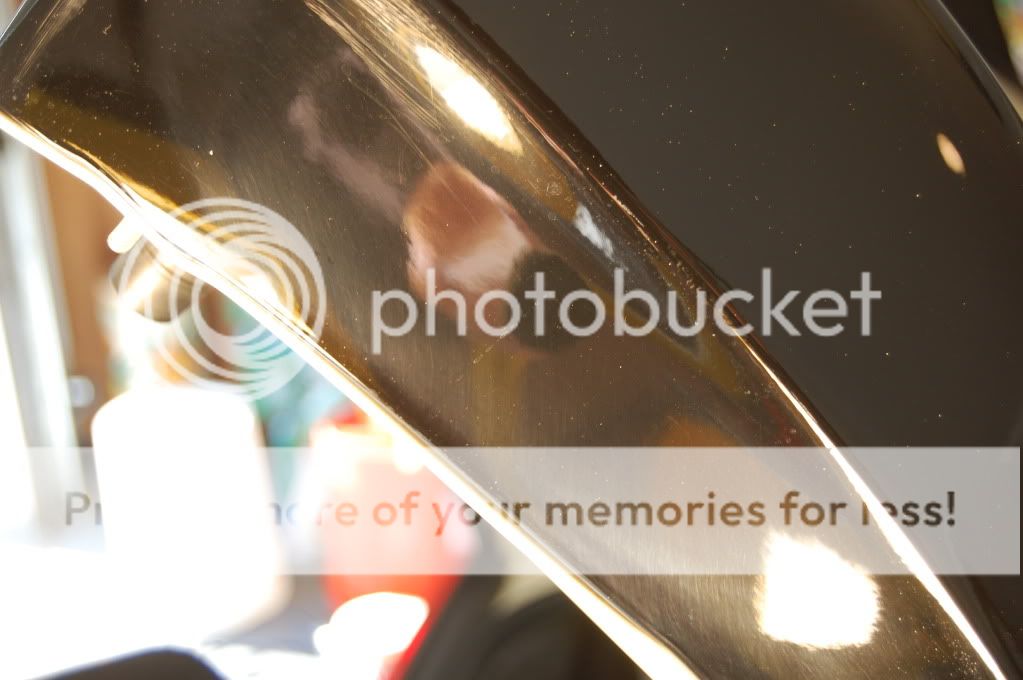
After:
Driver side of spoiler:
After:
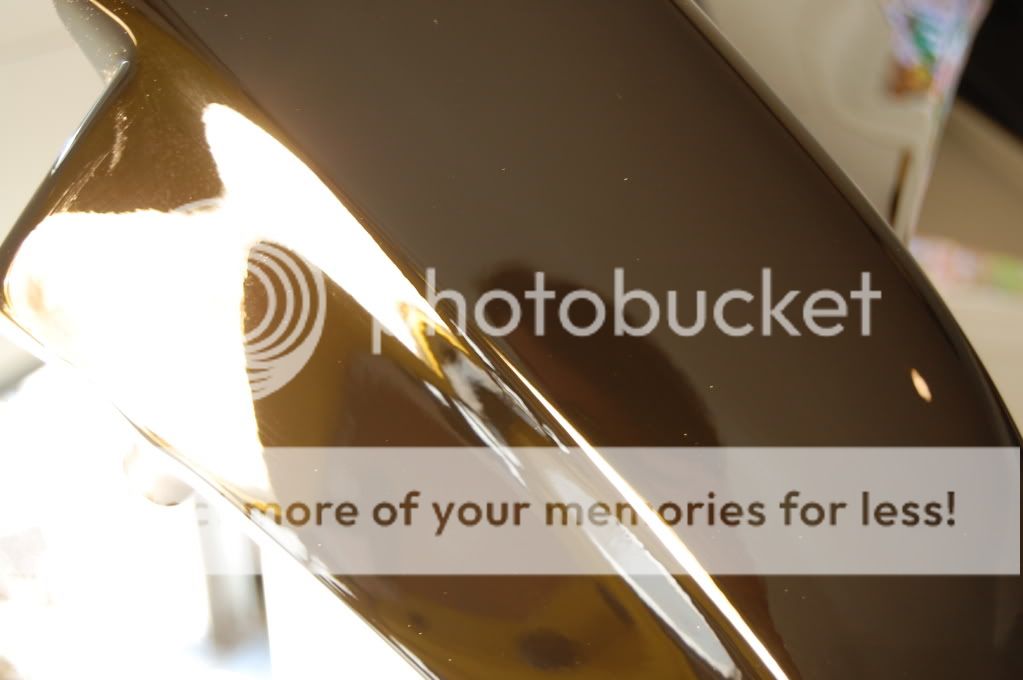
Spoiler coming along well:

Thought this was a cool shot
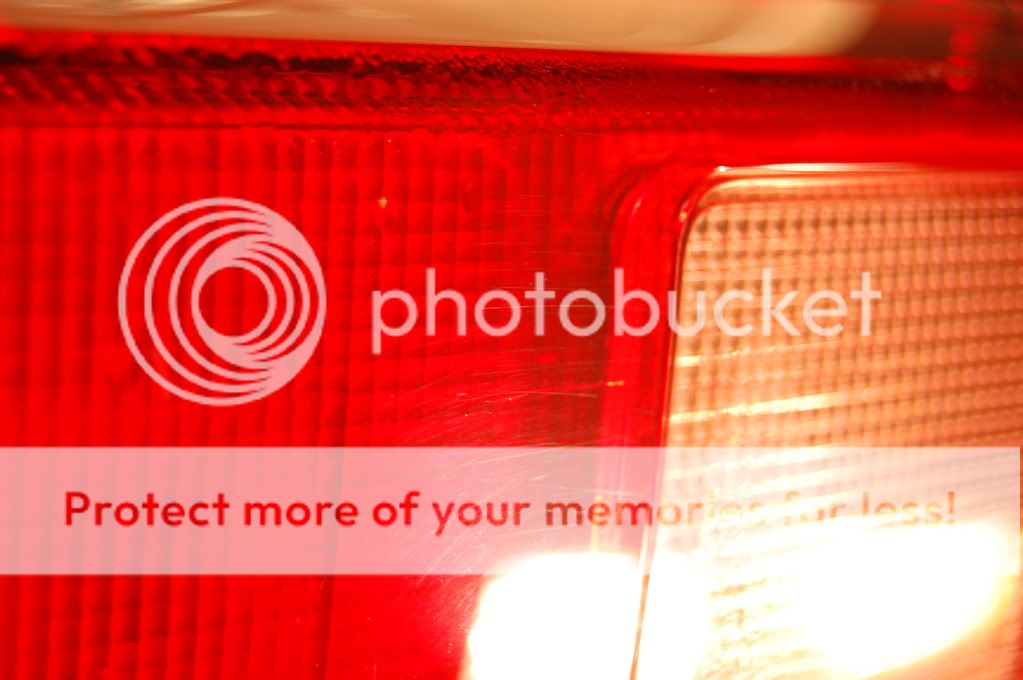
Tailights before:


After:


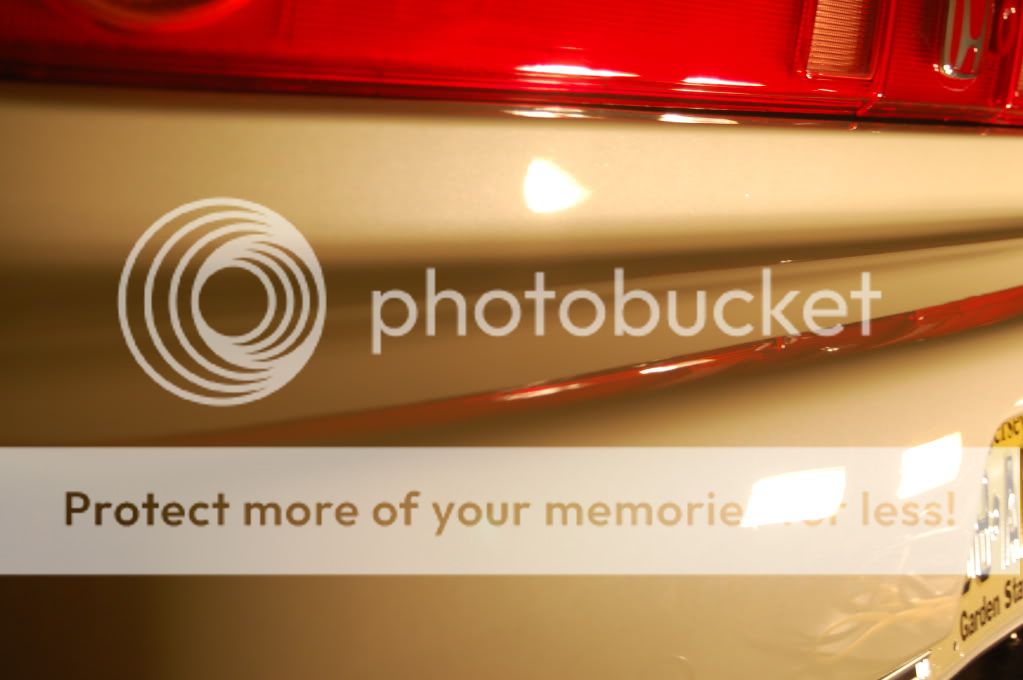
Rear bumper dialed in
Correction coming along well

The owners personal mechanic stopped by late that night to remove the wheels and put the car up on stands so that I could access the wheels more in depth and the wheel wells and coils too.
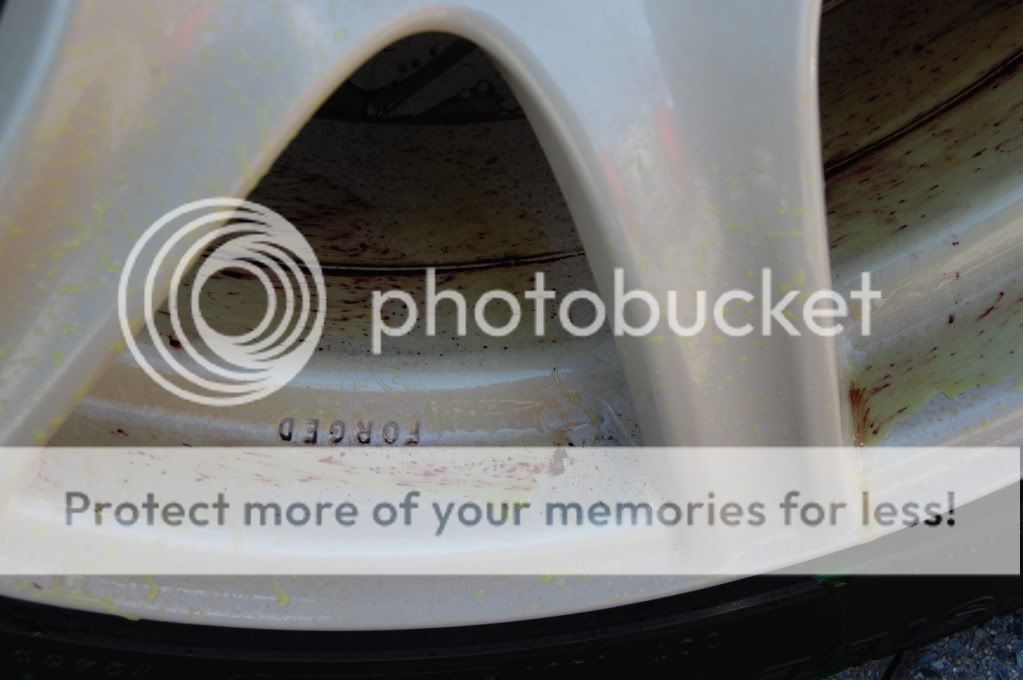
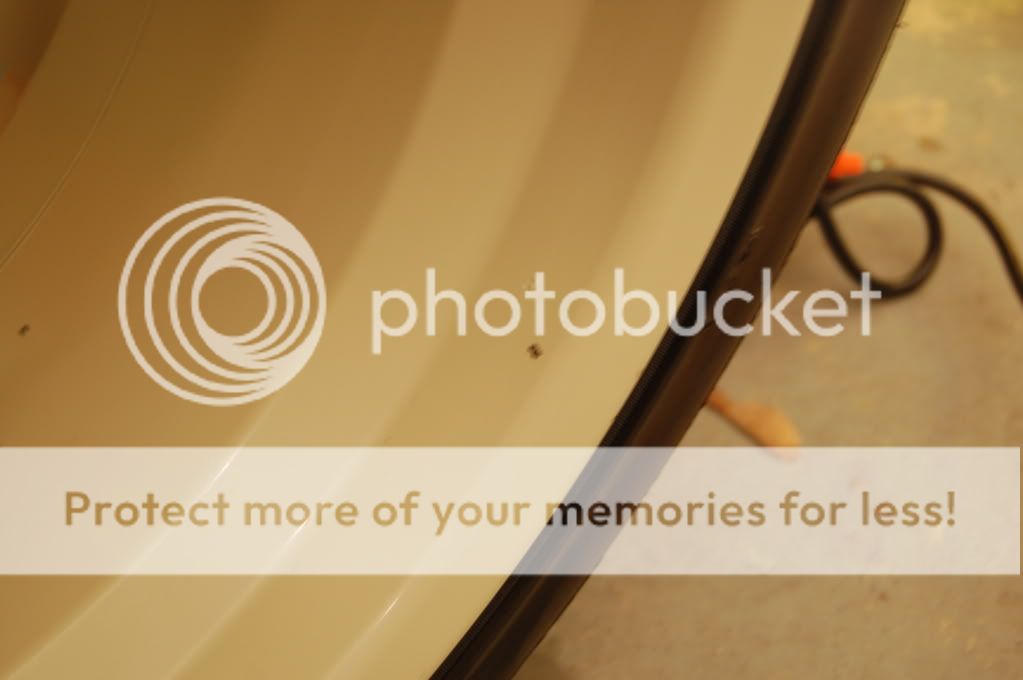
Iron X doing its thing on the barrels
After letting dwell and agitated after 10 minutes, the wheels were rinsed and brought inside
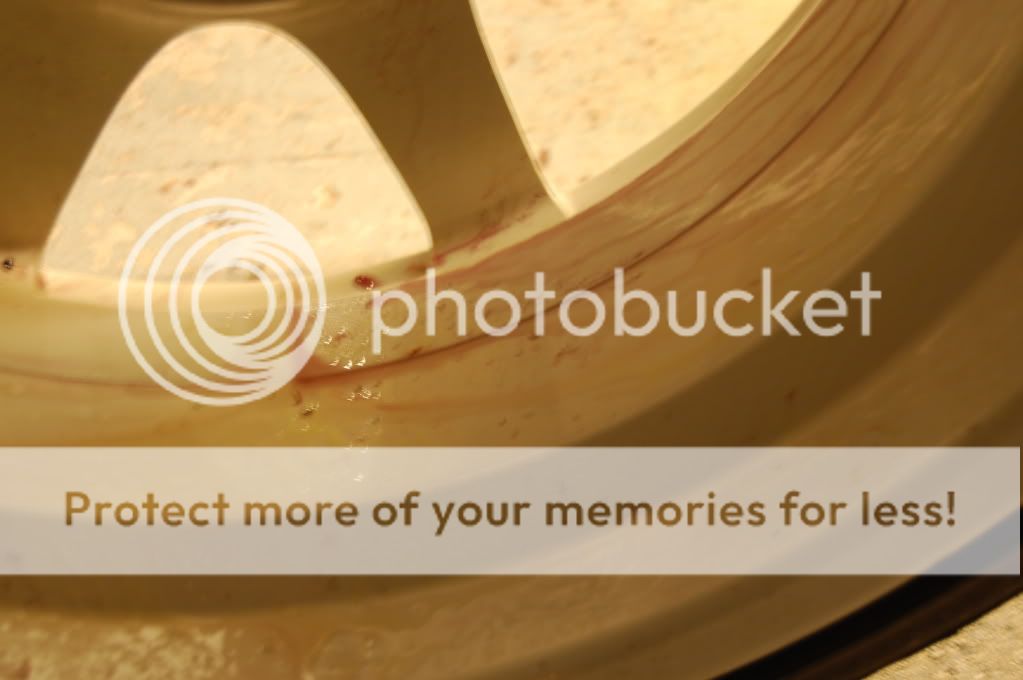
Multiple tar spots in barrel


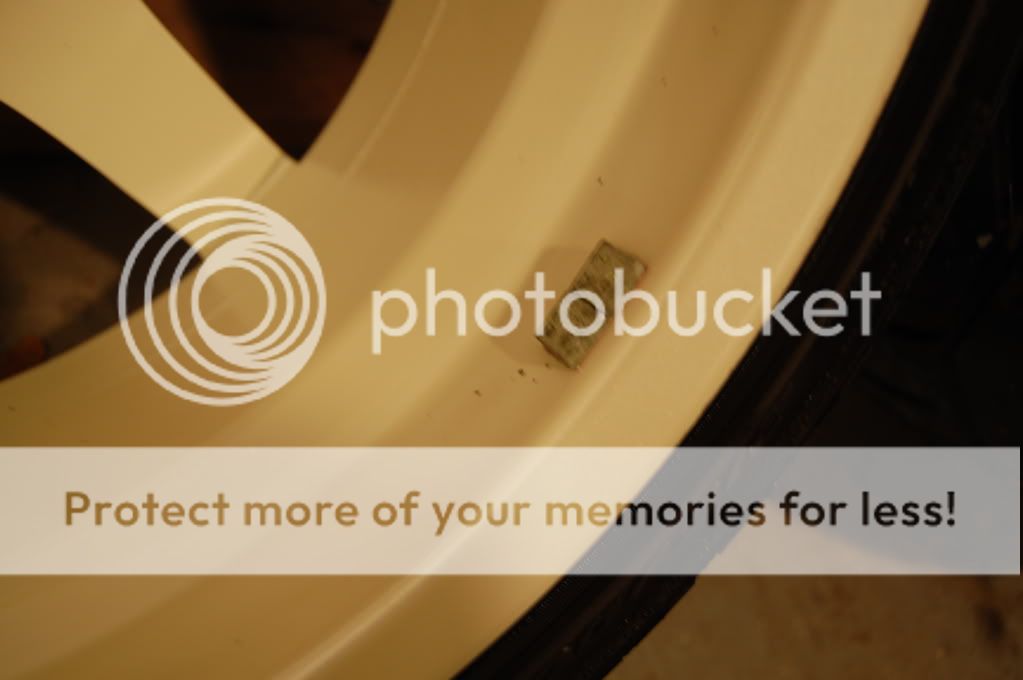
The tar spots were heated with a heat gun one at a time and treated with Tarminator- here is a shot of the tar melting

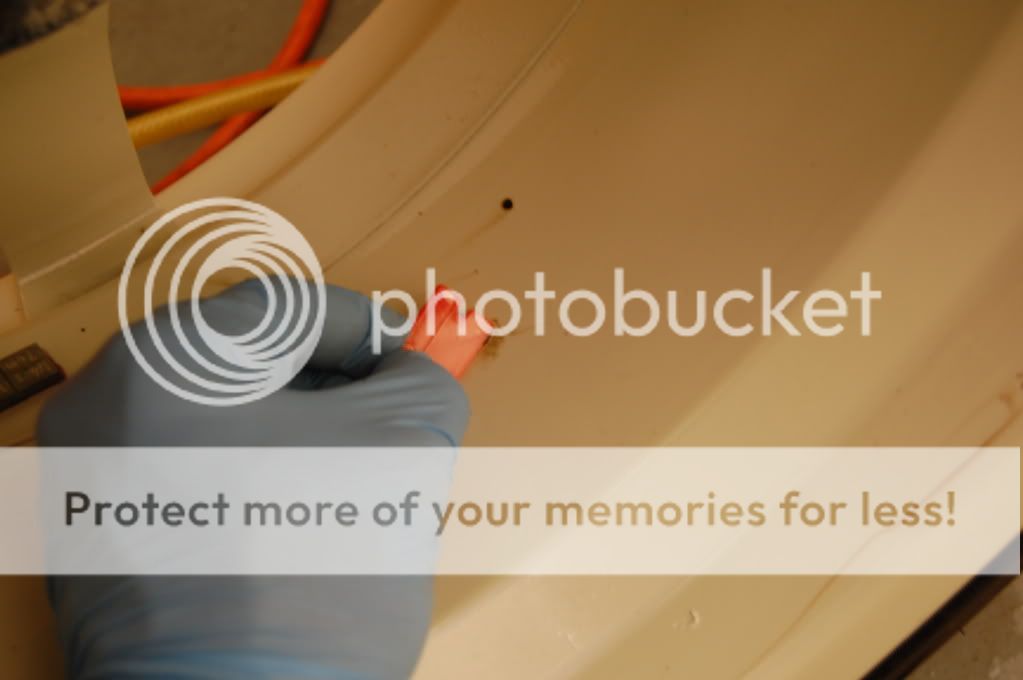
Plastic razor blade used to pick and remove tar spots:
After the barrels were dried I then clayed the barrels with my designated wheel clay
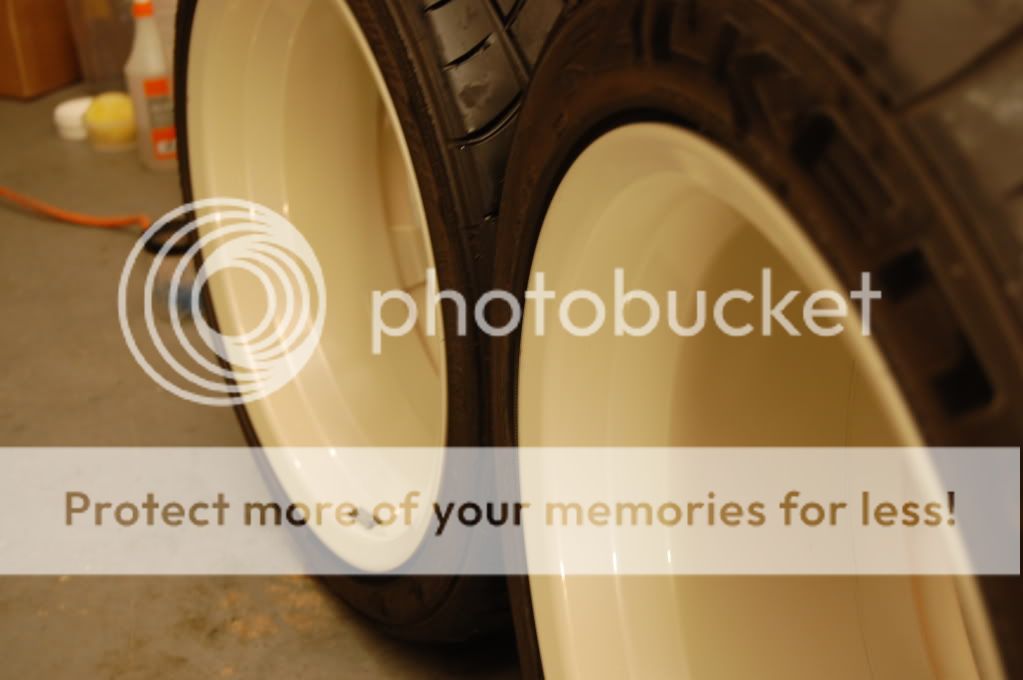
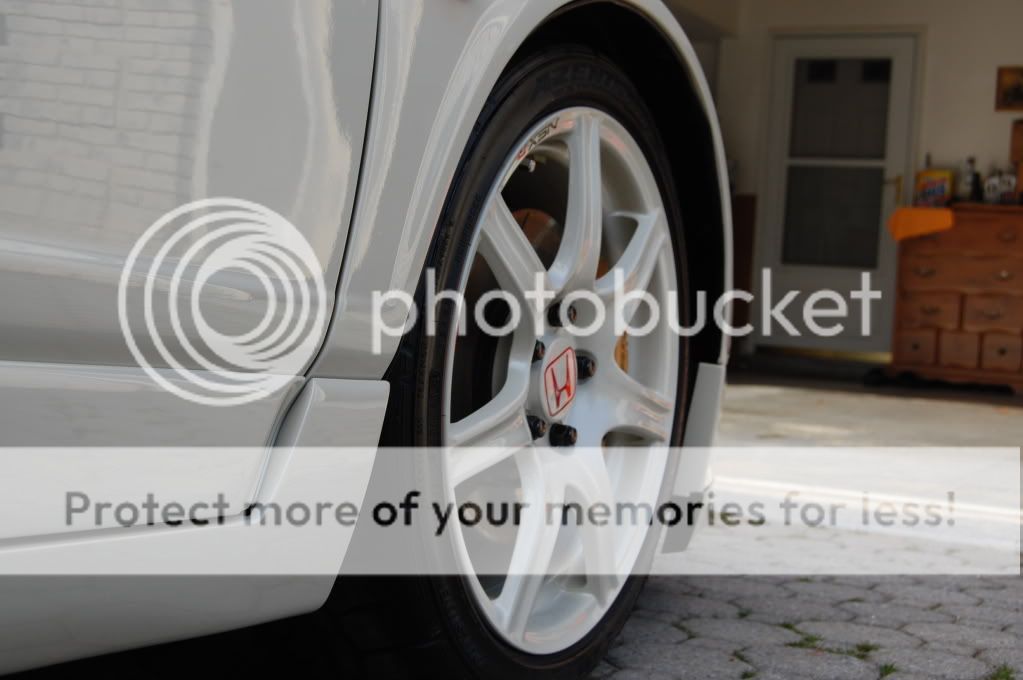
Wheels dried and dialed in
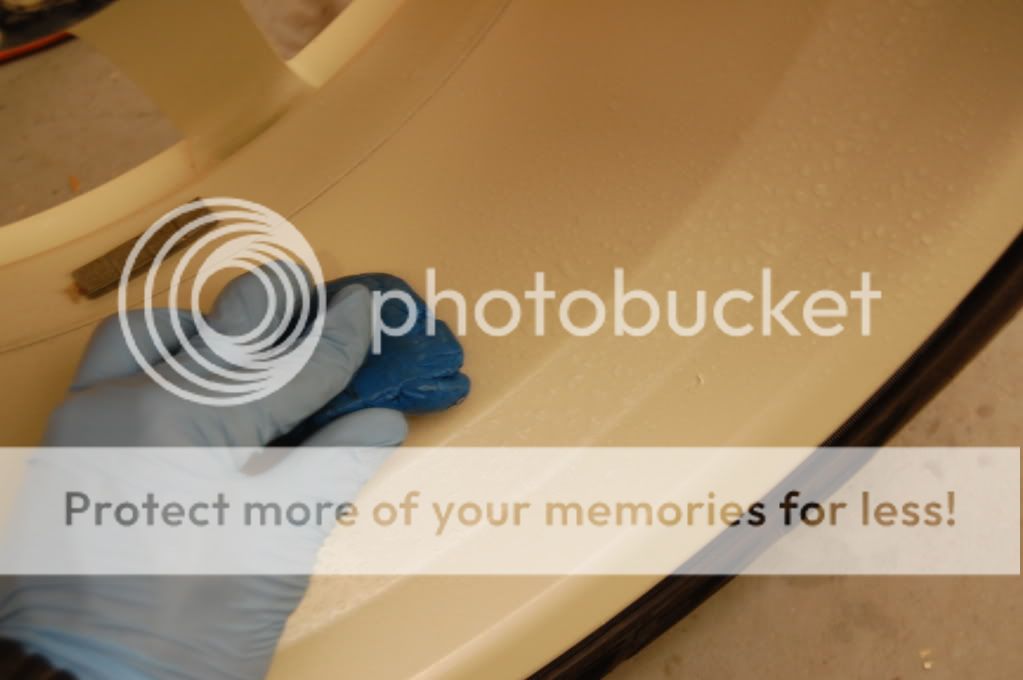
Jetseal 109 applied to wheels- barrel and face
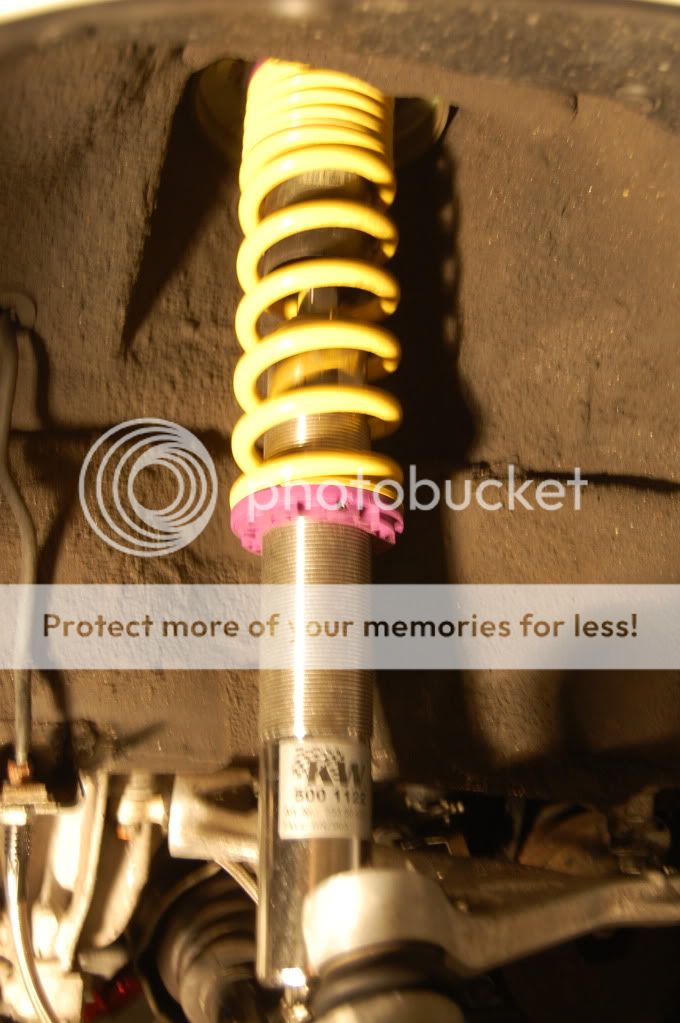
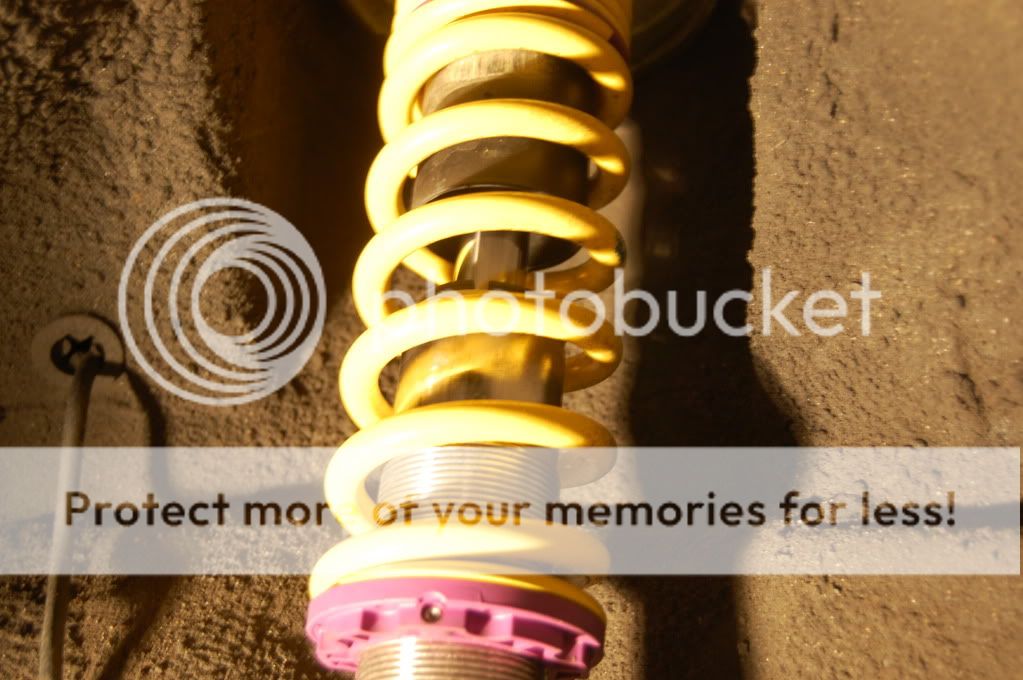
With the wheels off I could then focus on degreasing the Coils and various pieces in the wells:
Before
After

Pillar Correction
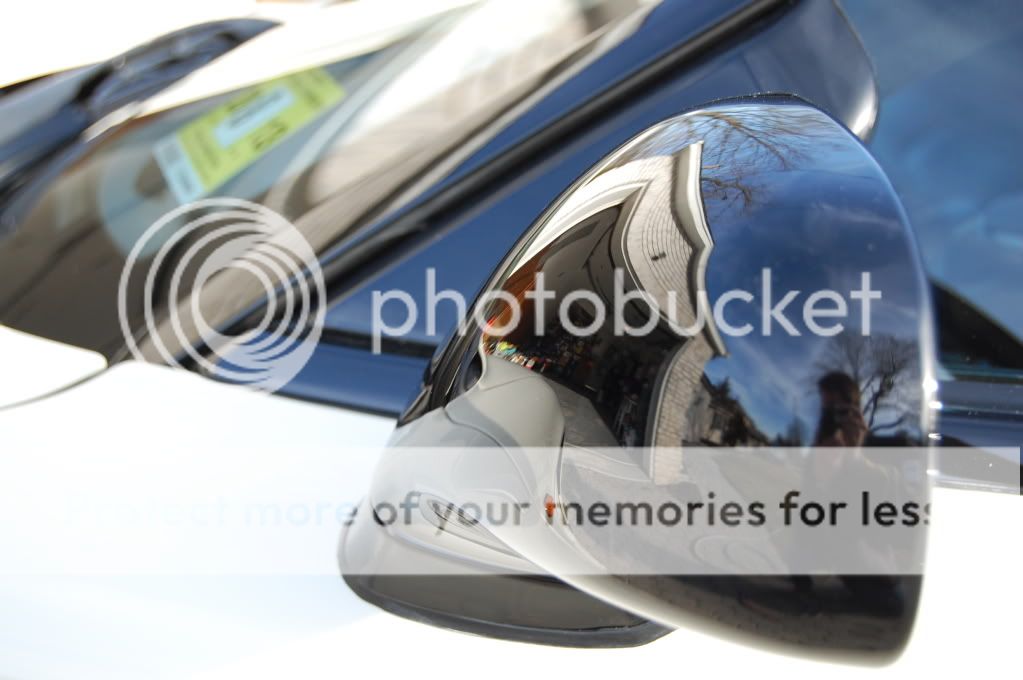
Mirror before


Mirror after:
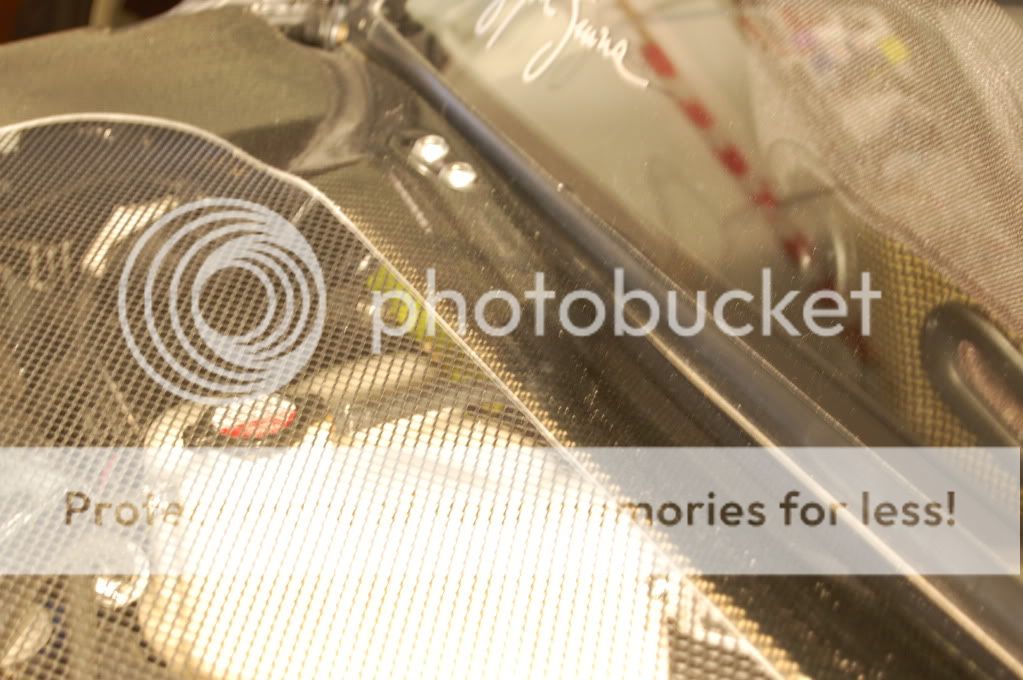
The CF engine cover was swirled and was pretty dull- there were also too spots where some sort of scuffing/oxidation existed
- one pass with Menzerna Power finish on a 3 inch yellow pad made quick work of the defects
Before:
After:
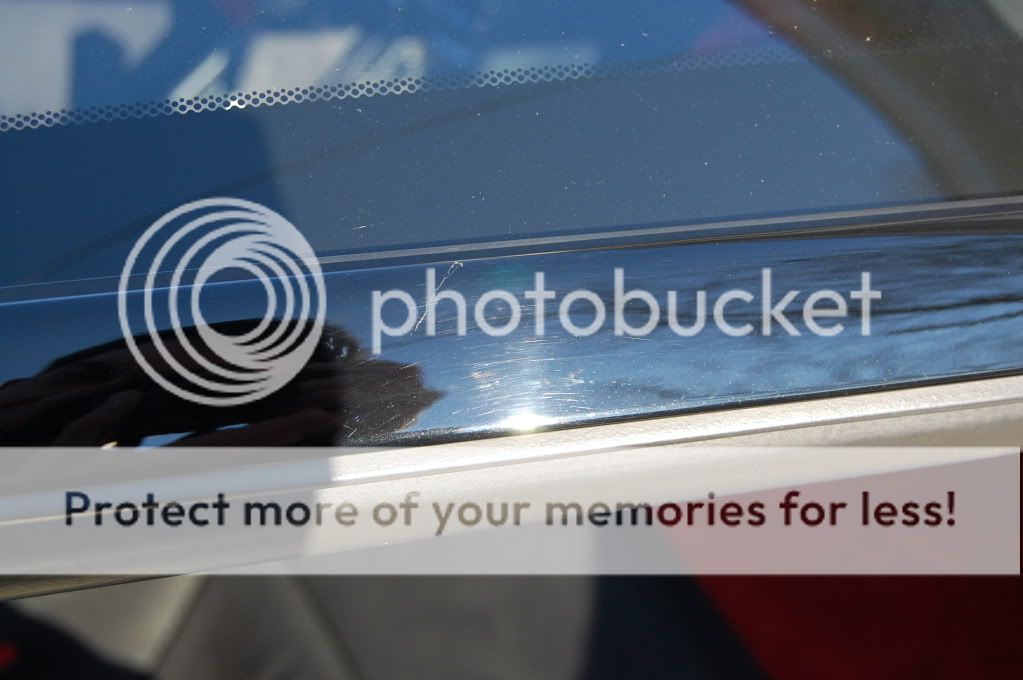
Notice line up by window showing before and after polishing:
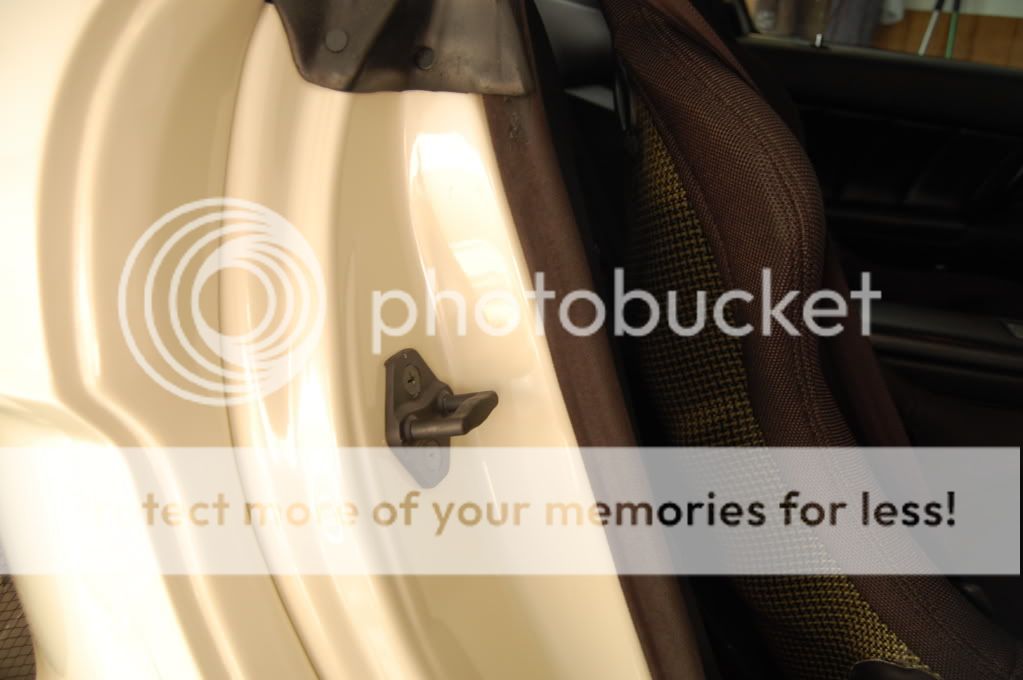
Near the end of Day two and after 20 hours of paint correction I focused more on getting the door jambs which containted a significiant amount of paint overspray dialed in.
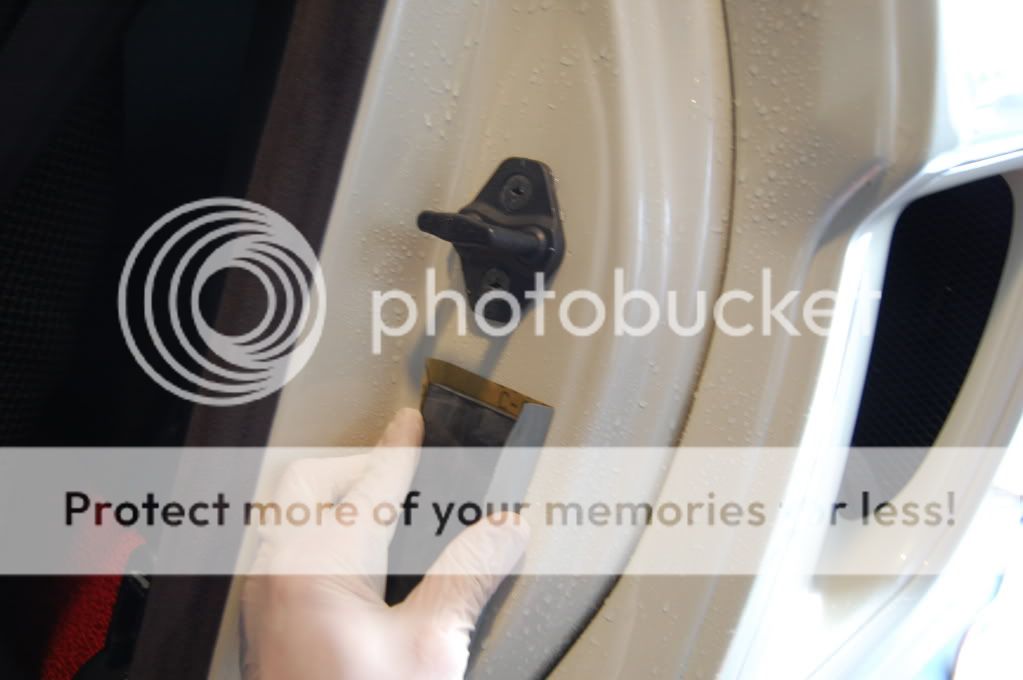
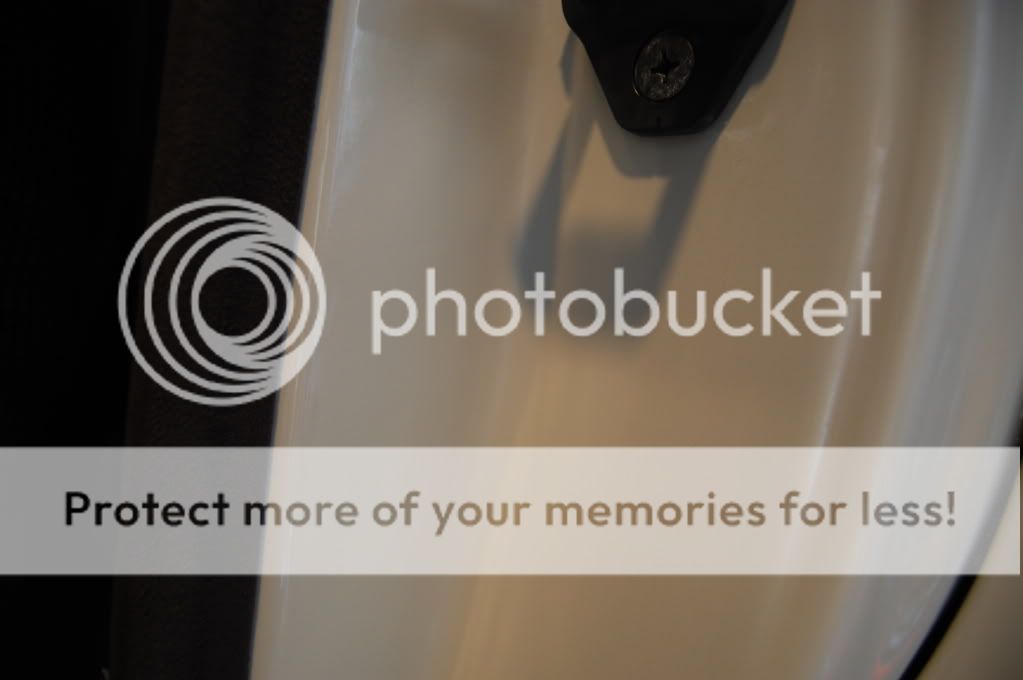
Wetsanded with 3000 grit here, followed up by hand polishing and PC polishing with a yellow pad- Megs 105


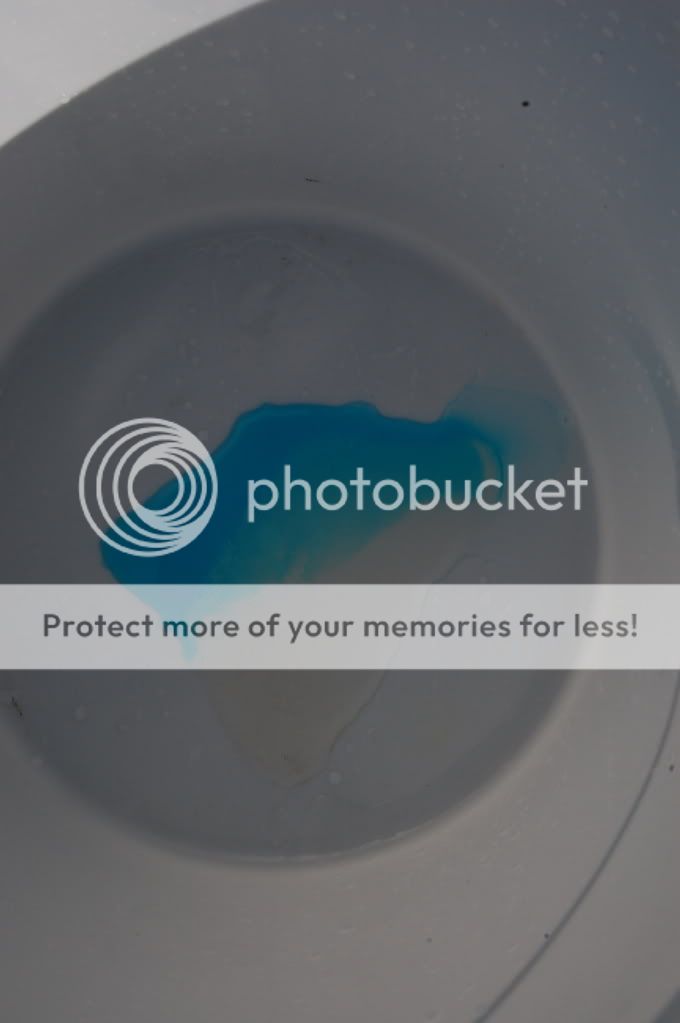
Paper sitting in bucket full of warm water for 15 min.

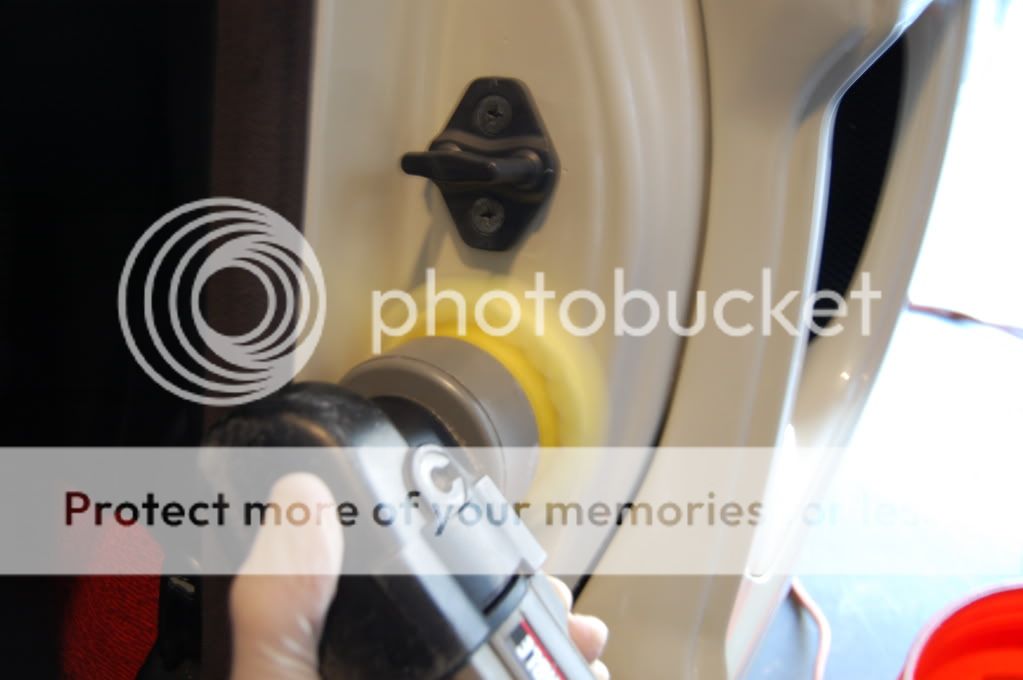
After:
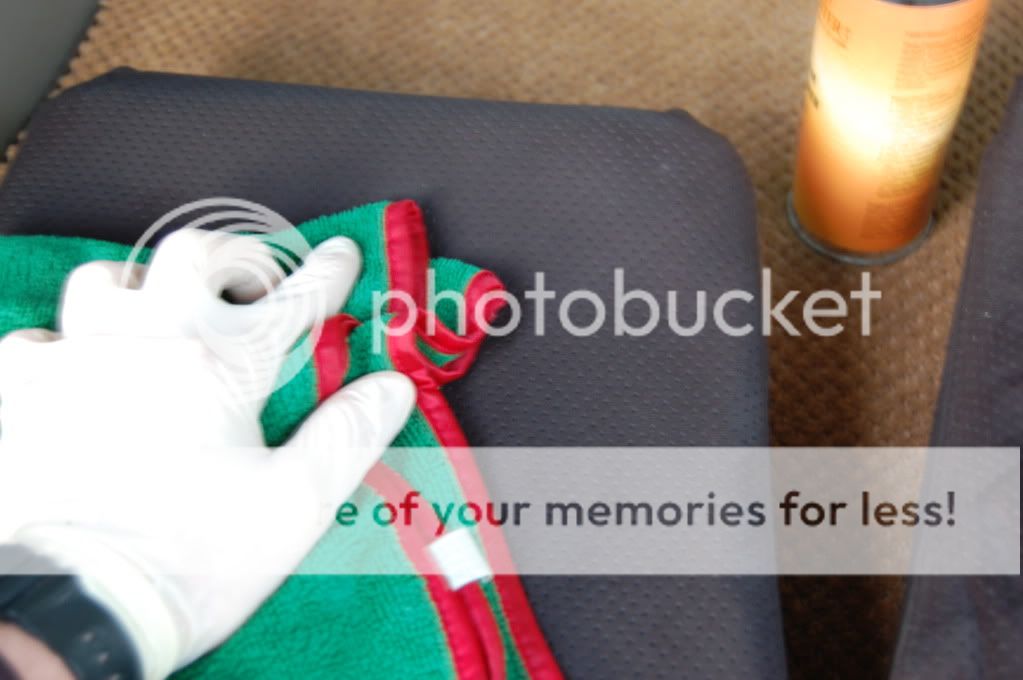
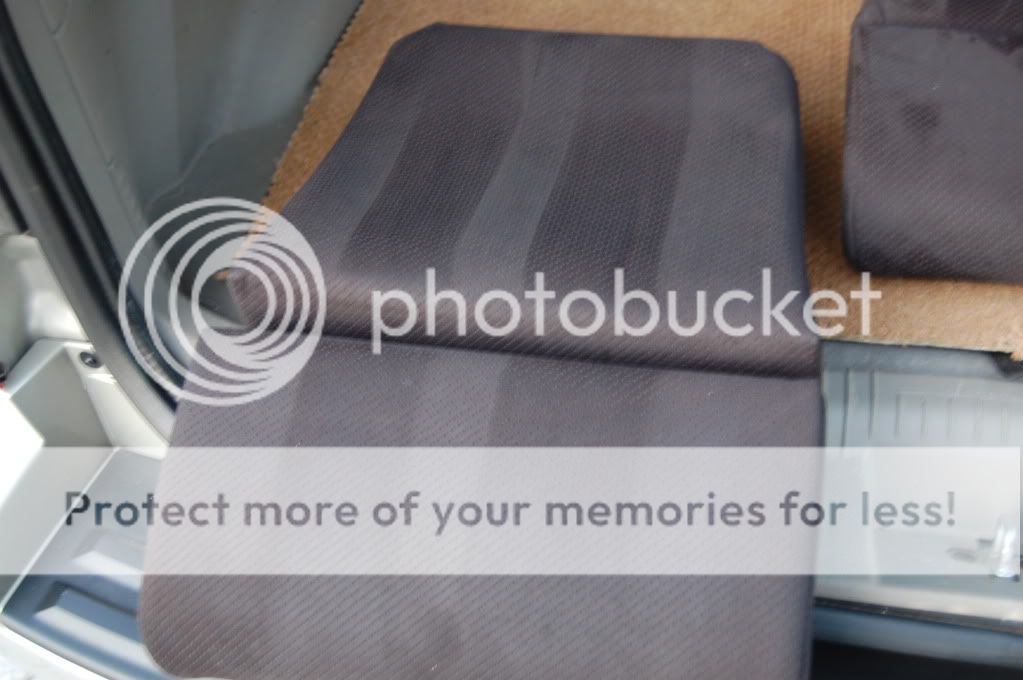
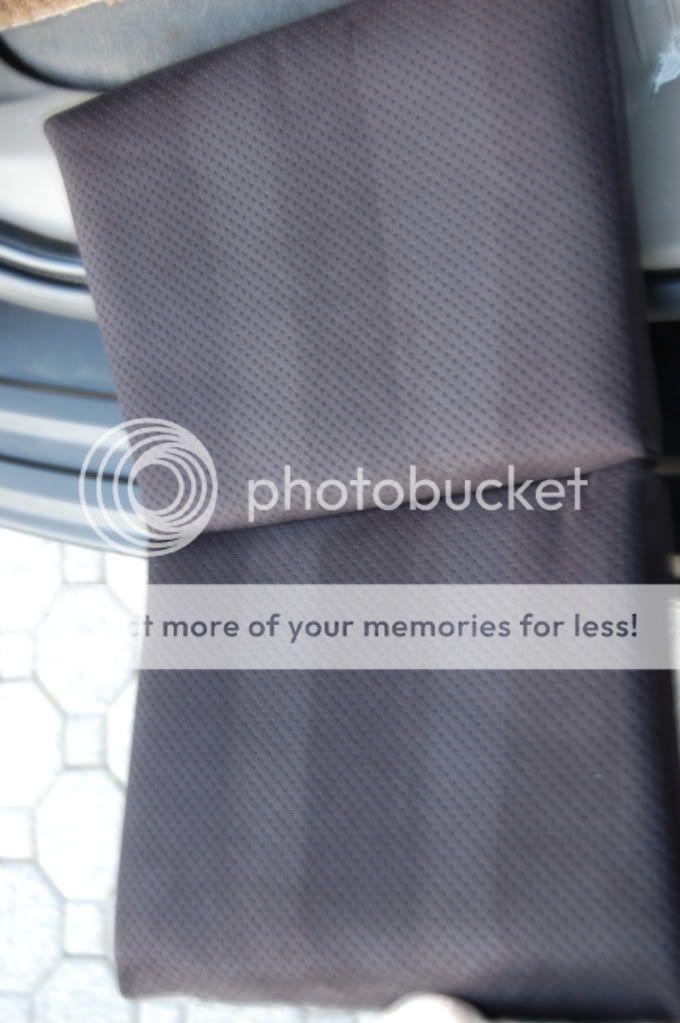
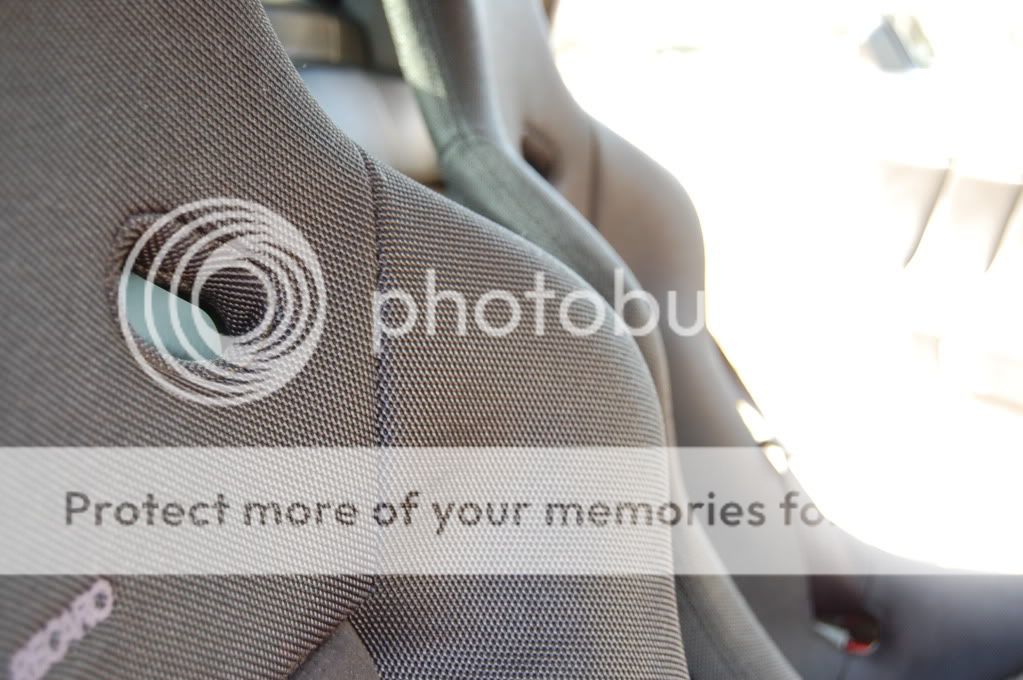
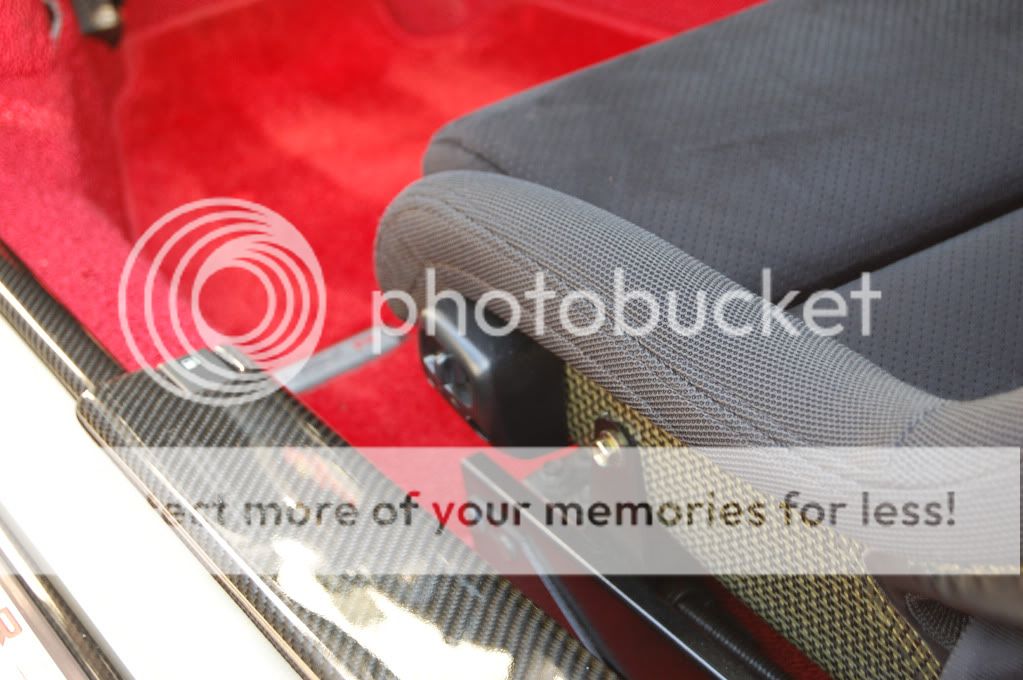
The Recaro buckets had suede inserts- these were removed- blown with compressed air and vacuumed with a brush attachment.
Leather Masters suede/alcantara cleaner used here with a damp MF towel- left to dry overnight.
Owner had requested the sticker from the window tint to be removed
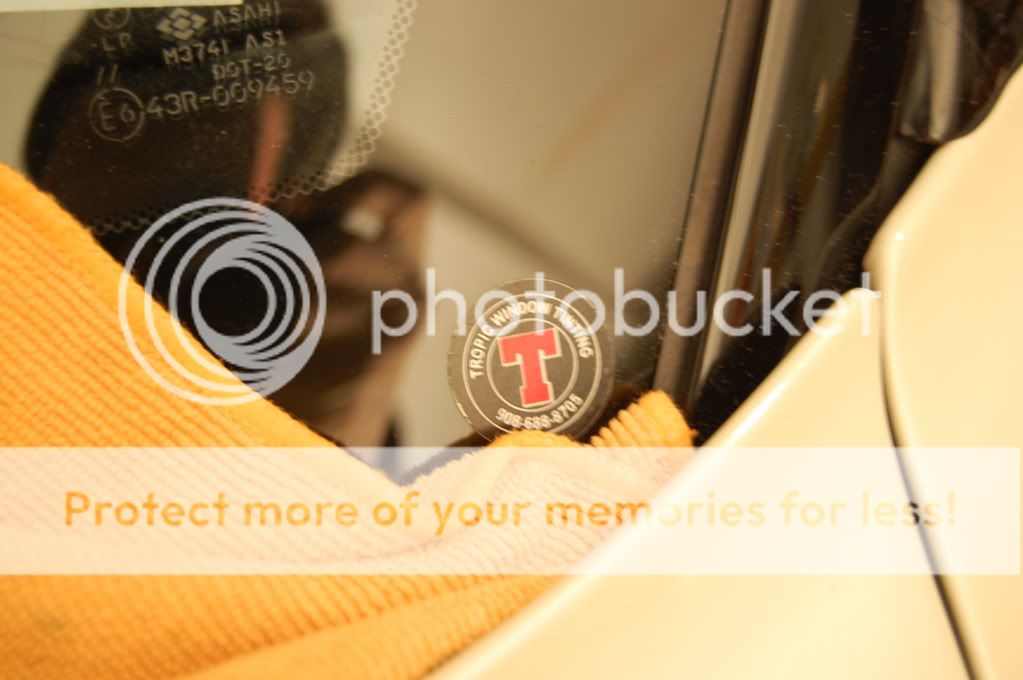
Heated on low heat with heat gun
MF towel dampened with 3M adhesive remover left over sticker for 5 minutes removed and plastic razor blade used to tremove sticker


Zaino Z12 clear view glass polish applied via Flex DA and a Uber orange foam pad

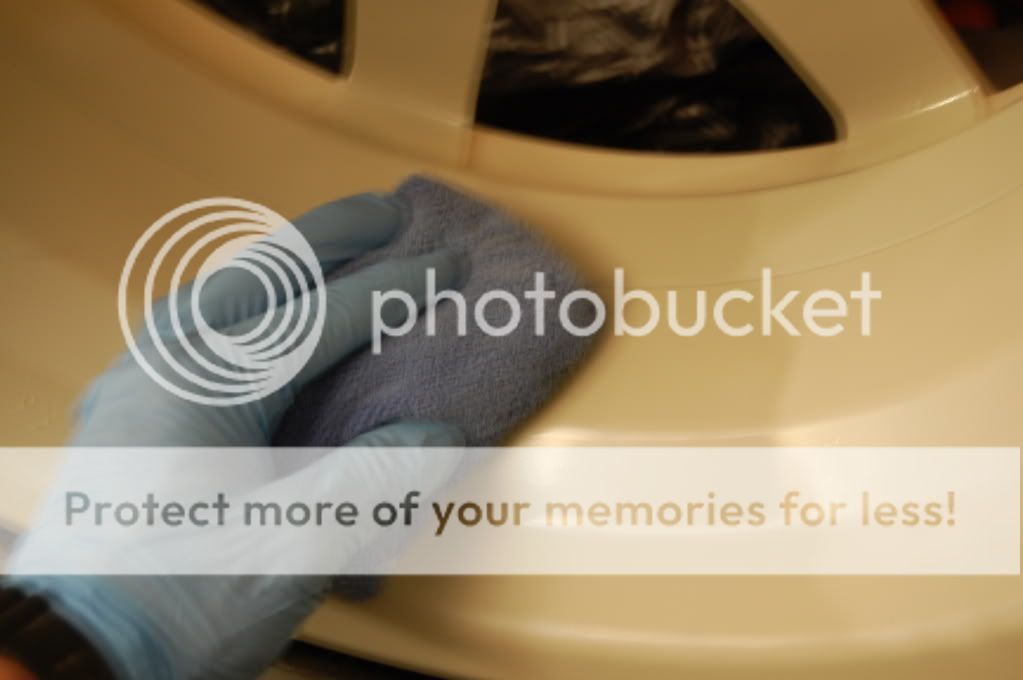
Wheels wiped down after sealant hazed and waiting to be put back on the beast
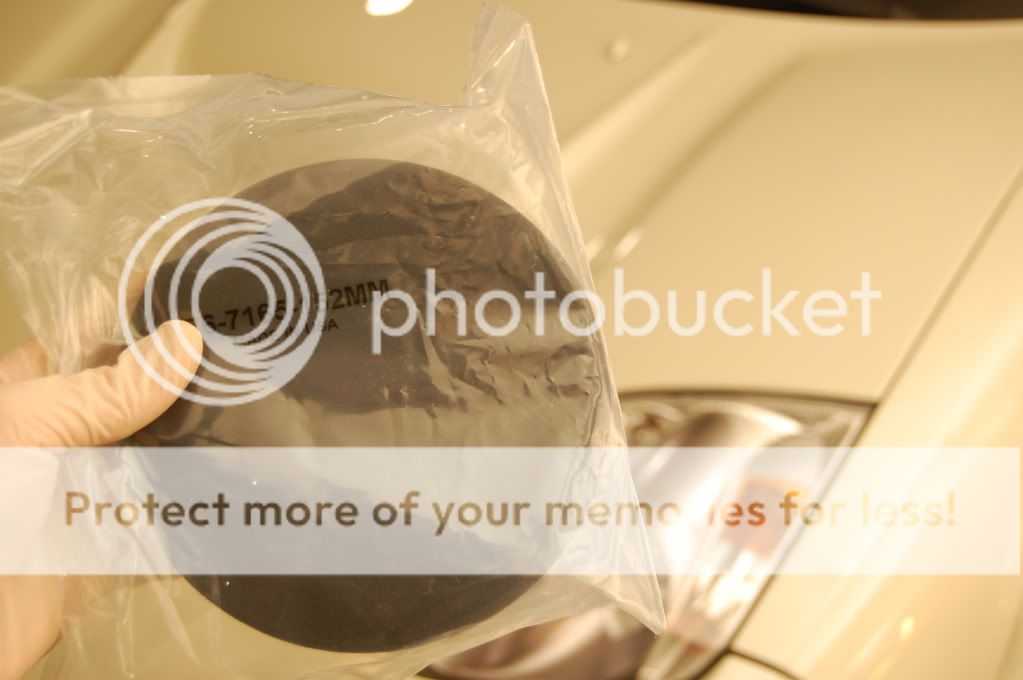
Brand new Black pad to apply sealant used on this one:
Mechanic came back over at end of night 2 to put wheels back on
In garage at end of night 2 letting Menzerna Powerlock to sit overnight:
Day 3- wrapping up
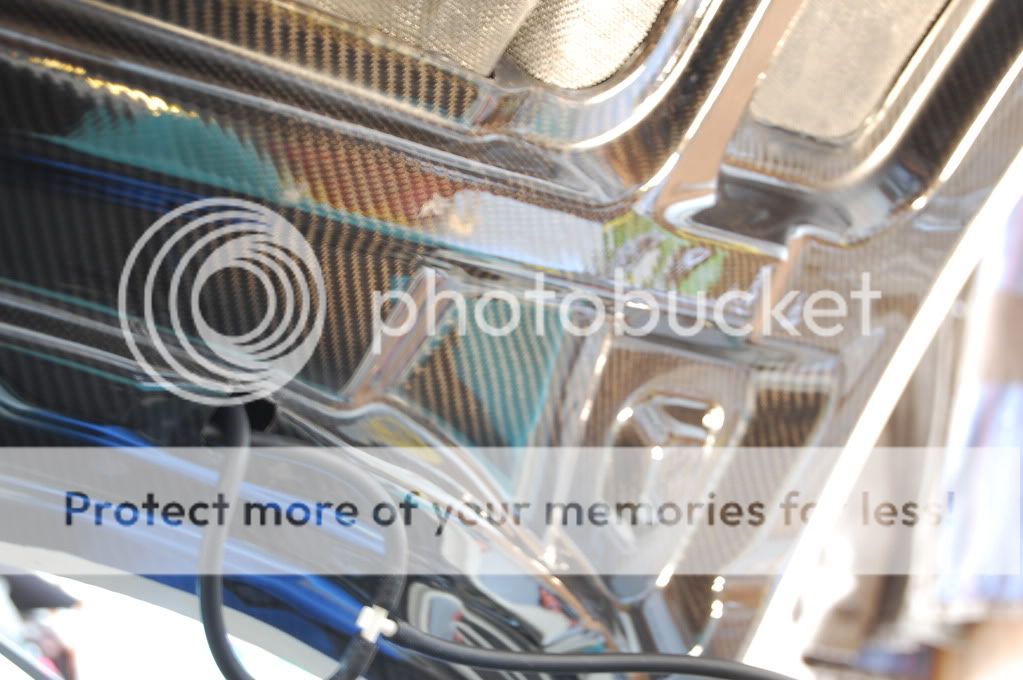
last bit of polishing to focus on was under front hood (remember hazed and scuffed CF before pics in beginning?)
Before:

During Polishing- notice left/ right split
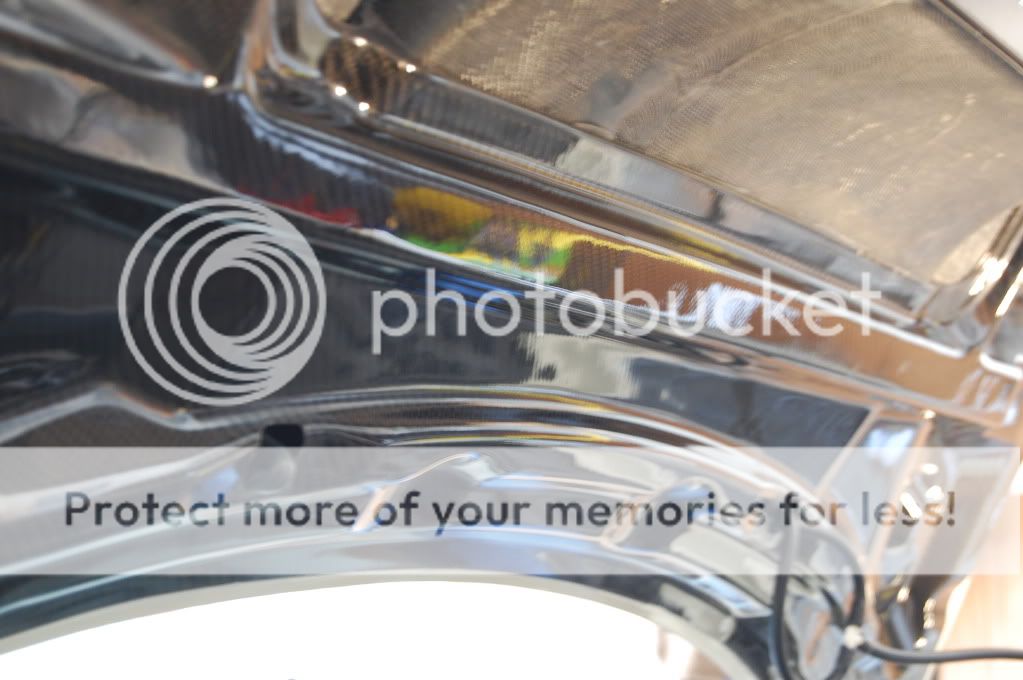
Right section after:
Top portion after
Left and right done
303 protectant applied to all trim/ weatherstripping:
before:

50/50
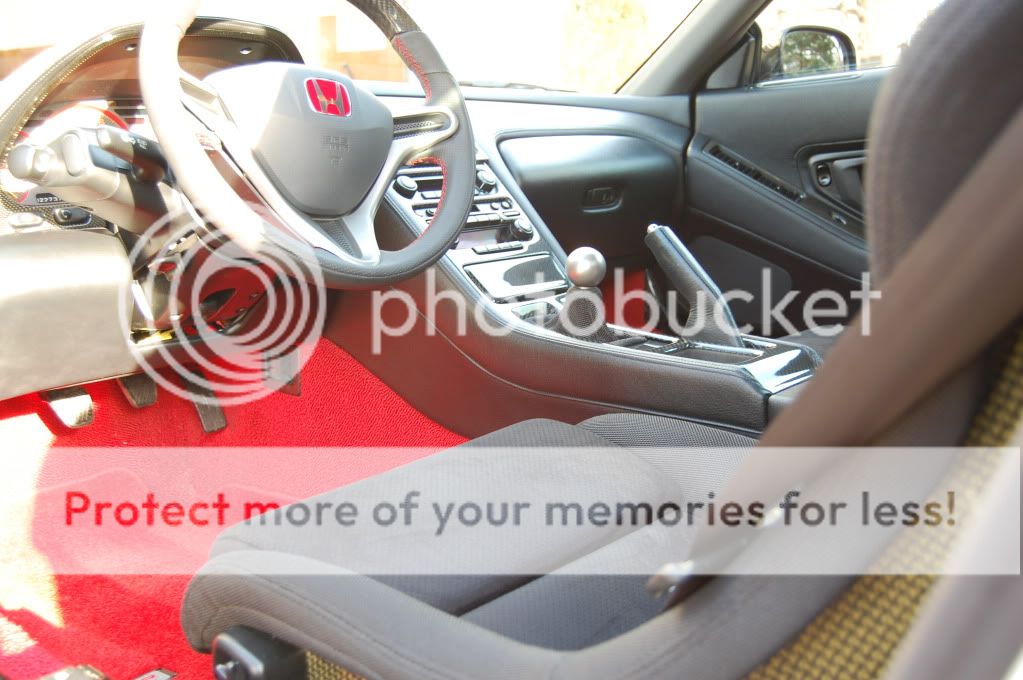
Glass was cleaned inside and out with Sonax Glass cleaner, tires dressed with adams VRT dressing, interior vacuumed, mats shampooed and extracted and a quick Megs APC wipedown in interior.
Trunk mat had loose strings around logo- not good.
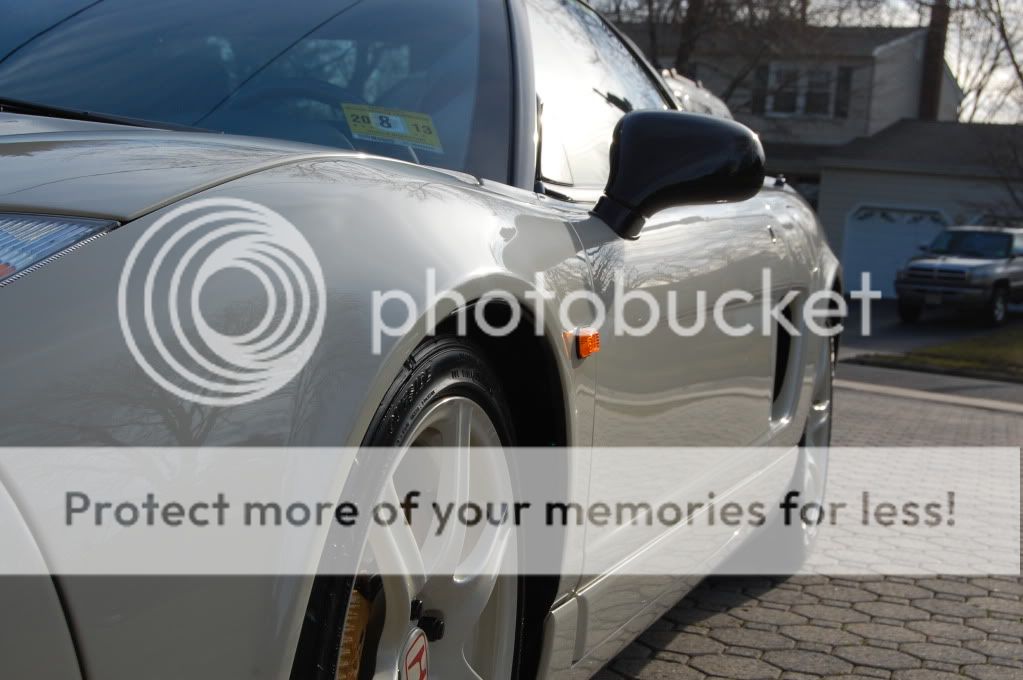
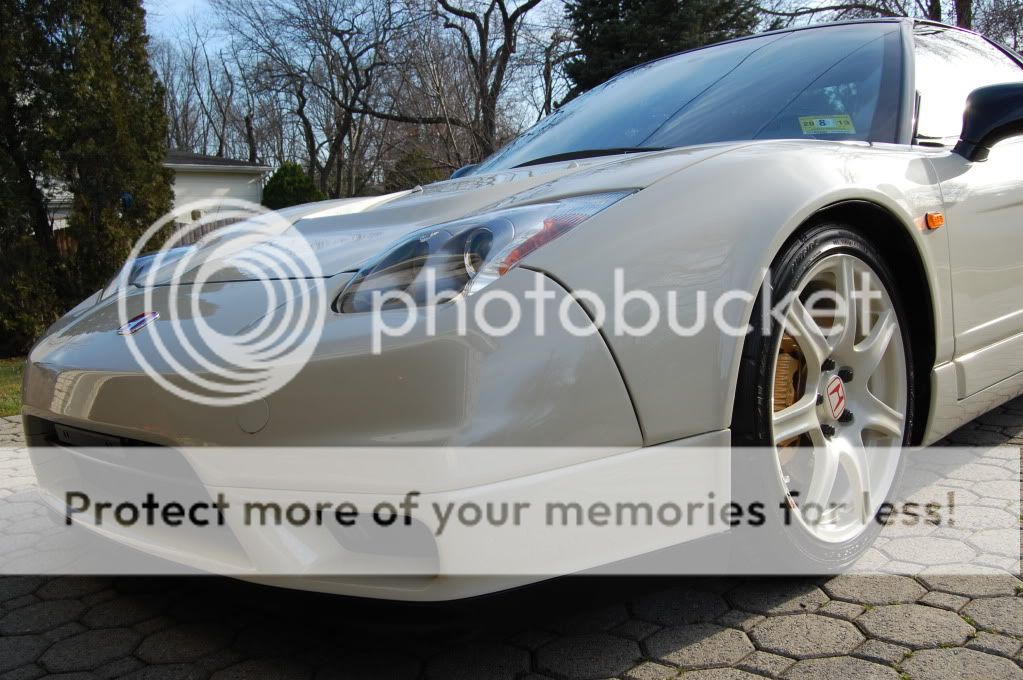
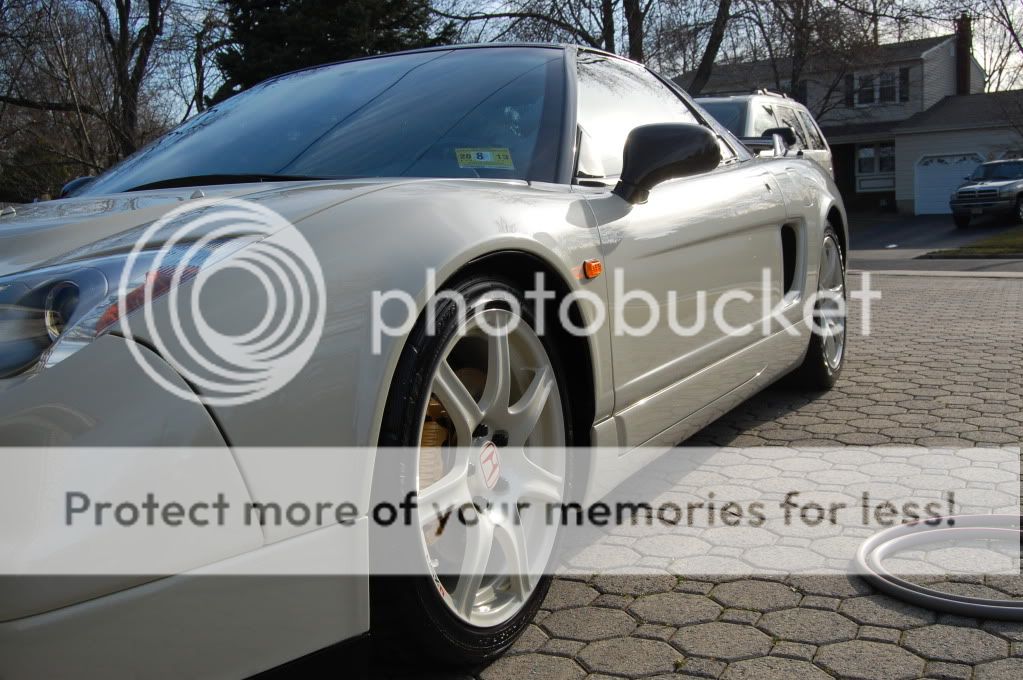
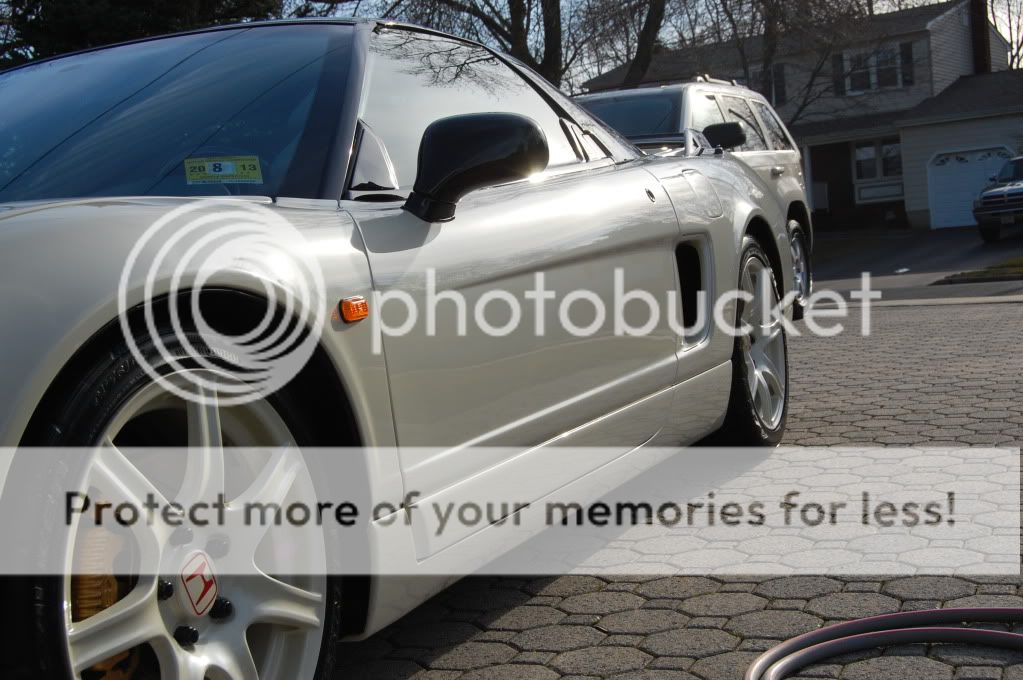
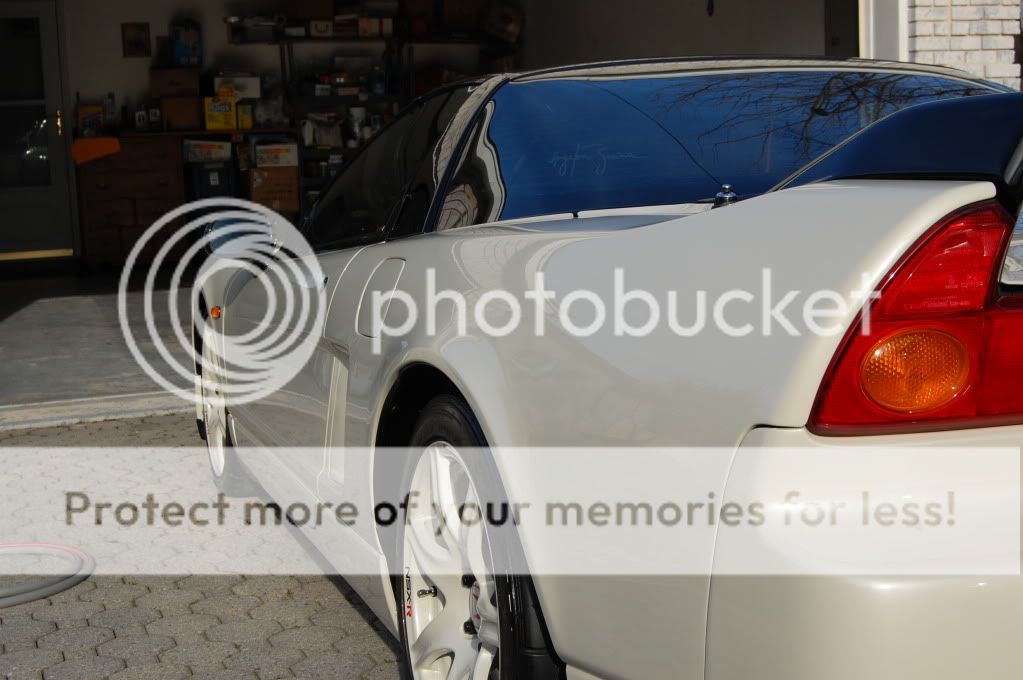
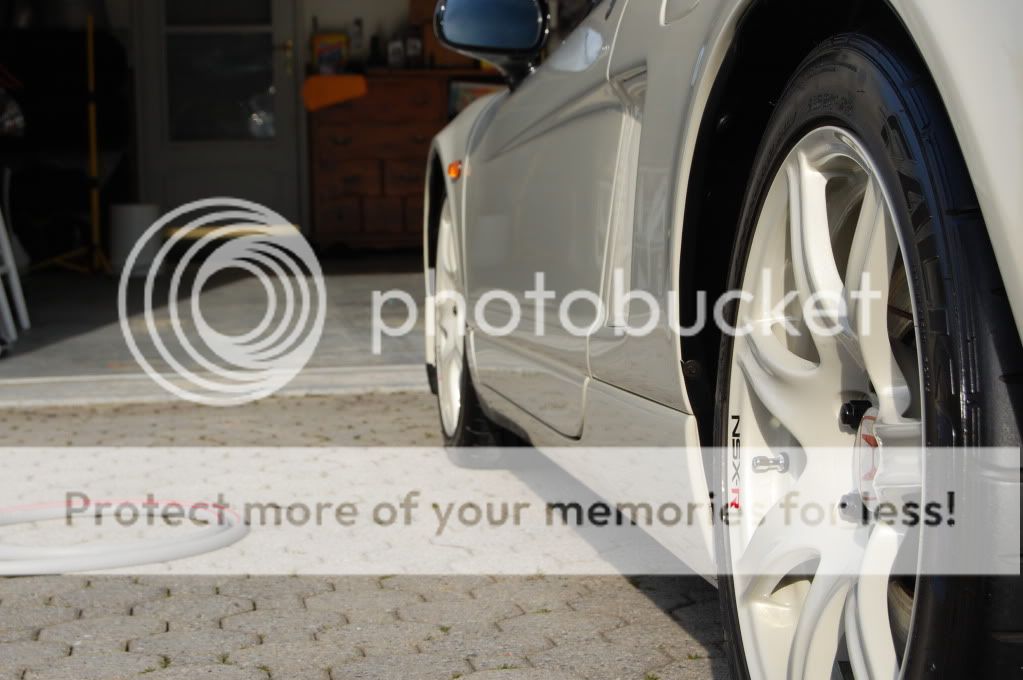
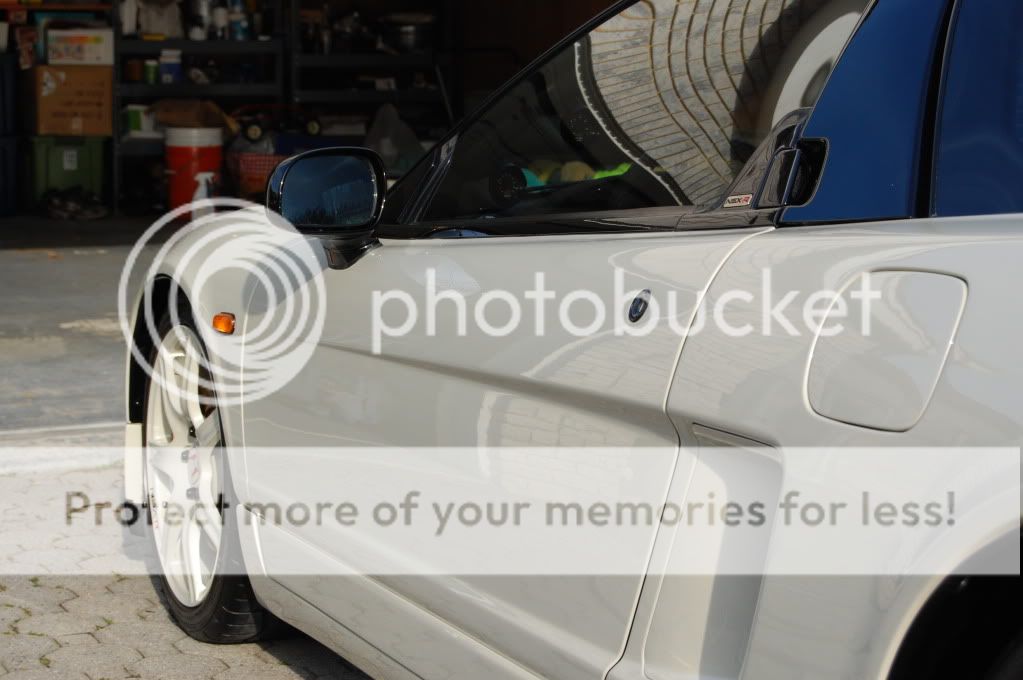
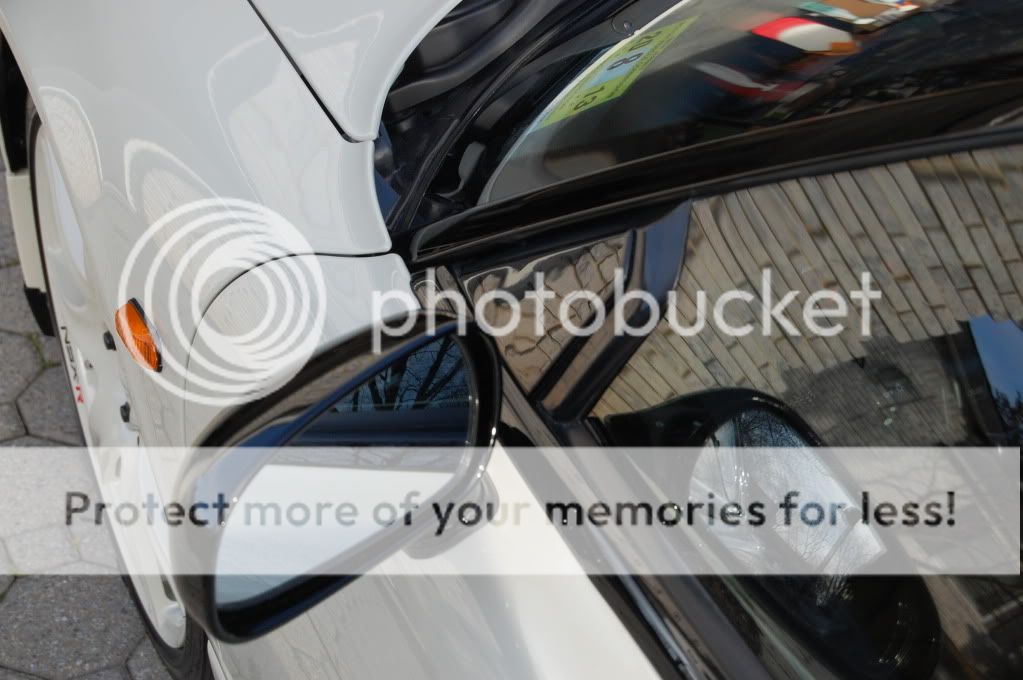
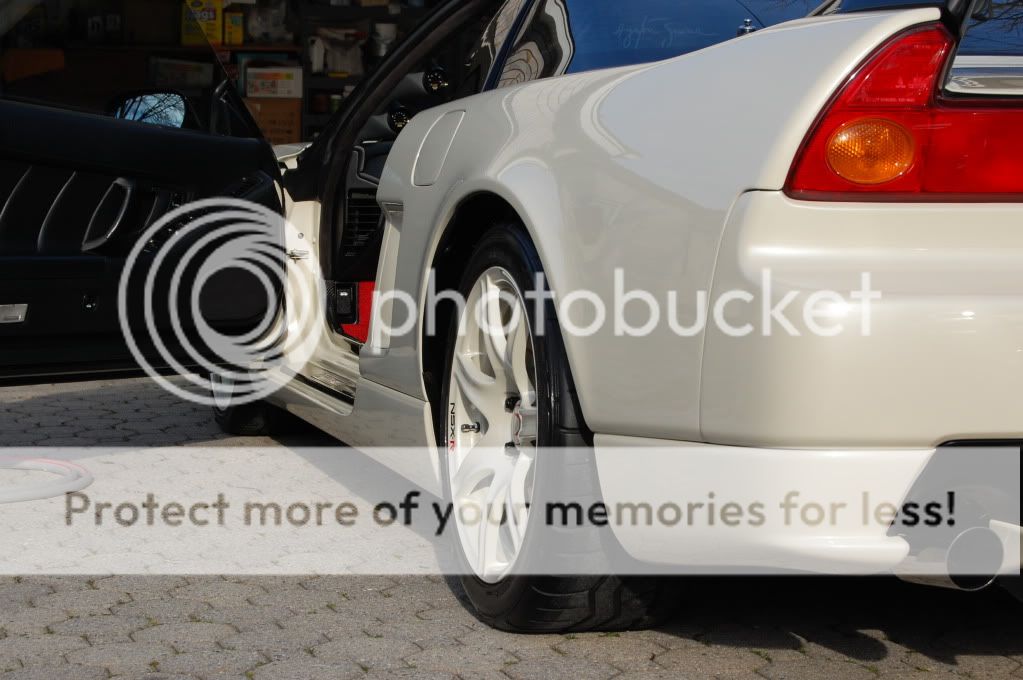
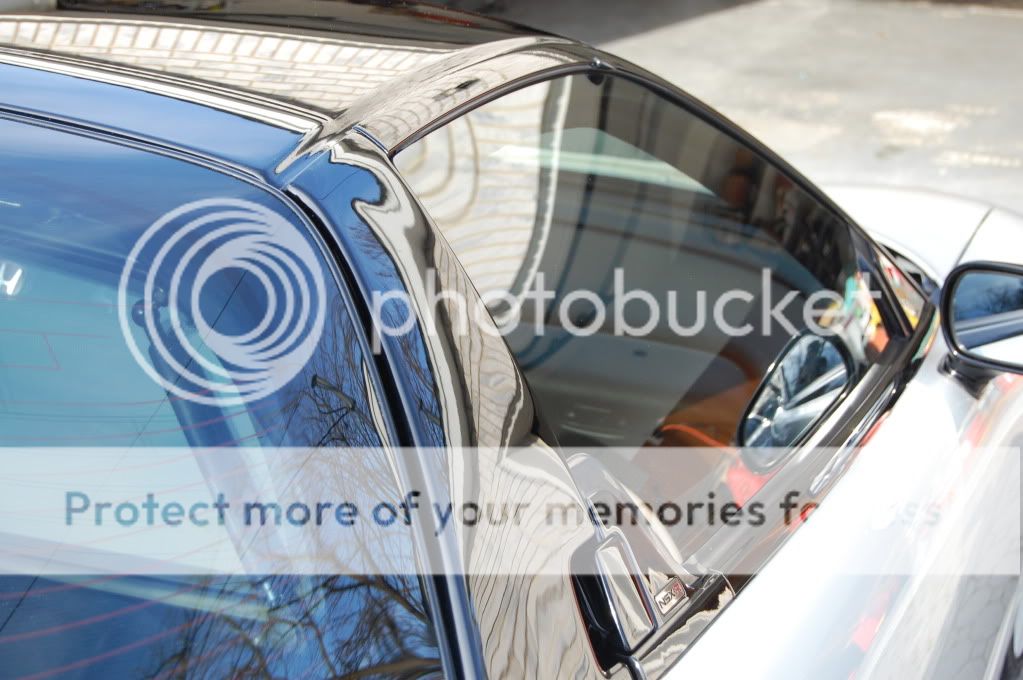
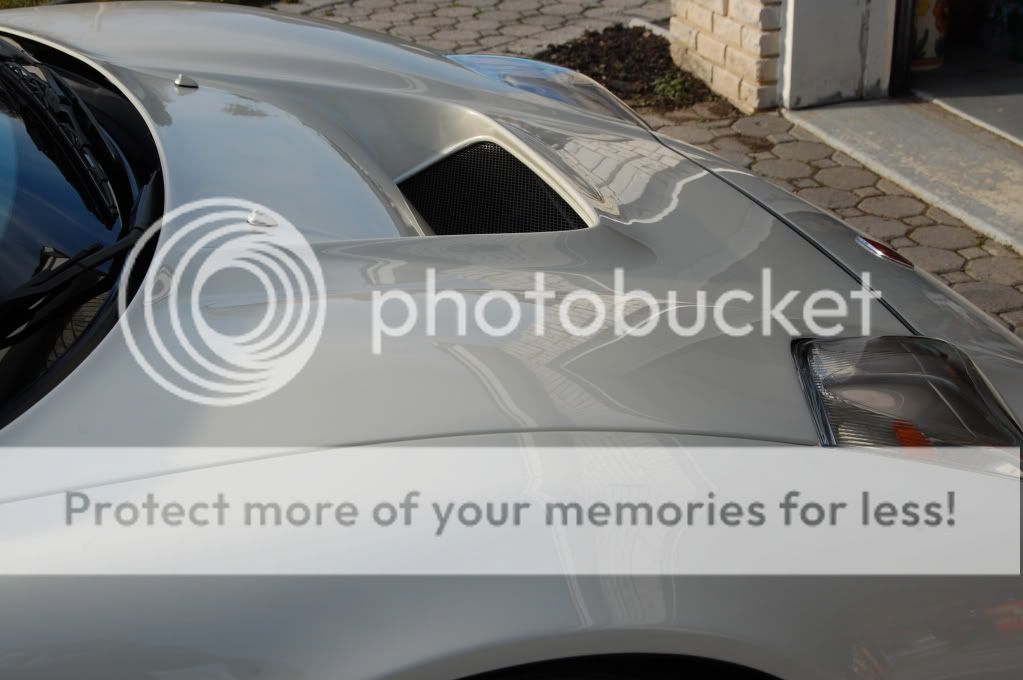
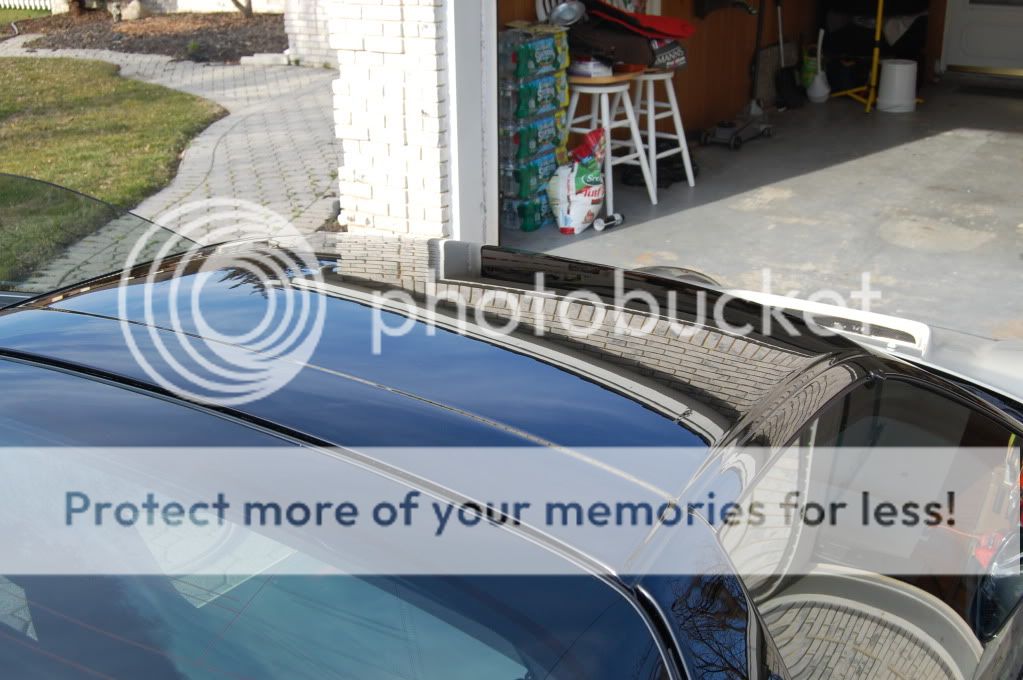
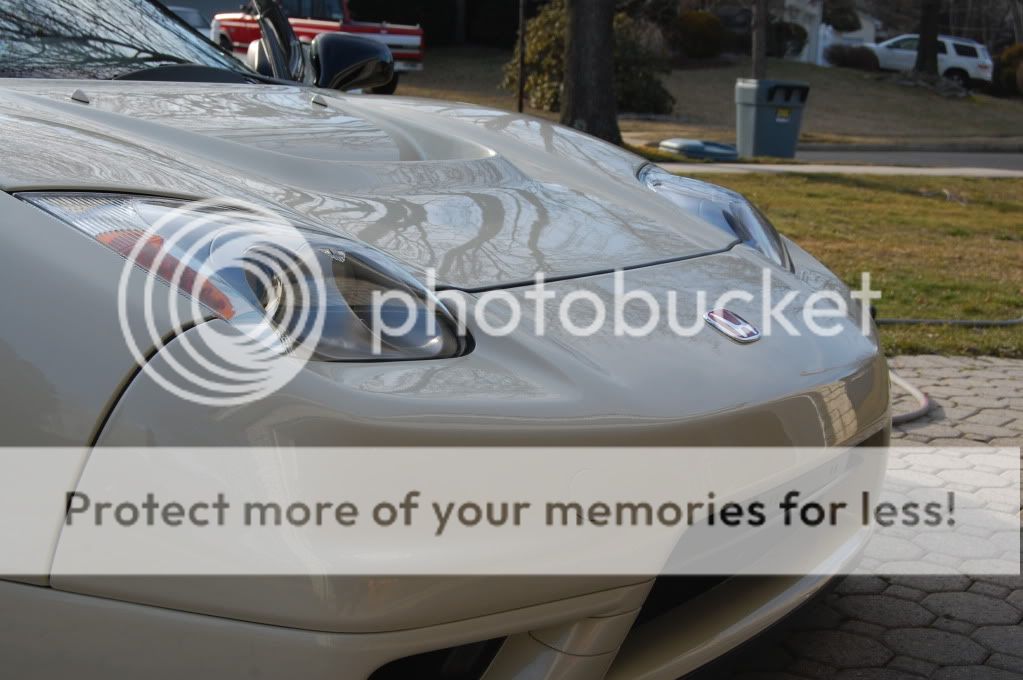
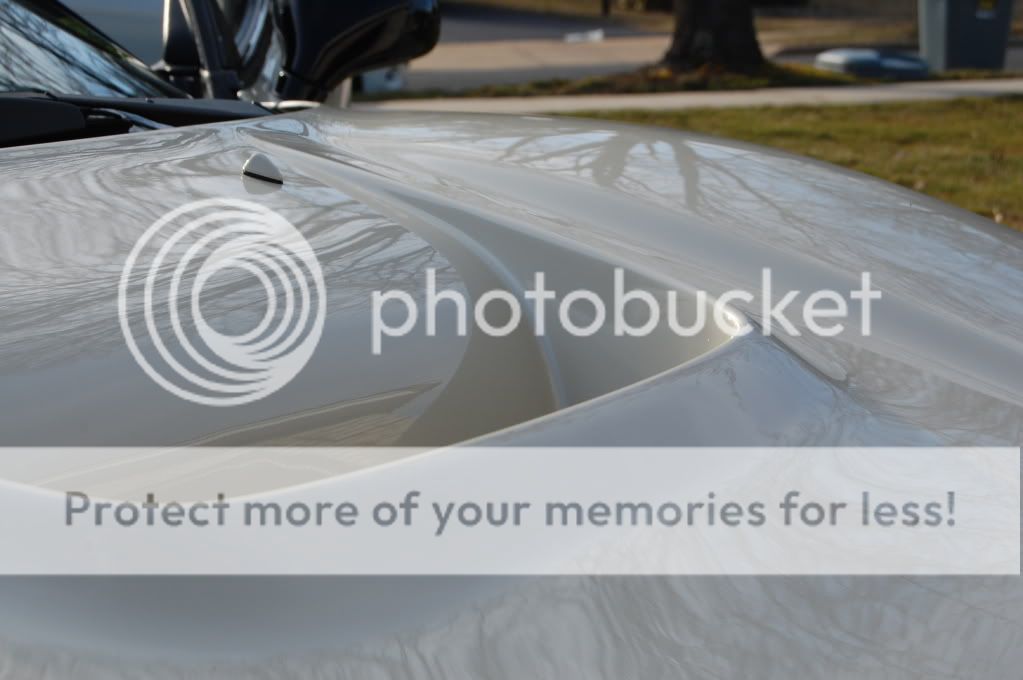
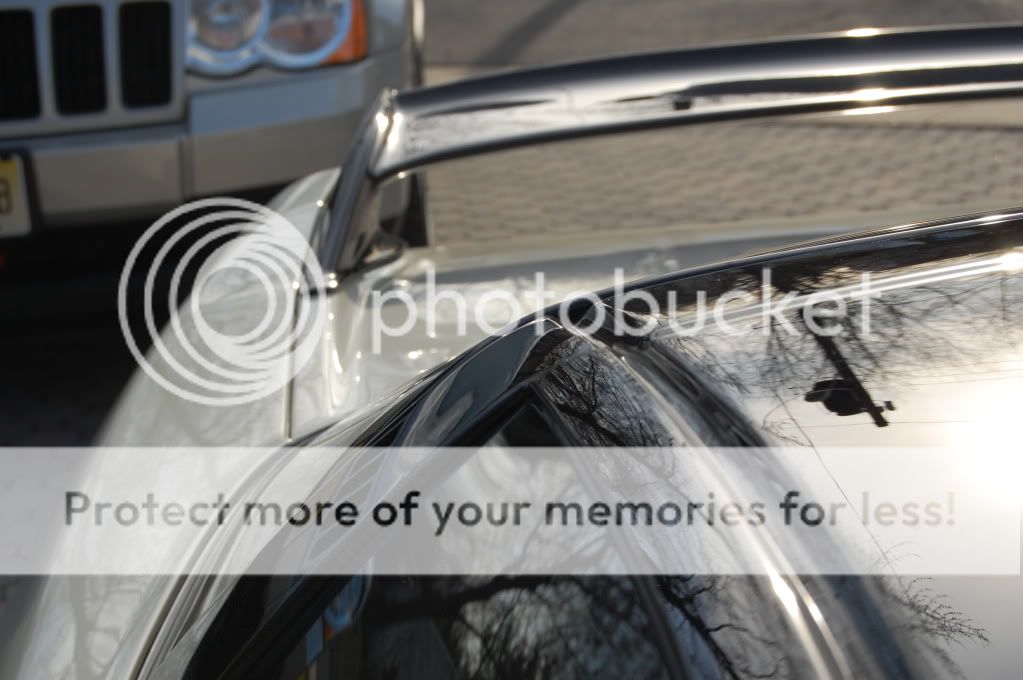
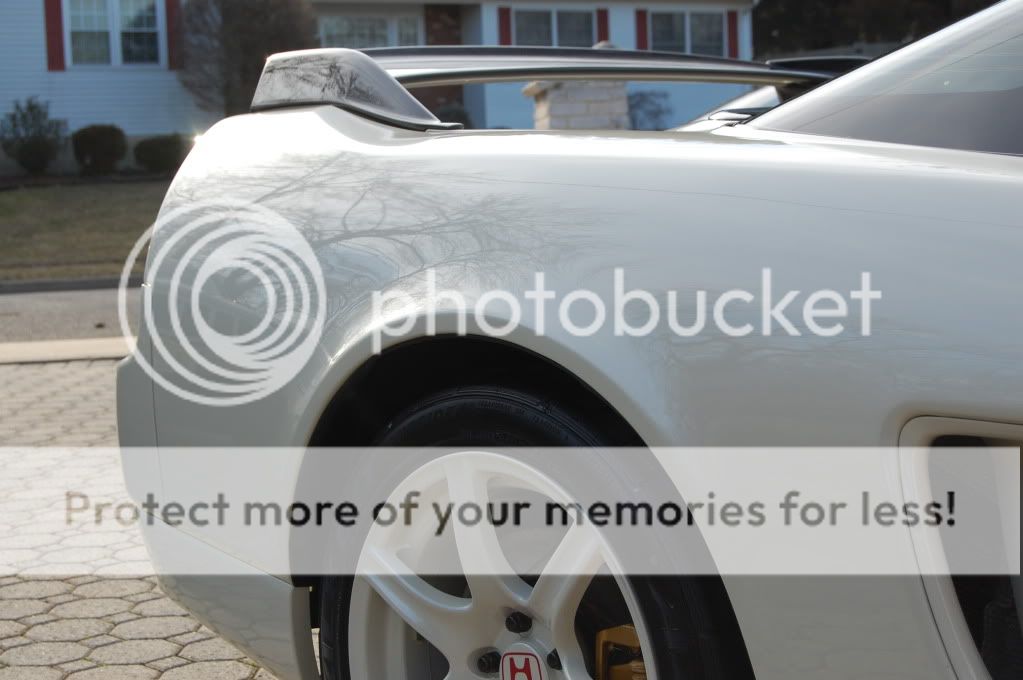
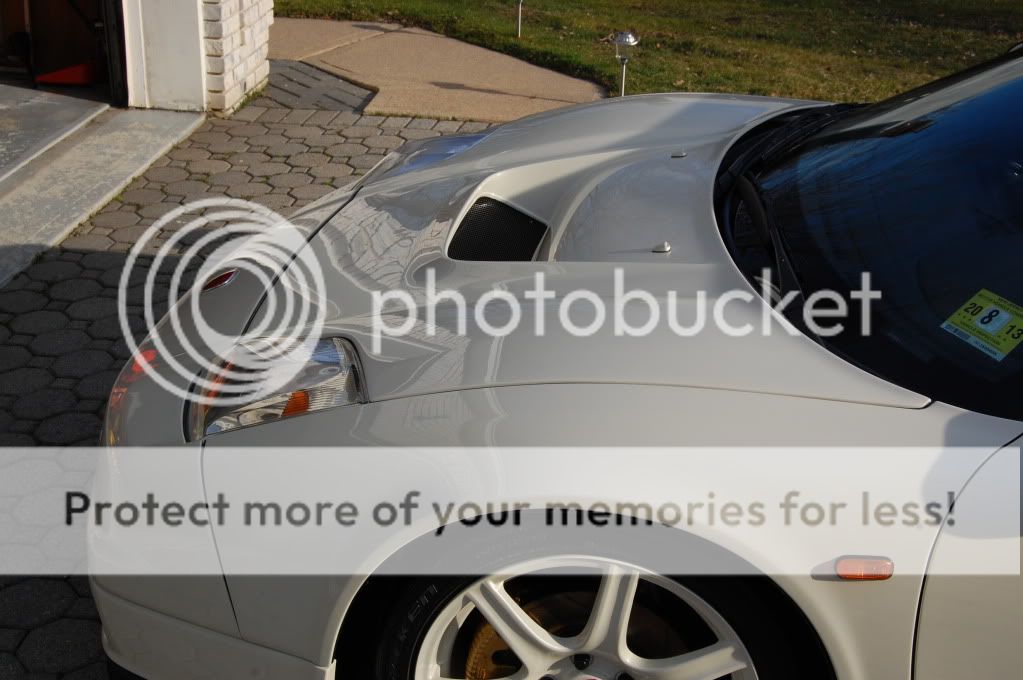
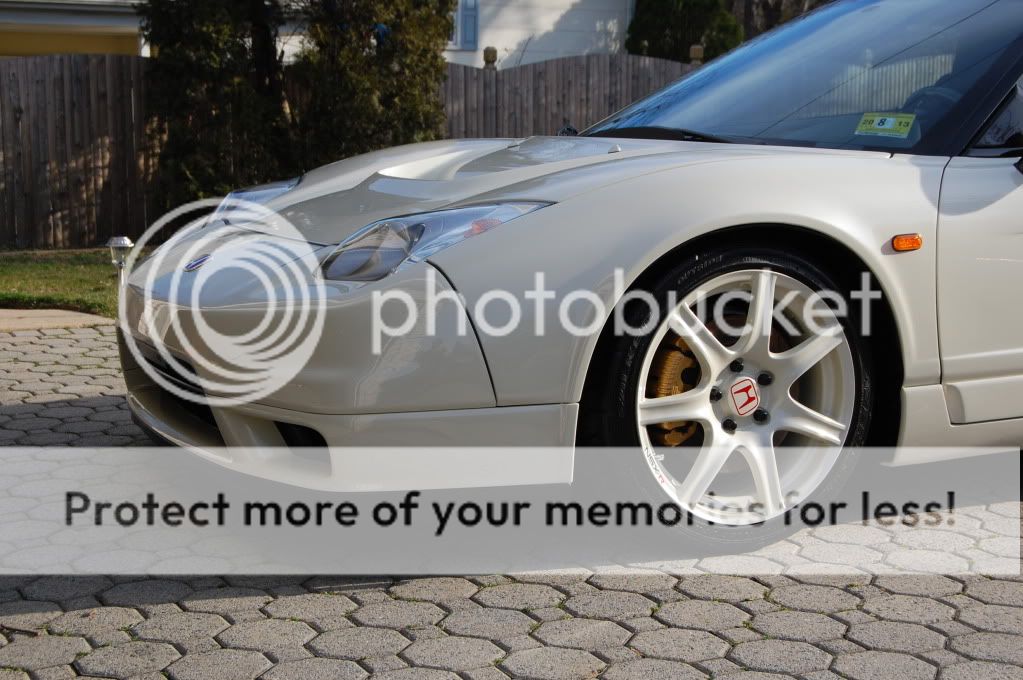
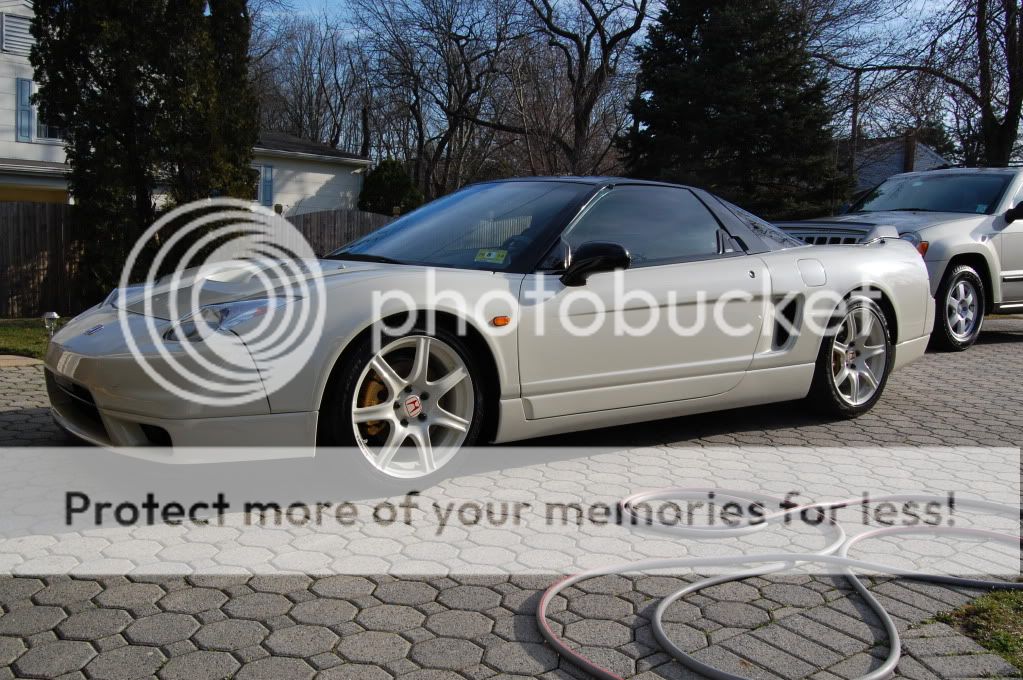
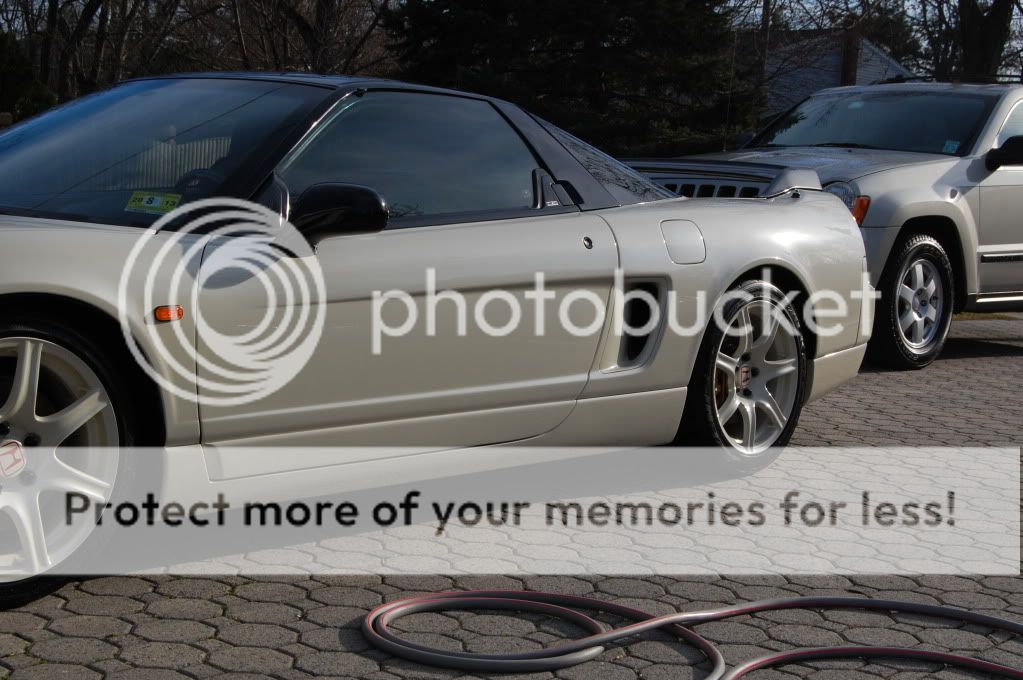
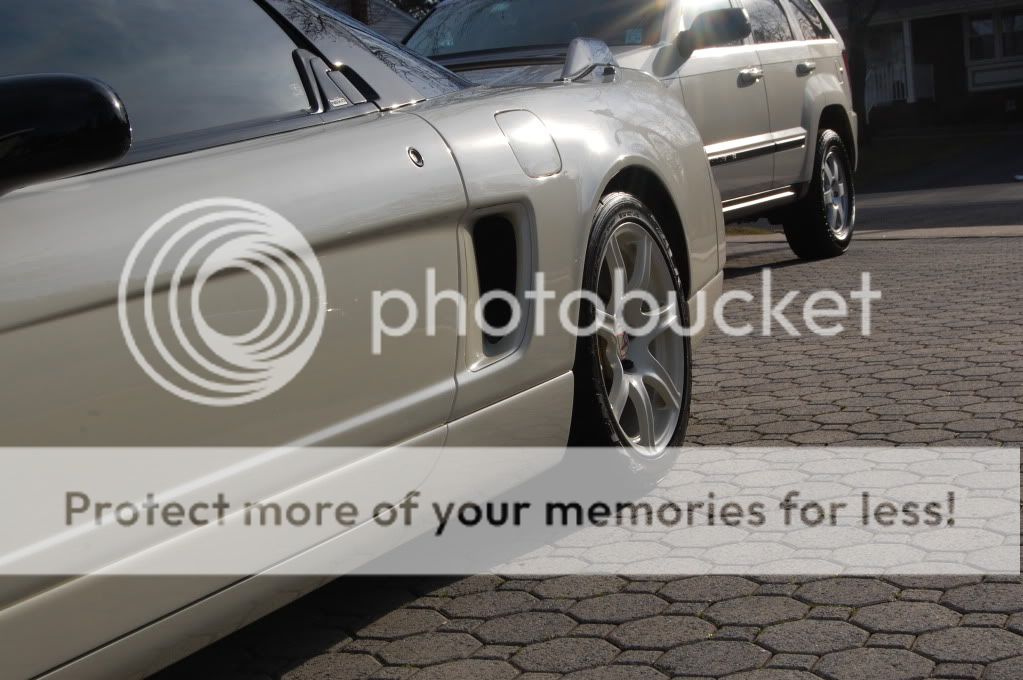
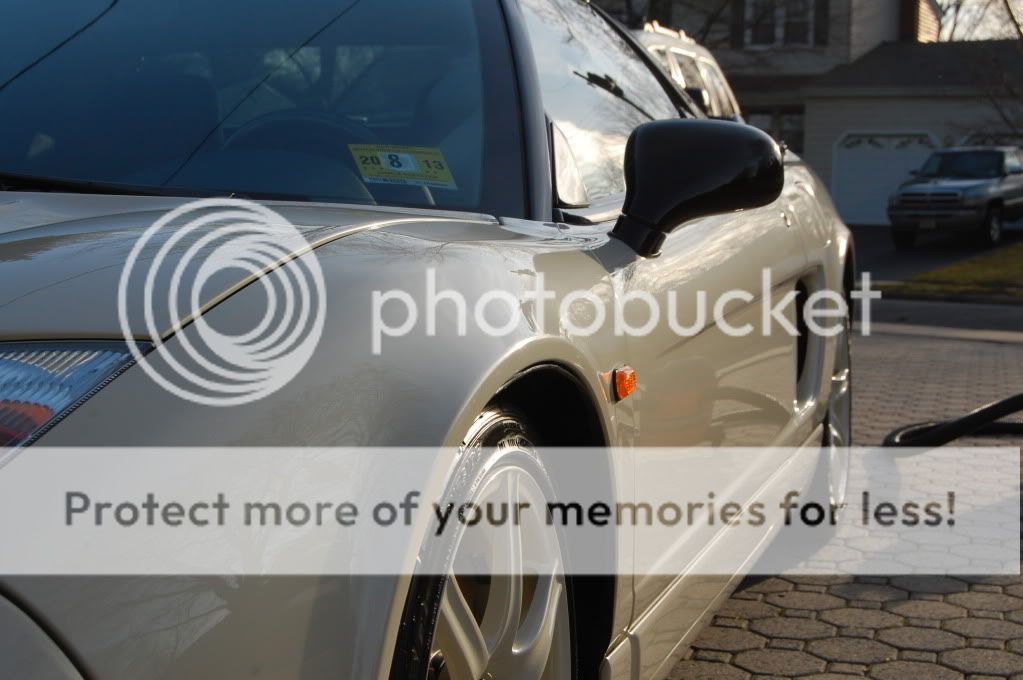
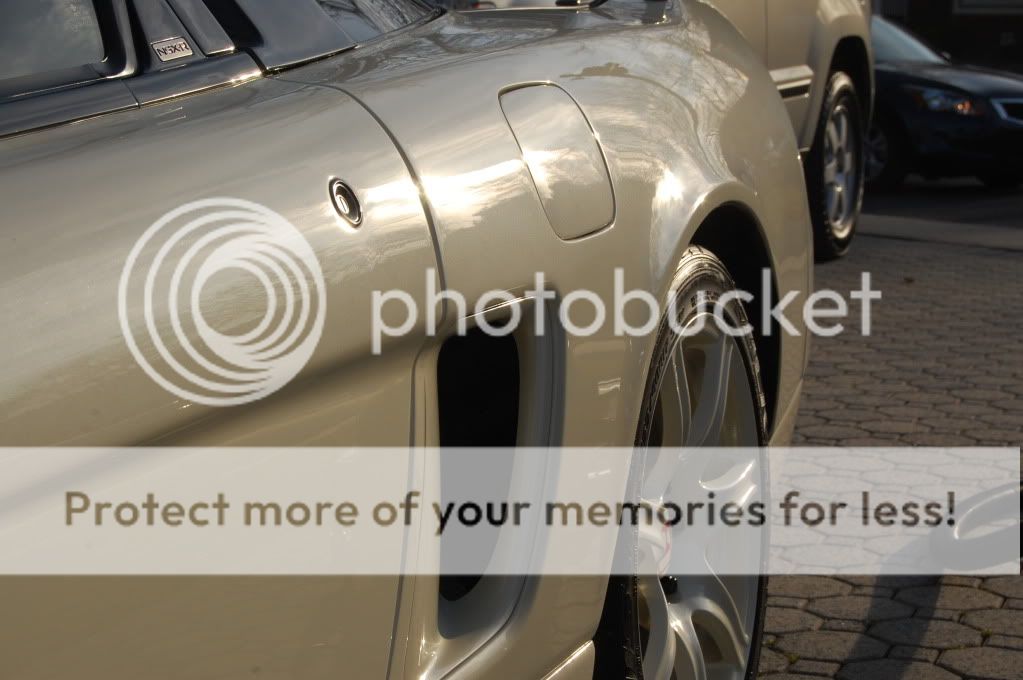
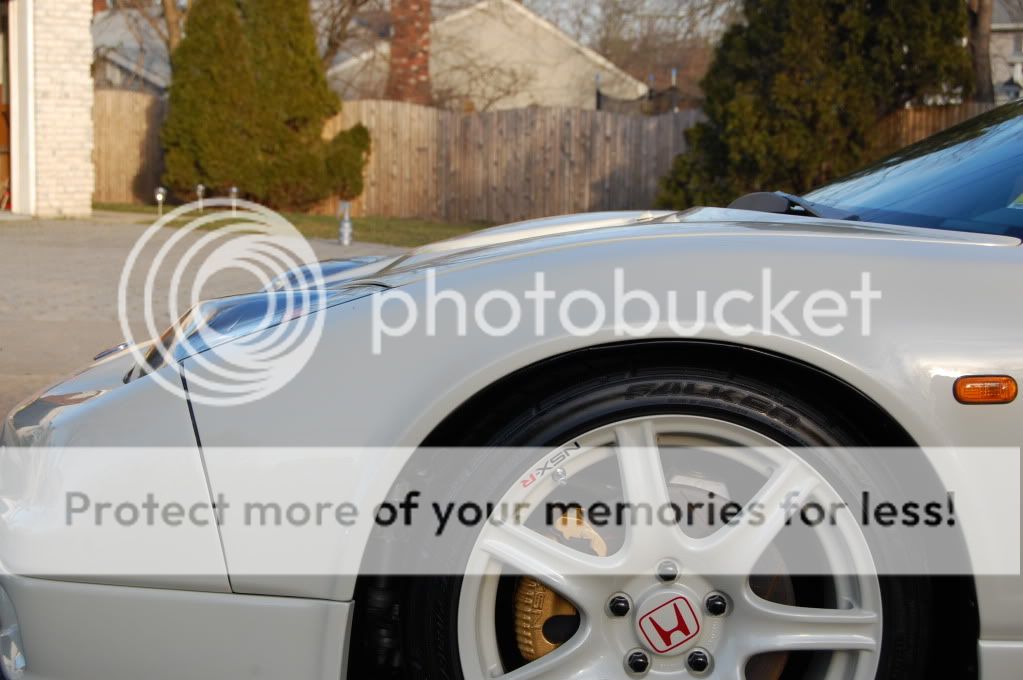
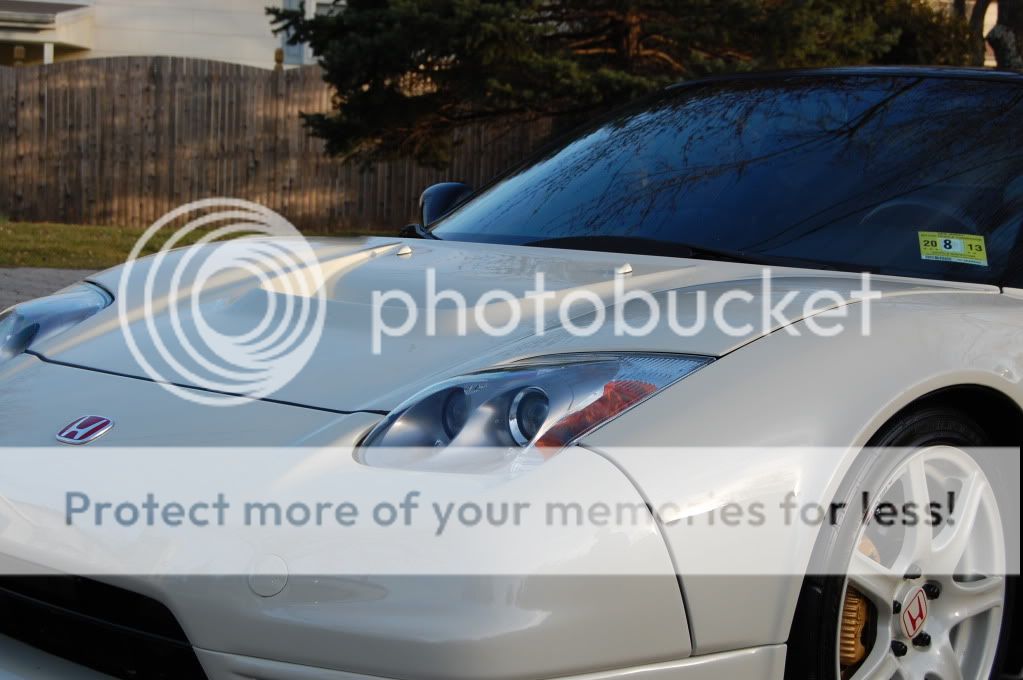
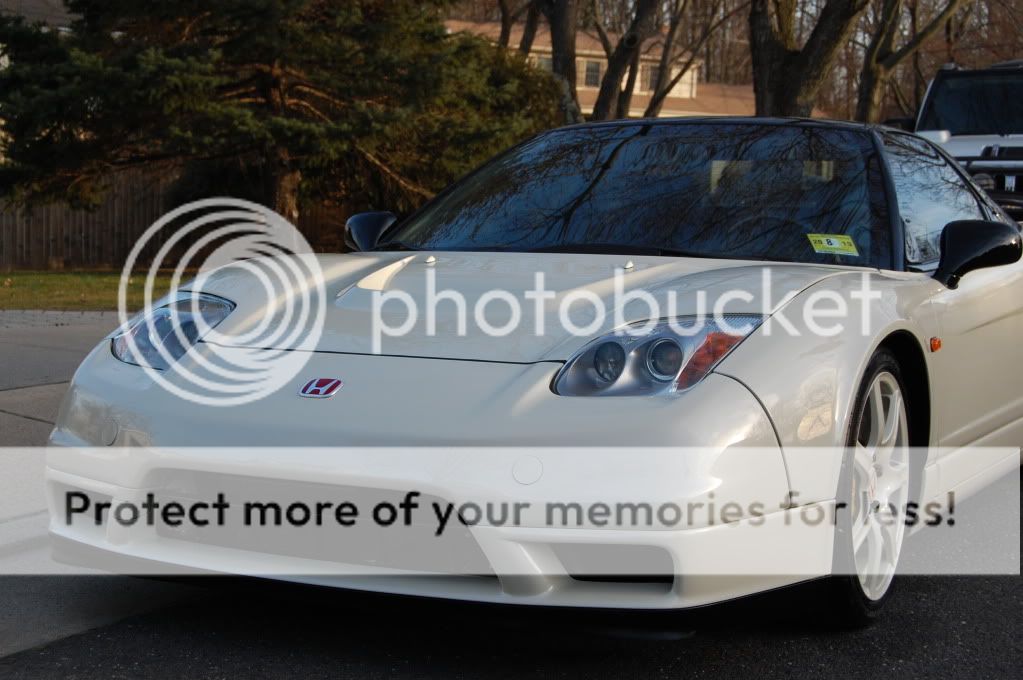
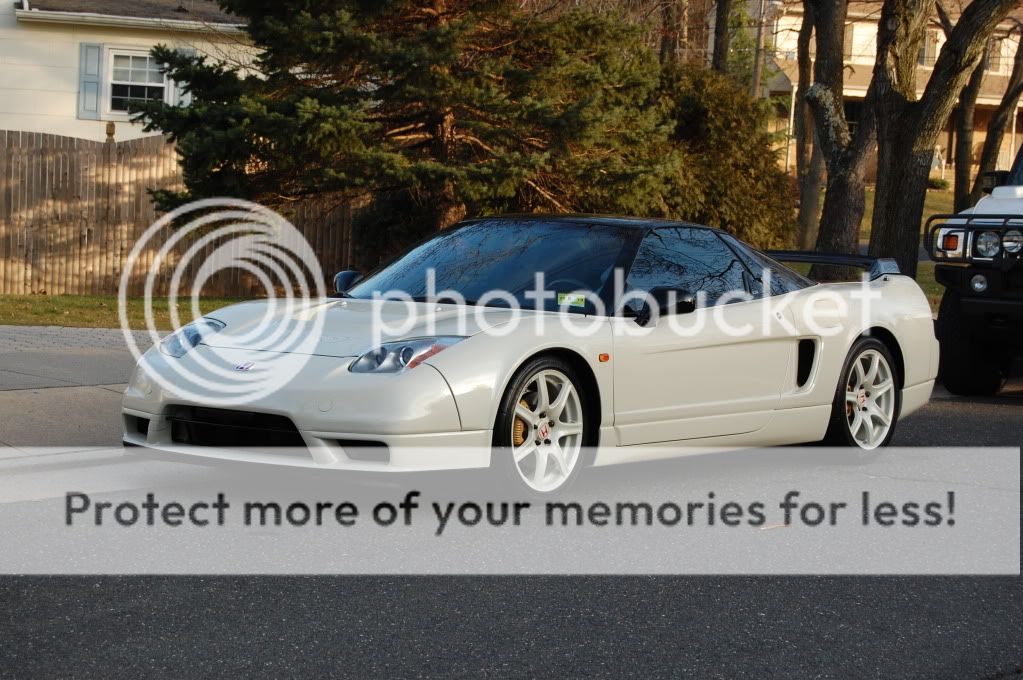
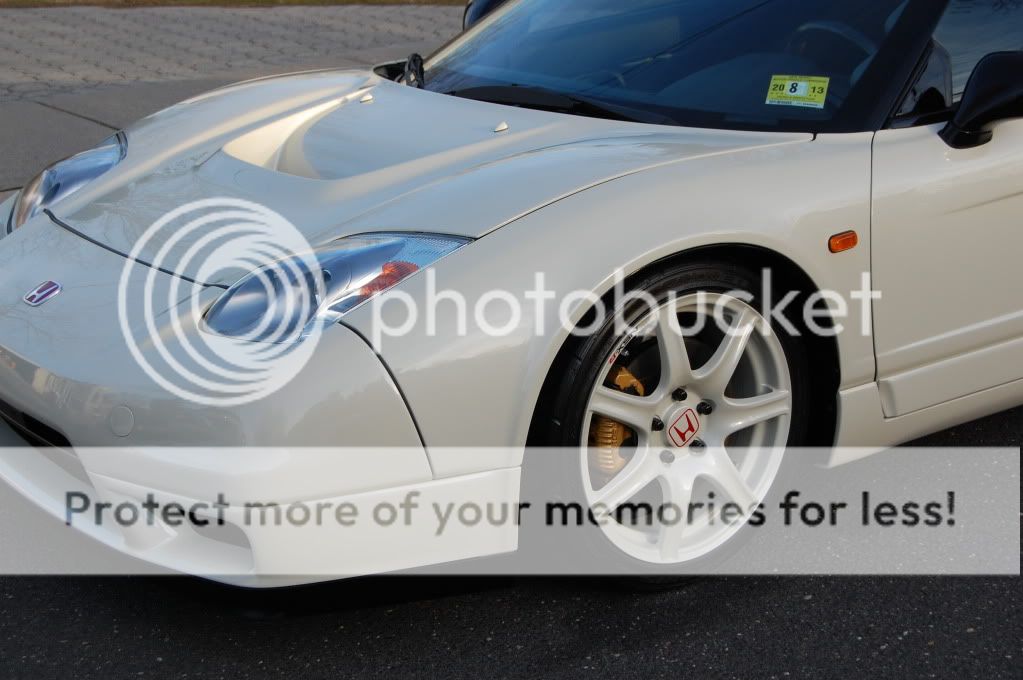
AND NOW THE AFTERS:


- Frank
For the past three days I had Dan from Premier Shine Auto Detailing located by me to come over and perform a very thorough full correctional detail.
He has given me the code from his write-up so that I may post here, amazing results and I was very very satisfied! Really could not wait to show everyone here, enjoy!
Here is his post:
Over the last three days (27 hours total) I have had the opportunity to work on a 91 Acura NSX that has been converted and modified over many years into a Type R replica. The level of detail that went into the conversion is amazing. The car features a larger single turbo (T67) running low boost- 505 horses on the dyno.
The owner has been a great client to work with and since last fall him and I have been discussing the process I would take to carry out the detail.
The detail took 27 hours to complete over three days and him and I still have plans in the future (SV application) including an extremely thorough and regular maintenance schedule.
On with the detail- prepare for major scroll
Products/ tools used:
Products:
CG Maxi Sudz 2
CG Citrus Wash and Clear
Dawn Concentrate
Sonax FE wheel cleaner
Bleche White sidewall cleaner
Megs APC
Carpro Iron X
Uber Fine Clay
Leather Masters Suede/ Alcantara foam cleaner
DI Aggressive Clay
ONR
Tarminator
P21s Polishing Soap
Eagle One Nevr Dull wadding
Sonax Glass Cleaner
Zaino Z12 Glass polish
303 Aerospace Protectant
Adams VRT dressing
Folex Spot treatment
Megs 105
Menzerna Power Finish
Menzerna Super Finish
Menzerna 85rd
IPA 30%
Menzerna Powerlock
CG JetSeal 109
Tools:
3 Wool wash mitts
SV brushes- wheel, Pneu
Uber Spoke wheel brush
0000 steel whool
Ridgid shopvac
PC air compressor
3000 grit paper
Megs sanding block
Flex DA
PC DA
Various backing plates
Surbuf R series MF pads
Uber Green foam
Uber Orange foam
Uber yellow foam
Lake Country White foam
LC 3 in. yellow foam
LC 3 in. orange foam
Total time- 27 hours over 3 days
Wheels before:
Headlight defects:
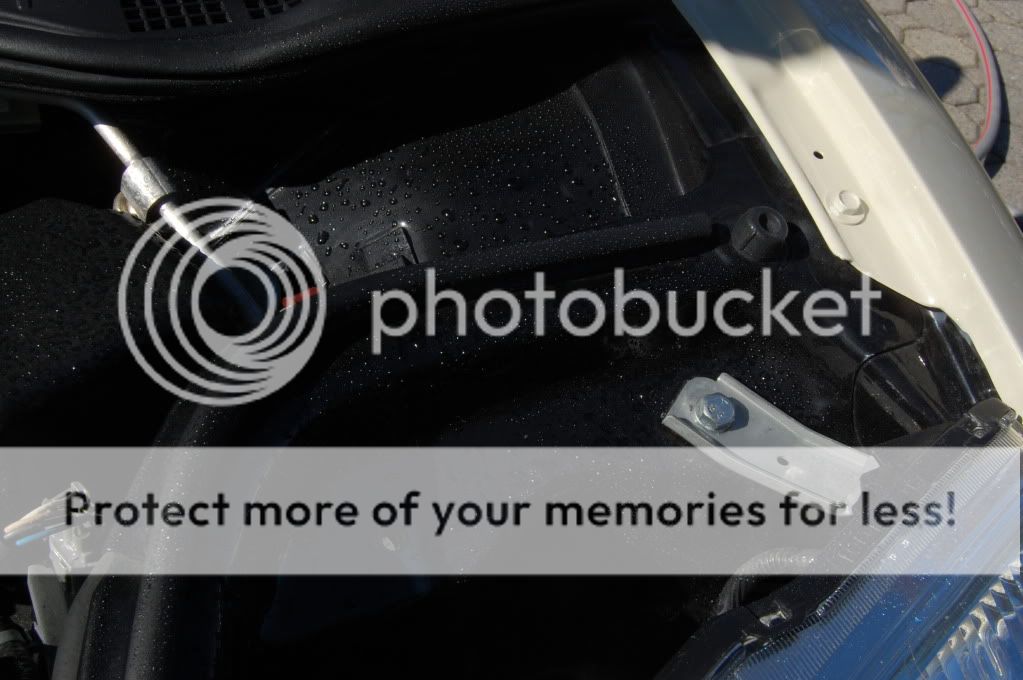
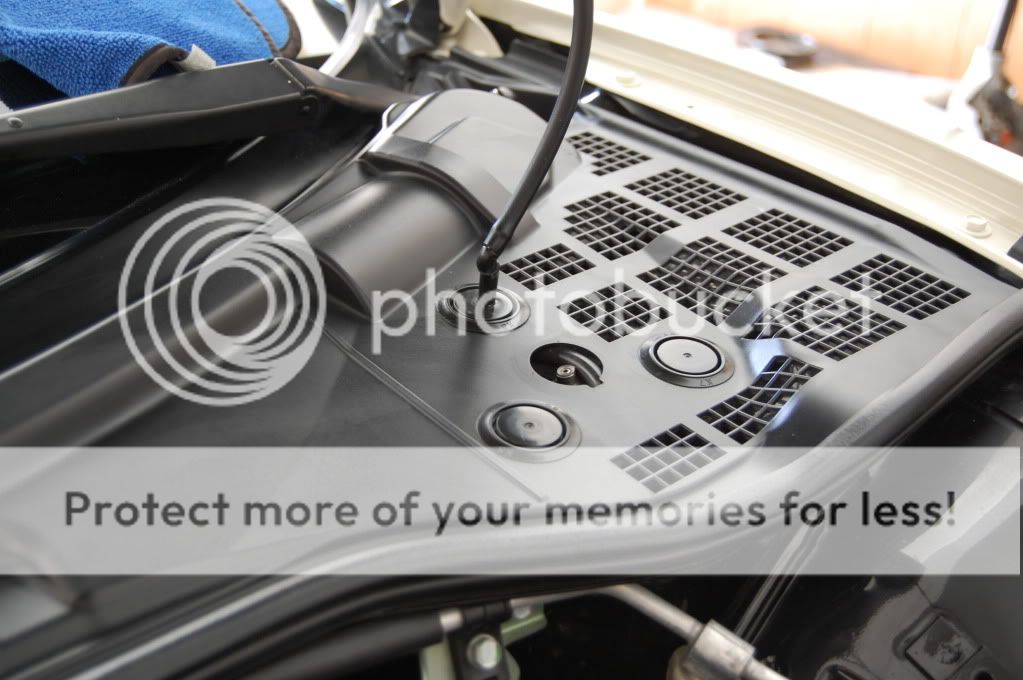
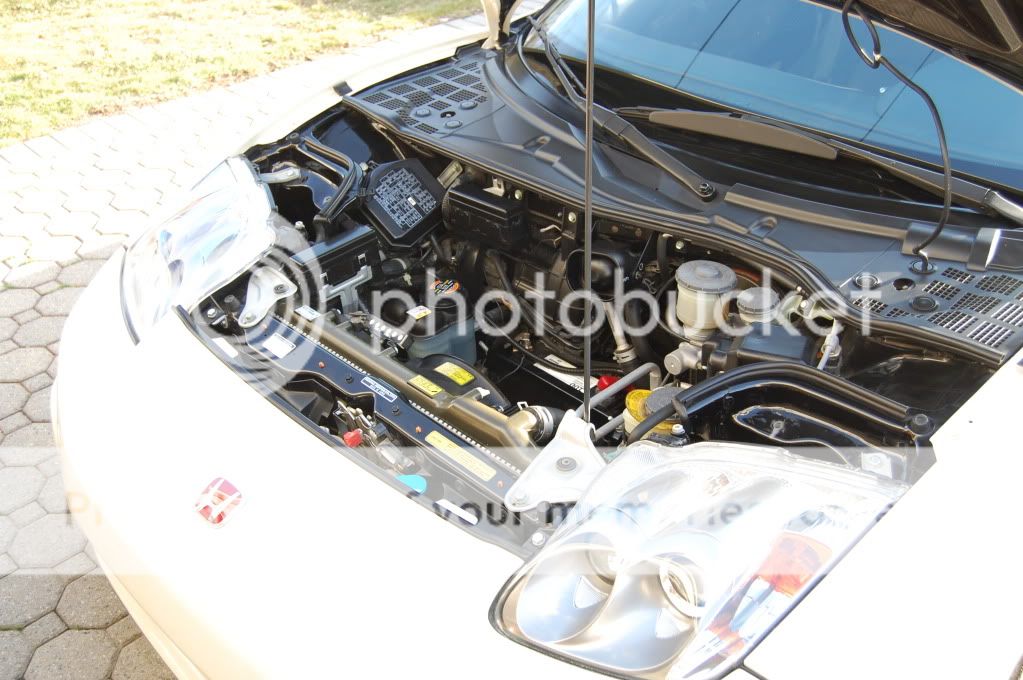
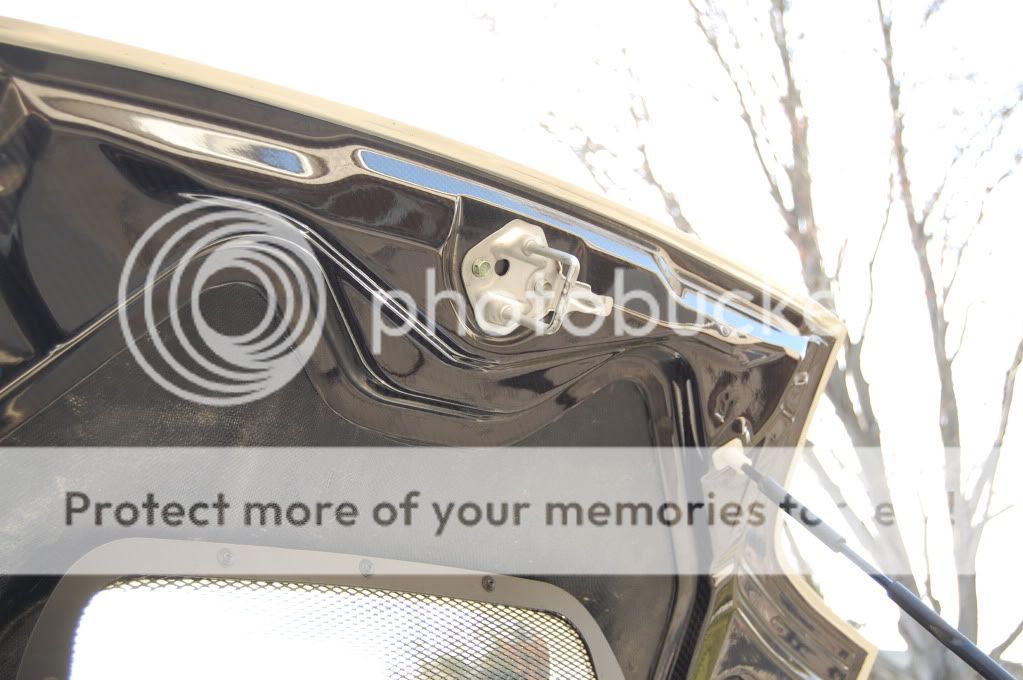
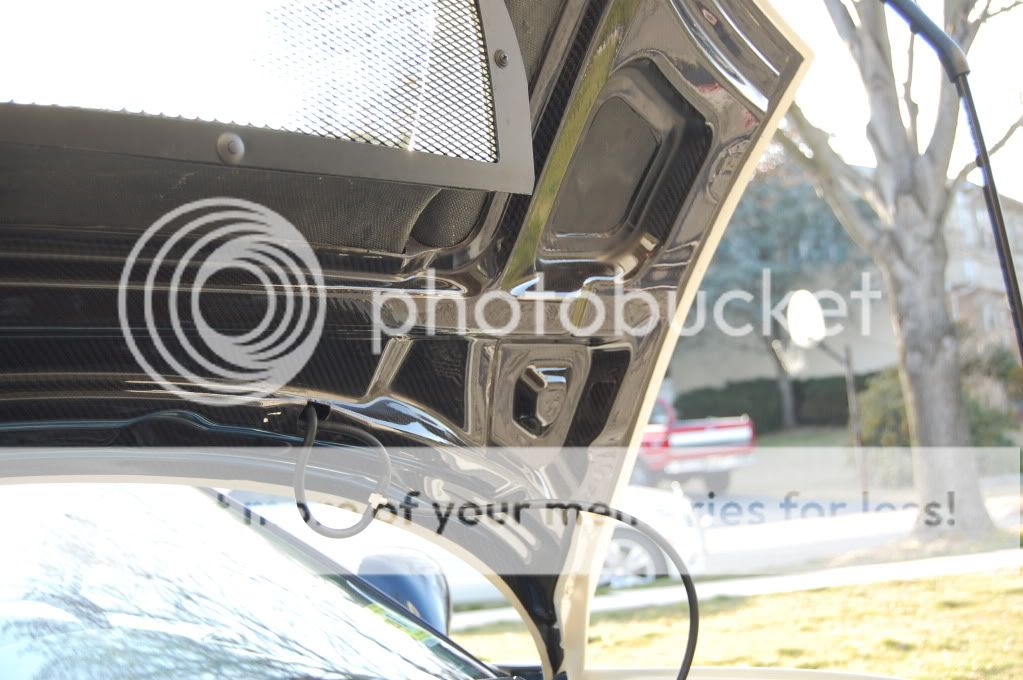
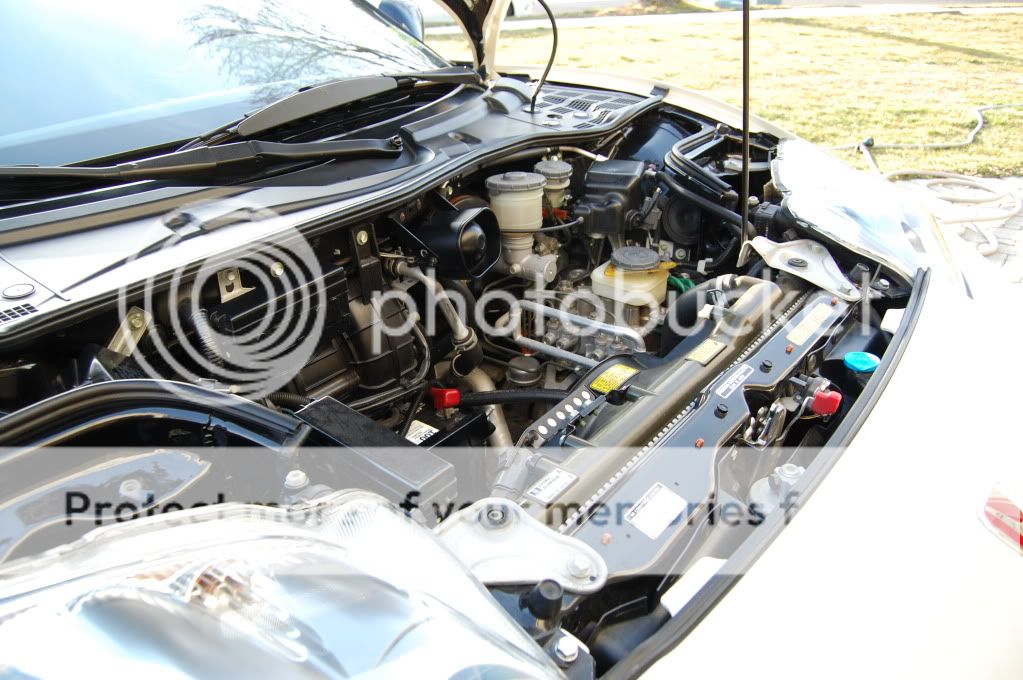
Before: Under front hood and bay:
The underside of the carbon fiber hood had some nice oxidization and defects...more on that later
Visible Paint defects- swirling etc. viewable in sun
EXTREMELY soft pillars before:
Same soft paint found on roof, and spolier:
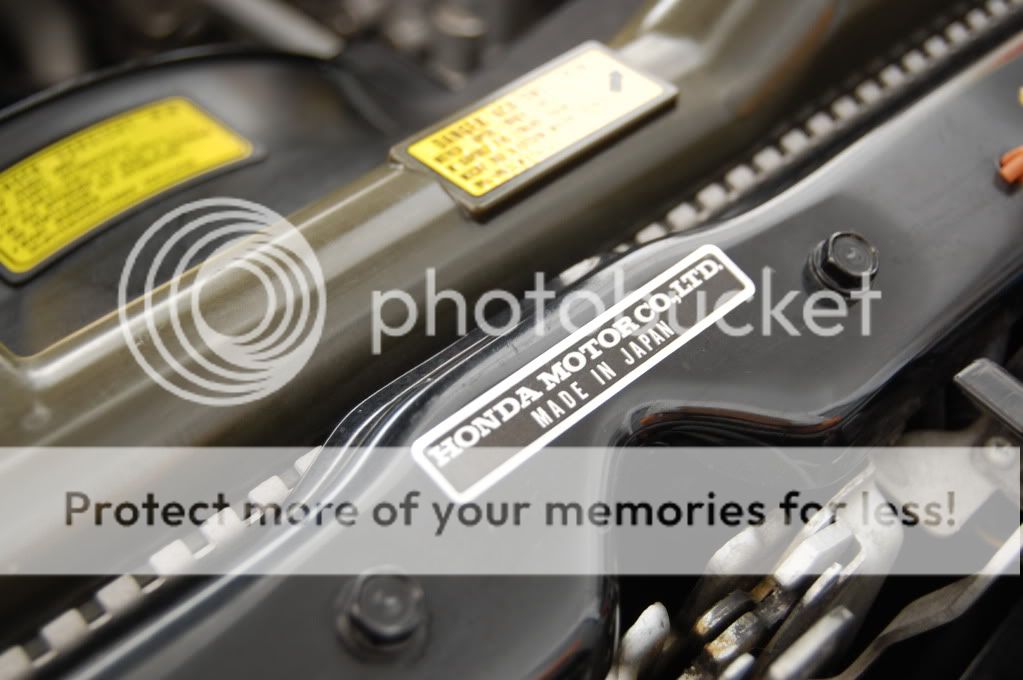
Motor before:
Exhaust system before: More on that later
First up- motor cleaning
ONR with a designated SV wheel brush used here
Blown dry with the leaf blower as well as the air compressor
Front end bay washed with ONR and Megs APC
Sonax FE on the wheels
The body was then pre-rinsed with ONR, left to dwell and then an application of Iron X was sprayed on around the entire exterior
LSP still present- owner uses Zaino very often
To strip- Dawn and CG Citrus wash and clear
Two bucket method then carried out 3 times to clear as much LSP as possible
There was considerable overspray on the door jambs that the owner had concerns about- Aggressive clay used here
The car was then clayed with Uber fine clay using ONR as a lube and then re washed for the 3rd time- pulled inside to dry
First thing to tackle- the water spotted and sad looking exhaust system
After an hour and P21s soap:
HELLO TURBO!
Paint correction time- 1st and 2nd day- 20 hours total
****Spotting paint defects was easy to do by eye however my Nikon SLR had trouble- Apologies for no before and after paint correction pics******* the pearl white paint was tricky!
Random sanding marks present
The process:
- add Surbuff R series pad to 105 as well
The finish was compounded with Megs 105 and a yellow cutting pad or a Surbuff Pad via my Porter Cable. Finished down with Menzerna Power finish on an orange pad, finished down even more with Menzerna Super Finish (106fa) on a green pad and finally jeweled out with Menzerna 85rd- IPA wipedowns performed in-between each step of course.
Coming along well
Surbuff R series pads used on rear decklid as well as areas where sanding marks were present
Spolier before:
After:
Driver side of spoiler:
After:
Spoiler coming along well:
Thought this was a cool shot
Tailights before:
After:
Rear bumper dialed in
Correction coming along well
The owners personal mechanic stopped by late that night to remove the wheels and put the car up on stands so that I could access the wheels more in depth and the wheel wells and coils too.
Iron X doing its thing on the barrels
After letting dwell and agitated after 10 minutes, the wheels were rinsed and brought inside
Multiple tar spots in barrel
The tar spots were heated with a heat gun one at a time and treated with Tarminator- here is a shot of the tar melting
Plastic razor blade used to pick and remove tar spots:
After the barrels were dried I then clayed the barrels with my designated wheel clay
Wheels dried and dialed in
Jetseal 109 applied to wheels- barrel and face
With the wheels off I could then focus on degreasing the Coils and various pieces in the wells:
Before
After
Pillar Correction
Mirror before
Mirror after:
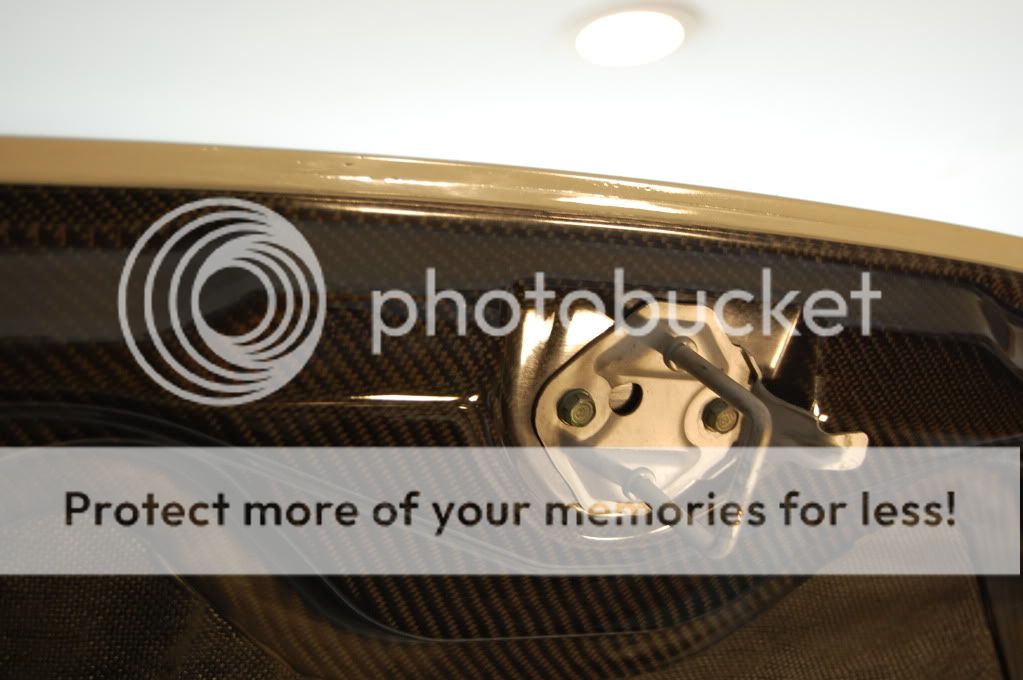
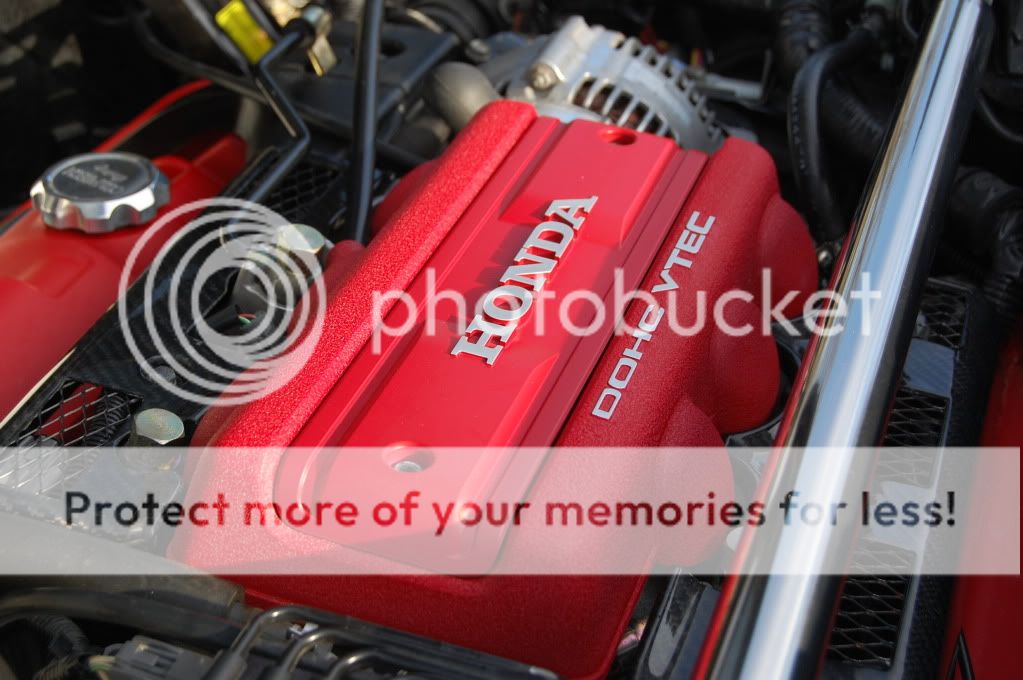
The CF engine cover was swirled and was pretty dull- there were also too spots where some sort of scuffing/oxidation existed
- one pass with Menzerna Power finish on a 3 inch yellow pad made quick work of the defects
Before:
After:
Notice line up by window showing before and after polishing:
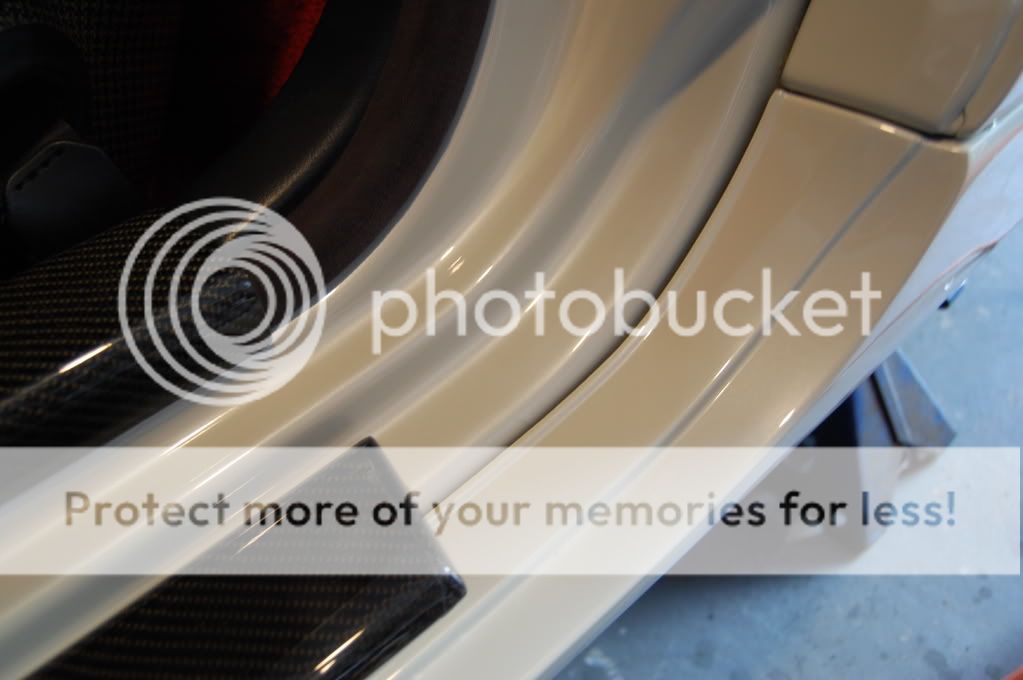
Near the end of Day two and after 20 hours of paint correction I focused more on getting the door jambs which containted a significiant amount of paint overspray dialed in.
Wetsanded with 3000 grit here, followed up by hand polishing and PC polishing with a yellow pad- Megs 105
Paper sitting in bucket full of warm water for 15 min.
After:
The Recaro buckets had suede inserts- these were removed- blown with compressed air and vacuumed with a brush attachment.
Leather Masters suede/alcantara cleaner used here with a damp MF towel- left to dry overnight.
Owner had requested the sticker from the window tint to be removed
Heated on low heat with heat gun
MF towel dampened with 3M adhesive remover left over sticker for 5 minutes removed and plastic razor blade used to tremove sticker
Zaino Z12 clear view glass polish applied via Flex DA and a Uber orange foam pad
Wheels wiped down after sealant hazed and waiting to be put back on the beast
Brand new Black pad to apply sealant used on this one:
Mechanic came back over at end of night 2 to put wheels back on
In garage at end of night 2 letting Menzerna Powerlock to sit overnight:
Day 3- wrapping up
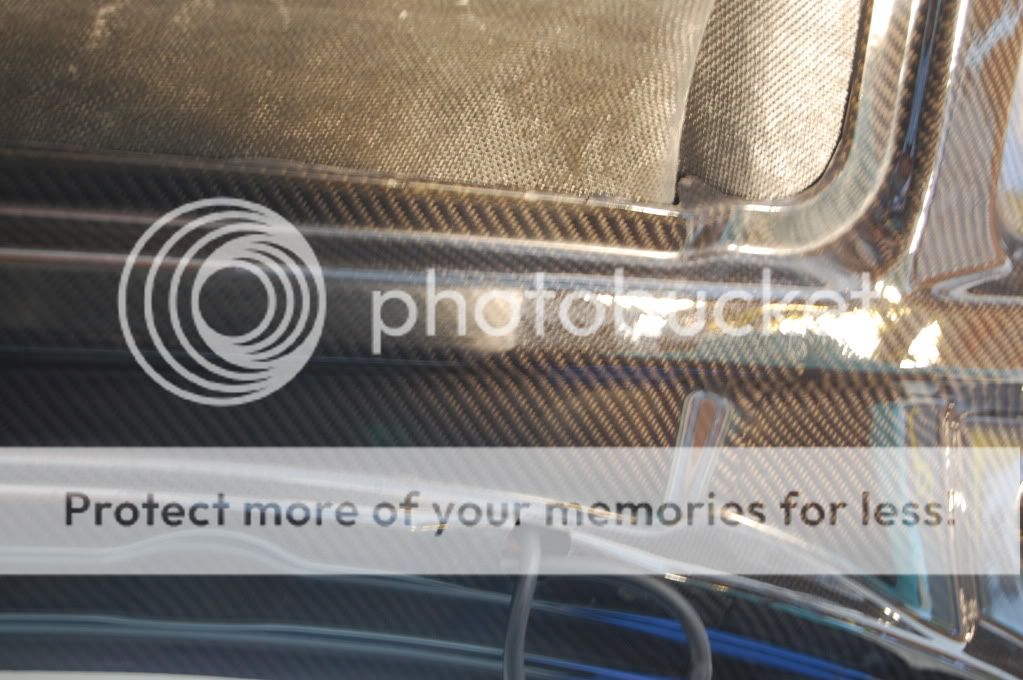
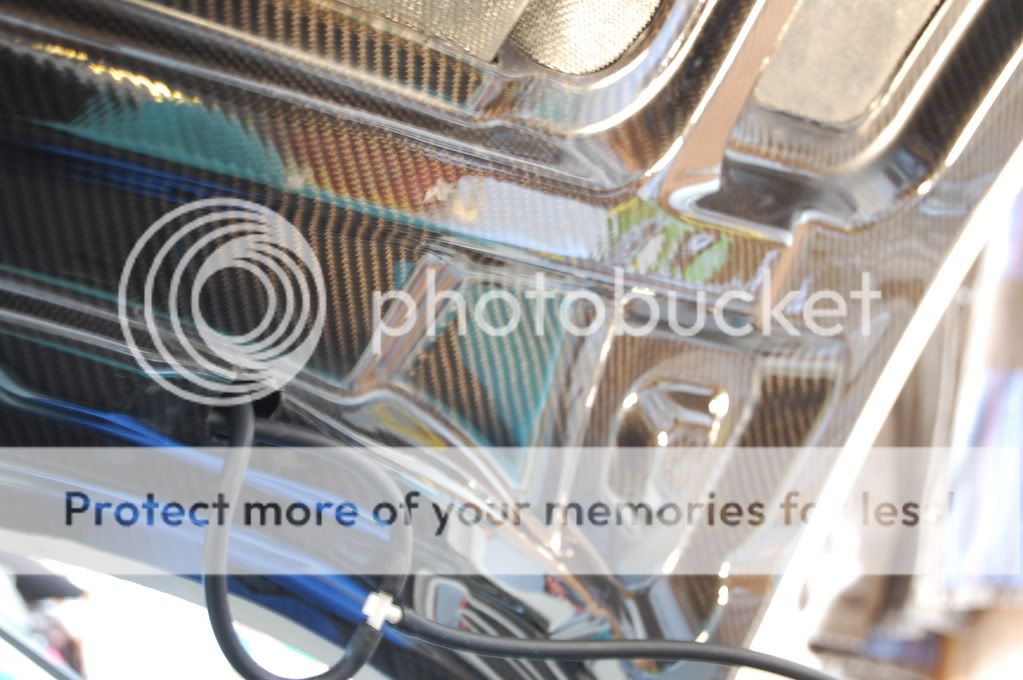
last bit of polishing to focus on was under front hood (remember hazed and scuffed CF before pics in beginning?)
Before:
During Polishing- notice left/ right split
Right section after:
Top portion after
Left and right done
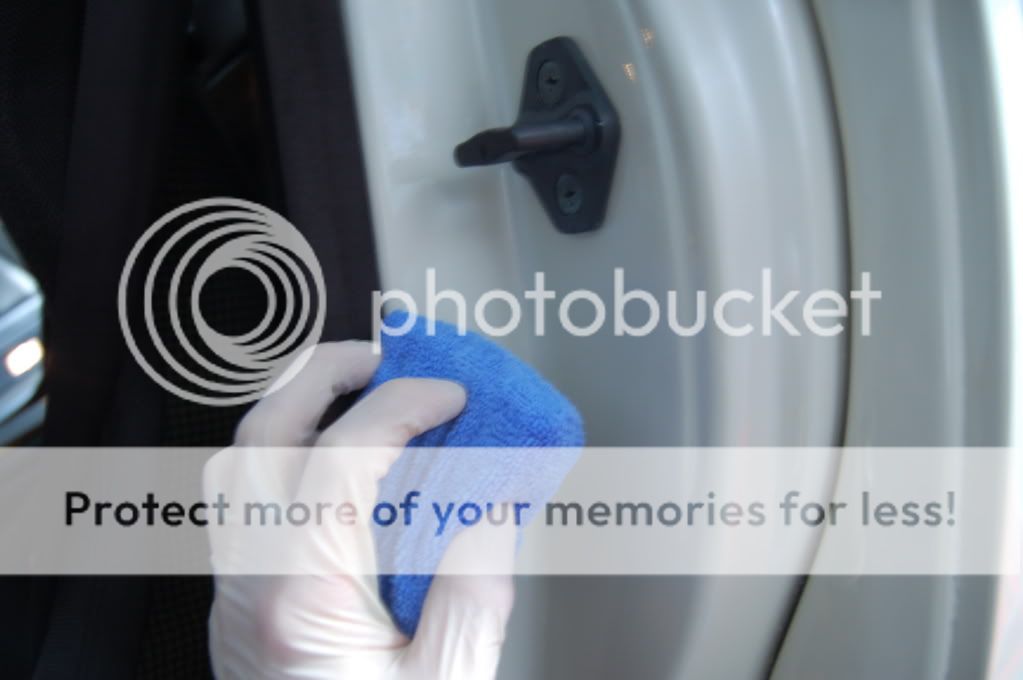
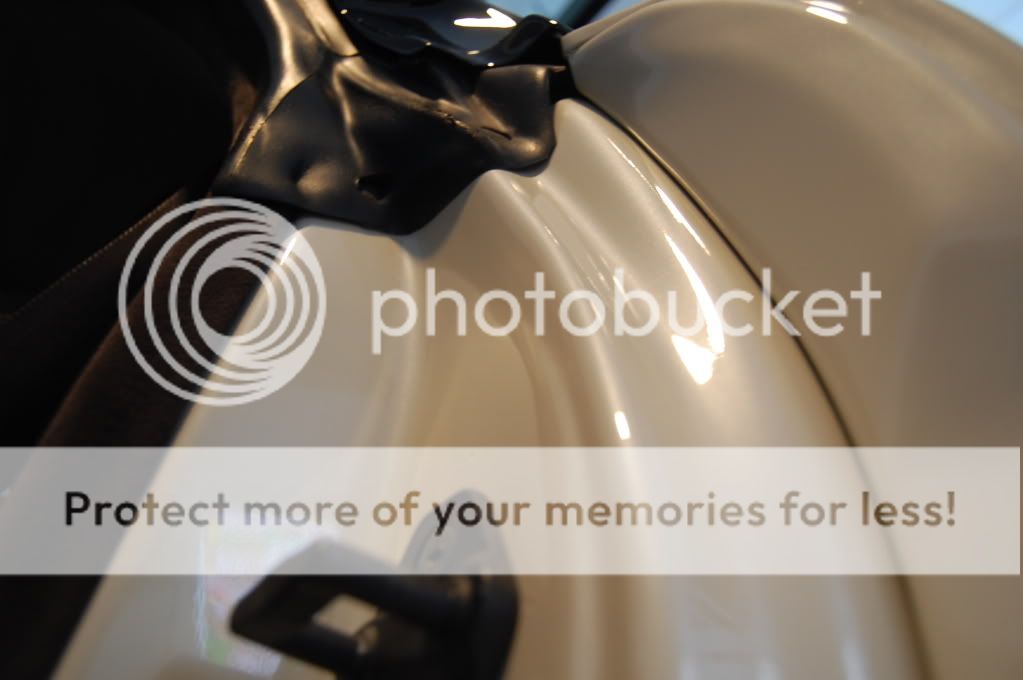
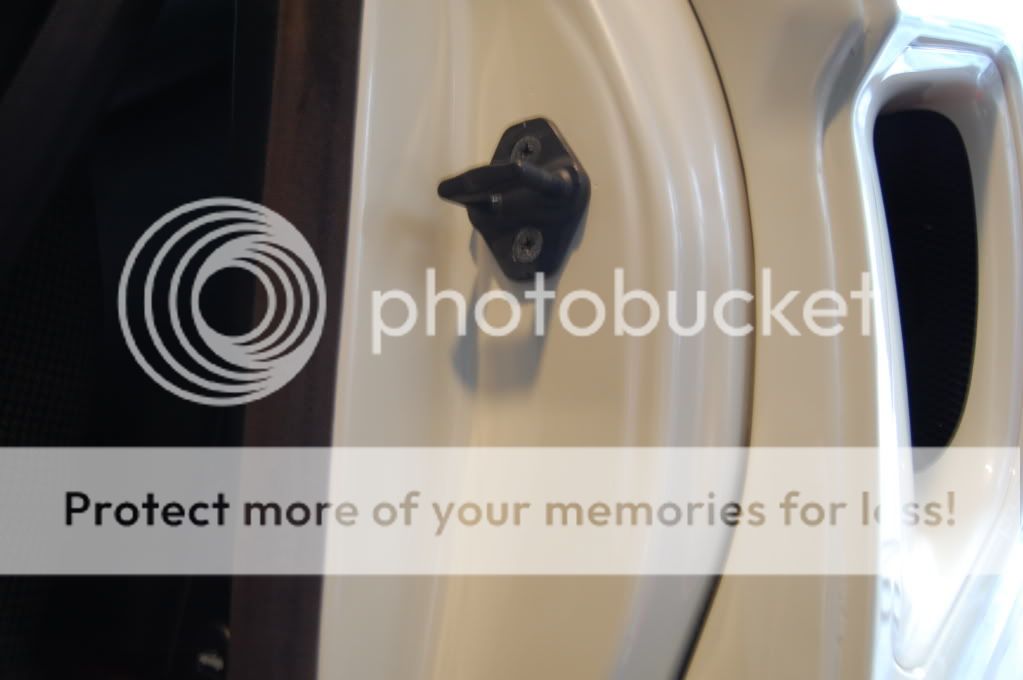
303 protectant applied to all trim/ weatherstripping:
before:
50/50
Glass was cleaned inside and out with Sonax Glass cleaner, tires dressed with adams VRT dressing, interior vacuumed, mats shampooed and extracted and a quick Megs APC wipedown in interior.
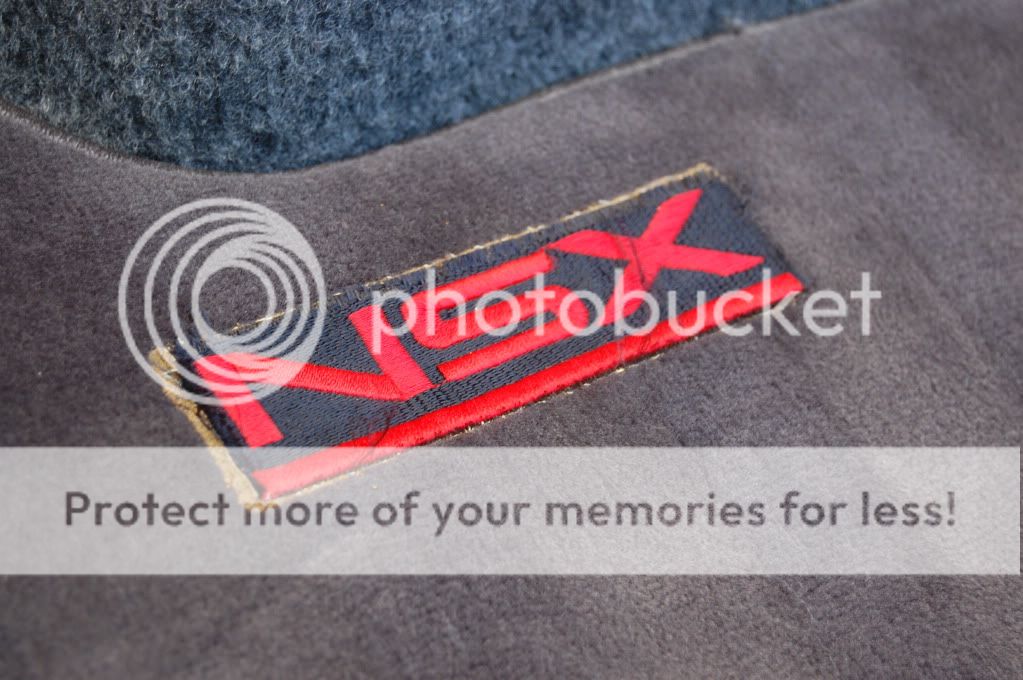
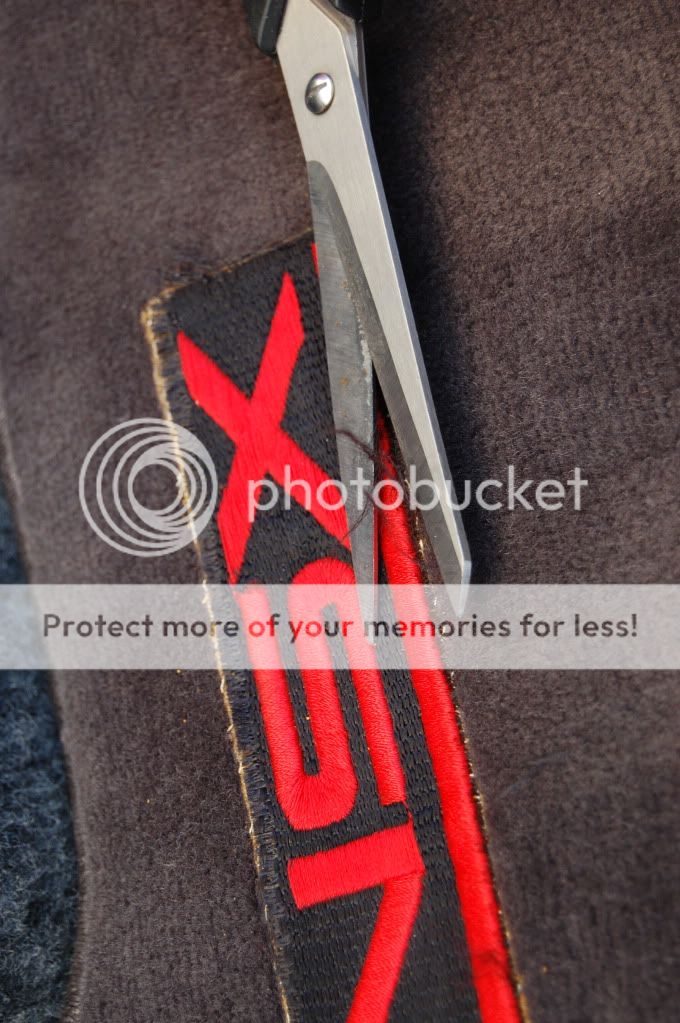
Trunk mat had loose strings around logo- not good.
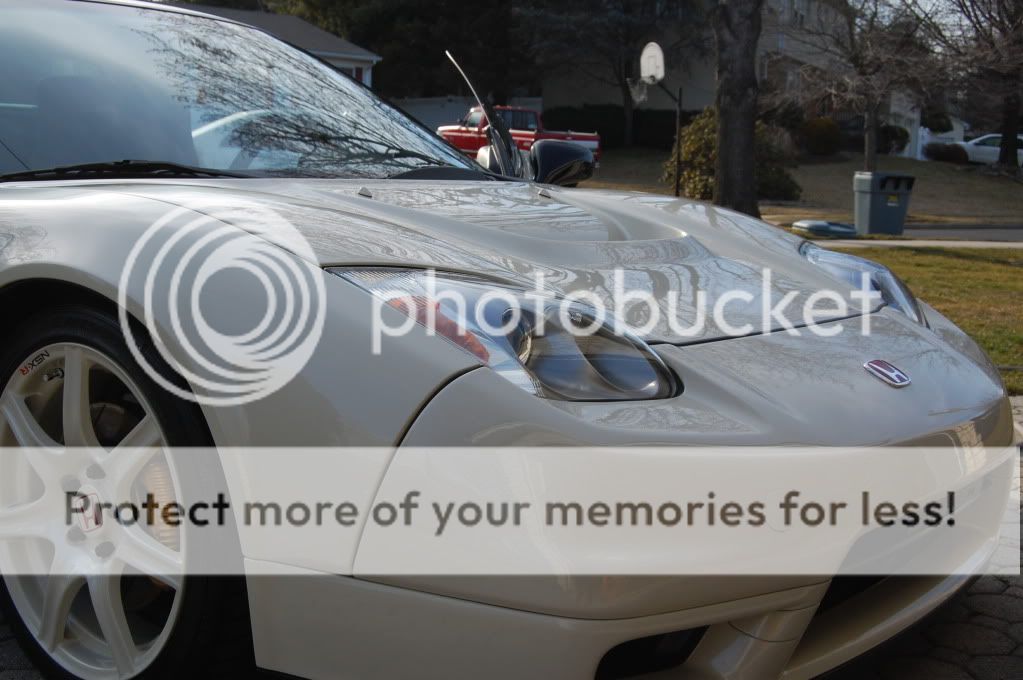
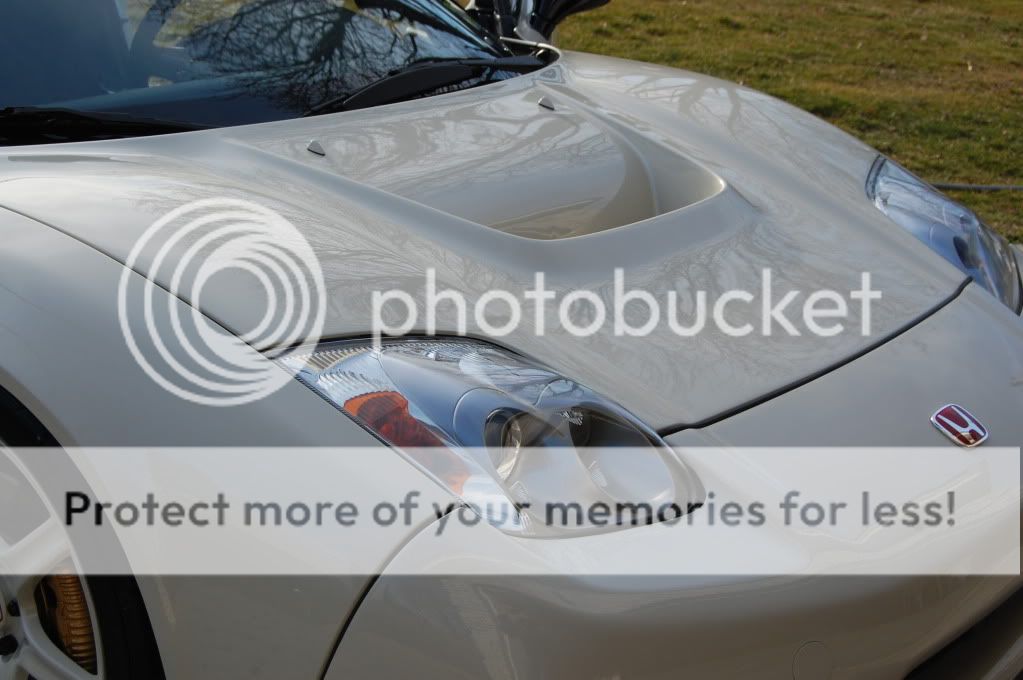
AND NOW THE AFTERS:
- Frank
")
 WOW congratulations on you brand new purchase lol!