• Protip: Profile posts are public! Use Conversations to message other members privately. Everyone can see the content of a profile post.

Honcho's Long Road to Imola Type-S Zero

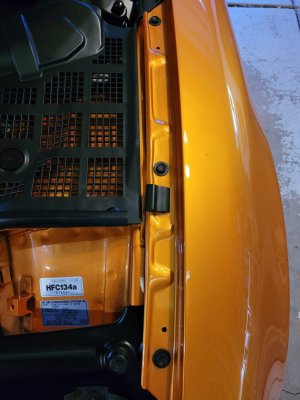
Hood Latch

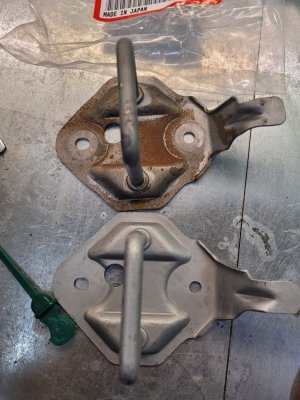
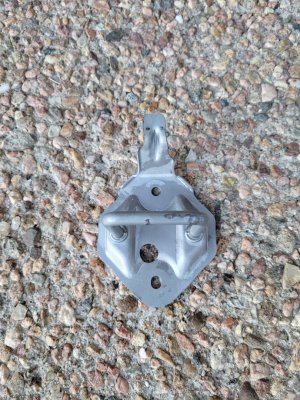
You may remember earlier in the project I used my home-made media blaster to prep some rusty metal parts. One was the hood latch.
20201208_155147.jpg

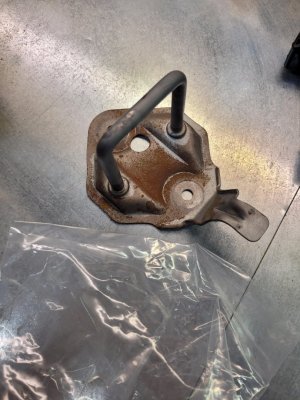
DOesn't it look so pretty? Yeah, well, I forgot to paint it and just put it on the car. After driving through that torrential rainstorm on the way to the cancelled big car show, the damage was done.
20240121_132219.jpg

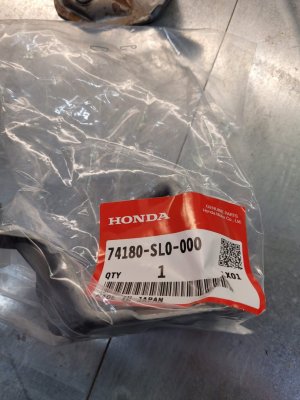
Rather than re-blast it and paint, a new one was only $15.
20240121_132222.jpg20240121_132308.jpg

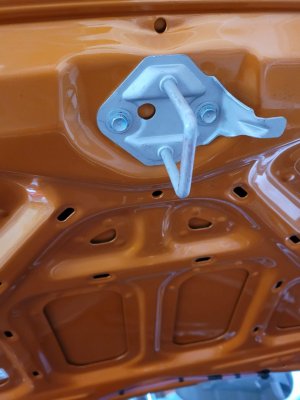
All fitted to the hood with a little grease on the catch. Looks nice.
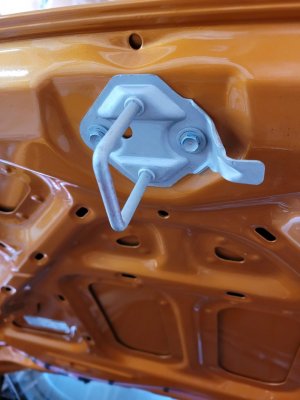
20240121_132746.jpg20240121_132749.jpg
 
Body Bolts

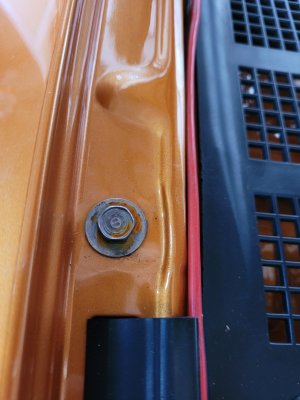
The car is nearly done, done. The last major item is a trip back to the body shop to do a few fitment tweaks, fix the door beam/window problem and touch up all the nicks and bolts from the rebuild process. A casualty of waiting to do this are the body bolts. These were all red, so I stripped them on a wire wheel and re-used them. However, like the hood latch, I also stripped off the zinc-coating. Car washes and rain caused corrosion.

20240121_125050.jpg

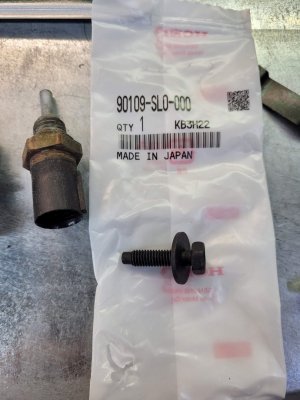
After seeing nice new bolts on @NSX_n00b 's car (and realizing I was an idiot for trying to reuse my old ones), I bought new body bolts. To my surprise, they are now black. It looks like a black oxide coating like you see on outdoor fence hardware.

20240121_125038.jpg

I replaced as many as I could reach without taking the car apart. They actually look cool on the Imola color.

20240124_171543.jpg

For the ones I can't reach, I'm going to have the shop spray those with Imola paint, since they will have some of the panels off for re-fitting.
 
Last edited:
Mothership

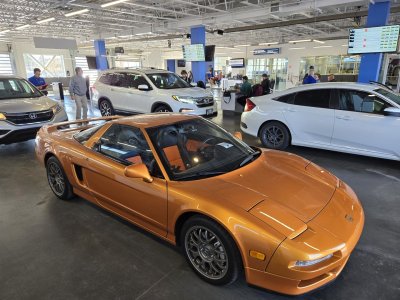
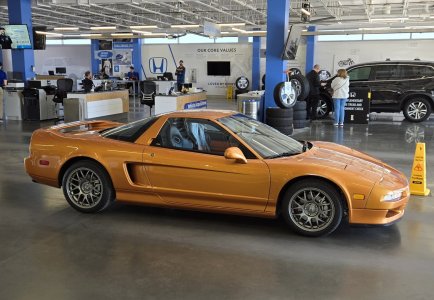
The Zero was at Honda today getting it's headlights properly aimed.

1000013360.jpg1000013361.jpg

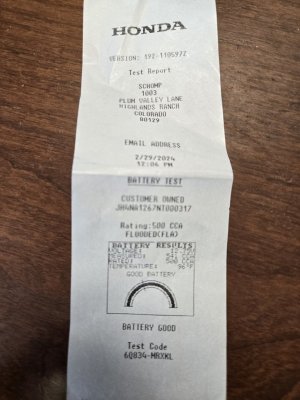
They also checked the battery, which was fine. Apparently, my battery light resulted from sitting for 2 weeks in the cold. It was just low. Driving the car charged it back up. It's the first time I've ever seen the battery light turn on in the NSX! A symptom of my small Type-S battery. I plugged it into the tender overnight just to be safe.

1000013358.jpg
 
Holy moly -your dealer services NSX? Mine would tell me I am at the wrong place...
For aiming headlights, yes. I originally went to exchange my Honda battery since I thought it was dying and it was still in warranty. They have a level floor and big wall, so I gave them the service manual page that tells you how to aim the lights and they had it done in 20 min.

For any major service, I do the work. :)

The car drew quite a crowd, including the dealer owner. Customers waiting for service on their CR-Vs and minivans went nuts. None of them had any idea Honda made the car.
I want to drive over to your house for some maintenance classes :)
 
I want to drive over to your house for some maintenance classes :)
You would not be the first owner to do a self imposed nsx sabbatical...The most famous was Fl nsxca president Wei Shen who spent time with the infamous Mark Bashe way back..Some folks also hung around Larry B's house ..aka asimo
 
General Update

You may have not noticed much happening in the blog. It's for a good reason- the Zero is back at the body shop getting its final touchups and fixing that annoying door beam that is interfering with the driver window trolley. Here's what we are doing:

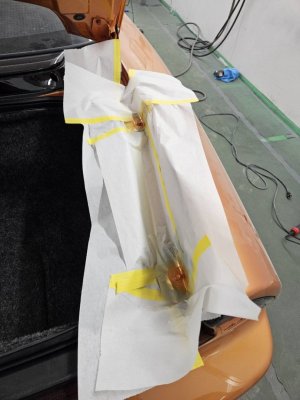
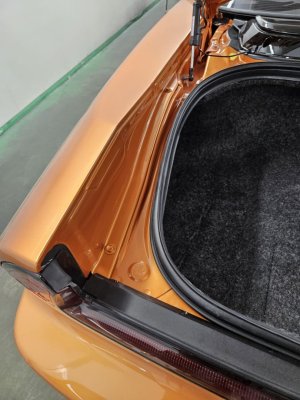
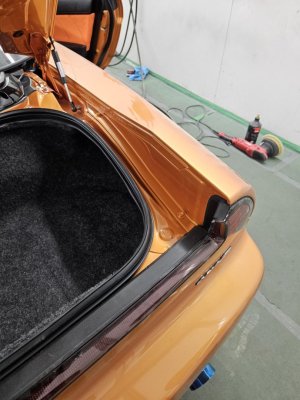
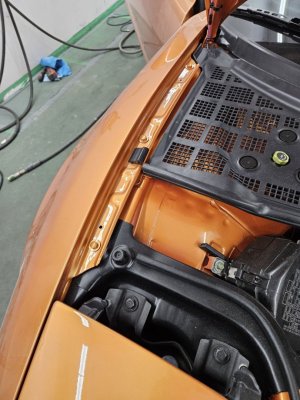
  • Airbrushing all body bolts in Imola body color.
  • Touching up all nicks and scratches from reassembly.
  • Removing and re-fitting side sills. The driver side is still contacting the door and the paint is rubbing off in a couple spots. It needs about 1mm more clearance. After fit is confirmed, they will touch up the spots.
  • Adjusting the trunk lid. I got it close but it needs to come back about 1 mm.
  • Addressing the door beam interference. Thankfully the "beam" at issue is just the panel stiffener, not the intrusion beam, which is a safety item. If they can't bend/glue it back into place, they're just going to cut a notch to allow the window trolley to clear. No one will ever know (unless they are the like three people who read this blog!)
  • Touching up the nick on the front wheel from that chunk of construction concrete that I *almost* dodged.
Once we're done, the Zero is heading to the dyno. We'll see if we can break the 300whp mark after all this work...
 
Body Bolts

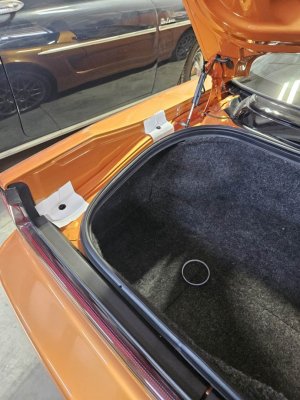
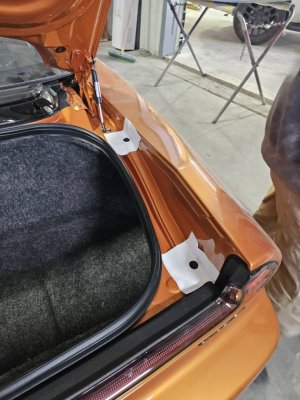
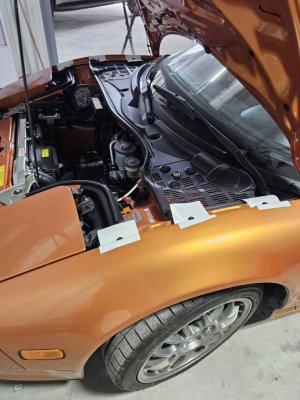
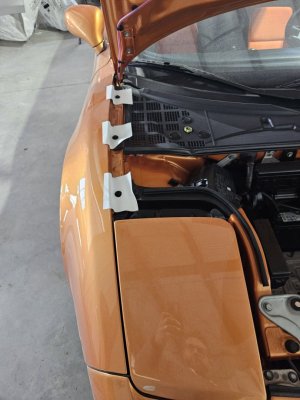
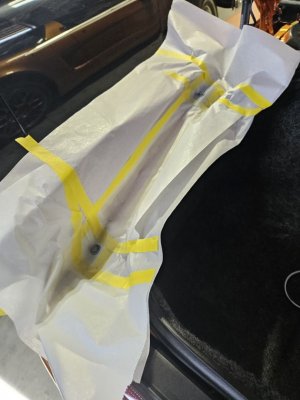
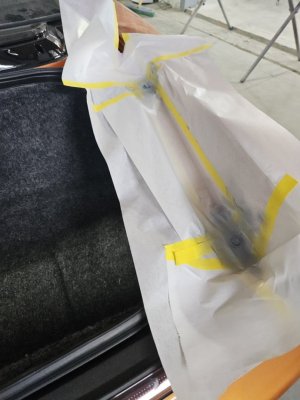
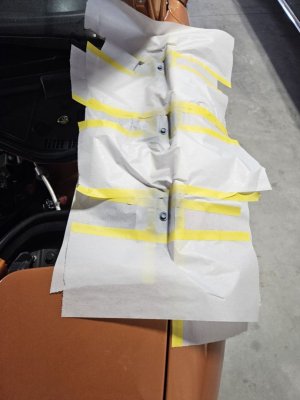
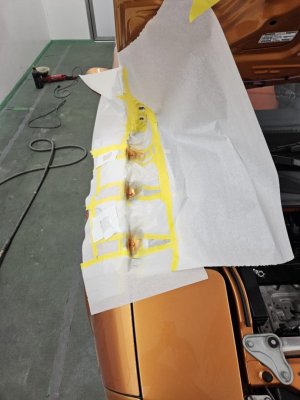
Fresh from the shop. Mike had to order some more paint, which is why it took a week. They even used primer on the bolts!

Prepping:

image3.jpegimage4.jpegimage5.jpegimage6.jpeg

Primer going down.


image10.jpegimage11.jpegimage12.jpeg

Then the color goes on.

image13.jpegimage15.jpeg

Looks factory!

image2.jpegimage1.jpegimage0.jpeg
 

Attachments

  • image7.jpeg
    image7.jpeg
    110.4 KB · Views: 2
Update

Stopped by the shop to check on the car. It's pretty much finished. Mike was able to notch the door panel beam to get the window trolley to clear. All of the nicks are painted and all of the bolts are now body color. He also was able to fix the side sills, which were rubbing the doors slightly when they closed. They also fixed some of the small spots where the factory red was showing through. He was able to get the trunk panel lined up much better than I did. The car looks perfect.

He's got a couple more areas to finish up (he's working on the wheel chip) and I should have the car back on Saturday. It's such a relief to finally be done!

Once I get the car back, I will align the driver glass properly. I asked Mike to leave the door panel off. Once the glass alignment is set, I'll install the membrane and door panel. Next, I'll re-torque the motor mounts in the proper order since they've been out of sync since the A/C repair in the fall. The engine is a little shaky due to this, but nothing bad.

After all this, it's off to the dyno for final open loop tuning.
 
Back
Top