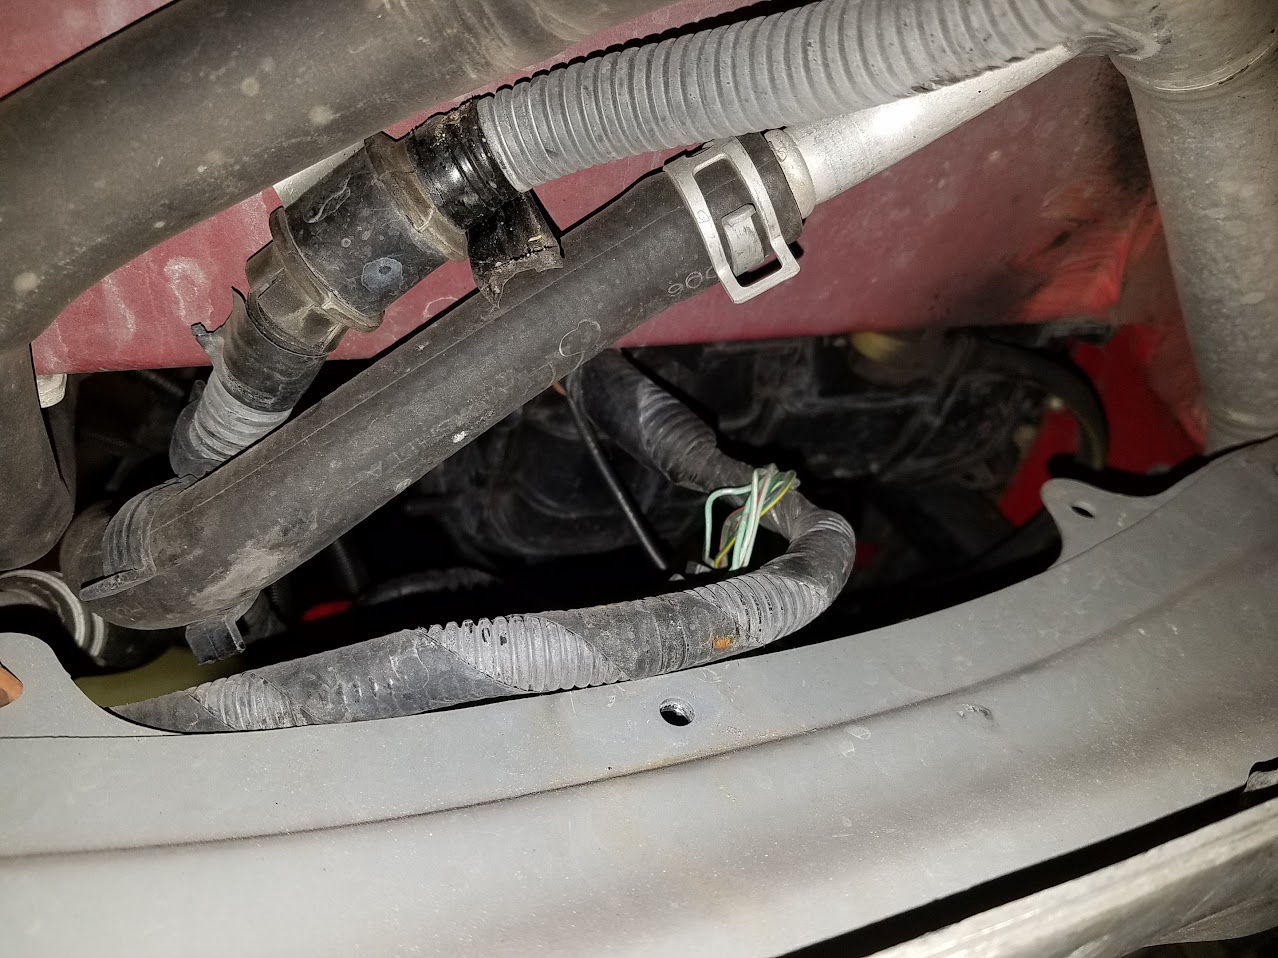
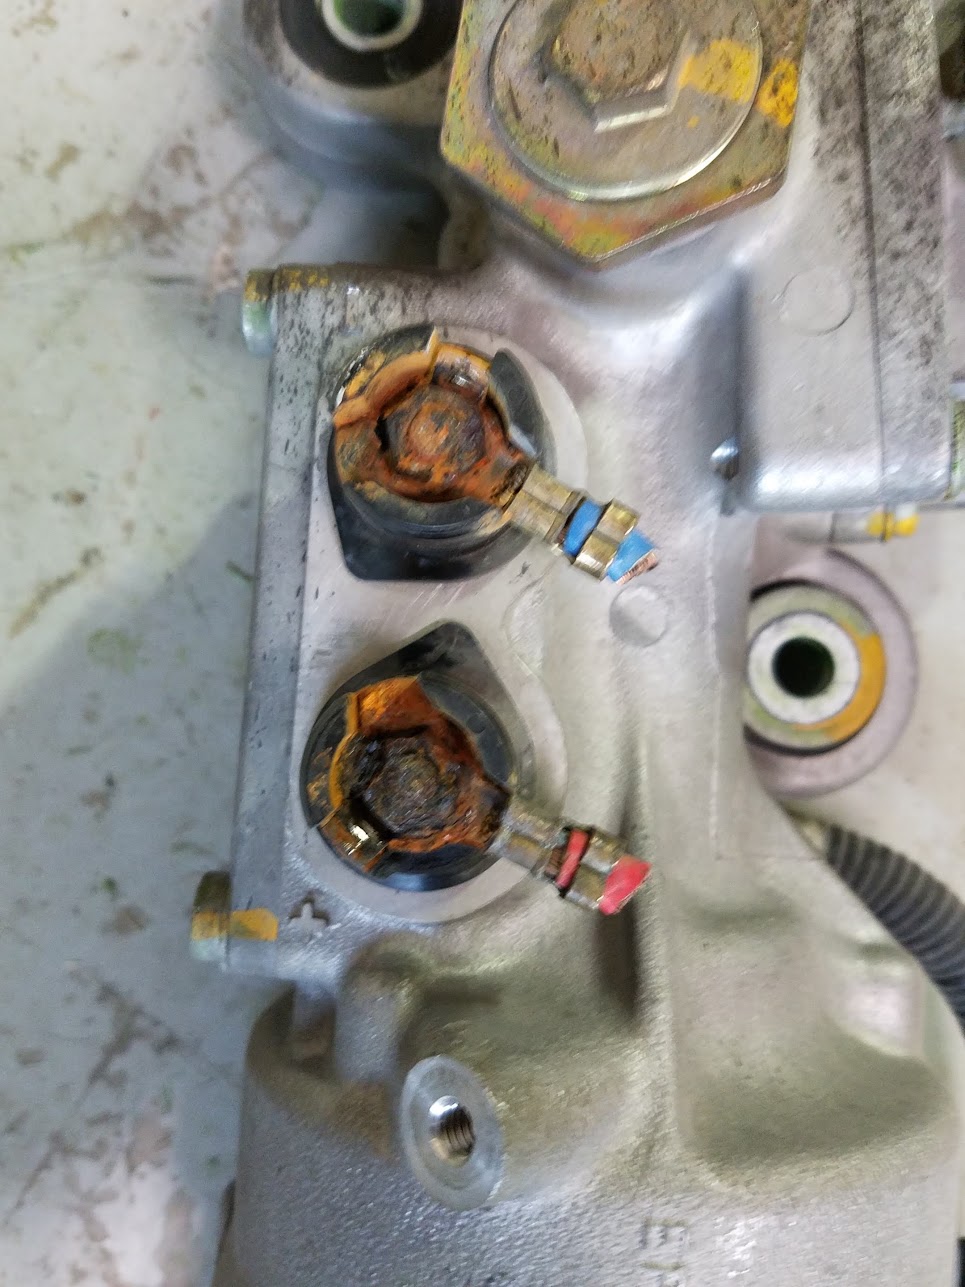
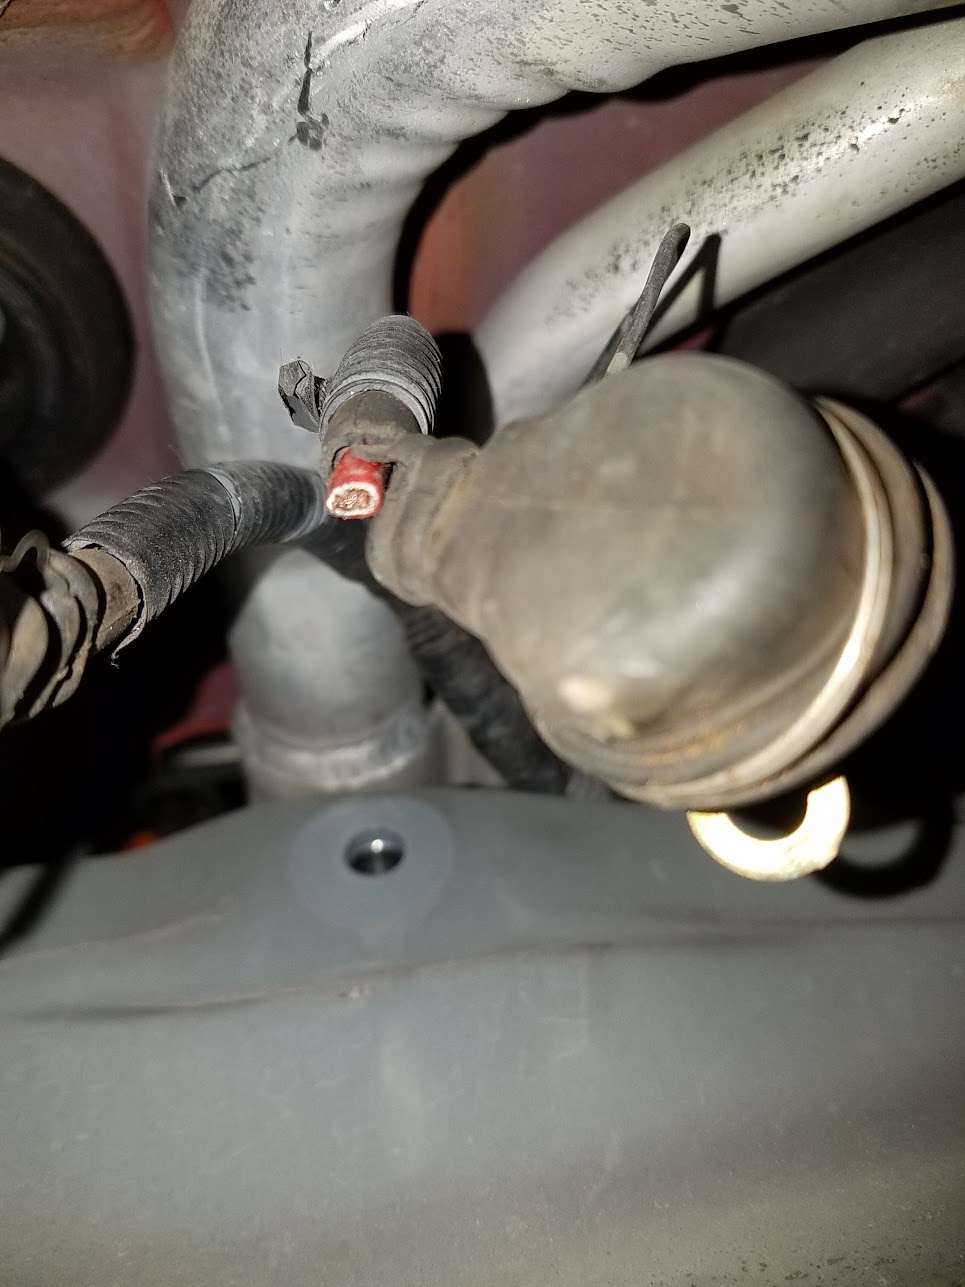
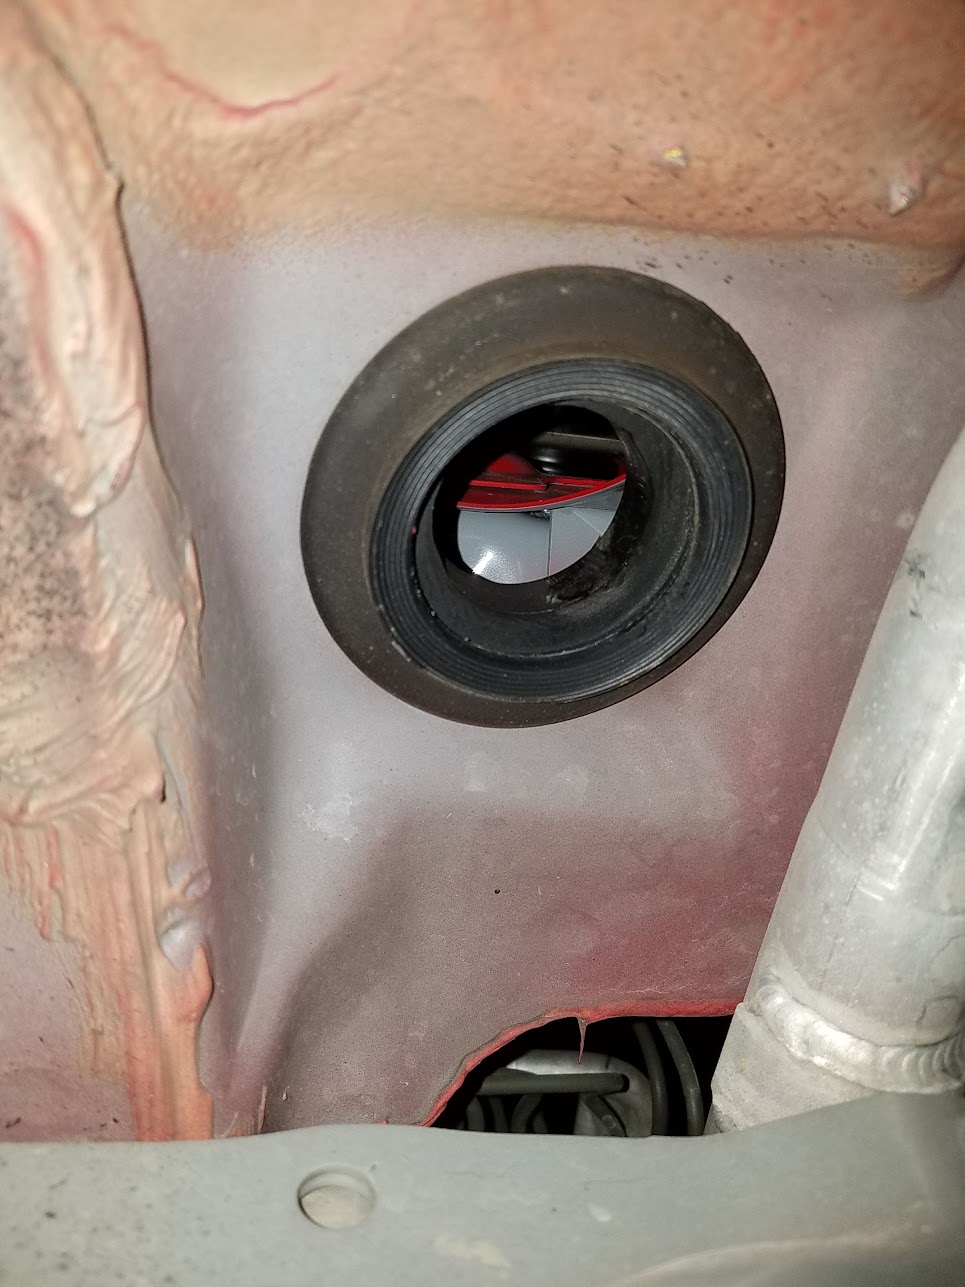
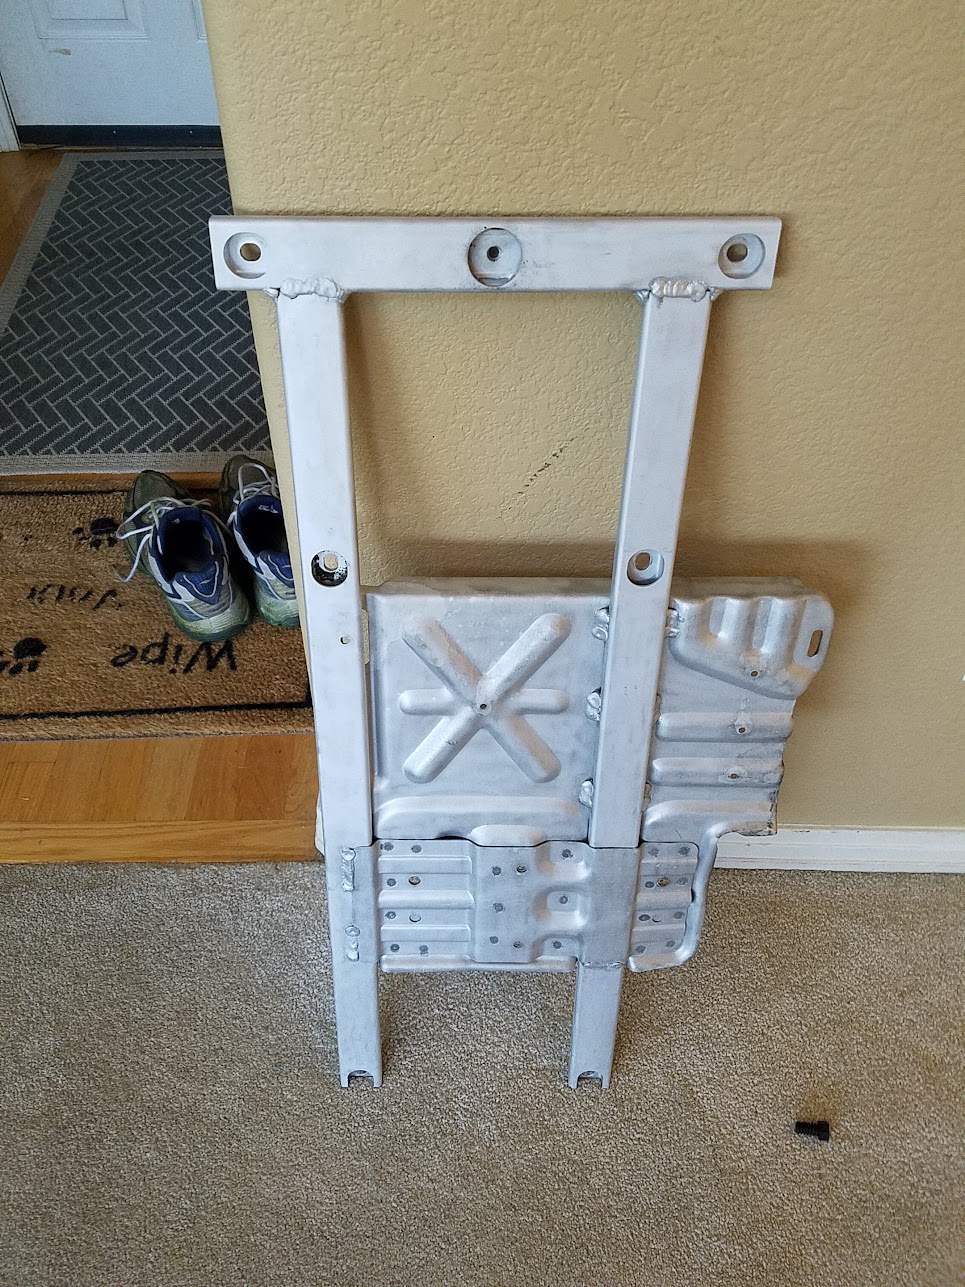
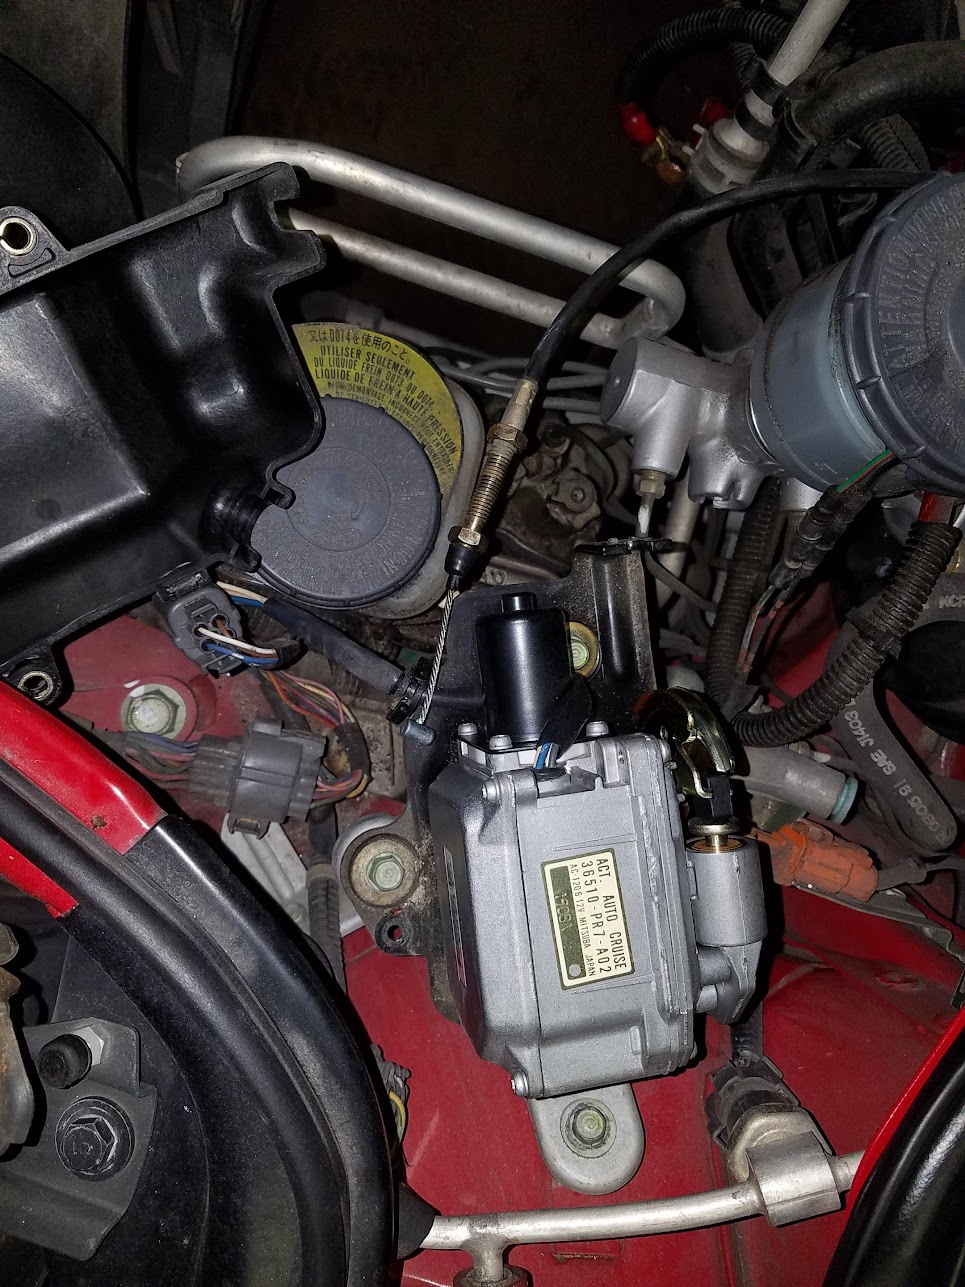
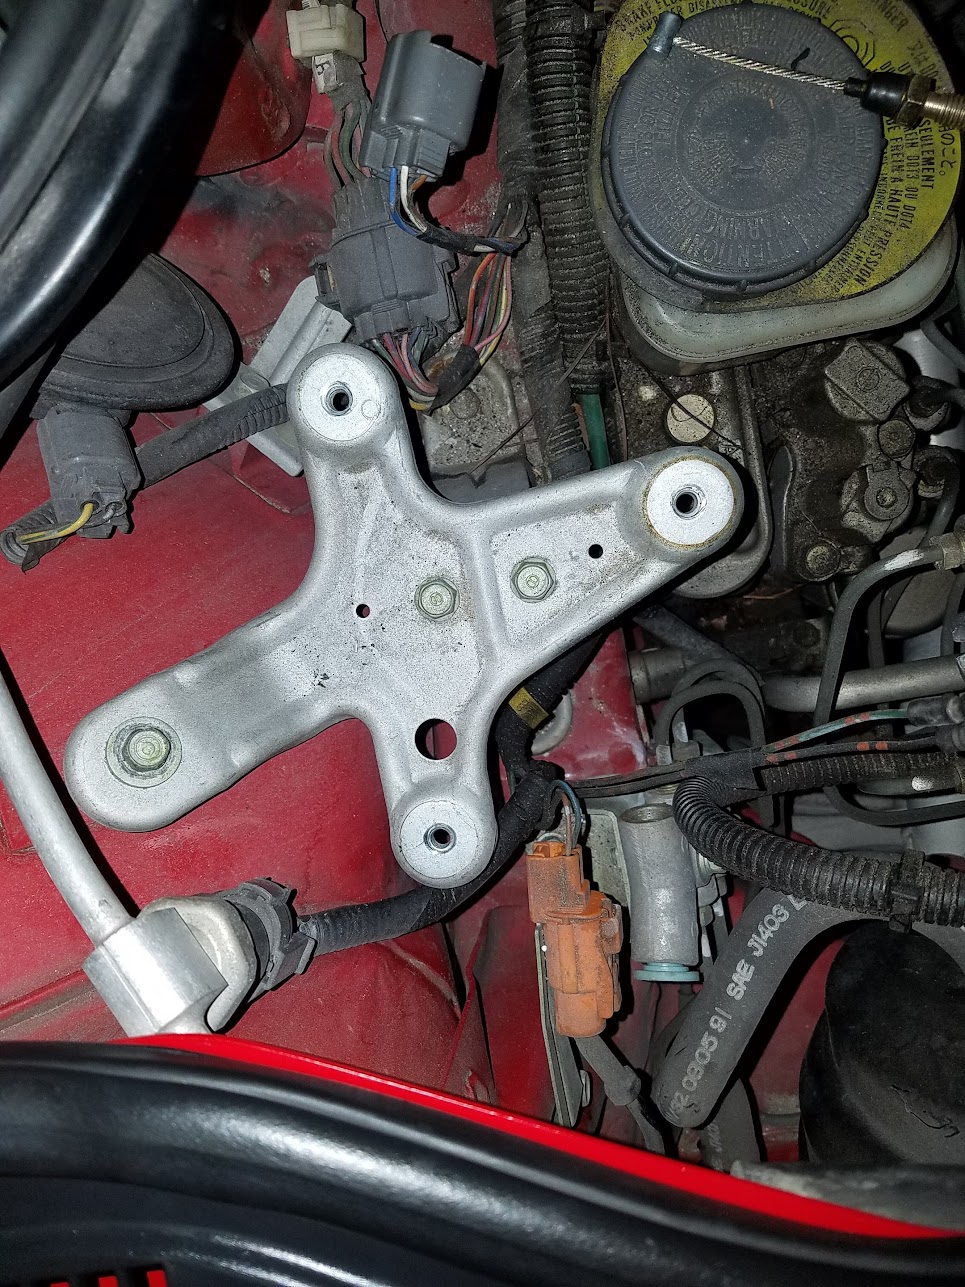
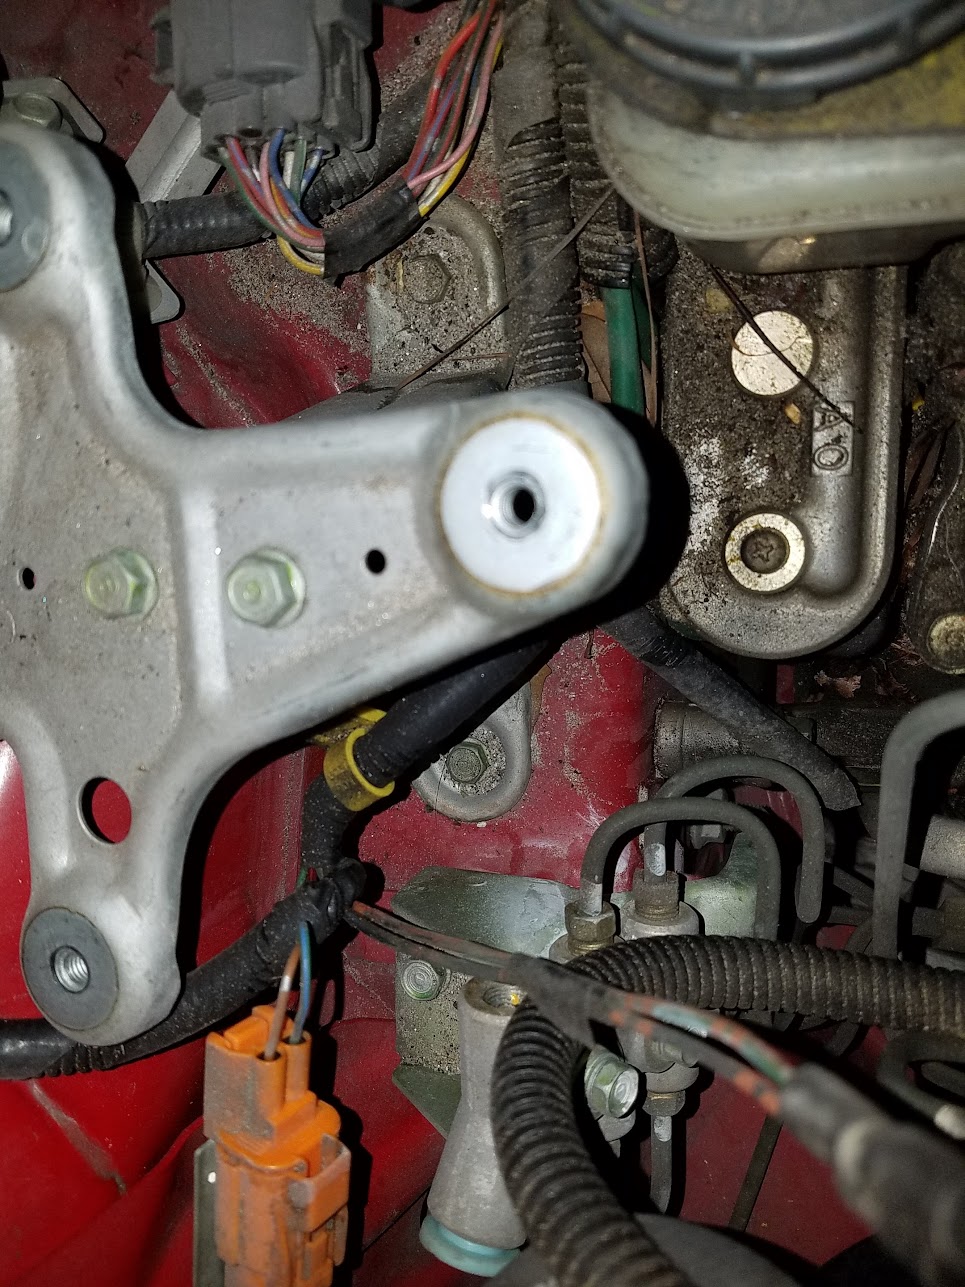
Or just say eff it and cut the cable where ever you can see it and pull it out in two pieces.
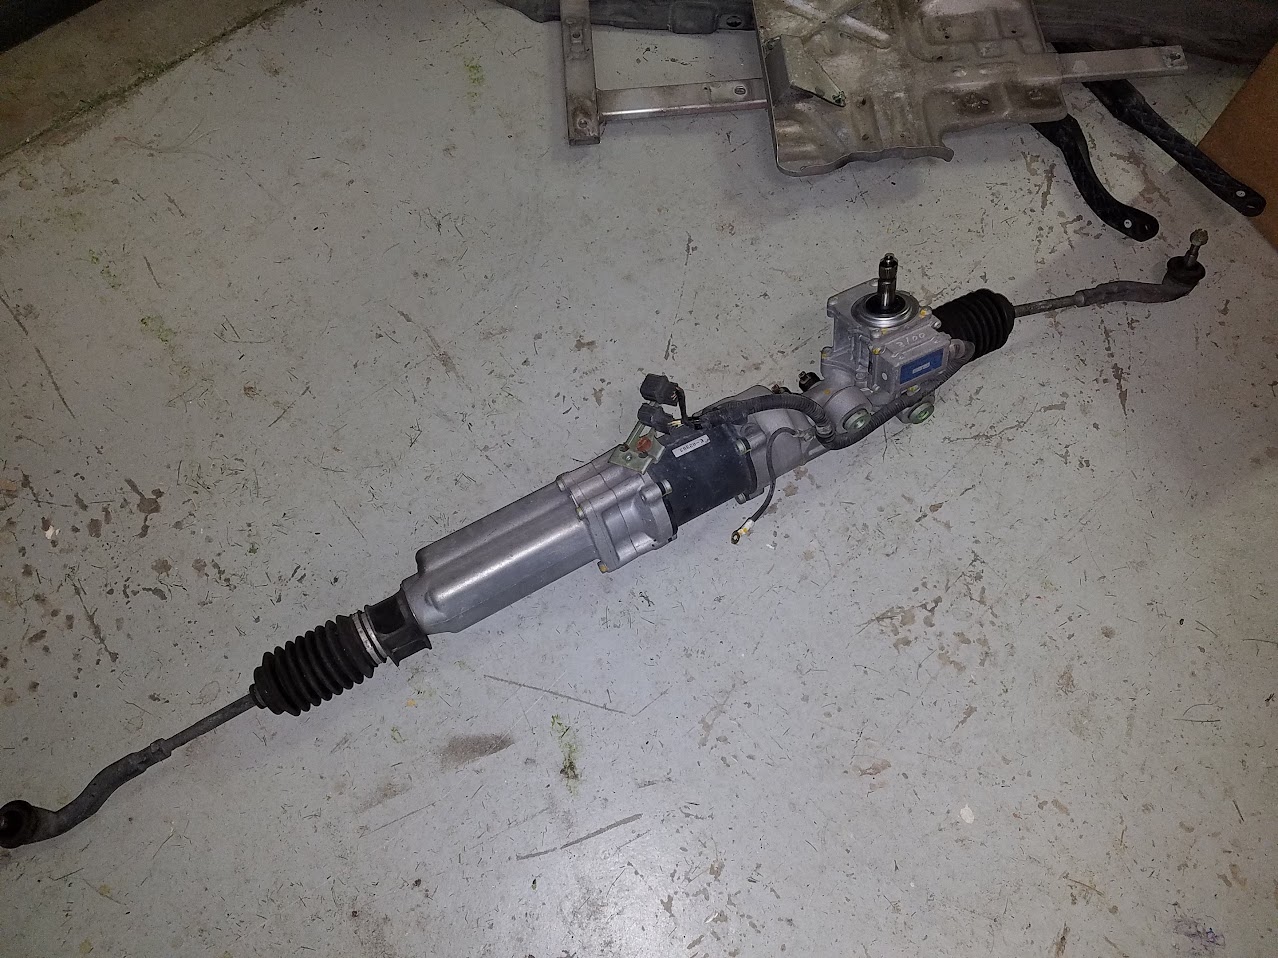
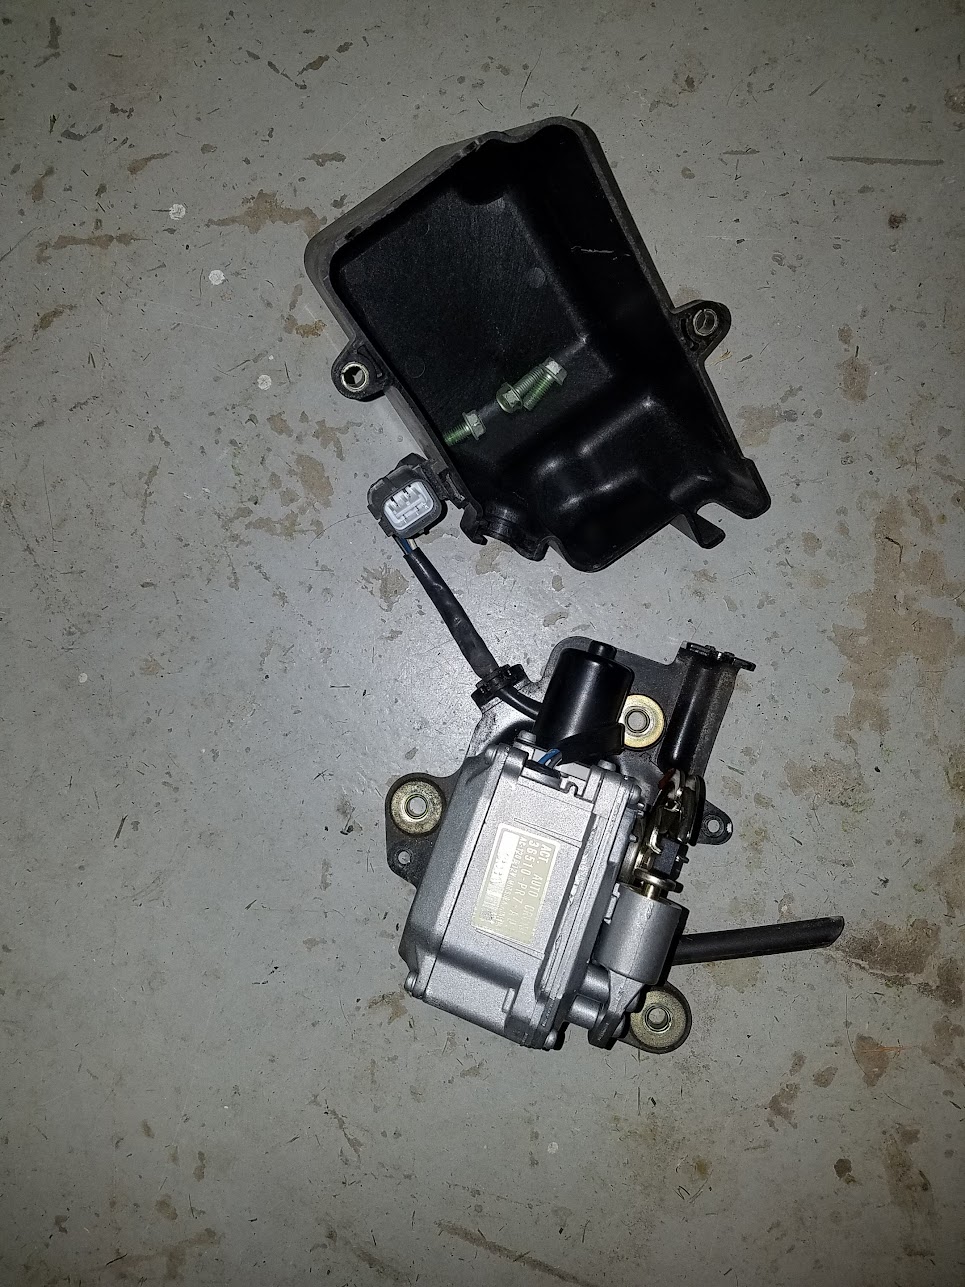
That's another option! I don't think the cruise control is very desirable from a used-parts perspective. Earlier this spring I did an ~900 mile road trip and didn't miss the archaic cruise control.