We have asked admins to REVISE our first post since much of the information is outdated now but wanted to post it here as well so we can refer people to the new contents first. Any questions please PM us first, this is not a full time job for us and strictly a hobby
")
-----------------------------
Because many things have changed since our initial development of this project, please READ THIS post in it’s entirety. We could not edit the original thread post as 1 year has elapsed so have asked the admins to do this so there is 100% transparency and everyone knows exactly what they are getting and what work needs to be done.
First let me say when we started this project back in August/2014, our goals have not changed and the product you see below is the work of many many months of testing, preparation and more fitment testing. But as with any project, certain things change as development challenges and obstacles come up.
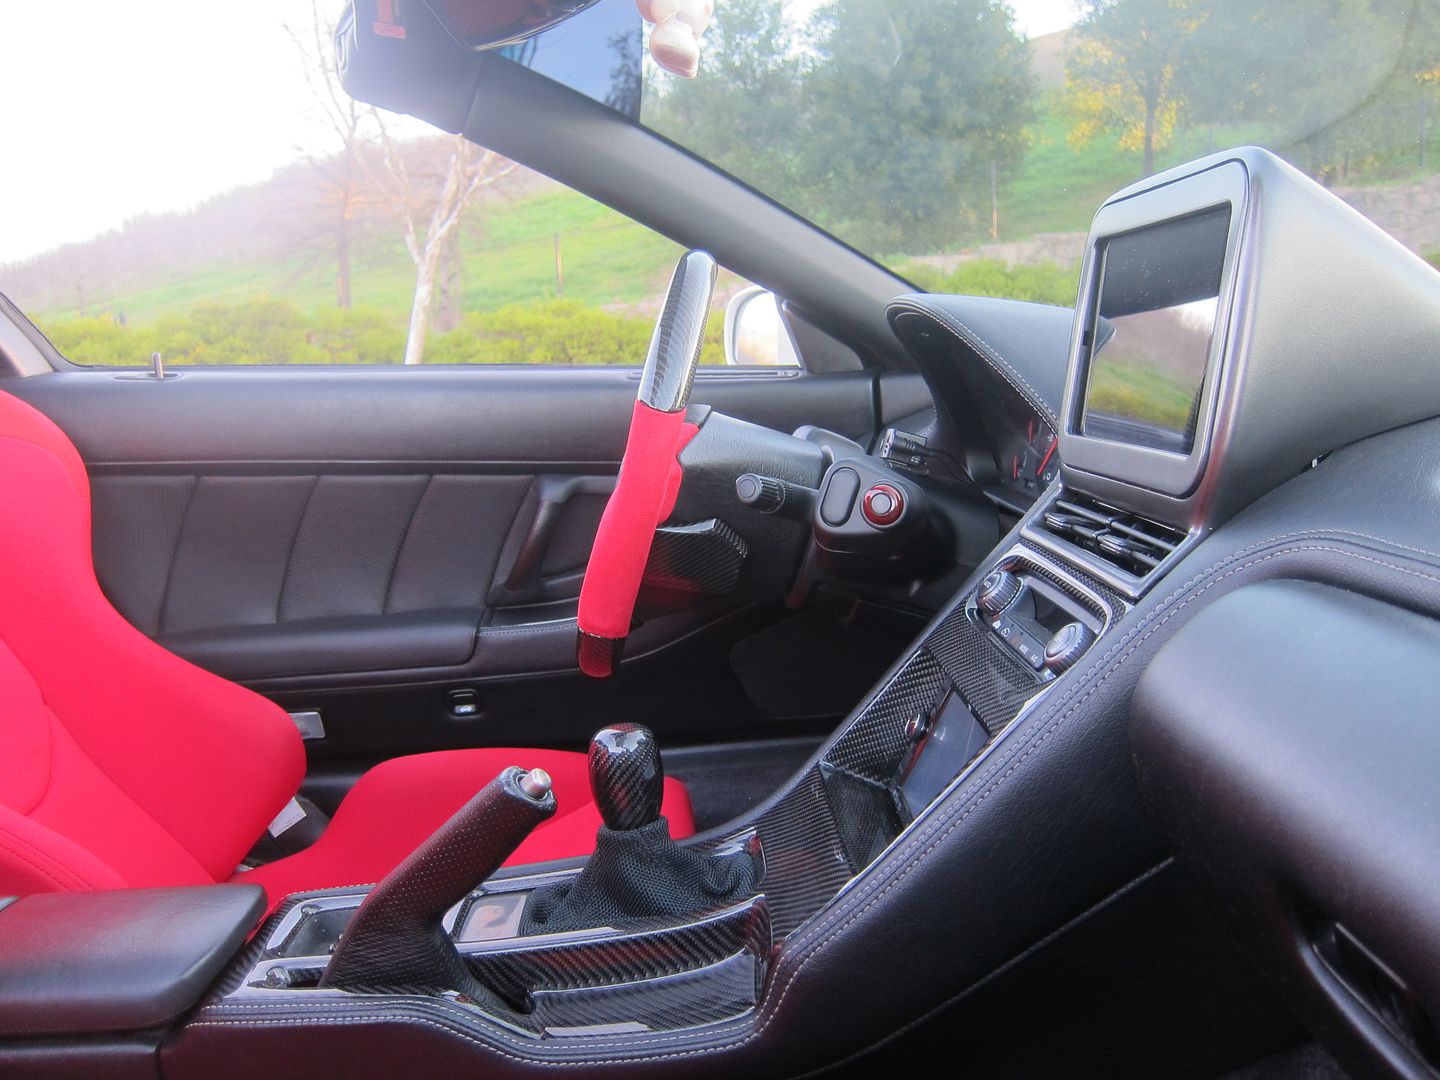
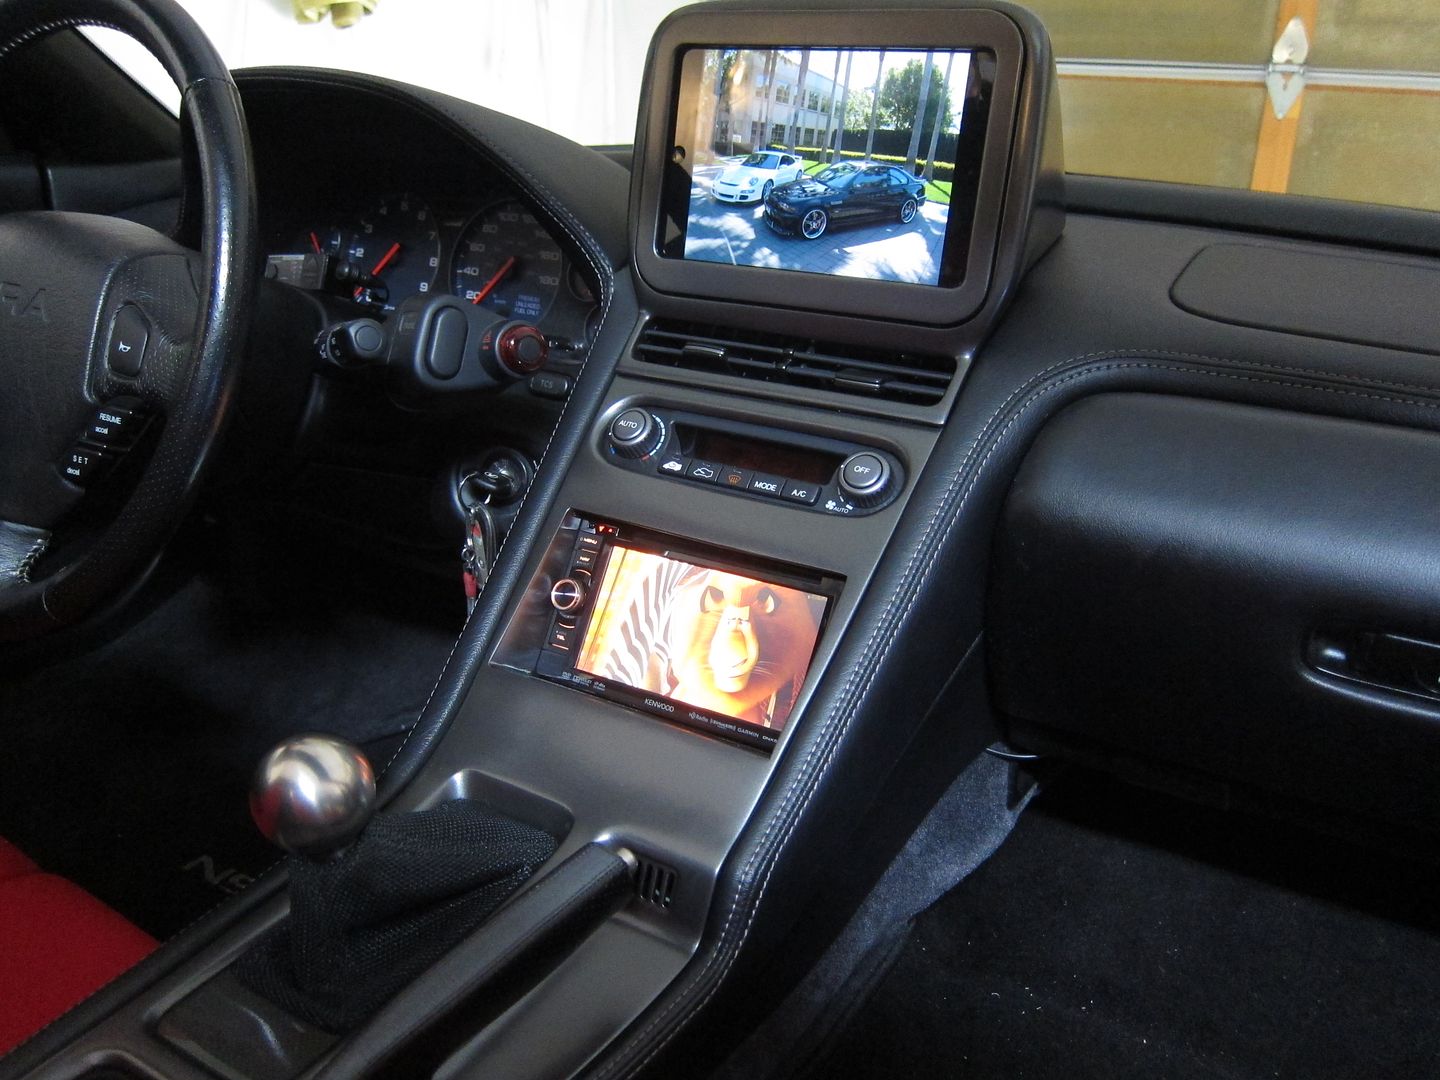
The biggest problem with the NSX center dash piece is due to the angle - any DD dash or LCD screen for that matter mounted flush to the dash will create massive glare. Everyone is aware of this problem so we set about in our mission to create a solution that we think addresses most issues with any double din installation.
Some of the biggest issues are:
1) You pay a stereo shop “X” amount of labor hours (typically $70-100 per) to modify your OEM dash panel plus costs to get it color matched
2) You LOSE your OEM dash panel and won’t be able to go back to stock (new replacements retail for $800+)
3) Car will be in the shop for at least 3-4 days for the work to be completed thus down time
4) Glare problem will be there from the LCD screen
5) Ashtray gets in the way or doesn’t work properly - many of you don’t even use the ashtray
6) It’s very hard to get an exact paint color code match
7) No carbon fiber finish
Typical NSX owner’s wish list based on our experience modifying past NSX owner’s dash panels:
a) Reduce glare by angling the DD unit at an angle more upright from the dash panel
b) Create a pre-made OEM dash panel replacement that allows owners to have a replacement without sacrificing their OEM dash panel
c) Offer both a FRP (paintable) or CF finish dash panel based on customer needs
d) Minimize “down” time and create a product that ANY NSX owner can utilize instead of only being able to offer the service to local customers*
e) Relocate unsightly ashtray plug to somewhere more discrete (fingers hit the wires protruding out of cigarette lighter which gets in way of shifting)
We believe our custom angled DD dash panel addresses “a - e” shown below:
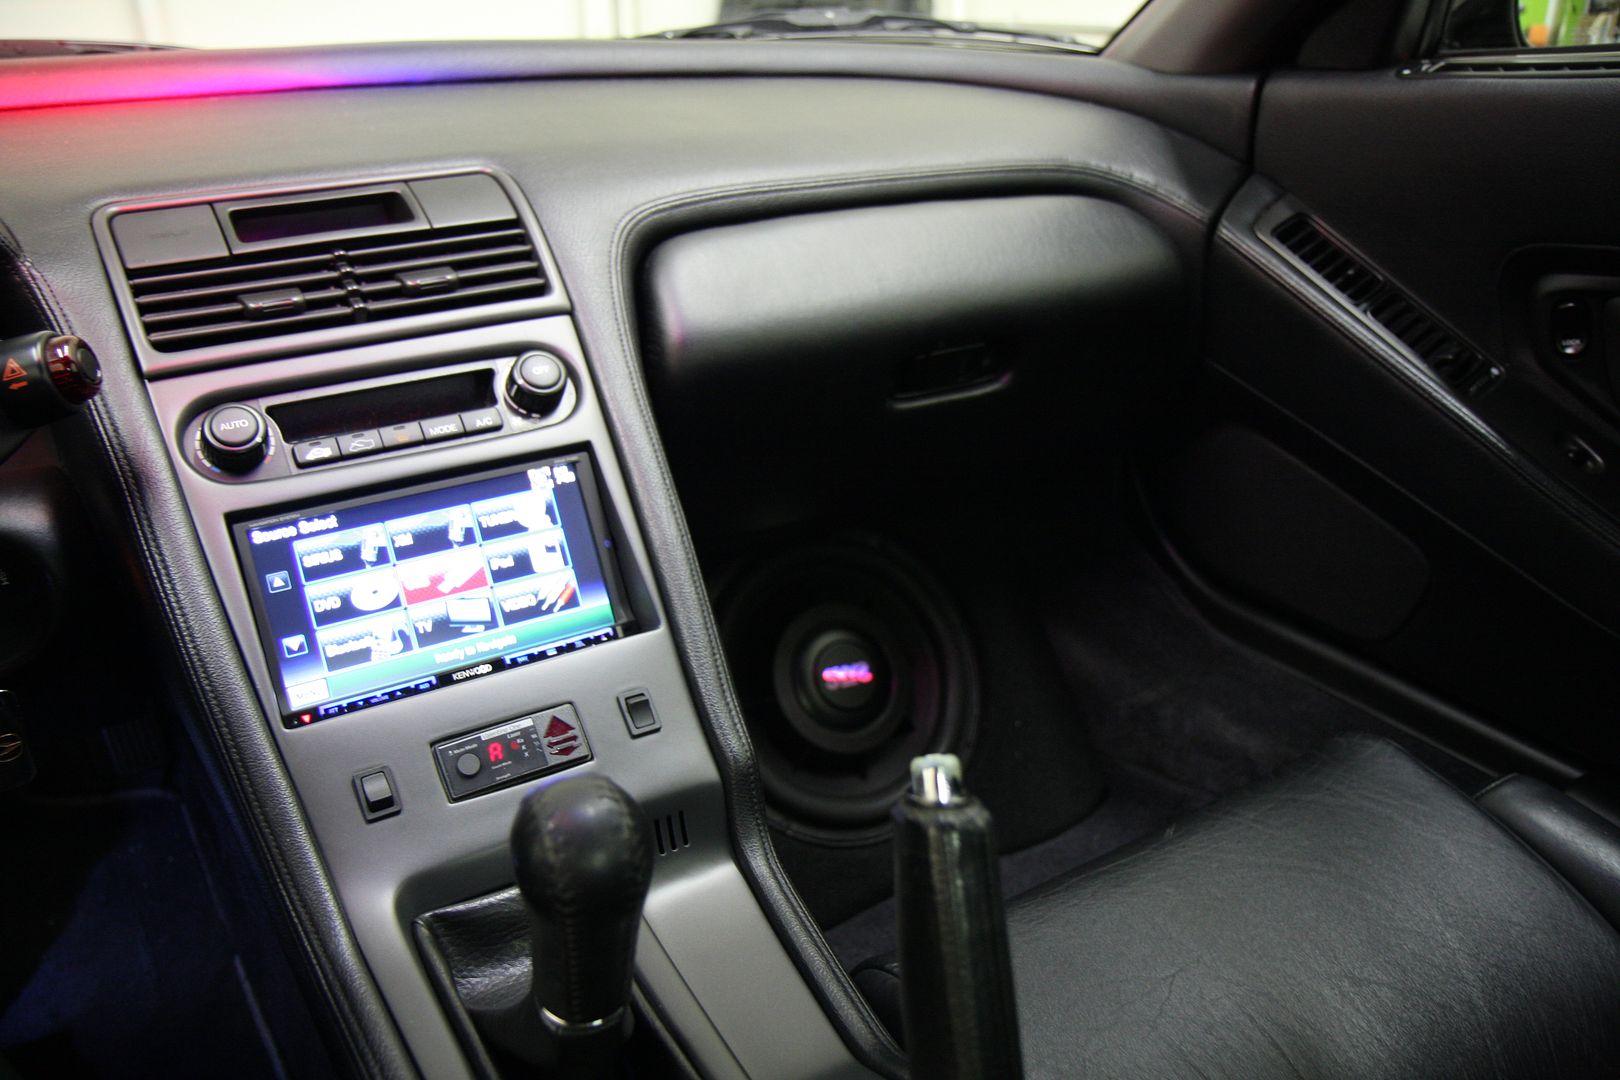
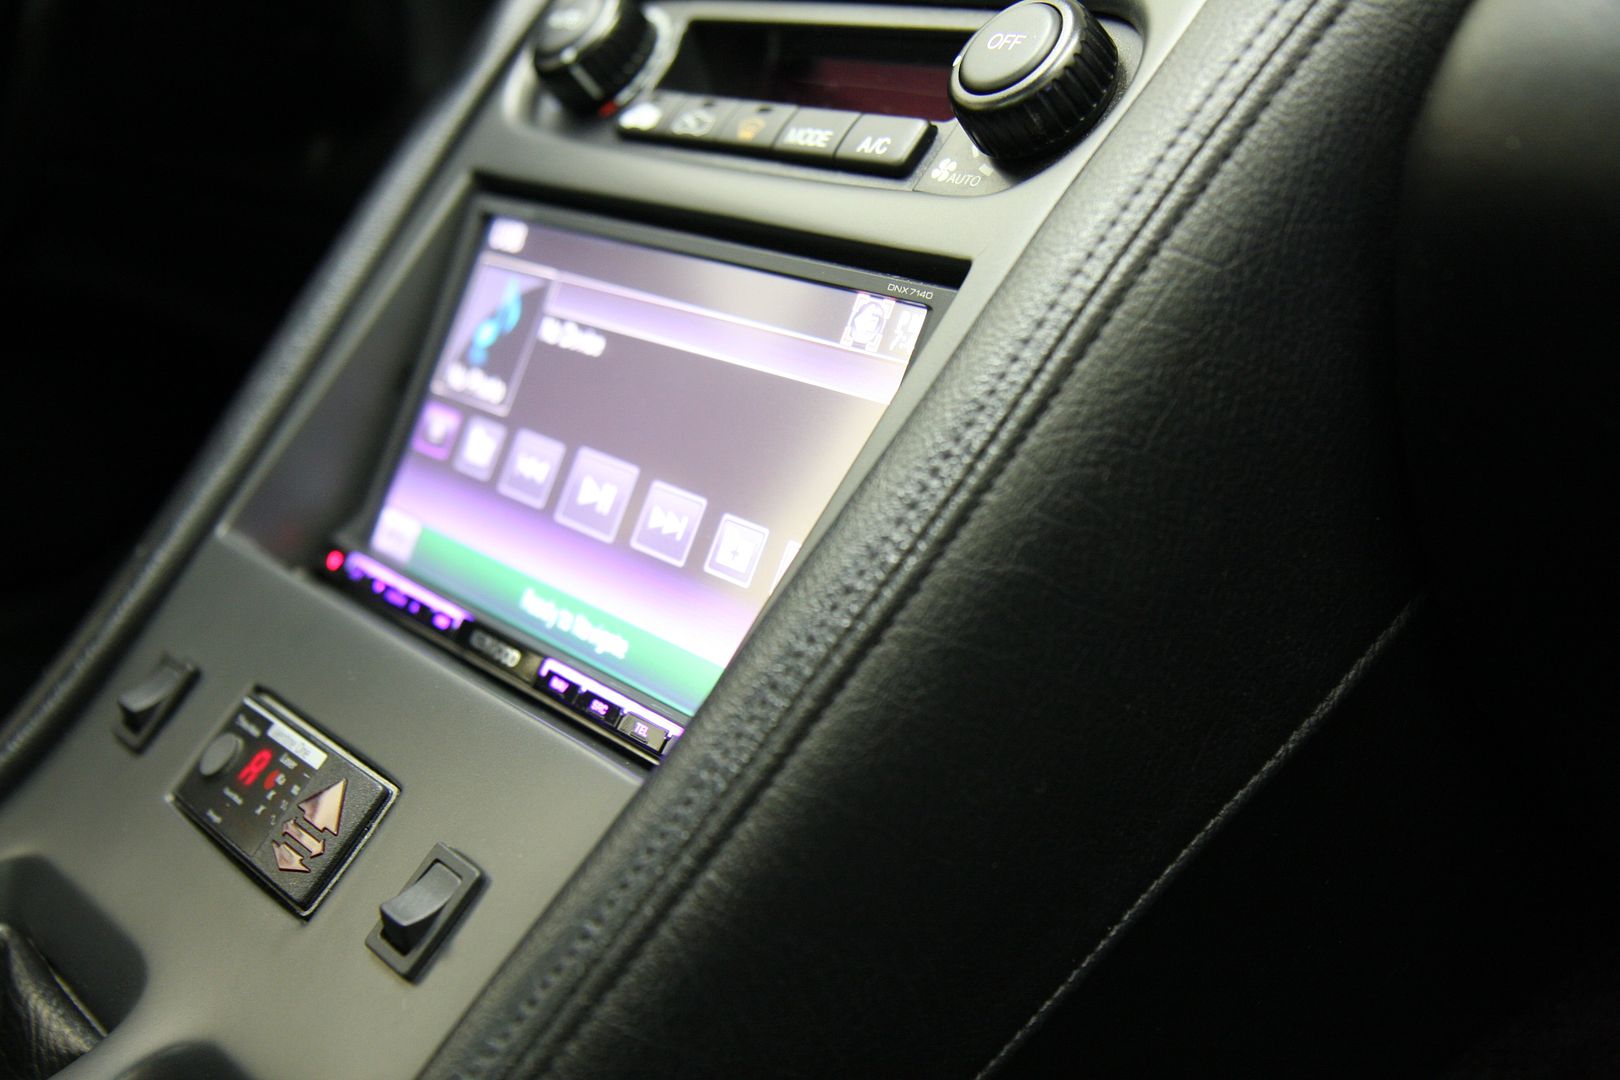
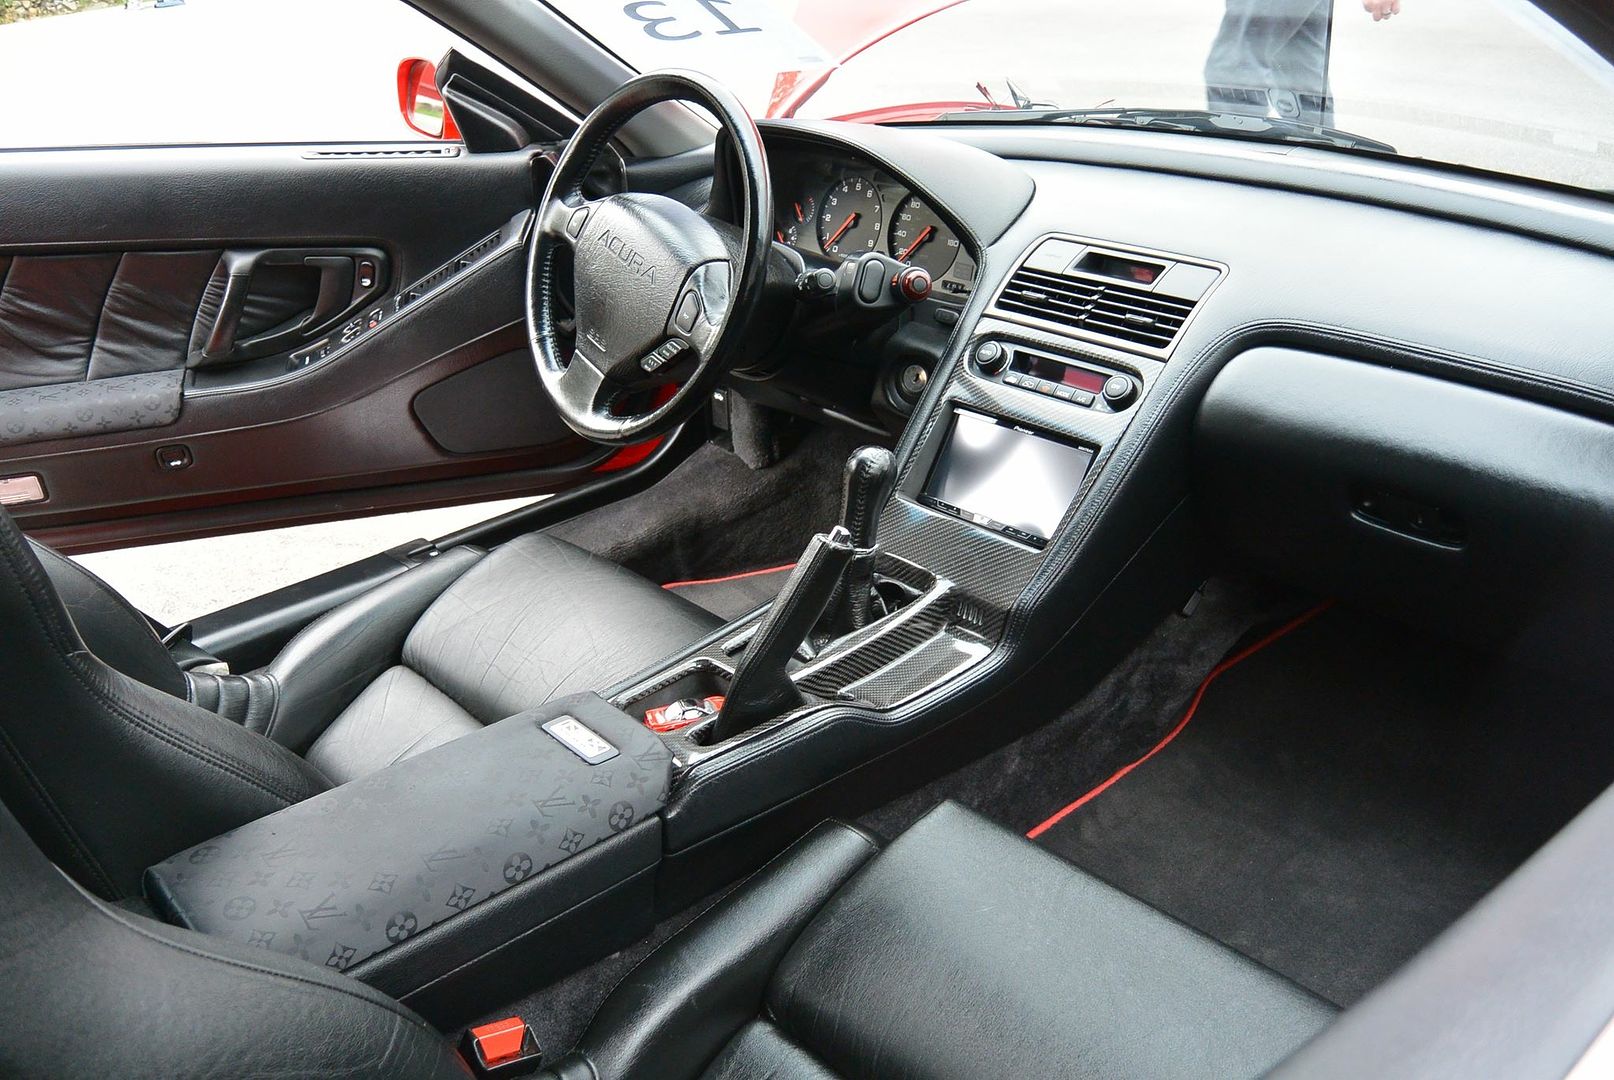
Here are some photos of our 1st gen DD “modified OEM dash panel” - these were customers who sent us their OEM dash panel for modification. Typically it would take us 15 hours or more to make the necessary modifications plus paint. As you can see in these photos the customers had special requests for V1 displays, switches to customize for their own use. We offer this service but it takes a lot of time / effort to build each one.
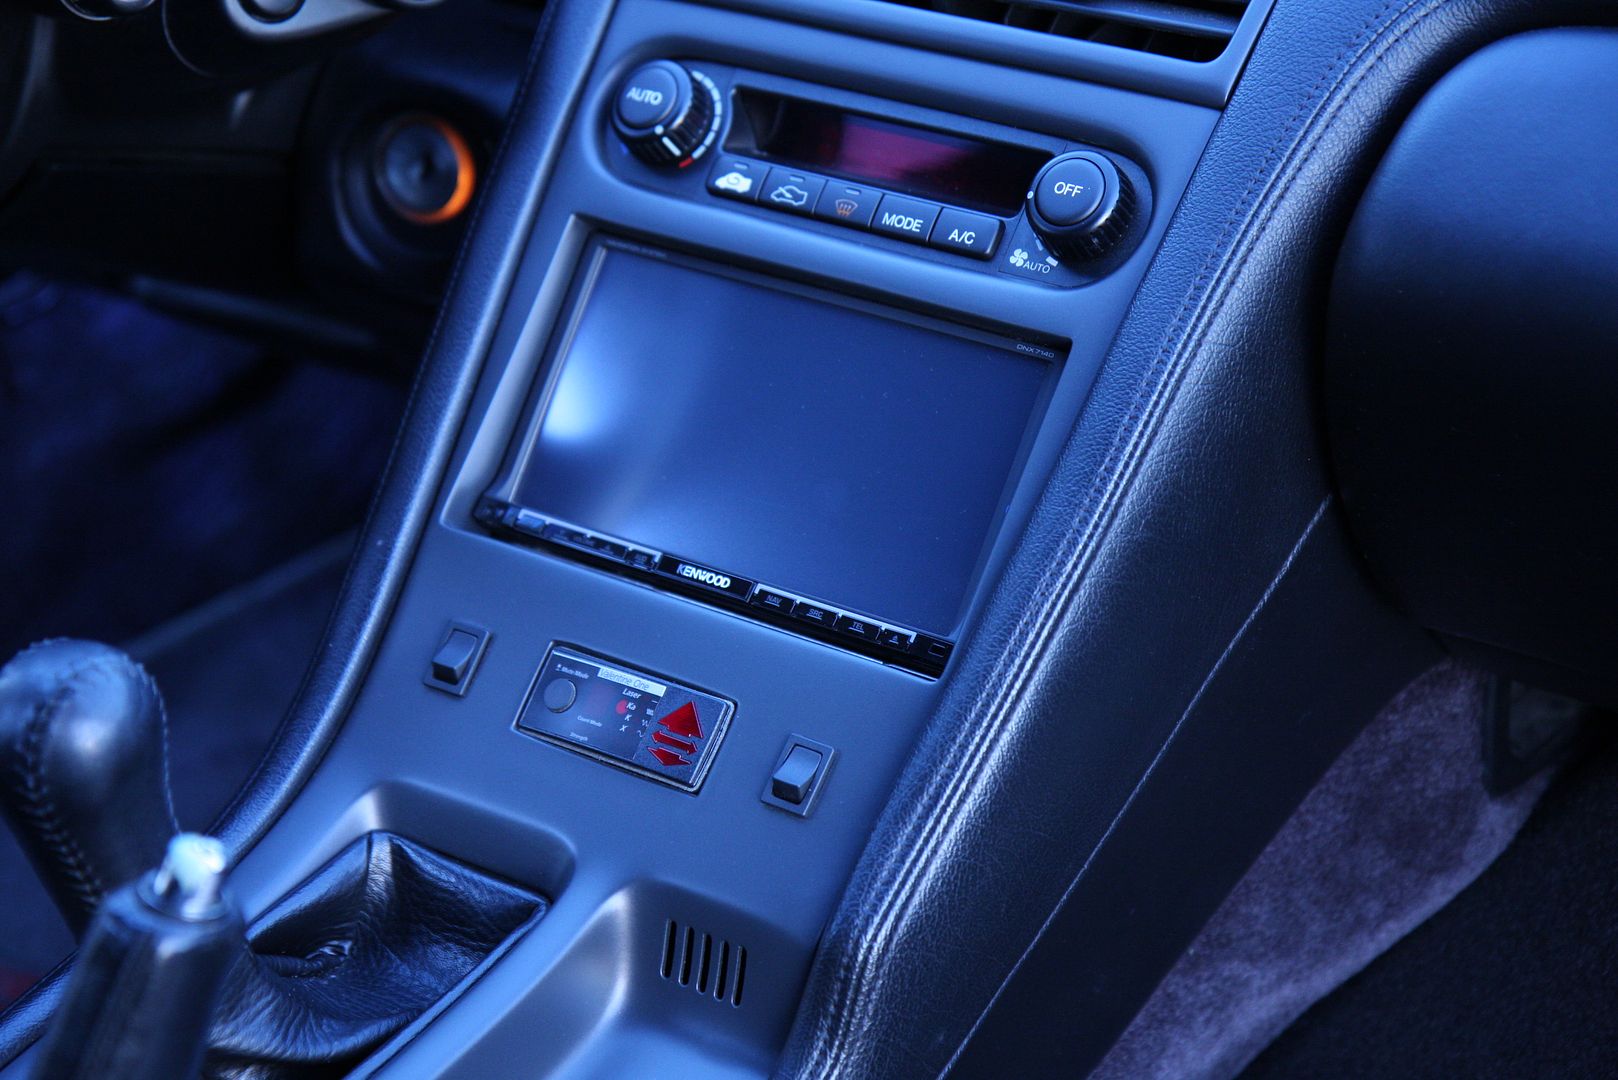
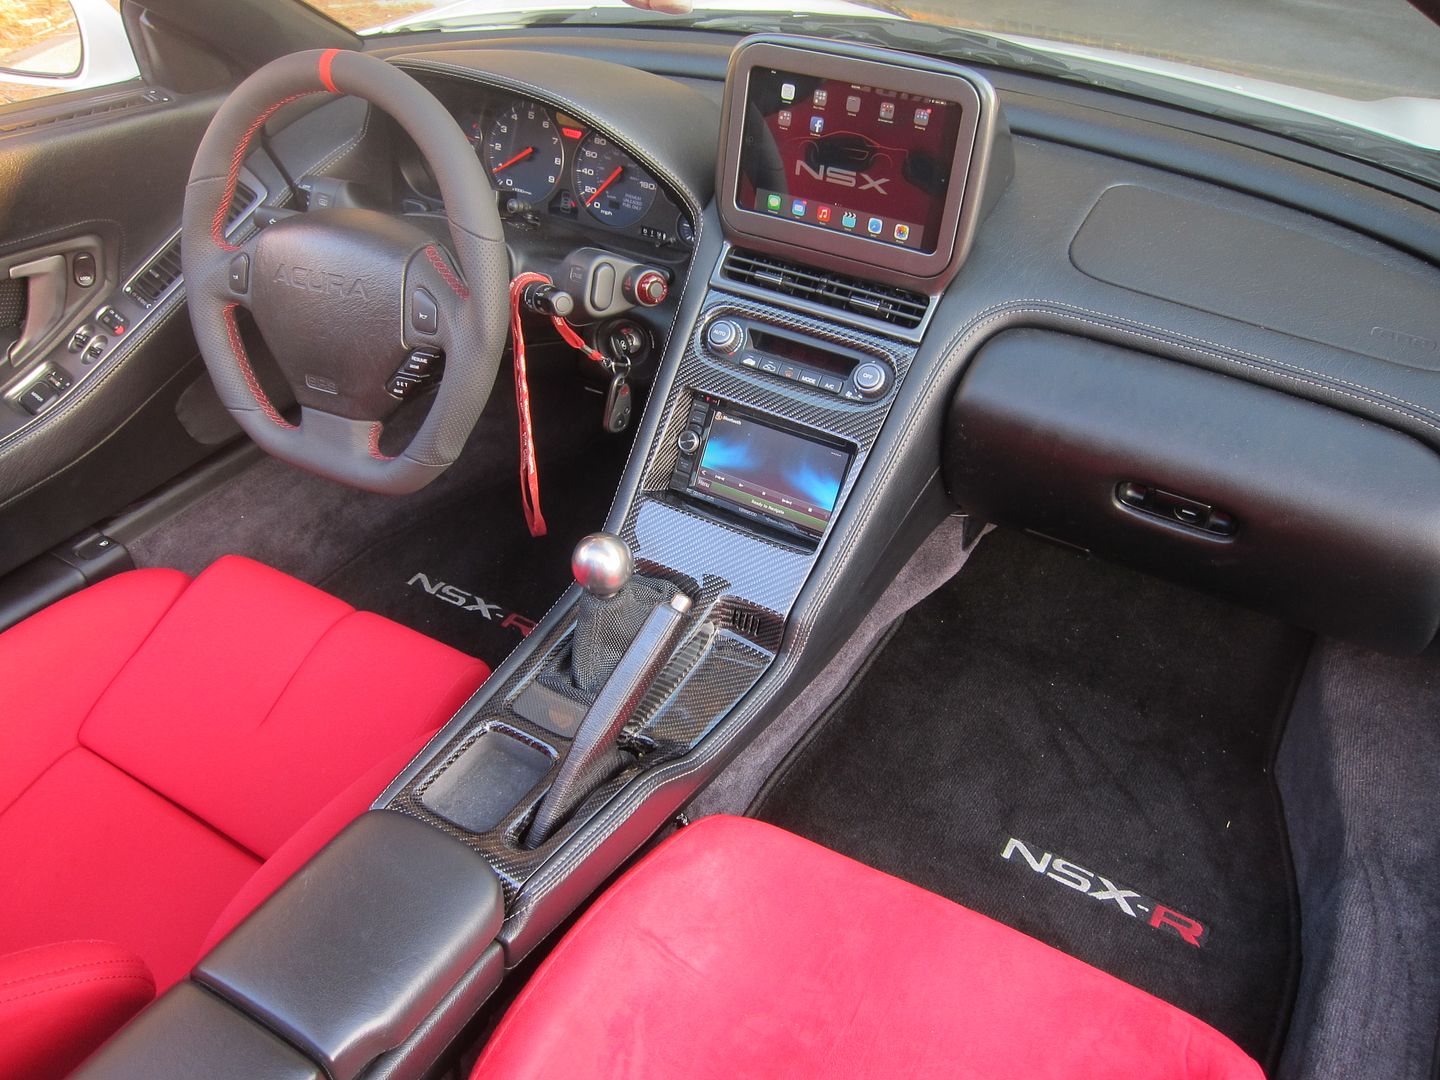
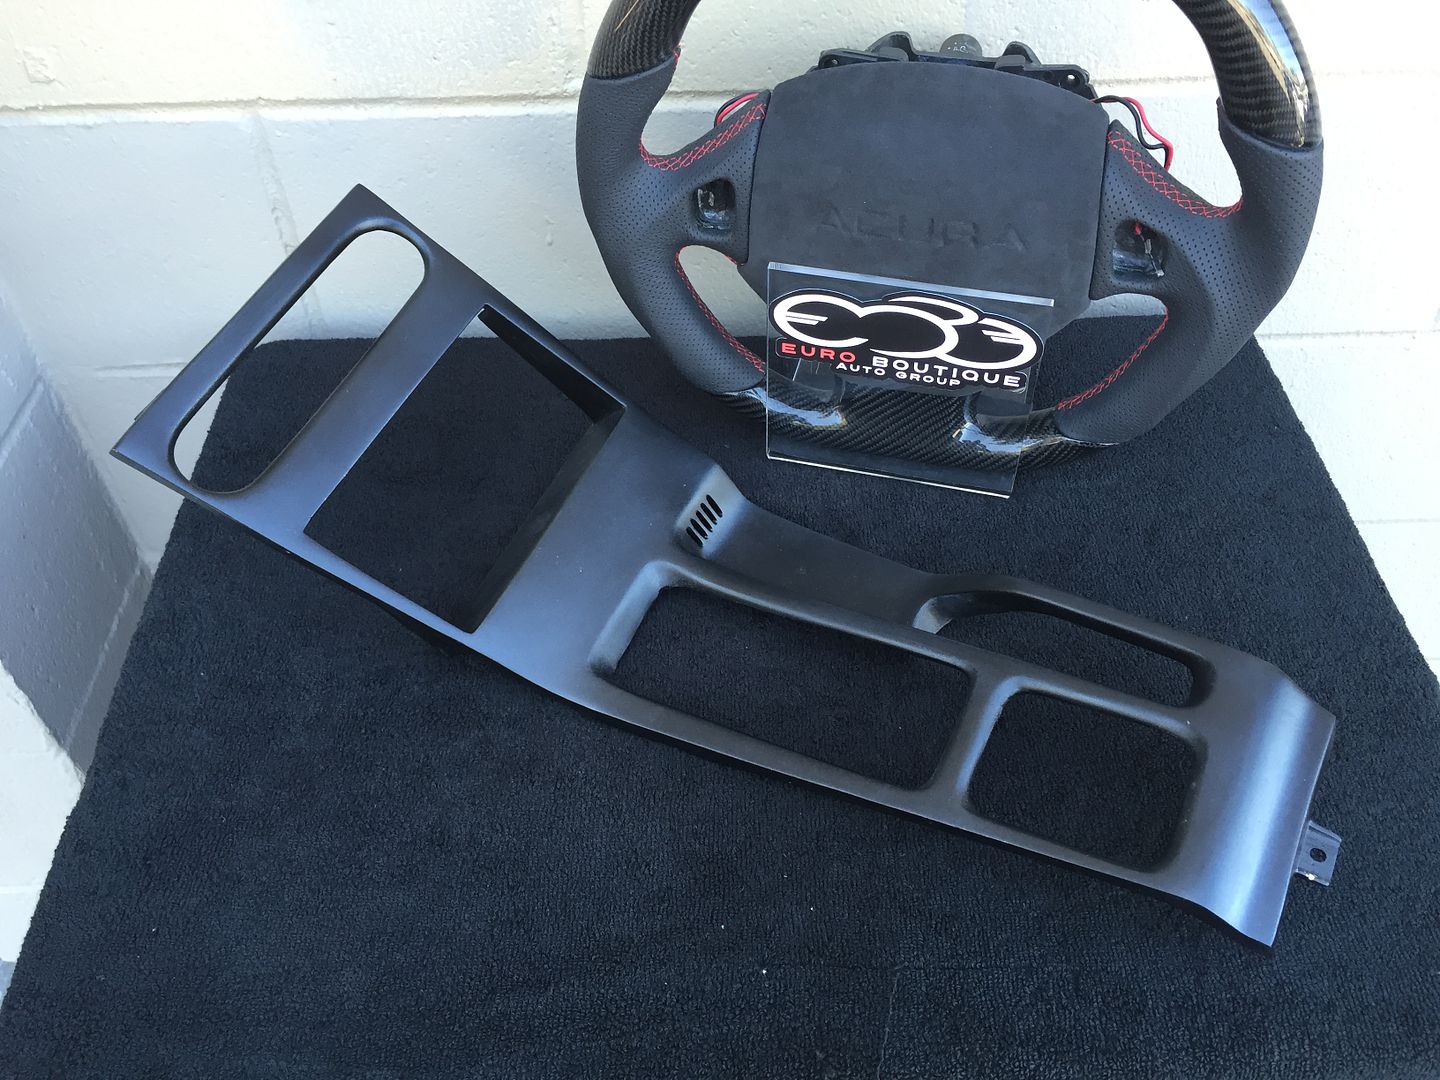
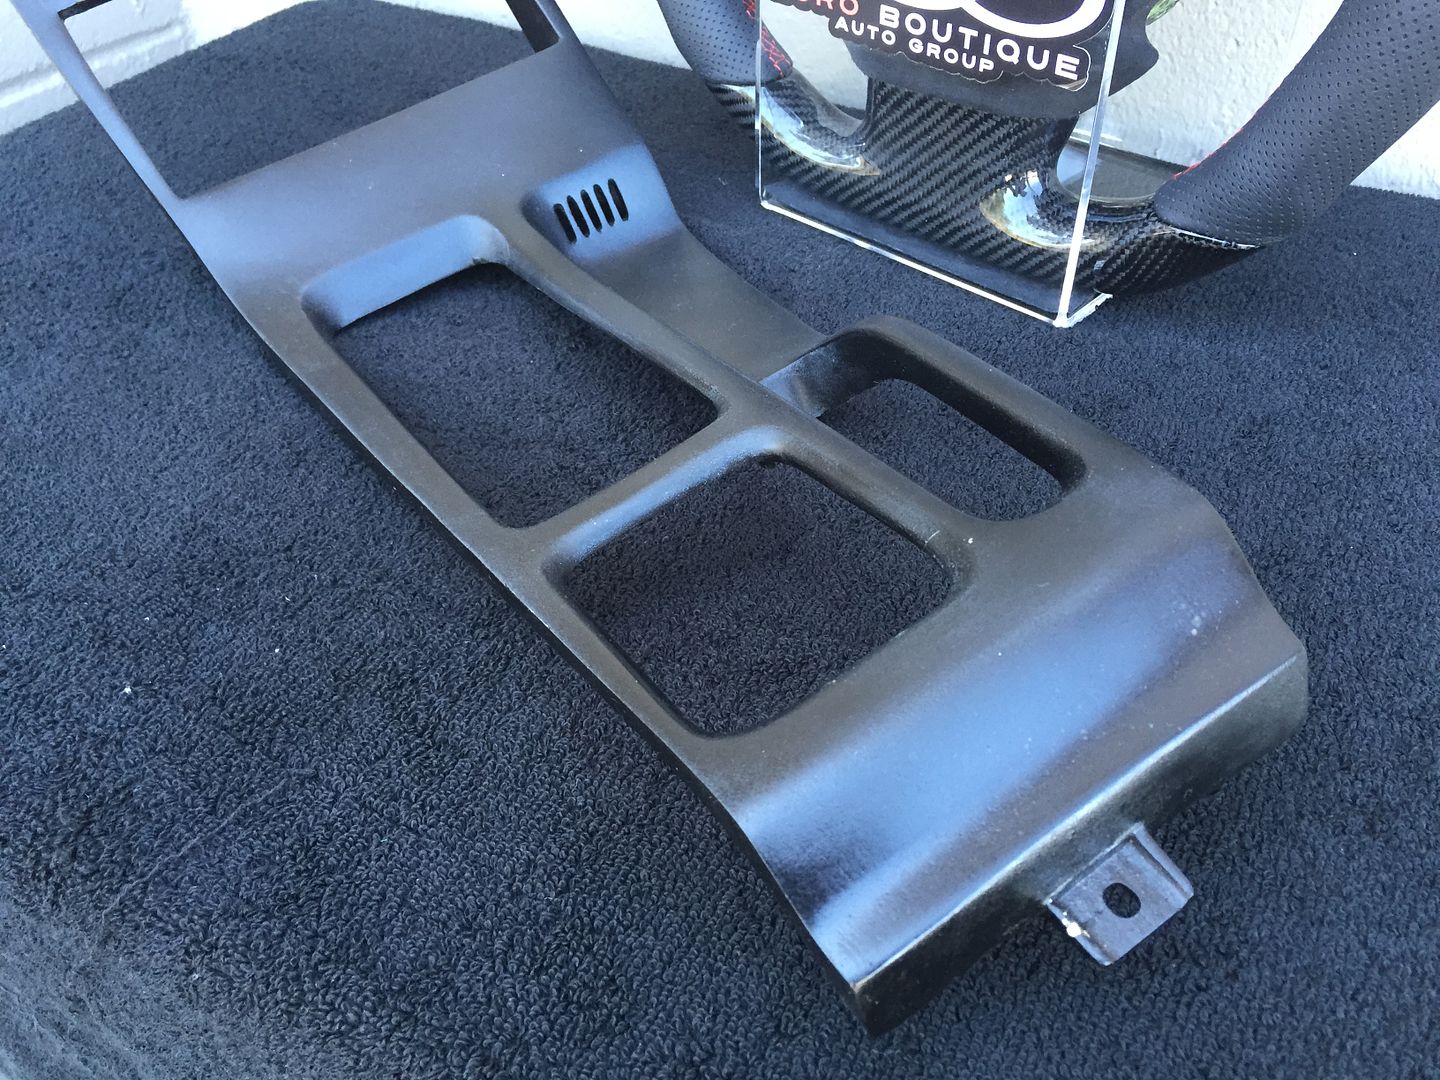
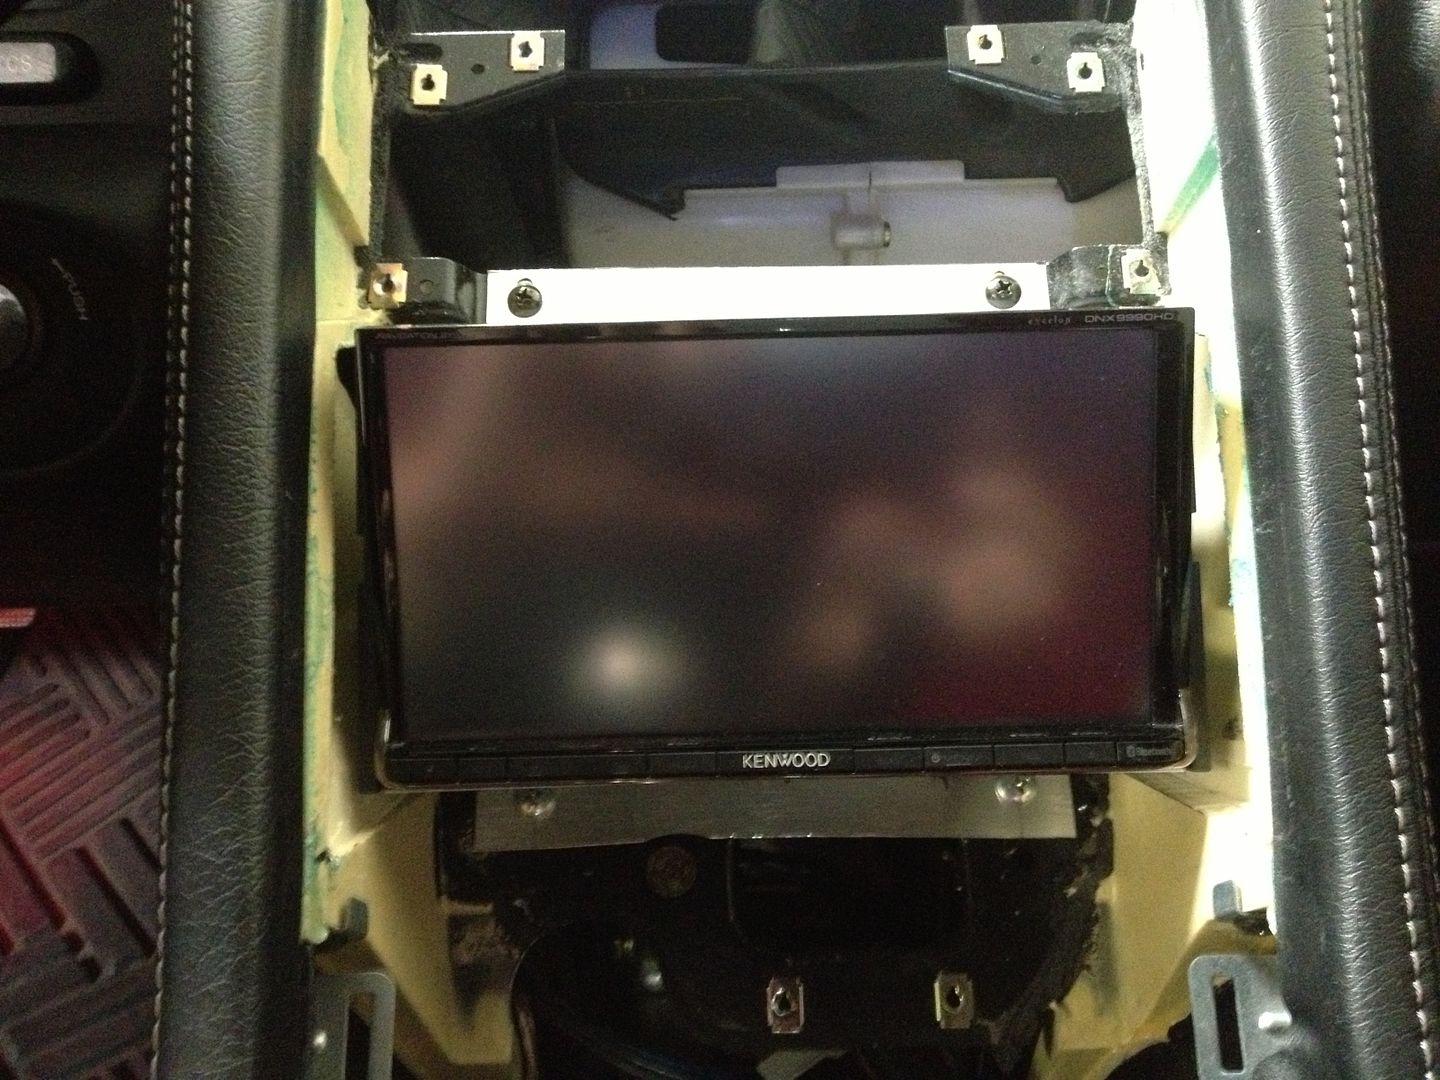
This is our 2nd gen DD angled dash panel installed (ask you can see the ashtray is deleted)
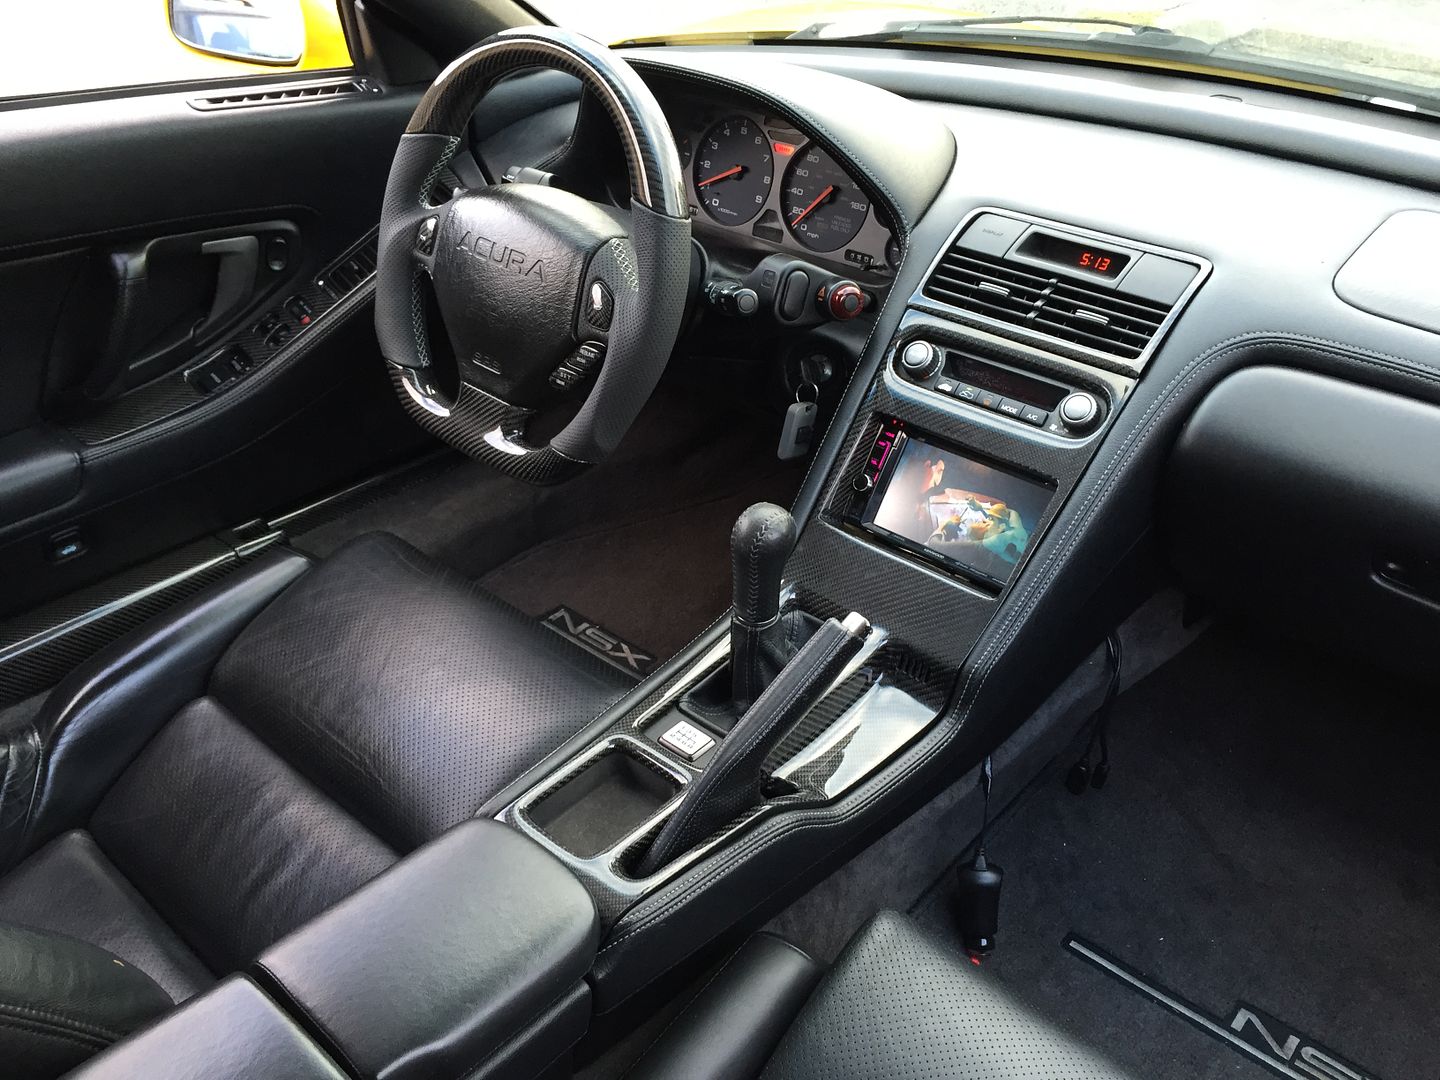


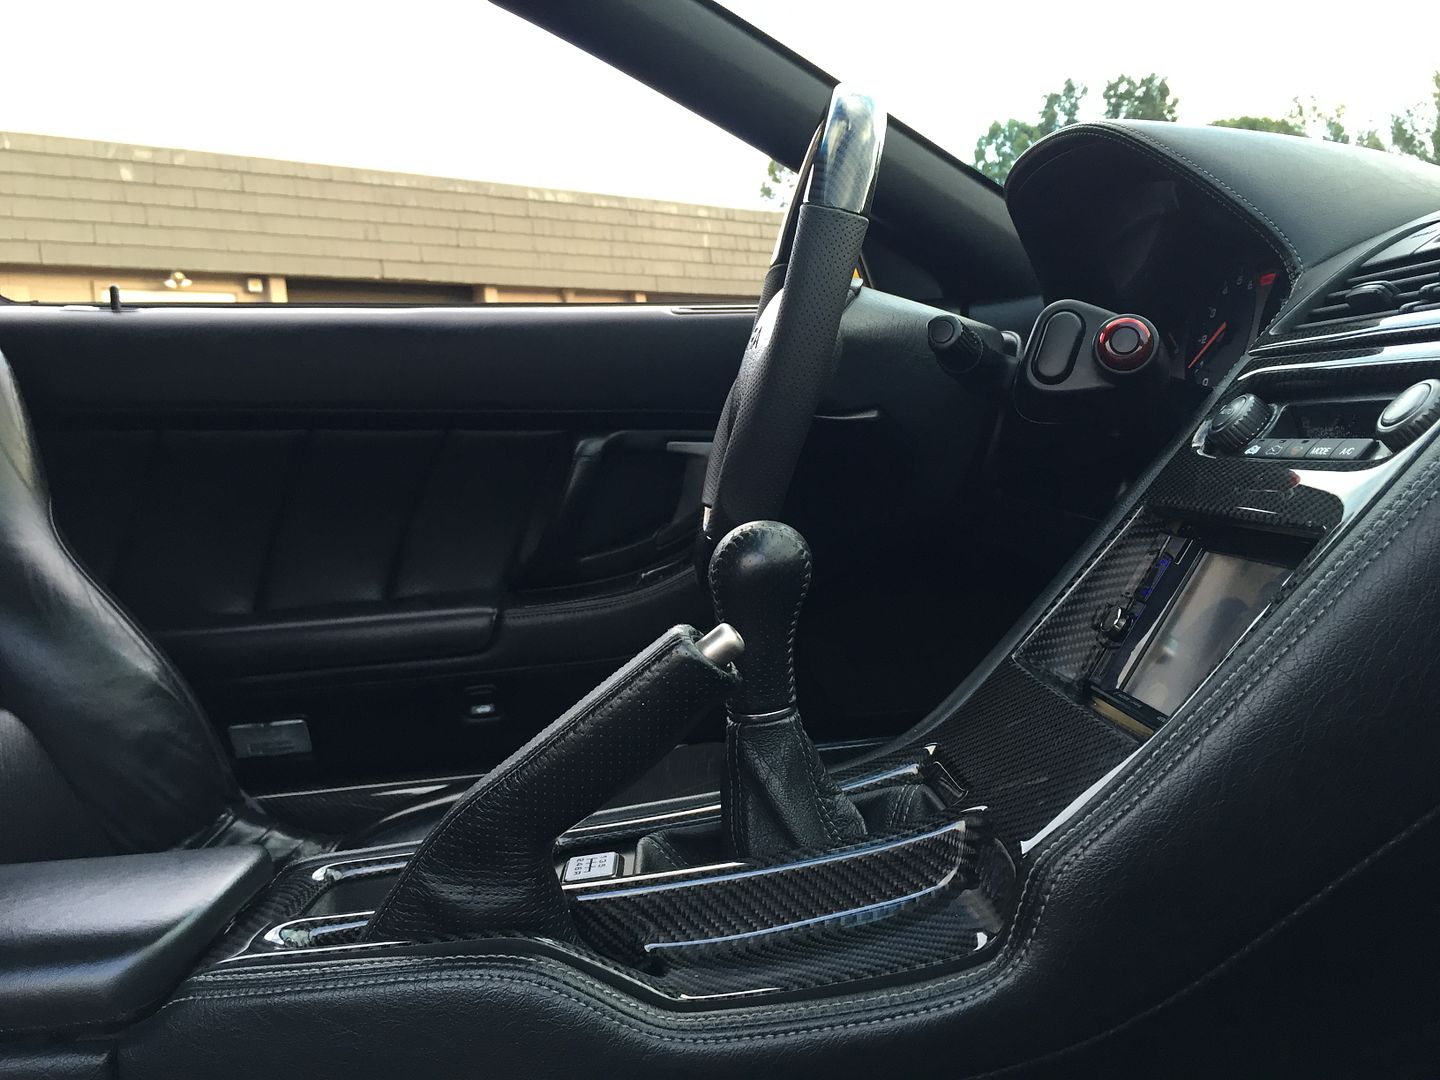
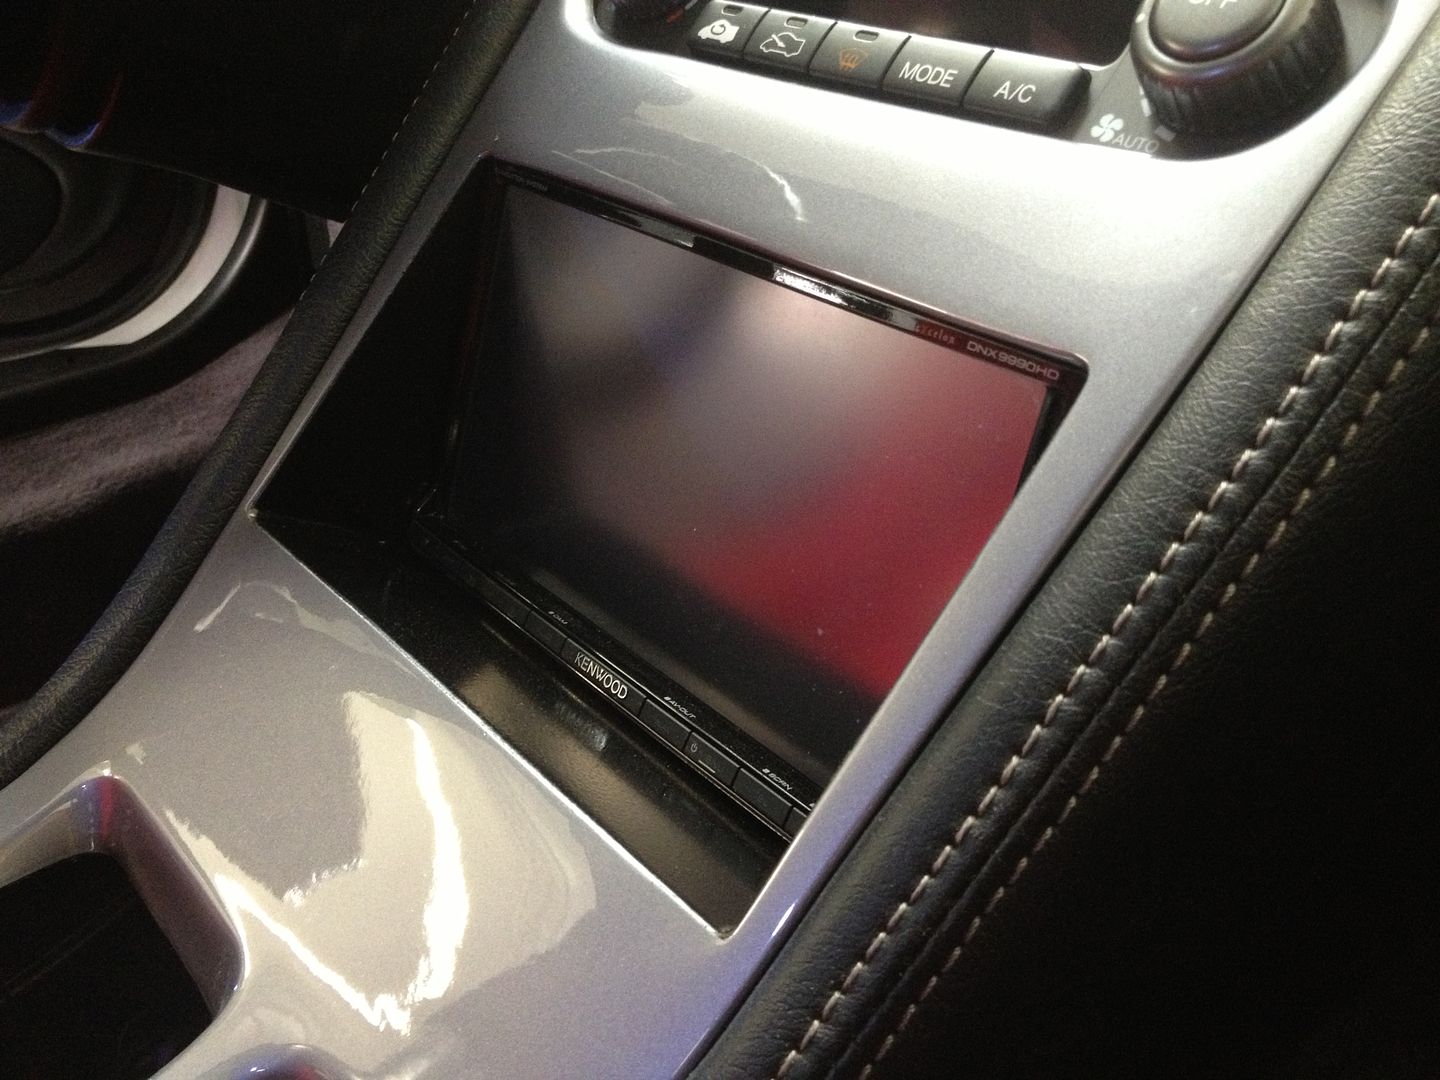
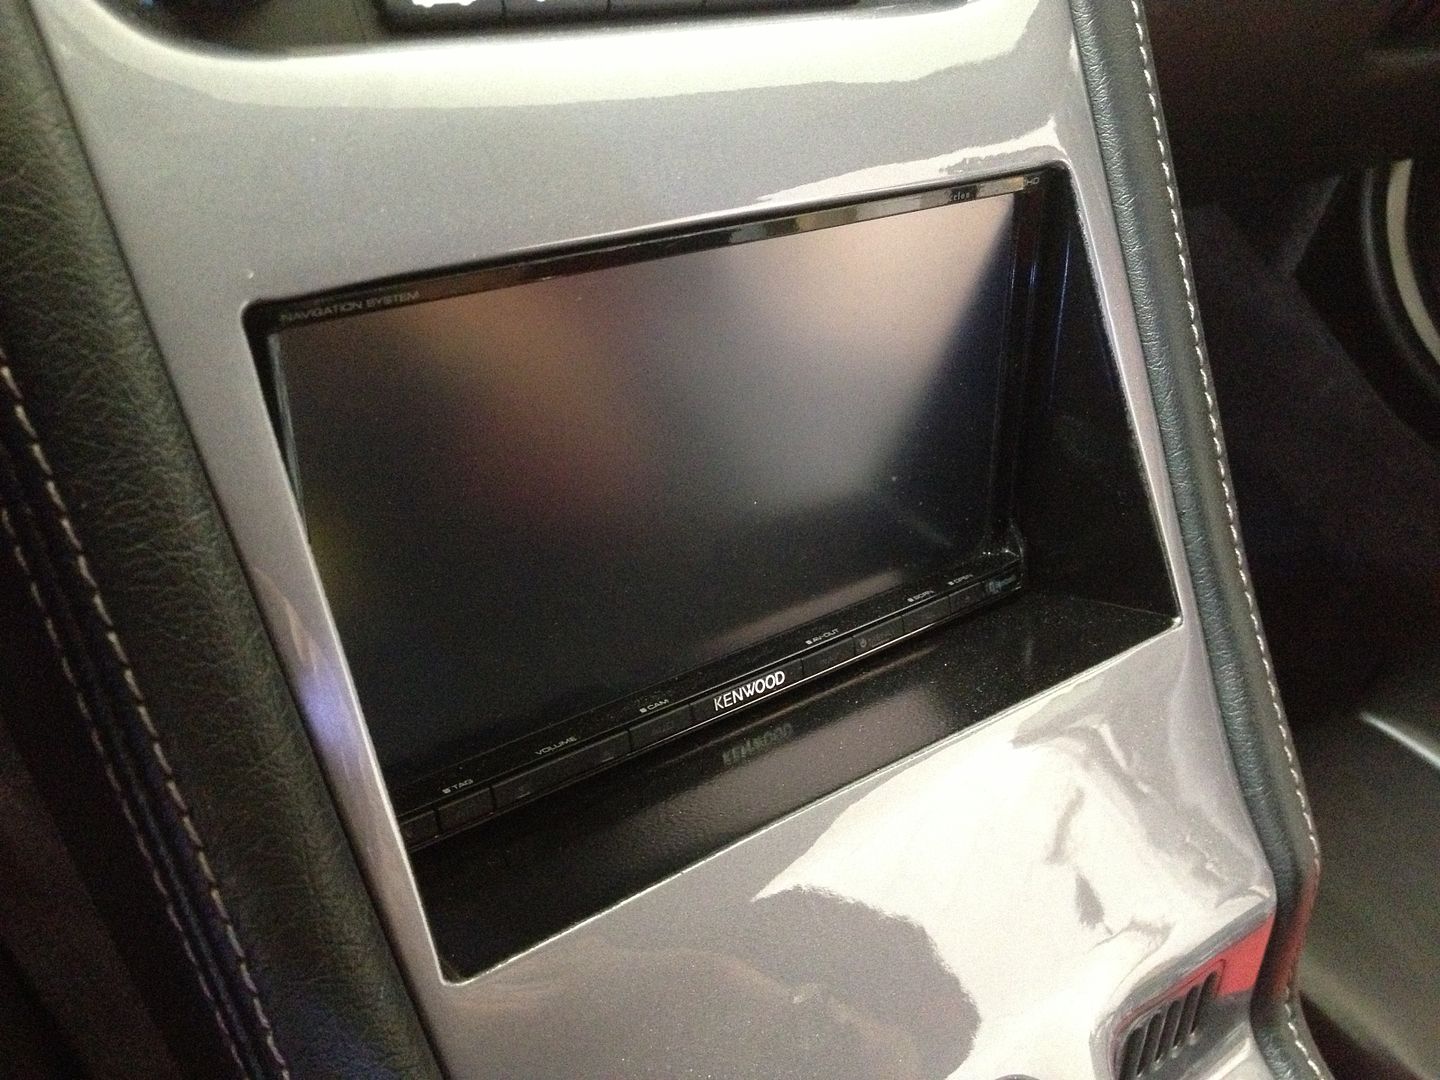
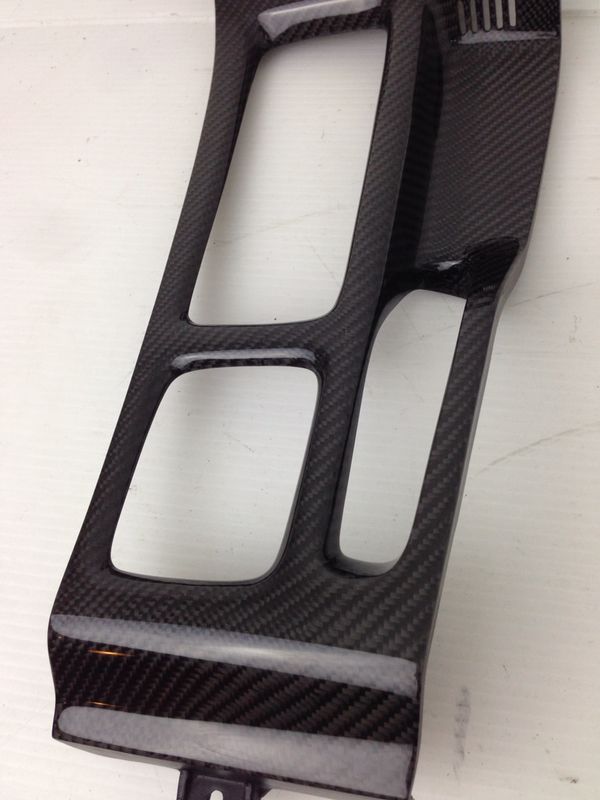
We offer our 2nd gen Angled DD dash panel in 2 finishes, each one is built from the same mold and will accommodate most DD head units. The FRP model is meant to be painted by owner to match their OEM dash trim. The carbon model is made from CF with an FRP inner core. The CF finish is carefully applied to match the same weave pattern. Finally a very strong UV clear coat is applied to give the dash a long lasting appearance for our CF model. We offer a 1 year warranty on all dash panels from date of purchase.
FRP 1:
FRP 2:
FRP 3:

CF/FRP core 1:
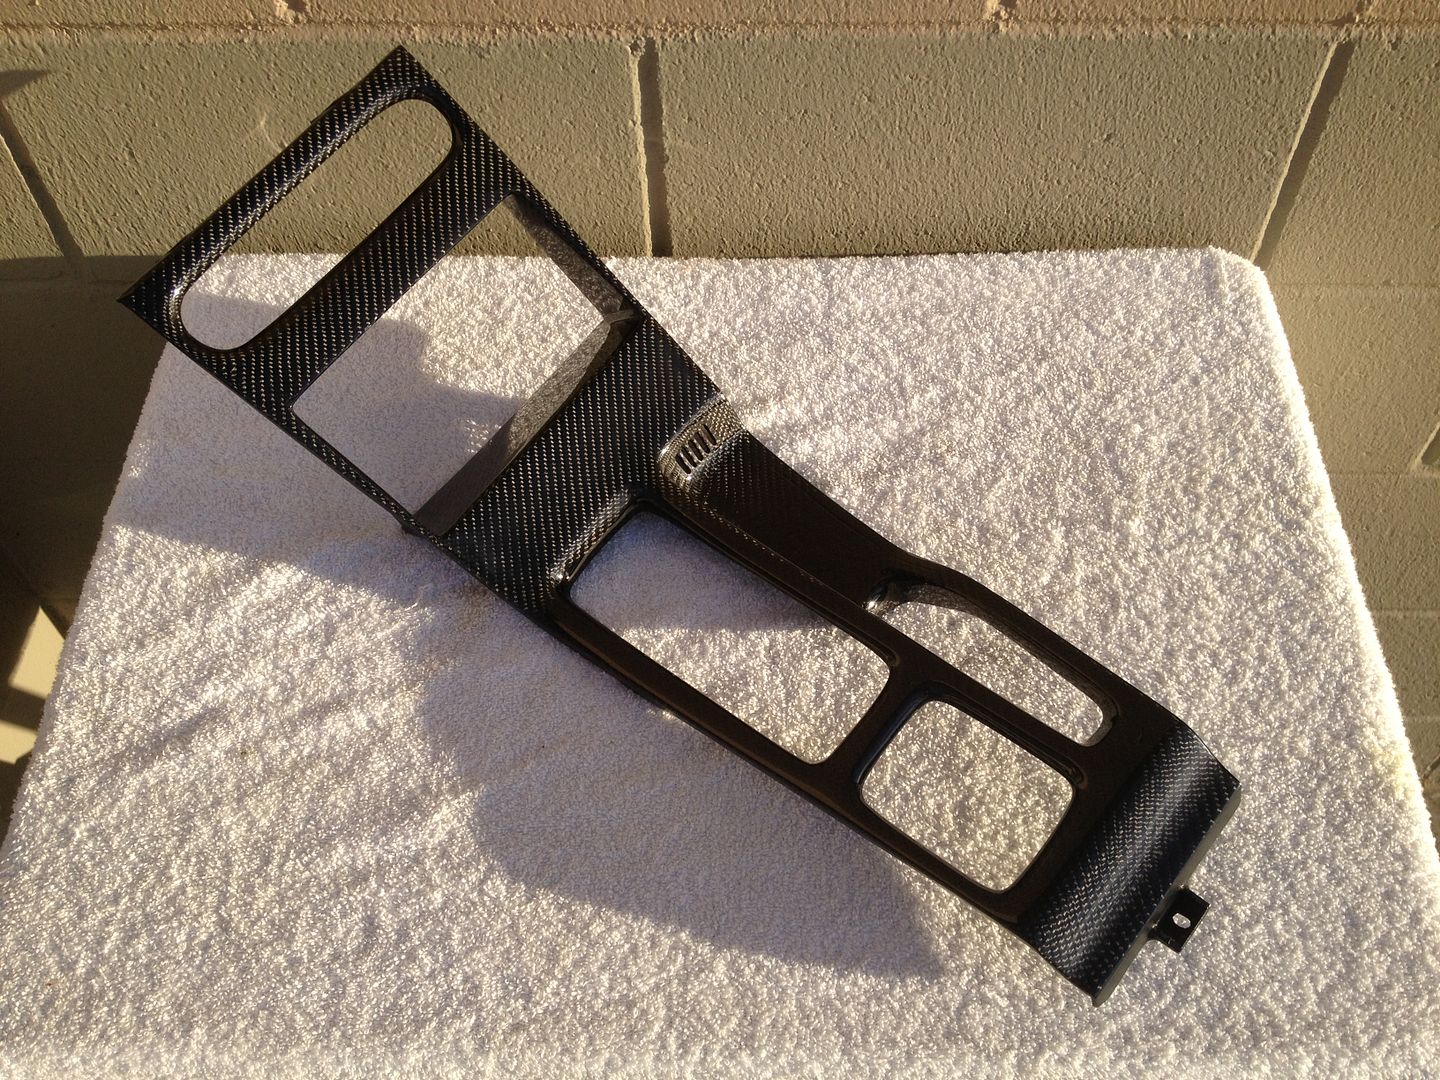
CF/FRP core 2:
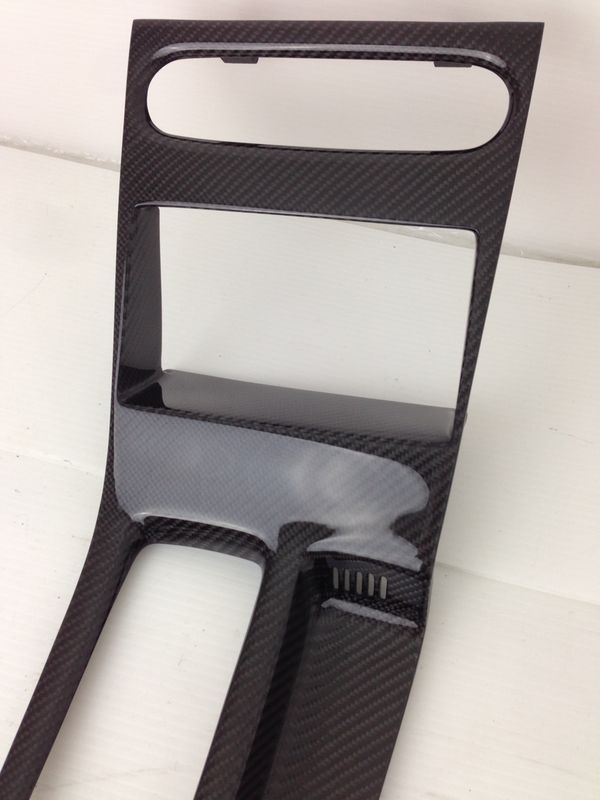
CF/FRP core 3:
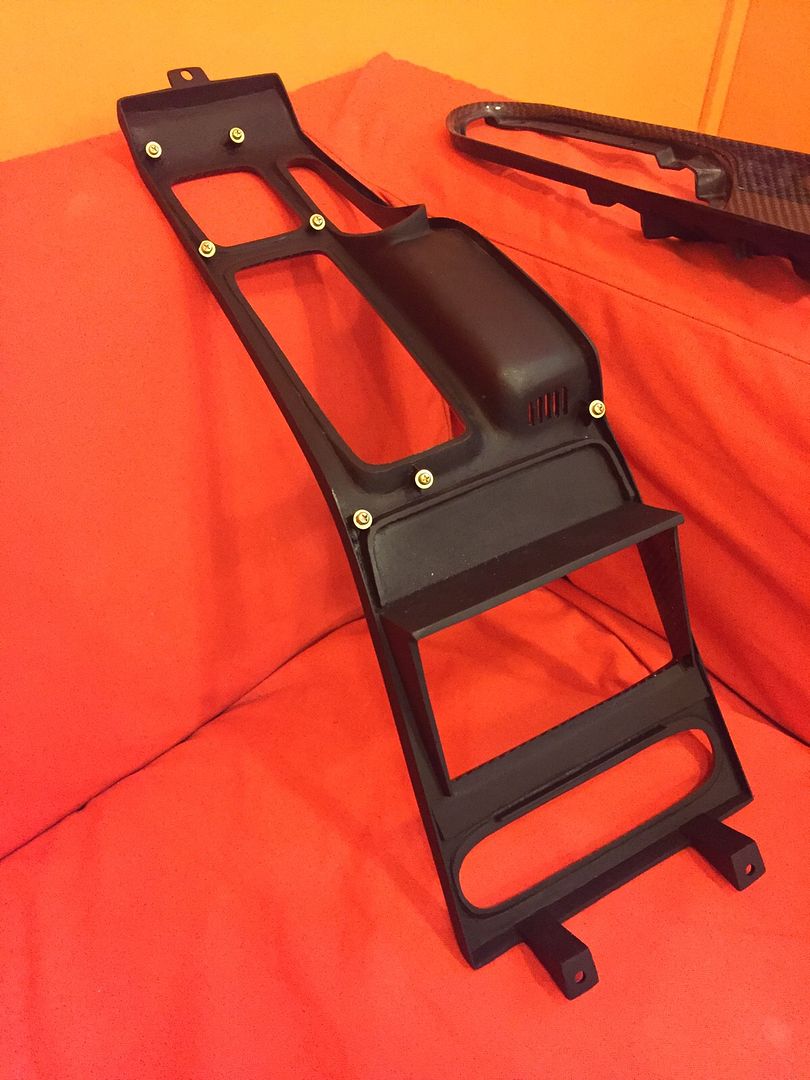
Rear View of dash panel with screw mounts:
***Installation notes***
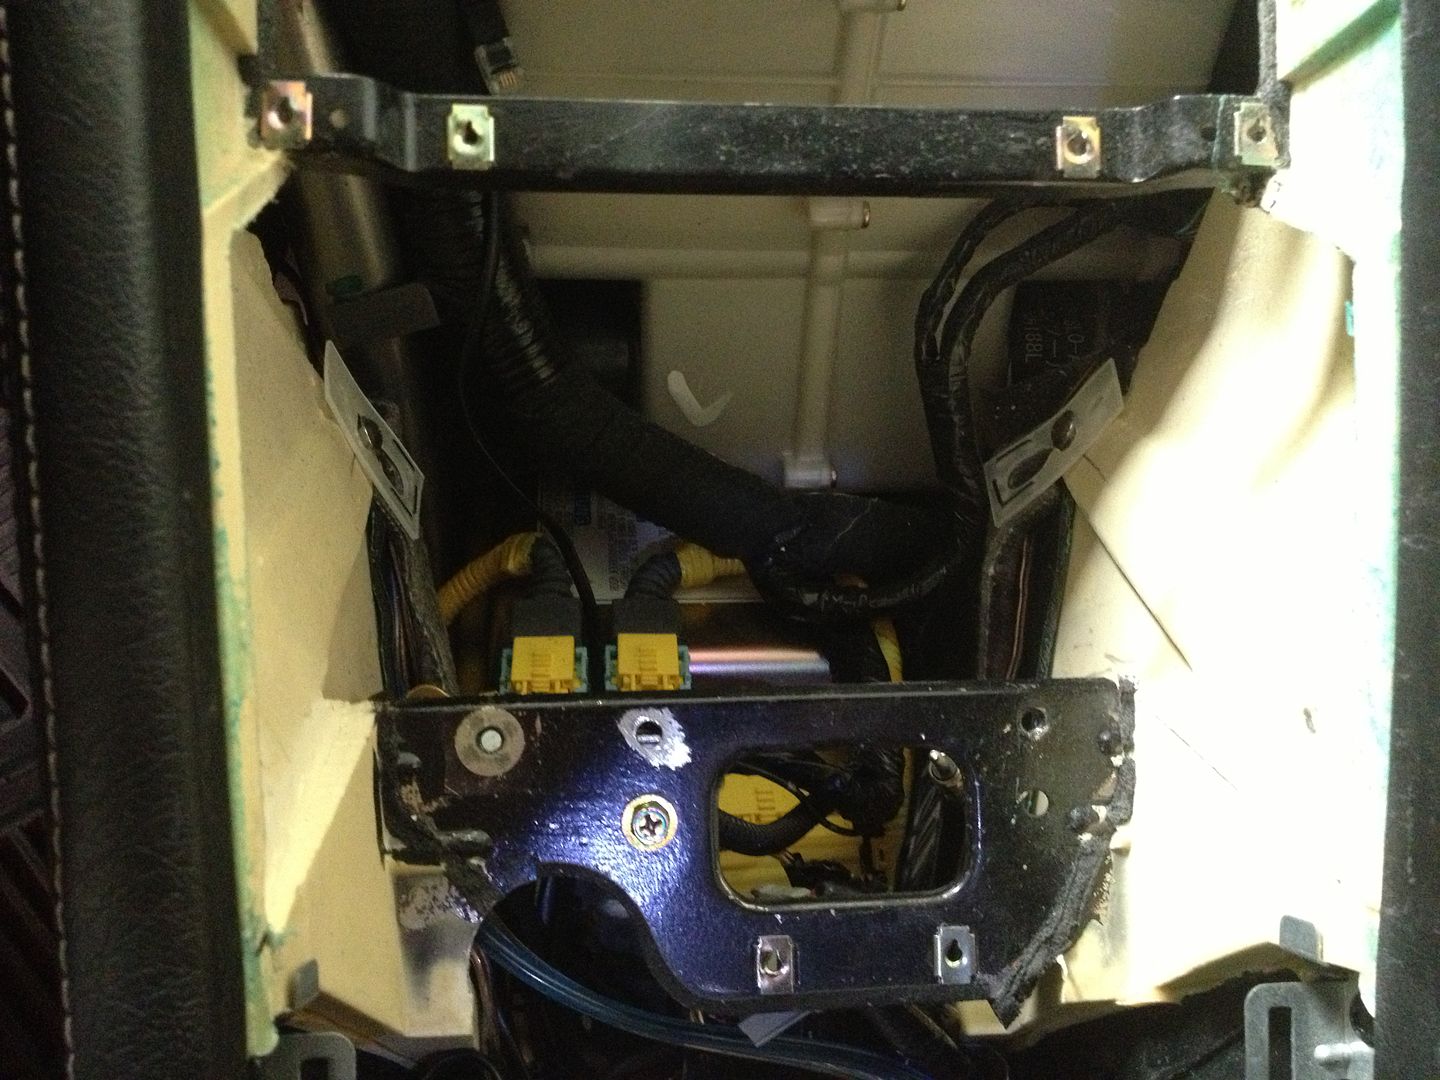
These dash panels will require some basic installation skills so if this is not your cup of tea we HIGHLY recommend you take it to a reputable stereo shop to do the work. We have done most of the hard work in creating the dash panel. The final fitment may require sanding. For us to produce this panel, we knew we had to make it “adjustable” to fit the wide variety of decks on the market. To do this we created a very thick and robust dash panel with extra material as a safety cushion. This allows the installer/user to do final fitment of the dash panel to the radio by sanding to remove material as needed. Since every brand mfr. offers DD with various dimensions, some units will require sanding of the opening to allow the unit to operate properly. The main reason is with our design, the faceplate is recessed into the dash panel thus clearance is critical. A critical part of the install is positioning the radio at the proper angle in relation to the dash panel. Some owners prefer the unit to sit further in the dash others prefer it to protrude further out. All of this is adjusted by creating the proper brackets to secure the radio thus we recommend either modifying your OEM radio brackets or picking up some right angle brackets at a hardware store.
Please keep in mind our DD dash panels are hand made pieces which move the stock radio from a higher location and relocates it to a more optimum viewing angle however this requires some basic work. If you think about it, the radio is now occupying some of the ashtray real estate because it’s tilted downwards. To make this possible, the NSX internal dash area needs to be slightly modified and custom brackets need to be made to hold the radio in this new position. You can see the work that needs to be done in the photos below:
We realize that not all NSX owners may have a local shop to do the fitment work or may not have time to do the work so as a service, we will now offer the ability for someone to send in their DD radio to us to get the fitment done here so we can ensure fitment. If you want to take advantage this service, please PM us to get instructions on how to proceed.
***PRICING***
FRP Dash panel (requires paint) is offered at $599.00 + shipping
CF/FRP core dash panel is offered at $1199* + shipping
(If you do not wish for us to do the fitment and will take care of this locally, please subtract $100 from above costs)
We think the final install and look of our dash panels really address most of the wish list items and solve the negative issues. This is a real labor of love type of project and when we started this years ago - we have been on a steep learning curve. As things constantly change, we welcome any input in terms of how to improve the product as well.
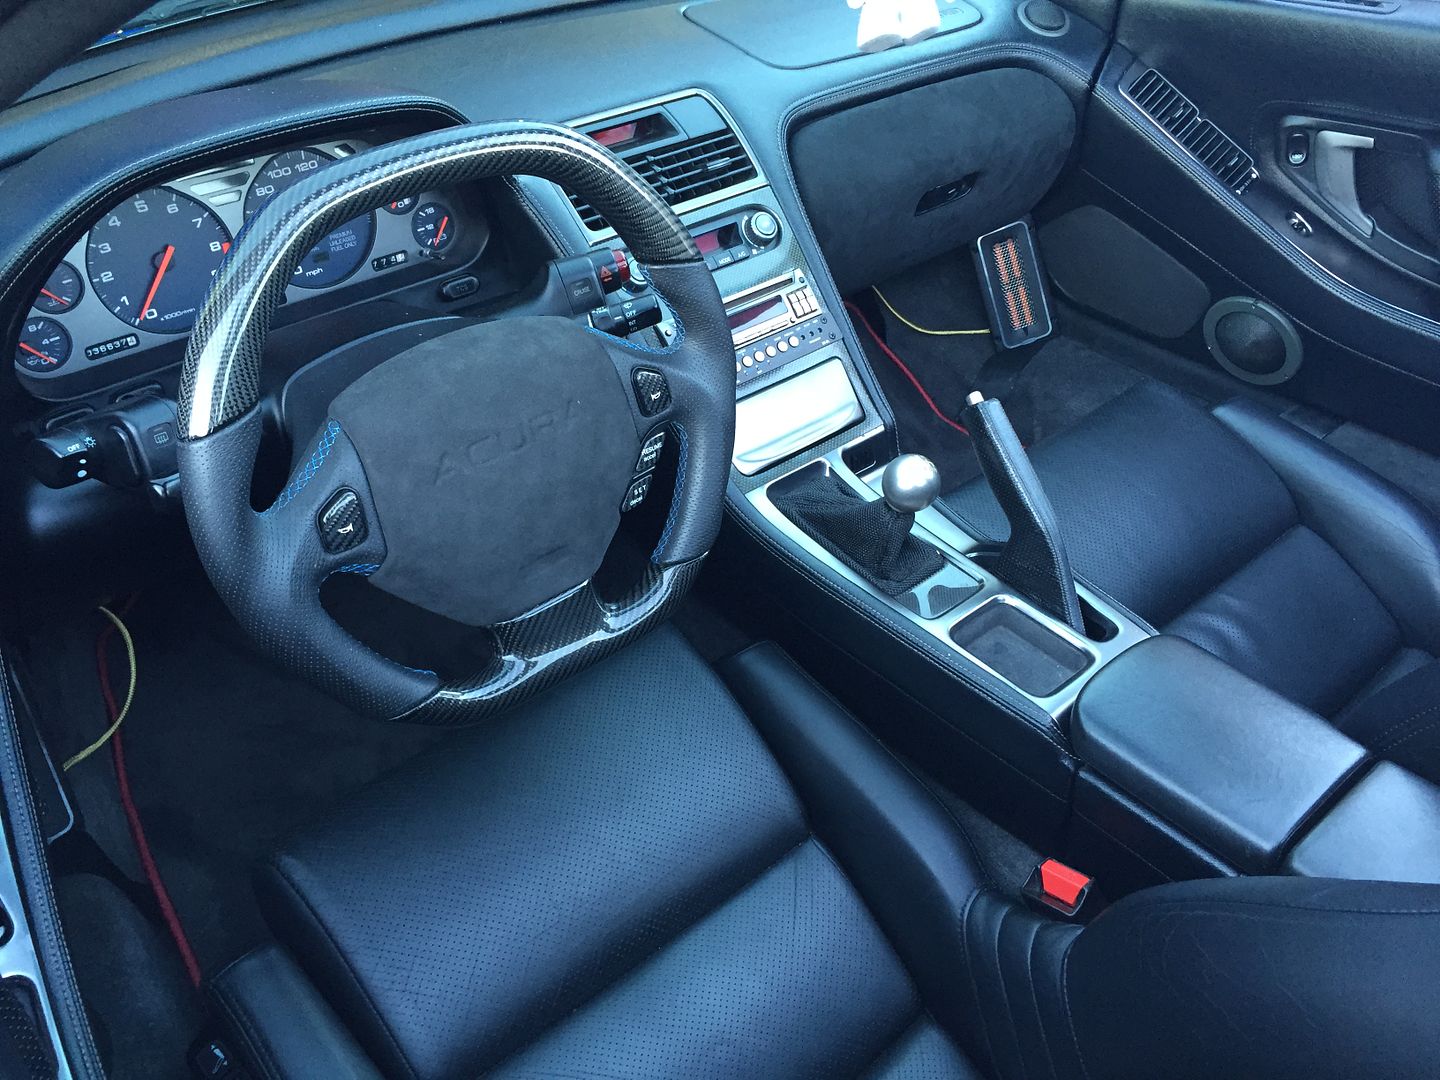
We also offer OEM power window door trim and matching center vent pieces and of course our Flat bottom steering wheels to match!
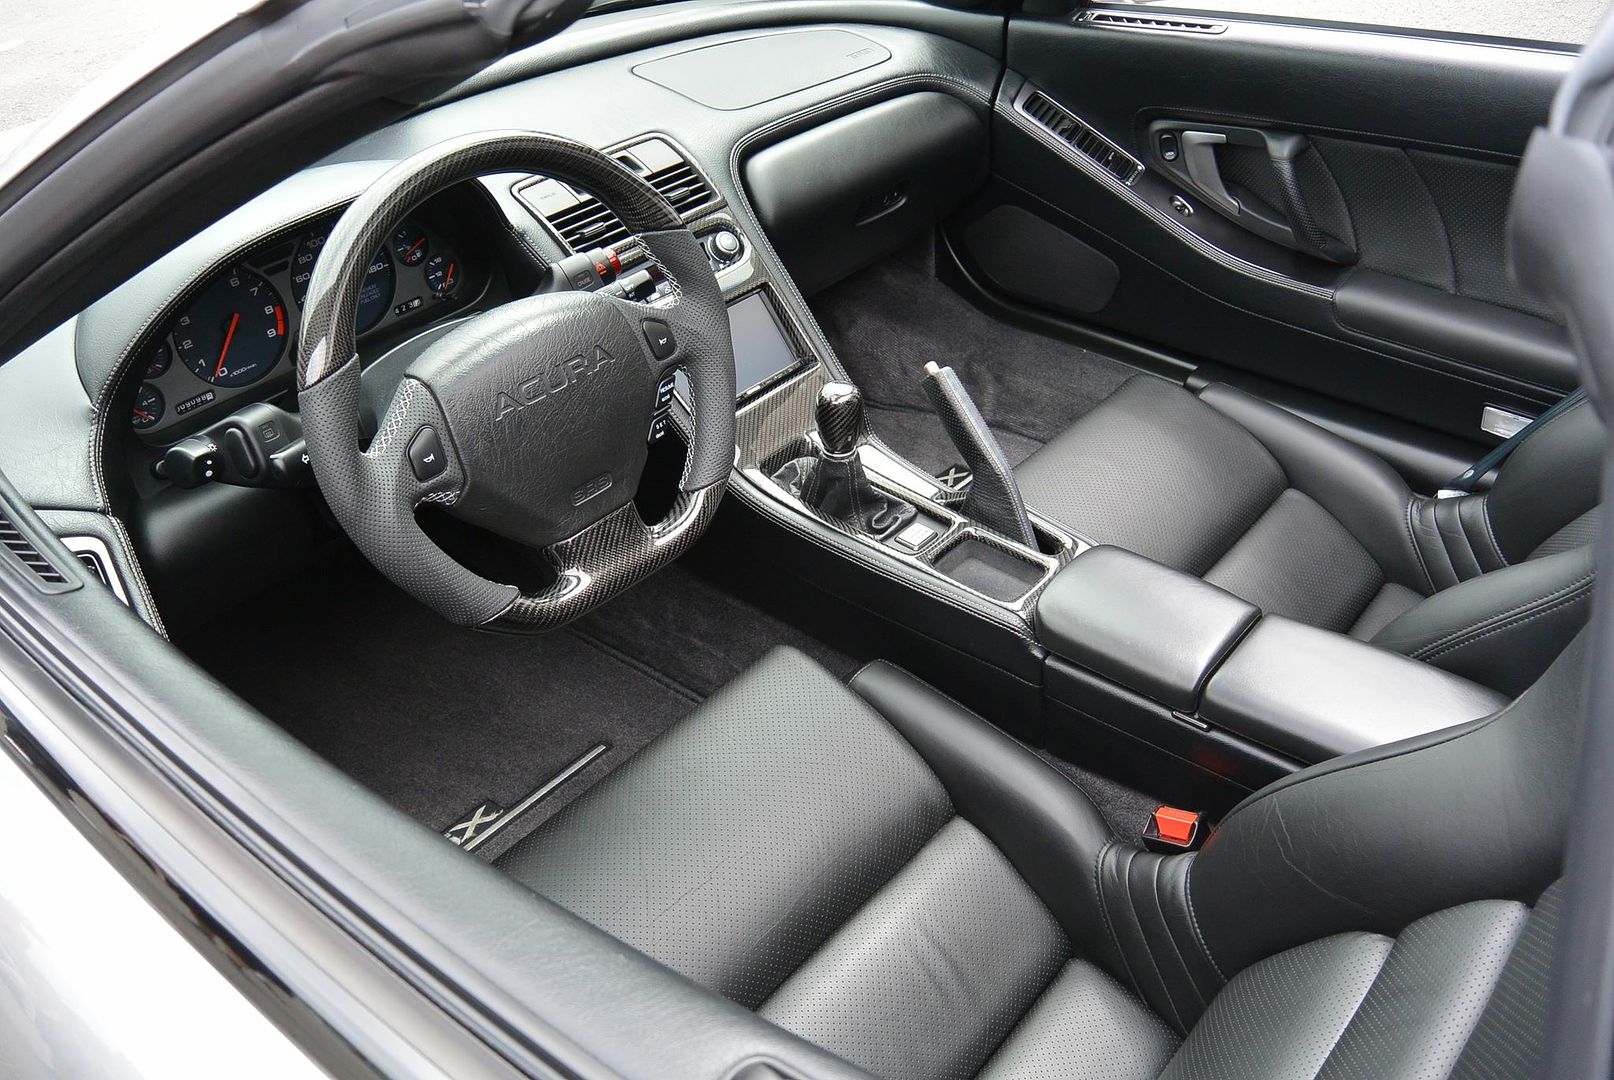
OEM dash panel setup:

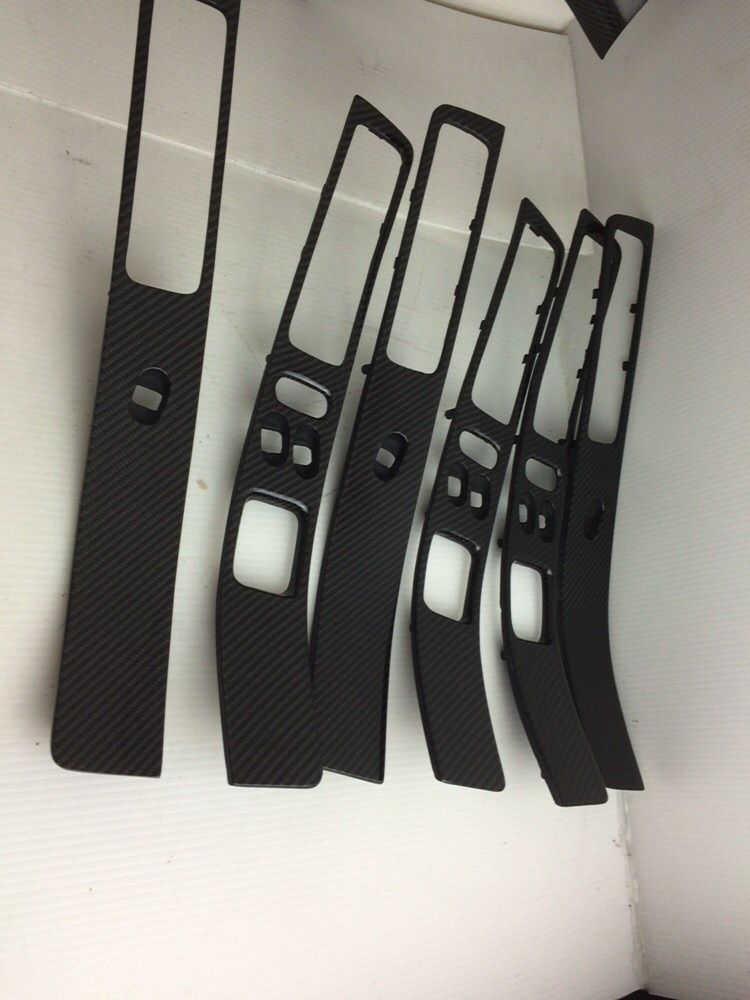
Power window trim pieces (sold in pairs) $599:
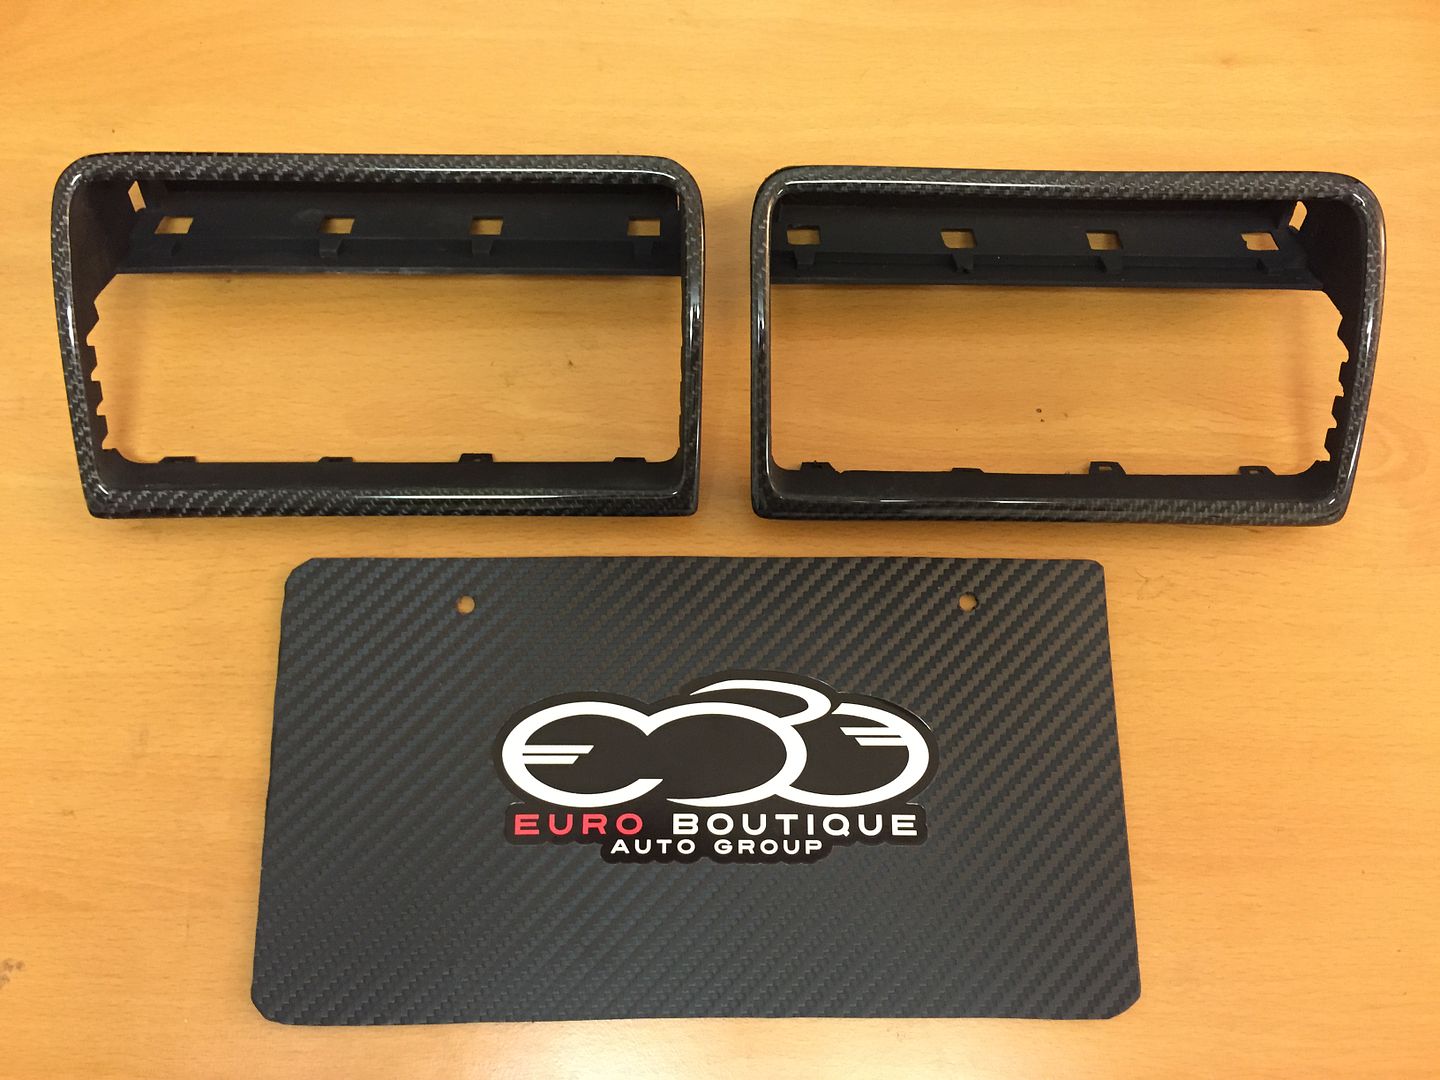
OEM Center vent $399
Cruise control:

Horns:

Steering wheel:
thank you for taking the time to read this entire post!
Staff at EuroBoutique
www.eurobouique.us


