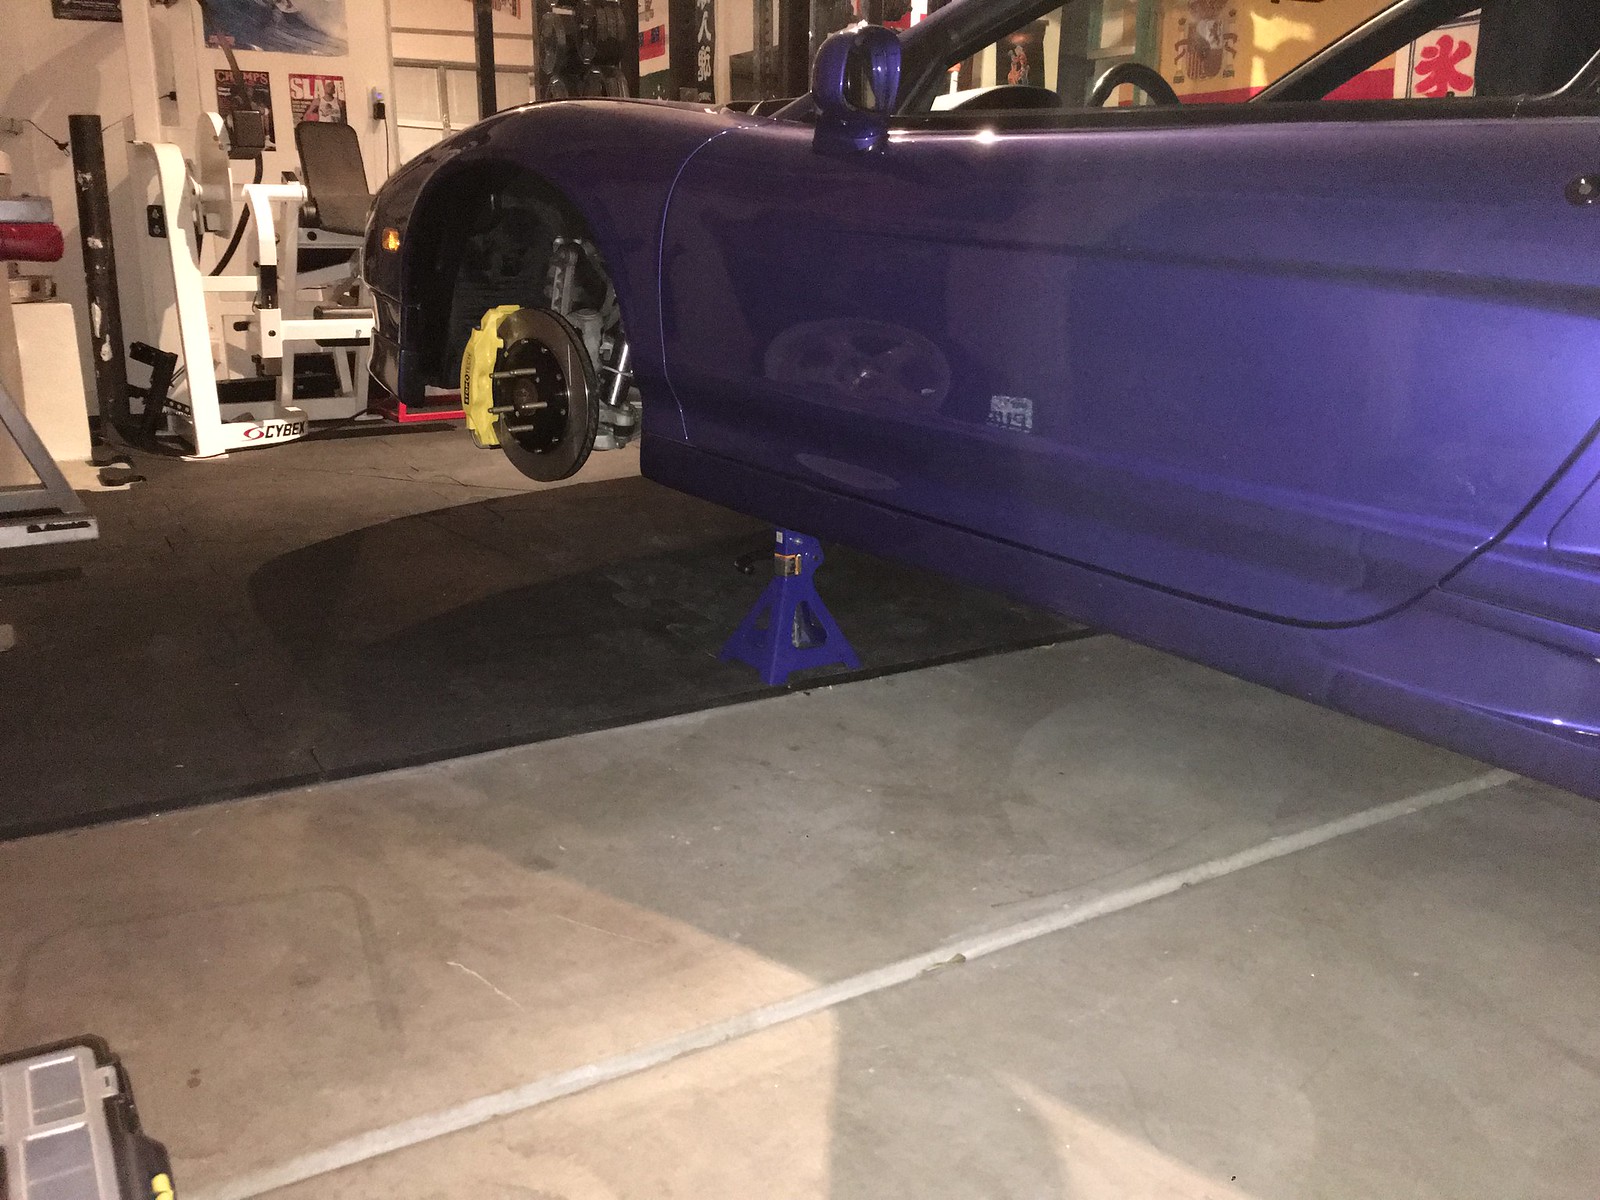
Had a fun weekend project installing and documenting a install for my Stop-Techs. I got the complete front and rear kit with parking brake and spent about 8-12 hours installing it over a period of a week. I've seen a few DIYs on this topic already but decided to take my own personal take at it. Hope you enjoy. Lots of pictures and bad grammar but I'm sure you'll enjoy them
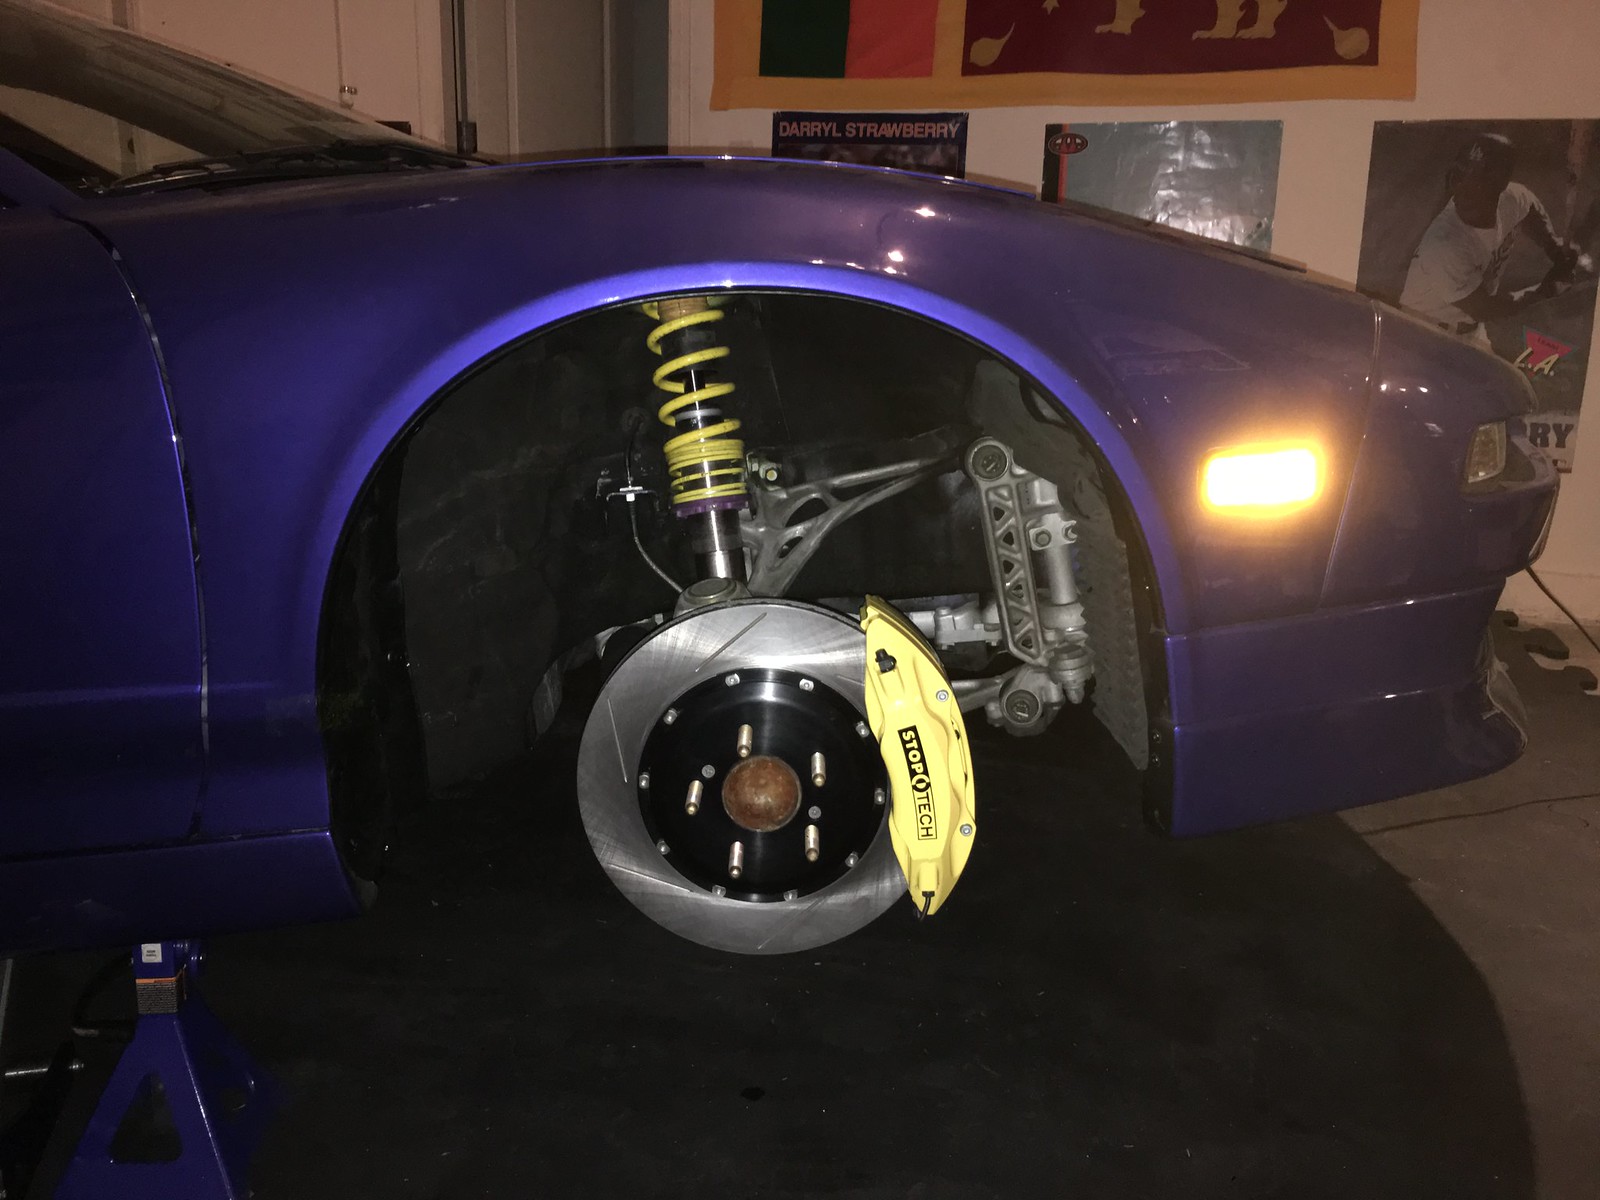
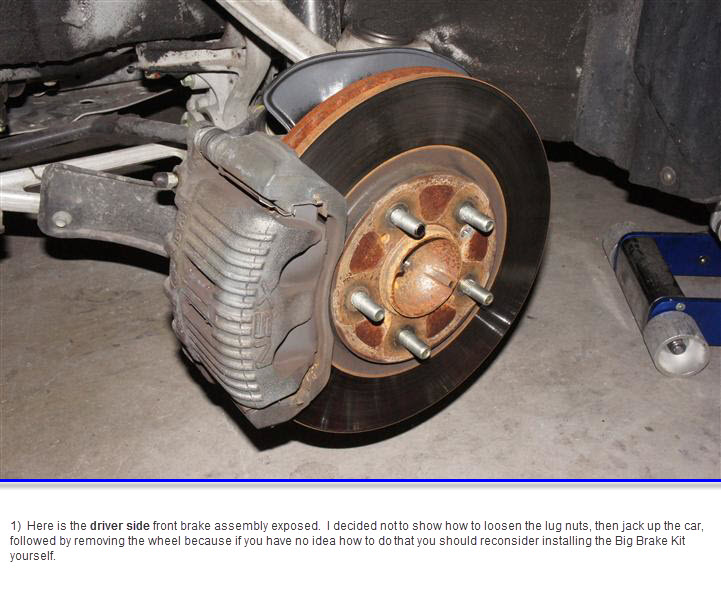
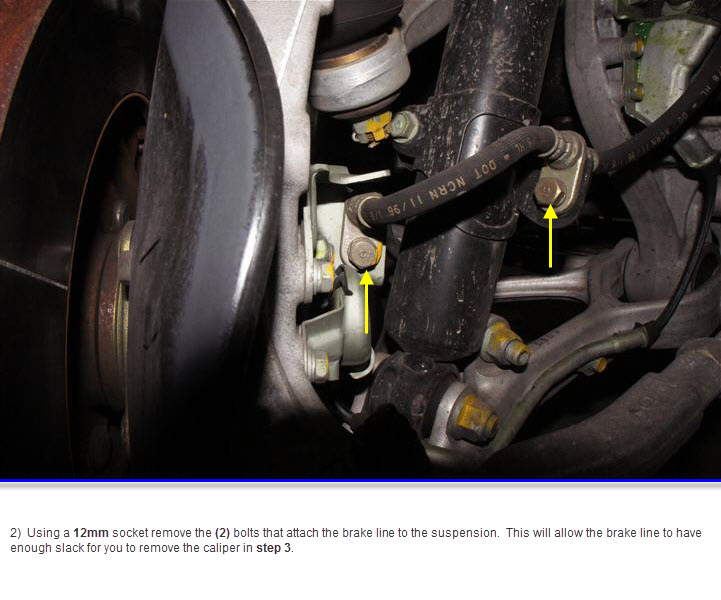
Front Install


Rear Install

Front Install
Rear Install


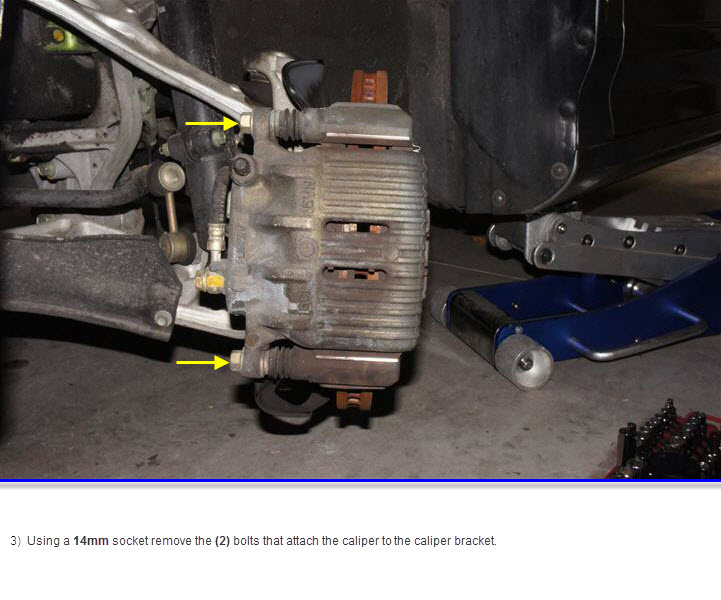
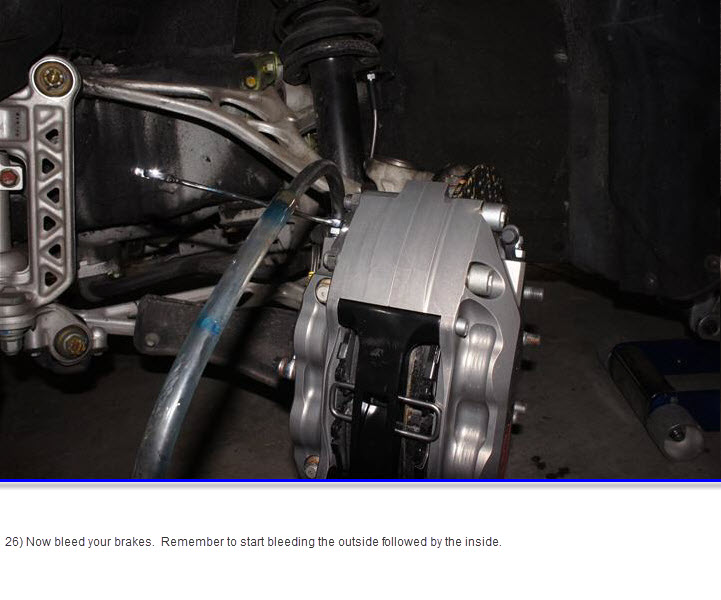
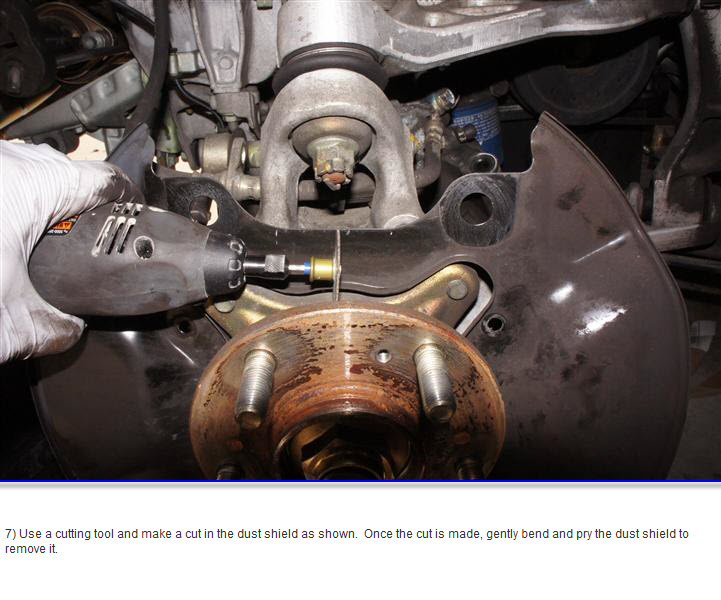
") .
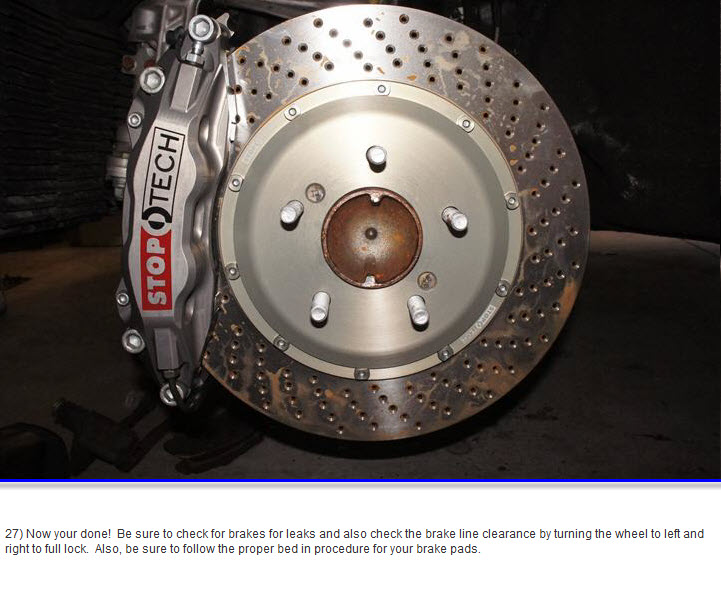
.