• Protip: Profile posts are public! Use Conversations to message other members privately. Everyone can see the content of a profile post.

Honcho's Long Road to Imola Type-S Zero

Engine Refresh 10

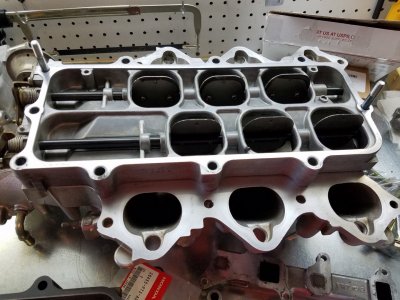
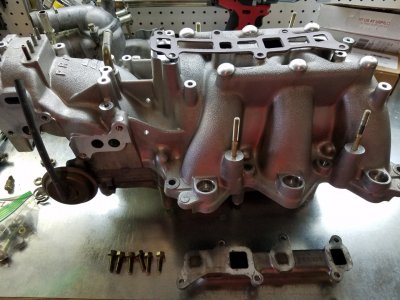
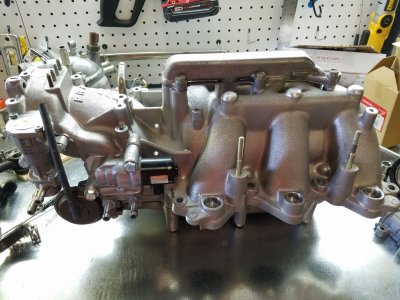
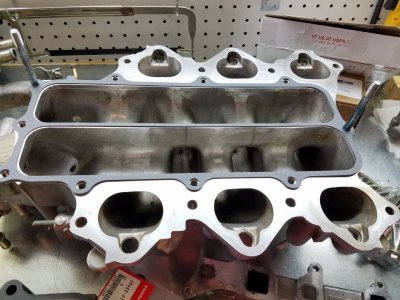
Finished the intake manifold. It felt nice to be moving to the phase where I start putting parts into the car rather than taking them out.

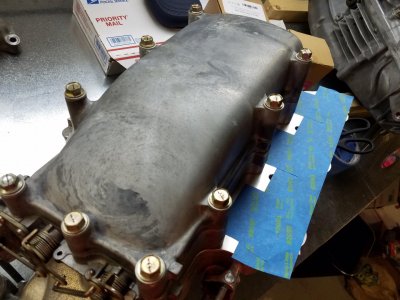
All gasket surfaces wiped with acetone to remove any trace of grease.
20200502_161453.jpg
20200502_161419.jpg
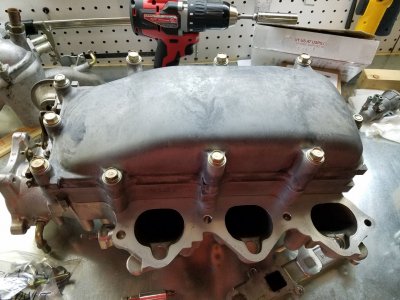
Magnesium bottom plate attached. All bolts torqued to the spec (22nm) in two stages (12;22) using my new Tonichi wrench. It's awesome!
20200502_163514.jpg
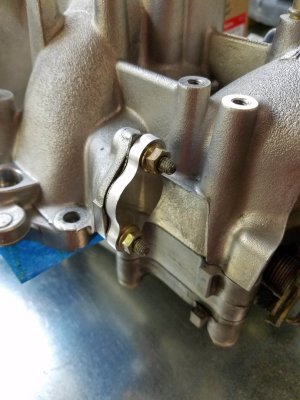
EGR port cover with the new gasket.

20200502_163813.jpg

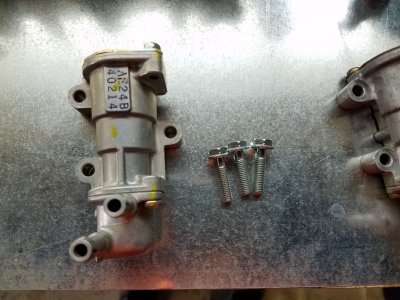
Refreshed EACV with the new bolts.

20200502_164907.jpg
20200502_170724.jpg
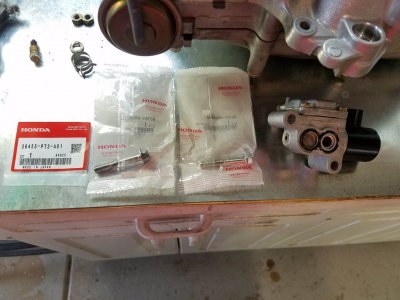
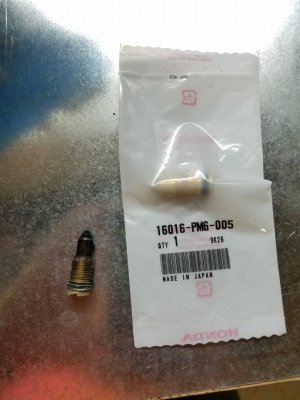
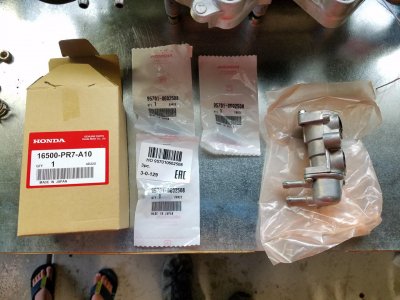
Brand new FITV fresh from Japan with the new bolts.
20200502_165907.jpg

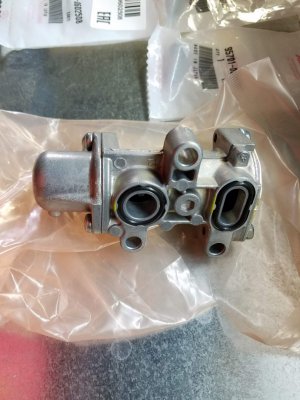
The FITV comes with O-rings pre-installed. I did not know this and ordered an extra set!
20200502_165912.jpg

Detail of FITV with the new bolts

20200502_170110.jpg
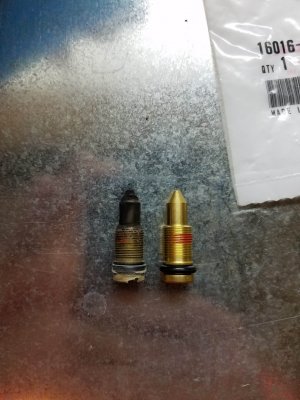
Old versus new. They changed the top screws since 1992.
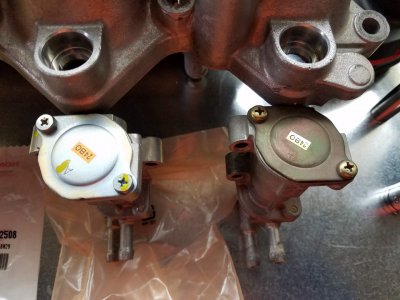
20200502_165934.jpg

New air temp sensor. As this NSX will require extensive tuning, I want to make sure the sensor inputs are accurate.
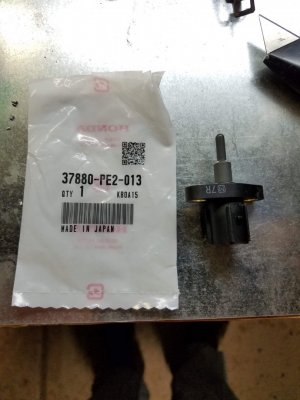
20200502_193943.jpg

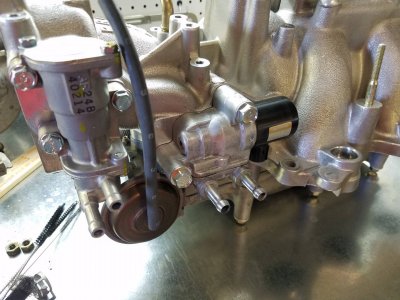
Assembled.

20200502_170715.jpg

Really pleased with this refresh. This NSX is going to breathe like an olympic athelete!
 
Engine Refresh 11

Taping off the intake to prevent debris intrusion. [MENTION=33247]MotorMouth93[/MENTION]'s cylinder pictures have me paranoid.

20200502_192506.jpg

This NSX stopped breathing exhaust long ago due to clogs. Time to make it official- EGR block thanks to ATR-Parts in Austria!

20200502_204627.jpg

Also placed the new idle set screw in the throttle body. I have to look up the initial set spec, but I think it is three turns from full closed. I will fine tune the idle with a tachometer and put the locking sealant only once I am satisfied. I plan on spending several days tuning just the idle.
20200502_200125.jpg20200502_200210.jpg
 
yay..putting stuff in! You should have a party when you place the typeS badge on...
 
Cooling System Refresh 1

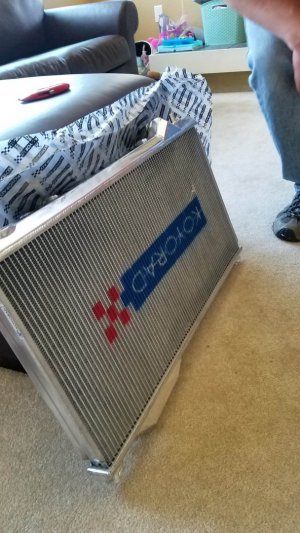
The beautiful Koyorad Radiator arrived. I installed one of these on my old NSX and it was fantastic. Even the stock C30A can stress the NSX's cooling system on the racing circuit in high temperatures. Here in Colorado, we have it double-bad: it is very hot in the summer (90+ F many days) and the air is thin. This puts a lot of stress on cooling. I'm happy to report my Koyorad was able to keep my coolant temps normal even on a 95 F full track day (morning and afternoon session). Thus, I am using it again with this NSX. Perfect welds as usual and they thoughtfully include new mounting bolts


20200510_161147.jpg

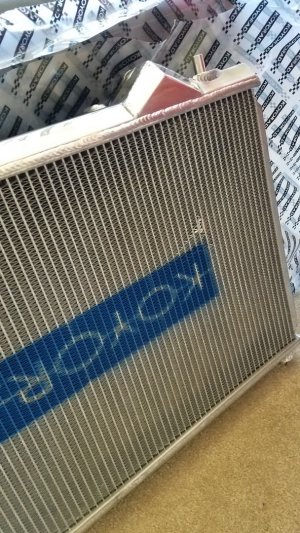
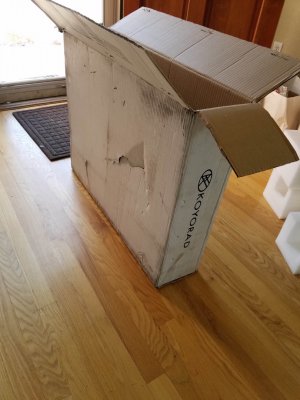
Unfortunately, this radiator was damaged. Hard to tell if the impact damaged the tubes, but I can't take the chance. I ordered through Evasive Motorsports (I have used them over the years for many aftermarket parts with good success), so now have to figure out how to return this one and get a replacement.

20200510_161204.jpg

Mrs. Honcho spotted the issue- the box.

20200510_161323.jpg
 
Last edited:
Interested in the damage as I have ordered one as well. Last one in Europe, next batch to arrive in 4-6 months.

Hard to tell if the damage is serious. Who knows how much force has been on the radiator itself.
 
Last edited:
Finished the intake manifold. It felt nice to be moving to the phase where I start putting parts into the car rather than taking them out.

Congrats. After all this work, I bet it is a nice feeling when things are going back onto the car. This is a great milestone.

Pardon if I missed this, but did you notice any issues with your butterfly valve bolts? Were they loose? Did you address them in anyway to prevent them from become loose?
Just curious since you had them exposed.

By the way, good call on taping up the ports. Sad to see a fellow member's engine get damaged, but if we can saving another it's not all a lost.

Thanks for keeping us part of your rebuild. Hope your next radiator arrives safe and in one piece.
 
Great pics! Idle tuning will be fun. I keep a screwdriver in my car for such reasons. Since the EACV gets dirty sometimes the car will stall in the Summer due to A/C being on. I wonder if it can be tuned out.
 
Congrats. After all this work, I bet it is a nice feeling when things are going back onto the car. This is a great milestone.

Pardon if I missed this, but did you notice any issues with your butterfly valve bolts? Were they loose? Did you address them in anyway to prevent them from become loose?
Just curious since you had them exposed.

By the way, good call on taping up the ports. Sad to see a fellow member's engine get damaged, but if we can saving another it's not all a lost.

Thanks for keeping us part of your rebuild. Hope your next radiator arrives safe and in one piece.

Yep, check post #412 . All screws are still factory tight. At this point in the car's age, I recommend an annual inspection of the VVIS plate- I plan to do it with the car's annual oil change and compression check service. Cheap boroscopes are available at Harbor Freight. A replacement radiator is on the way! I have to give a plug for Evasive Motorsports here. I've been using them for years for various aftermarket parts and they have consistently delivered quality service and very reasonable prices. I called about the shipping damage and they sent me a fedex return label immediately. They treated me well and worked hard to make it right and that matters to me. Highly recommend.

Great pics! Idle tuning will be fun. I keep a screwdriver in my car for such reasons. Since the EACV gets dirty sometimes the car will stall in the Summer due to A/C being on. I wonder if it can be tuned out.

I'm hoping the re-scale of the RDX injectors in all pulsewidth tables (not just the fuel tables) will get me 90% of the way there. Honda spent a lot of time getting the idle correct, so I really don't want to mess with it too much in the tune. I just need to make sure the 410cc injectors squirt the same amount of gas as the 240cc stockers at idle.
Then it's just lots of driving and logging with the wideband until it's dialed in perfectly. Then we go to the dyno and make it fast. :D You need to post pics of your seats when they are done!
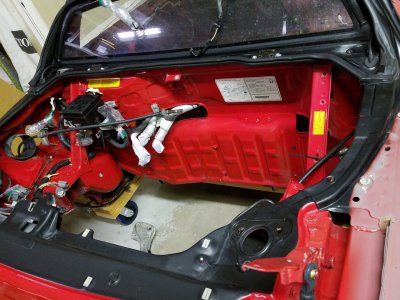
 
Yep, check post #412 .
With your attention to detail, this is no surprised. I should have guessed. ha! Glad to hear they were tight. I hope mine are.
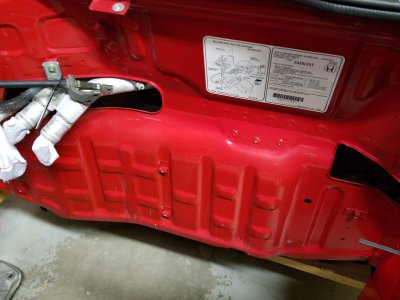
Thanks for your tips on inspection method.

Good luck with the rest of the build. We are cheering for you.
 
With your attention to detail, this is no surprised. I should have guessed. ha! Glad to hear they were tight. I hope mine are.
Thanks for your tips on inspection method.

Good luck with the rest of the build. We are cheering for you.

Thanks- that means a lot. I've always wondered who is watching this build. I've heard rumors I have fans even in Honda Japan HQ and at the Refresh Center. But, who knows? I'm sure if I instagrammed this build or put it on YouTube episodes like [MENTION=12494]R13[/MENTION], I'd have a lot more attention. Still, it brings me joy to just do it and it is nice that my fellow Primates care too.
 
Last edited:
its partly due to your invested time in updates with pics......and your incredible bravery/willingness to learn the ecu/engine management....not withstanding your solid combustion acumen....plus you are going AT-5speed :eek:
 
I'm sure if I instagrammed this build or put it on YouTube episodes like [MENTION=12494]R13[/MENTION], I'd have a lot more attention. Still, it brings my joy to just do it and it is nice that my fellow Primates care too.

Oh, this would be instagram/youtube gold if presented the right way, but the caveat is once you start filming stuff it suddenly takes 8x as long to do the thing you decided to film, lol. This is the type of on-going thread I miss with the rise to preeminence of Facebook Groups and stuff. You just don't get the detail or reference-ability when stuff is surrounded by hashtags too often.

Keep it up!
 
Body and Paint Work 33

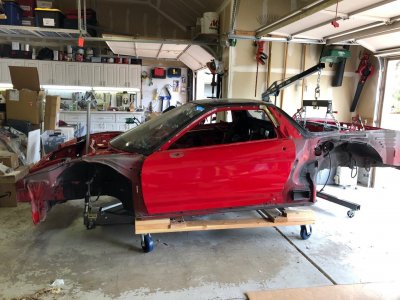
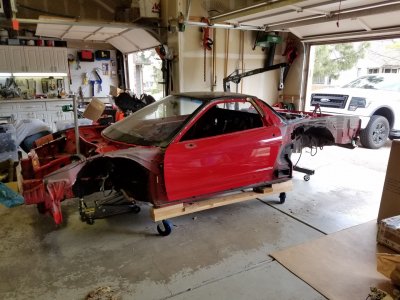
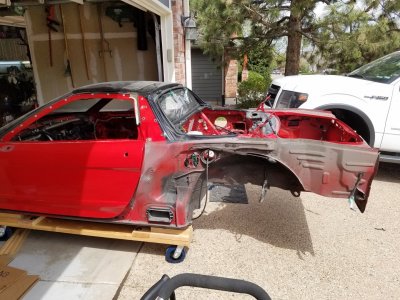
My NSX powers have grown to such a level that I can make a NSX hover in mid air!

NSXdolly3.jpg

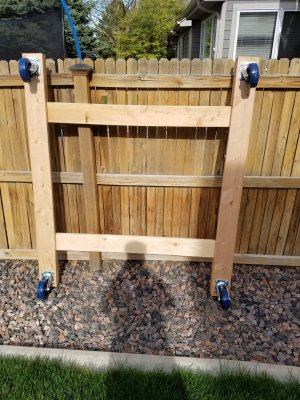
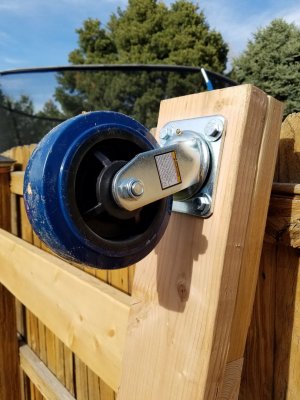
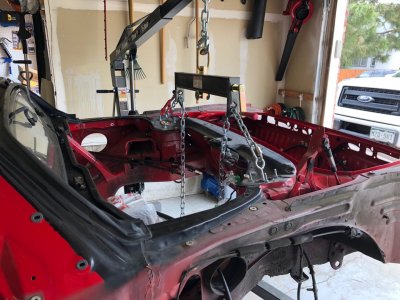
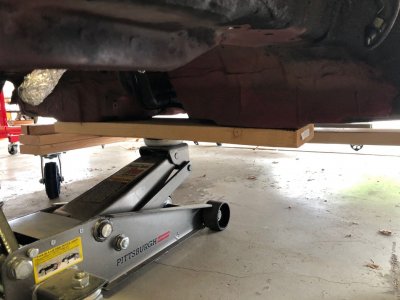
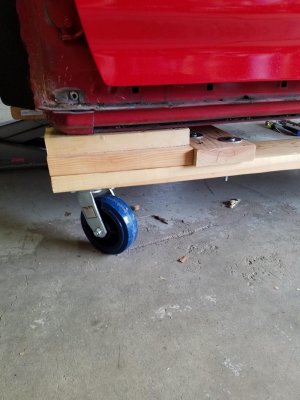
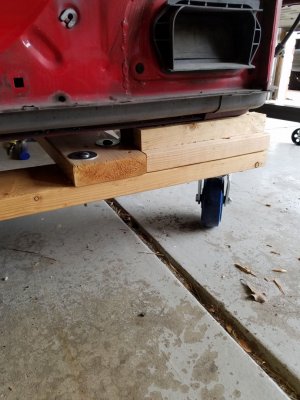
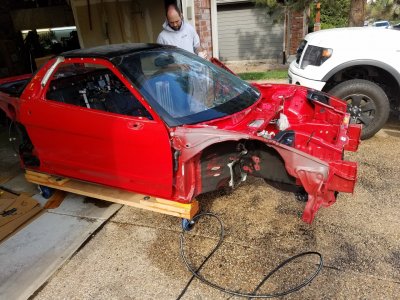
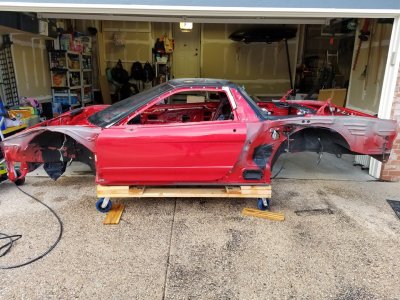
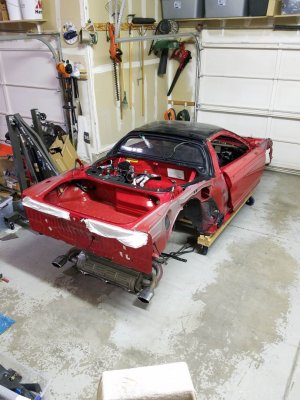
But seriously, how did we get here? First, I built a cart. After watching a youtube video of some poor shade tree racer dropping his Datsun 240Z onto the floor of his garage in a shower of wood splinters and a terrific crash, I had to carefully consider the design of my NSX dolly. Where poor Mr. Datsun used 2x4 and some rather small casters, I chose 2x6 and these monsters, which are rated at 650 lbs each! Also, to secure the boards, I used 3" deck screws bolstered by eight 3/8" carriage bolts, each with a shear strength of over 13,000 lbs. NSX_n00b and I carefully measured the distance between jack points so that we could drop them straight into slots, which would prevent the car from sliding off the dolly. Here is the result:

20200517_165701.jpg20200517_165709.jpg

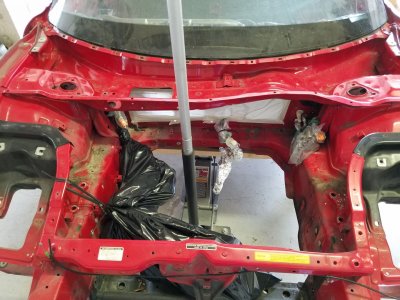
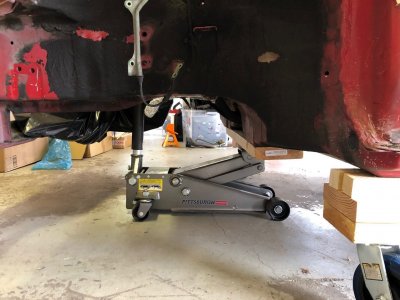
Another interesting challenge is that we had to do a bit of a ballet to lower the car onto the dolly. As the floor jack would revent us from sliding the dolly under the car at the same time, I had to devise a way to lift the car without anything under any of the jack points. My solution was to use the hoist to pick up the rear and my floor jack to pick up the front. This necessitated an "H" design for the dolly to permit clearance for the front jack under the main tub of the car, as I was not comfortable jacking on the radiator support, even in the car's lightened state.
First, picking up the rear was fairly routine, as my hoist hooks on the shock towers made it simple.

NSXdolly4.jpg

Next, we had to position the floor jack, using a scrap piece of 2x6. This allowed us to center the jack perfectly, which was important for the next step. Note the bagged wire harness and taped sections in prep for pressure washing.

20200519_143203.jpgNSXdolly2.jpgNSXdolly5.jpg

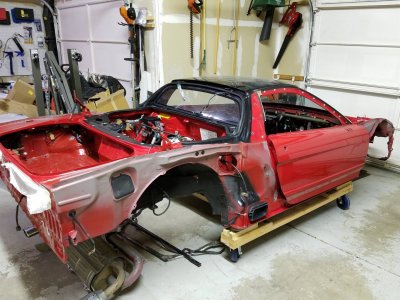
With the rear lifted about 1/4" off of the rear jack stands, we lifted the front the same distance. The car balanced perfectly, but I held onto the front frame to stabilize it while Spencer quickly pulled out the jack stands and rolled the dolly into place. It all worked perfectly, and we quickly lowered the front onto the dolly, as it was the most precarious point of the operation. The only issue is that there are two 10 mm bolts sticking out of the rear corners. We had to get creative with a 1/4 wood chisel to cut room for those. In hindsight, if you build a cart for your NSX, make sure you drill holes to accommodate these bolts.

20200519_143135.jpg

Basically, the idea is to have all the weight of the body at the corners directly over the center of the casters.

20200519_143145.jpg20200519_143153.jpg

This the first time my NSX has been off of jack stands in almost 2 years!


View attachment video-1589920987.mp4
 
Last edited:
Love the home made dolly Honcho. Keep updating and ill keep coming back for more :smile:
 
Wow.. what a build.. !!! Labor of love.. Thanks for documenting!!
What can I say, NSXs make me happy!

Love the home made dolly Honcho. Keep updating and ill keep coming back for more :smile:
There was definitely a pucker factor when we dropped it onto the wood, but what a relief when it held up!

I love my Safe Rack too. :D
We have so much vertical space in the garage that it just made sense to make some of it useful. It's incredible how much storage you need once you have kids!

That is a huge garage and I'm jealous.
Yeah it's nice, but I'm jealous of your garage floors! Crazy part is you can barely walk in there right now with all the NSX parts and boxes everywhere.
 
Body and Paint Work 34

The main purpose of the chassis dolly is to facilitate transport to the paint shop, but also it allowed us to roll the car out onto the driveway for a 20-year overdue power washing. The painter asked that I wash as much as I could, which would really help him speed up the process. He's still going to wash everything as part of his prep, but it would give him a head start. So, armed with a bottle of 1:1 simple green HD and water, and a new Sun Joe pressure washer, we went to work.

So dirty. The whole car was encapsulated in a thick layer of black/brown dust.

20200519_150610.jpg

Soooo much better. Look at all the undercoat on the driveway. It was either 28 years of road grime, or the previous owner paid to have some kind of undercoating service. The stuff just blasted off, revealing the original Honda undercoat. It was so fulfilling because that top layer left a black smudge on anything it touched and soaked up dirt like a sponge. The OEM stuff does not. I'll have to touch up some areas with a rattle can of black rubber coating, but man, it was so nice to finally blast that junk off of the car!

20200519_170335.jpg

Another problem area- the door jambs. These were gunked up with a mixture of rotten leaves, bugs, pine needles and road grime. The pressure washer made short work of that!

20200519_170417.jpg

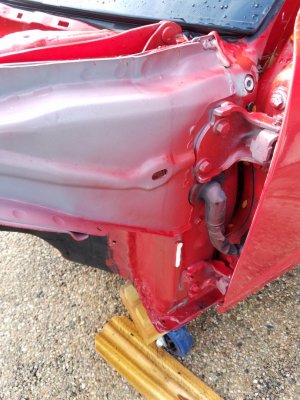
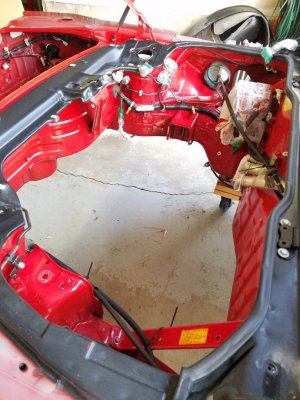
The front bay was a disaster- oil, grease and grime everywhere, especially under the ABS system and heater blower areas. Now, it's once again like the factory made it.

20200519_170340.jpg20200519_170410.jpg


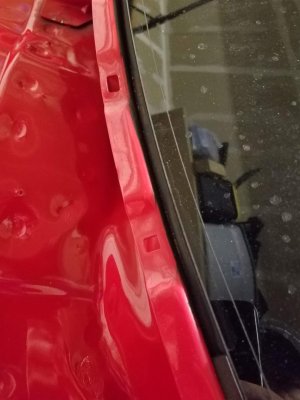
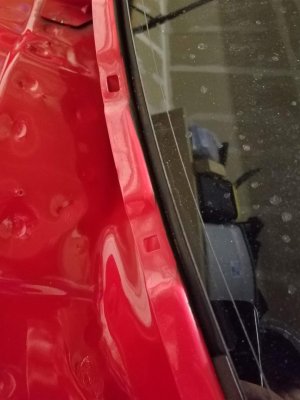
I paid special attention to the front cowl area, which again was cluttered with dead bugs and rotten leaves. It was so satisfying to blast out all the drain passages and watch clear water once again flowing down. Should really help with future car washes and, in the rare event I get caught in the rain in this car. Also, note the super clean cowl clip holes. That layer of black dust makes assembling any plastic clip into the body miserable. With clean mounting holes, it should be much easier to clip thing back.

20200519_170400.jpg

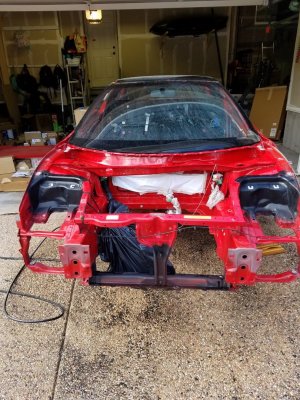
Front bay finally clean. No more dirt. The painter is going to re-do all of the black where the factory used it, banishing the red overspray to history.

20200519_170402.jpg

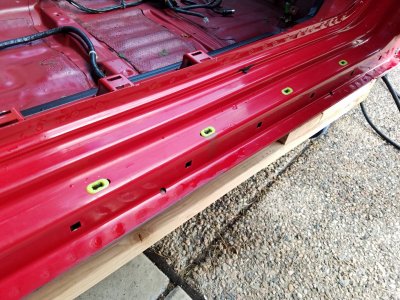
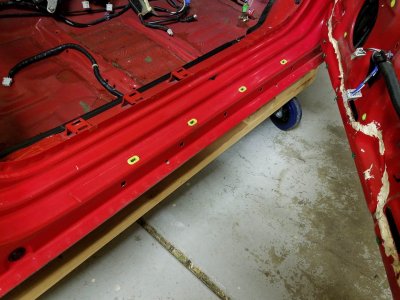
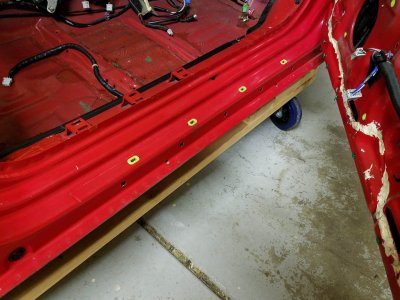
The side sills got a deep clean. It was challenging to keep the water from getting into the passenger compartment, but with a few well-placed towels and attention to the spray head, we kept it to a minimum.

20200519_170528.jpg

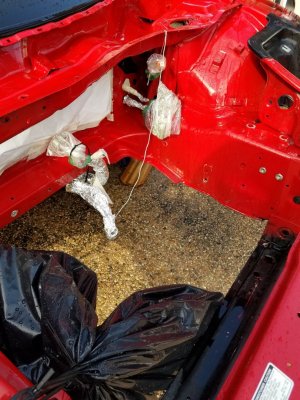
Clean engine bay!

20200519_170442.jpg

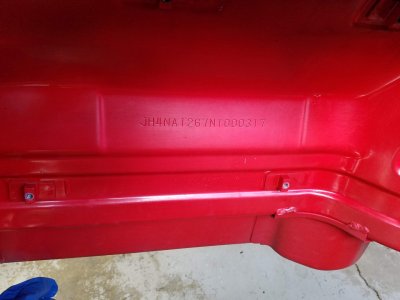
From under a layer of black caked dirt, the VIN reveals itself.

20200519_170457.jpg

A cool shot to show what is possible with the chassis dolly- it rolls so easily

20200519_171830.jpg
 
Body and Paint Work 35

Now the the car is dry and back in the garage, time for a detail inspection.

20200519_212324.jpg

Engine bay

20200519_211745.jpg20200519_211756.jpg


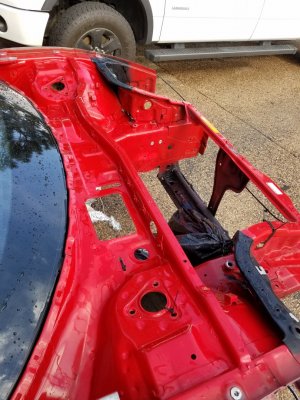
Fenders. So neat to see what the factory did with the paint. The painter is going to replicate what the factory did here with the Imola- so it will not be all painted solid.


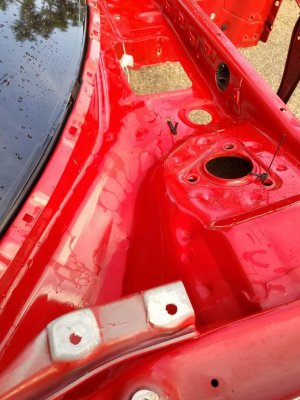
Clean side sills, but still going to need some love with a sanding block and scotchbrite. Should make reassembly a lot easier though. I cracked a lower skirt with the hammer taking it off- hopefully it will slide on a lot easier!

20200519_211908.jpg

Really happy to see this- this area was full of baked on flock- it was disgusting and always came off on your hands if you touched it. I blasted it all out! This area will also be re-painted with fresh black.

20200519_212017.jpg

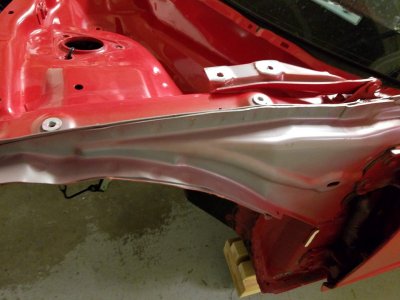
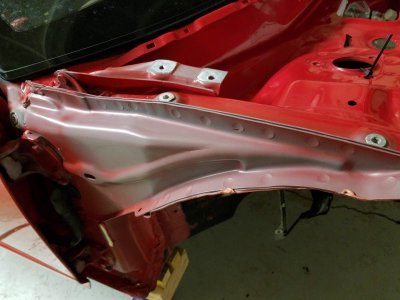
Clean lower cowl.

20200519_211951.jpg

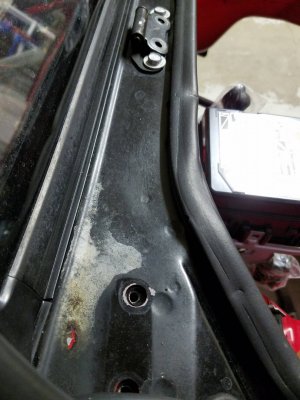
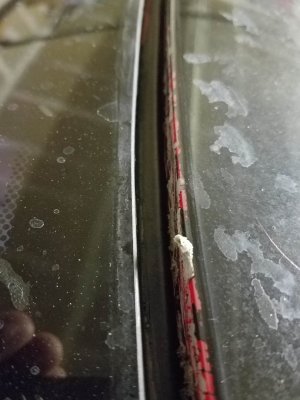
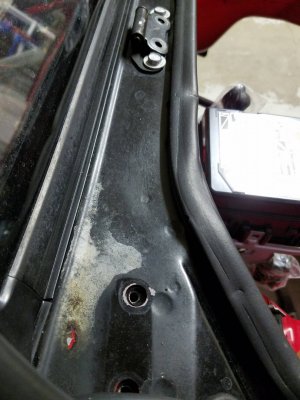
The painter asked me to really nail the upper windshield channel. It was a challenge to do this and keep water out of the passenger compartment! But, I got it quite clean. Still, there is a lot of adhesive residue from the trim piece that will need to be removed.

20200519_212005.jpg

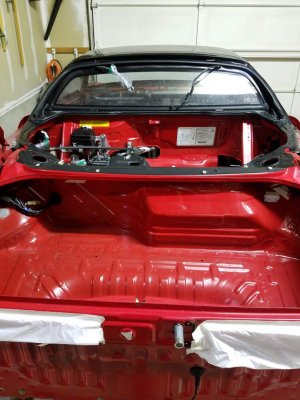
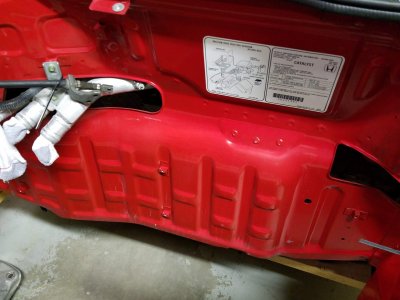
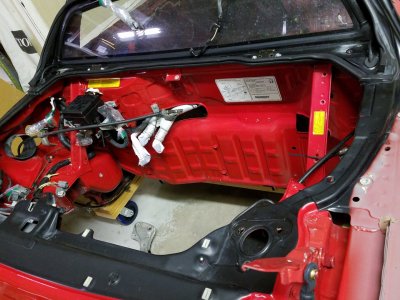
We could not wash the trunk because there is no drain hole. So, you just have to use wet rags and simple green and rinse often. I may have the painter do this one, as it is not really that dirty.

20200519_211845.jpg
 

Attachments

  • 20200519_212017.jpg
    20200519_212017.jpg
    164.4 KB · Views: 1
  • 20200519_211942.jpg
    20200519_211942.jpg
    197.5 KB · Views: 0
  • 20200519_211951.jpg
    20200519_211951.jpg
    111.7 KB · Views: 1
  • 20200519_211928.jpg
    20200519_211928.jpg
    211.8 KB · Views: 0
  • 20200519_211908.jpg
    20200519_211908.jpg
    274.1 KB · Views: 0
  • 20200519_211756.jpg
    20200519_211756.jpg
    203 KB · Views: 0
  • 20200519_211735.jpg
    20200519_211735.jpg
    190.2 KB · Views: 0
  • 20200519_211745.jpg
    20200519_211745.jpg
    286.1 KB · Views: 0
Wow.. I didn't realize you were that good with a wrench!! I gotta swing buy one of these days.. Last time I saw you , you just got the GT-R. Glad to see you back!
I was hoping to see everyone at the Show in June but I heard its cancelled.. ??
 
I was hoping to see everyone at the Show in June but I heard its cancelled.. ??

Unfortunately at this point according to the website it has been "postponed" and they are looking at dates in the early fall to reschedule but nothing concrete yet. I'm sure Steve will update all of us once he has more news.
 
haha, I see you are enjoying the dolly seeing the car pushed around in all sorts of angles. Don't let is roll down the driveway!! :)

Nice prep work. Your painter will be please the dirty work is done.
 
haha, I see you are enjoying the dolly seeing the car pushed around in all sorts of angles. Don't let is roll down the driveway!! :)

Nice prep work. Your painter will be please the dirty work is done.

It was so fun- we were like little kids for a minute. My driveway is somewhat steep, so there were a few hairy moments, but it was ok. At least we found out the car won't slide off the dolly! :D
 
Back
Top