• Protip: Profile posts are public! Use Conversations to message other members privately. Everyone can see the content of a profile post.

Honcho's Long Road to Imola Type-S Zero

Lol you should add heated seats:biggrin:

What's wrong with heated seats in a cold climate huh????? :)

4qn7imB.jpg


7NEjjID.jpg


KtE8WYo.jpg


Nice progress Honcho and excellent work!
 
Re-Assembly 60

B-Pillar, seat belt, etc.

Installed the genuine NSX-R black B-pillars.

AM-JKLXupEl--9P8YbSAdA5FgdAoKUVnUtbKdjWNg8JxFeThoGGCcFQq-HCD3OK2_Wa7ARpccFPSa2M4k2iRwtlvUwKnfKYlB_lpNTcUnBSE95Zx485GFxoSp6Bis7t2-YPQl0-JK3LVGiXUAaYi4-xps1vzVg=w933-h1243-no


AM-JKLXbuz7jUMI89rRpvCNVAsENZg_OkAP_QVrAvrSOY6GkyPcQb-xCk0ltHeeYkEsap1NcgxOhd7nmbdqyT_kE6HxMgUUbkWRORb3BtkN7NCgCncg0pY21XEeQcvf_kzoGvhxNtpWOjAe8Fqb0UiWg8VQS2g=w933-h1243-no


Repaired the cracked belt guide with hot ABS cement and cut the slots to fit the seat belt. Next step will be the black plastic trim paint.

AM-JKLWJt0WG6aC3JPkSAQUkmMi3ZFBUsRR7toCqmD-pHmzq1n0Fm8AfMyT4Jve07GxHT9-Xy8b-rW1SSNDQbg9Luq5YT9U1fKJAqYs7MhxC7rMwlOPMDPV9_A-hhbPlq9PgiDwYmICyDdsInU_f4Car1UkXRA=w1279-h960-no
 
Last edited:
Re-Assembly 61

Glovebox, Center Console

Got the center console and vents installed. It turned out really nice- better than I expected.

AM-JKLVvPS8thgwpnBEn1GHmpuXyDVNq2EJcoy93q2eg2wb2zlPdQpCHMFOdCdXLtQtJKAgZyq6Crr6zabaqBNDyf9sEseO-0abOSStIamSsuv_7hXMsQSnLZyxNVgTyIKLKjK3GZQ6dR2eN_D-Eb14f-FPwCg=w933-h1243-no


AM-JKLVSozvSCpHmuLdFRMSyuVqt81Rev61rh5Oese7q0c9vnjy1J8OgFKM5aHXtF9JOSIy5aBv9W8VUTAMS71Gb14tc98a0Lt46SNsMs70wsbai2XqRAXDgEZCnJaHPaJ-CSkiwJYVcMspZjRq1OJ9ydd3_AQ=w933-h1243-no


AM-JKLUh-kwe0g7Wb_Kn5rsVdqtRrfUG4dudnLmDYrRY_qnvSo3oMidiM7OgOIheeNGquYDRjFBPB21q7-gtBOA3A6baUcZTbfqGqYpYSpsOWnORfs9HWptS_9GwvT0BiSNKgj6qwrOzzDvF-OlkhJuQ6XnX4Q=w933-h1243-no


AM-JKLXcXX1NLgQettkp5ydD1WS7IhhI-U1zBf0YTi96QB3sDcSrgd_kOGIyTOlhWnrJ8FlLHSapkFa3aseYDPwyPB4_YJDrQI4YPEQ8nfgzN4WLqFA0Y9rJ-8xbt5blGcUU7PL4lbO4OK1exnGCgy_a4p0kMw=w933-h1243-no


Installed the passenger side carpet and glovebox. Treated the glovebox lid with 303 and a big difference from its decrepit initial state.

AM-JKLUiB2swAQiiuB8S6z_qQzrlwyZY5s00xxDVzYmQwh3GIexLhG58k7VGEpkdw39UydbEH9_O66NljKHBsY1BJW5roz-3iBQnWvdD-Ia1kjHBfIh06LUilRnMRhJ3XzyBXWsUlJ-afAgLL2XmRJjQ80R_MQ=w1283-h963-no
 
Re-Assembly 62

Prothane Bushings 2

Ok, I need to tell everyone that these are NOT plug-and play. The problem is that the bushings elongate when they are pressed into the sleeve. They end up being oversized by about 1/32" on each side, which makes them completely impossible to fit into the control arms. Also, the sharp corners of the bushings interfere with the free movement of the control arm. This means that each bushing must be shaped by hand after they are installed. I really wish I had a lathe, because it would be easier to turn them down into the required mushroom shape and trim that extra fat off the center region. But, a dremel tool with a drum sander set at medium speed worked almost as well. Still, it was a BEAR of a job to get these to slide into the control arms- even with anti-seize. Especially the smaller bushing because it has a captive bolt that must be correctly aligned to avoid cross-threading. Lots of cursing and bushing with the rubber mallet. But I got it done.

Honestly, if I had to do this again, I'd just buy the proper pillow bush kits that are available. I hope @PrideCarbon runs a complete set so we have a USDM source of these. Urethane should last the rest of the useful life of this car, but I really hope I never have to do this job again...

Prepping the passenger side bracket.

AM-JKLVOkCiyv5Im_oQOhNrMywyF3HKcVqG2WyxI3S2iC9ECZBuIlmLWIcrB7-DceCuI5JDrPfrpDr5ZDD57lhz6gNUofLL_VgWykAsR73tg-wTL4zJxMUYFiL421rMKTCks-bhOGTzryinBO67nN7x4wMSLuA=w933-h1243-no


Installing the bushings.

AM-JKLXx3xeUMbCsSuILenB-TGPeNlQwHBgxZwW_xCqU51C-t8HwNUf8i5atRb2l-hZYURfDVT_zOgncHQbB_pQI0q5BR2Lr-HNKlY5GSl-YvNkG9b5eb1brHIYR1FJD23V0pgj25UGHmIUCxQlFe-EIkgqDYA=w933-h1243-no


AM-JKLXcMPpzKwePkSMjYyZa2pvNss-f0vYoiWBsxAu1ZE8dN8b-VgAEI53uWtc36zETSmeCSyc7dGKZQGgZW8GqegBb0ubGi8w6Sdd5D3mX2MOksAWcQh71vrP2aBsbInG1JqjMM1DBiWRHwGTh3NdavAt9YQ=w933-h1243-no


Hand shaping the bushing.

AM-JKLV24bd4w41TDPi6DJlhsnPNFG-7NNEGLc1ly-ewHhac63S8GSWTgk9WJTGSut5r0_sPr_UmotHGJolW2_V5BF8PYBbT4hBFukwKeZOzUx3UvUgGHewLKqJ6J7TMrrE3bTH3Gd-ZlOBHxRNWc-recq15jw=w933-h1243-no


Installed in the control arms.

AM-JKLUxGFO-HHAUayOKY6U1kZkFrrrQNxzzdhd_7_uo33geei7EdIFu46qknBtyVLFI4iopUrvCQ44EkC8RMKWAiRMsyEm1RN5PH-ztF32gT-vYeyB1ao8WdoezdxZomoT-Sd7wZ6FM0C3M0bve8dgDEWG9tg=w933-h1243-no


AM-JKLVUr-HKgibBICF6RINYg5oXIU5PW1Hw-HfHg6SwWQOLfWGqOEChG64kjUwWa_0ymykfOQJhi3an24r_nVz0KQSeJy4E1KLmrJ1en9r7Av8FGrW_6ZiymR5pqlGpgEVAd2lirH33F2nJ4RcqvF0sIAl2mQ=w933-h1243-no


AM-JKLVKh-TQ6pGoQWBJkhlD0inwiq8Nb2xksmcmcB_t4aYOp9oMjwELkzoV2eVUhabPZI88LL-i0oJ9uFkHS4I4YBowJv2QjOlqExk2xLUKyIOALlNt-W4Ja2aZIywksRXWoVrn1CRbE9ddGHxsvflPMsZFaQ=w933-h1243-no
 
I"m staring at my control arms and prothane kit. I'll take your advice on rounding out the ends on a lathe. I was going to make mine conical but I see the rounded you way you did it also works. Thanks for the tip. Seems like we're all learning from each other with the last guy down line benefiting the most.

I looked back a few pages but didn't see any mention of Ball Joints? What are you plans for those? Also, you have any plans to do the rear Prothane stuff (or perhaps another brand?)?
 
Last edited:
I"m staring at my control arms and prothane kit. I'll take your advice on rounding out the ends on a lathe. I was going to make mine conical but I see the rounded you way you did it also works. Thanks for the tip. Seems like we're all learning from each other with the last guy down line benefiting the most.

I looked back a few pages but didn't see any mention of Ball Joints? What are you plans for those? Also, you have any plans to do the rear Prothane stuff (or perhaps another brand?)?

Sorry for the late reply- just got back from Tahiti. :cool:

Thankfully, all of my ball joints are in great shape- no need to replace. I just replaced the boots with new ones (one had a little tear) and re-packed with fresh grease. IMHO, ball joints are one of those things you only need to change if they have failed.
 
Re-Assembly 63

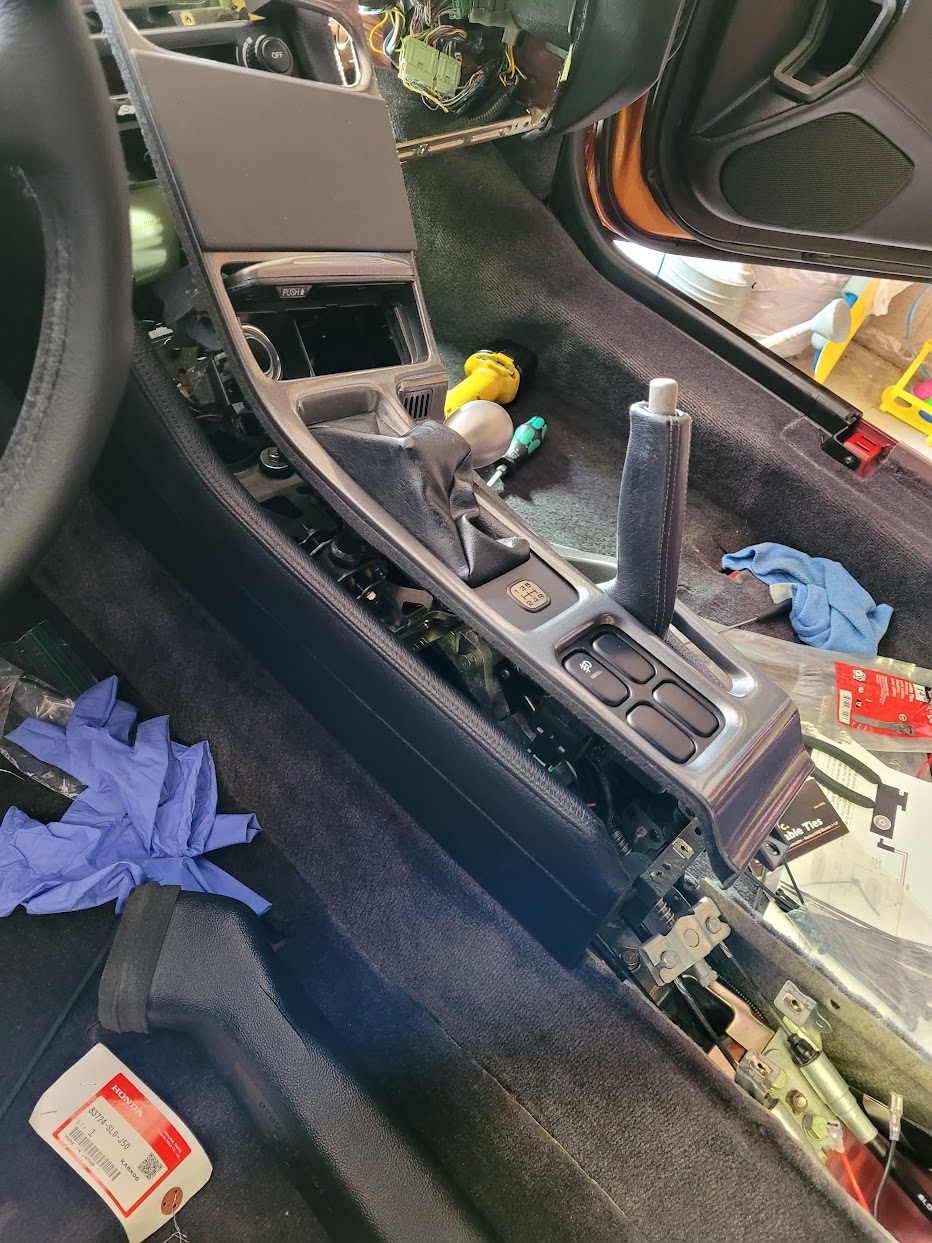
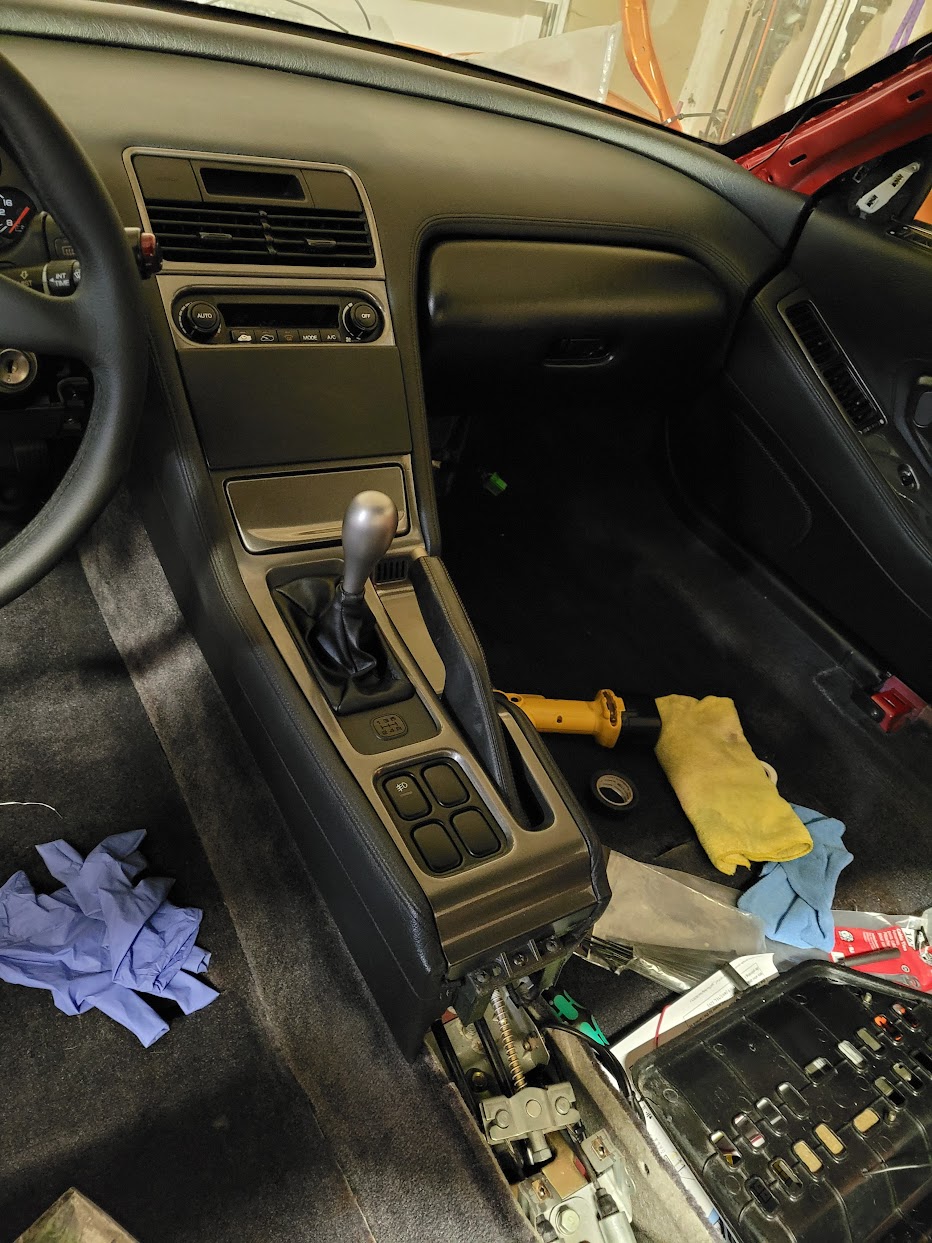
Console Box, Armrest

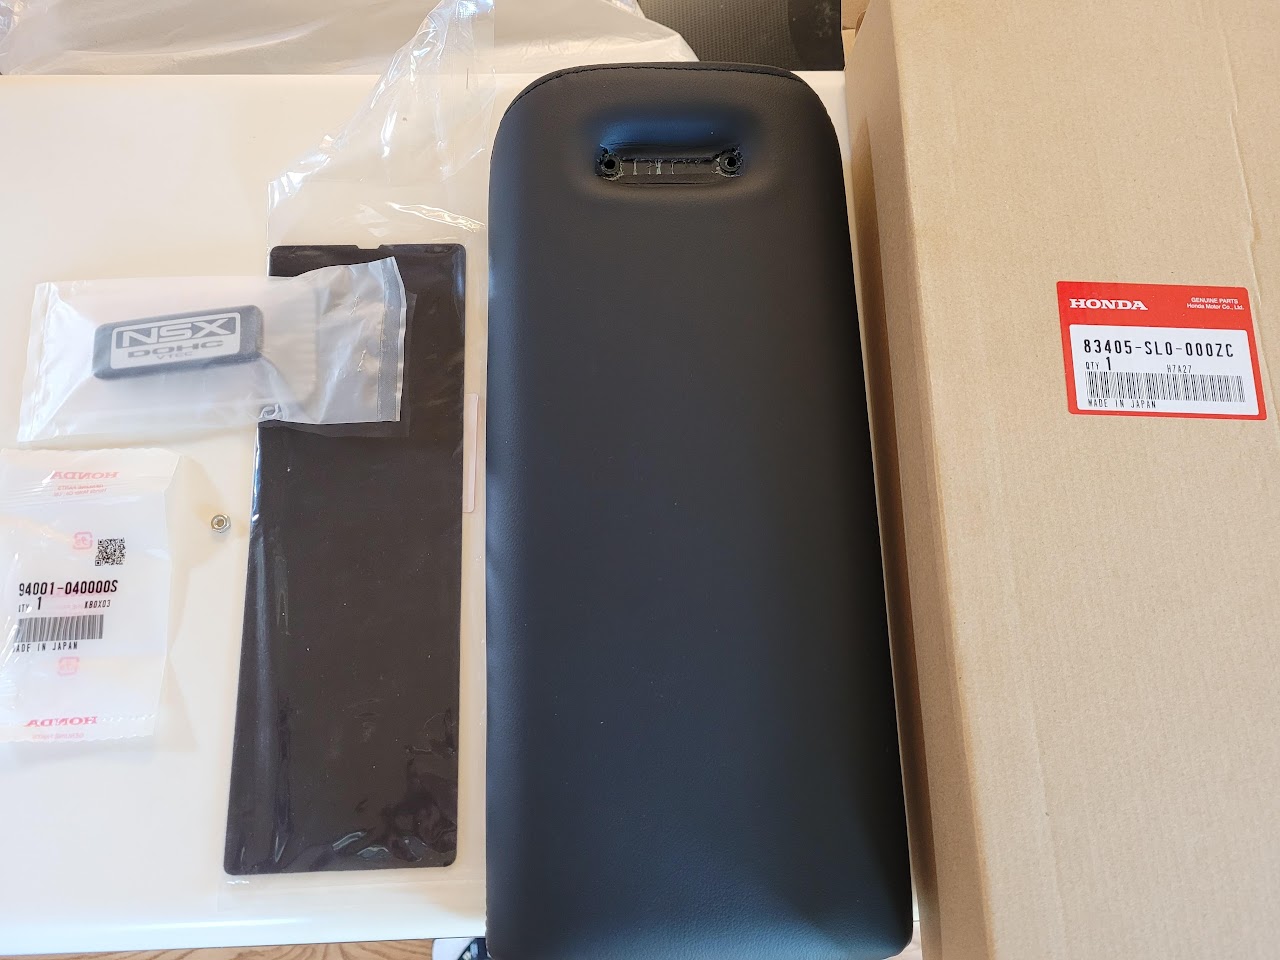
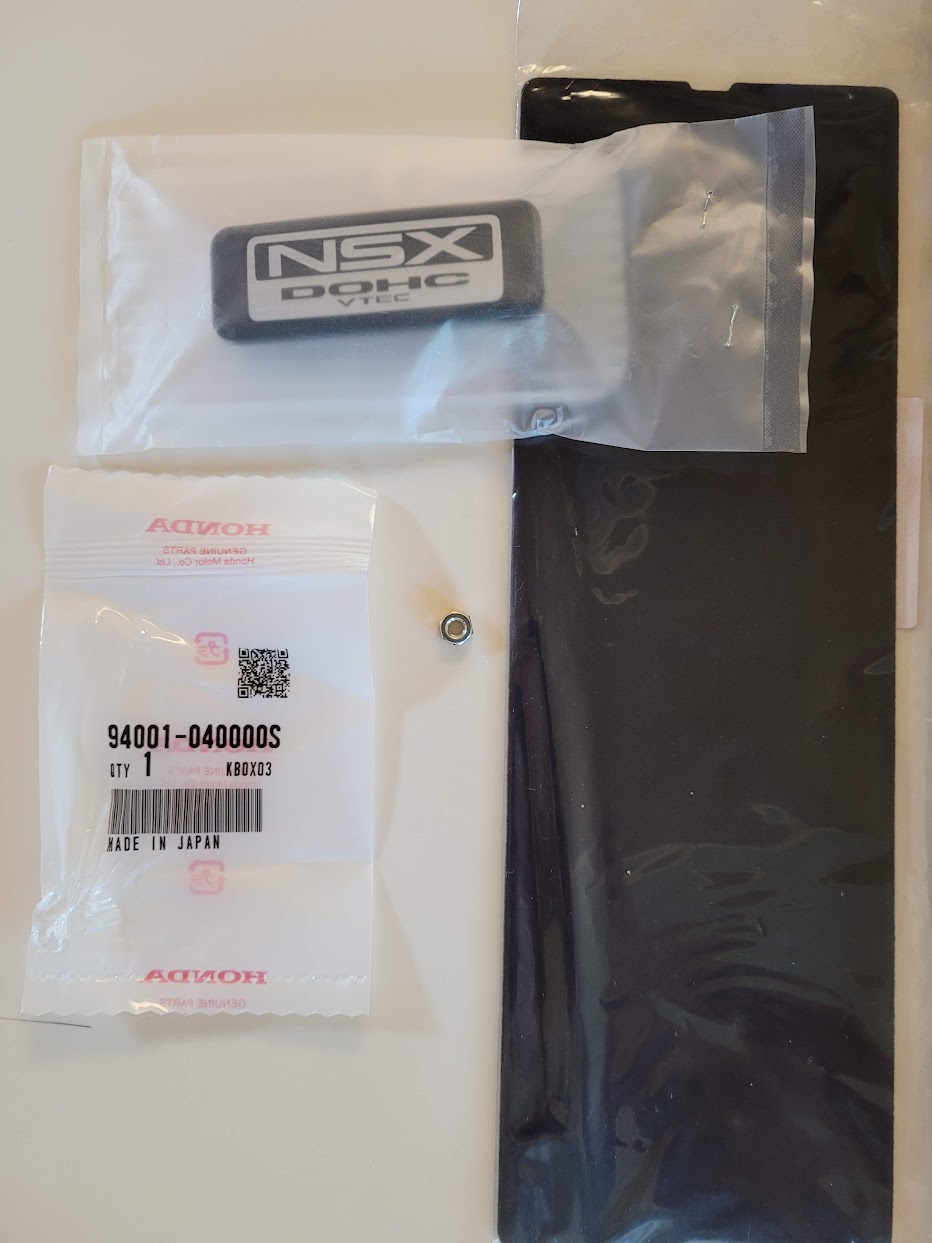
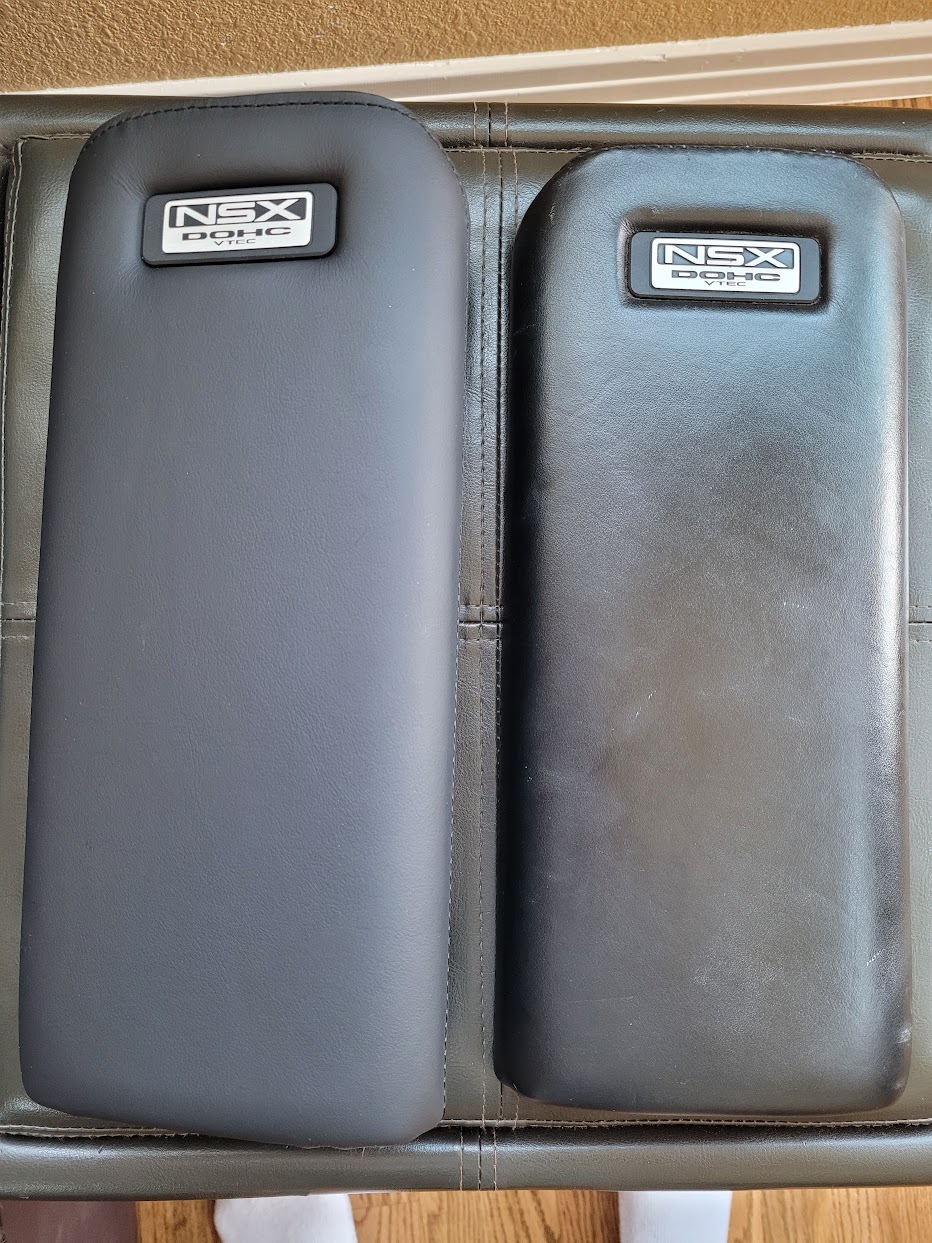
After hitting the armrest with about 30 coats (really just 3 lol) of 303, I realized it is never going to look like it did in 1992 no matter how much I clean it. Also, the NSX badge was a little dinged up from the years of abuse. Considering the lengths I went to on other areas of the car, it seemed silly to skip something so apparent. Finally, the favorable exchange rate with the Yen makes JDM parts cheap right now. So, an order with Amayama went in and only 10 days later some new parts showed up.

AM-JKLVJf6mv-DIGzVI4qPpT-wYDnzuQDzvKjDmiCk2QsFJm31NxaHs25vj0MJYA8Fy1CNw-QR8sEwTK-DmTiNcz_gkCx4f-C-8RY5L3z6vTlCvObtg1CfIs-0glxj3k2tUkyoIq_cAJ_RnqW5Q1RtvNMTbRrw=w1280-h960-no


AM-JKLUOfYshAoQyQ_T6dLOlaNaYLvp-1EdnI__QlA3mX-NPl_ib0vQlFLq-G9RM6JqH3obgqNzuFS_VYbrUVFbA7aNhrv4krrA-juVCSshk9lo57C5wmWMq3LPFMOtiG2uJ5NeA3SWnKIjr2o2s6e7iUxsMXA=w933-h1243-no


AM-JKLUUqfDA3D9WCYl92VRgjBVtaRvldwI5Q9vLqGRNiwGnFDEifOUPZWbZU6cHwWeA4BN-iIJhm-4dBRZ0n9mPwa1A8prf7V_3FS6RcGADpVpJzR-dfSNSwfH0RaJFYVcAUv7Mhdtorzj2ts_TSw04Iki1JA=w933-h1243-no


The 000ZC version of the armrest is a RHD piece, which means the magnet and hinge holes are on the wrong side. So, you have to swap your LHD lower plastic frame over to the new leather upper piece.

AM-JKLWJHMEygHeWhMkJxDBE2bvVTgucJ0jXJdrQnGktm_ABcVbuhaVPpOsMl5tfxRAkiTEMvHWzJWTQaXdcM8AEcRsw8Sgy4JjTnipL45dNfMh_akctnNmmZz5E_QyoTFPsrJoivoxikf9zghgL9F3tP_wfsQ=w933-h1243-no


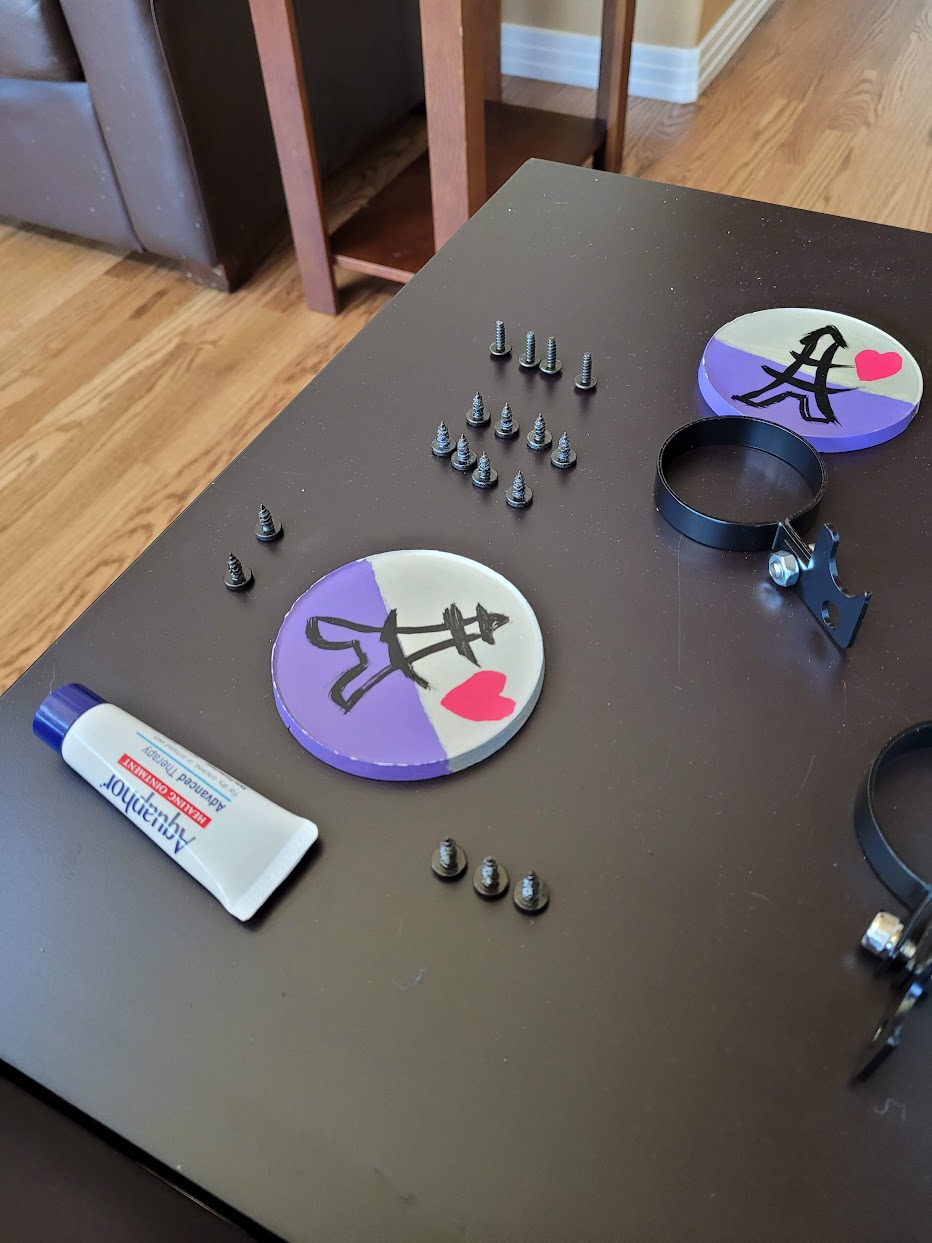
Screws, along with my new BC Racing brake line holders for the MCS suspension. Also visible is the cream for my new Polynesian tattoo on my leg- I did this job on the couch with my leg elevated LOL.

AM-JKLXAQxhT9eQVwRCt_ZwmJFZECXYpOBY22ZVF8nLovtY3jOVTj7RdogpPgDhO8kOgvvXVkA1MwrMLeT02b6Fa5HOZ87Yr5cY7-lGJ7cTm_ZIDMiA1D7BJS1mELrKNAPHLZXWcylkmXXTDxQLHYzfoEl3L6Q=w933-h1243-no


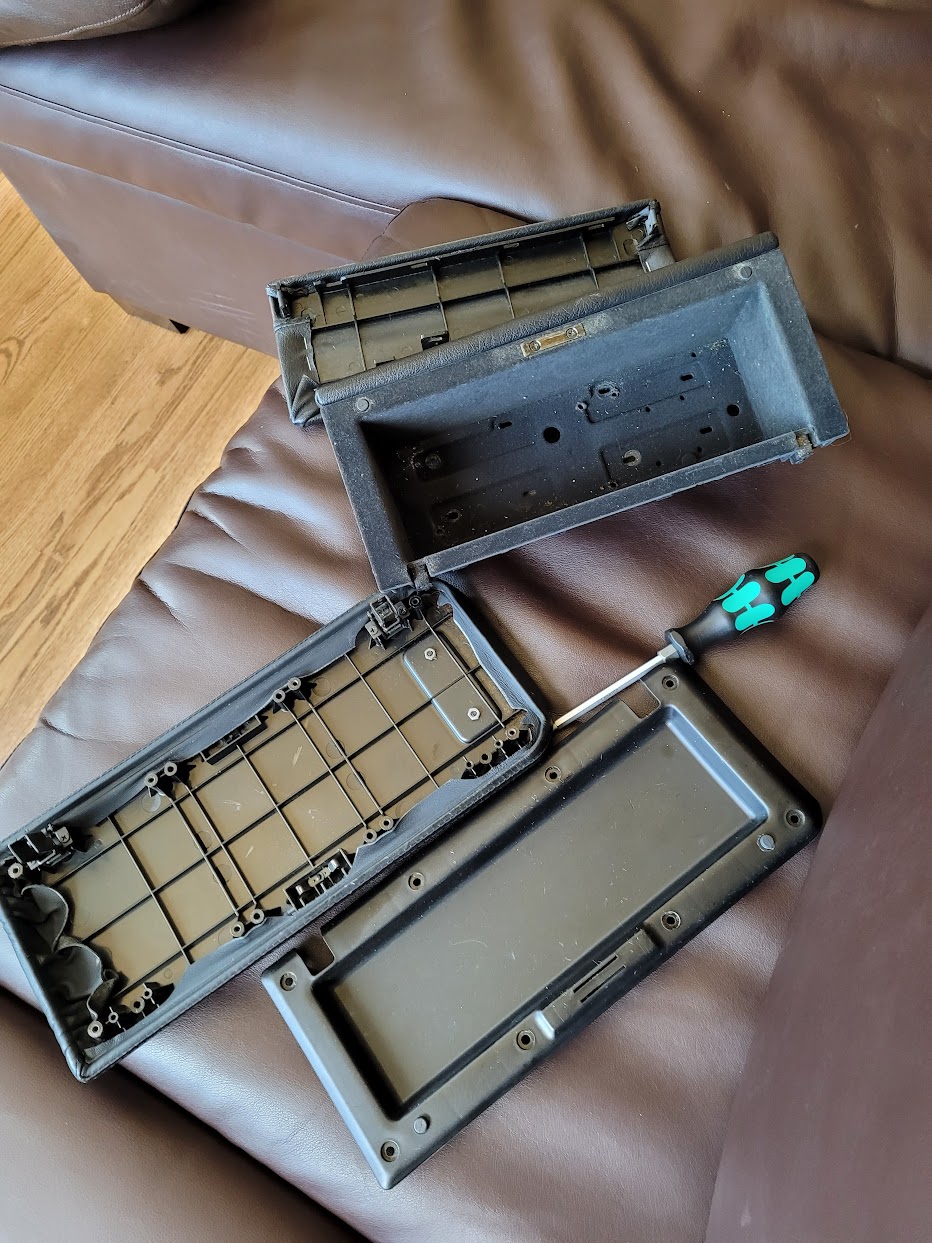
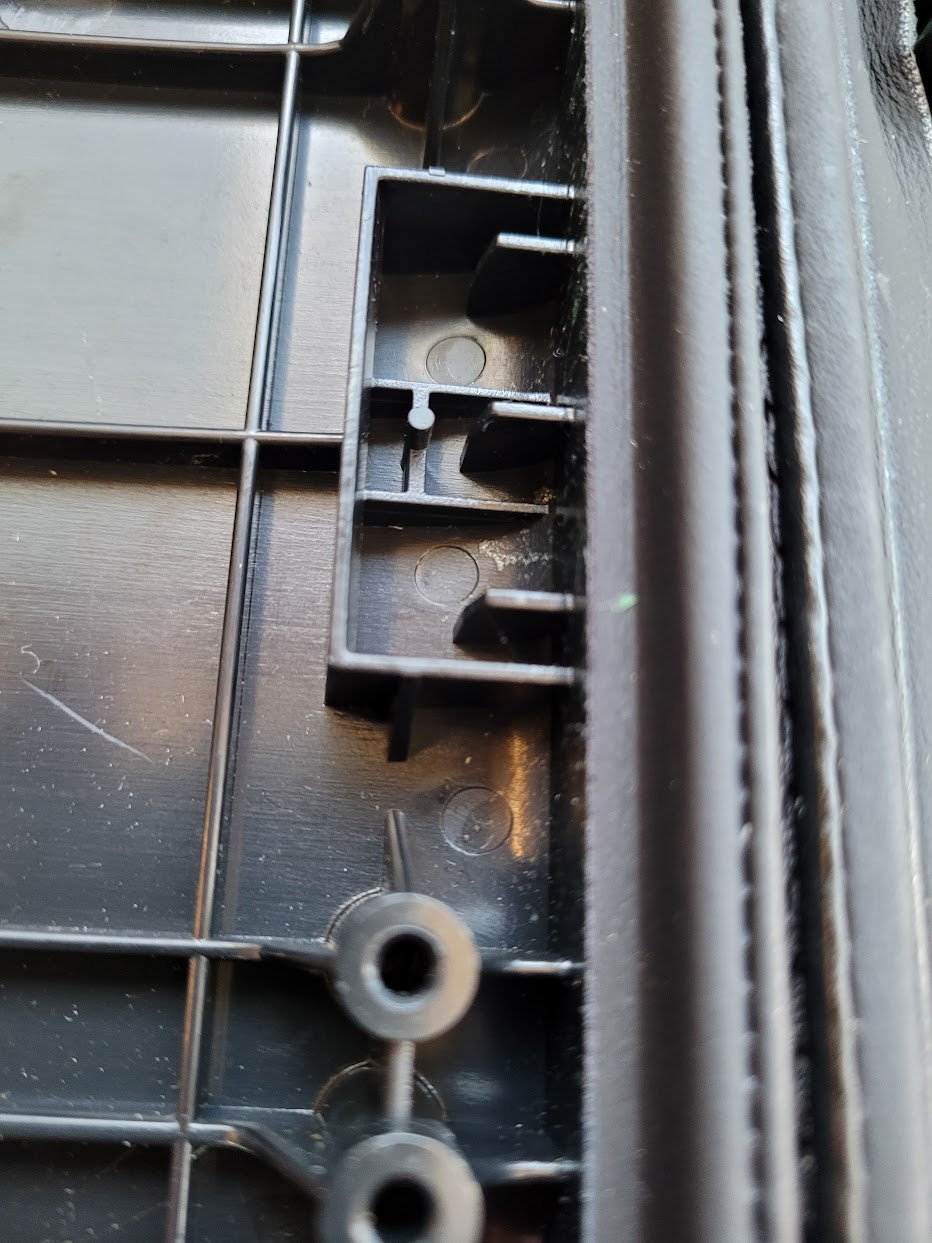
The magnet slot on the new armrest part. Note the plastic post.

AM-JKLX6dQQtvDP7hc1pcFNAfXrIB_2ZW_wMqPSqdakPRWgAt8hp9p8KpqH3kfYaXdlUjoNSu7Q2DhK-xzpwLXyxDjHK0Q-6v8wGPjsWE1z0JPogjXxpIHG_-rGasQW8U-hDd9TqYhPnpUJQZ0GdvNOOt0mEQQ=w933-h1243-no


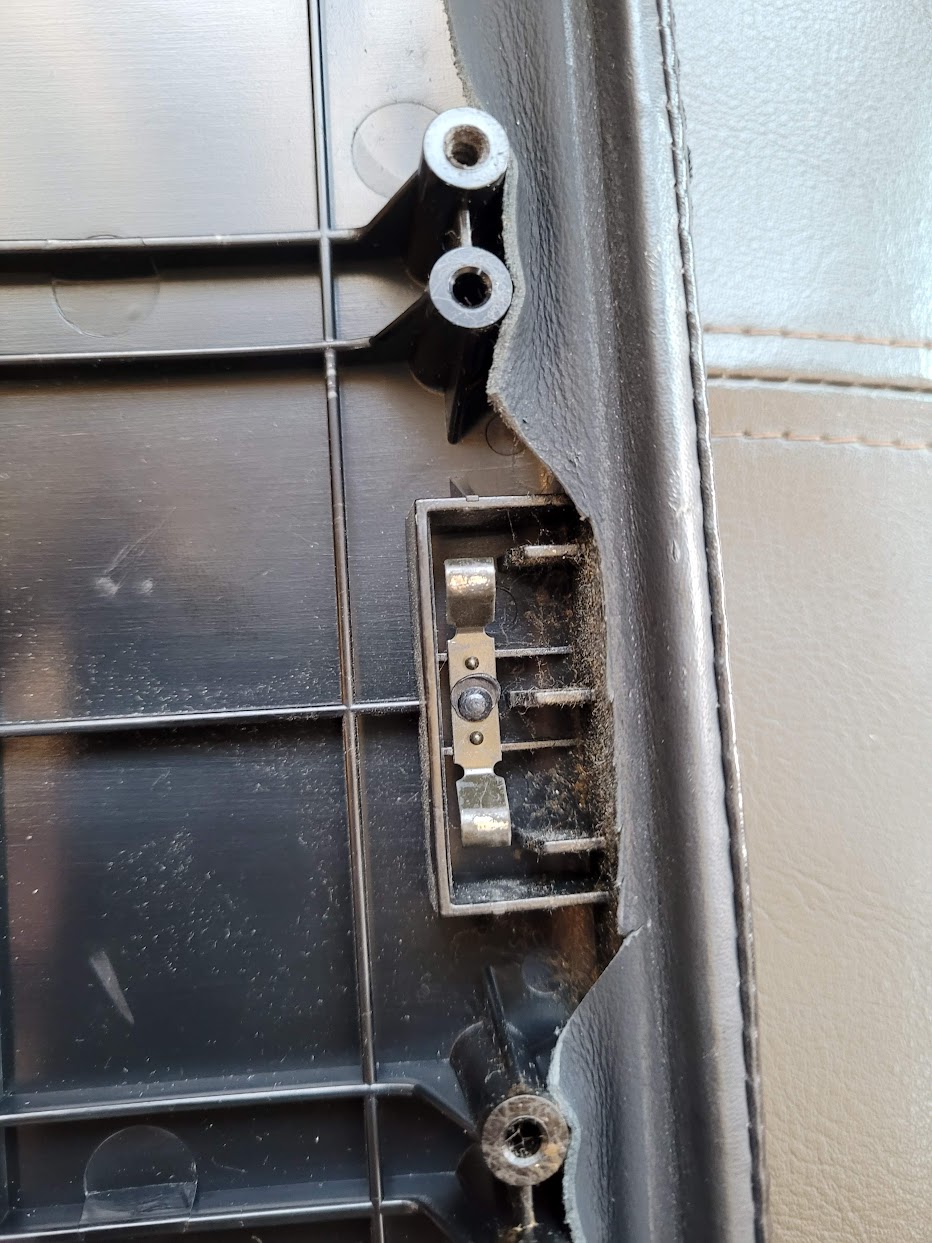
Here is the old part. Notice they pressed and melted the post to affix the metal holder.

AM-JKLUsIpUTEg0cz8J7nBLGWB4kG9_enHI7Gcg0Qib4oQh2rjimCtYxVzCBbelsWOXUXHleGM-uSvebv7szsO8Bw1cMdUE4fpctDHVzLDVOV0wPbrCyZ86kohjbXTm5SXF0NLRLFB1JJEo32rGXAle5sUyqzw=w933-h1243-no


What to do? I really didn't want to go down the rabbit hole of lighting a metal rod on fire and pressing it down somehow. Well, it turns out that the little plastic post holds the magnet in just fine without the metal part! I like the easy wins.
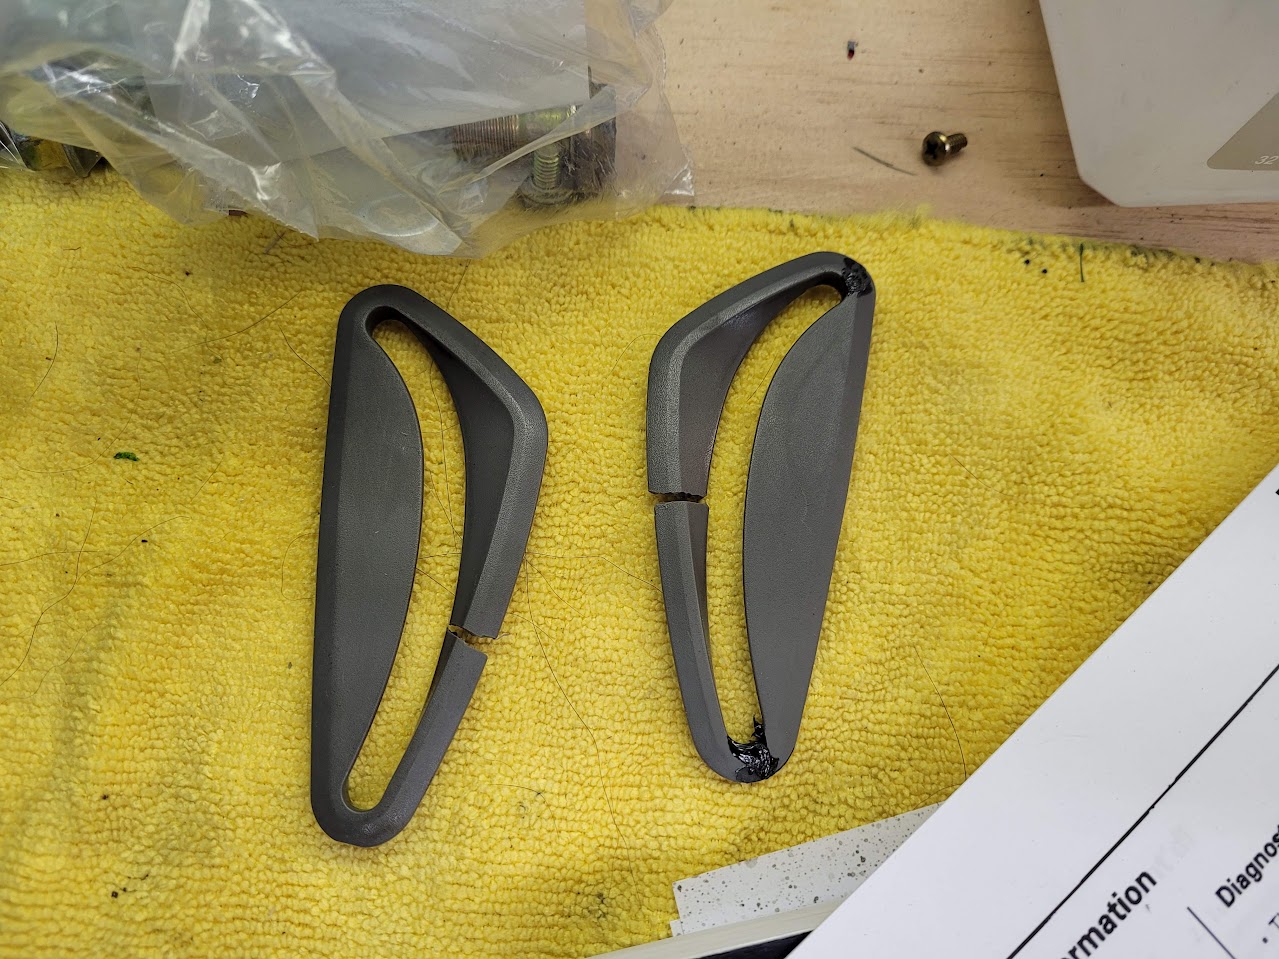
Old vs. new.

AM-JKLUR7dG84ss9wHXF0JhcSlNuBhzsQtzu4M9HfK5D60b9nAEvT0YDq9HVQaNZ26utJQOwMcwaID6gYQnmdbmTexzxfj3pRwpy_gOy170NhLLuwkAiMc20rO6HAIJPcurerpPd_51nub8bTXiFEAx4WCrXHw=w933-h1243-no


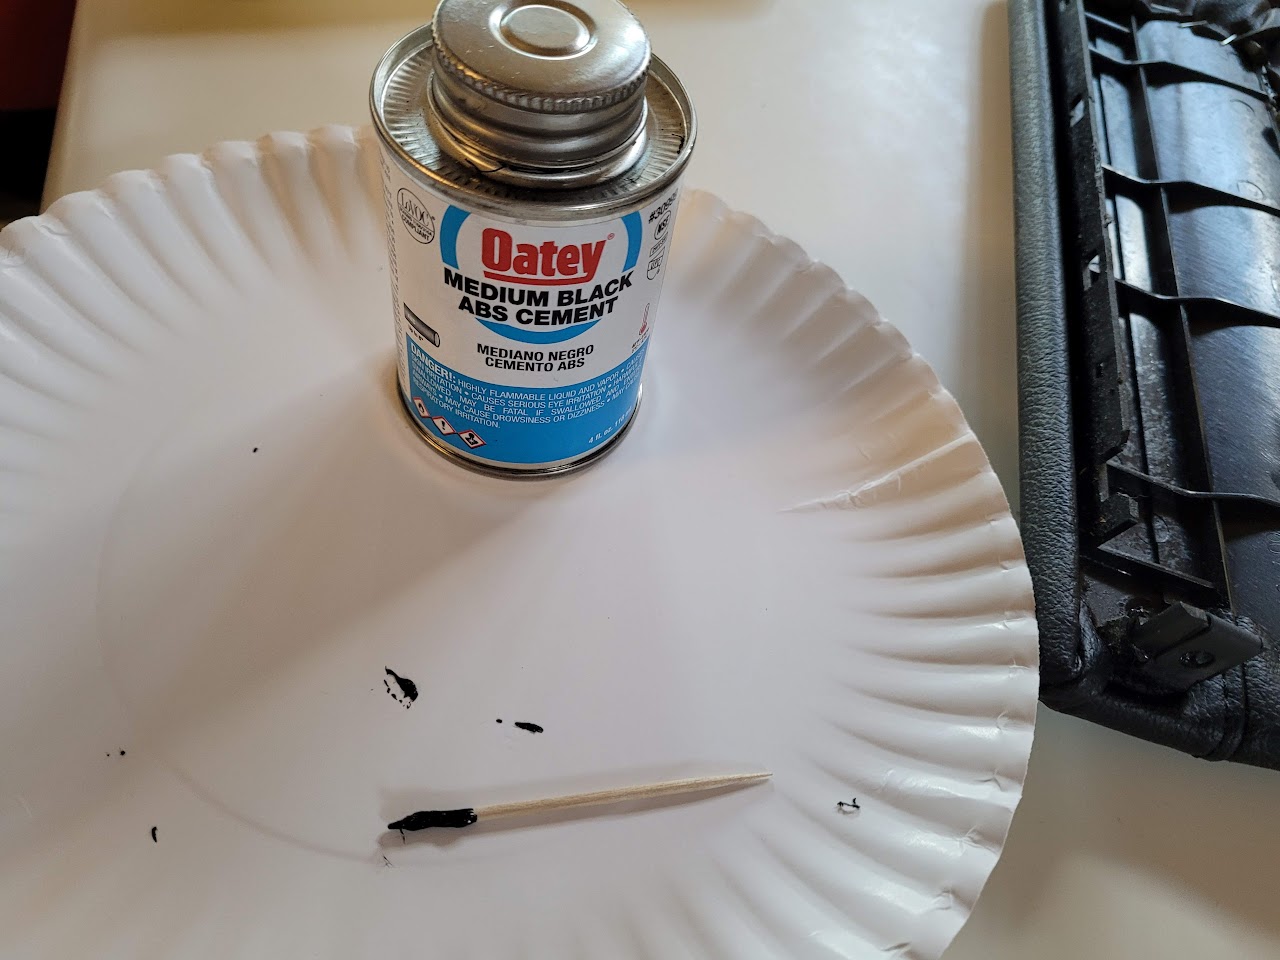
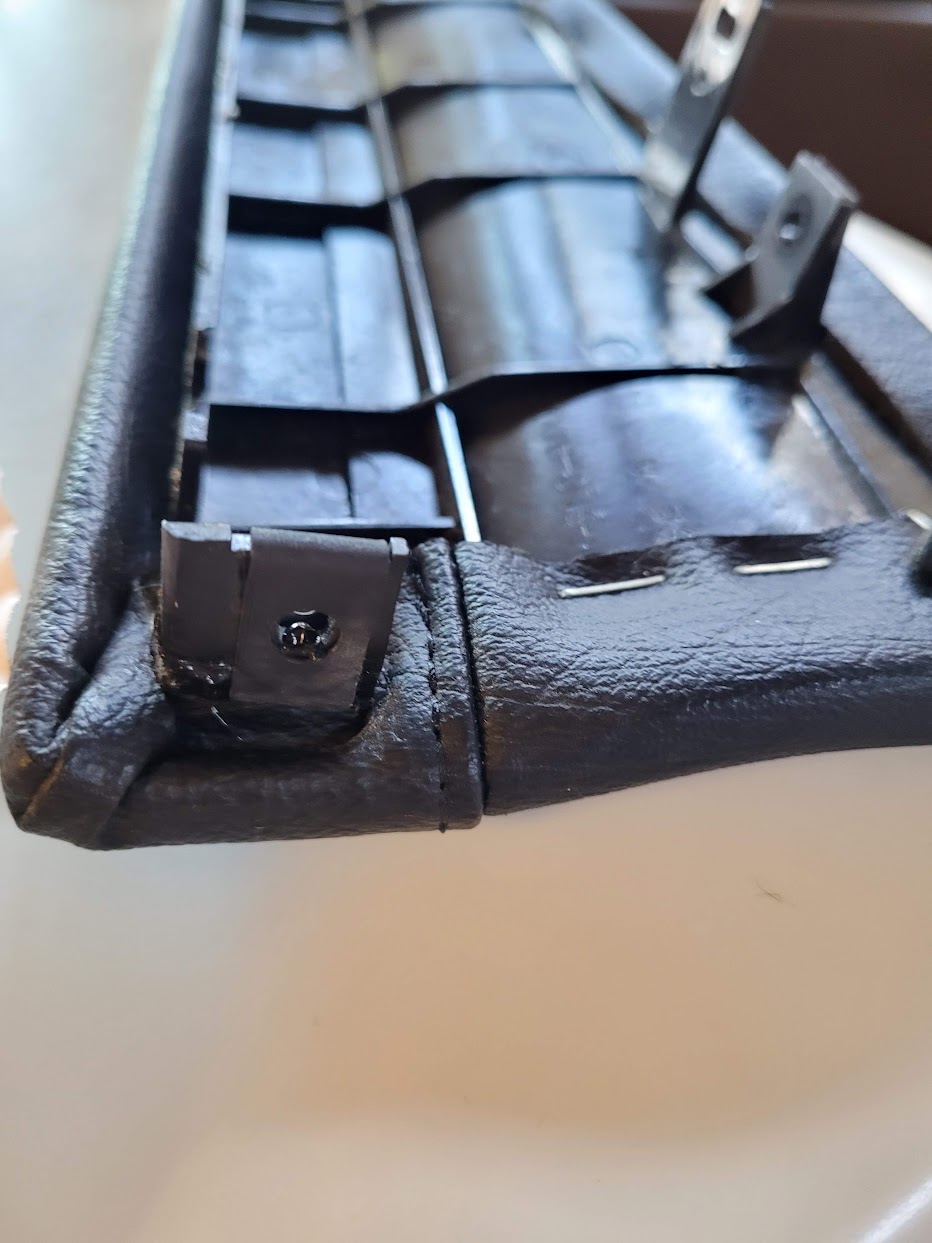
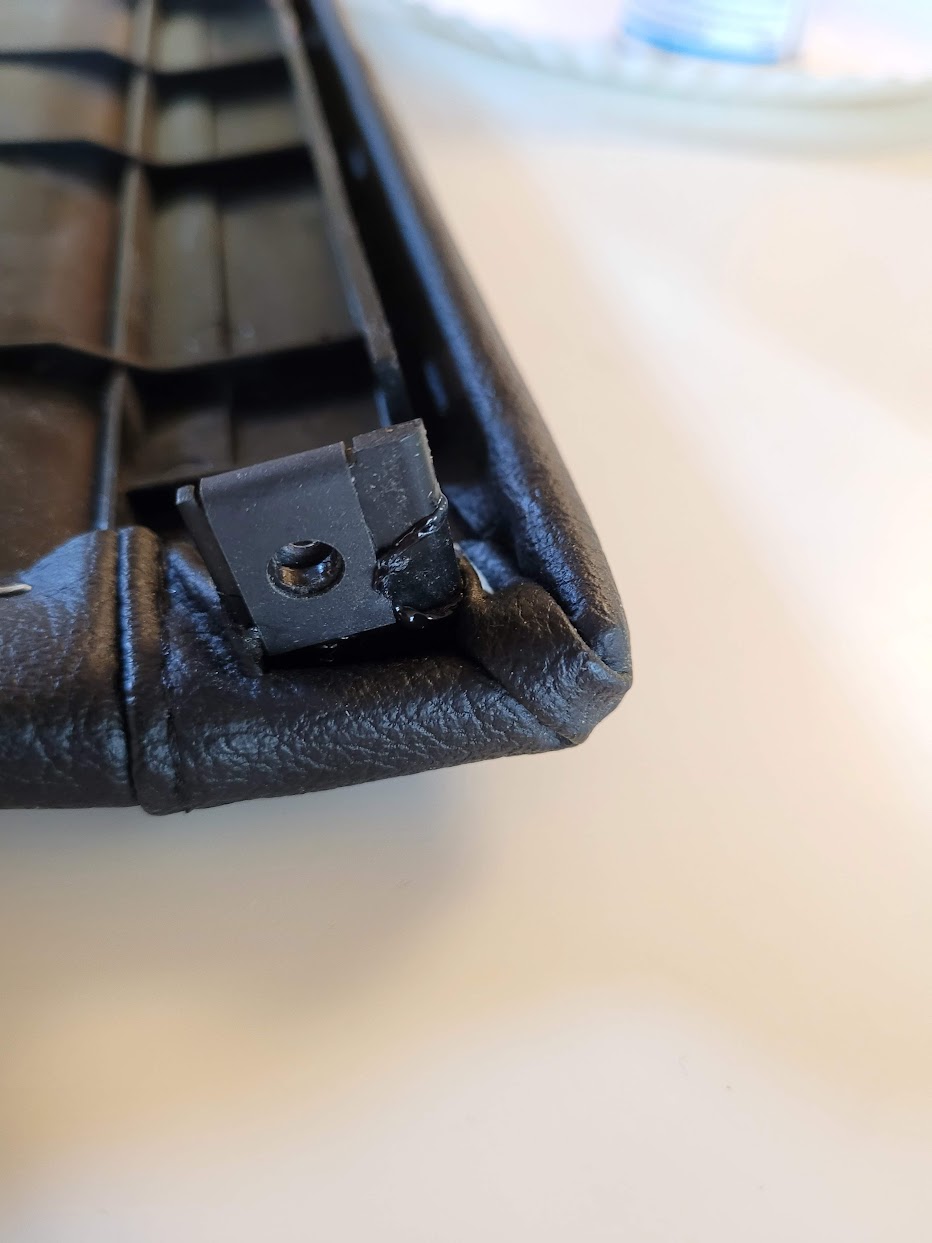
Like all other ABS plastic parts on this car, the storage box just crumbles when you take it apart. Thus, had to do the plastic welding on the screw tabs.

AM-JKLX_HUOixTvBD2TuwqbuWVLbdCJw8loXF1ECRFjo4ropAF8jJl0_BqnXnLQTasLdiaiwccp_PcybGnJKUXP-KVhgeBDIUUNhna07L8zgagkZ87k-99VwHKyAew1NRoVQC274Wk3flLMVUpRUbW_CWEAp6w=w1280-h960-no


AM-JKLVk1QMB6EyaNXyOKU3_IlLZFNPZChh-5Ch8TbJCtZGfBhGUVP263O9FZjoa0Skx3wyK8YM4CNxrwi-RA9S3qifsKFKlYe63Xh6SuuBn7D2hQL41LKKPP76OUhdFgDcVIj5LwW4M4AfjYXcVtE-J5tQhrA=w933-h1243-no


AM-JKLUCfJAML_bS1tJxMF3s_LBxQmuW16yKAs4jlXllRTy9yflTqUmy7Pw_JWMtUp7dNIiIF_kvDP4yWtALaunFLKhCRvAuG6gxtq0ptMBxfPAq4wDv0JkBsA91uUQxDS9QLzpyWW4lACMMGUxy3uDUPghXTQ=w933-h1243-no
 
Re-Assembly 64

Front Subframe, Rigid Collars, Hubs

Big day yesterday. [MENTION=34522]NSX_n00b[/MENTION] stopped by to assist with the tough job of hefting the front subframe back into the car. We were able to get it installed with the Spoon Rigid Collars and everything lined up perfectly. Once the subframe was in, things started moving quickly.


Rigid Collars "squished" into place.


Battery tray installed.


Hubs installed.


NSX-R sway bar installed with these neat little sleeves included from Mita Motorsports.


The MCS suspension should arrive this week and,, after I install it, I can finish with the front brake calipers and lines.
 
Re-Assembly 65

Type-R Battery, Tray, Holder

Managed to get the Type-R battery mostly fitted, only three holes needed in the lower tray. Waiting on the battery box proper layout from Kaz.

Spacer bracket fitted with OEM bolts. First hole was too close to the weld- d'oh!


Hold down hooks located.


Genuine Type-R/S battery on the conditioner.


Extra hefty AT battery in the tray for temp power until it's time to start the engine and use the Type-R battery.


New battery negative cable (made by Ben at Daisy Auto) mounted with some copper anti-sieze to improve conductivity and provide corrosion resistance. The boot is split, so I'm trying to decide how to address it. I coated all of the metal with DC4 di-electric grease, so maybe just zip-tie it closed and call it good? It never rains here in Colorado...
 
Re-Assembly 66

Door Panel, Arm Rest

New arm rests are here from Japan. They look so nice- makes the car look new. Little details like this really make a big impact.


Tonight, I will install the hood and work on the top-side subframe nuts. This means probably removing the headlight covers, which I need to do anyway since I have the updated adjusters and 3D printed bulb covers to fit.
 
General

Just a quick update. This past weekend was supposed to be the first startup and the big reveal involving some of your favorite Prime members personally on site, but schedules intervened and the car has essentially been ignored instead LOL. We're gonna try for August. In the meantime, look for some small updates on the "getting ready for the big day" front. Several things to button up before we can turn the ignition key. :)

Once we have a hard date, I'll post it here. LMK if any of you want to be here for the big moment. :D
 
yesssss
 
Ok so folks it looks like the weekend of 8/26 will be the big day. LMK if you want to stop by to help and/or view the initial startup. :D
 
set up a zoom meeting!!!

Are you using any special oil for first fill or just standard weight?
 
Last edited:
set up a zoom meeting!!!

Are you using any special oil for first fill or just standard weight?

Mrs. Honcho will be filming. As for the oil, I'm just using my normal Kaz-spec Mobil 1 0W-40 and a standard Honda filter. I will change after 500 miles though. Decided on Torco MTF after John's test of the Pentosin FFL-4 resulted in rough shifting.
 
Back
Top