• Protip: Profile posts are public! Use Conversations to message other members privately. Everyone can see the content of a profile post.

MexiRicer's 97 MCB

Nice car! Always been one of my favorites on here....

The solution to this is simple. As you are lowering the perch and as it is approaching the control arm, grab another jack and lift the lower control arm from the lower ball joint area, slowly, as to create more clearance for the perch to be swiveled down more. Once you reach desired height, be aware the at full droop your perch collar WILL come in contact with the control arm. It will not damage anything significantly to affect safety or performance.

If you do this and some droop eventually causes contact between the damper and UCA (as you noted), it imparts a lateral load on the damper and shock shaft that stresses sensitive internals. I wouldn't recommend this.
 
Last edited:
Nice car! Always been one of my favorites on here....

Thanks Mac :adoration:

If you do this and some droop eventually causes contact between the damper and UCA (as you noted), it imparts a lateral load on the damper and shock shaft that stresses sensitive internals. I wouldn't recommend this.

For my application, it will be fine... for others, possibly not. My car does not see any track time, so it will never reach a state where it is 30° with respect to the road, causing the wheels to hang freely off the floor. If this did happen, however, I don't see how this can be detrimental to the safety of the driver or components. Most of the lurkers and primers are just weekend warriors anyways. I wanted to explain how I have been able to achieve my ride height on the kwv3, as I have had the question asked several times over. :biggrin: FWIW, I have had my Kwv3 since 2012 and put close to 30k miles on them now, no issues to boot!
 
Got together with a local s2k buddy of mine whom also happens to dabble in photography (IG: @creees.shoots). Here are some shots from a couple weeks ago. Felt so accomplishing seeing the set finalized, as I had been working on finalizing the wheel/tire fitment along with the suspension bits for quite some time now. The car drives and handles amazing right now.

mXb0mrL.jpg


gN4kiyC.jpg


iU7uUEZ.jpg


TFzZd9S.jpg


h70fwbQ.jpg


c1l9pqM.jpg


TFZzOVD.jpg


vKJ4w9M.jpg


skIavzv.jpg


KcMzT8s.jpg
 
Perfection!! Wow. There is nothing I would change. :D

Thanks Nat :D I too agree that the car has reached somewhat of an "endpoint" as far as aesthetics.

So amazing!

Yours too Roderick. We need a blue brother shoot soon, but how since we are on complete opposite sides of the nation :(

beautiful shots! almost as beautiful as the owner :eek:

But not as beautiful as the man that is behind B2FiNiTY :D

Frogs vs. fogs <3

I installed fogs so that I don't run over frogs in the fog <3
 
That stance is absolutely spot on in my opinion. Great work she looks great.
 
That stance is absolutely spot on in my opinion. Great work she looks great.

Thanks man... Took lots of trial and error but I think it's dialed in!

I hope to have my car on the west coast end of next year sometime!

Ohhhhhh snap no way!!! Plz let me know ahead of time... I will personally set up the shoot :D

Man that car is hot! Love the TE37's!

Thx Paul :D I'm following your build closely too, just gotta fix those image links! Waiting for the next batch up updates..... :cool:
 
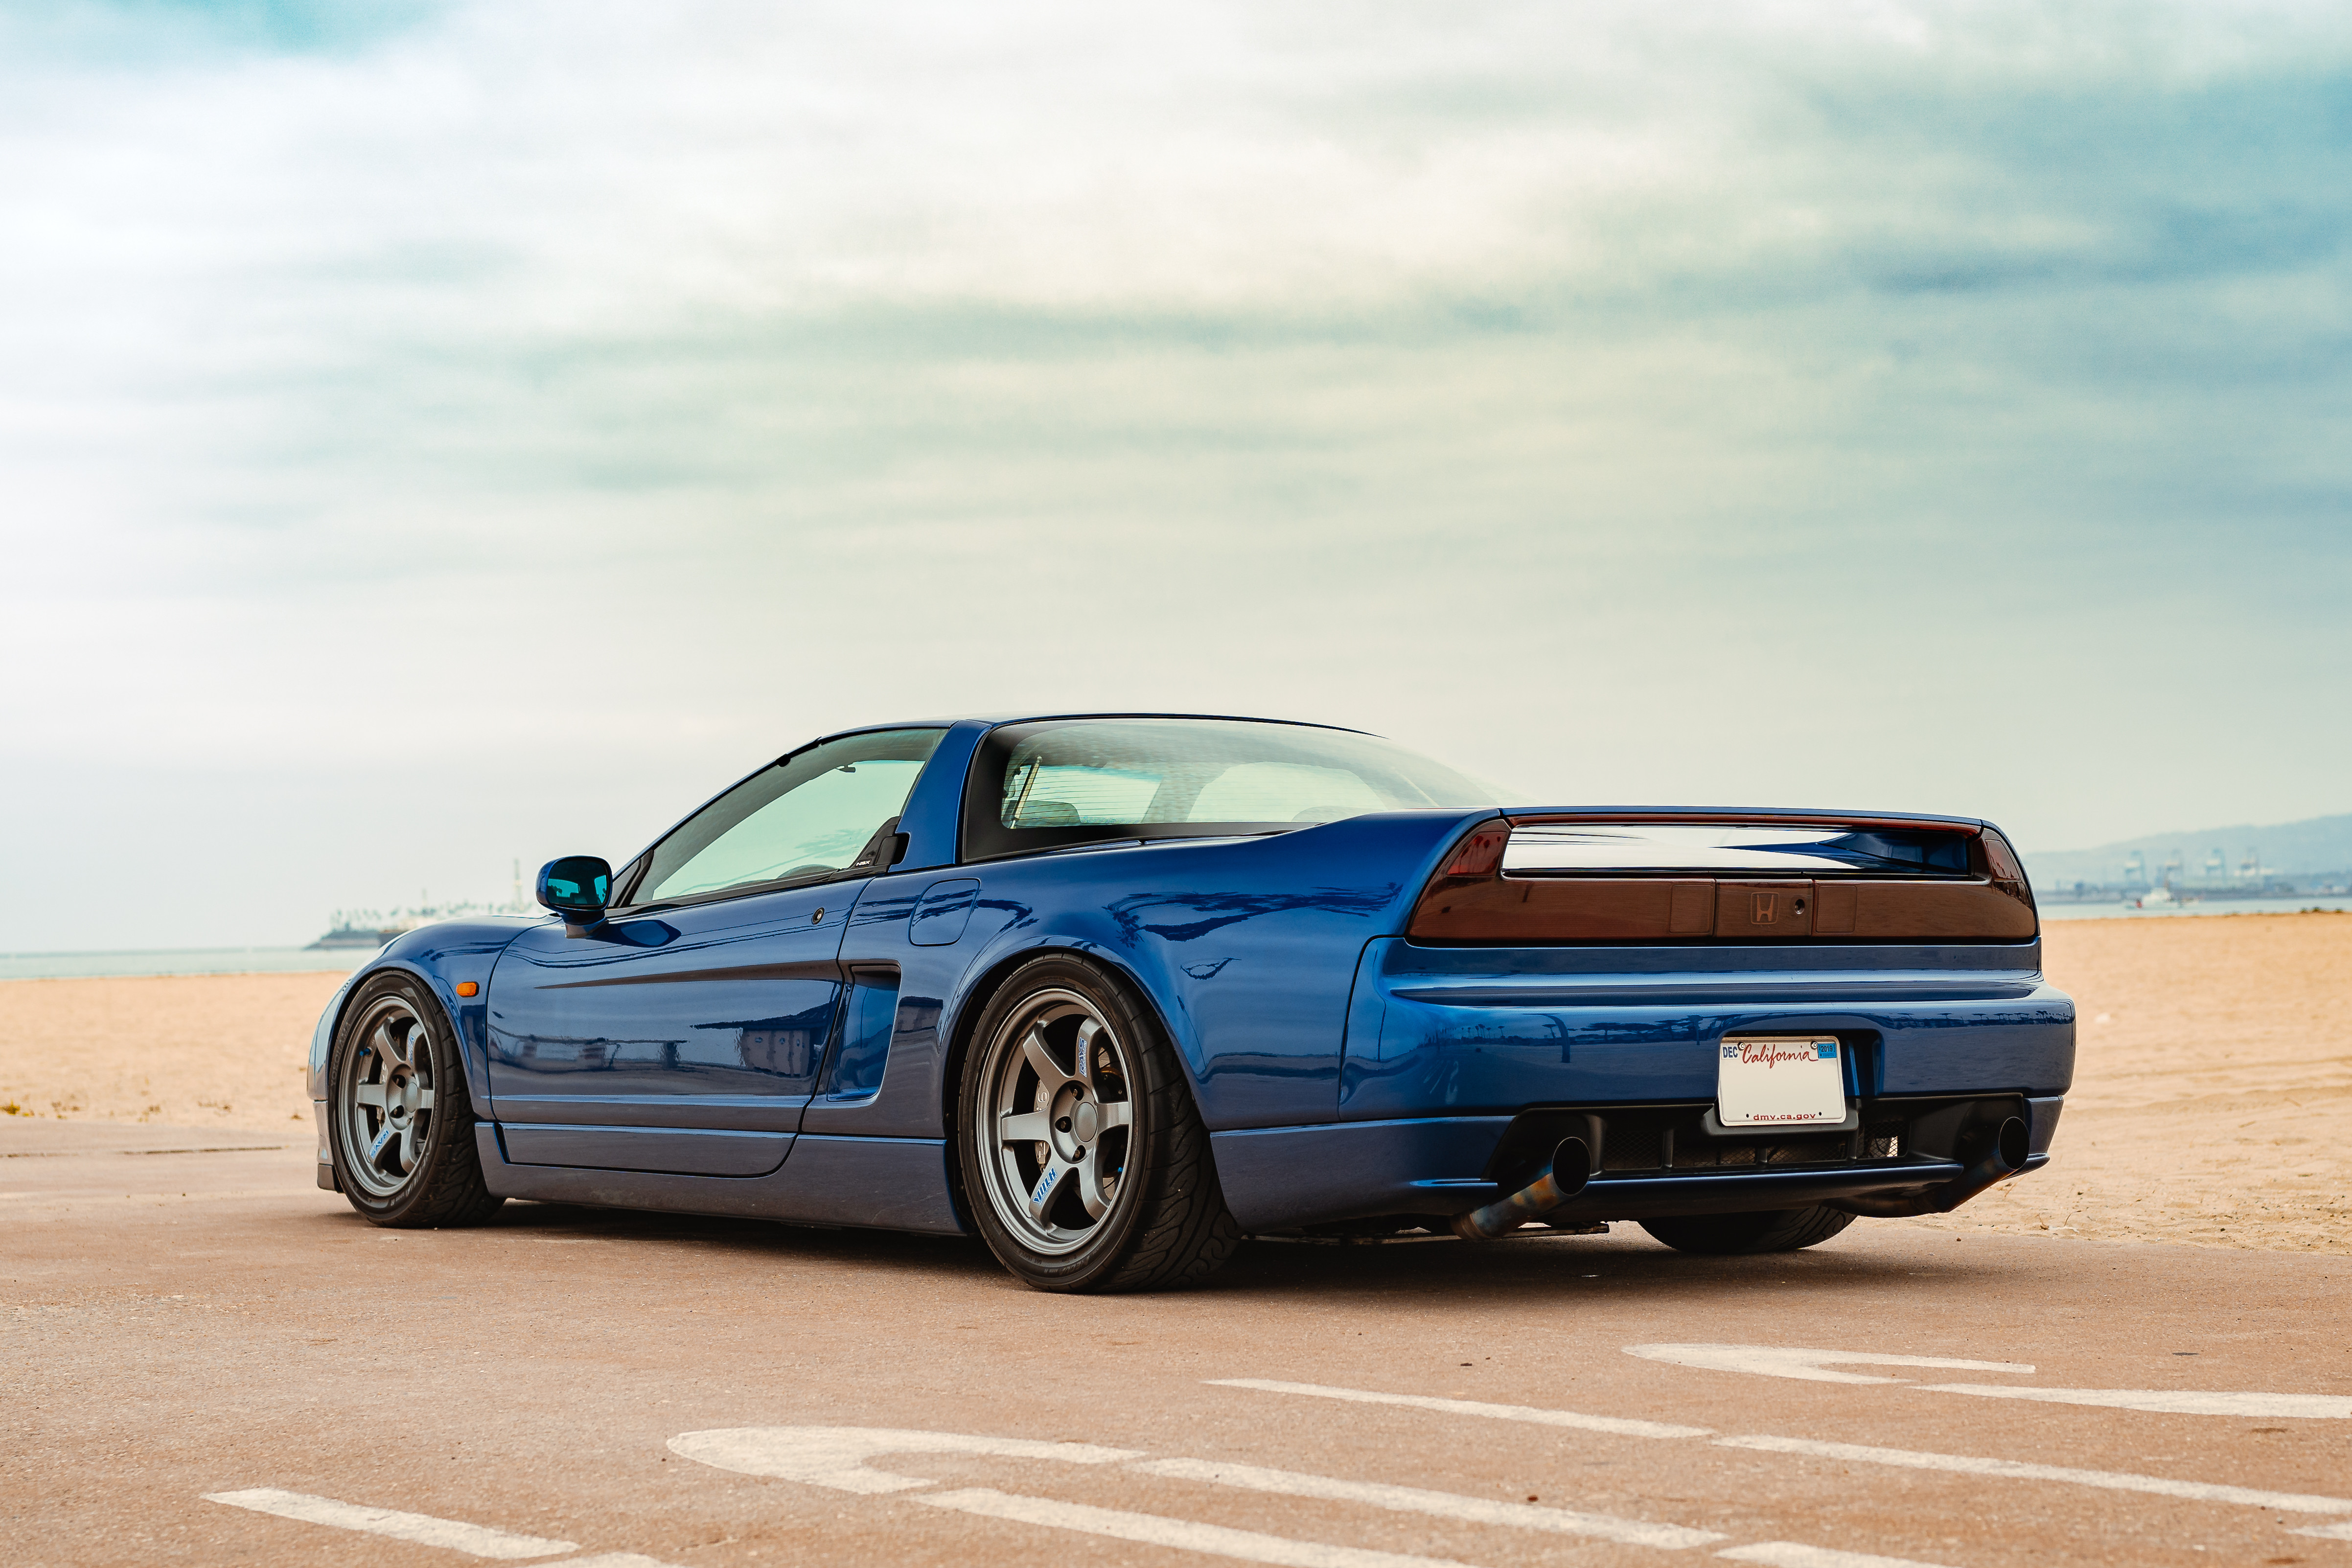
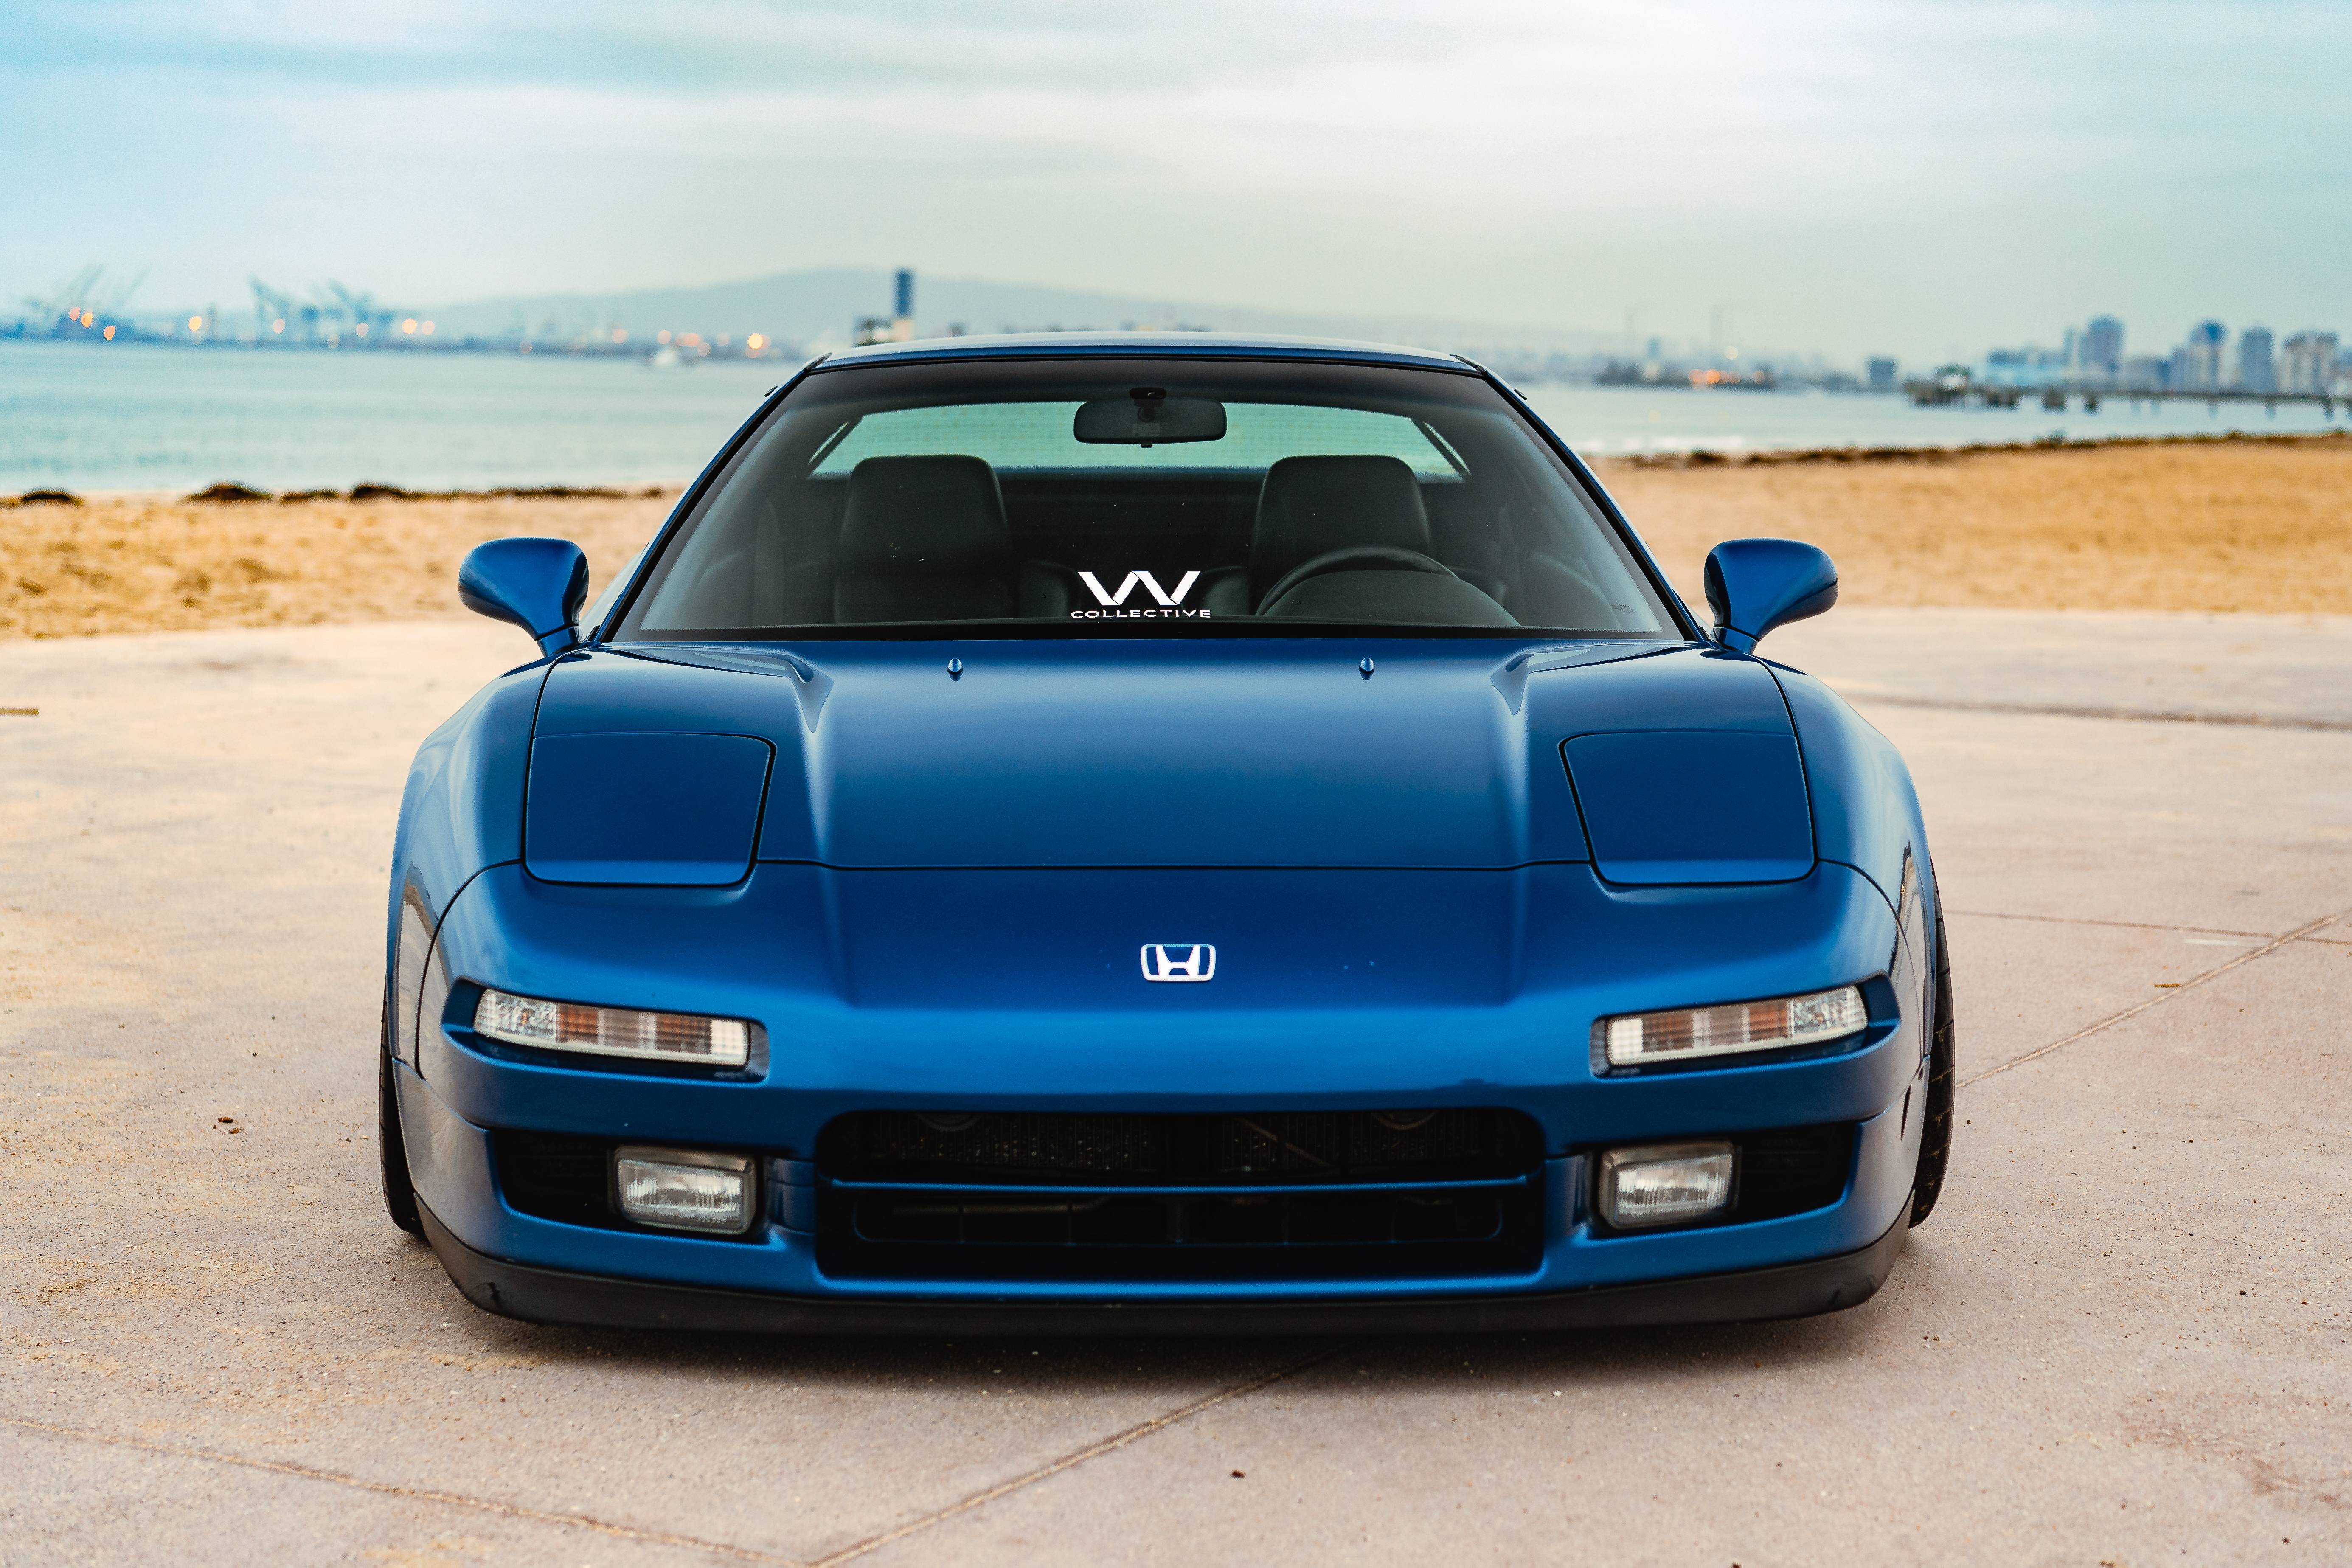
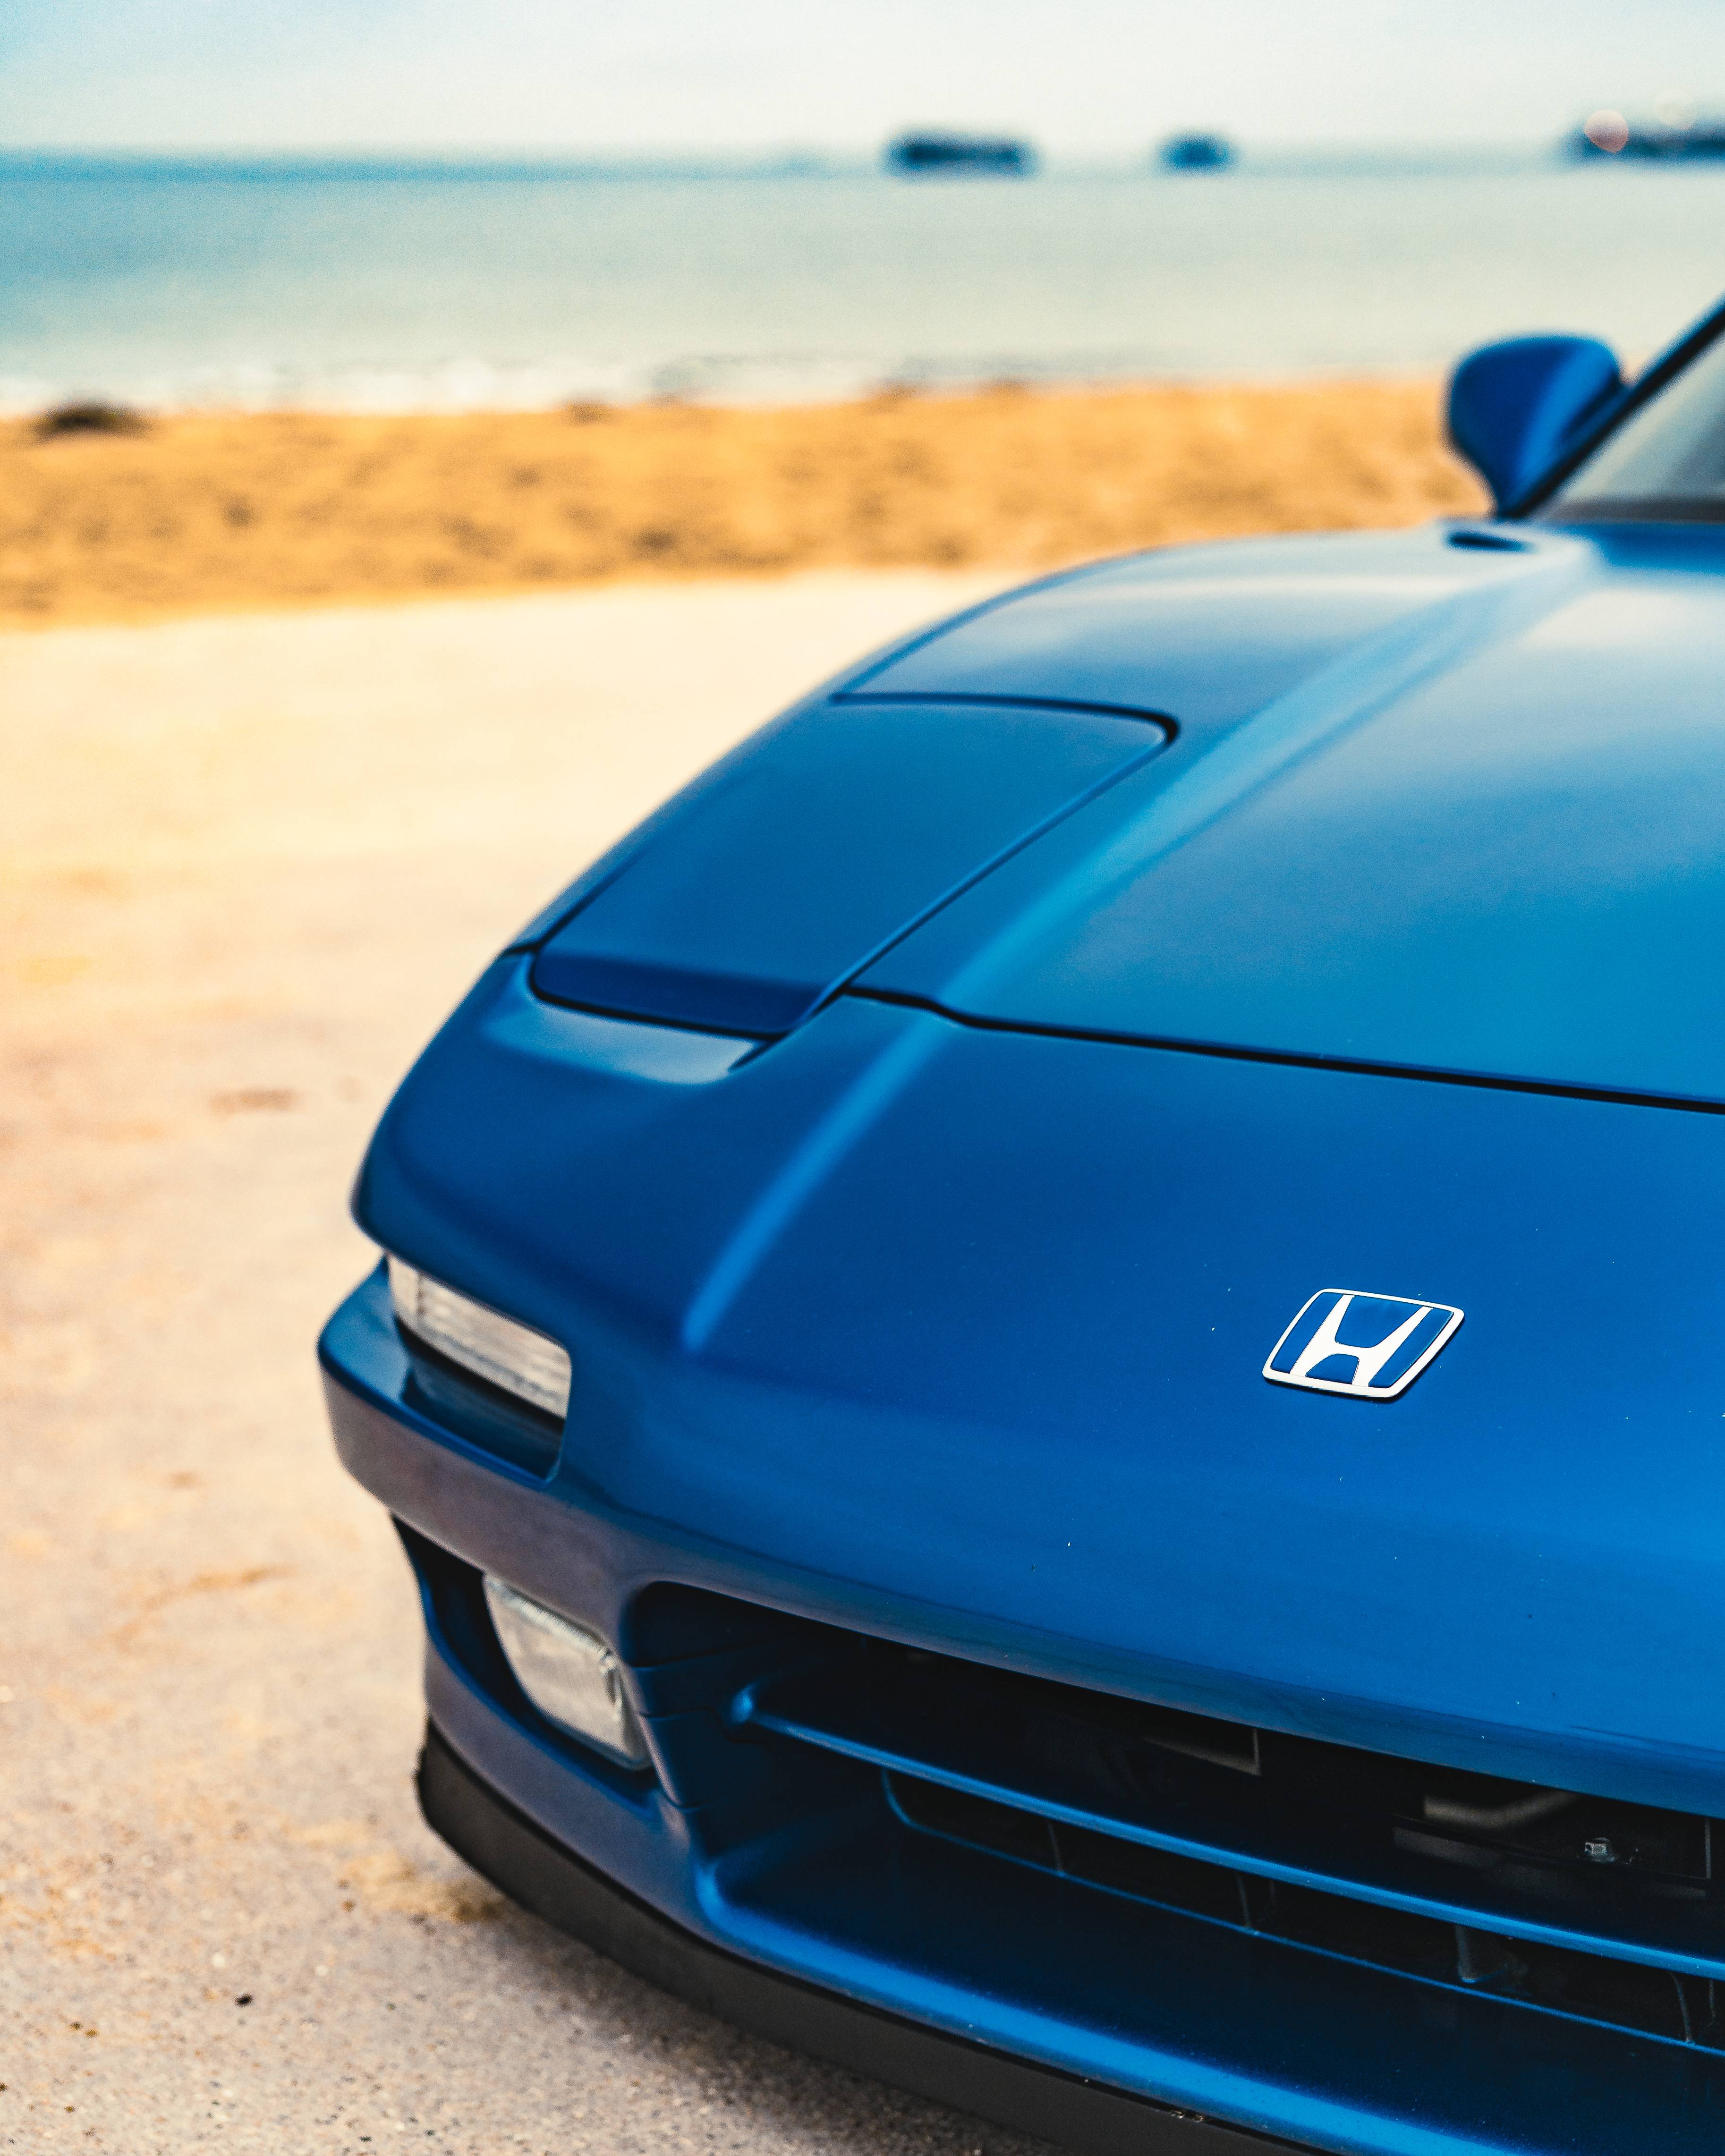
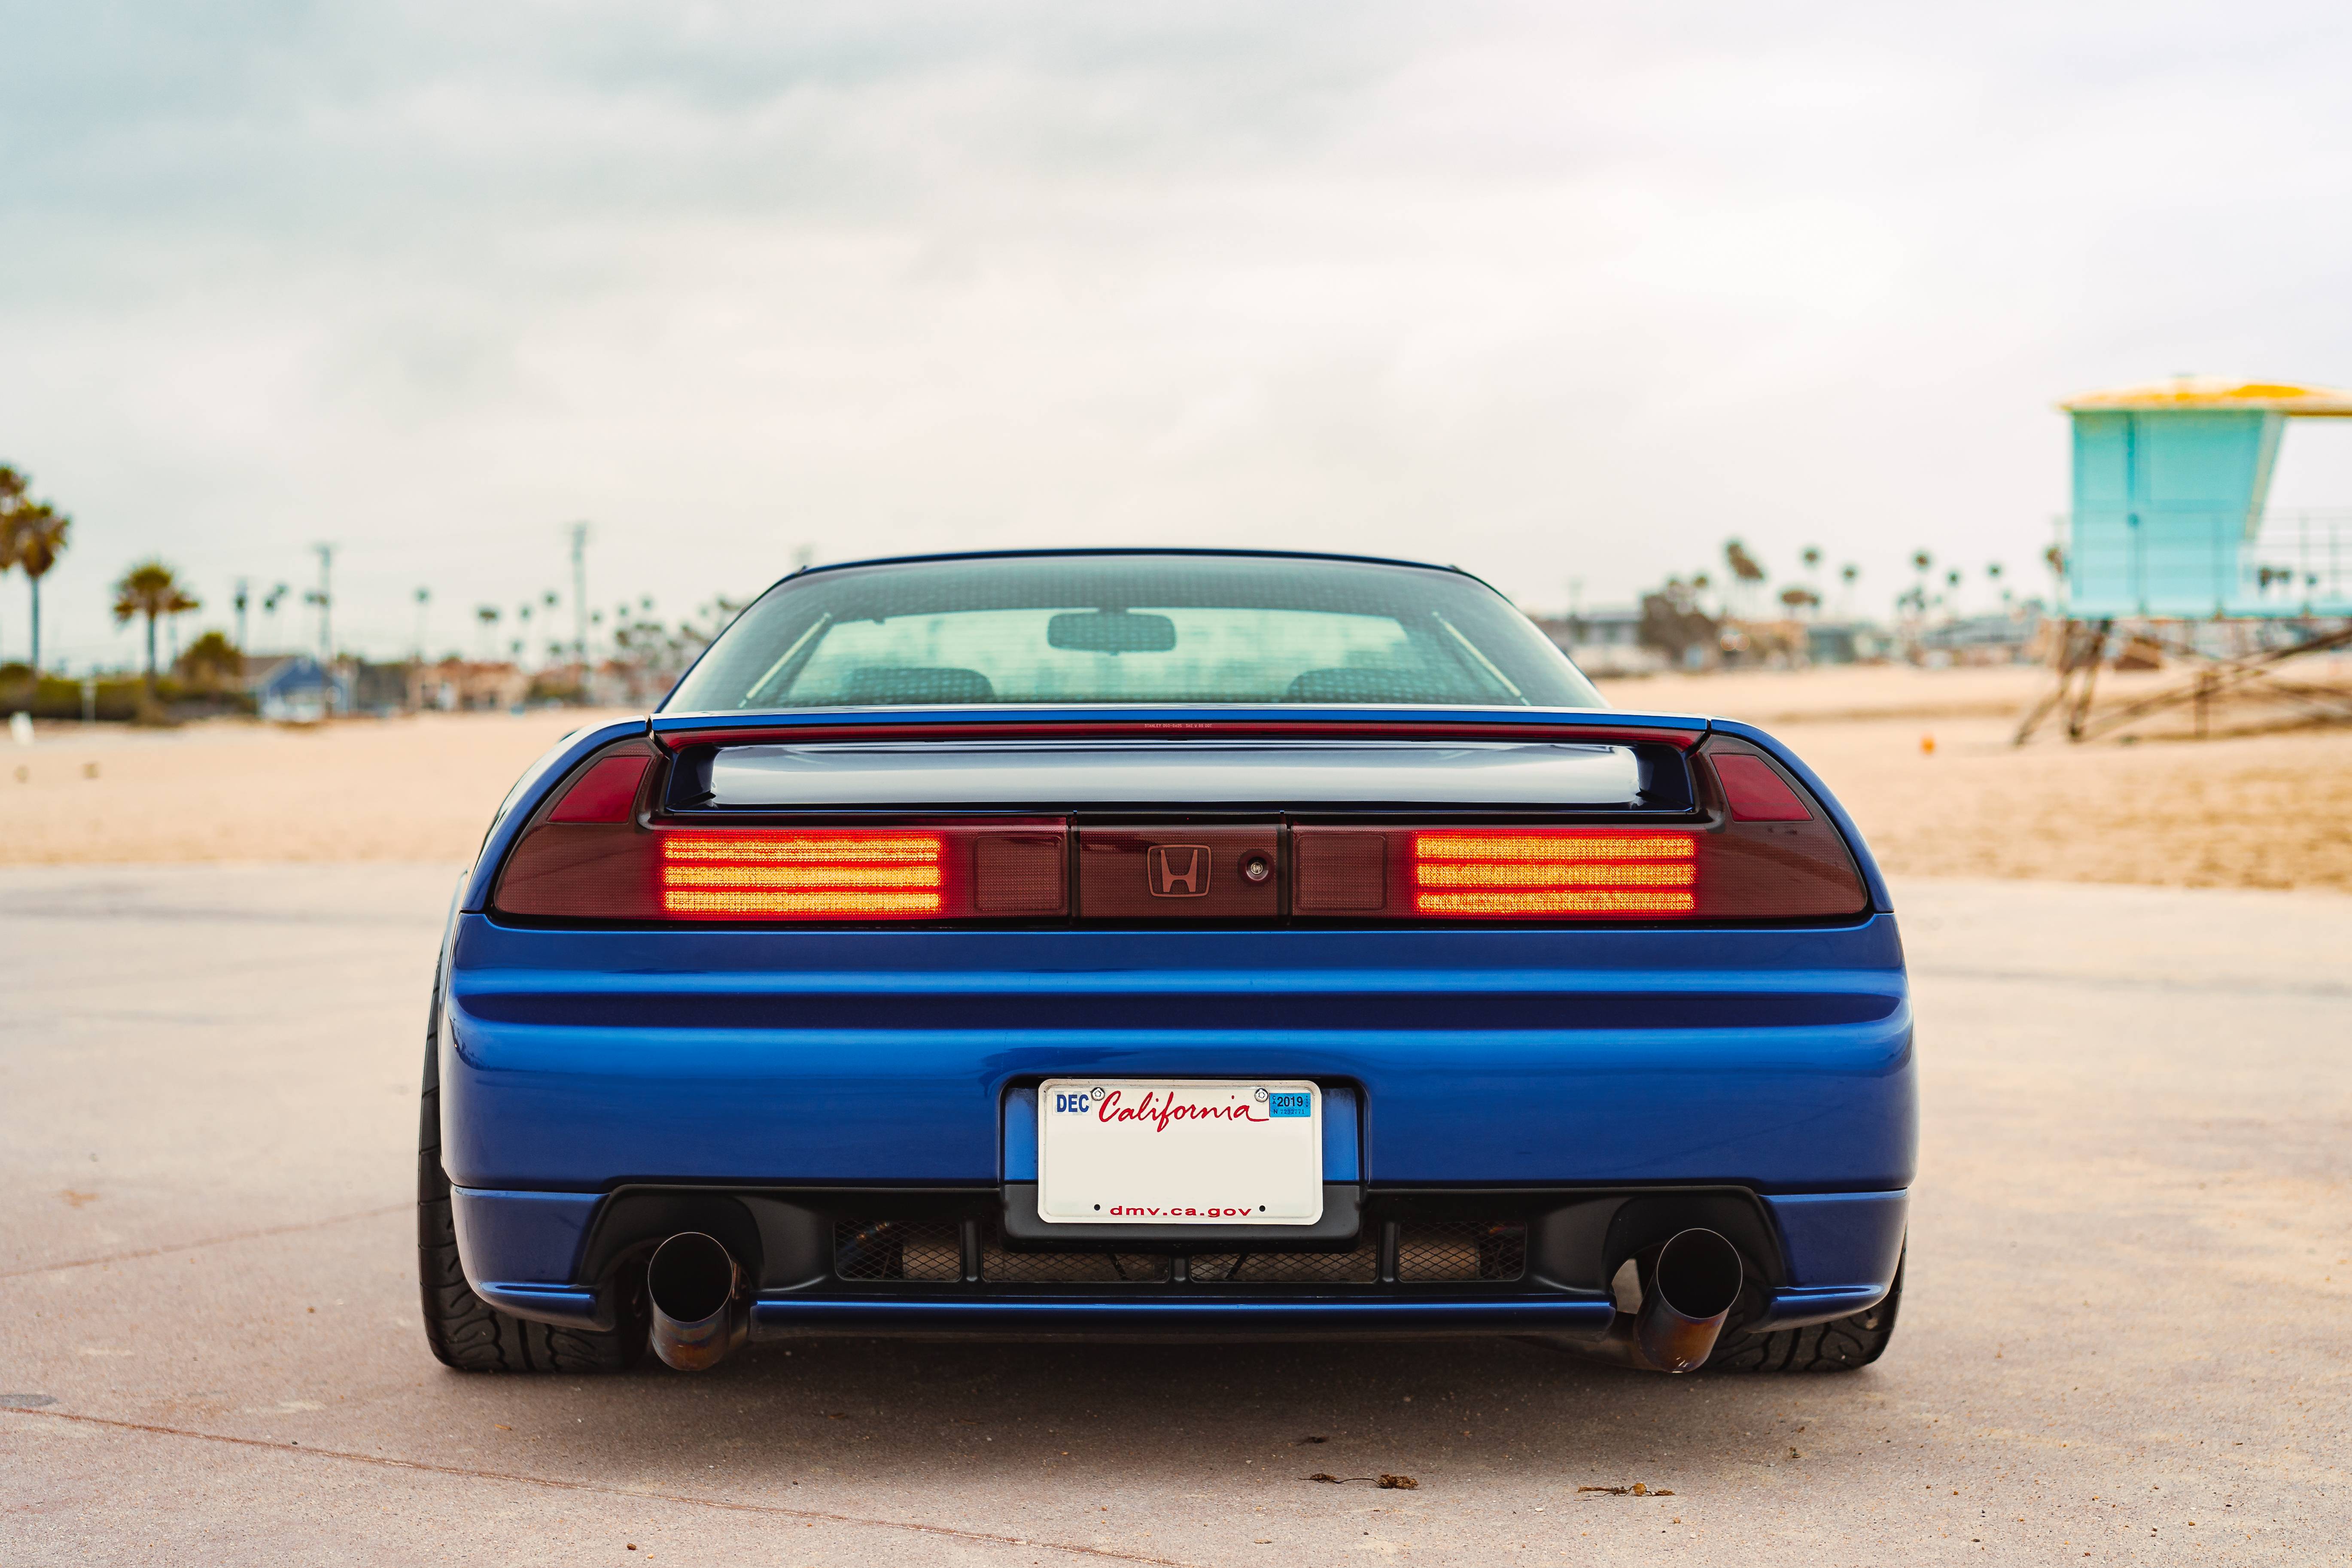
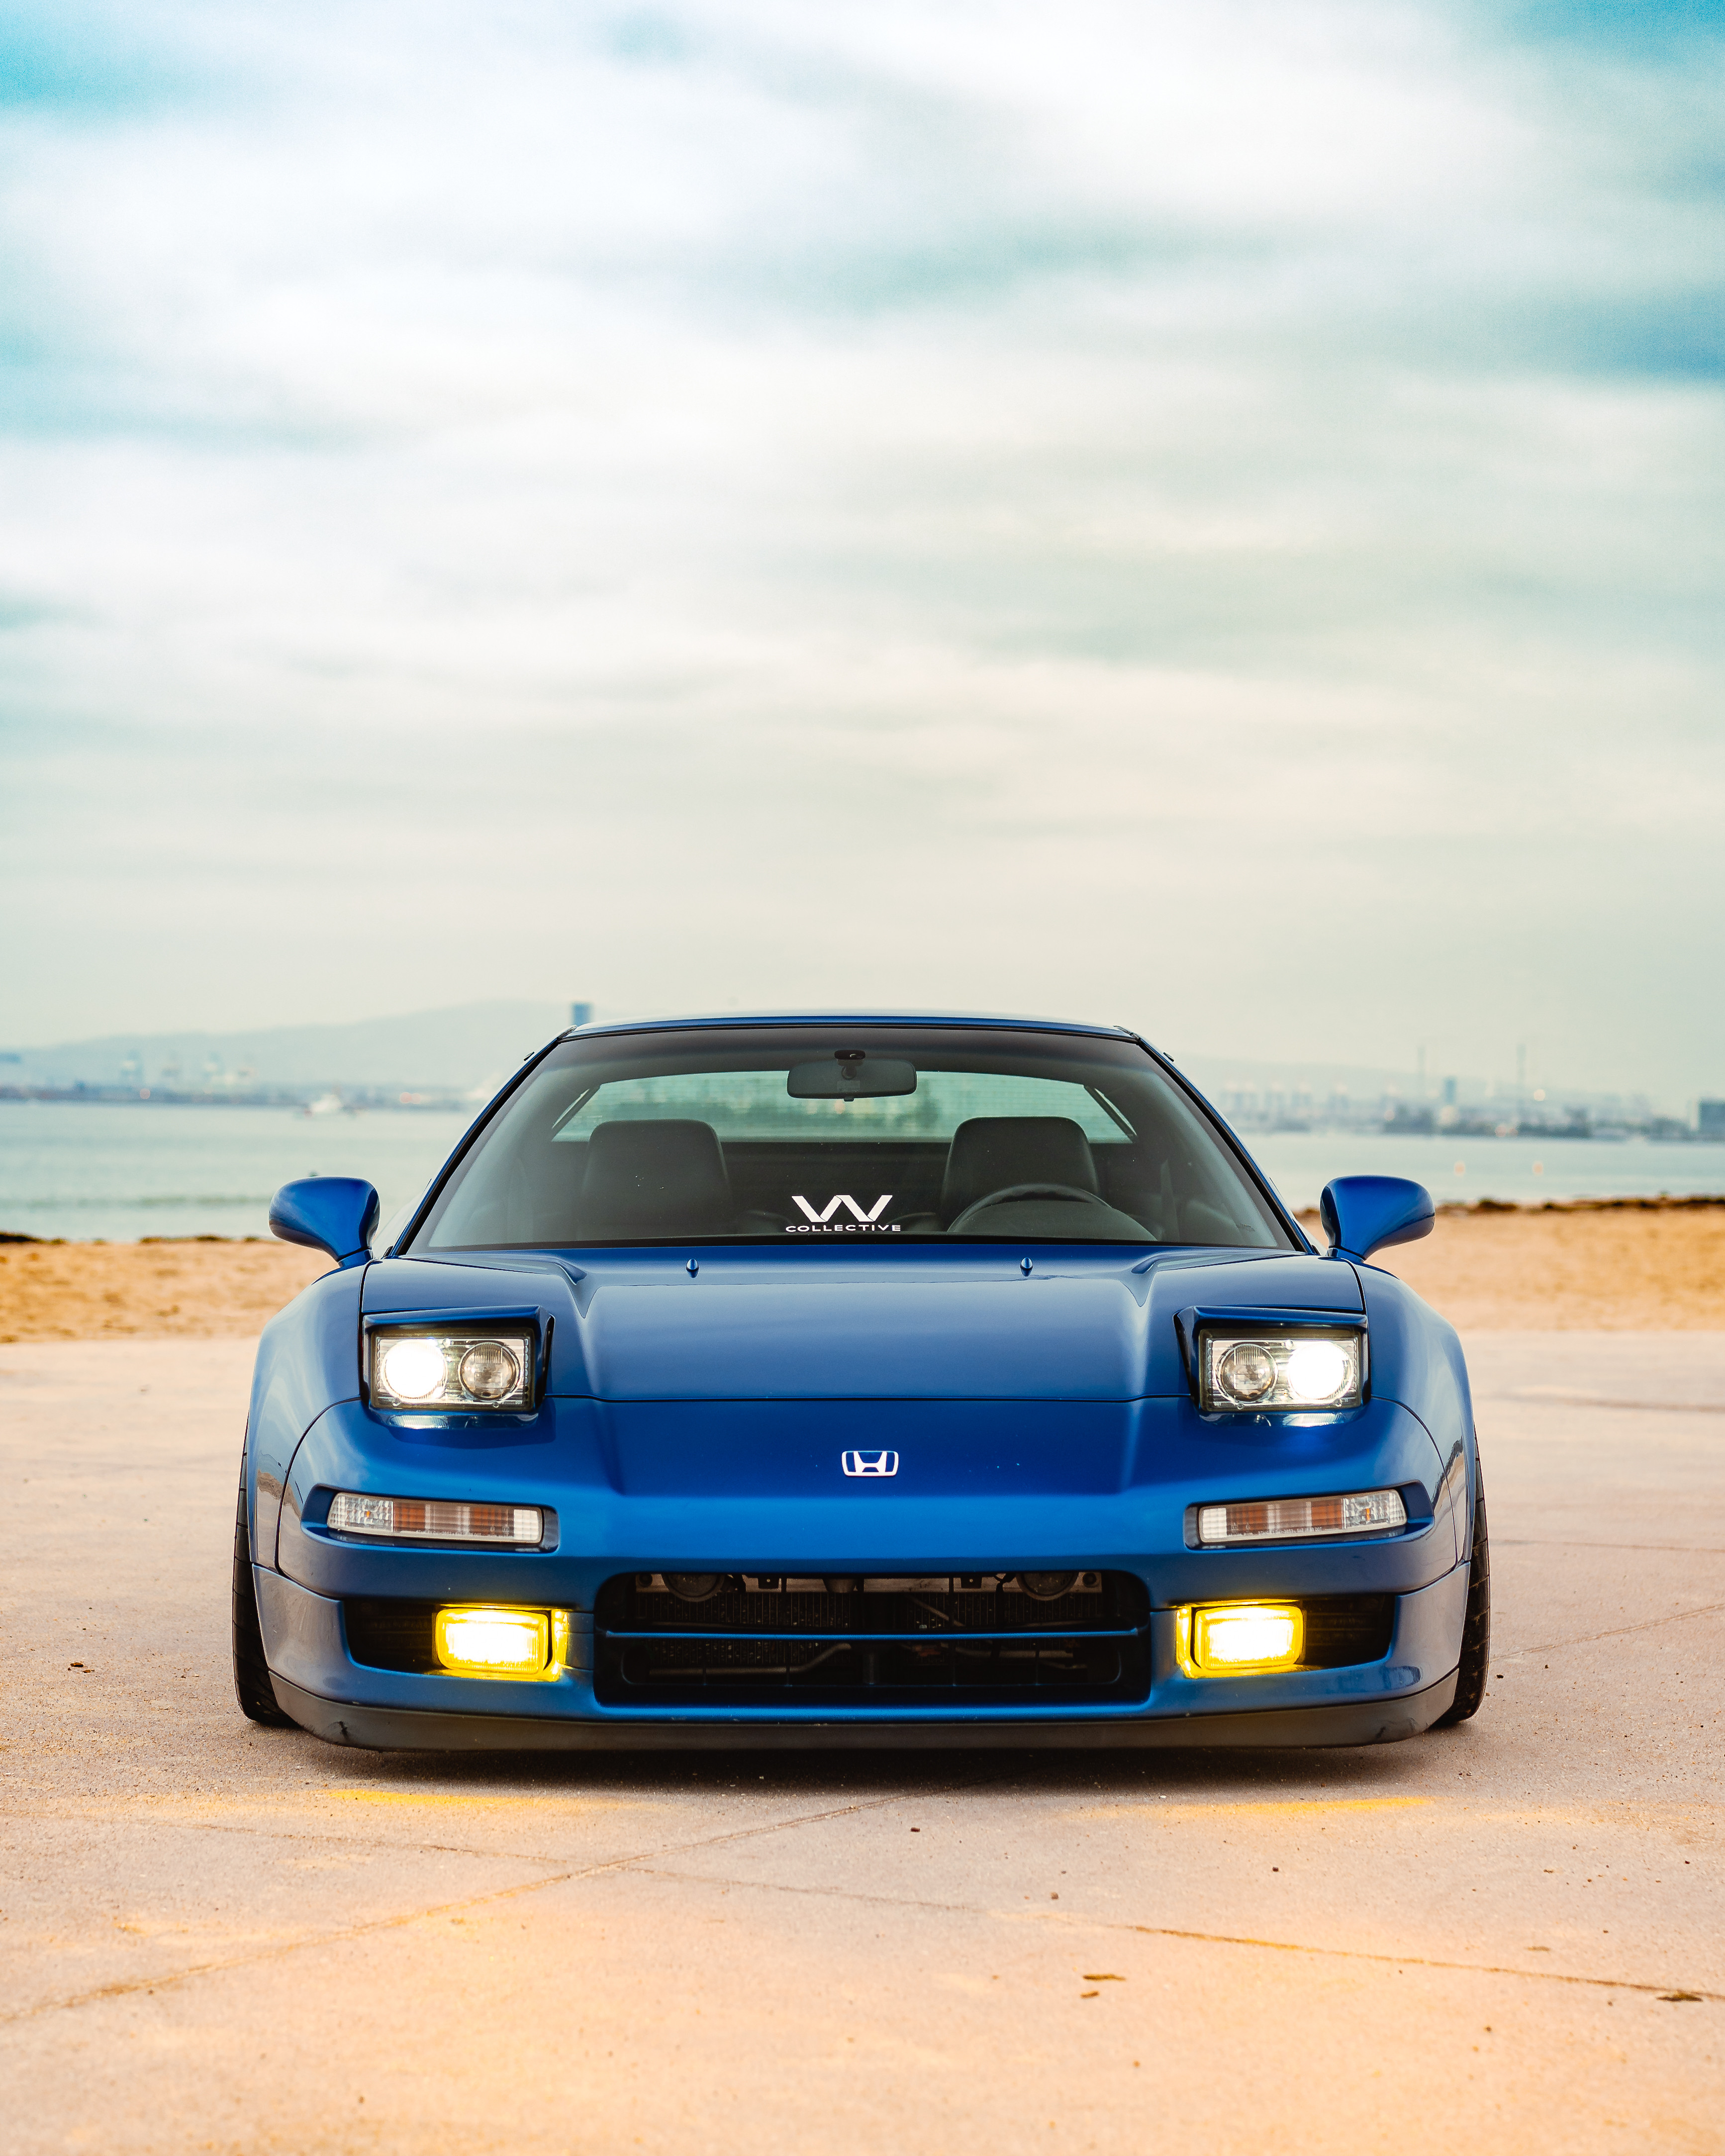
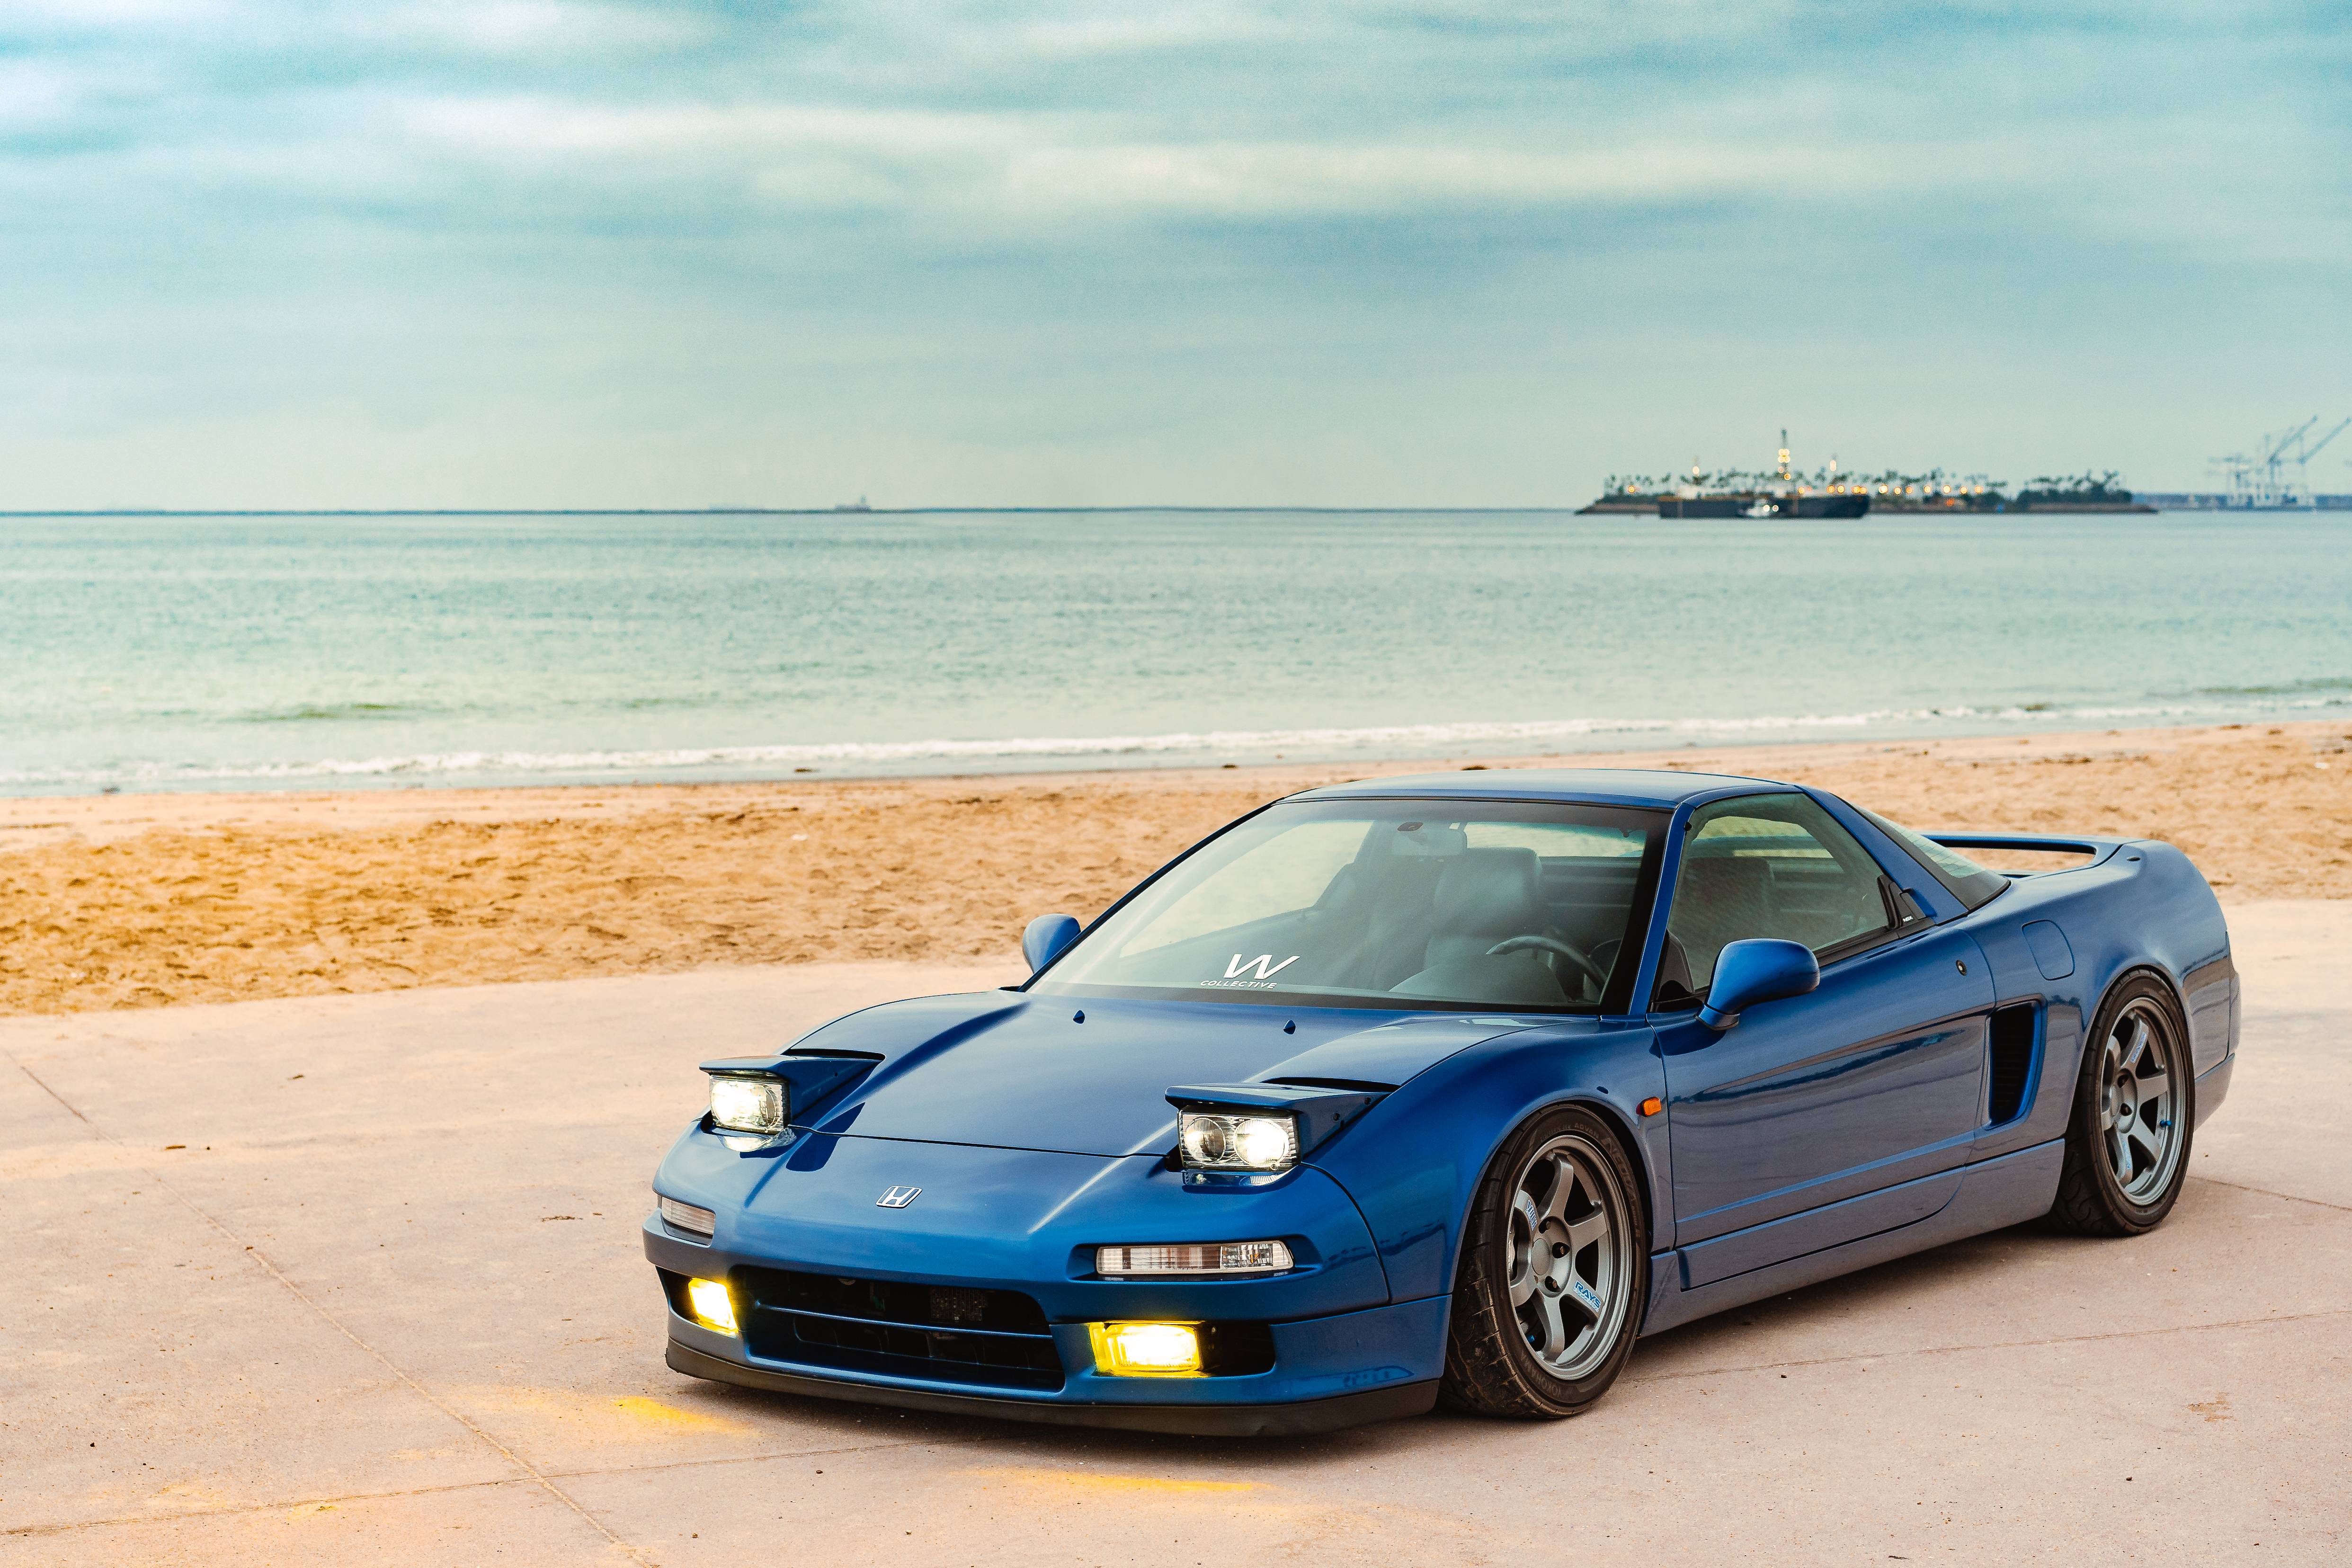
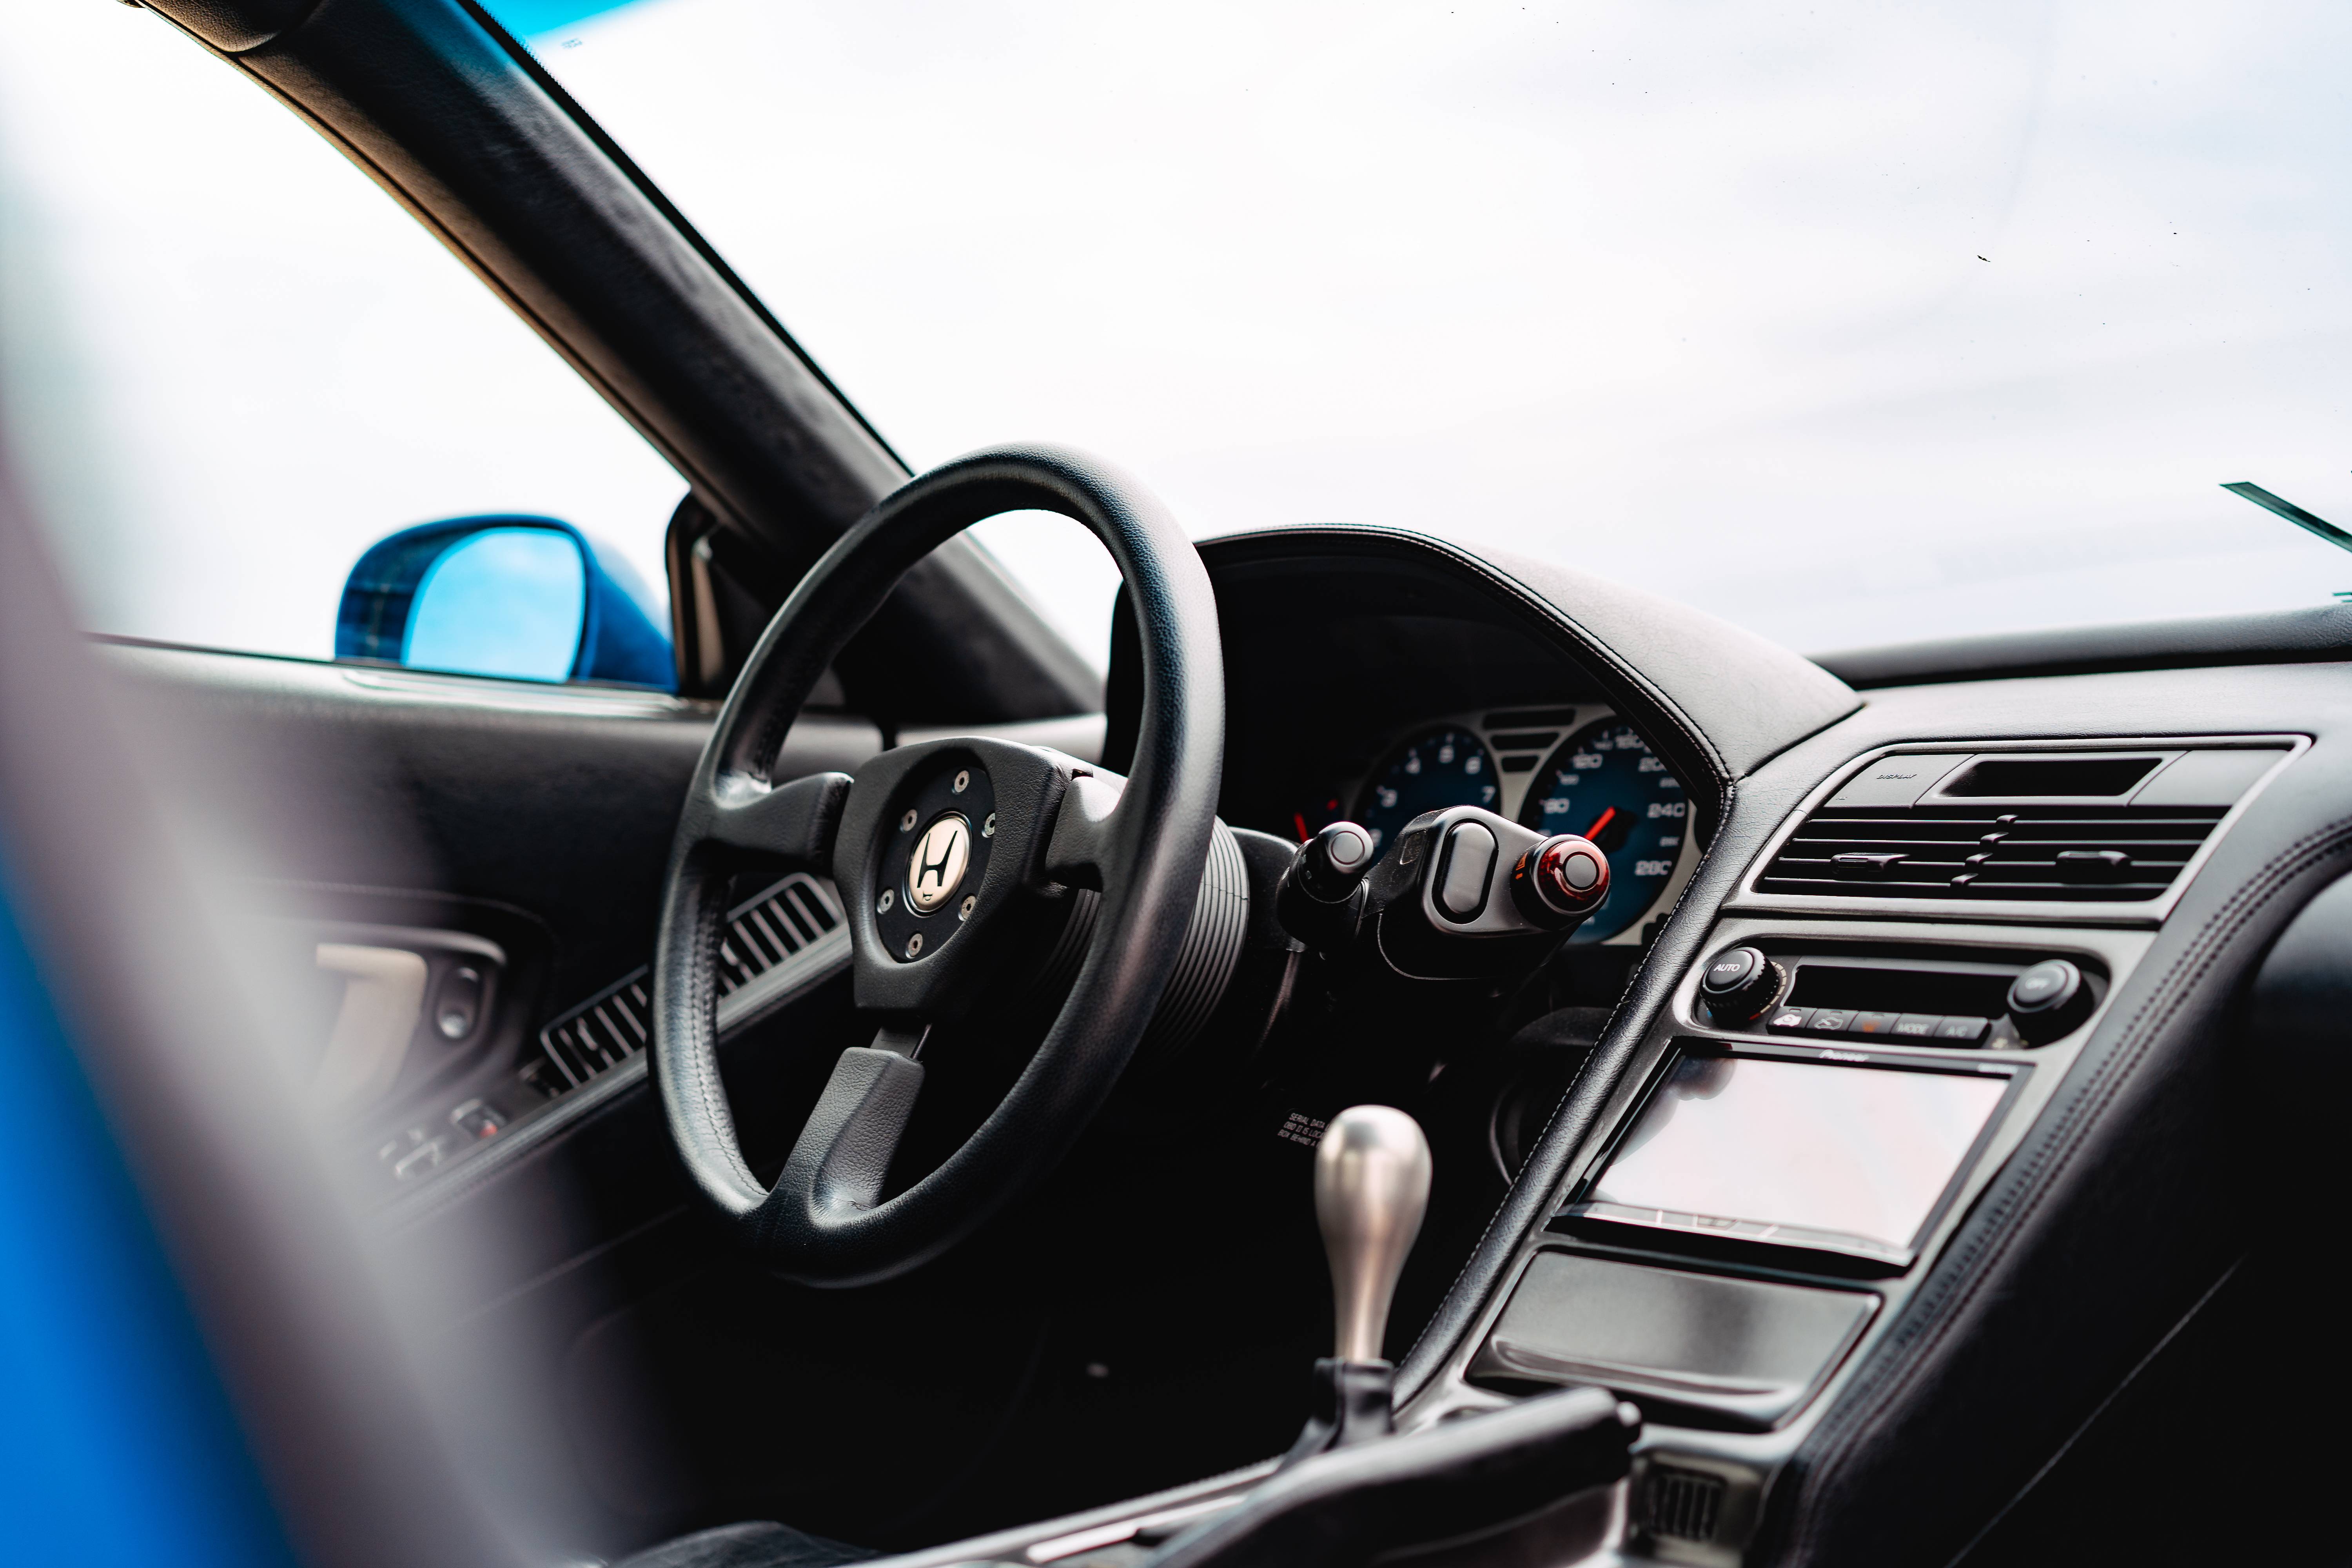
Wrapped up a fun little project here over this past weekend. My NSX is now almost at 117k miles, and with that, comes the necessity to replace old and worn components.

Earlier this year, the Southwest region hosted its 3rd annual NSX WestFest event, which was for sure our best one yet. On my way home from Las Vegas, I began hearing the dreaded "humming" coming from the front left wheel bearing every time I'd decelerate to stop. I knew it was time to replace the front wheel bearings!

I began searching online for the wheel bearings, going through the typical sources like OEM Acura Parts, etc. I remembered RockAuto kept bugging me about my expiring promotional code, so I figured what the heck, lets take a gander. Much to my surprise, there were only 2 remaining Timken front and rear wheel bearings, so to maximize my 5% off code and future proof the rears, I ordered all 4.

In typical lazy Mexi fashion, I'd go on to partake in several canyon runs with the So Cal NSX group, as well as separate runs with some local buddies. The main route up in ACH was closed for maintenance and forced us to reroute, which unexpectedly proved to be much more fun than the "normal" way through.

It was on this last So Cal NSX run that we organized, carving through ACH and having lunch at Lake Arrowhead, where I really felt the negative effects of a worn bearing. Aside from the noise, vibrations became apparent, so I knew it was officially time.

<img> src=" " style="width: 30%; height: 30%"</img>

Wheel hubs removed as well as the axle nuts. Heavy duty impact is key for axle nut removal.

<img src=" " style="width: 30%; height: 30%"/>

The bearing separator tool I purchased from harbor freight came with these steel rods with threaded ends, but they were not long enough. A trip to home depot for some threaded rod and 4 nuts to secure it as well as hacksaw to cut the rod to length came in handy.

<img src=" " style="width: 30%; height: 30%"/>

Now we are in business. When you have the right tools, any job can be easy.

<img src=" " style="width: 30%; height: 30%"/>

New Timken wheel hub and p/n for reference

<img src=" " style="width: 30%; height: 30%"/>

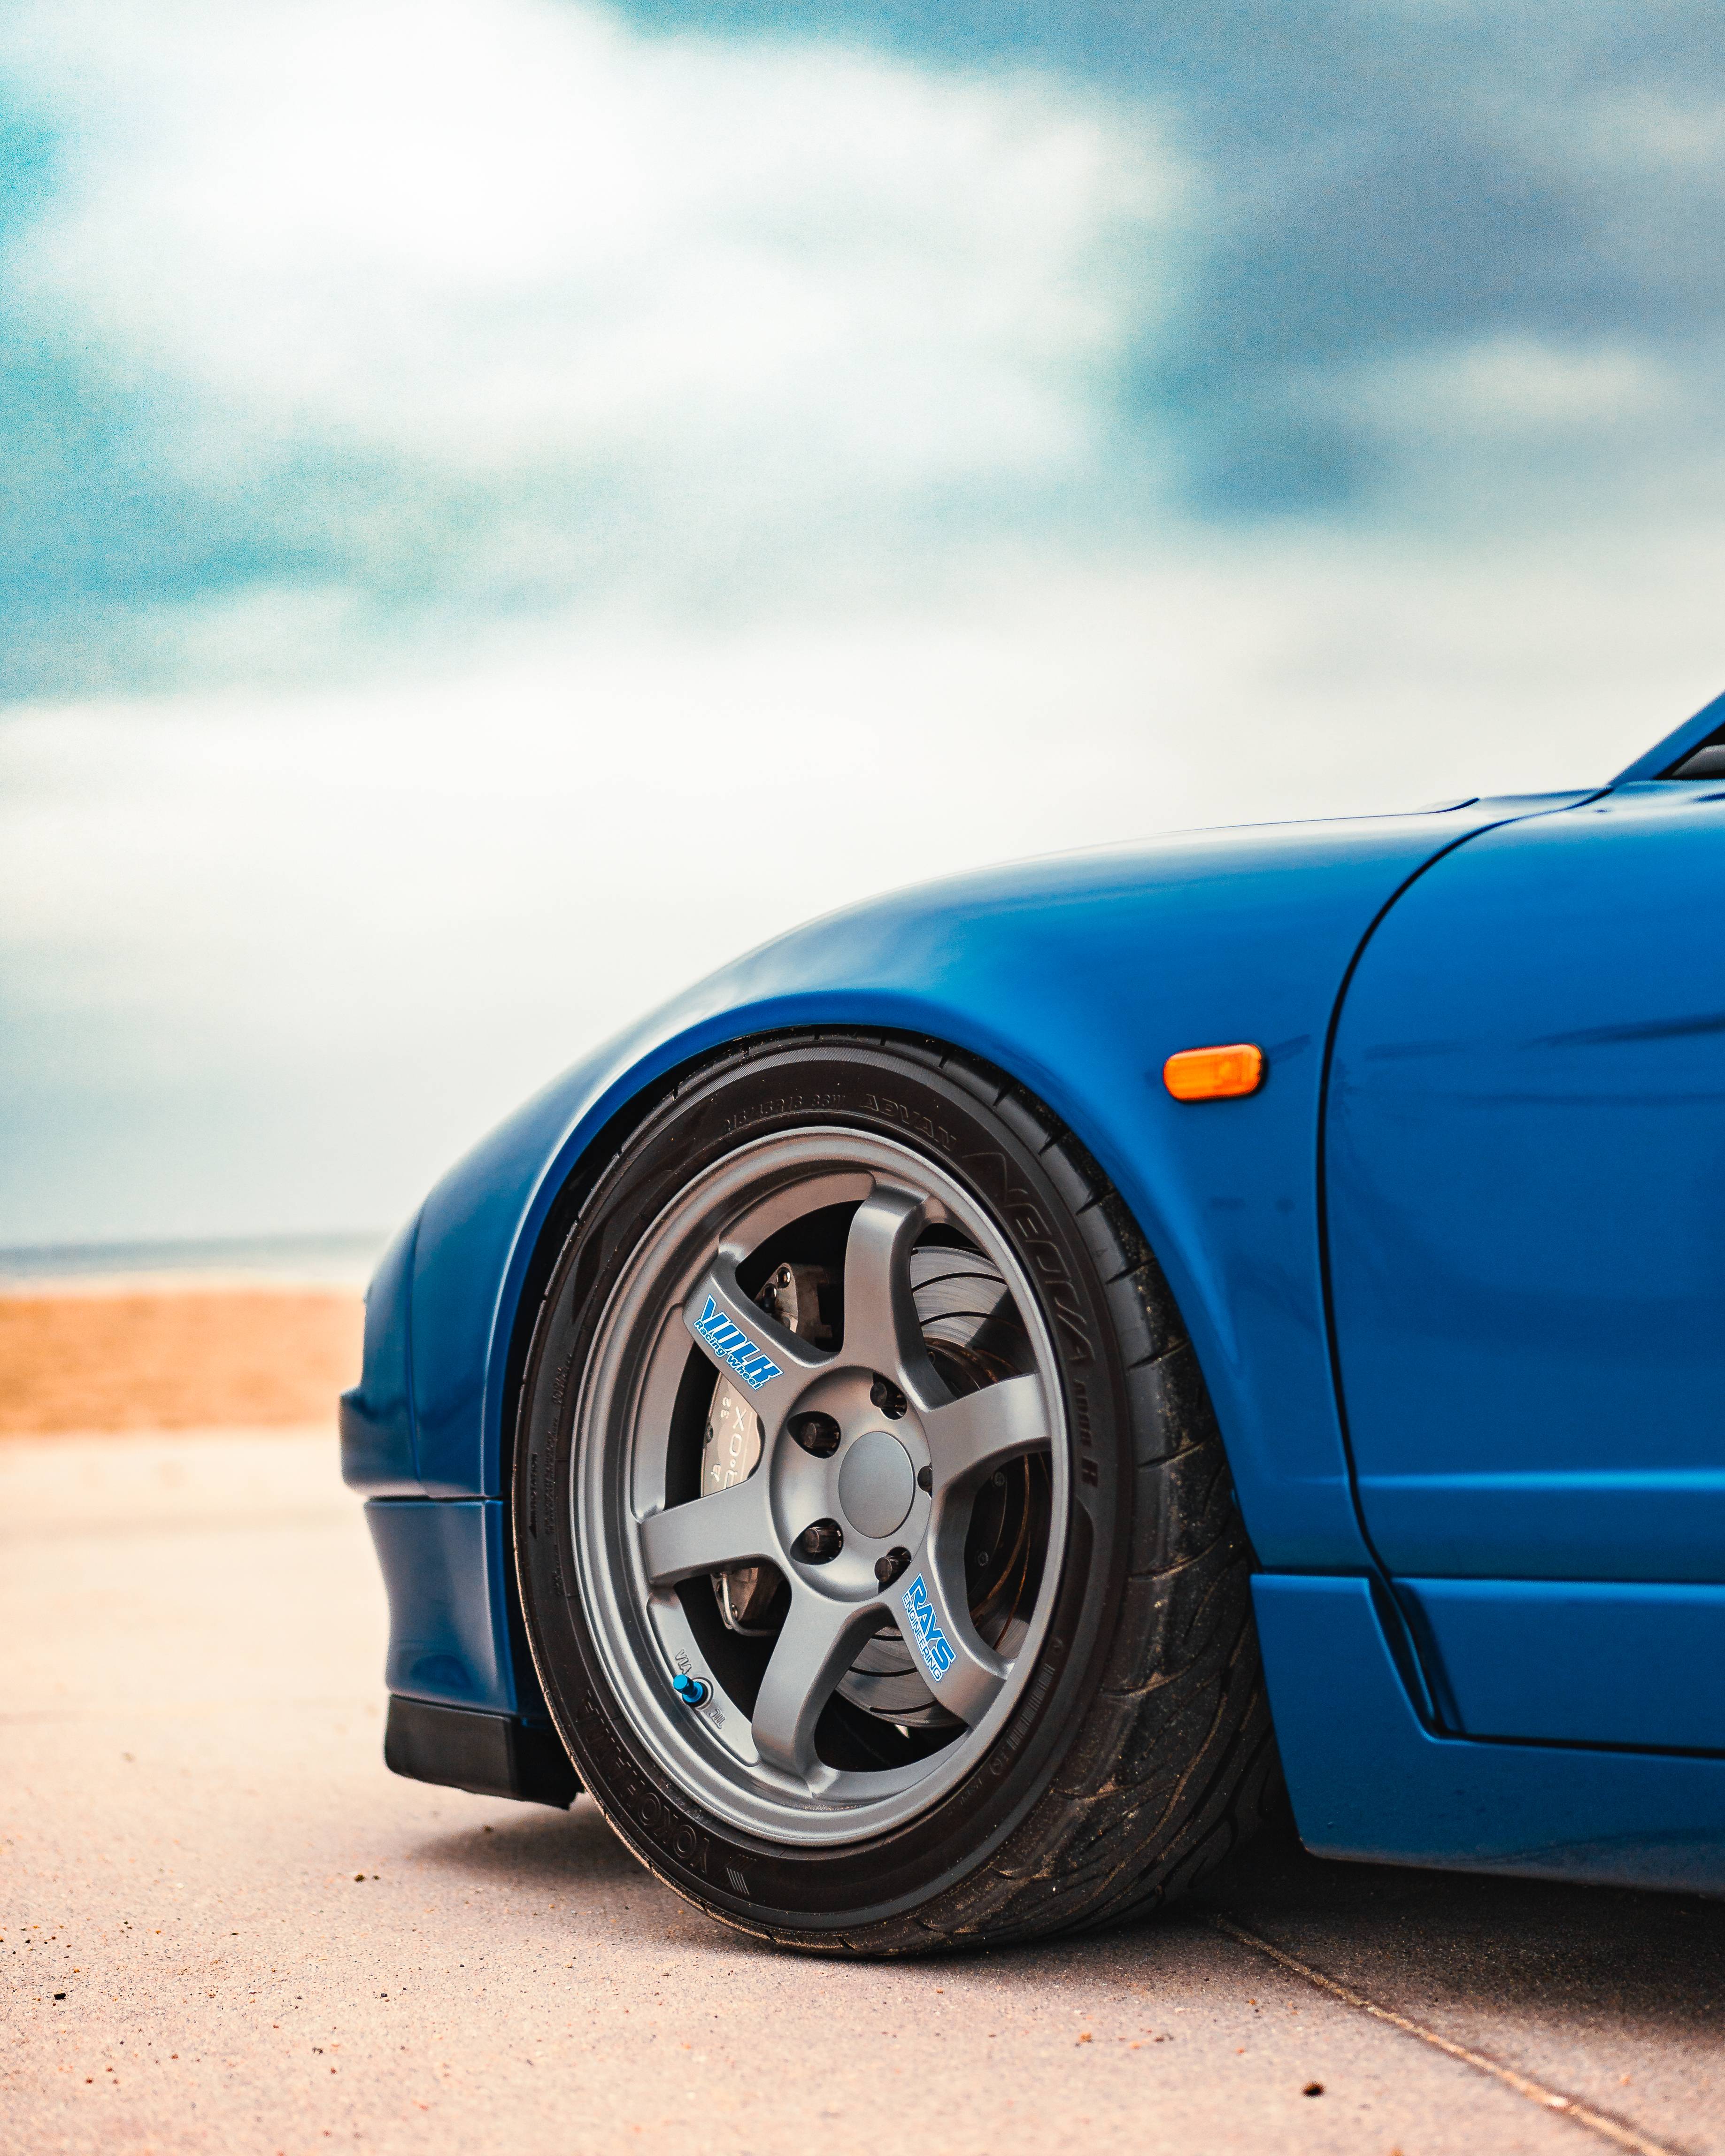
Since I was replacing the wheel bearings, I took the opportunity to also replace the front wheel studs. They are a wear item often overlooked as the ones on my car were tired and beat. Pictured above are the OEM rear wheel studs off a 96-98 Acura TL. I went with the Dorman variant, p/n pictured for reference. The OEM Acura p/n is 90113-SD2-005.

<img src=" " style="width: 30%; height: 30%"/>

These OEM studs are 5mm longer than our stock ones. Because I am running Tarox BBK, the top hats are 5mm thicker over stock. Not that it's a safety hazard, but why not run these OEM studs and regain stock wheel stud protrusion. I already have them pressed in to my rear back when I had the CV boots replaced.

<img src=" " style="width: 30%; height: 30%"/>

I have to credit Honda-Tech for this information as I still frequent the site for information and research. One of the biggest concerns about running these was the knurling diameter. Some said it was safe, others said it may be a bit smaller in diameter than their (honda civic) car's stock counterpart. I went ahead and measured them both and turns out the TL studs are just a hair larger in diameter than our stock ones. This could potentially be because the knurling on my used stud is worn, but either I am sure these are perfectly safe to run.

<img src=" " style="width: 30%; height: 30%"/>

Wheel studs being pressed in.

<img src=" " style="width: 30%; height: 30%"/>

Next order of business was removal of the inner race. I went ahead and cut some grooves in the bearing so that my separator tool can dig in and clamp properly.

<img src=" " style="width: 30%; height: 30%"/>

<img src="https://i.imgur.com/zBMJz16.jpg" style="width: 30%; height: 30%"/>

All set up and ready for removal

<img src="https://i.imgur.com/HSVjeol.jpg" style="width: 30%; height: 30%"/>

No for the fun part, pressing the new bearings in. HUGE thank you to Jimmy (@flexthatdx) for loaning me his press and Tyler (ex-owner but always so cal nsx family member) for loaning me his custom made wheel hub cradle. The cradle he made was especially important for pressing the new bearings in. I don't know why, but pressing the new bearings in was very soothing and relaxing lol

<img src="https://i.imgur.com/xumy9CL.jpg" style="width: 30%; height: 30%"/>

My ghetto wheel hub placeholder for torquing the axle nut back to 242 ft/lbs. Just a 5x114.3 steelie I had laying around.

<img src="https://i.imgur.com/X8wBayd.jpg" style="width: 30%; height: 30%"/>

Back to factory wheel stud protrusion

<img src="https://i.imgur.com/U68AIuA.jpg" style="width: 30%; height: 30%"/>

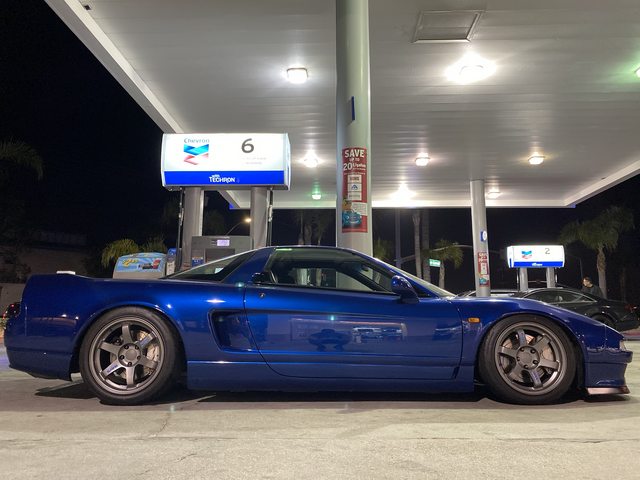
All done!! Ready to rock n roll :cool:
 
First update of 2020! There are currently a couple of items in the crock-pot just waiting to be cooked to perfection.

End of 2019, I picked up a used pair of Recaro Pole Position FIA for way too cheap to pass up. I had been on the prowl for the past 3-4 years, waiting on a great deal to come up either for a used pair of ABE Recaro Pole Position (first choice) or used pair of FIA versions. The FIA presented themselves to me, so from there it was off to the races in acquiring the remaining components.

1yLrSasl.jpg


Recaro Pole Position FIA. These look okay in the photo but boy do they need a ton of love. Great for my situation since I will be reupholstering them.

P9M84r7l.jpg


Huge thank you to Jeff [MENTION=23737]jsl757[/MENTION] for the assist on these mint condition Recaro rails. I had sought after these for many years but when they came up, they were either too expensive or in bad condition.

drerWl4l.jpg


I quickly mounted them up along with the specific side mounts for pole position; name a better looking and matching combo!? Unfortunately, after test fitting them, they sat just a tad too high for my liking. Funny enough, the previous owner of my NSX was 6 feet tall so he likely had a Dali thinner cushion mod installed. I didn't realize this until only a few months ago when I drove a friend's 2000 all stock NSX. I noticed that my head almost touching the headliner. How could this be, I thought. Perhaps the 2000+ perforated seats had added cushion? Nope, mine simply had cushion material removed and never knew it. Being that I was so accustomed to lower seating position, I was forced to sell the recaro rail and side mount set up :( It was now time to explore alternative rail options.

5TX58Tql.jpg


After digging through the Egyptian deserts of cyber space, I kept coming back to the RFY super-wide rail. Since Yamamoto-san hadn't listed the rail measurements on his website and was unresponsive on facebook, I took it into my own hands to see if anyone else was running these rails. Low and behold, Jami [MENTION=24463]mochanges[/MENTION] had recently purchased and was running these rails. He came through in clutch with some detailed and professional measurements lol. They were plenty enough to determine that this would be the route I'd be going for my rail and side-mount set up. Marc [MENTION=33290]SpeedyPartsJapan[/MENTION] informed me that Yamamoto-san was on Holiday, which likely explains why he was not responsive on facebook. I went ahead and placed my order through Marc's site (mitamotorsports.com/rfy/seat-rail) and even took some photos for him when they arrived.

9bfCv35l.jpg


Next order of business was seat belt receptacles. I remember reading that the rear belt receptacles off an eclipse worked, but did not like the fact that I couldn't find any in black. In addition, I wanted to stay Honda if possible. With so many honda and acura cars having been produced in various markets around the globe, I knew it was highly probable that I'd be able to find a belt receptacle that would work with my Recaro seats and allow the NSX belt to buckle in properly. After scouring this very web forum, it was disclosed by Christian [MENTION=9710]austrian type-R[/MENTION] that the rear belt receptacles off of a UKDM Integra Type-R work ideally. Ended up tracking down a set from Michael at R-Motion [MENTION=26080]drmikey[/MENTION]

XoWkb1dl.jpg

w5tKT9Vl.jpg


First test fit of the rails and belt receptacles was a HUGE success and made me extremely happy. They have so much adjustability front to back and side to side. For short guys like me, the mounting position is forward up as far up as possible lol. For the taller crowd, it comes w/ different mounting brackets to position the seat further back. Instead of having the release mechanism in the middle, Yamamoto-san flipped the sliders so that the levers are on the outside. Pretty clever if I do say so myself. This is what gives it it’s characteristic to mount a super wide seat like the Pole Position ABE. He also welded some plates in between the sliders for added rigidity. Each slider has two pre-tapped anchors at each corner built-in for mounting. This saves my mouth from exerting a few curse words during mounting due to the cumbersome task of holding the nut in place underneath while simultaneously trying to tighten the bolt in a funky position on other rail types. The seating position and rake is literally identical to OEM Type R set up (seats + rails). Was able to confirm this when comparing my set-up with my buddy Chris' Full OEM Type-S seat set-up.

rAqOJnjl.png


Huge thanks to Chris [MENTION=17443]JUNIOR11X[/MENTION] for the lob pass and jam in sourcing some real black nappa leather for me. This is as close as we could find to a super low grain, low sheen and no wrinkle black leather to complete my Type-S inspired seat reupholstery project.

yjMaWn6l.jpg


Last order of business, and the most complicated one, was to source some blue alcantara, or ultra suede, that'd match my OEM Type-S door cards. I was dead set on matching it as closely as possible. This meant scouring through every source I could find online, some in different countries, to obtain samples and decide on a material. I ended up finding a vendor in the Korea Textile District, but I did not order enough to reupholster the cushions. Unfortunately, the vendor had sold out and had no plans on making mroe unfortunately. So then, it was back to square one. I was fortunate to meet Carlos of Tailored Automotive Group (tagurwhip.com). We tossed around ideas back and forth and let him know my vision. After being in the trenches together, looking for more samples, we finally found one that we thought matched best.

More to update but the post is getting lengthy. Check back soon!
 
Just love the way your car keeps evolving. Great choice of seats and pretty crafty way of finding seat rails that work. Keep those cars and letters coming. Great work.
 
Awesome work man!! I’m planning on selling my Mugen msz seats soon for some Buckets and the info you have here is immensely helpful! Always glad you post what you had to go through to get stuff to work!


Sent from my iPhone using Tapatalk
 
Looking good man!

All in part thanks to you my man!

Just love the way your car keeps evolving. Great choice of seats and pretty crafty way of finding seat rails that work. Keep those cars and letters coming. Great work.

Thanks JC. Keeping the passion alive! Hope all is well sir :biggrin:

Awesome work man!! I’m planning on selling my Mugen msz seats soon for some Buckets and the info you have here is immensely helpful! Always glad you post what you had to go through to get stuff to work!


Sent from my iPhone using Tapatalk

As always Roderick! Prime is an unmatched resource and am always happy to keep contributing where I can. Feel free to reach out later when you're ready if any assistance is needed. Be well bro!
 
attention to detail is spot on!

Thx Regan! Your seat posts and youtube videos have helped me out a ton. Keep building and keep documenting!

I. Love. This. Car.

Awesome work Mexi. I'm cooking up some seats too. ;)

Thx Paul! What's the current internal temp on those bad boys and when will you pull them out for resting? :biggrin: I've got popcorn in had and your build thread bookmarked.

----------------------------------------------------------------------------

A small update to note that I missed:

New tires:

205/45/16; 255/40/17 Hankook ventus rs-4. They're a very grippy tire, just like my previous AD08r, but I did notice some elasticity on hard cornering sweepers. It took a bit of adjusting, since my AD08r did not do this. The advans have bulky and unforgiving side-walls, which I actually prefer. Unfortunately, I am no longer able to get my hands on the correct front size I need (215/45/16) but am working on a solution along with the help of Spencer [MENTION=34522]NSX_n00b[/MENTION]. These hankook will do just fine in the meantime. Surprisingly, the fronts fit very well despite going down a size on the sidewall.

Last update for now, new front BYS lip:

FtmRvtMl.jpg


PI1ixlhl.jpg


C1qV11nl.jpg


4POjKbml.jpg
 
MexiRicer said:
Thx Paul! What's the current internal temp on those bad boys and when will you pull them out for resting? :biggrin: I've got popcorn in had and your build thread bookmarked.

Shells should be done today, according to Spencer. :) Cushions are already orange alcantara, so just waiting on the leather outers- I bought a hide called "Black Pebble". It's a very soft, low sheen black with a fine grain. Should look awesome. One thing on fitment- the "wings" on the shells are about the same width as the Pole Position (584mm vs 580mm for the PP), but during test fitting in the car, I noticed they touch the door panel when it is closed. Spencer says his DF-R seats do it too. Do yours? I am going with Planted direct-bolt brackets, so I have some room to move the seat around, but I'm wondering if there is a positioning trick to get the door to close without hitting the seat!

Also, you may want to consider the Conti Extreme Sport tires- Billy did a very comprehensive review on them and they compare favorably to the AD08. That's likely what I will put on my 16/17.

That is great news, sounds like you two definitely did your homework! I don't have any fitment issues and I'm glad I test fitted prior to re-upholstery. My best guess to remedy that issue is to position the center of the seat closer to the center arm rest. Since your brackets will be planted, you will have a fun time test fitting and deciding on final mounting position lol.

As for tires, I'm not too knowledgeable on the continental line but a quick search revealed that the Conti ExtremeContact Sport are 340tw. Usually the higher grip ultra performance tire, w/o going r-comp, are 200tw I thought? I'll have to look into them more. For front sizing, would you be going 205/45/16?
 
Going to be doing my wheel bearings soon and am using your post as the reference.

Thanks!
 
Back
Top