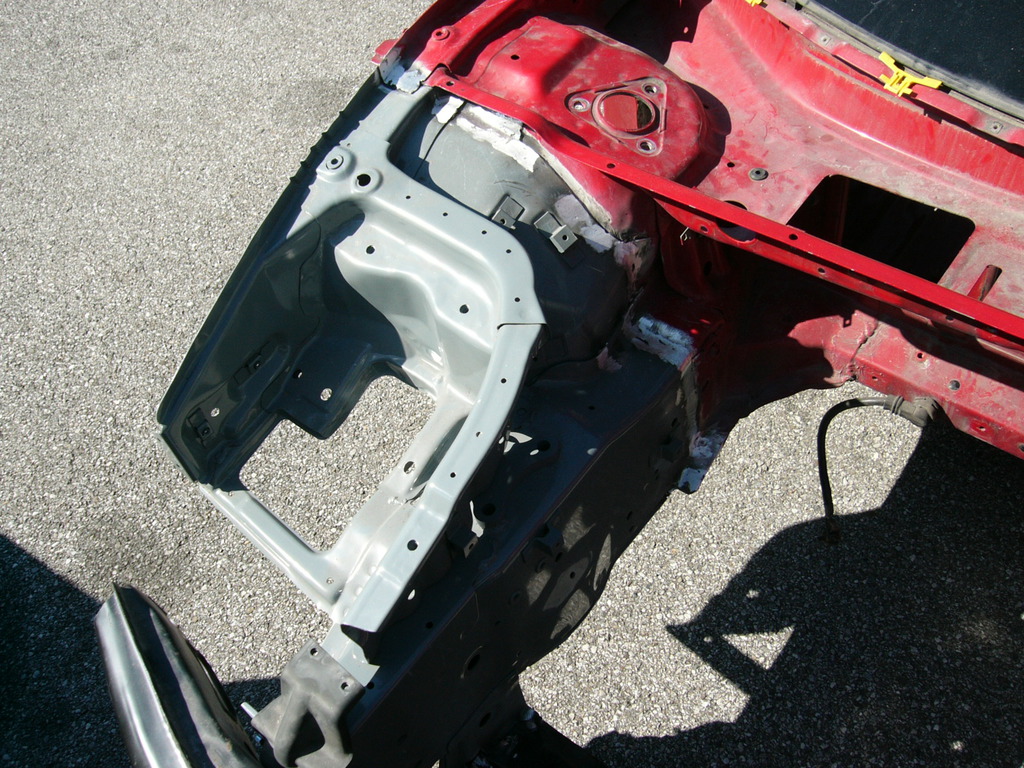
Well everyone, the worst case is the present case. The right rail is pushed in and back by 1-2 inches and it would need to be pulled back and a new rail spliced on, when it was repaired before they just patched it and left as-is underneath and hid it, even though the wheel alignment is now in spec. Not sure what to say but add me to the list of suckers left footing the bill for some else's profit. Still, completely my fault for going ahead with the purchase knowing it had been "repaired" without documentation. Caveat emptor, etc., etc., buy your throwable tomatoes here. Every adventure (thread) needs a conflict to make it worthwhile, right?
What to do [EDIT: See http://www.nsxprime.com/forum/showt...ture-Thread?p=2027836&viewfull=1#post2027836]. I want to get it repaired right and keep it for a long time like I said in the first place. I could revert back to stock auto and sell, but I'd still lose my shirt despite all the fixes I've done and basically do a transmission swap 3 times over plus wait another few months/years until the right car shows up, I don't want that.
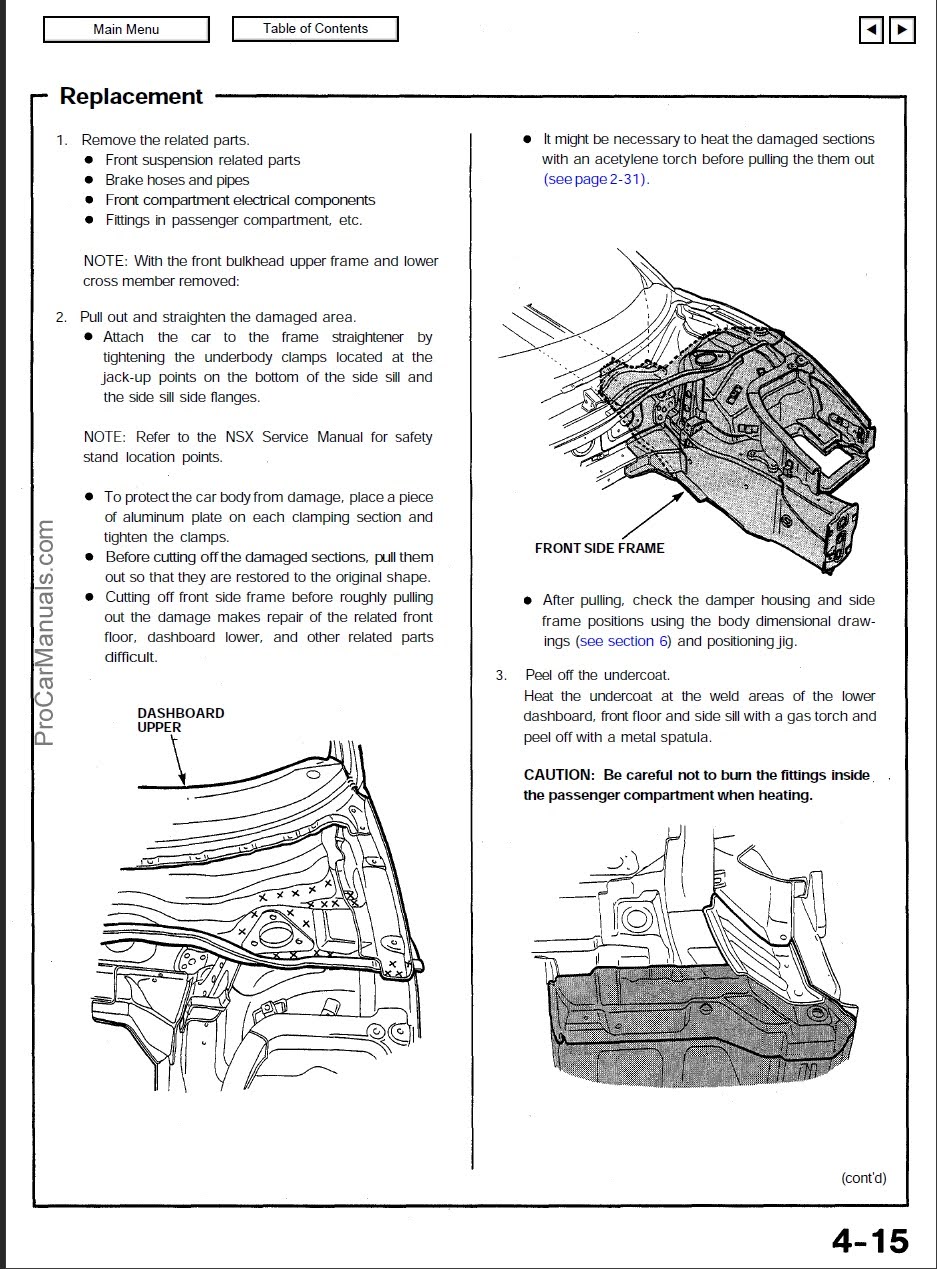
The shop that it's at now doesn't have the facilities to fix it, so I'm looking for somewhere else around town. I don't have a quote for the work yet, but include a frame machine (est. $1k+), new rail assy (~$3k), labor for disassembly, welding, paint, consumables, etc. At least I assume it doesn't need exterior paint, panels, or suspension parts. I won't try and guess a total cost yet since it always goes up by 50% after.
The car is worth saving but I'm not in a great position to pay for it. Ultimately I will one way or another keep or sell, so I'll have to put off all my future projects for a few months until I sort this out. Yeah, not feeling great.
Would appreciate any contacts, guides, references, whatever that might help me figure out what to do from here.
What to do [EDIT: See http://www.nsxprime.com/forum/showt...ture-Thread?p=2027836&viewfull=1#post2027836]. I want to get it repaired right and keep it for a long time like I said in the first place. I could revert back to stock auto and sell, but I'd still lose my shirt despite all the fixes I've done and basically do a transmission swap 3 times over plus wait another few months/years until the right car shows up, I don't want that.
The shop that it's at now doesn't have the facilities to fix it, so I'm looking for somewhere else around town. I don't have a quote for the work yet, but include a frame machine (est. $1k+), new rail assy (~$3k), labor for disassembly, welding, paint, consumables, etc. At least I assume it doesn't need exterior paint, panels, or suspension parts. I won't try and guess a total cost yet since it always goes up by 50% after.
The car is worth saving but I'm not in a great position to pay for it. Ultimately I will one way or another keep or sell, so I'll have to put off all my future projects for a few months until I sort this out. Yeah, not feeling great.
Would appreciate any contacts, guides, references, whatever that might help me figure out what to do from here.
Last edited:

") .
.