• Protip: Profile posts are public! Use Conversations to message other members privately. Everyone can see the content of a profile post.

Big McLargeHuge’s 1990 JDM NSX Adventure Thread

[emoji106] on the wheels. Love the RG line. Need pics on the car! Also any profile shots of the mounted tires? I’m curious how much stretch there is. I’m in the market for tires, and the options are thin. rn I’m thinking Azenis 615... these firehawks didn’t even come up cause I was looking at 215 fronts only.

Also looking forward to seeing how the interior panels turn out. My door switch panels are all bubbly and chipped. I’ve been contemplating carbon, but seems like a big expense for minimal gain.

Thanks, me too :biggrin:. I'm thinking of mounting them today but going on a mountain drive tomorrow and I'm worried they won't be broken in enough.

These two threads are helpful reads for tires. I didn't know about the Indy 500's before then, I'd not considered a 205 tire size.
http://www.nsxprime.com/forum/showthread.php/162376-17-17-and-17-18-Tire-Choices-not-much-left/page8
http://www.nsxprime.com/forum/showt...ate-front-tires-sizes-235-40-17-and-205-40-17

The interior bits will take a few weeks for me to get the time/space to finish them since I'm doing it myself. Interior aftermarket gloss carbon is one of those things that I don't think will age well, like in a few years I think it will date the car. Plus I don't want to pay that much :).
 
Last edited:
One nice thing that came from this thread is that I ordered a couple of the Davis Design Fab cupholders for our NSX's, so thanks for the heads-up on those!
 
I've used them a bit already and they're very nice pieces. The asterisk being that the stock floor mats are pretty thick and it interferes a bit with the cupholder base, and it doesn't hold really thin or thick bottles but NBD, still the best option IMO.

The new Autostyle UK floor mats and my re-covered steering wheel finally showed up so two minor miracles, I'll be posting a decent update this week once I have the chance to install everything. The floor mats are very nice and a bit thinner so they don't interfere with the cupholders at all.

I've also been seeing a few posts about Honda JP prices bumping up again on April 1st which worries me, so I'll be stocking up on some things earlier than I anticipated (ABS retrofit, door seals, etc.). Still researching whether I want to drop my stimulus on the full NA2 ABS or am okay with the S2K ABS, I'm sure either are way better than the 1st gen brick I have right now. That and the EPS rack rebuild are really my last big-ticket items for this year but I'm sure I'll come up with more things to burn money on :eek:

I think we're all doing the big shop right now LOL. For me, it's the 1-2 and 3-4 synchro sets. My existing ones are "ok" but, well, if they're going to be 3x the price in a couple weeks, now's the time I guess...
 
That's the thing, some things are rumored to be 3x, some are 10-20% and I don't know which. I can't imagine 3x price for transmission parts, the gears and synchros are already several hundred bucks so tripling that could make a trans rebuild several thousand dollars just in parts. Maybe just some super specific NSX parts like control arms or some seals? The water pump and timing belt are already like $600 alone so that's a lot for key maintenance parts. Kinda scares me about affording to keep the car tip top for the long term.
 
I Had A Clever Title and Ended Up Not Posting Anything Related to Said Title

I've been holding out on the updates but have been pretty busy with the car, lots going on.

Starting with the more interesting stuff, Honda meetup and drive in north GA.
vFRJjmA.jpg


You might recognize this turn as well, parade laps at a Chin track day. First time I've ever been on a track and it was super fun even just puttering around with normal cars in front. Of course I wouldn't have my phone out at speed :biggrin:
d6pIcXJ.jpg


We saw this the same day as well, great taste in wheels if I do say so myself. Apparently my neighbor in the same car club as me (e3storage) knows the owner of this as well and came out to the same event later in the day. Small world.
j3GDyyz.jpg


Here's the car with the new wheels installed on stock suspension. I needed to change to the new tires sooner since my old ones were so bad that I didn't want to drive on them anymore. Loud thumping noises at mid speed, above 70 MPH they'd scream like they were about to blow out. I didn't realize how bad they made the ride until I put the Indy 500's on, these are a whole different world of comfort which is funny to say for a low treadwear summer tire. So much more pleasant and smooth driving at all speeds.
xB7qCja.jpg


Front wheel on stock suspension.
B9ziEJ9.jpg


Rear wheel stock suspension.
ibQnwZA.jpg


I also decided to go ahead and gather parts for an ABS upgrade, in this case the AP1 S2000 unit. Essentially, all the materials are the same as the classic NA2 conversion with a bracket and wiring pinout change, but I bought this unit for $40 vs. the $900 for an NA2 unit. I've been spending a ton of money on the car recently and wanted a more economical option. I want to try and set up some tests to compare the old NA1 and S2K system and see what kind of improvements there are in wet stopping distance & steering control while cornering, the programming for the S2K unit is not made for the NSX so there's still some debate about using it but I don't trust the old NA1 ABS at all. If I'd ever want to change to the NA2 unit afterwards it would be very easy.
kozEbHu.jpg


I went through the whole Honda parts catalogue again and just threw things in the cart I was holding out on or thought were old enough to replace, and realized I'm actually running out of parts to replace. I guess that's a good thing? Below is some stuff I have on order before the big price increase.
-ABS conversion pipes/brackets/KSP harness
-new keys
-rear hatch molding
-Type R coolant condom
-OEM brake seal kits
-misc engine bay items (fuel pump resistor, fuel hoses/clamps, bolts)
-lower door weatherstripping (delayed 1-2 months)
 
Last edited:
Dept. of the Interior

Autostyle UK floor mats miraculously showed up, I thought these were lost in the mail.
gDEn0bf.jpg


Love the look and the fitment is perfect, they even have the locking tabs in the right places to secure the mats down. The steering wheel was borrowed from @RC-DEVIL while I was waiting for my reupholstered wheel to arrive, which at the time I thought was lost in the mail just like half my other packages.
NTFDB01.jpg


One day the wheel did show up, and it looks...good? Maybe a 6.5/10 for fitment and installation? I would be completely okay with it for what I paid, except the centering stripe....isn't centered :mad:. And to give an idea of the time it took to get to this point, I ordered this cover at the end of last November. A+ for price, F for everything else.
rMn6SP0.jpg


All I can say is that it's still a huge improvement over the old wheel cover. Still, I think an aftermarket flip-up wheel is in my future.
6y4Ltxh.jpg


If you were wondering where the rest of my interior went, I finally am getting around to refinishing it. Step 1 is stripping the paint off. With Rust-oleum Aircraft Remover I got about 80% paint removal, but it does distort any exposed ABS plastic so be careful about where you apply it.
J5osHkW.jpg


It did decently but some spots were more stubborn. The exposed shiny metal foil parts will be dissolved by the ferric chloride.
pHtFzdp.jpg


Commence the ferric chloride bath. Any parts that are bare metal will be turned into naked ABS plastic after a few hours. Unfortunately, any parts with paint remaining over the metal foil will remain, so that's why in retrospect it would have saved a lot of manual labor to sand the remaining paint that the stripper didn't get.
gxOzwvt.jpg


Center console in a food saver bag to try and maximize the contact area. Two gallons of ferric chloride would have been nicer to get better coverage.
oQP3wWV.jpg


After the first few hours. Like I said, it would've stripped them completely but the leftover paint prevented some of the foil from being dissolved, so I spent a few hours peeling the rest by hand. Some sandable primer and filler will be required to get a smooth finish. From what I've read, the pieces are ABS so primer without adhesion promoter should work fine.
jYz9Akx.jpg


I'm in the middle of final prep and one more ferric chloride bath before I'm ready to prime and paint and will post an update after that's done. Very labor intensive process which is why I've been putting it off so long.

Also, I quickly refinished the upper windshield trim with SEM gloss trim black to fix the ugly white chalky look it had before. Last year I was going to properly replace it but that fell through, it has shrunk maybe 1/4" overall so it's not perfect looking but it's 95% of the way to looking new with 5% of the labor and cost so I'm happy.
MqRkpxZ.jpg


More interior updates incoming but I was busy with the next post in the meantime (suspension).
 
Last edited:
That's the thing, some things are rumored to be 3x, some are 10-20% and I don't know which. I can't imagine 3x price for transmission parts, the gears and synchros are already several hundred bucks so tripling that could make a trans rebuild several thousand dollars just in parts. Maybe just some super specific NSX parts like control arms or some seals? The water pump and timing belt are already like $600 alone so that's a lot for key maintenance parts. Kinda scares me about affording to keep the car tip top for the long term.

"The water pump and timing belt are already like $600 alone".

I assume you mean for both as opposed to each? In fact I don't see the costs being $600 unless you are also including all the sundries and the tensioner parts for a full meal deal TB replacement. I was curious about the prices so I checked my purchase from Amayama last year and the price (as of today) of the water pump has actually dropped by about 10% compared to when I purchased it last year. It is now about $234 (US $). The timing belt is now slightly less by about 5% ($155 US$). I expect that a lot of that is a change in the currency exchange rates. The up-side is that when I ordered last year I was able to ship by EMS. Amayama is no longer offering EMS to Canada and is now quoting shipping via UPS and that cost increase more than makes up for the drop in the parts prices.
 
Suspension of Disbelief

Another few days spent installing the Fortune 500's I received a few weeks ago, plus some other related while I'm in there projects.

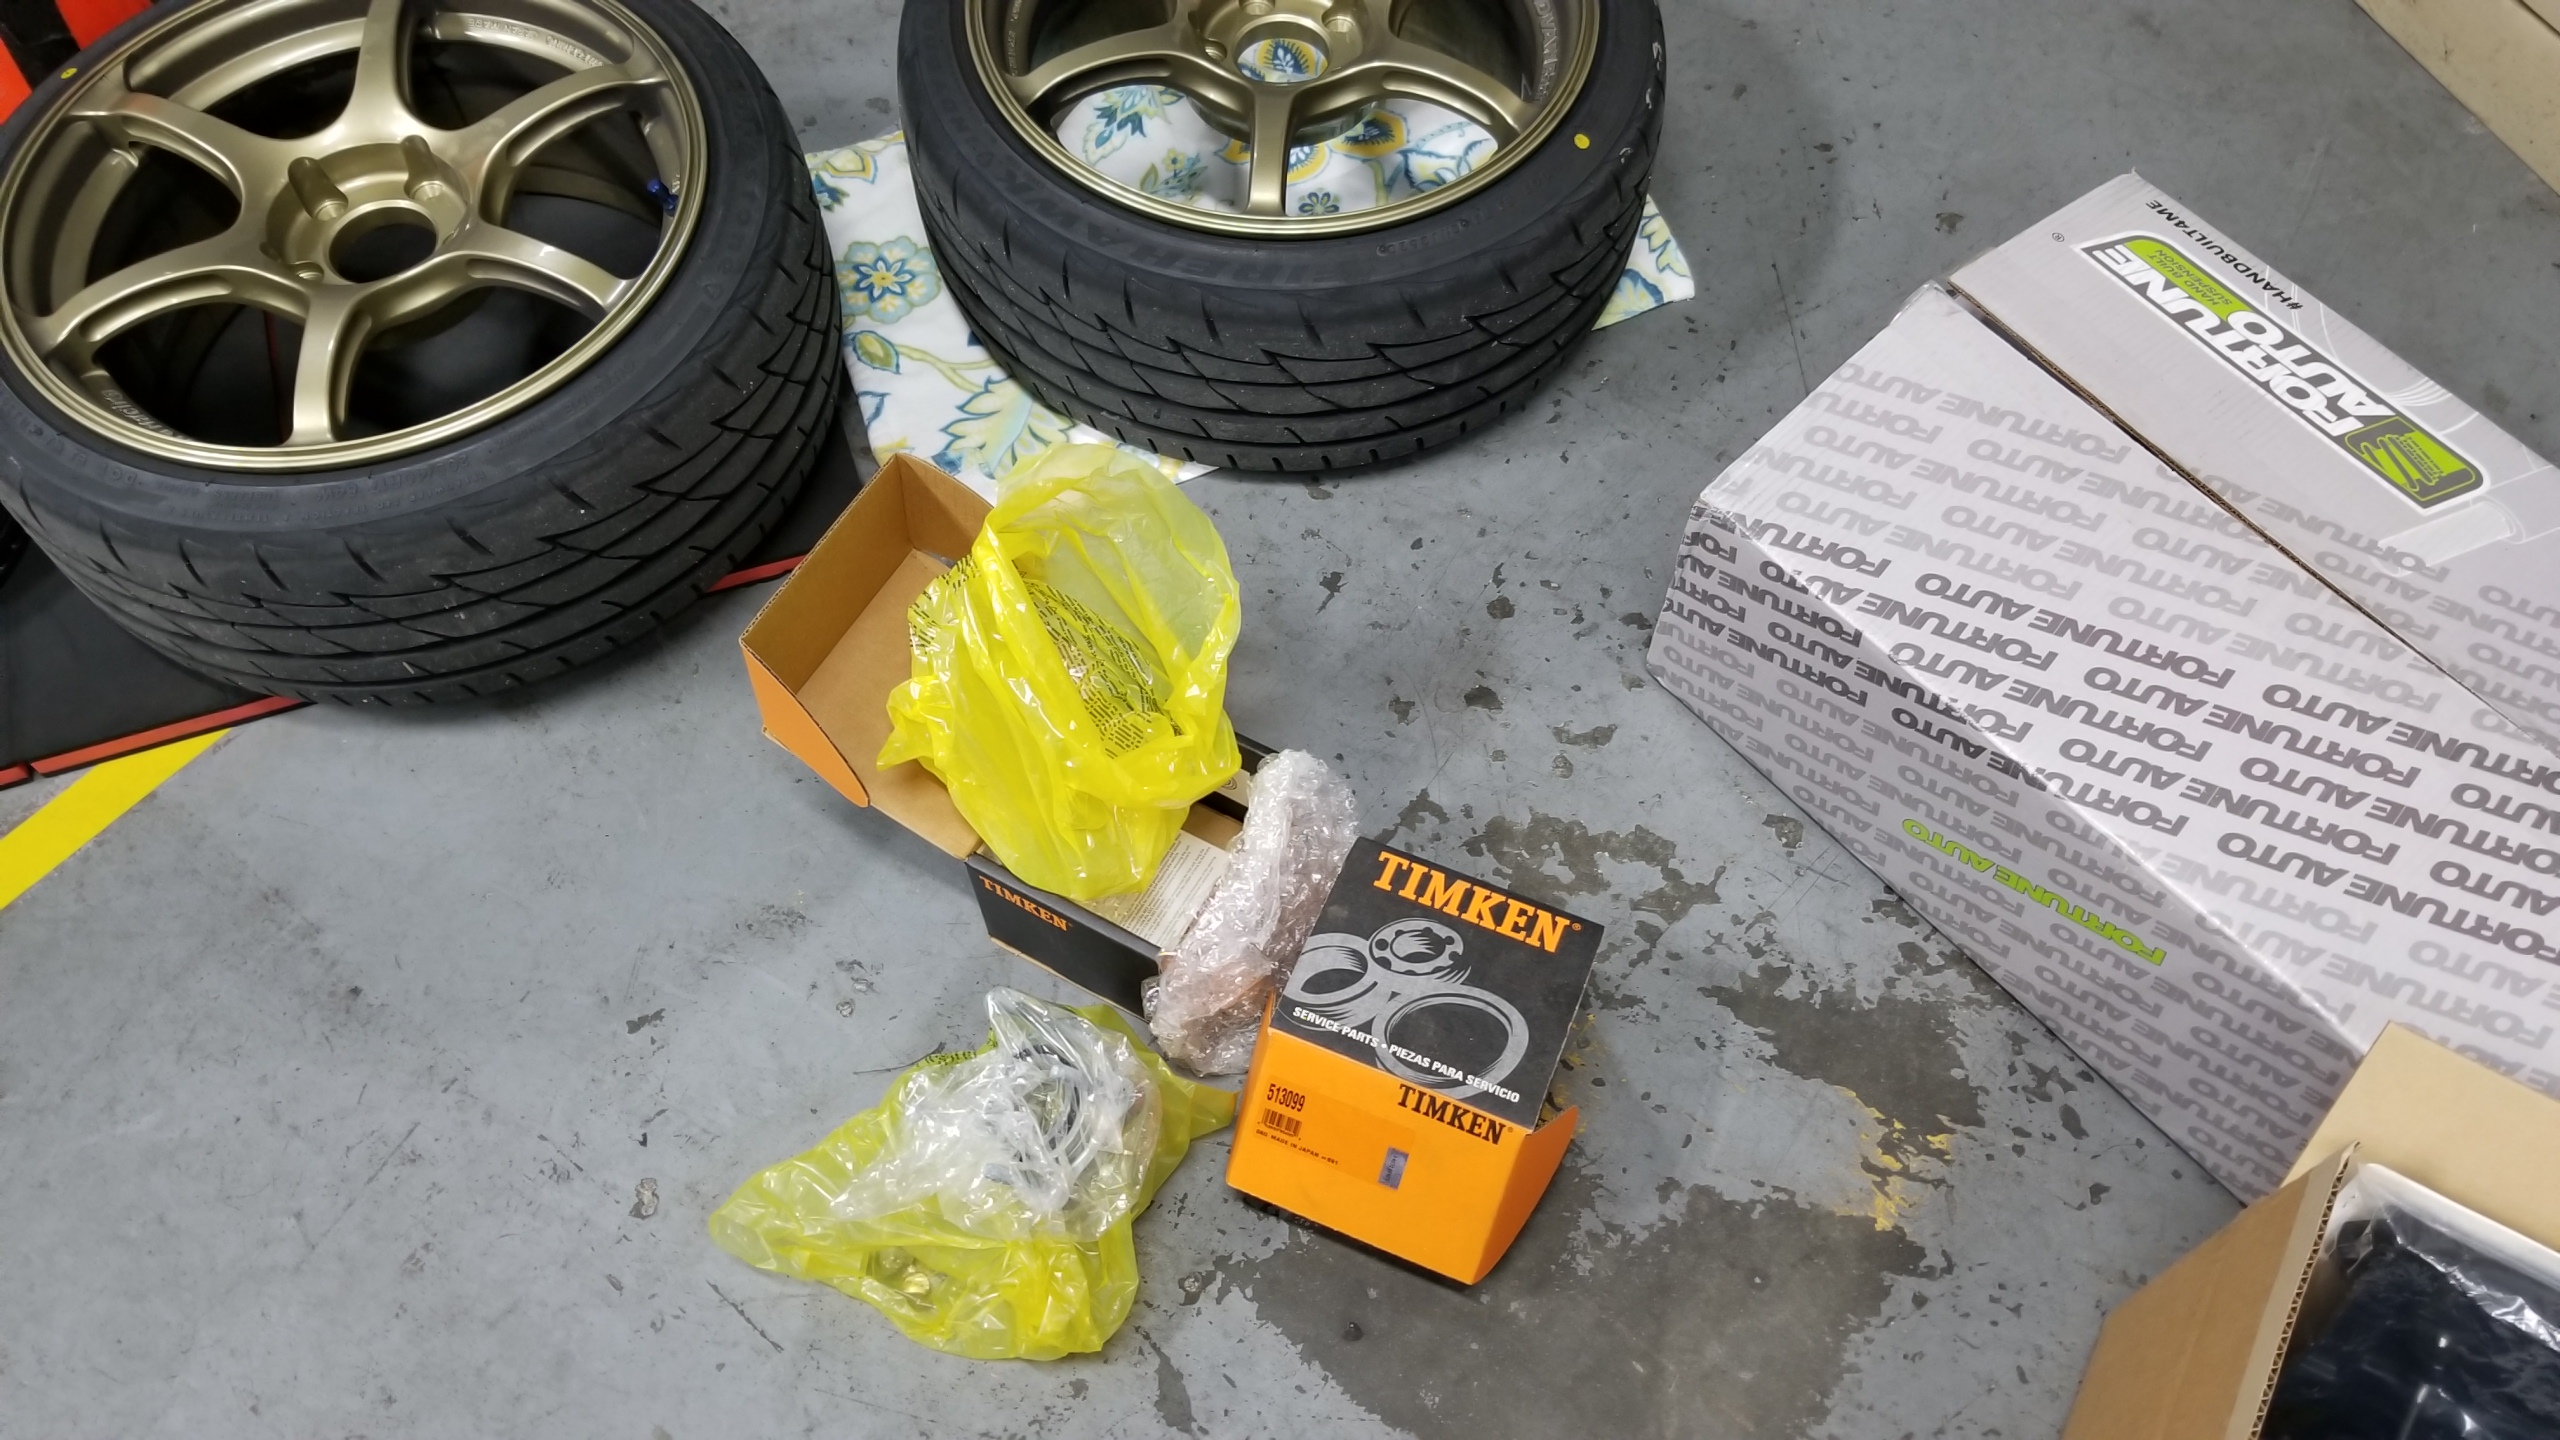
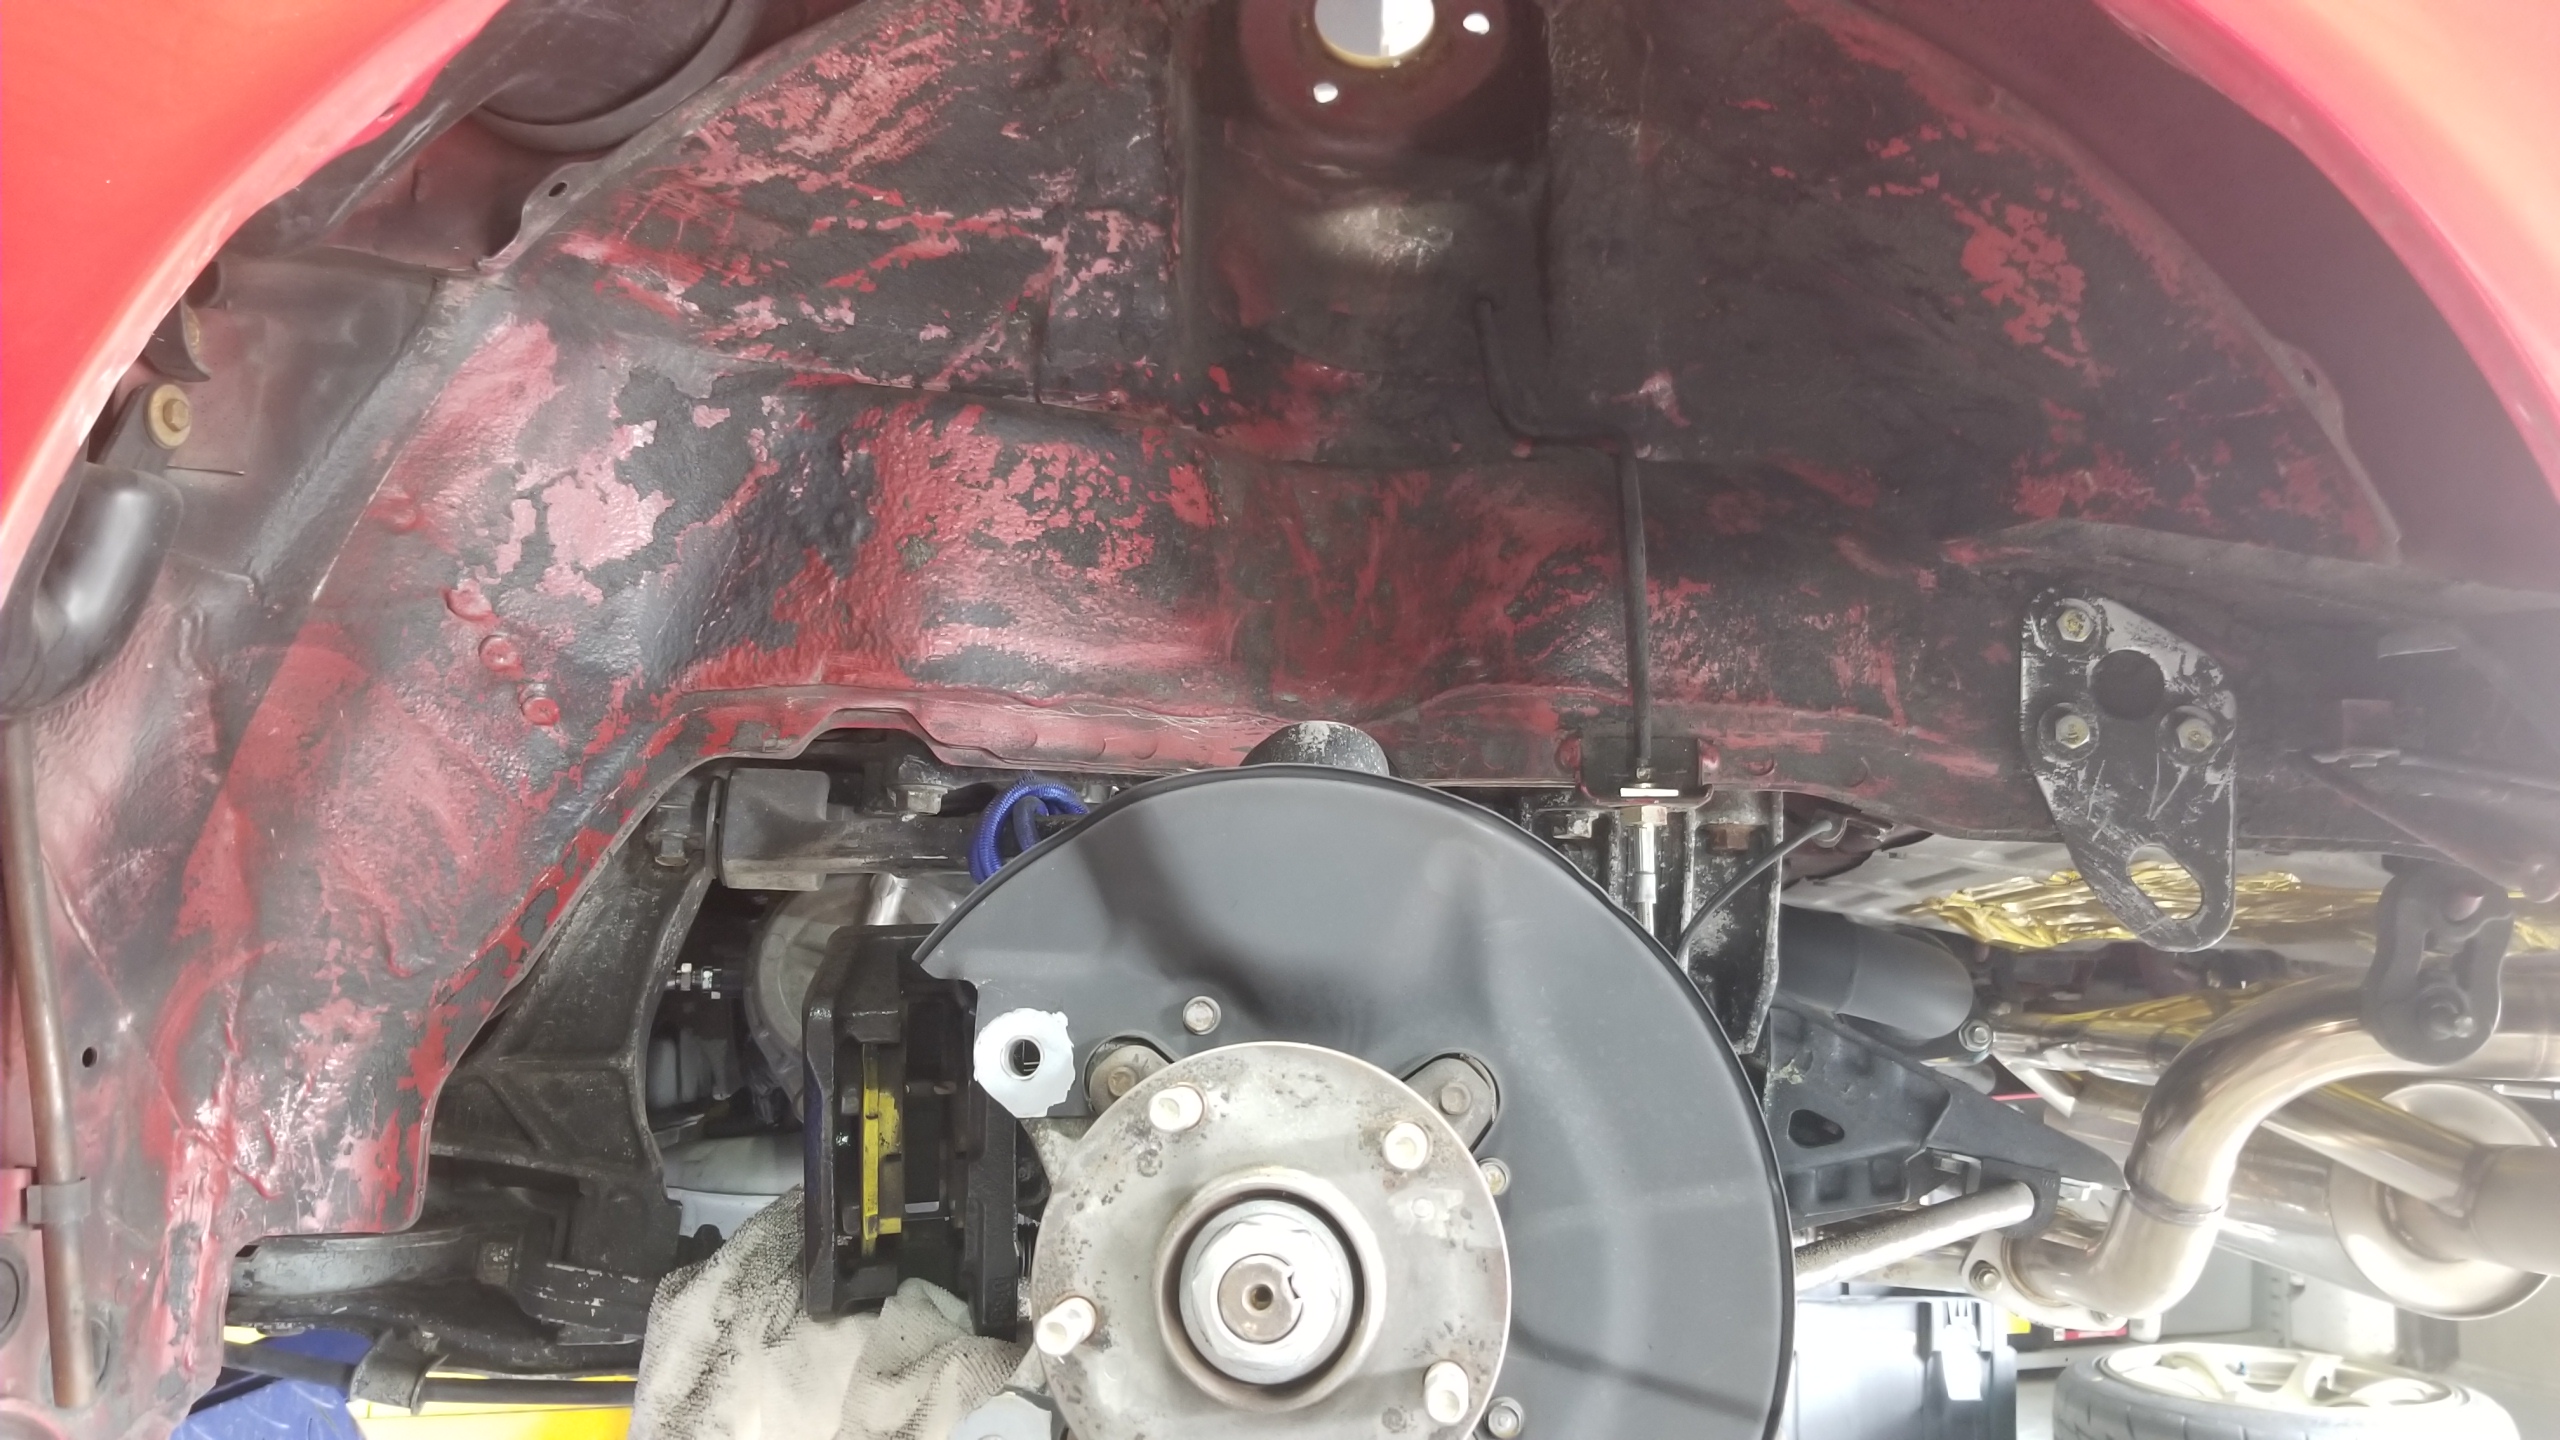
One, new front wheel bearings. I noticed they felt a bit loose during my brake job and ordered some relatively cheap Timken replacements. These are pretty much an exact fit down to the bearing part #'s and finish on the hub studs so I'll definitely be using them for the rears when that happens.
uX3woo0.jpg


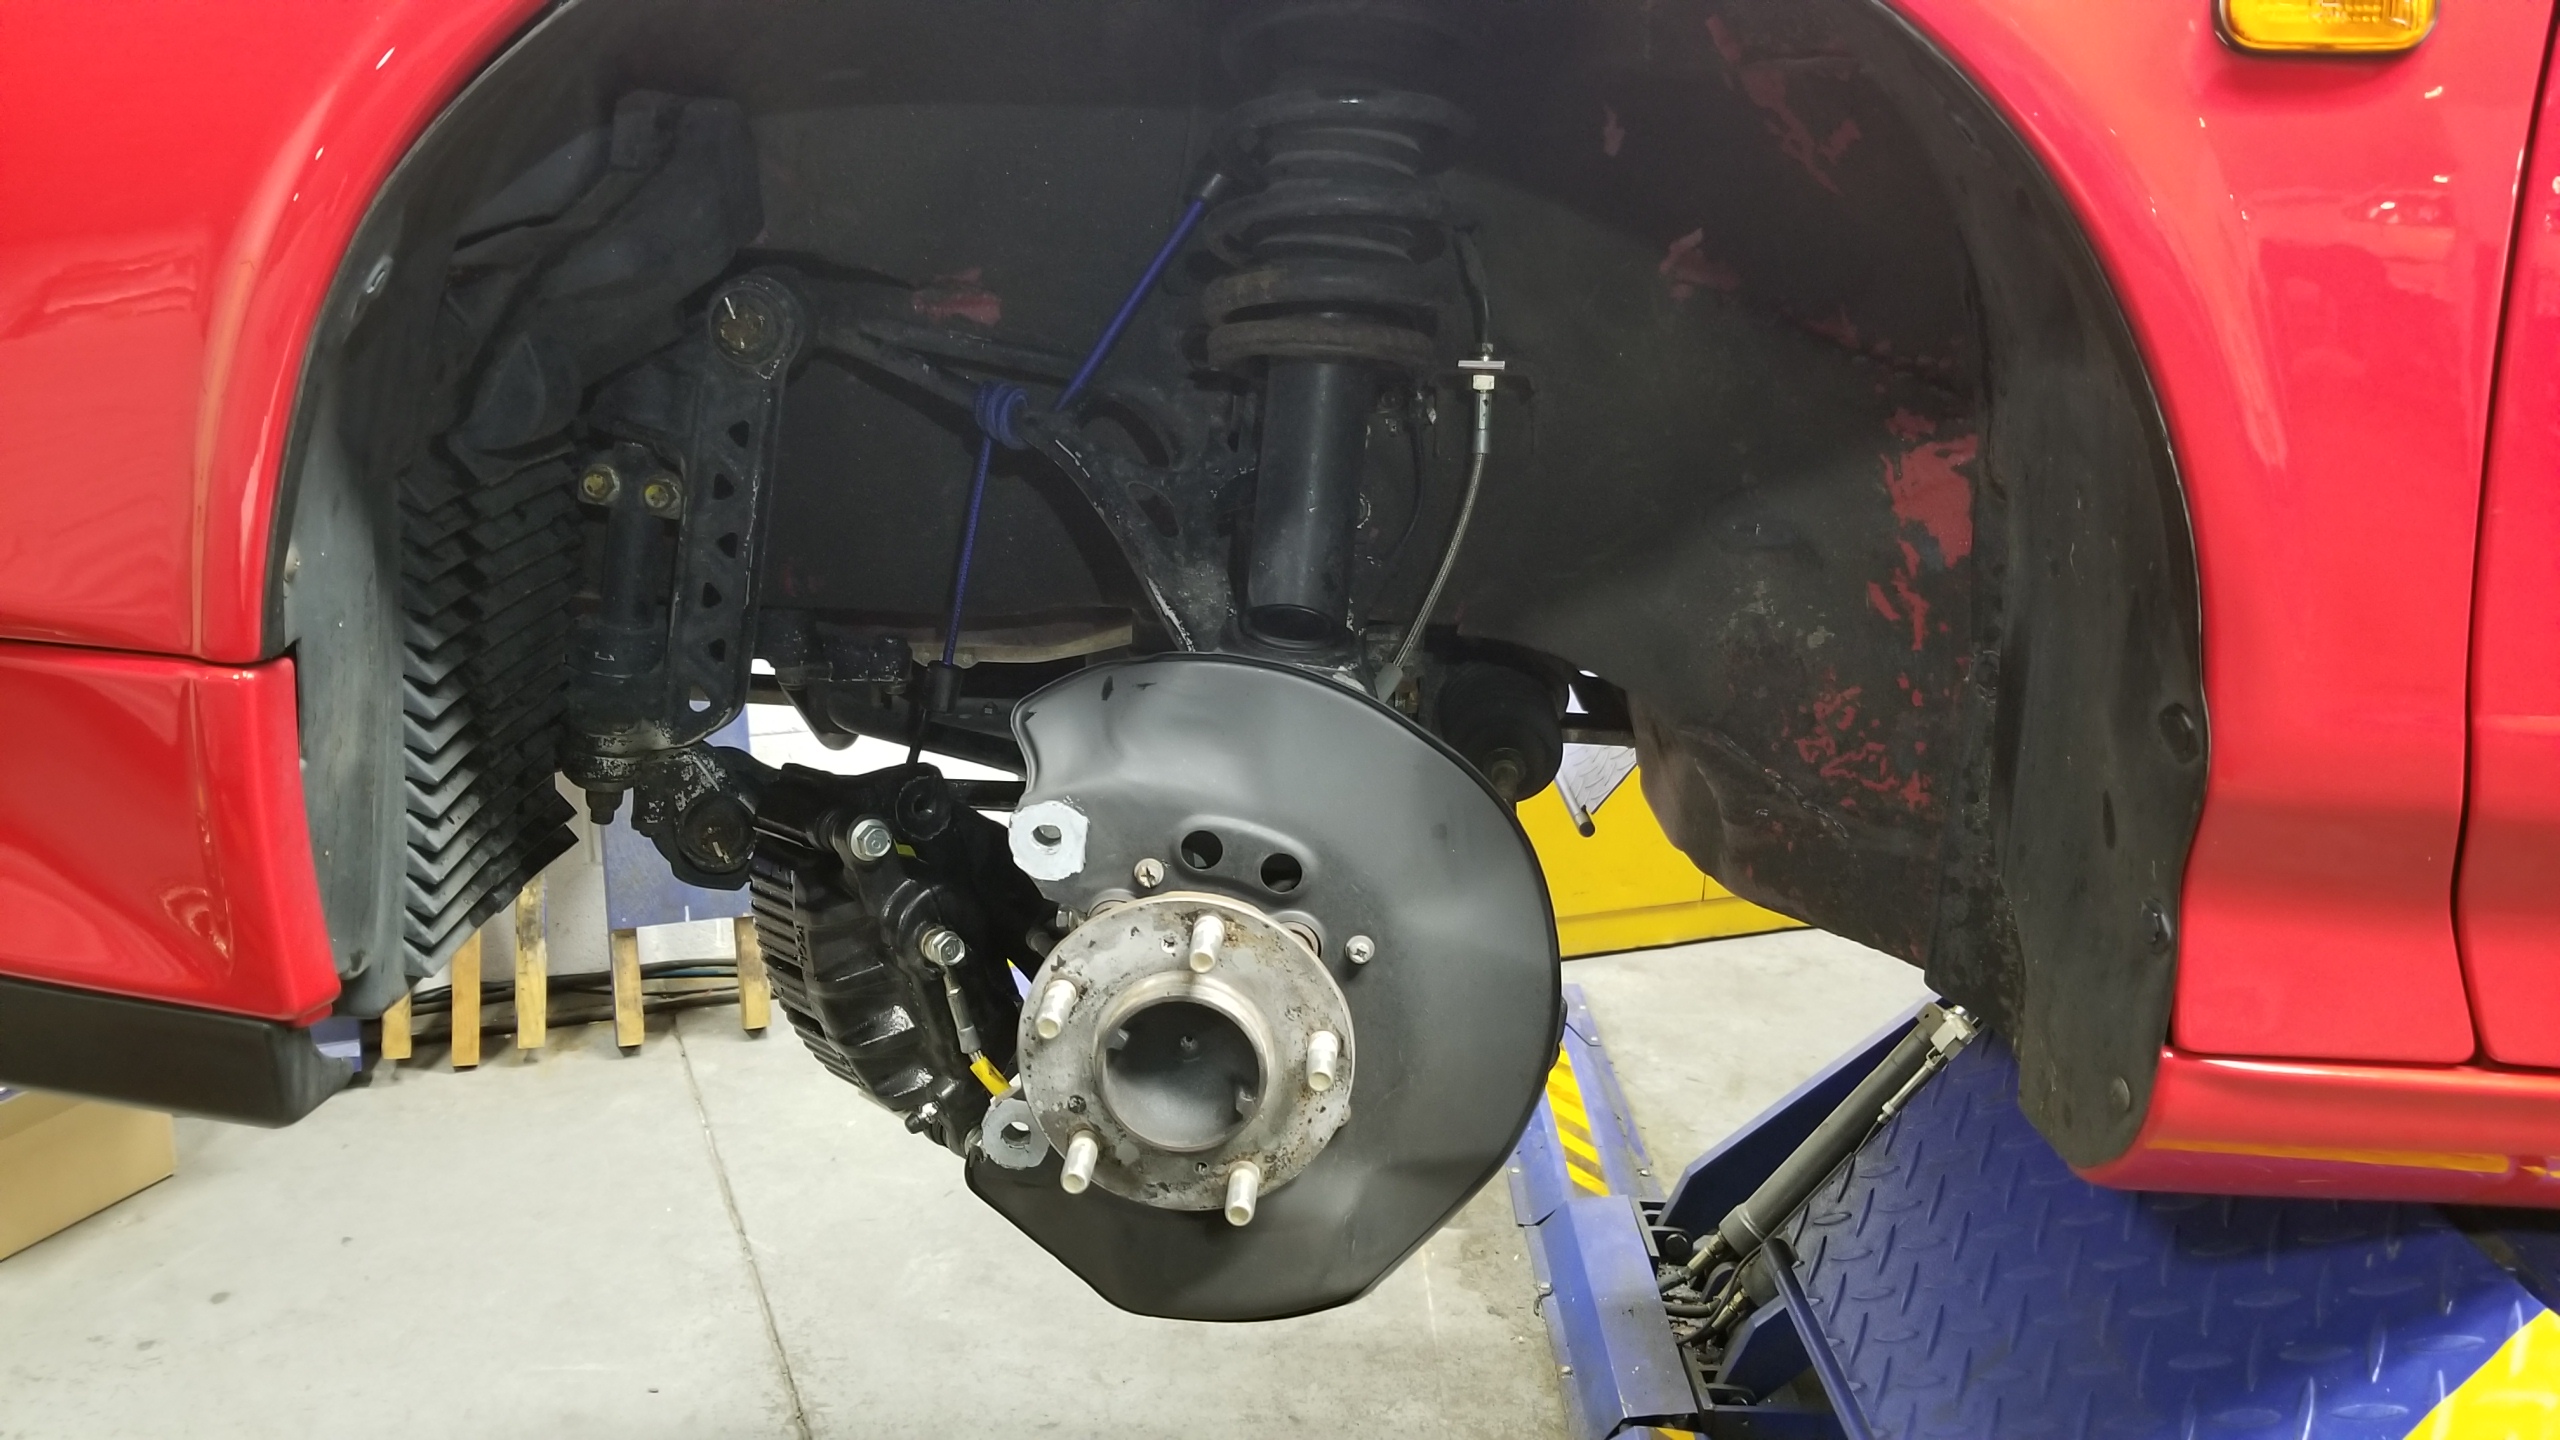
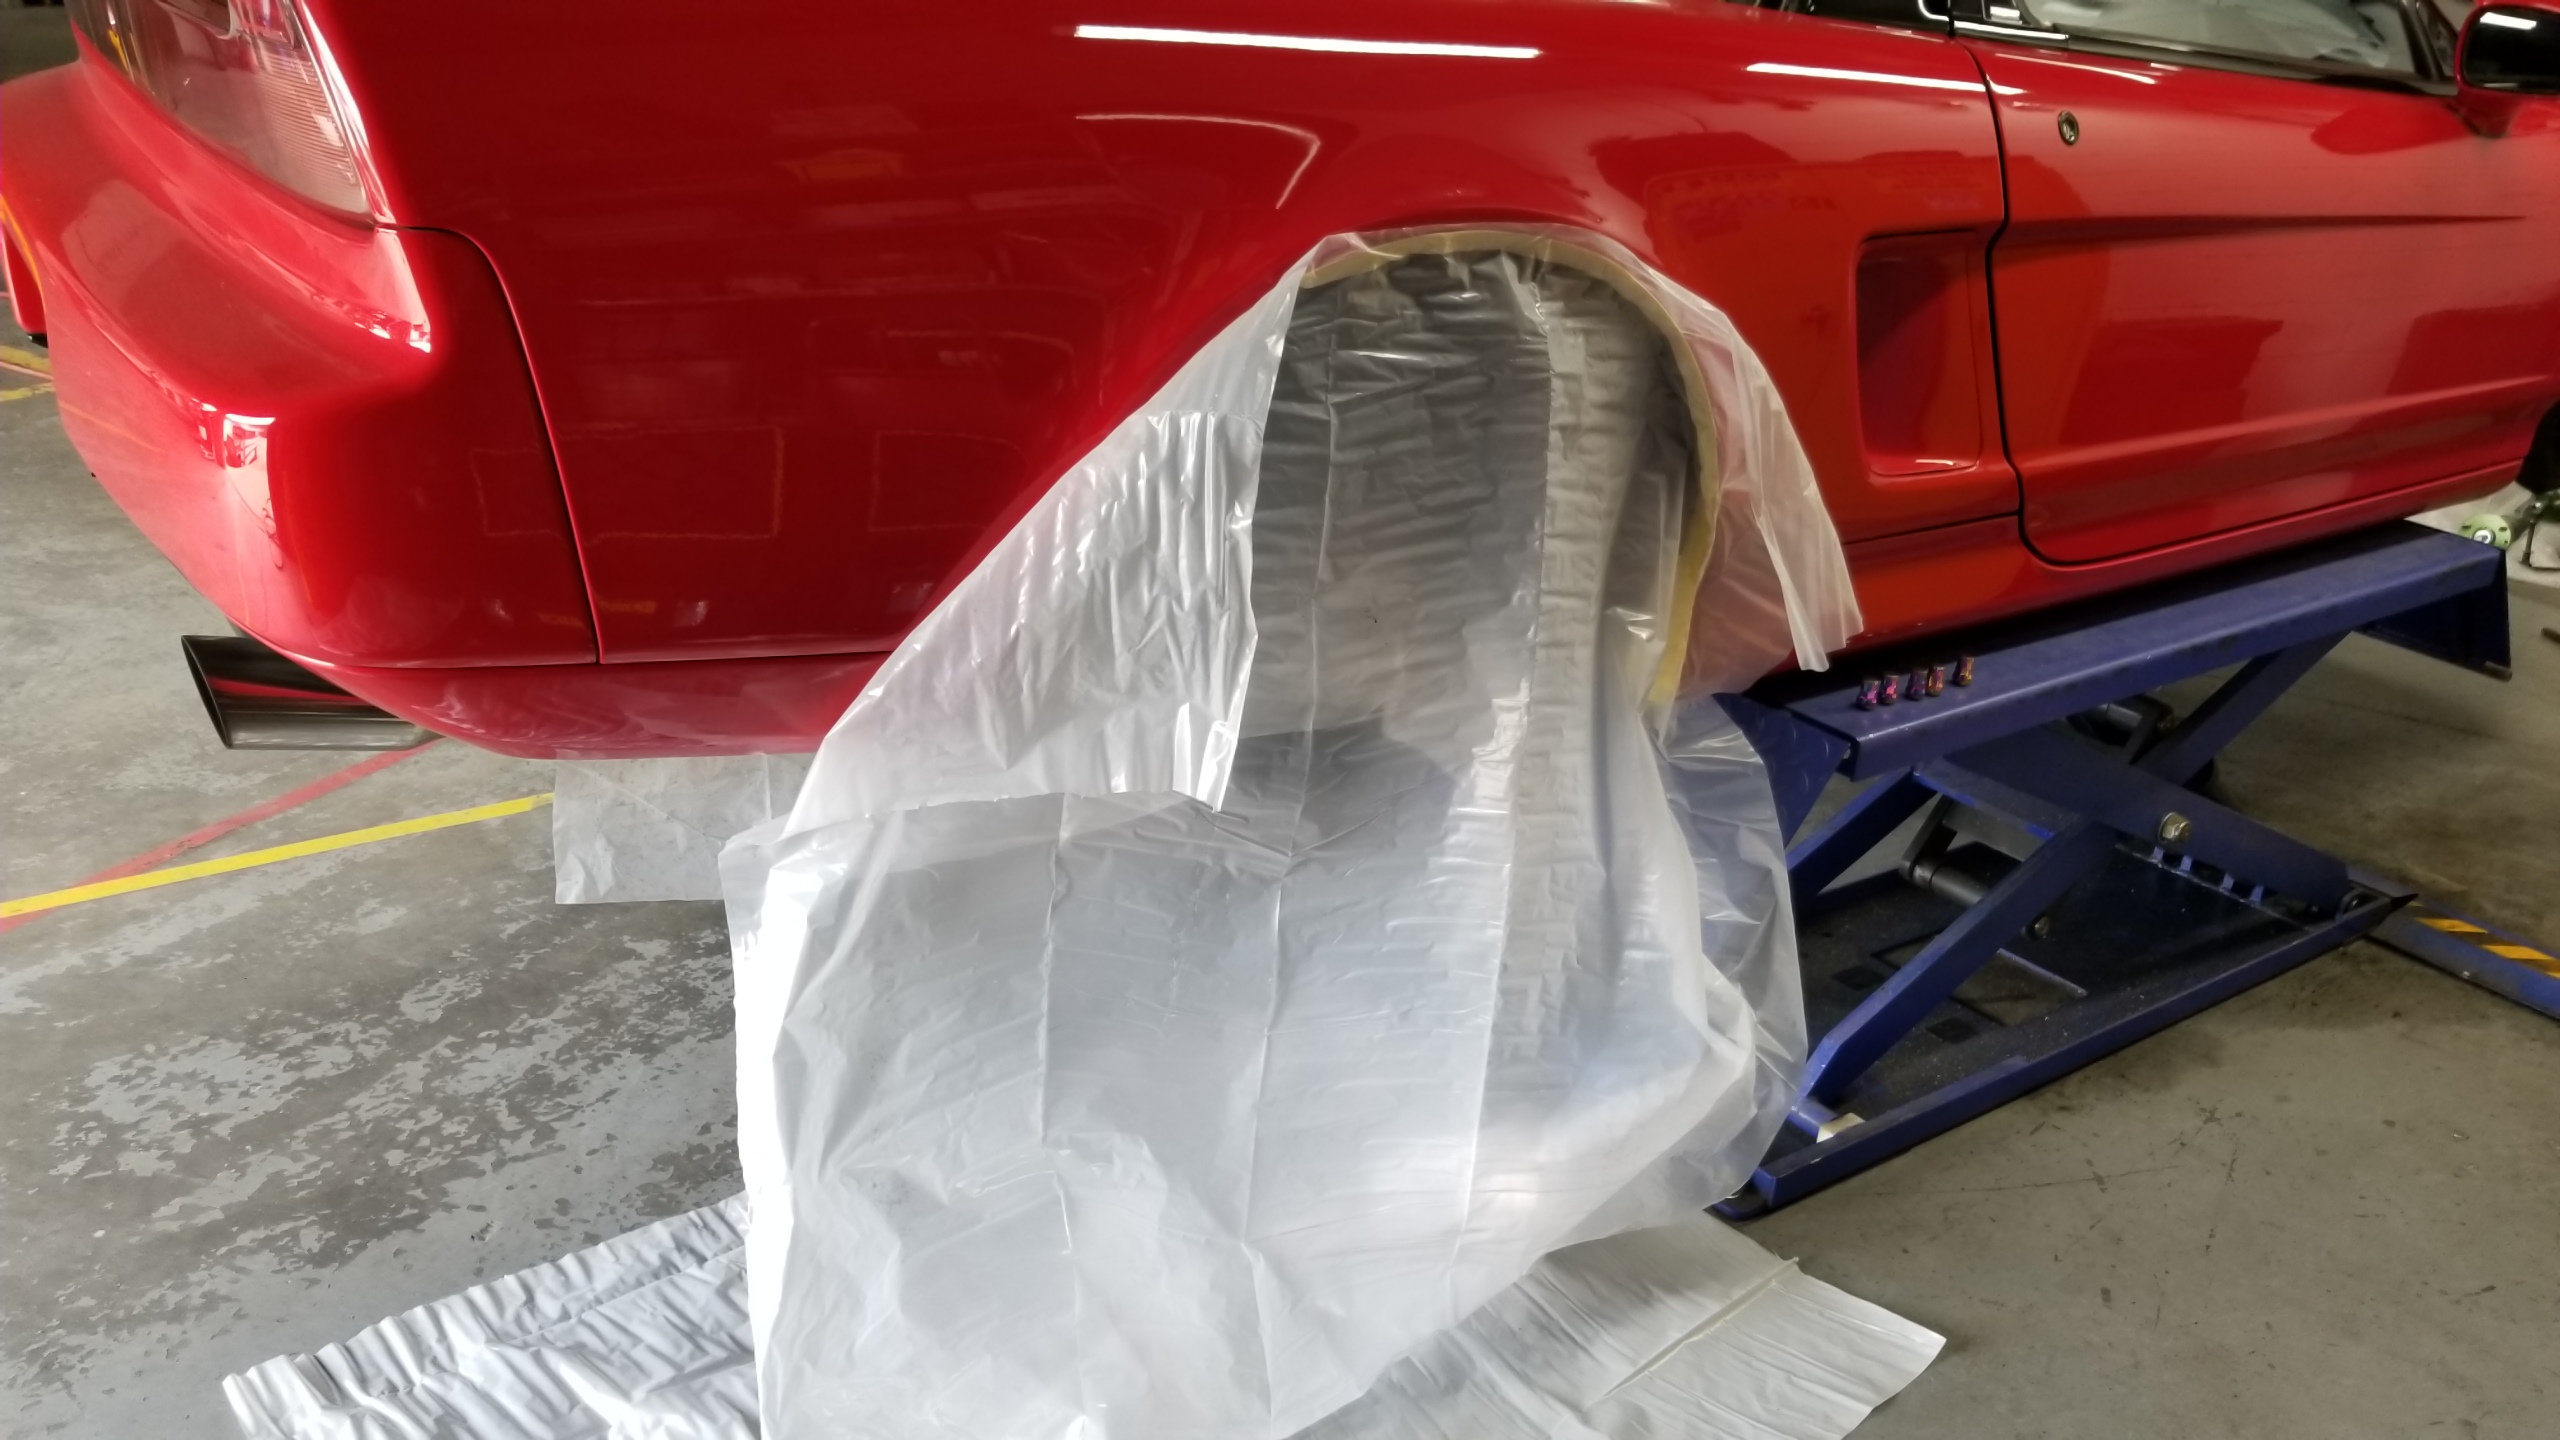
Here's a shot of the FL side before I begin. Classic peeling undercoating and faded fender liners.
MZYWJcP.jpg


Fender liner removed.
pDX3cEf.jpg


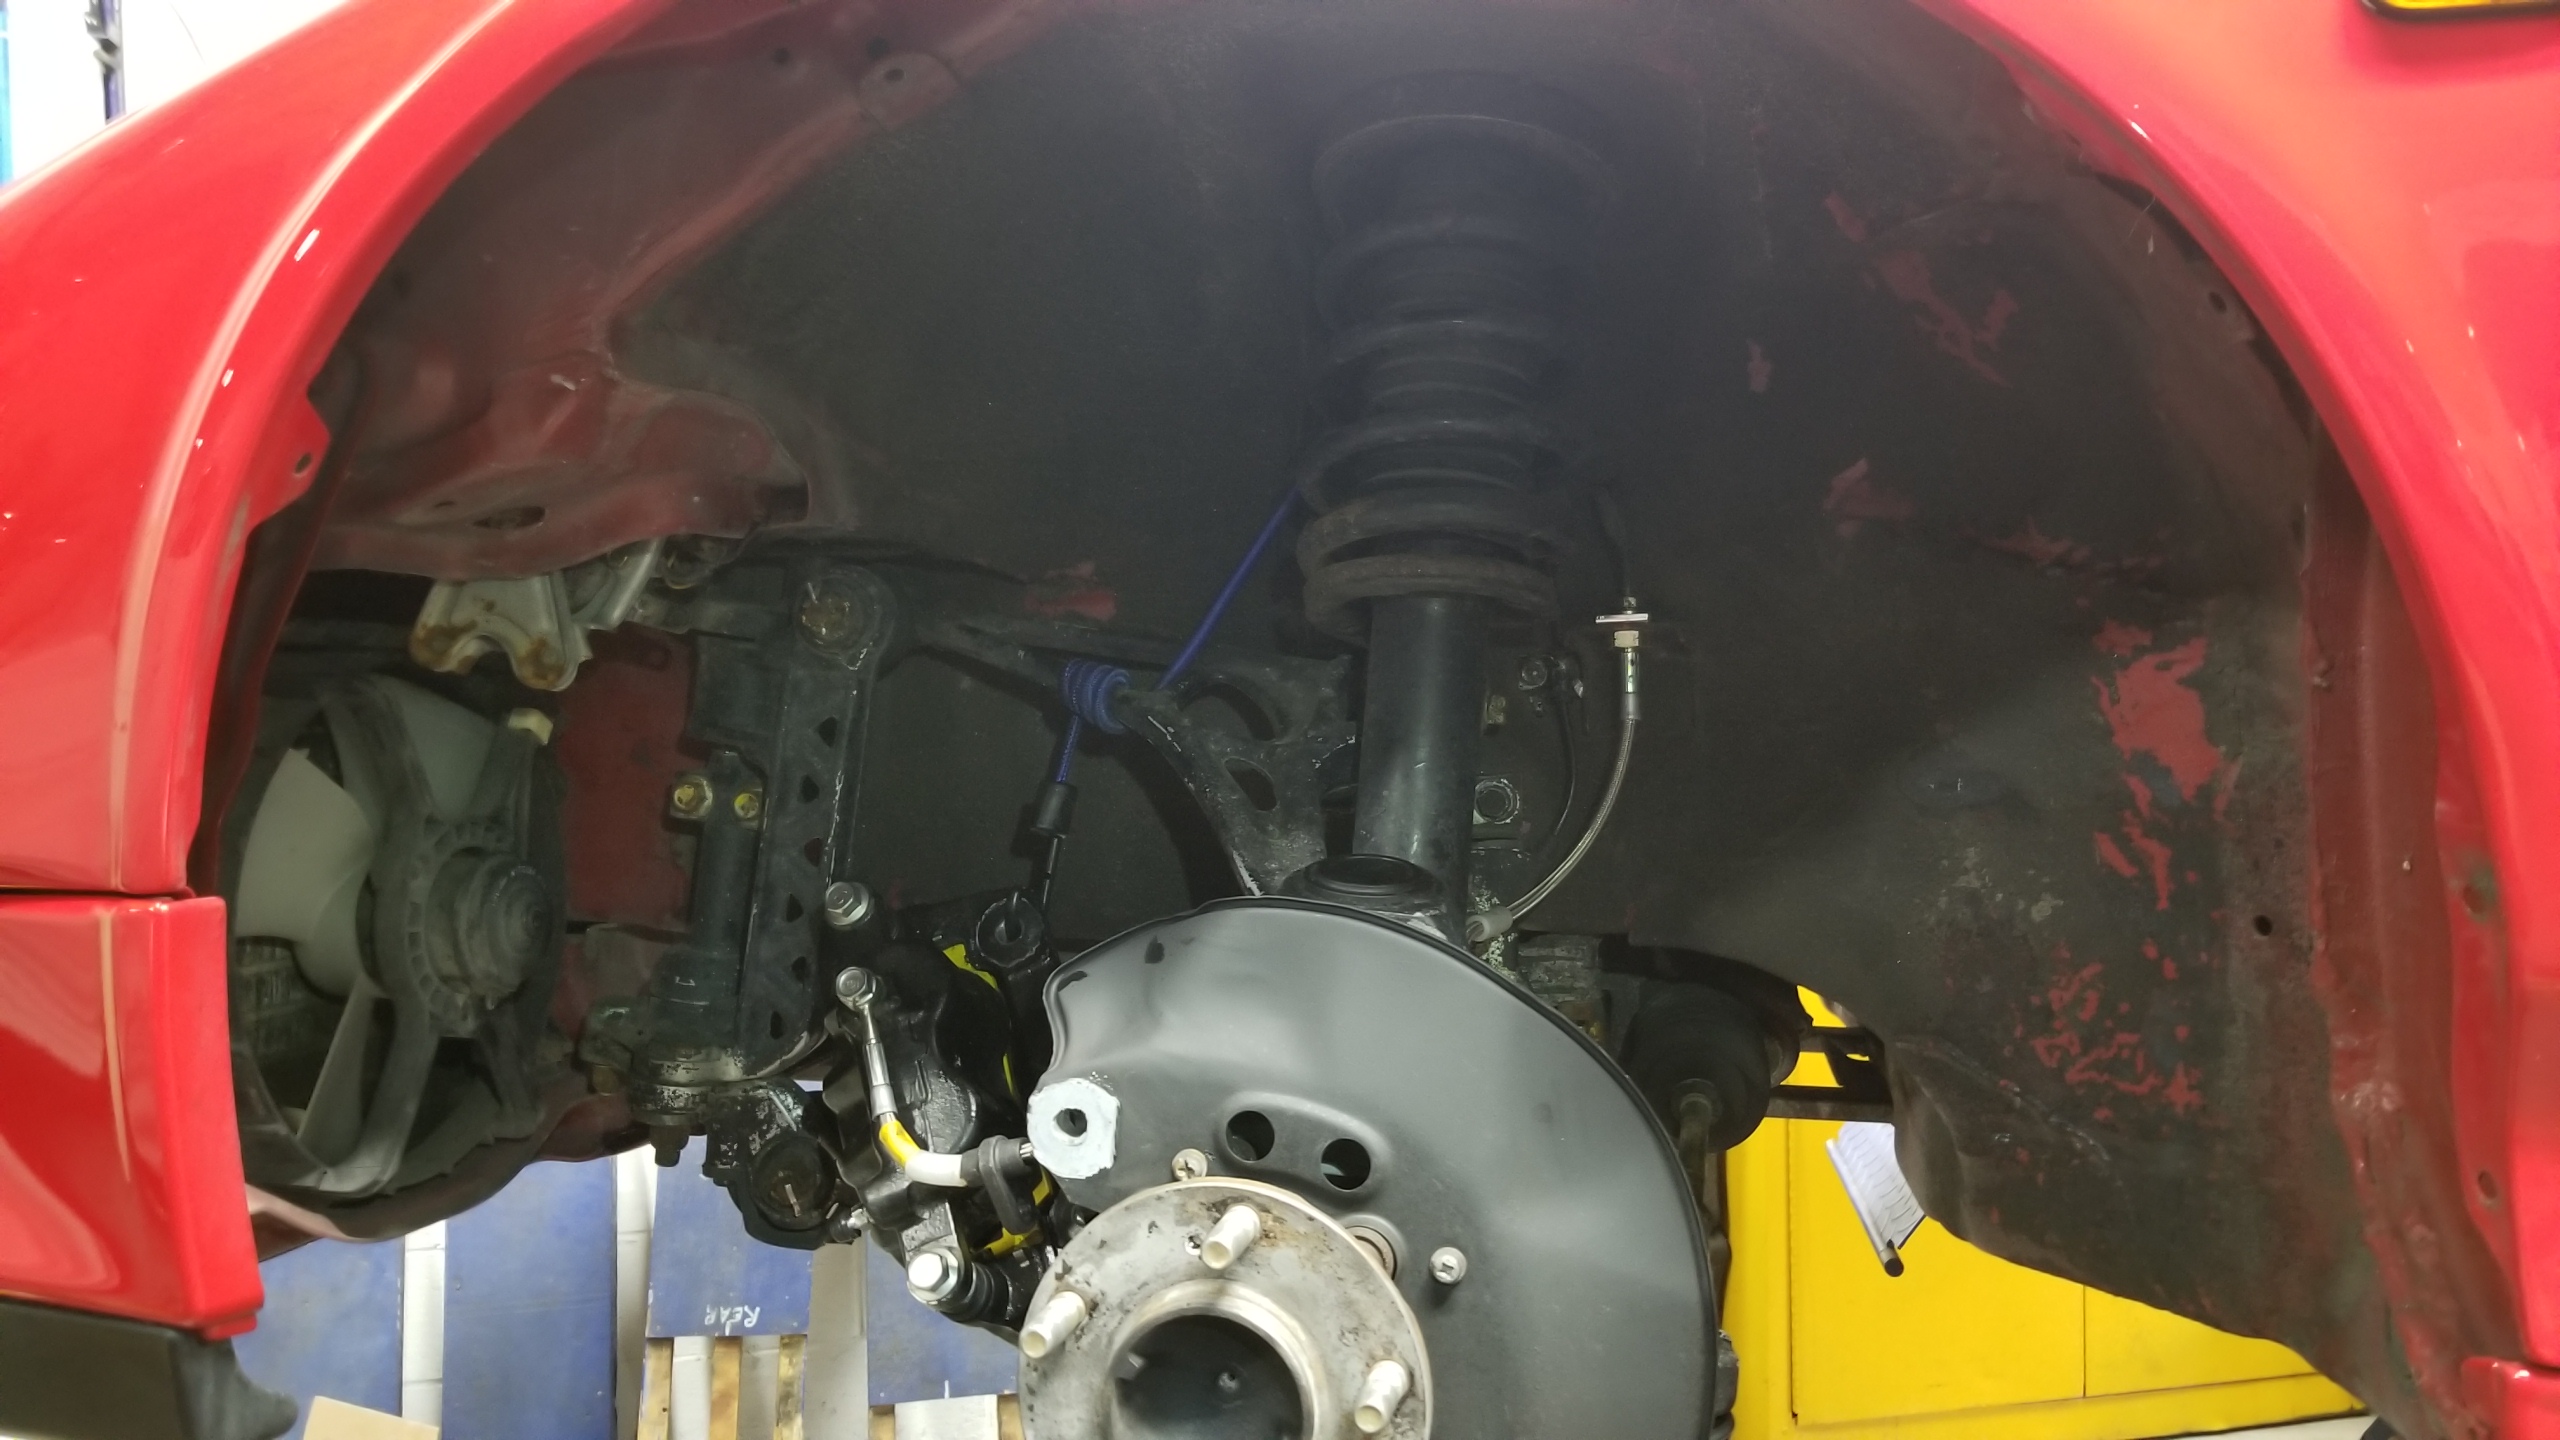
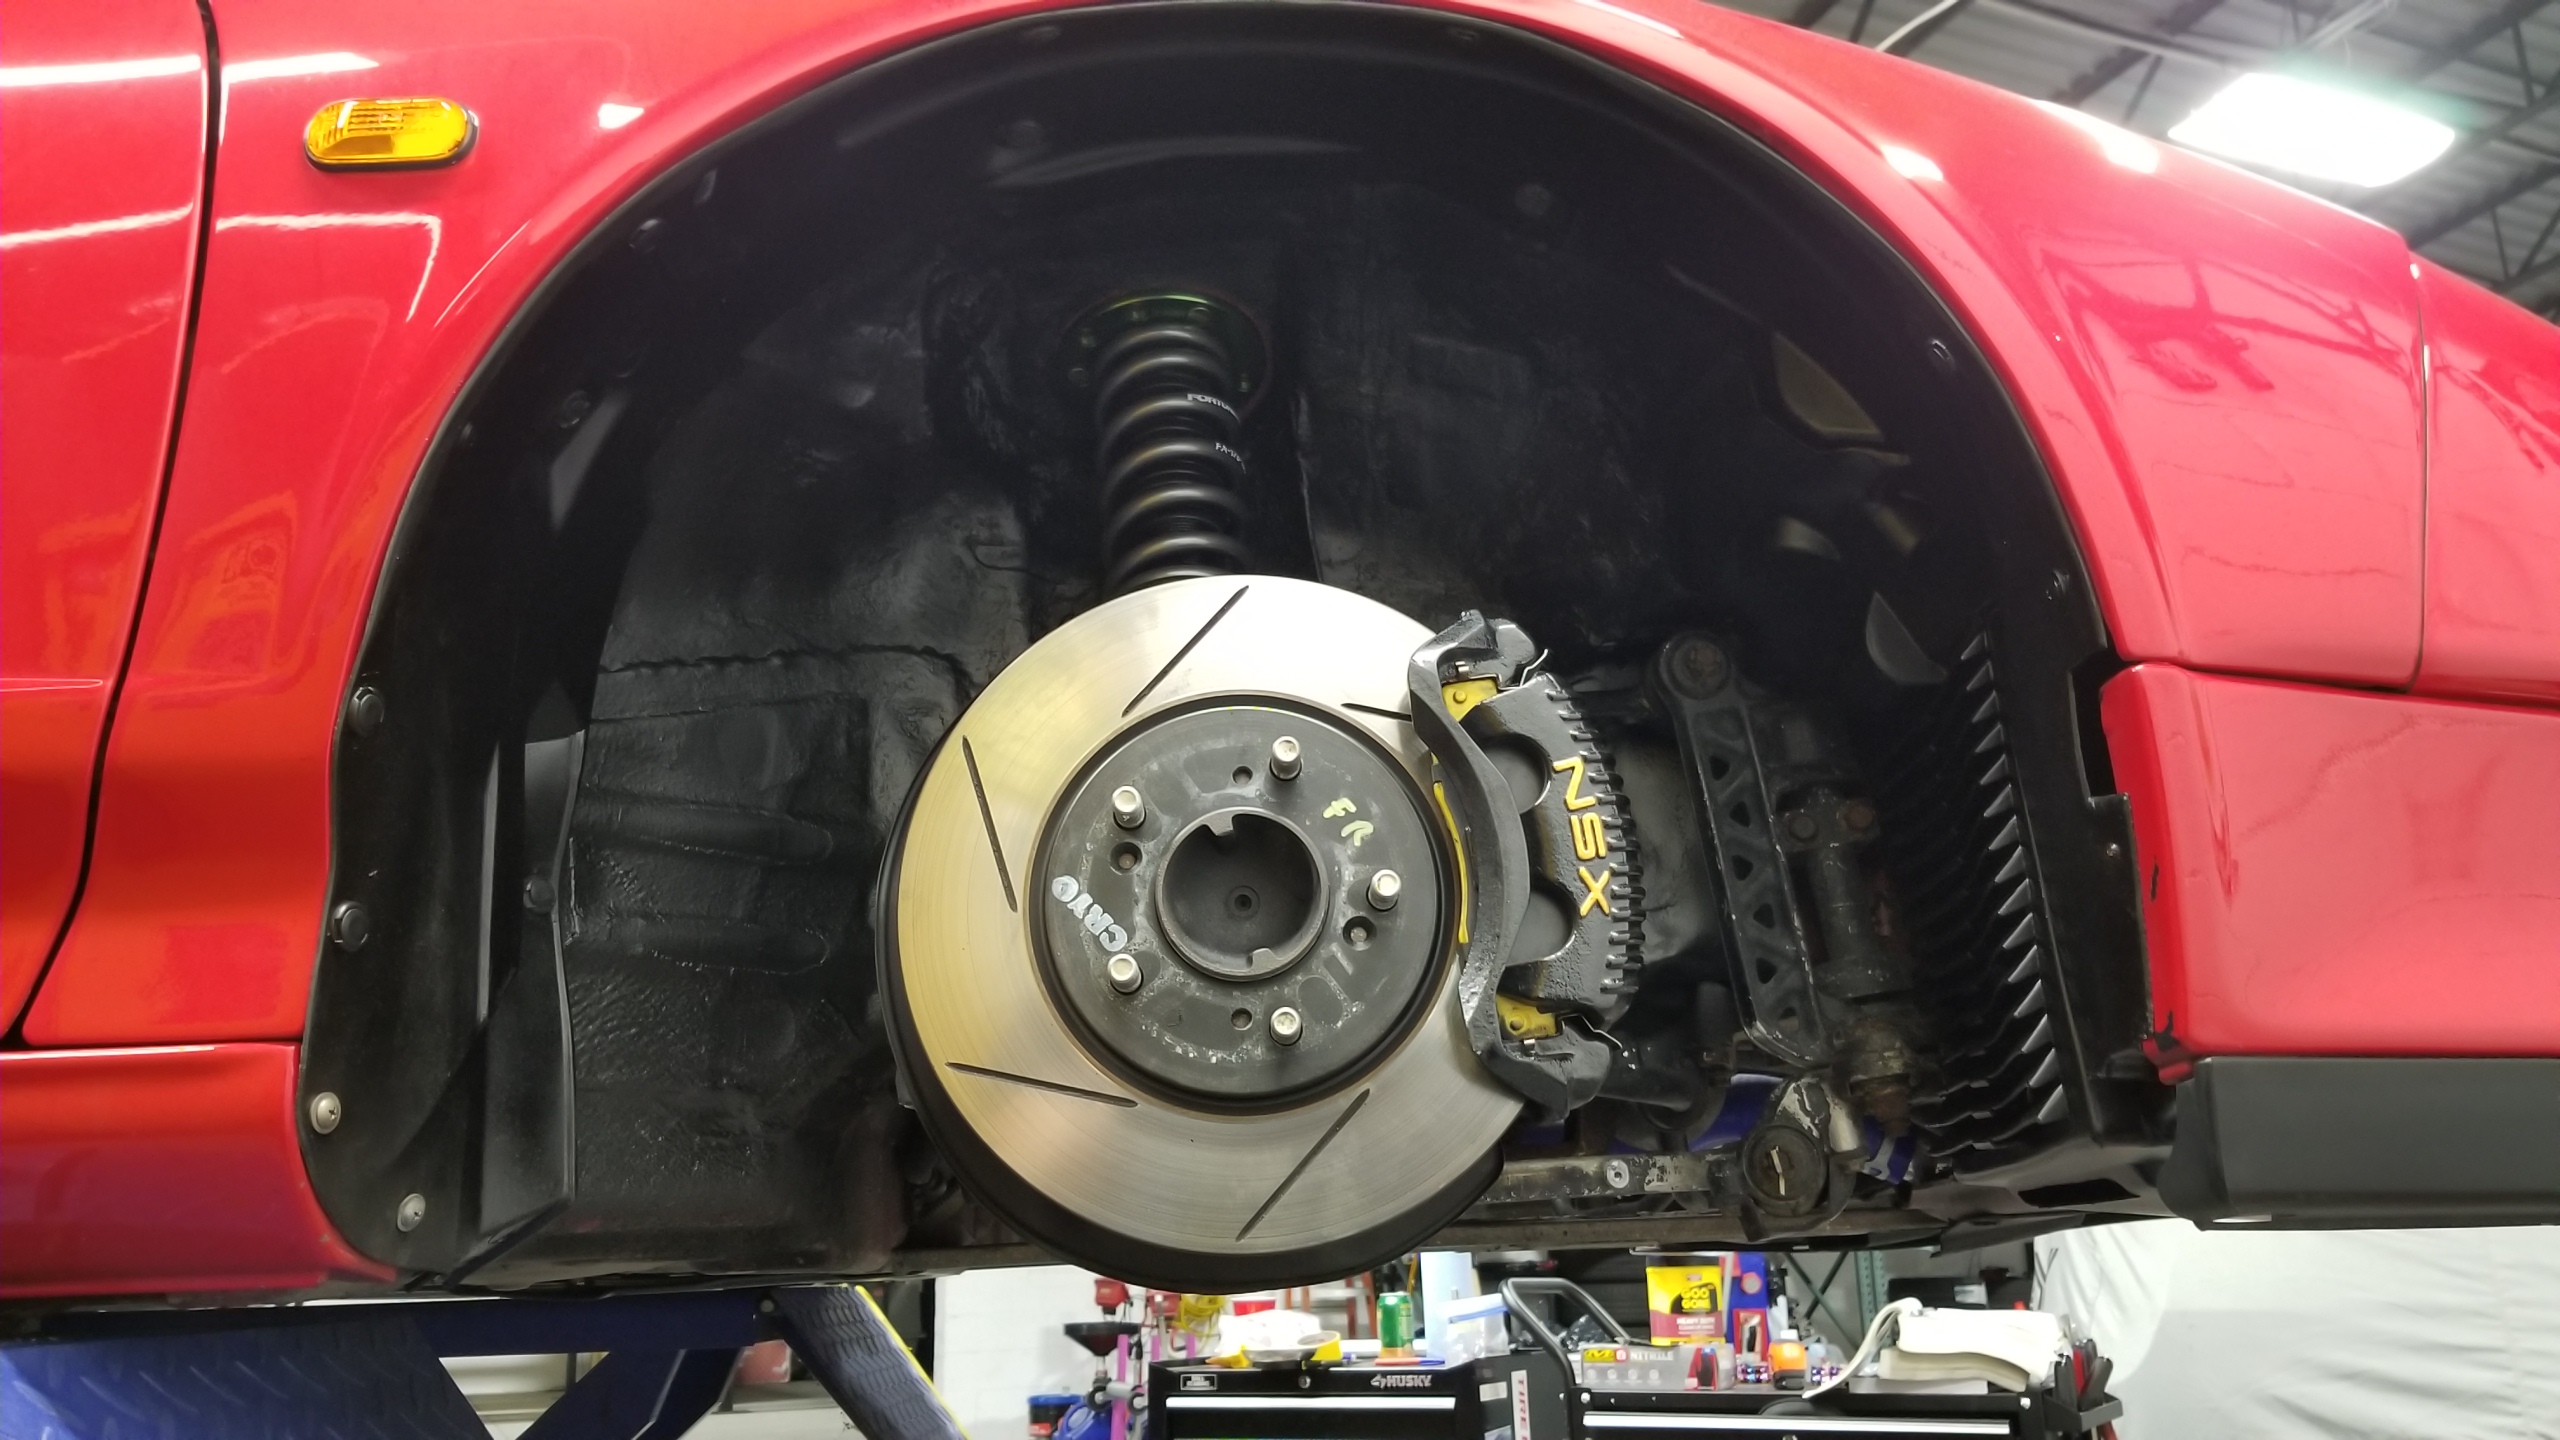
Same for the FR side. I was half expecting a horror show underneath but I actually didn't find anything that concerning. One or two loose bolts sitting around and the bottom of the AC condenser has some crushed fins but everything looks fine. Not perfect, but fine.
OvBiyRI.jpg


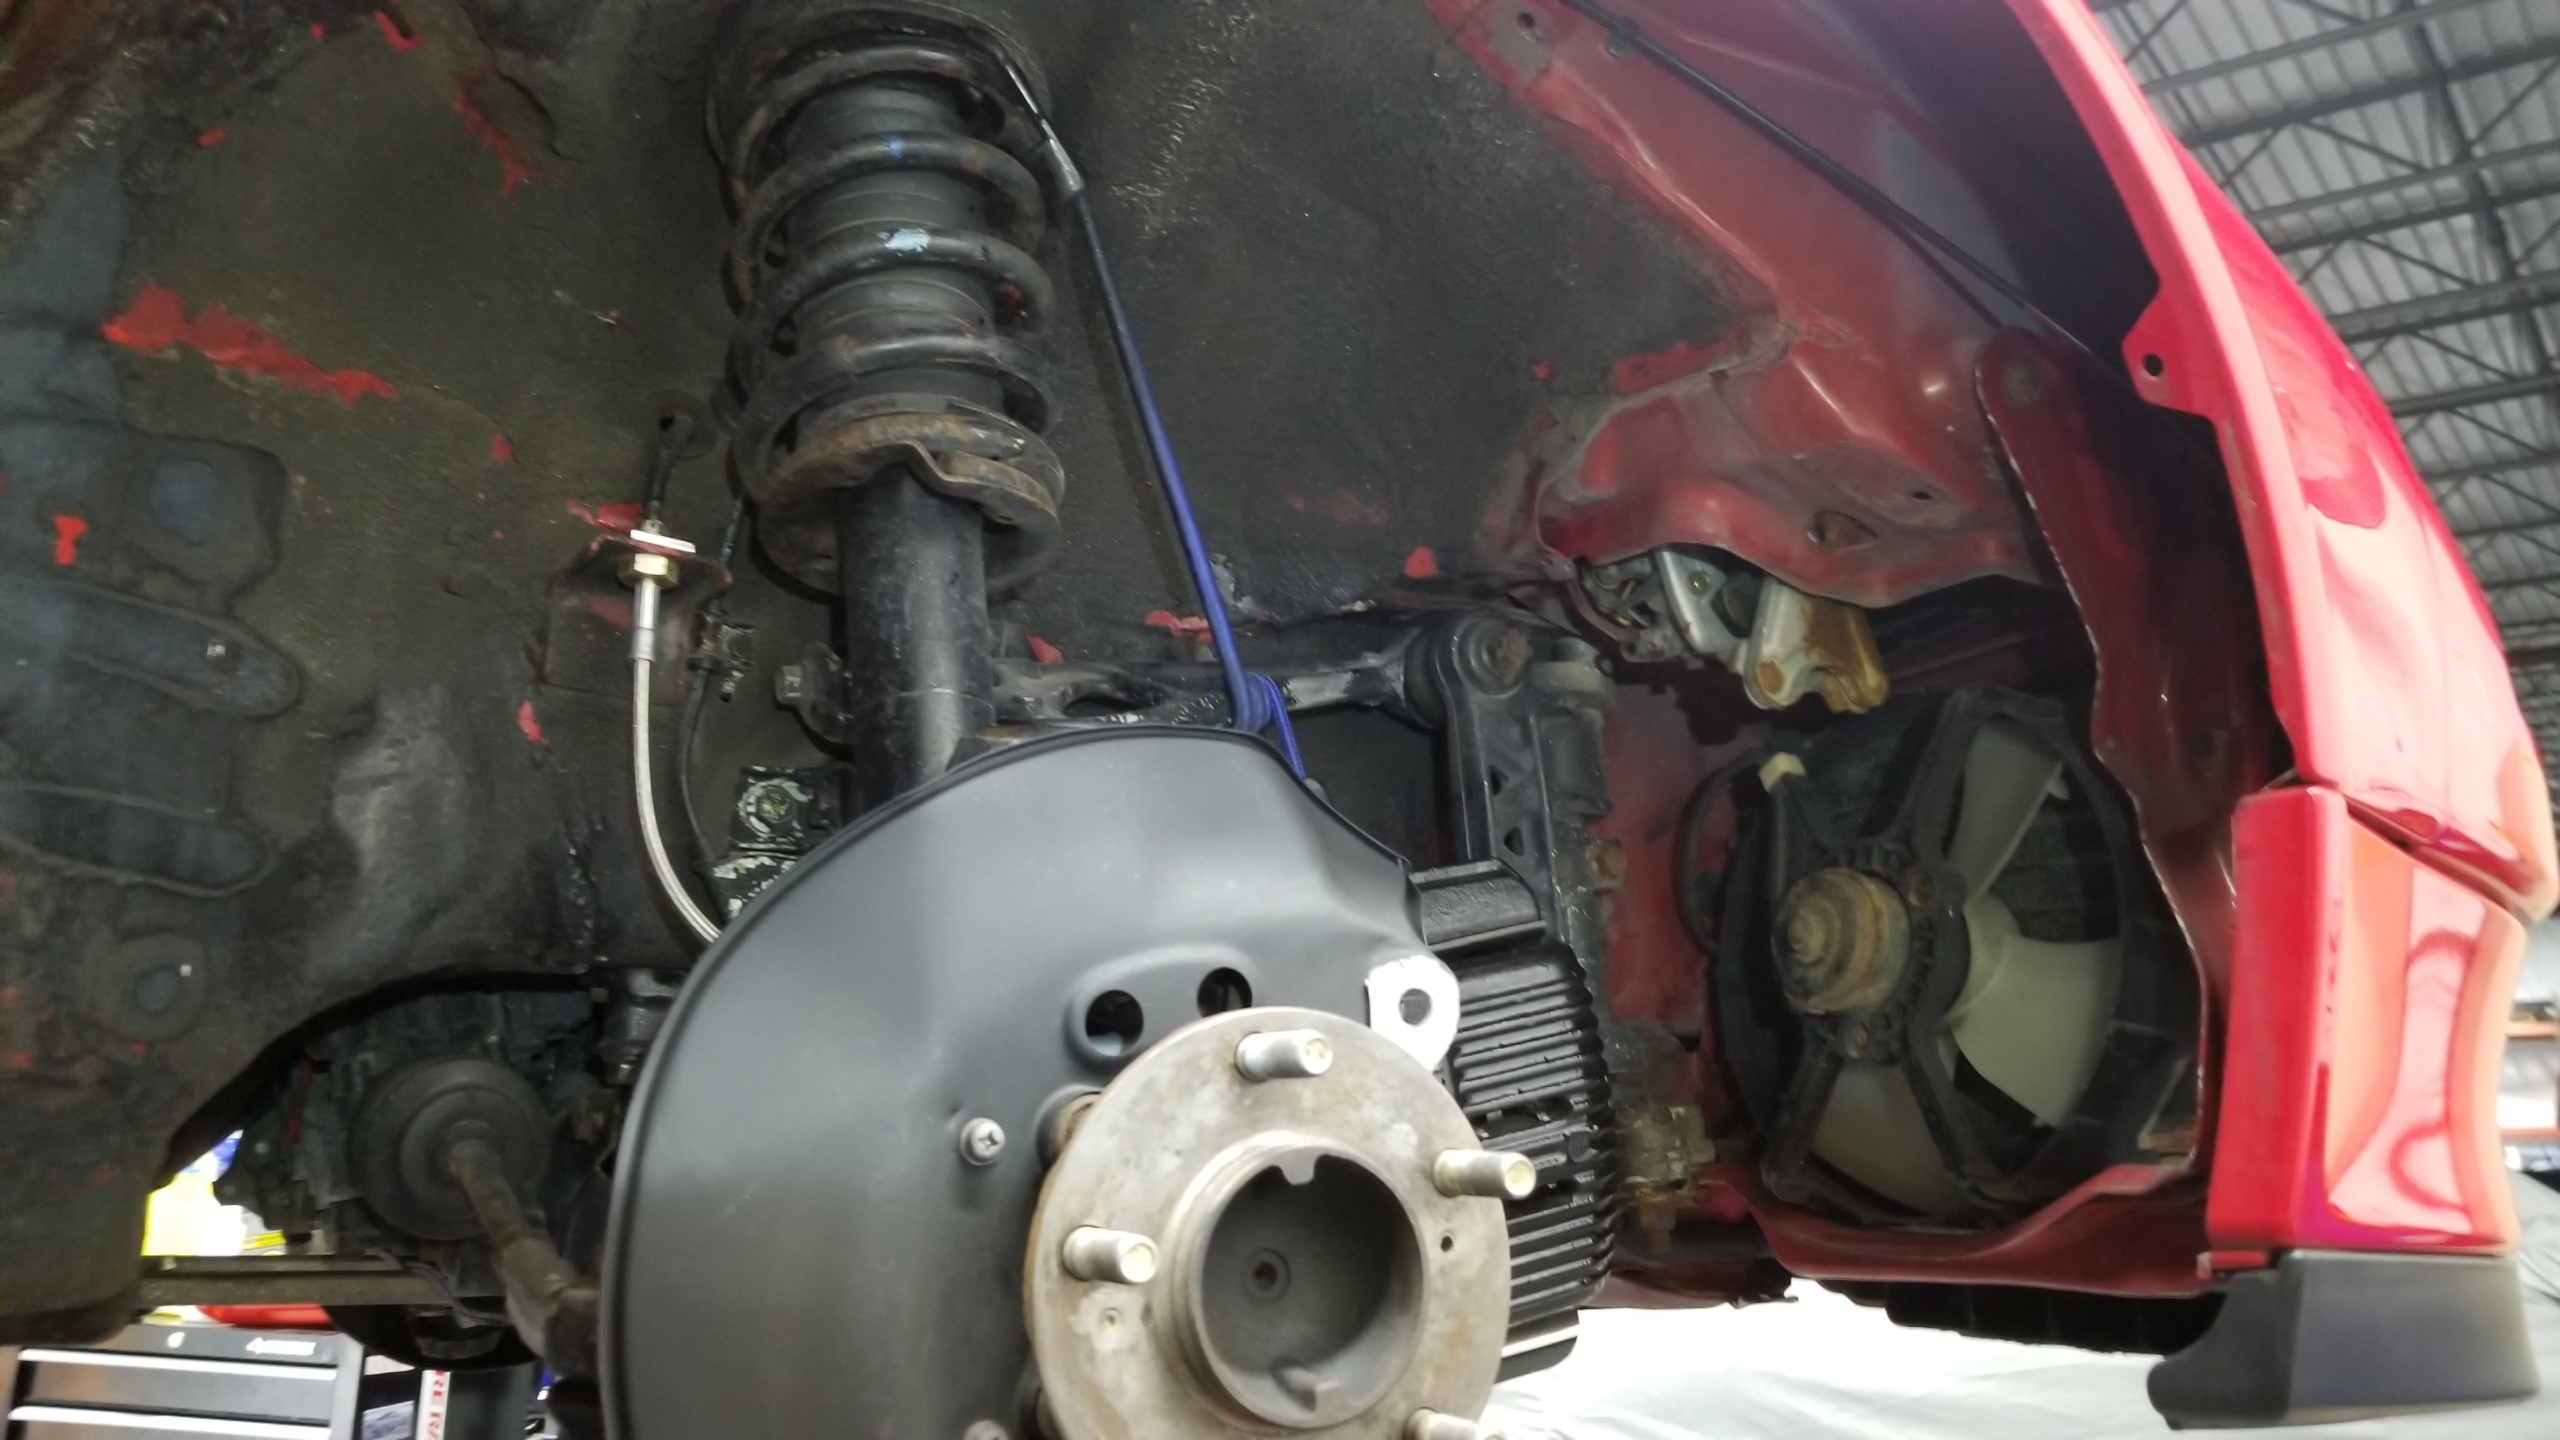
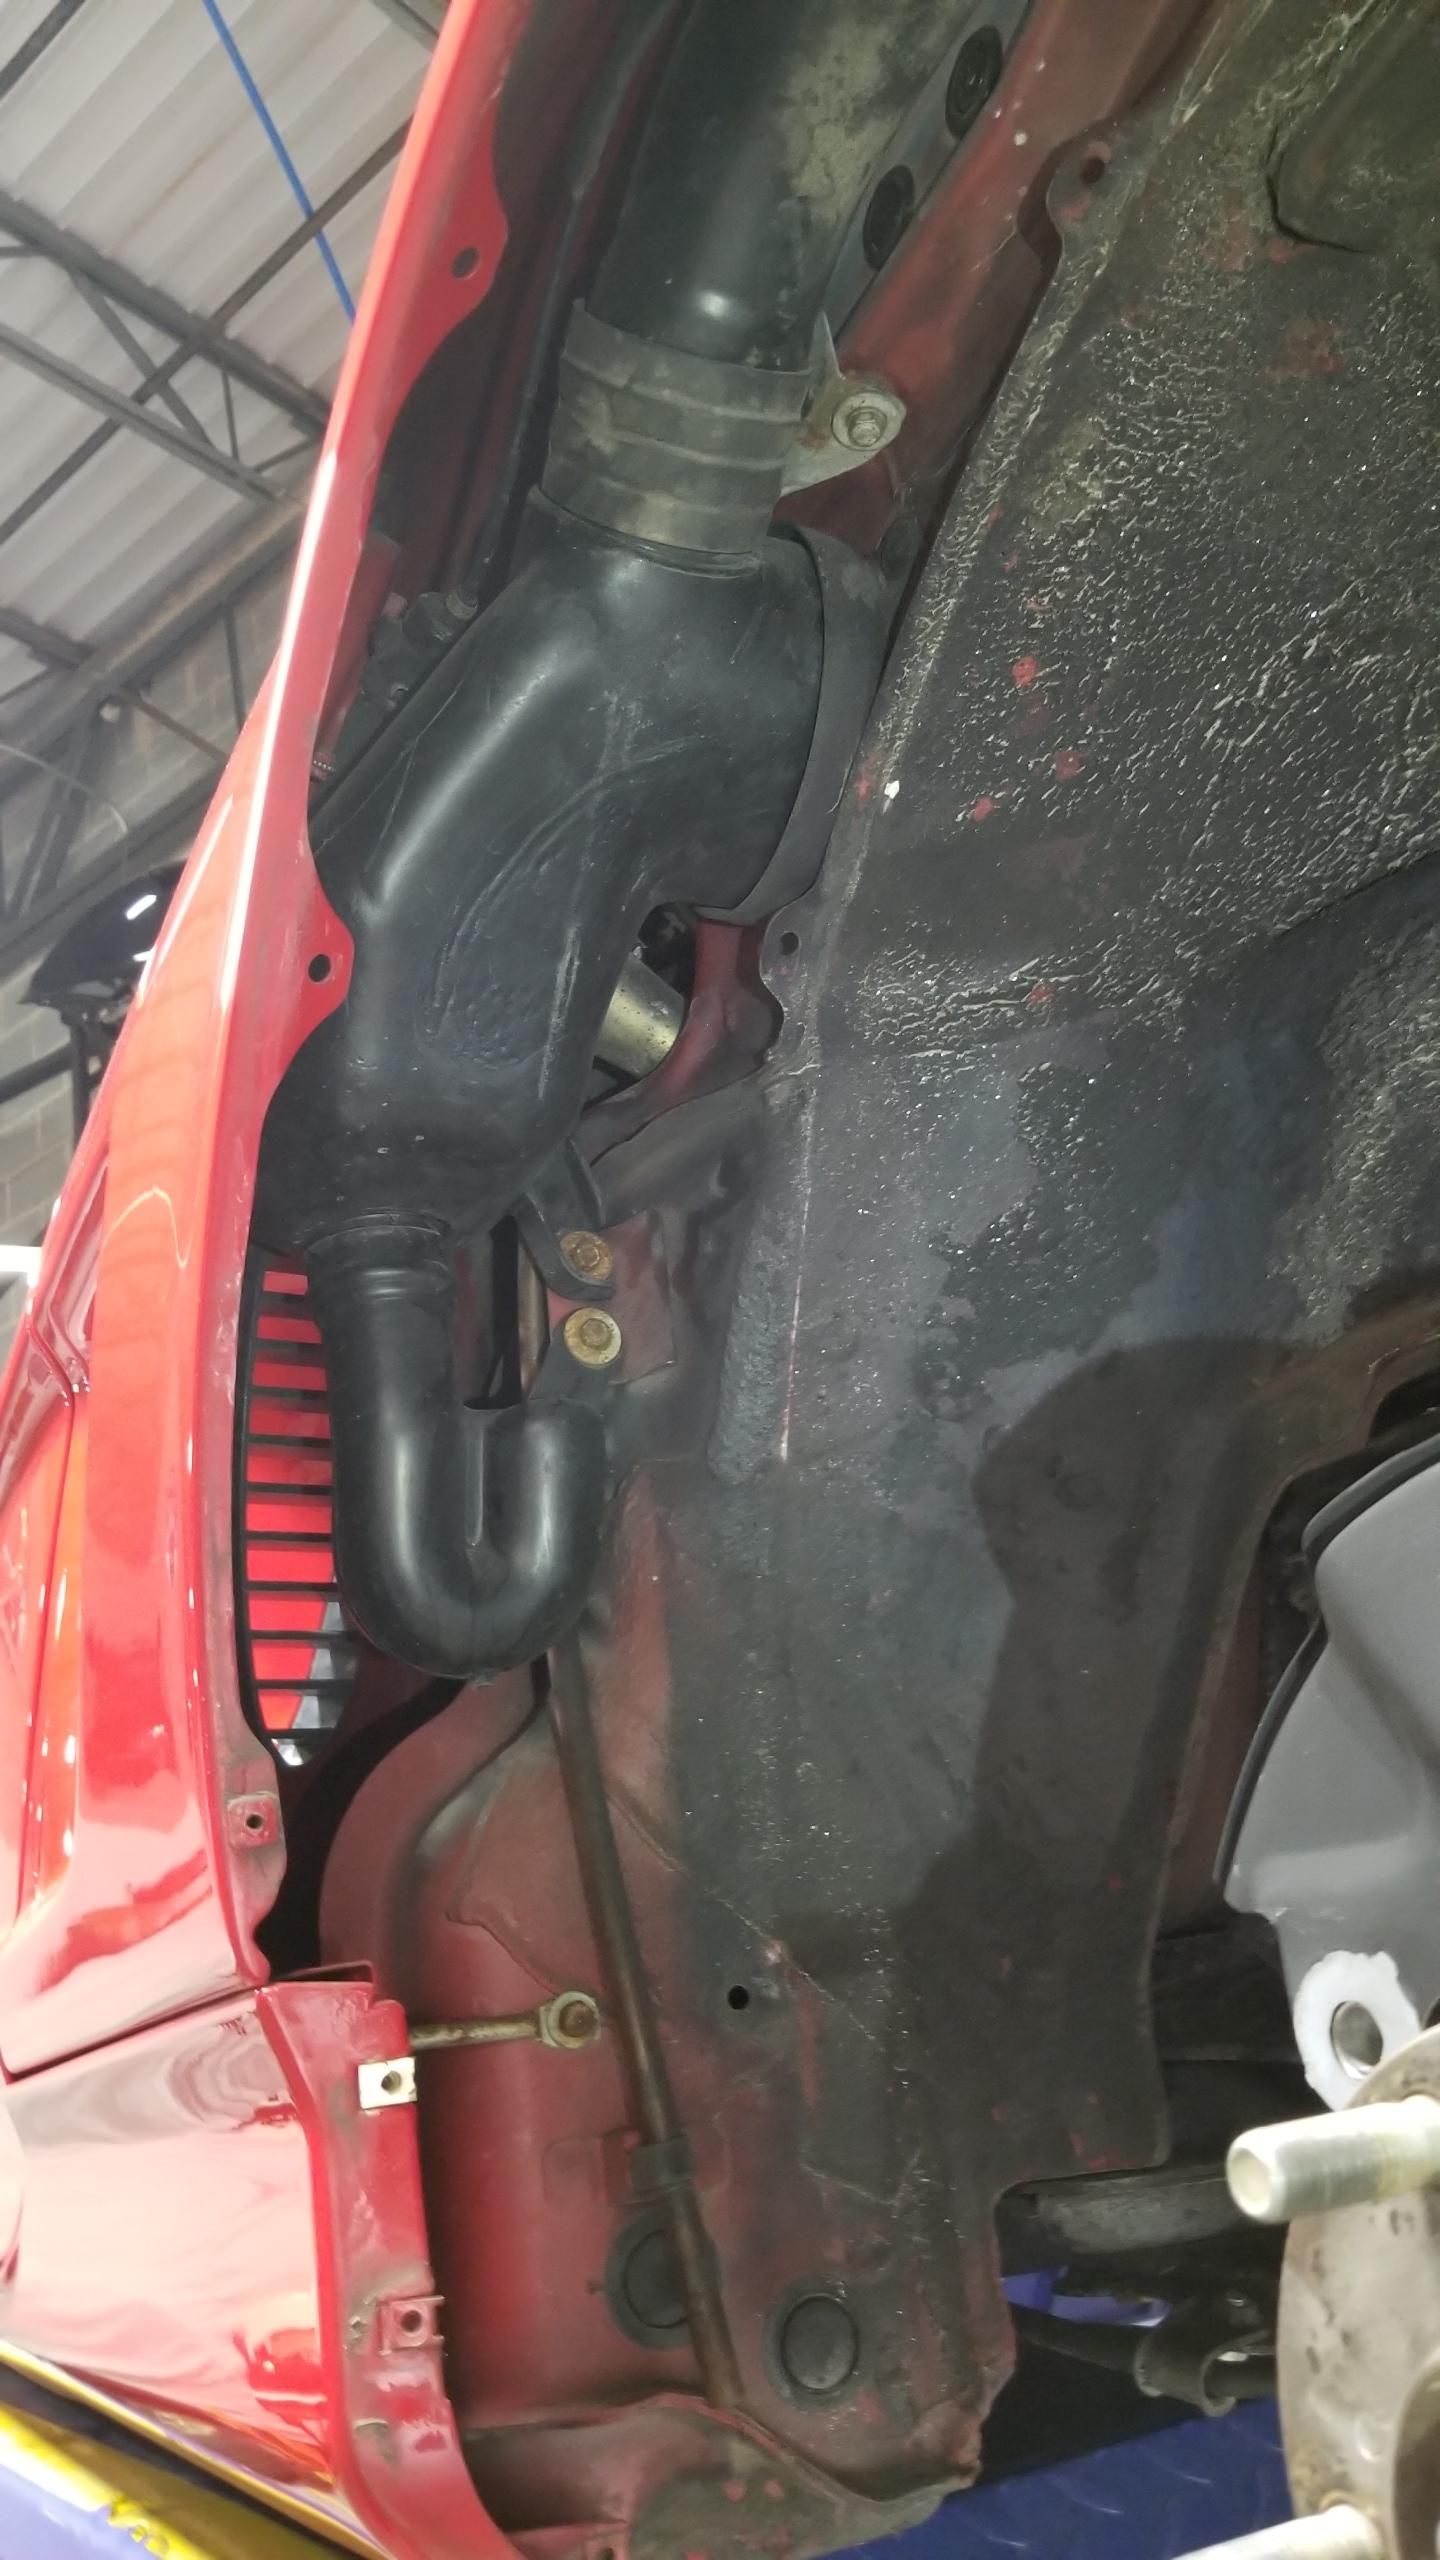
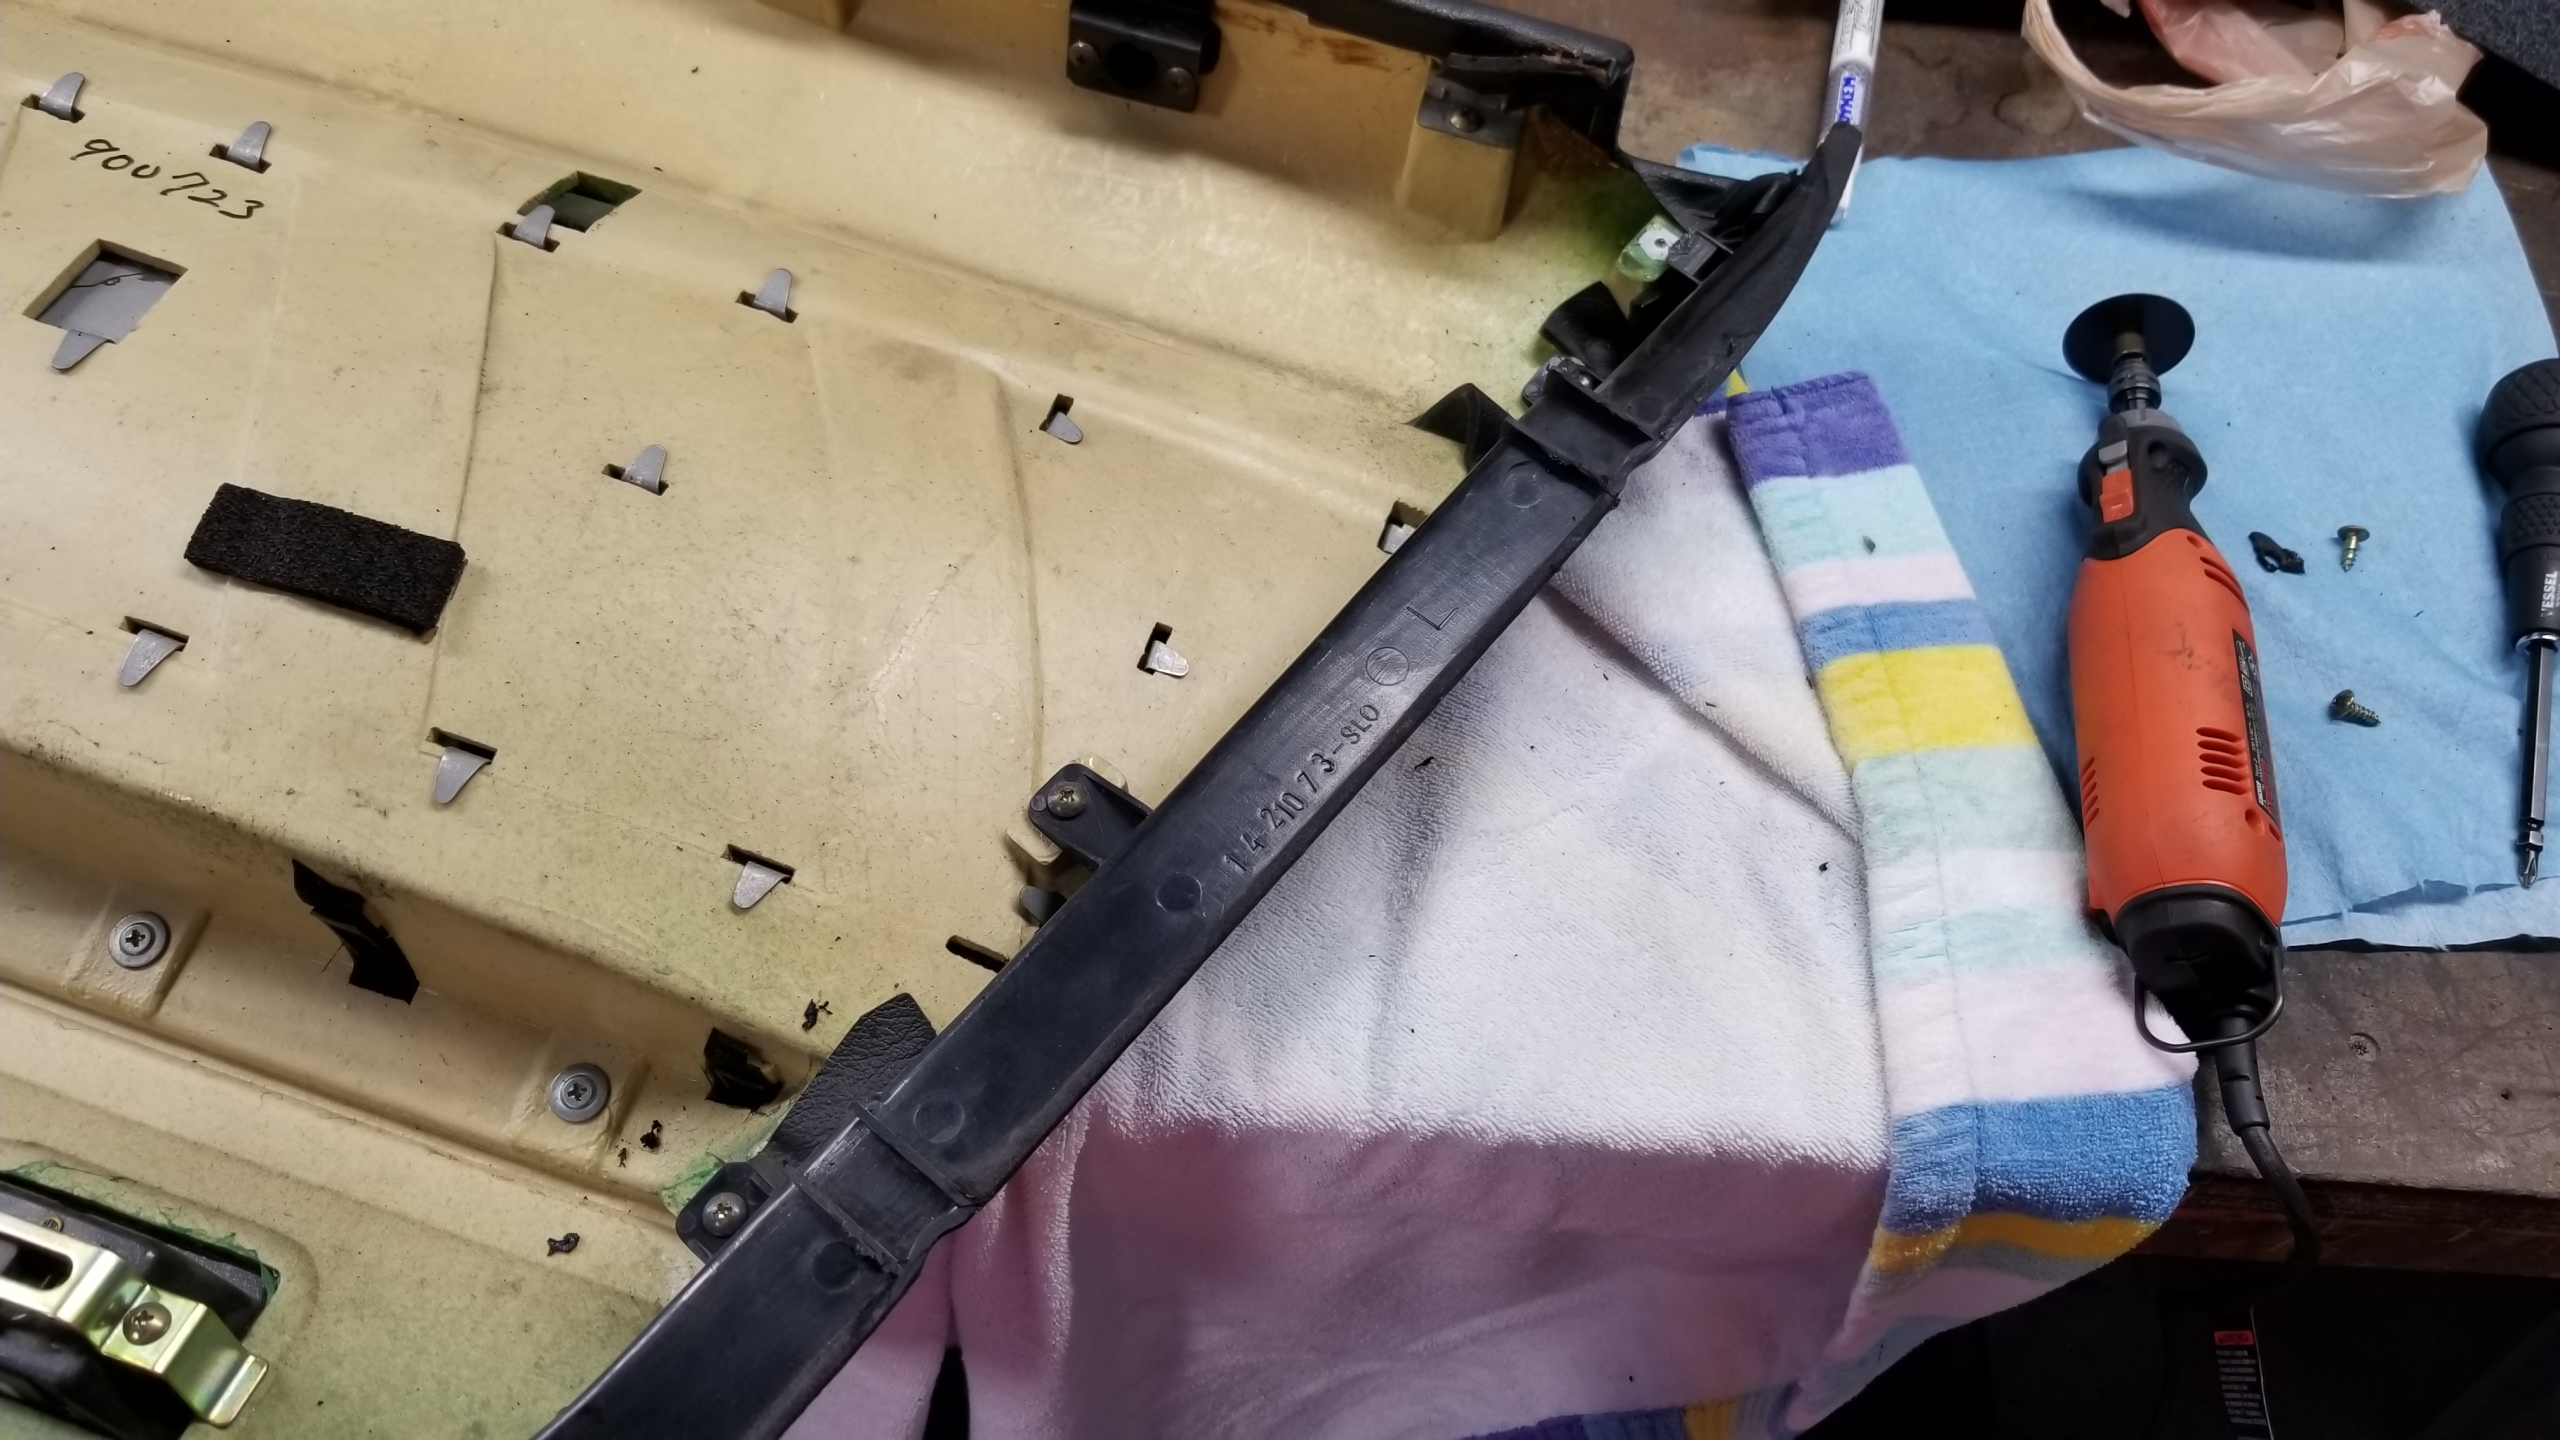
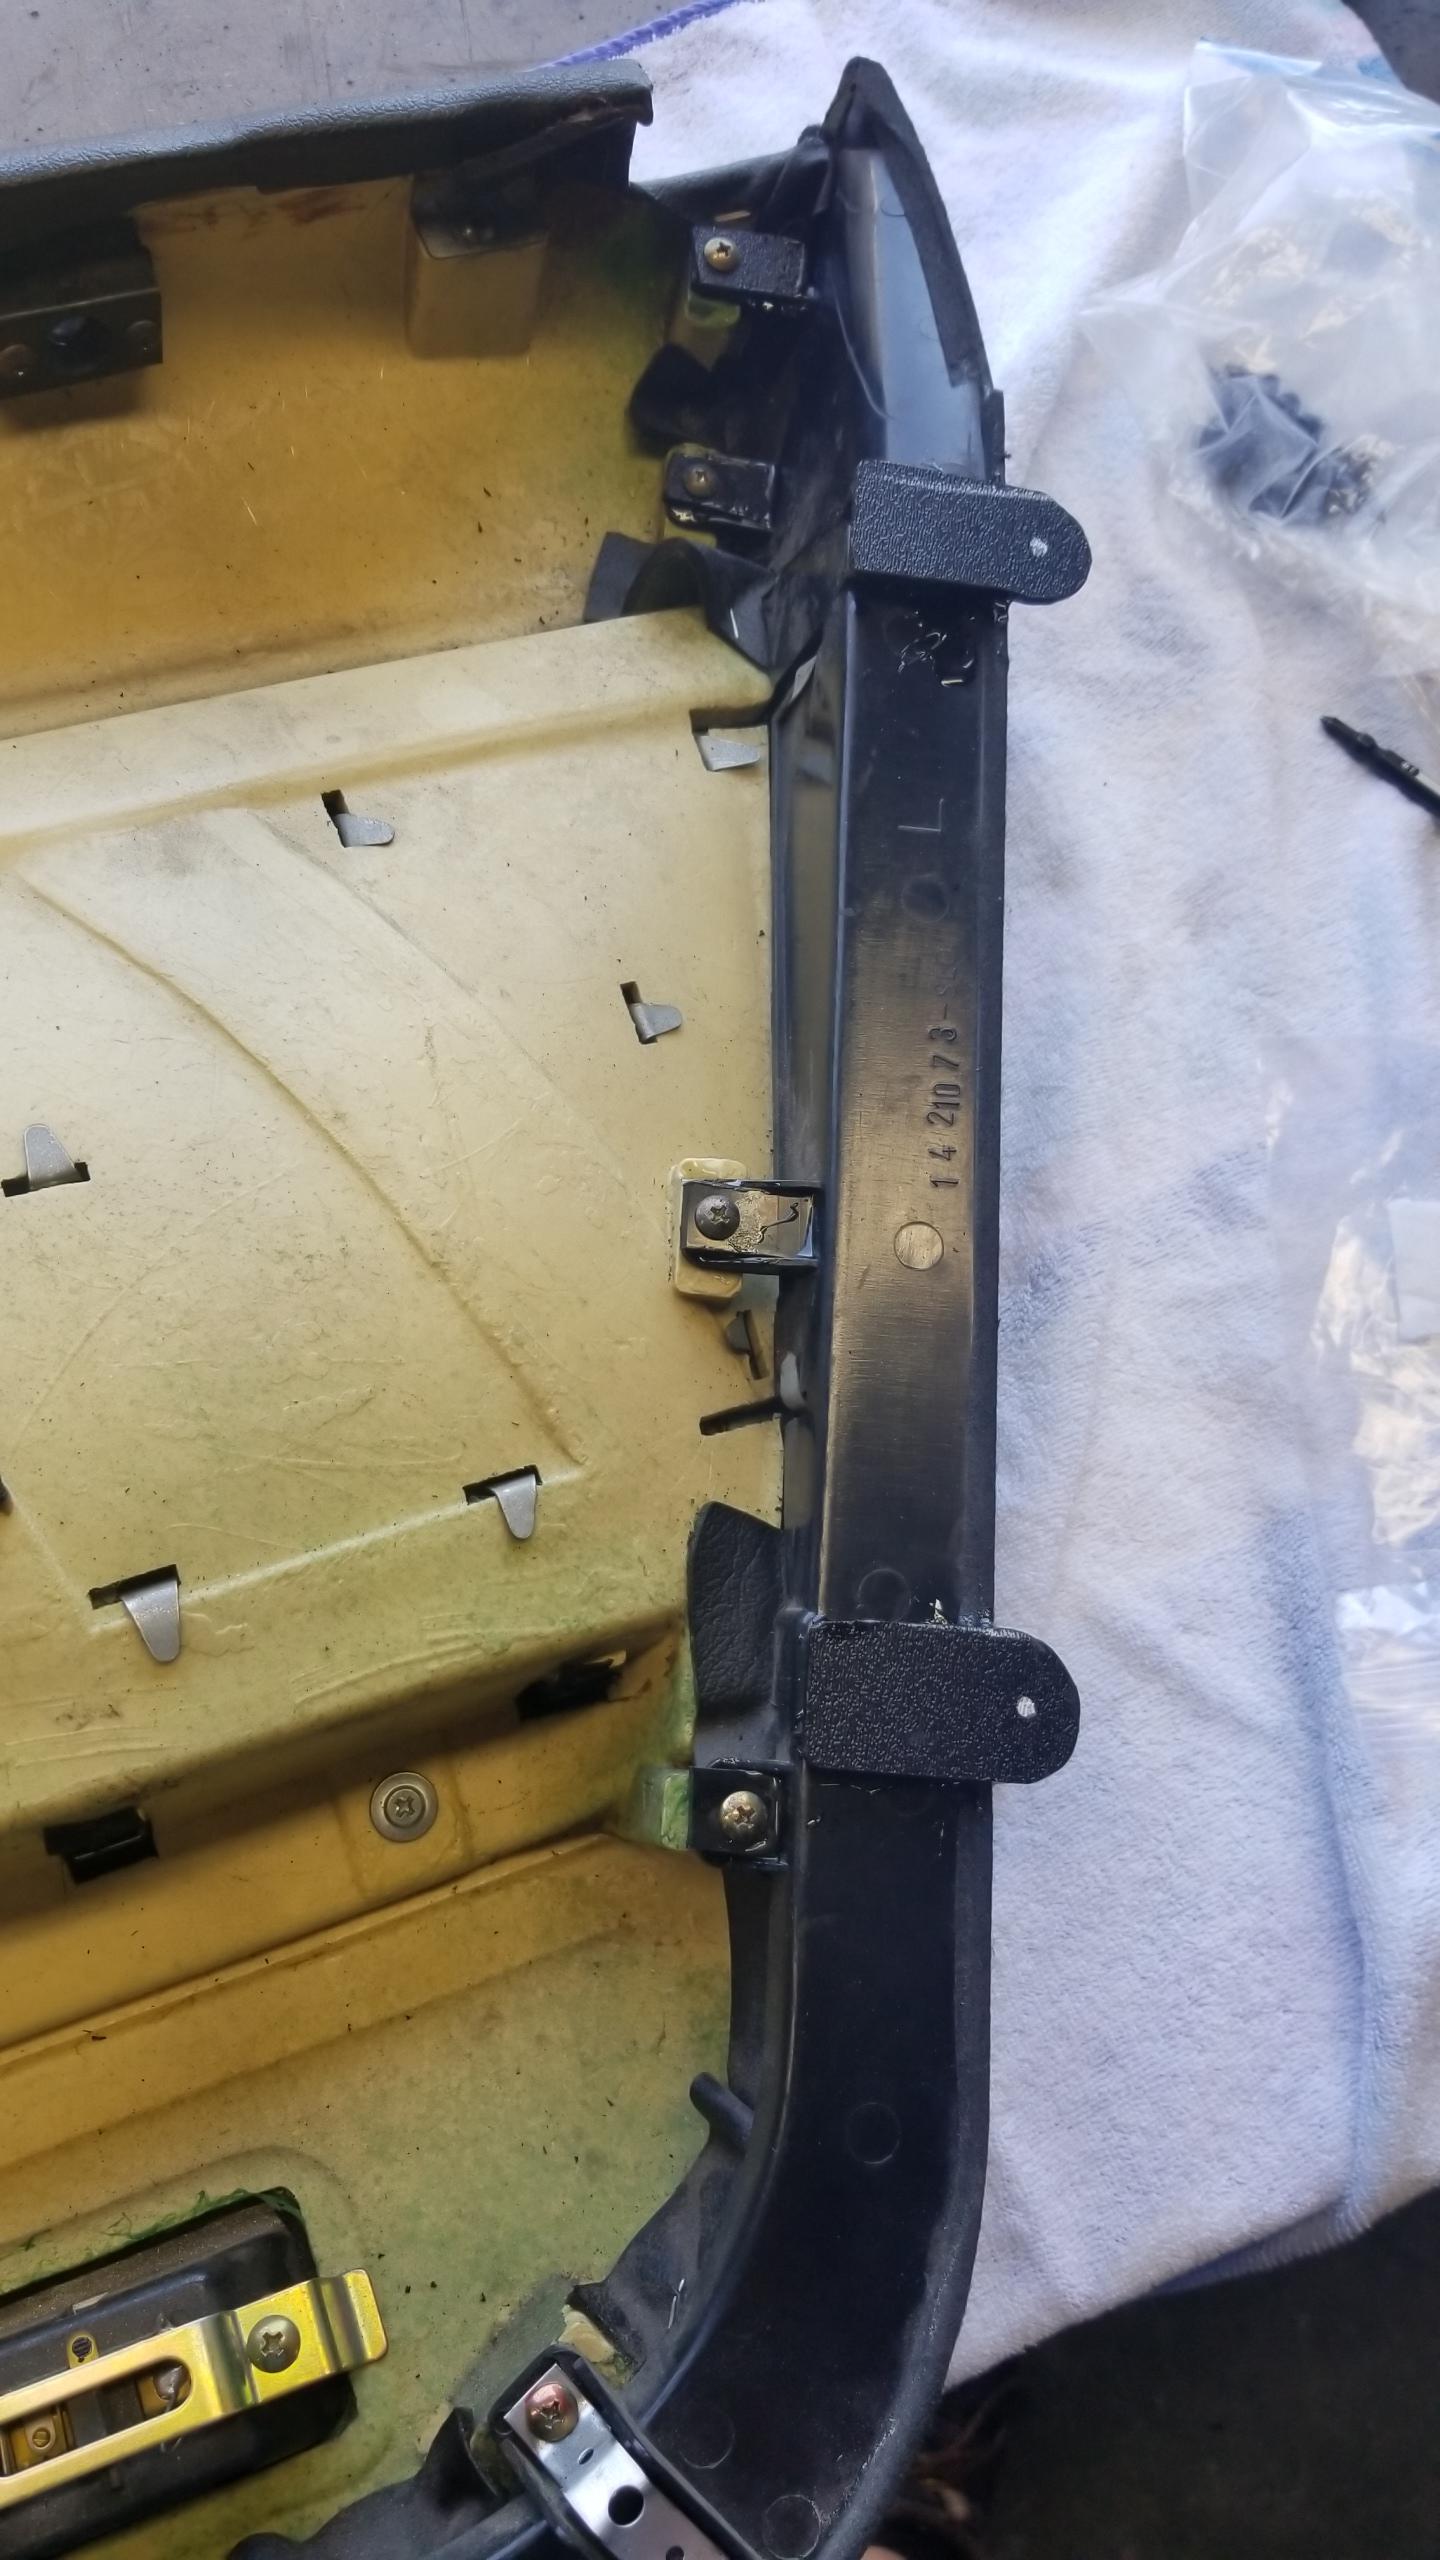
View of the RL inner fender with the air inlet resonator which will be swapped out soon, probably with the Downforce piece.
AyPUAaX.jpg


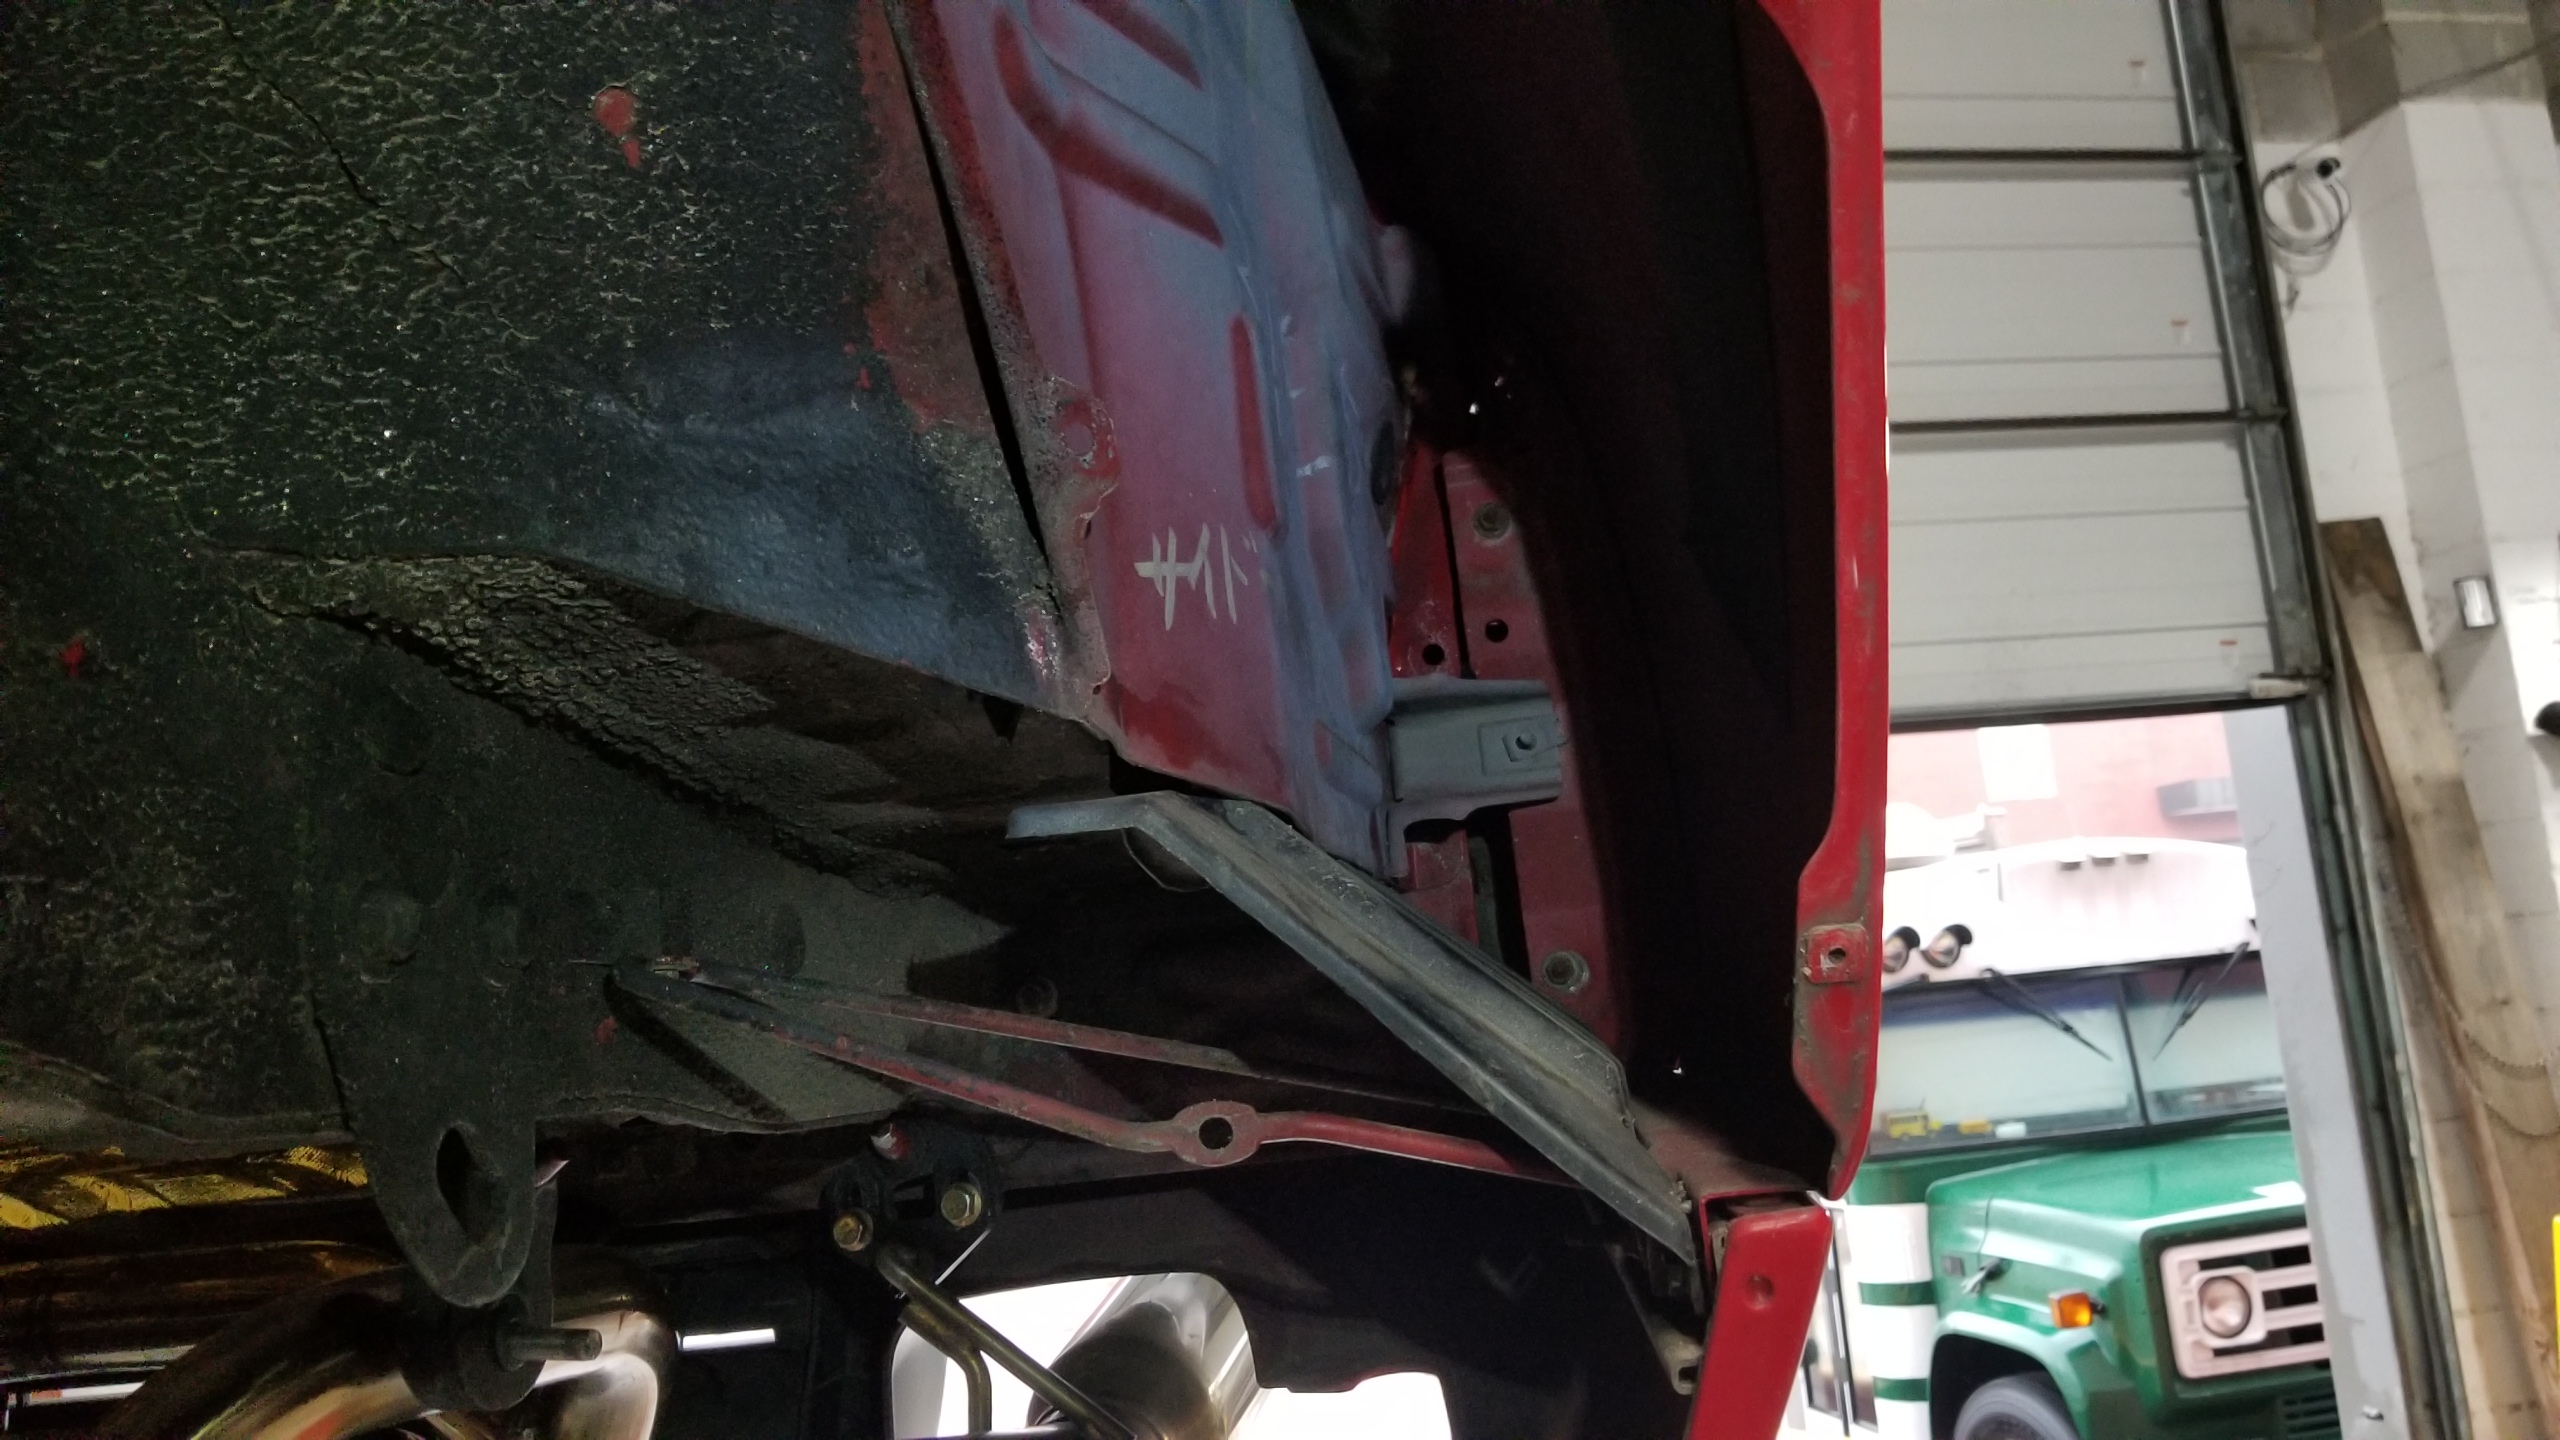
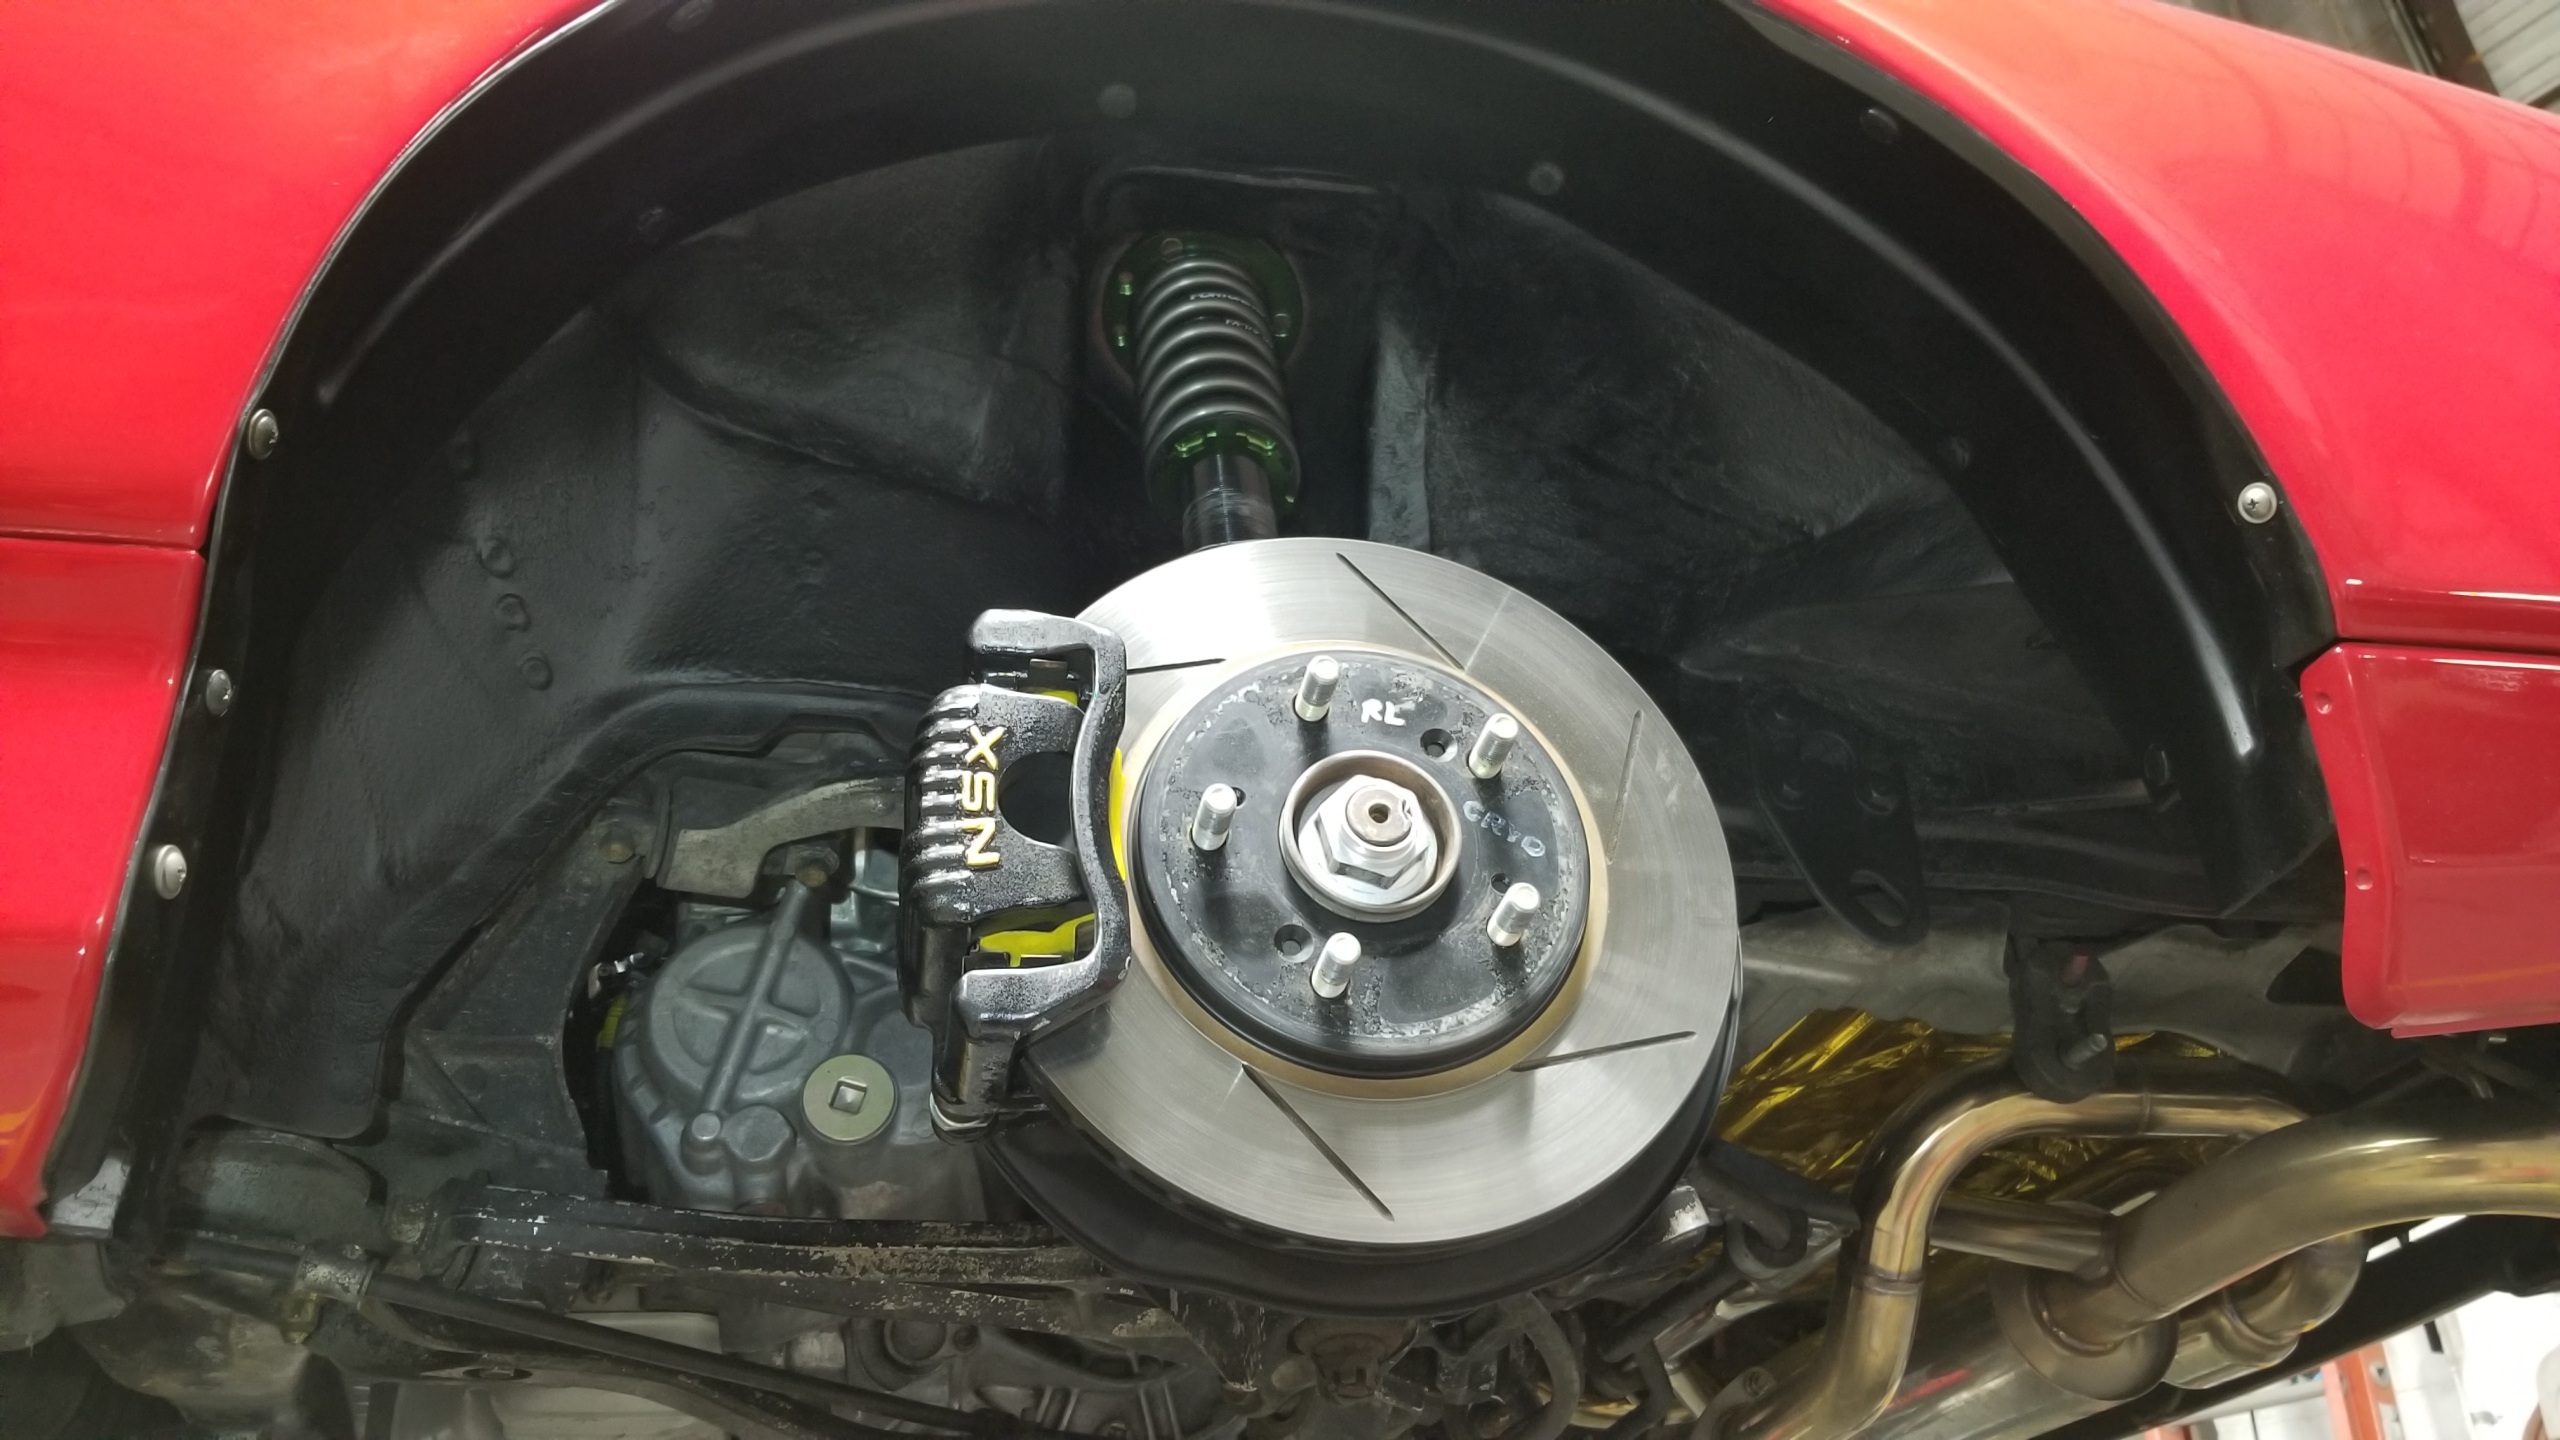
RL inner since I thought it would be interesting to show. I think that writing says "side"?
i2WThiY.jpg


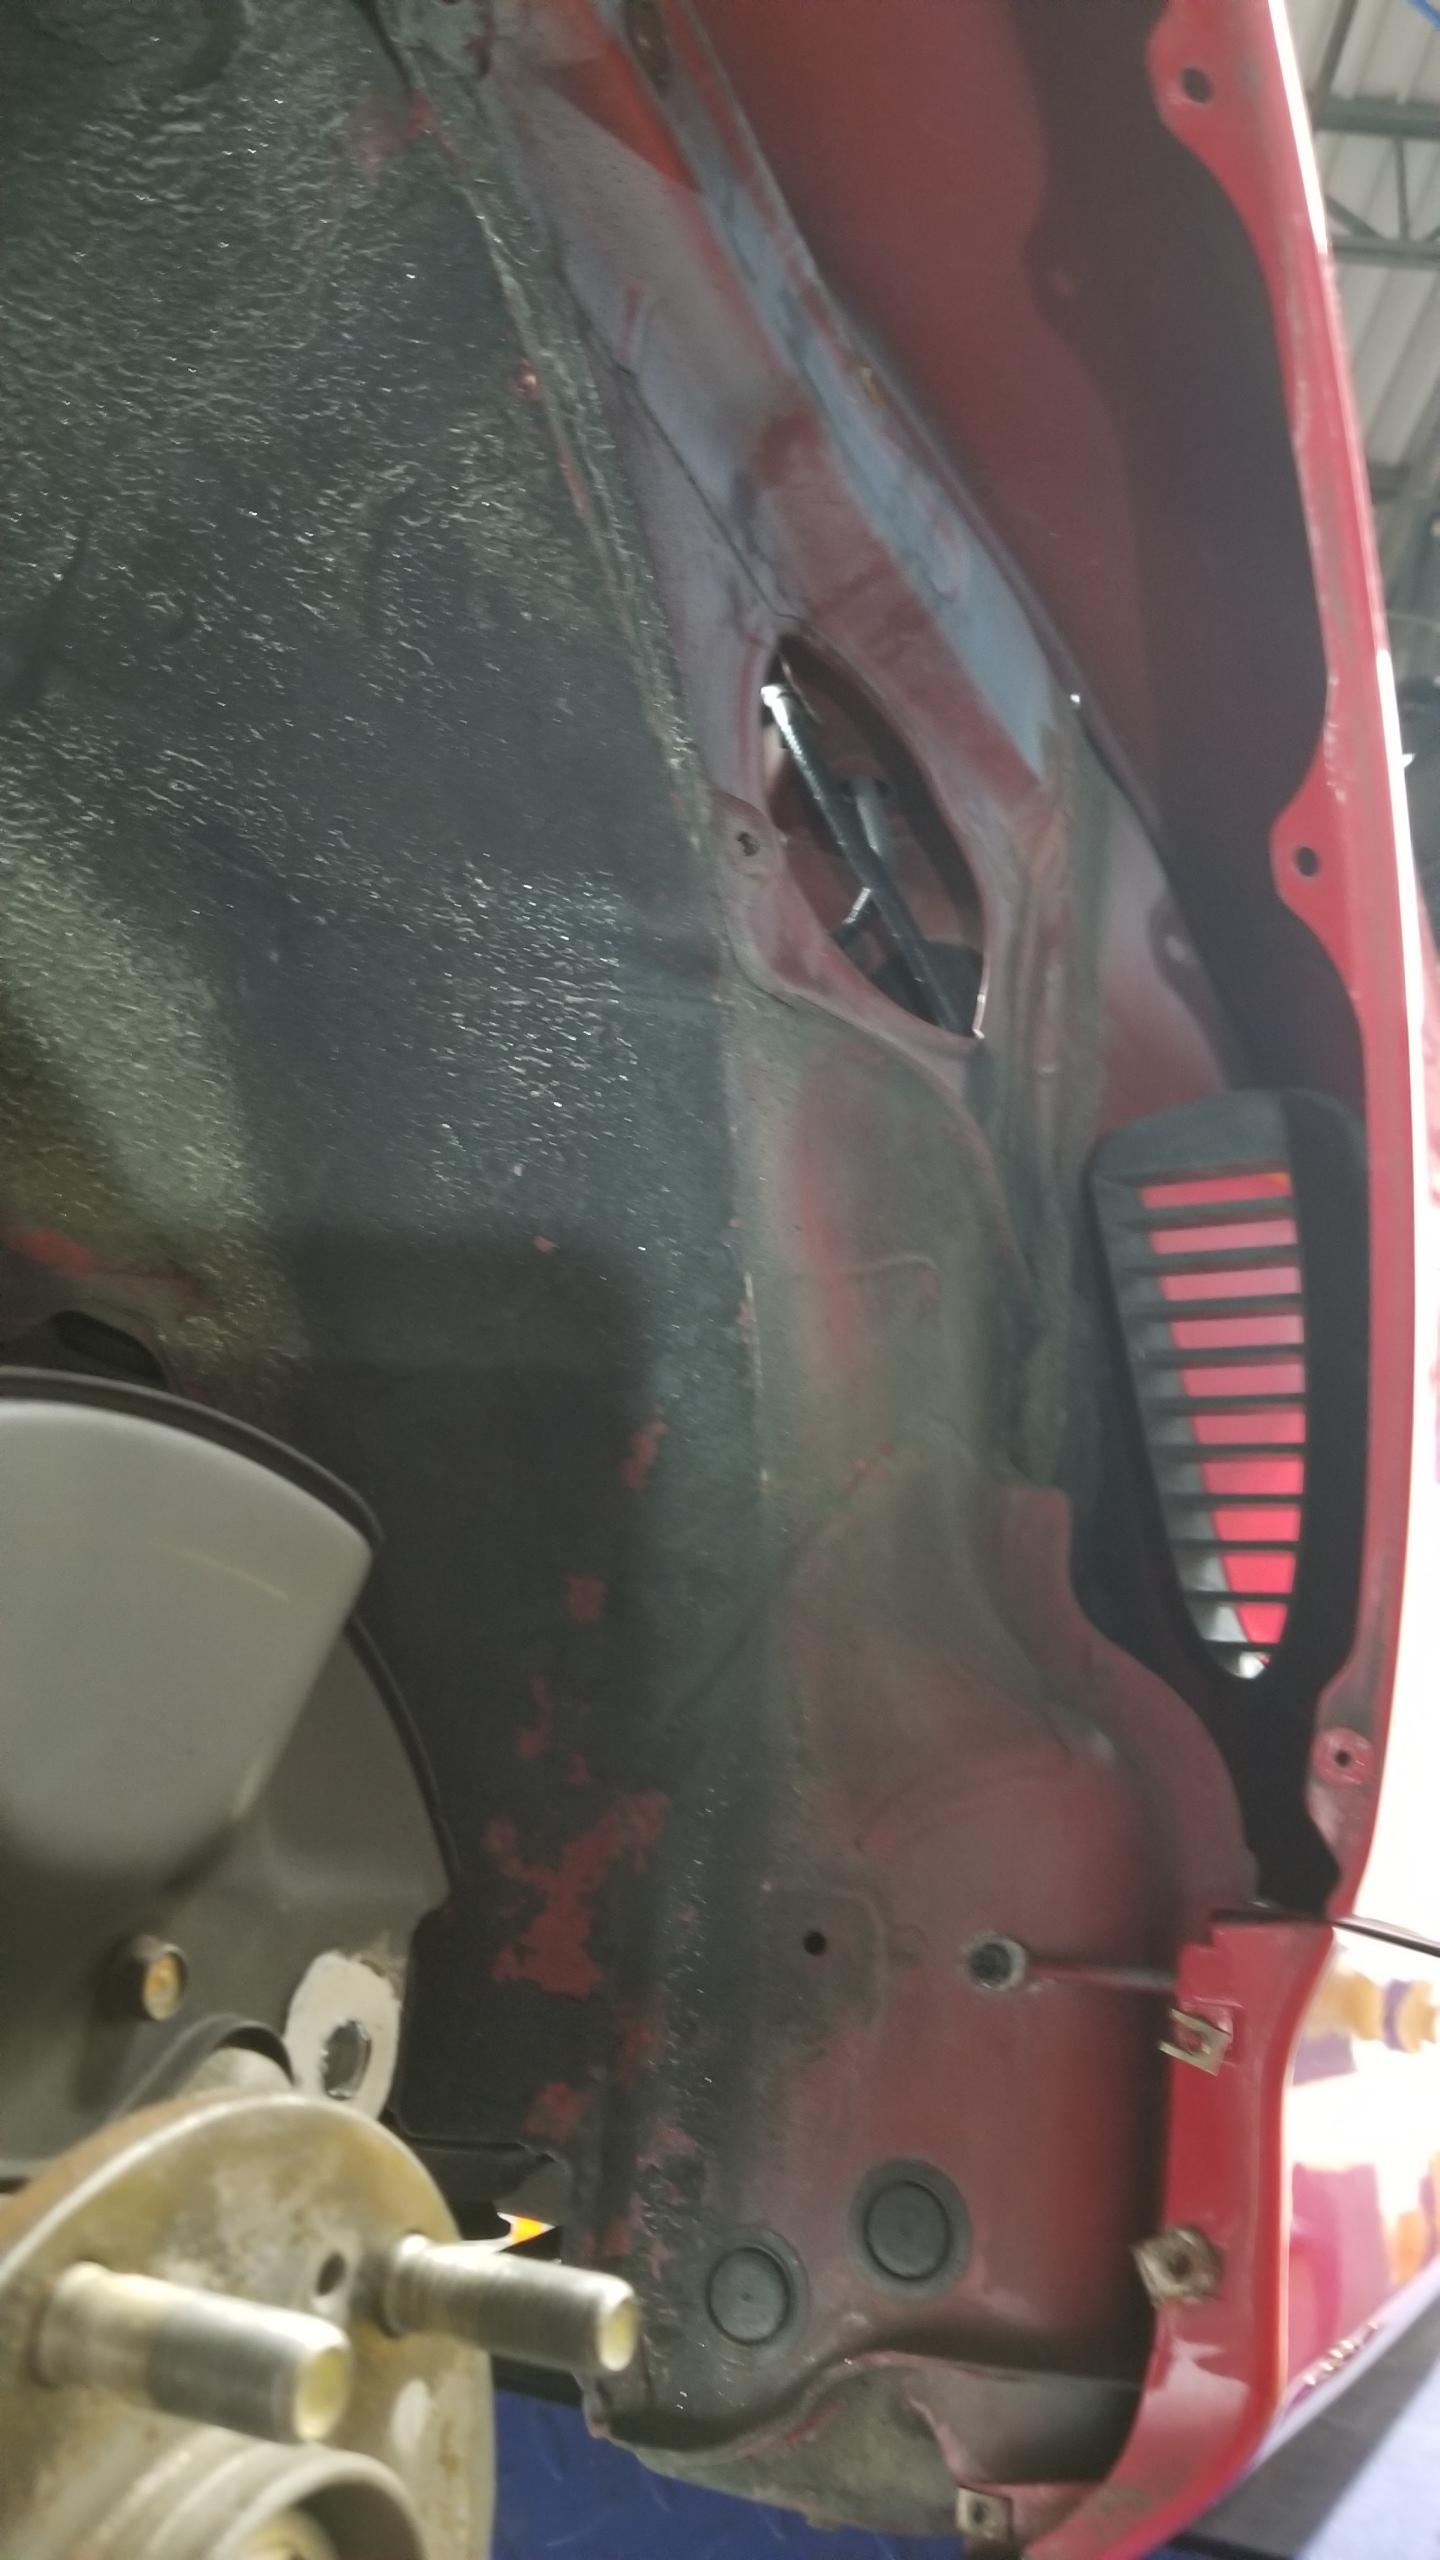
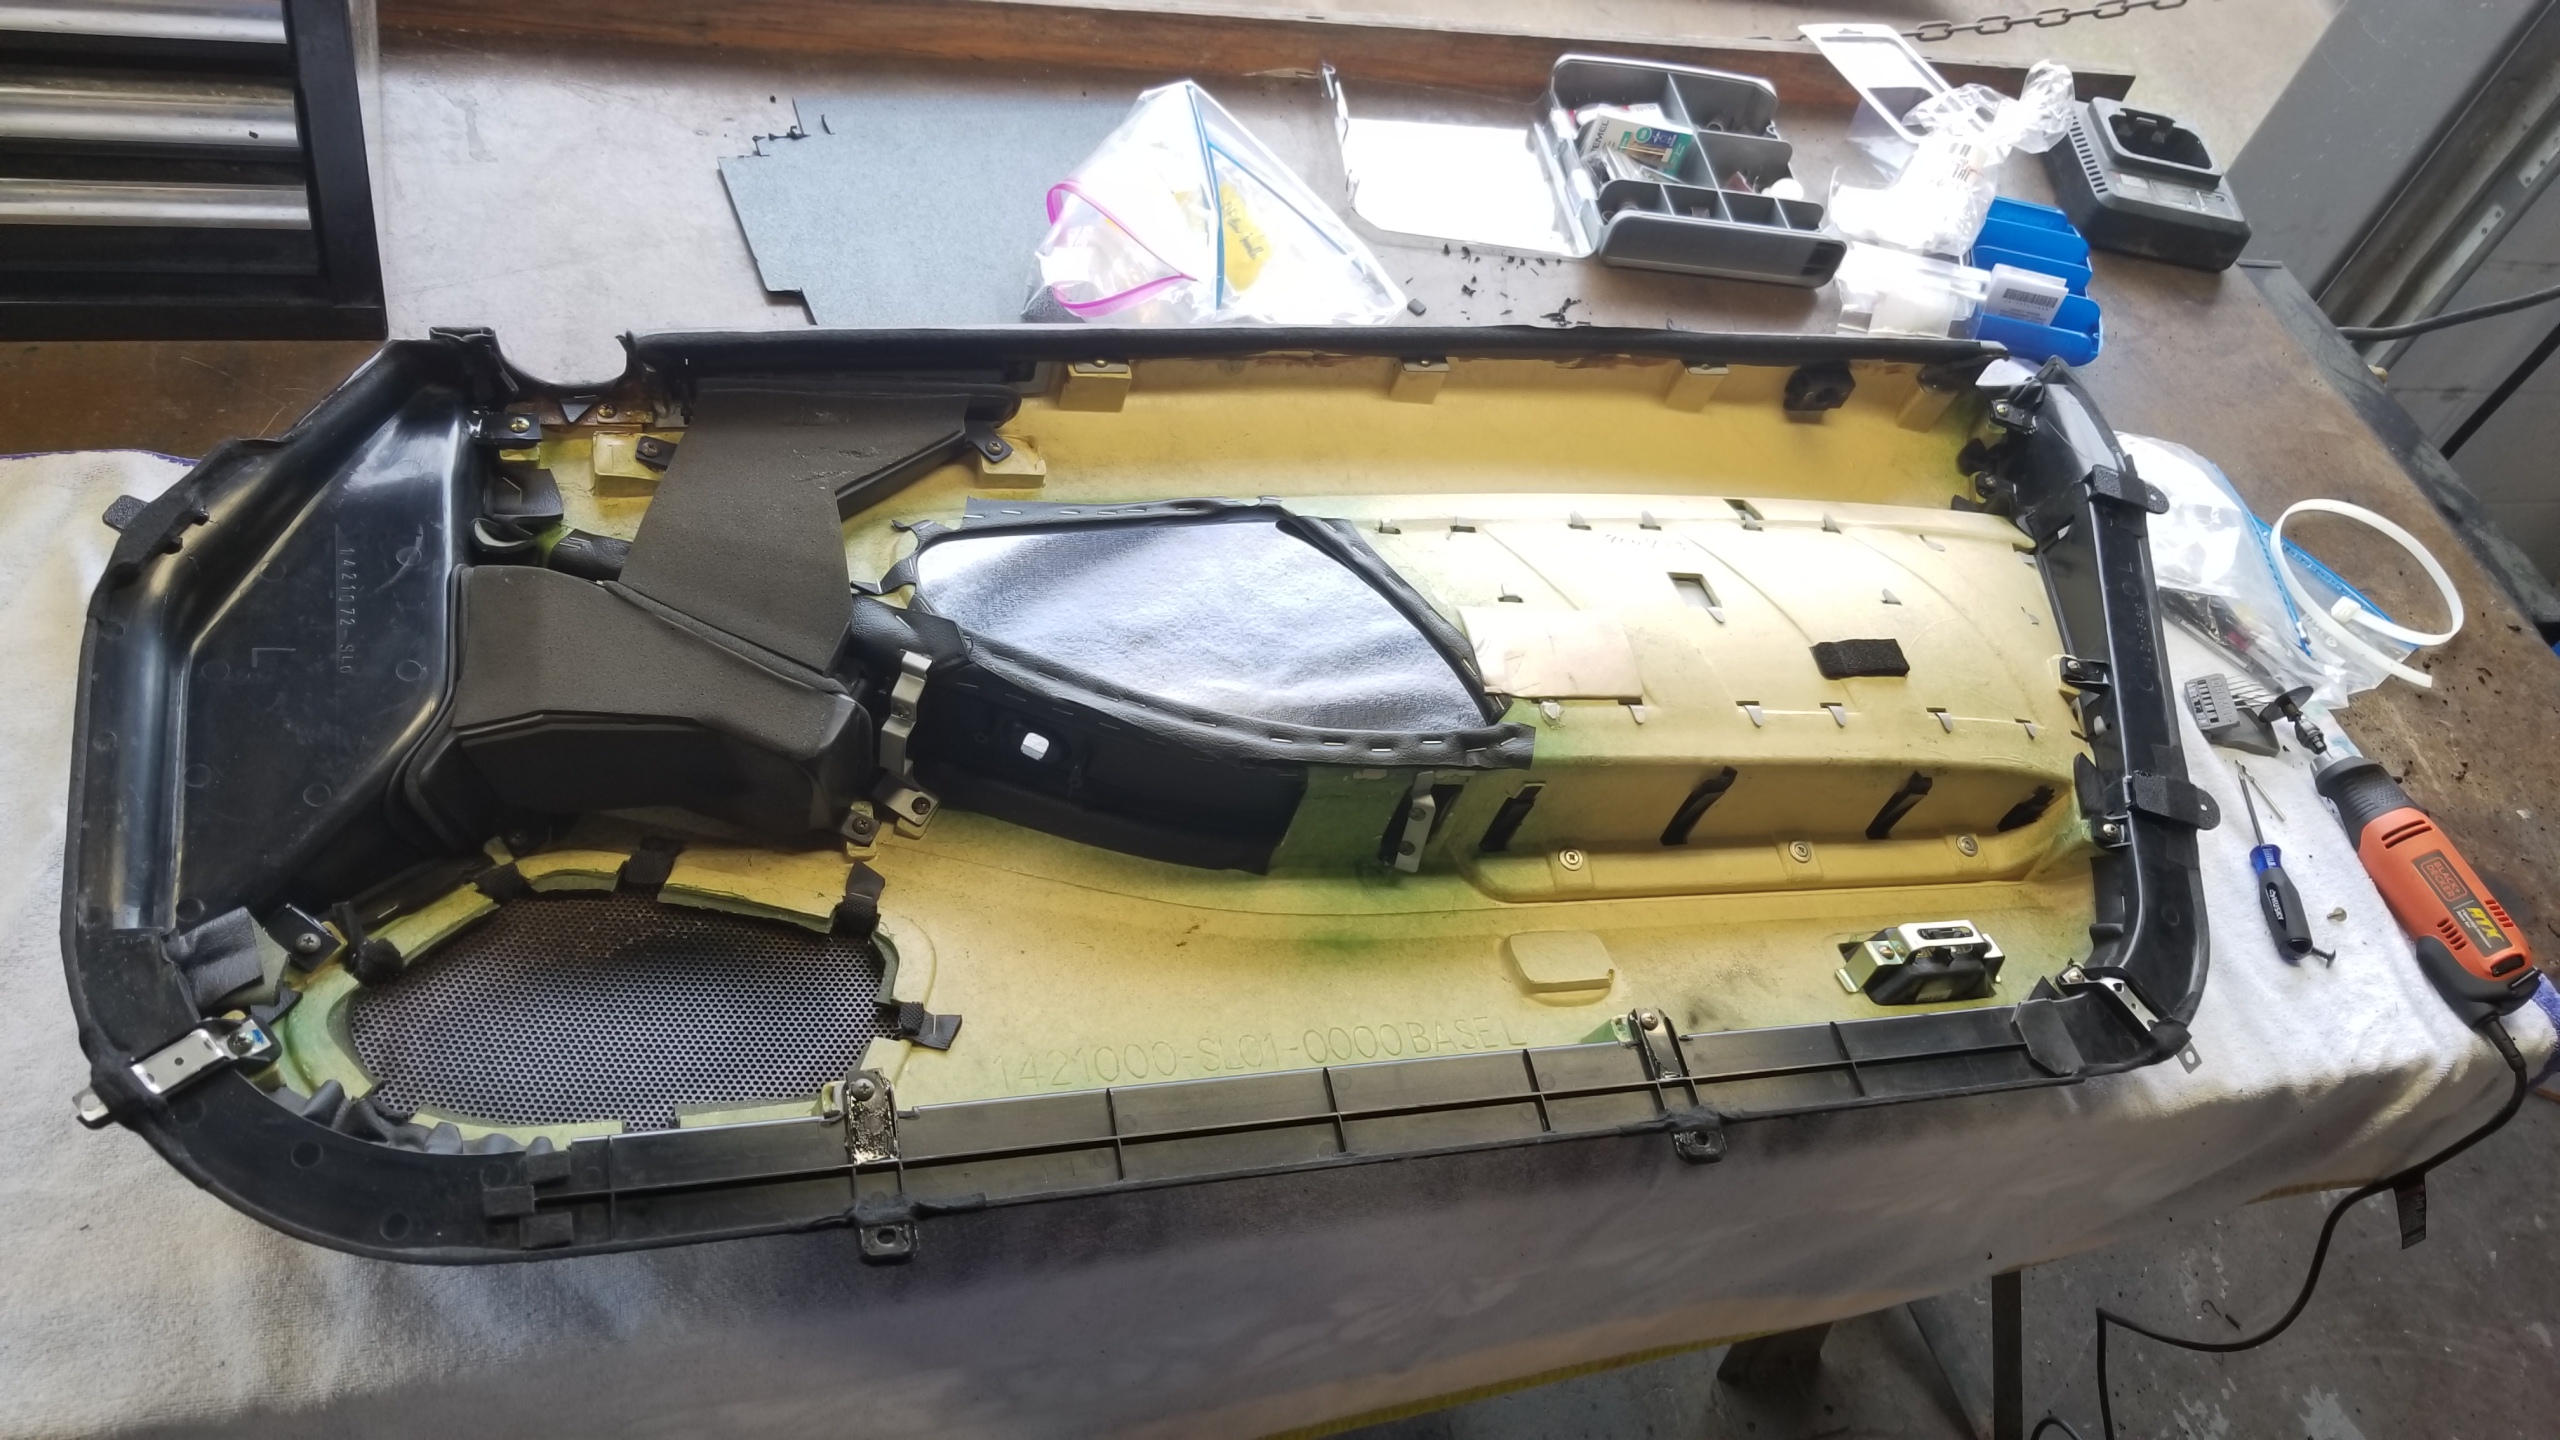
RR towards the front, showing the now useless air inlet to the engine bay fan that was removed. Prime real estate for an oil cooler or something later on.
nxMrT5h.jpg


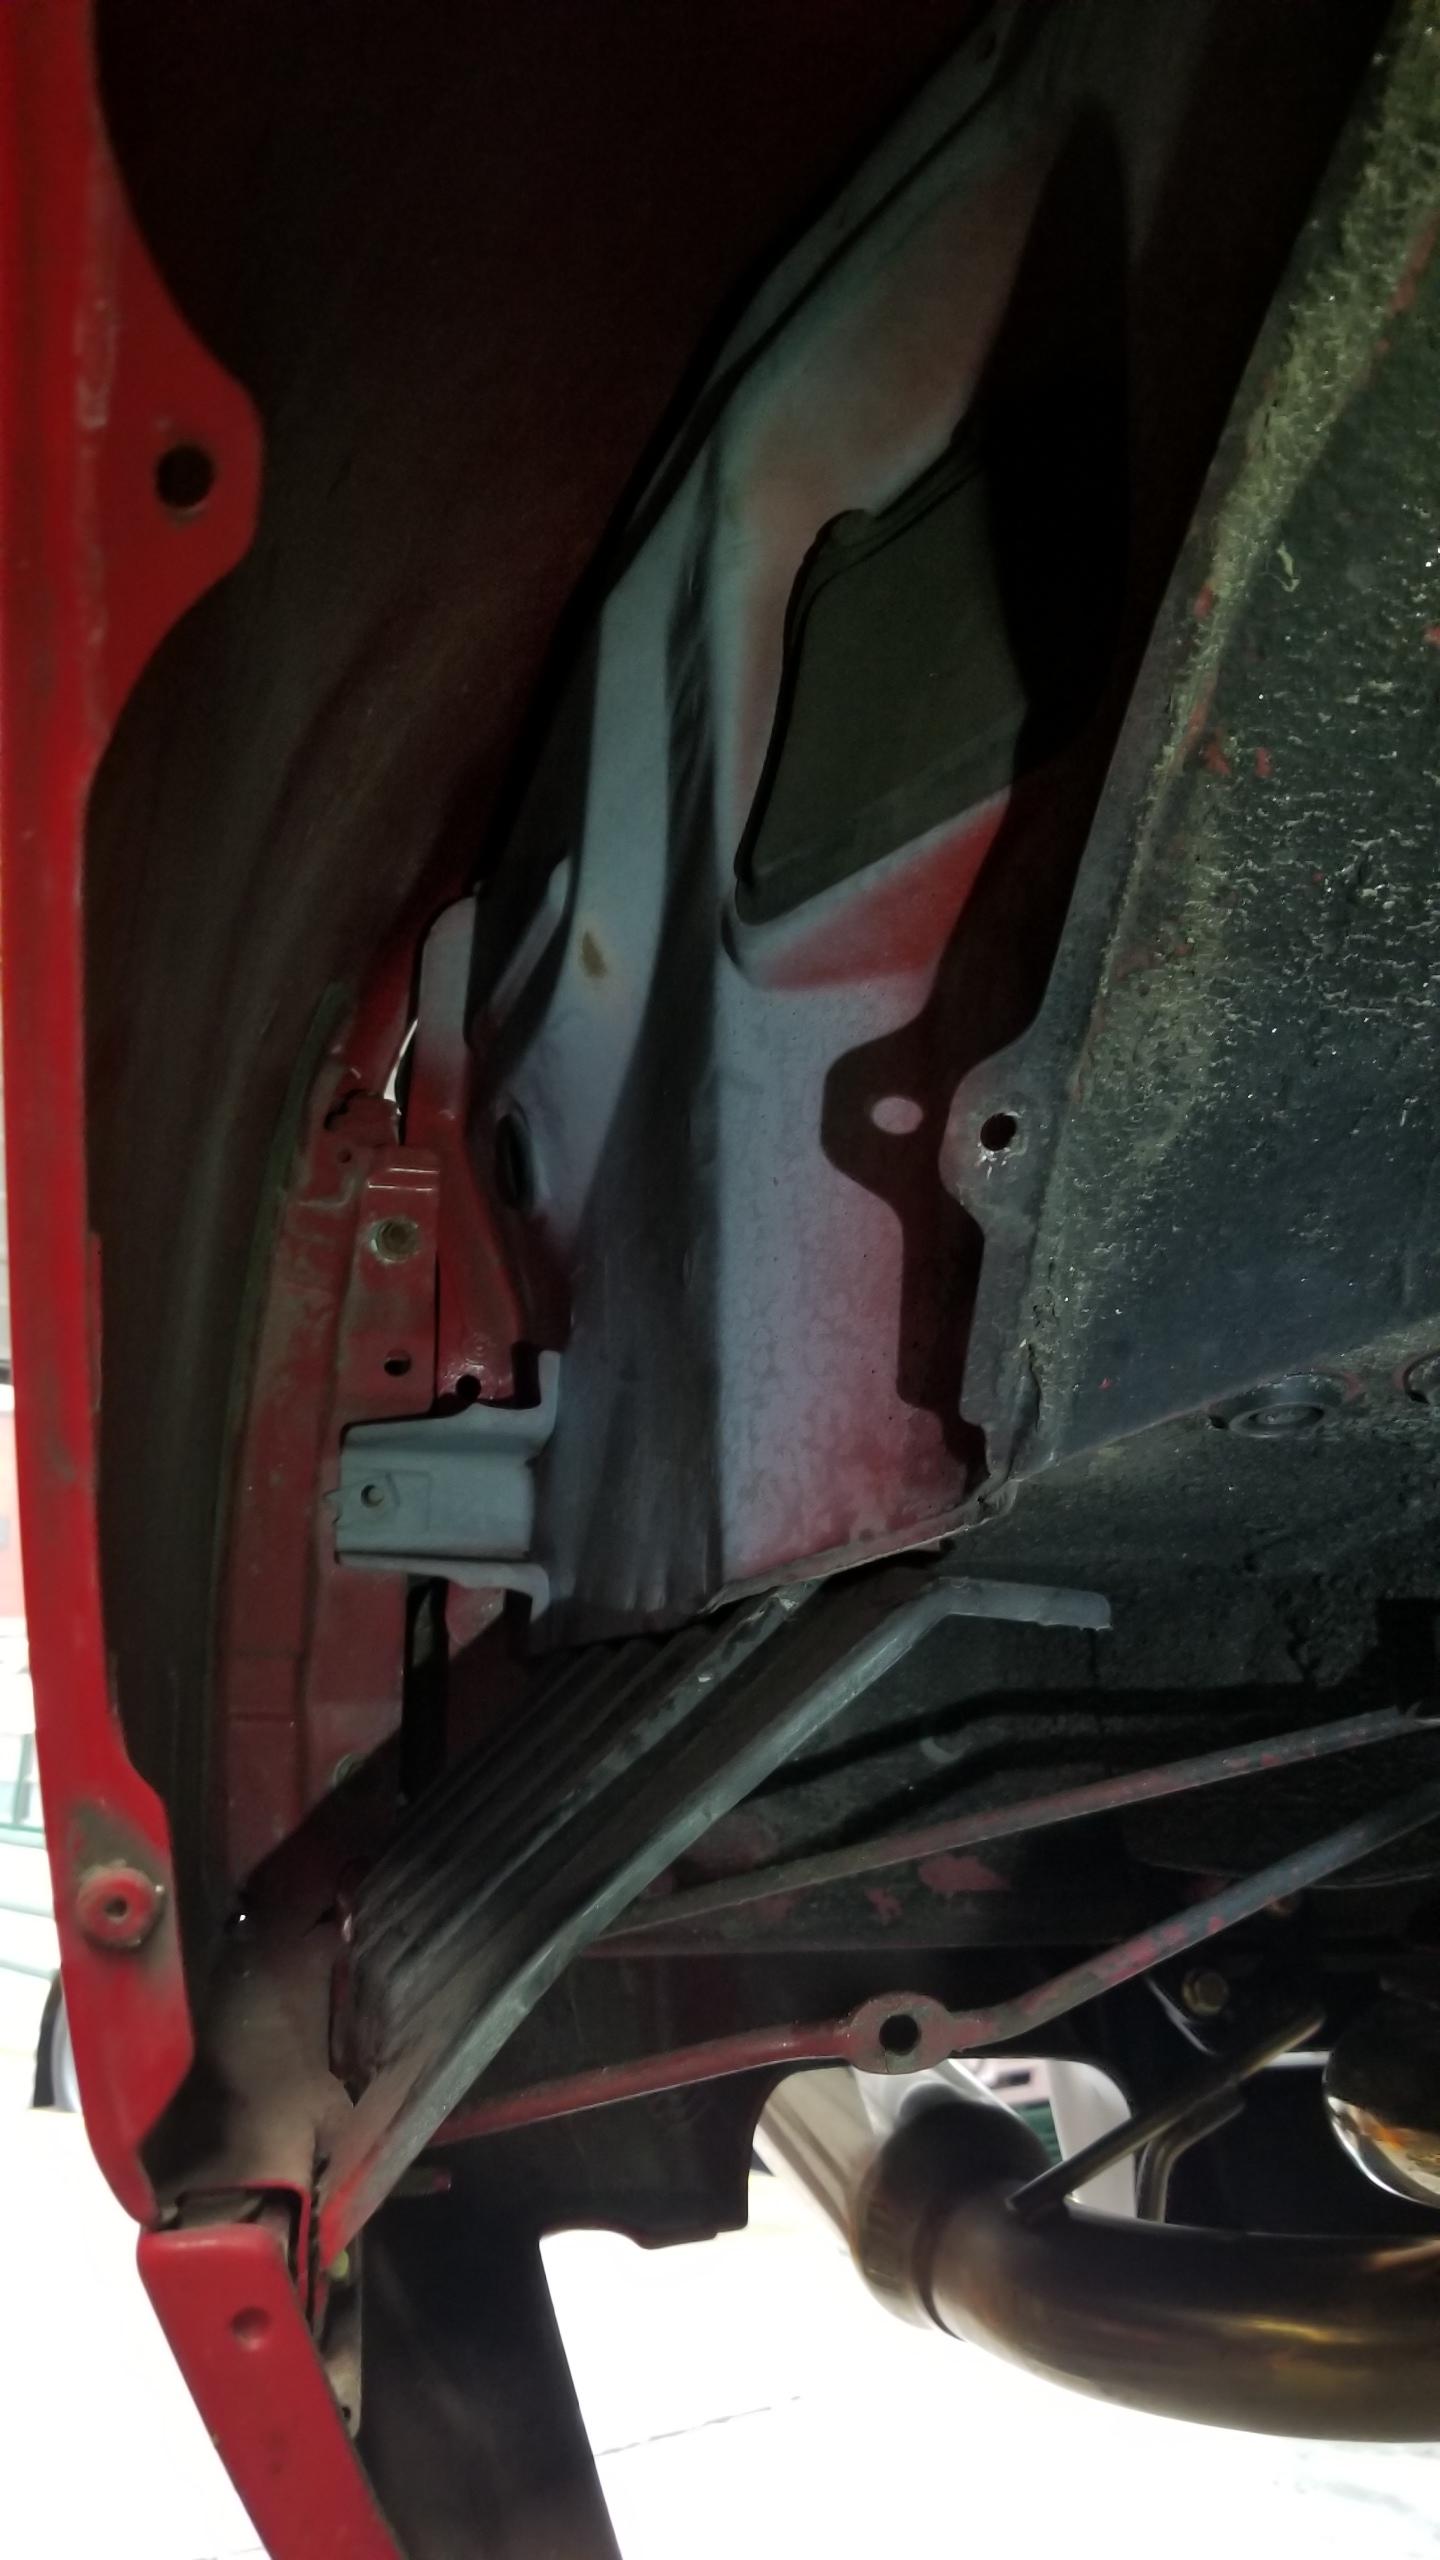
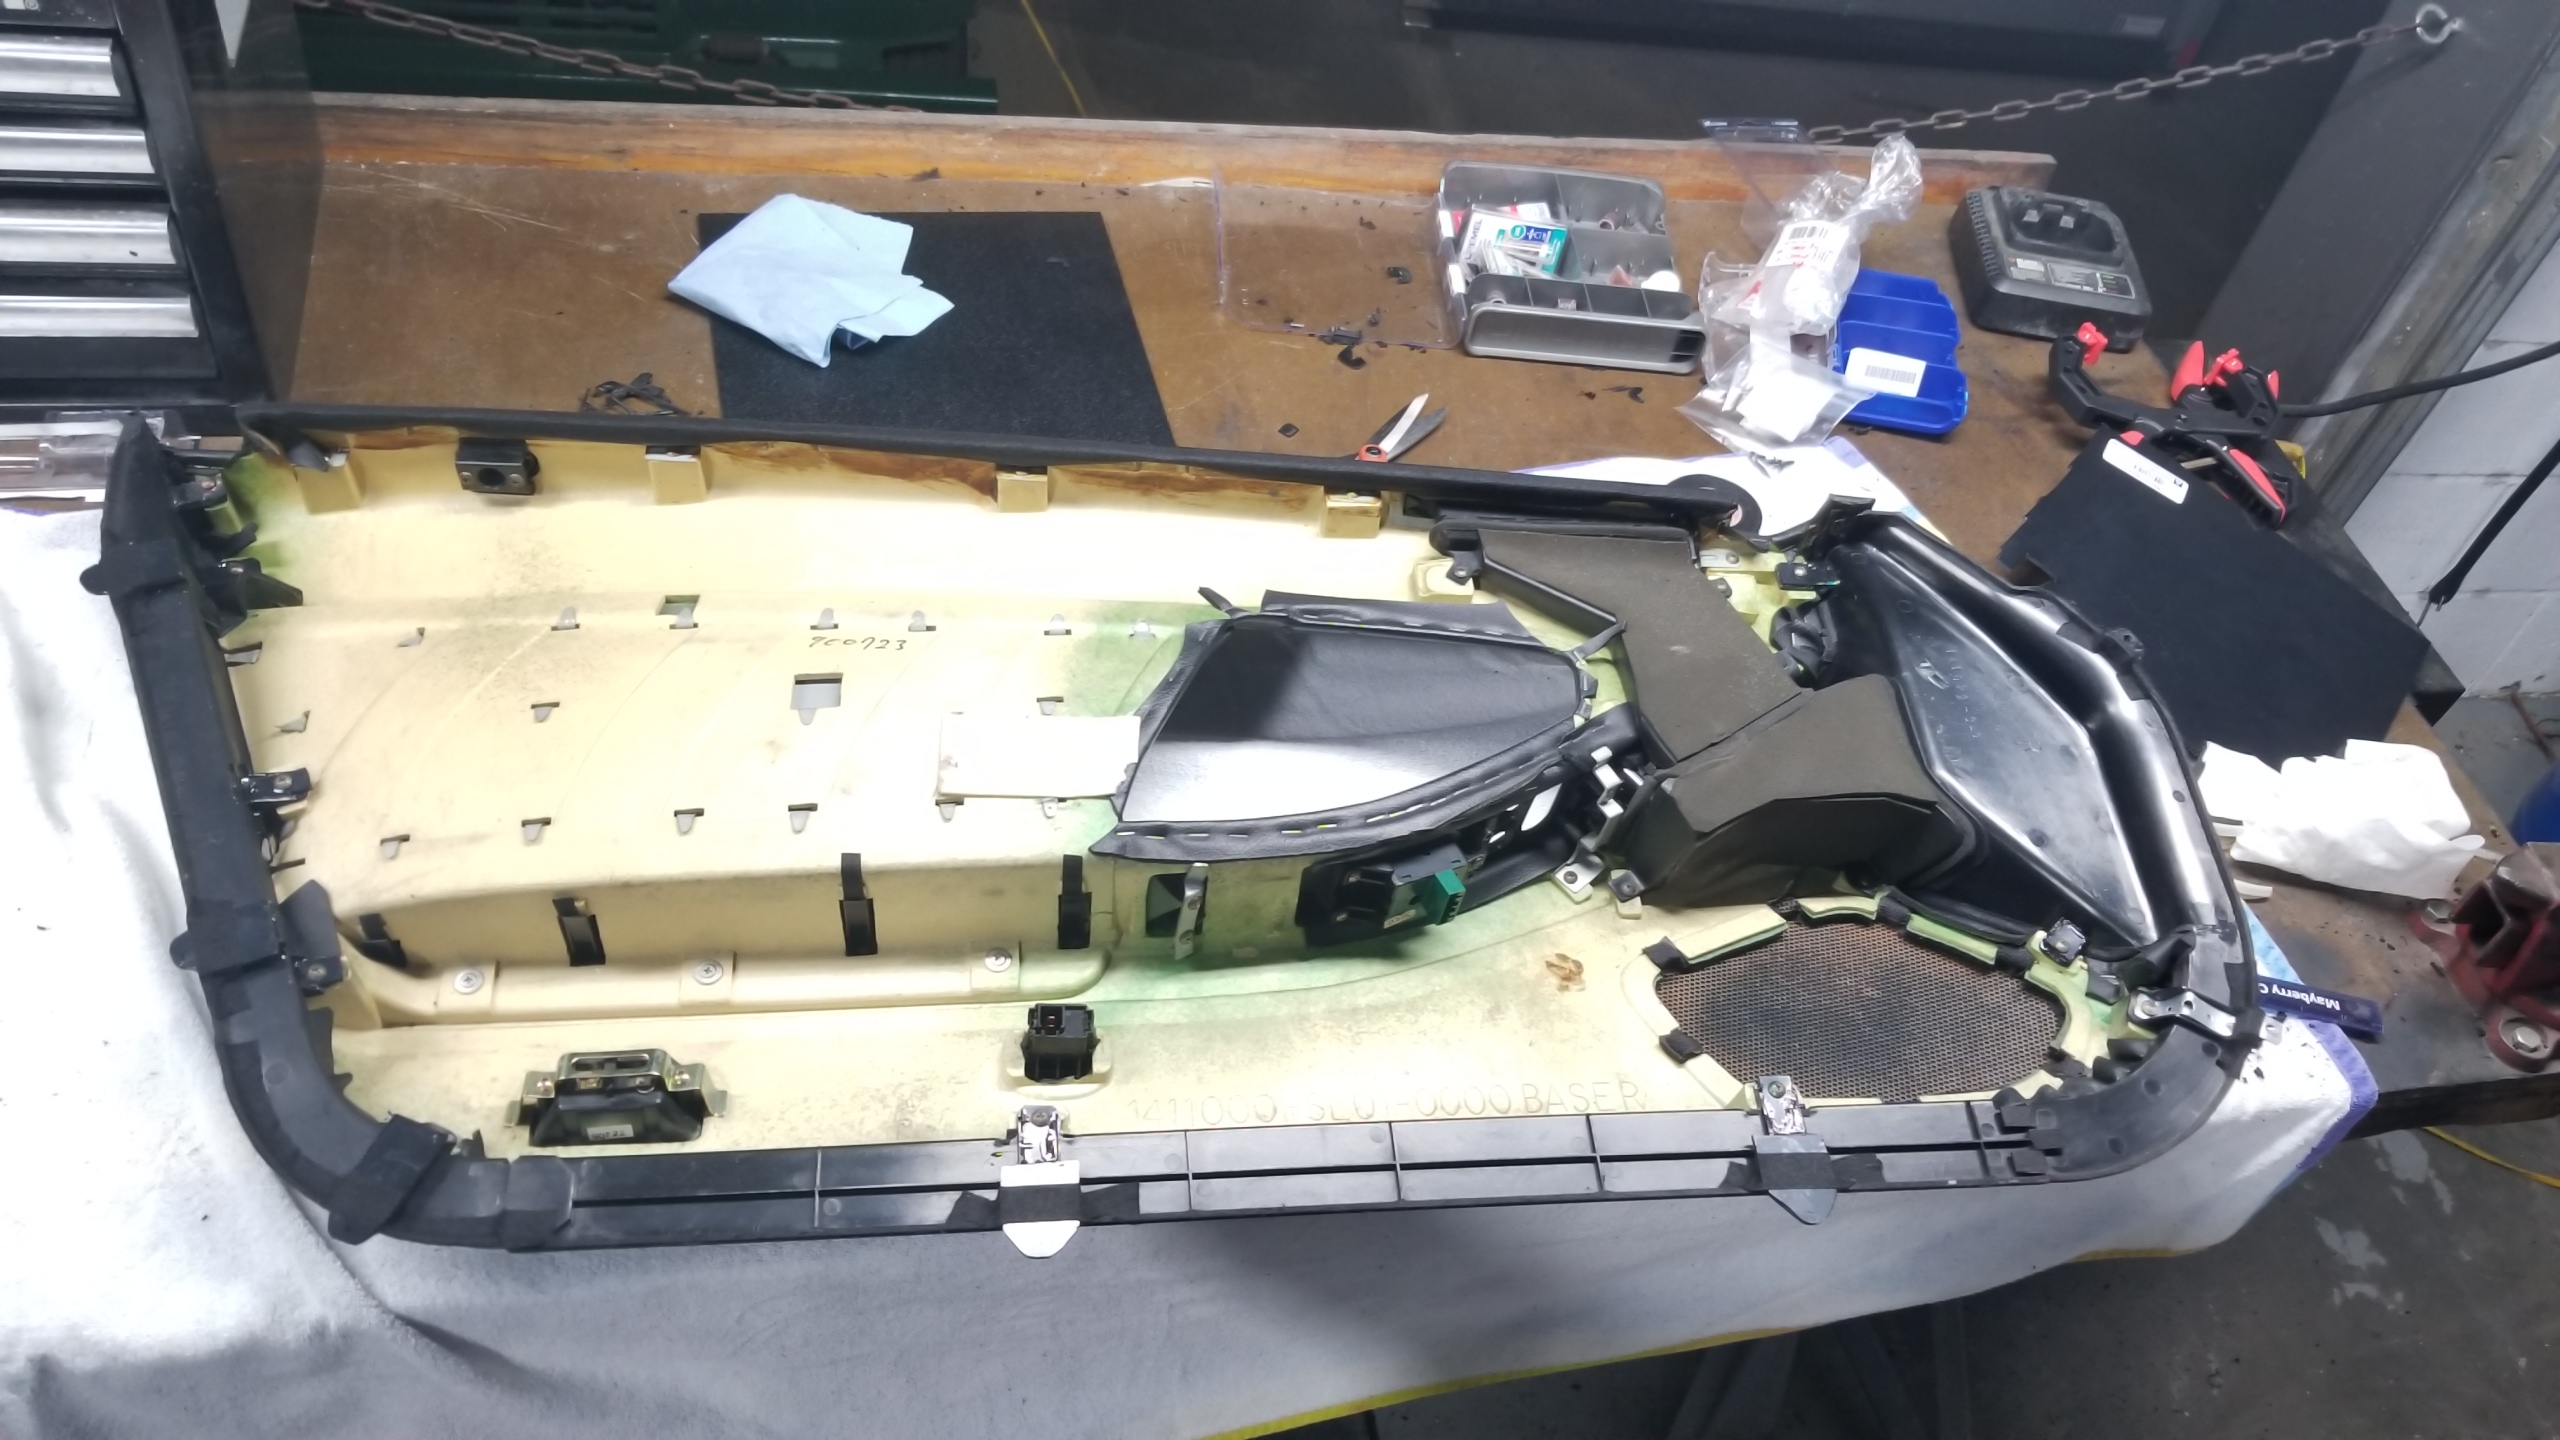
RR towards rear. There's a weird one-way rubber flapper, maybe for the trunk? Air hole or pressure outlet for when the trunk is closed?
5nvoYoj.jpg


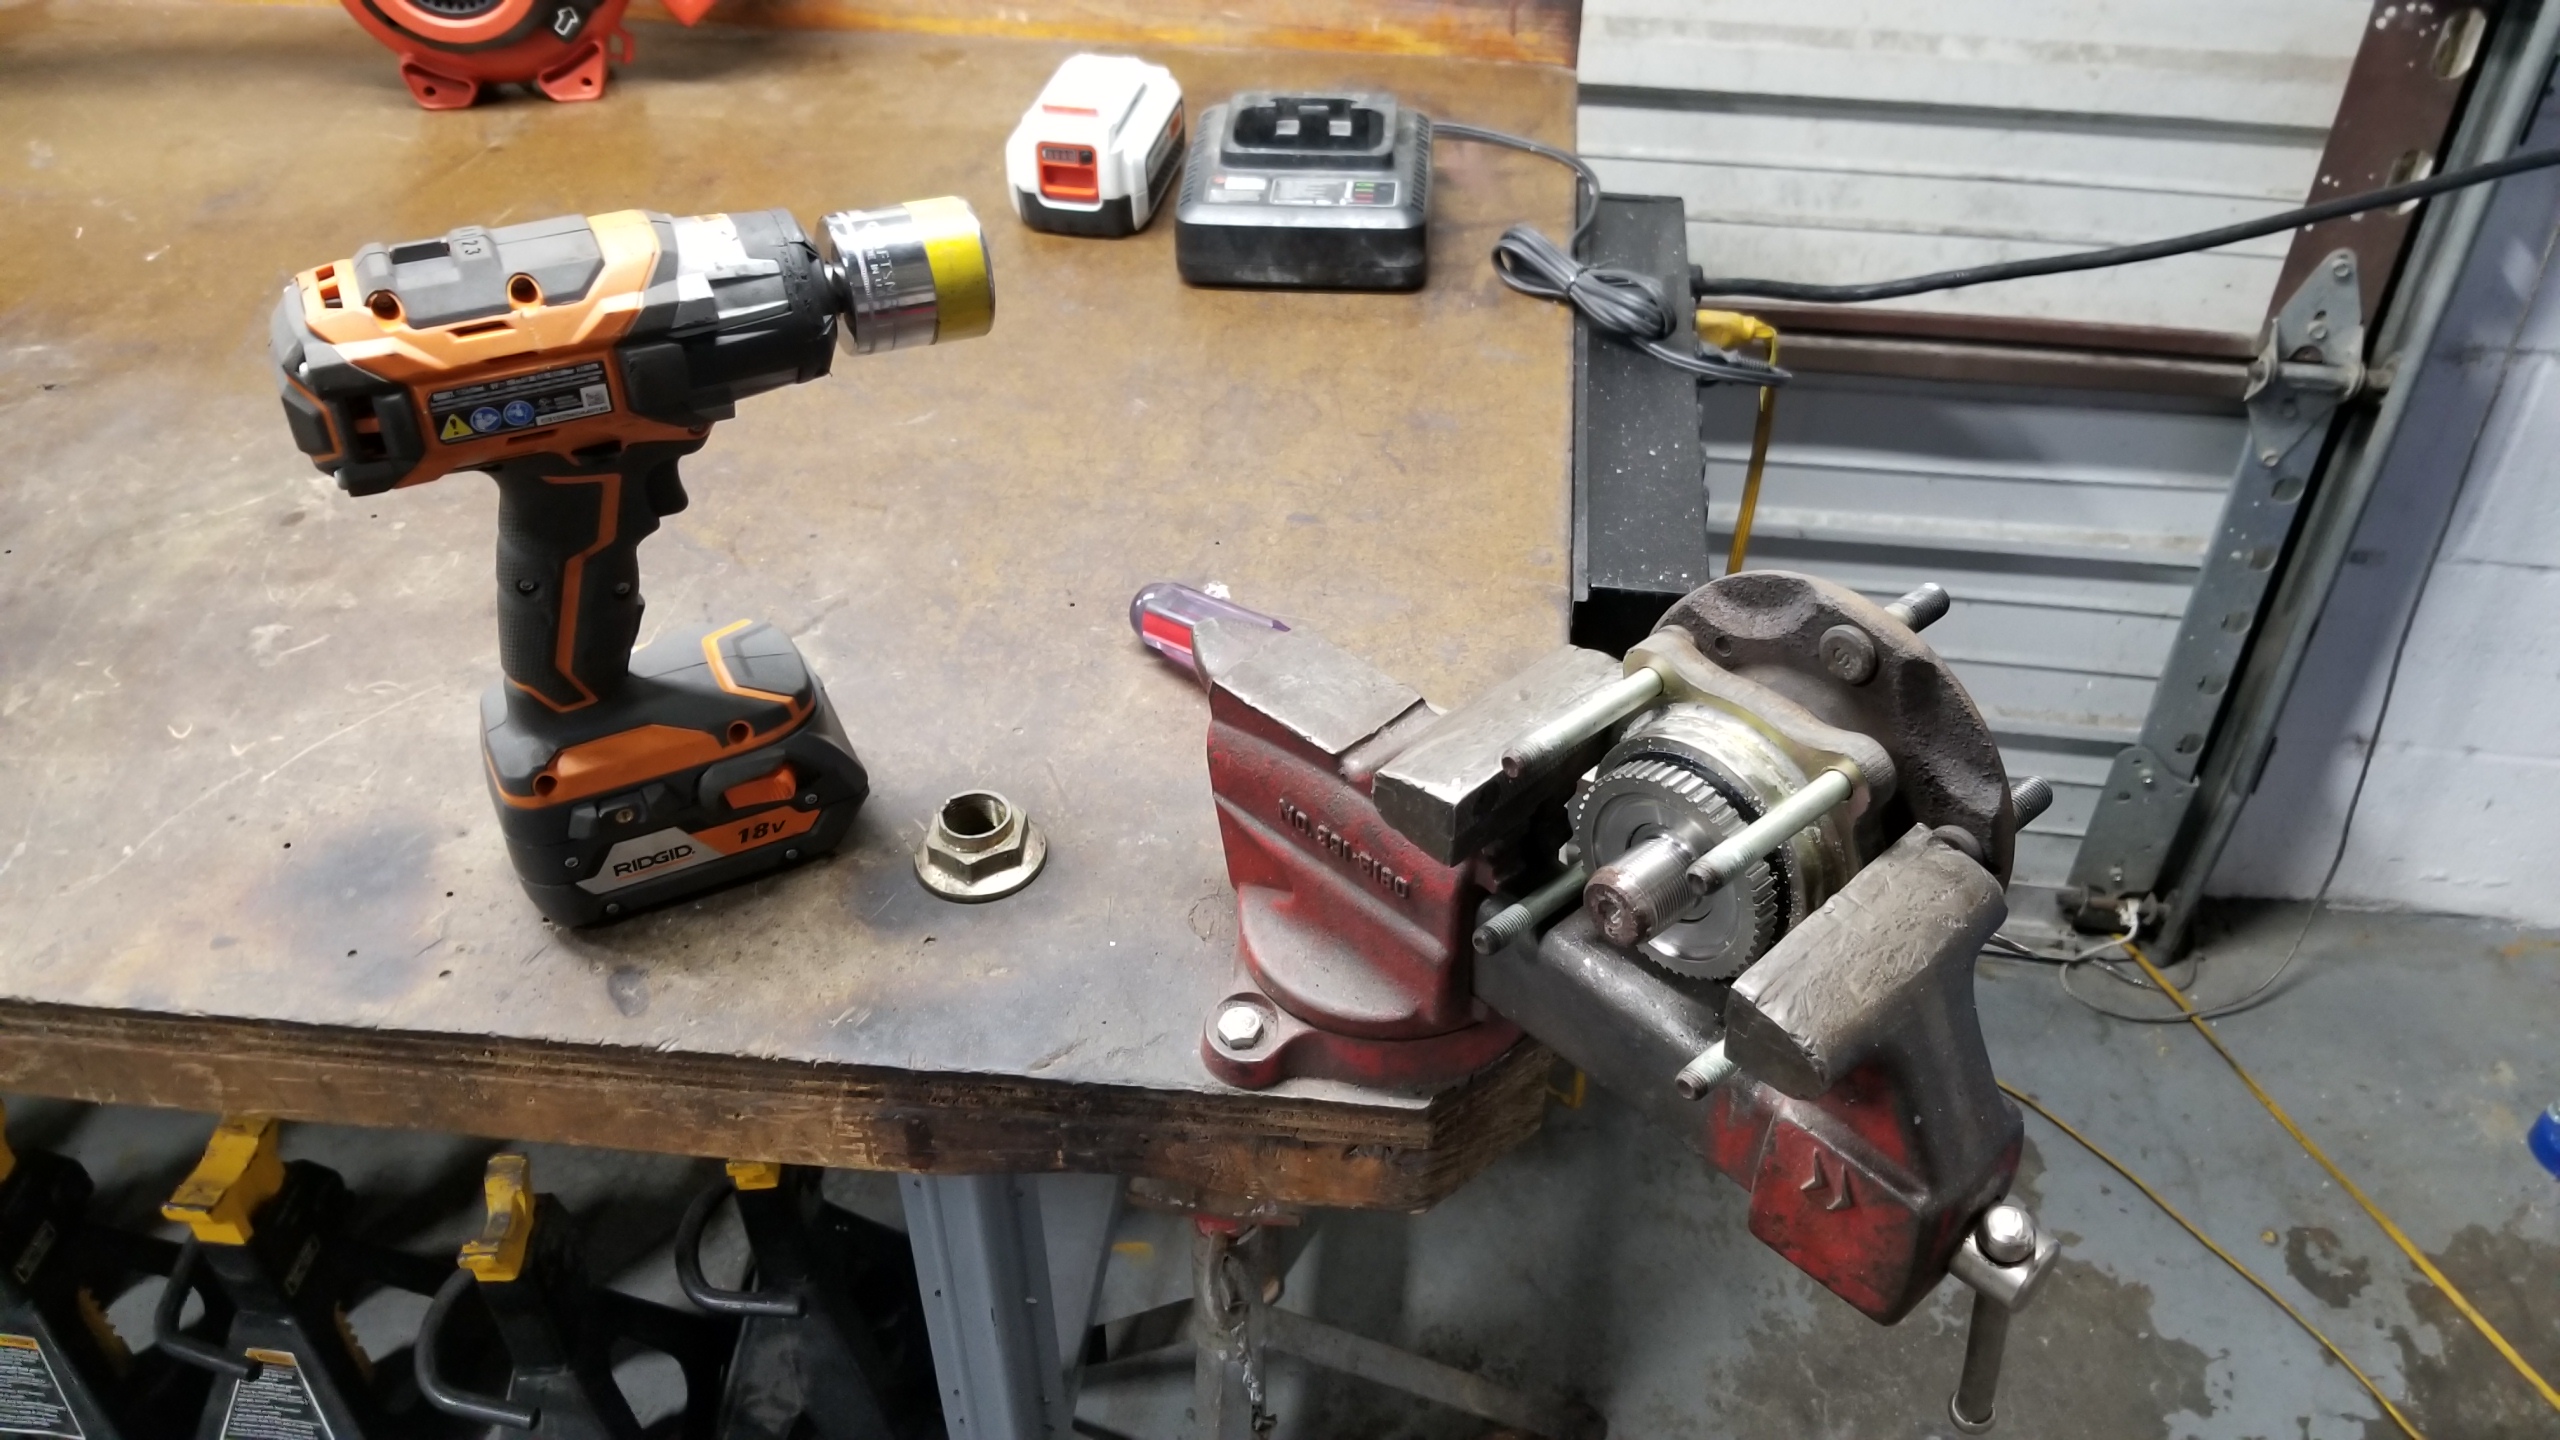
Anyways, back to the front wheel bearings. Axle nut buzzed off easily. Same 36mm nut as the rear axles. The whole assembly is held on to the knuckle by 4 easy to remove bolts.
Fr6qdbG.jpg


Bearing removed with the same separators I used on the transmission. Using the shop press would need some sort of special attachment to properly support the hub which I didn't have.
Rg5sFs0.jpg


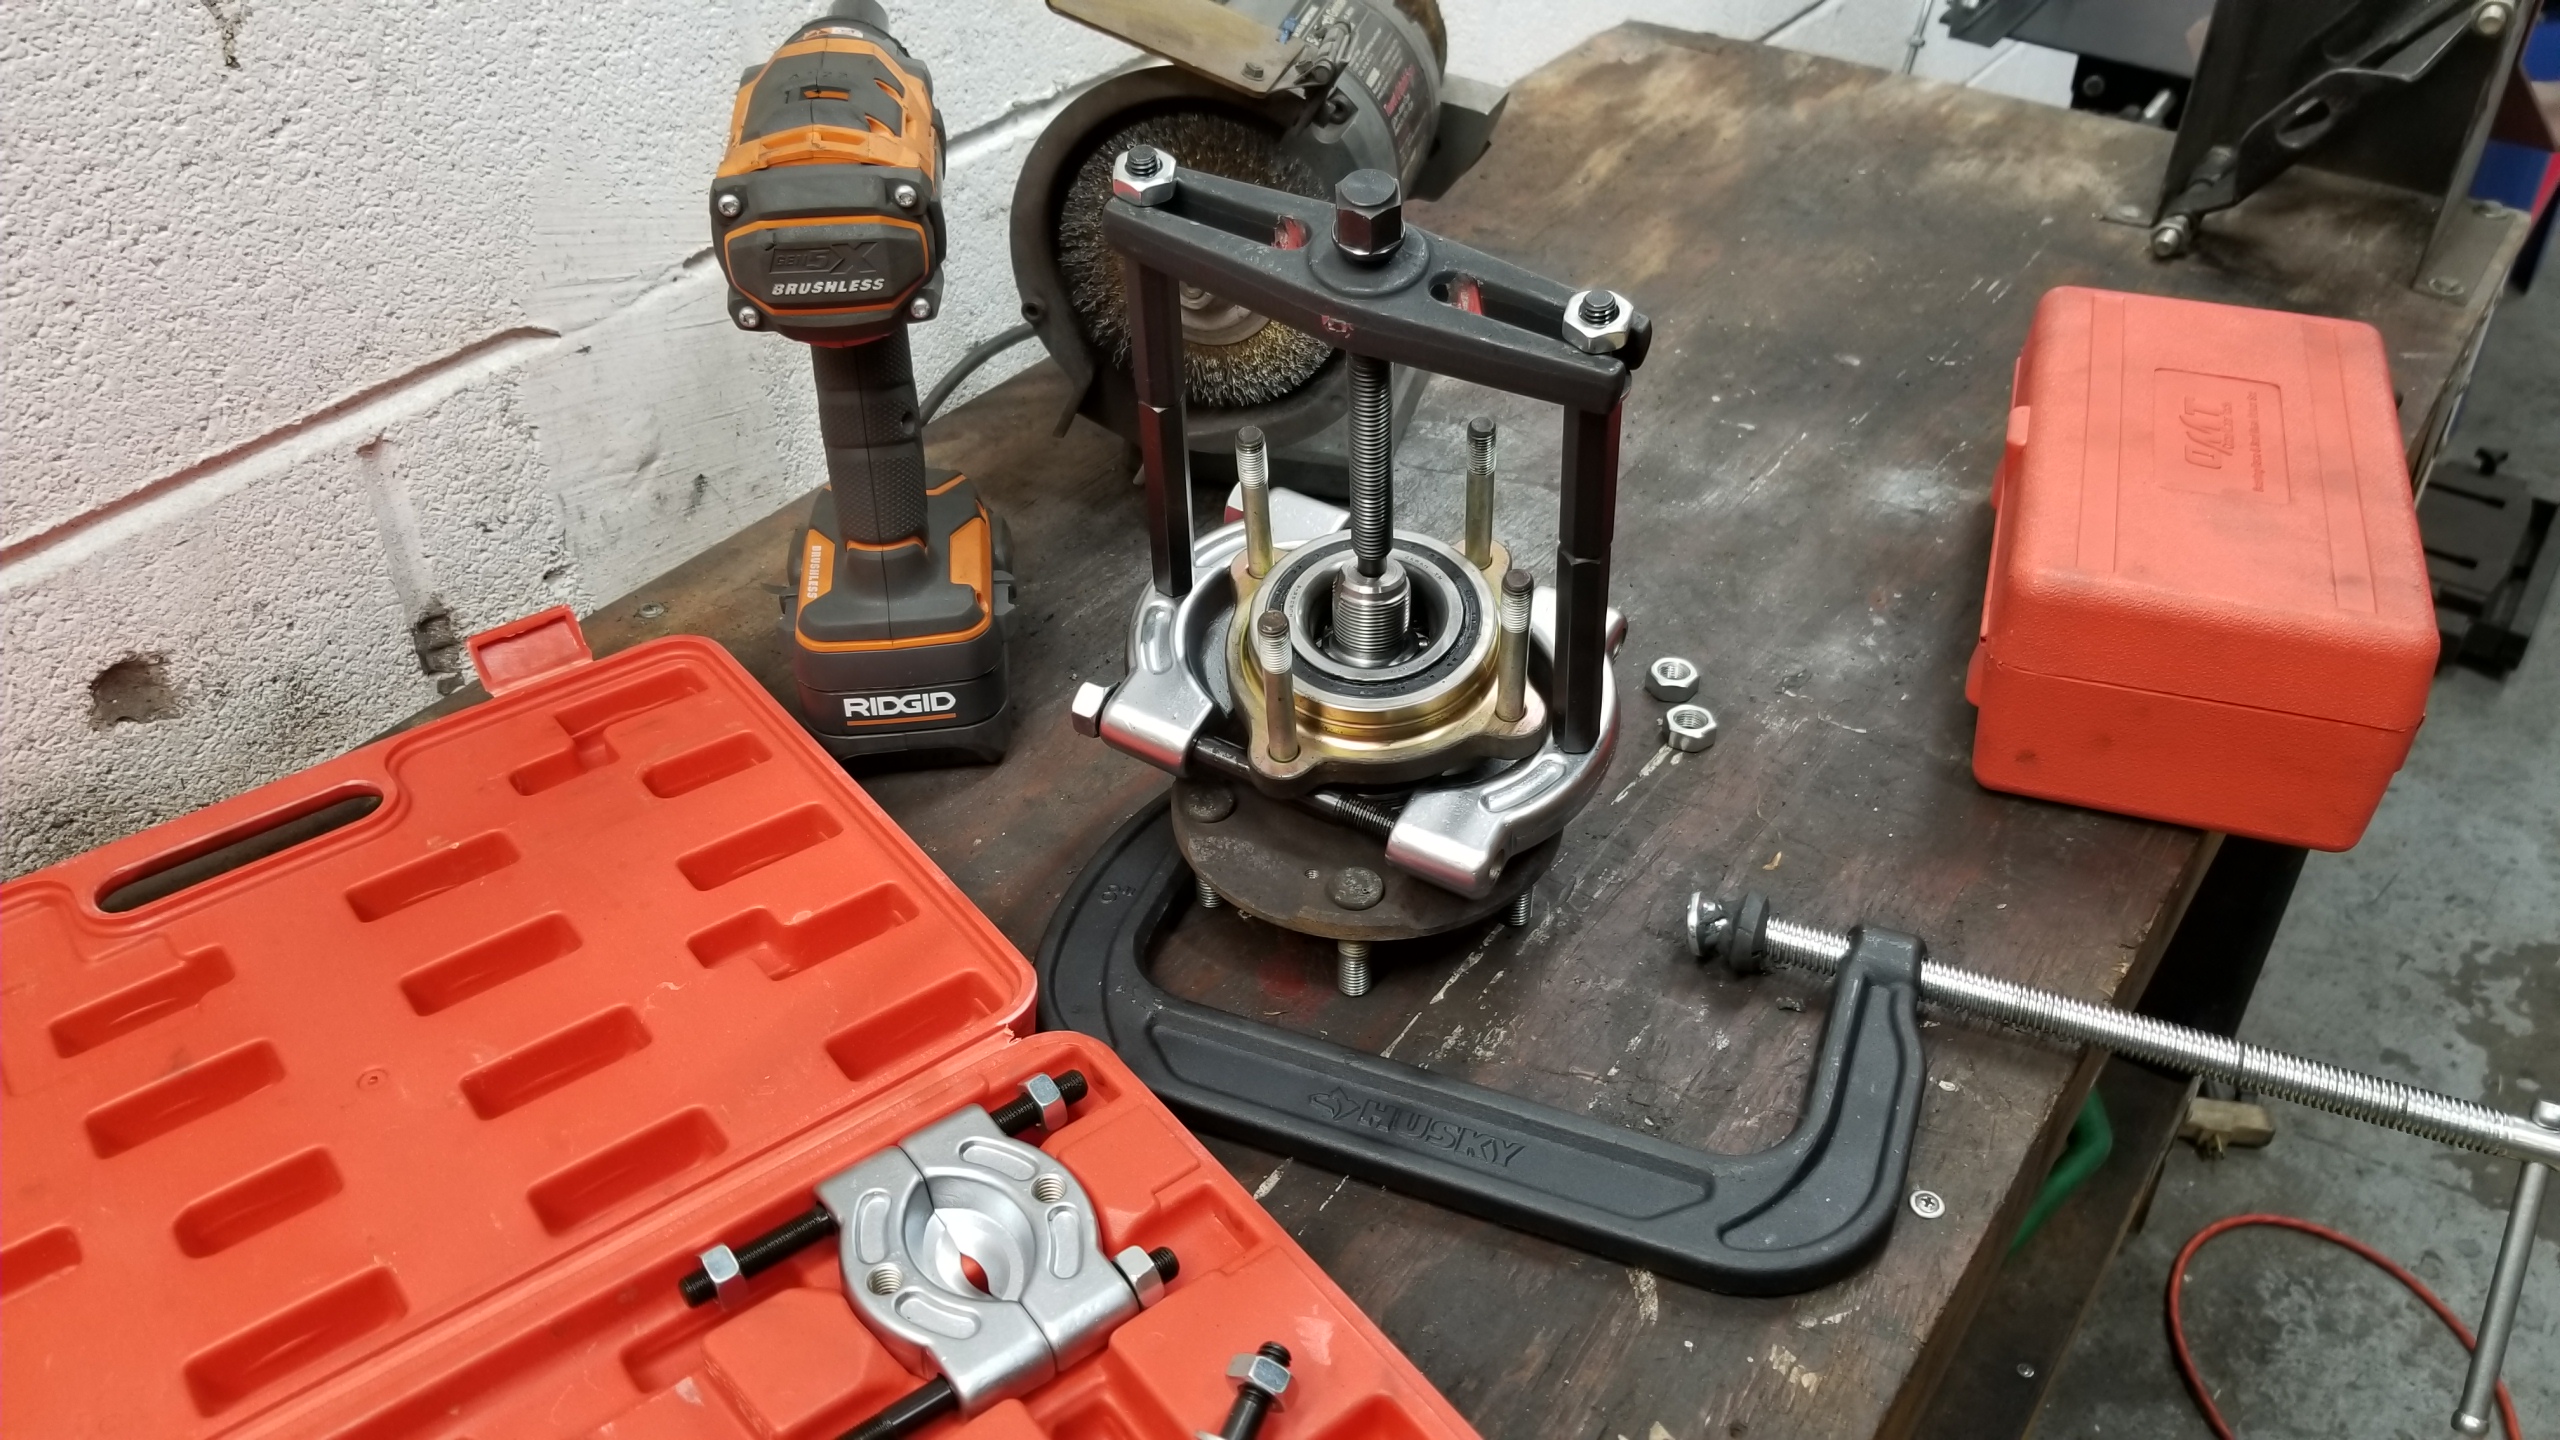
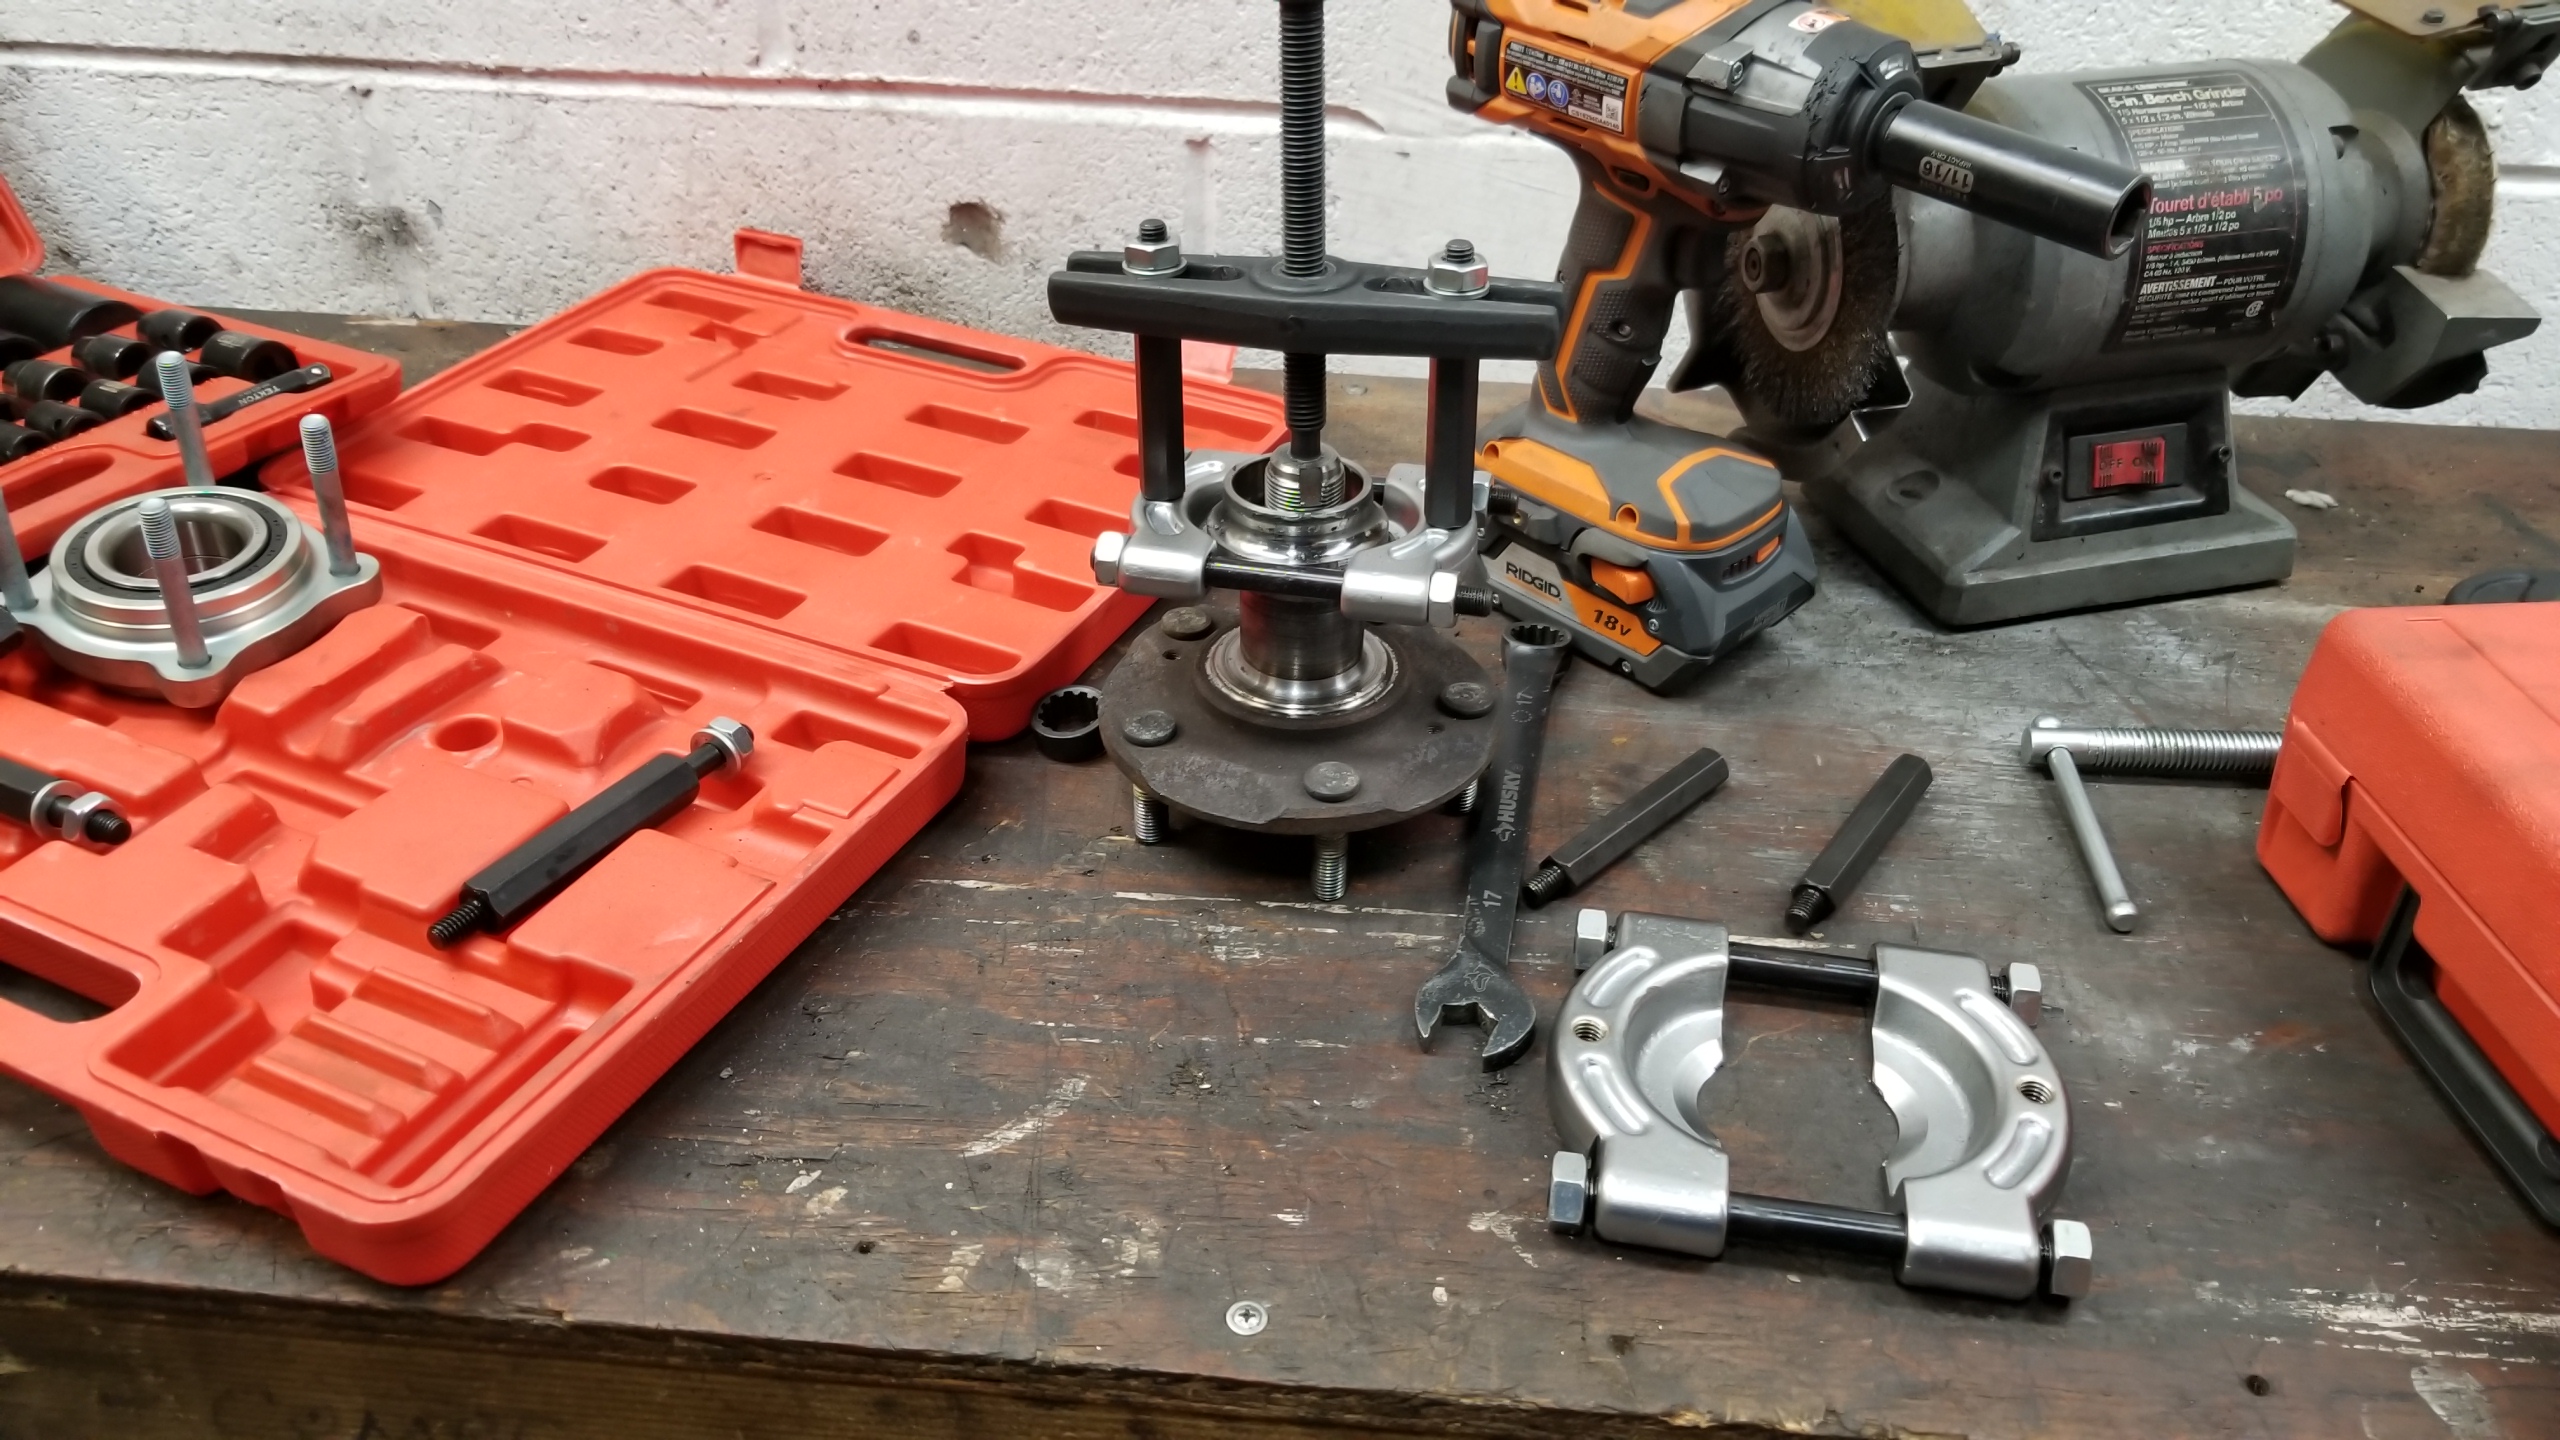
The old bearing inner race also has to be pulled off, which is the hardest part of the job since the gap to pull from is so small. The second race needed some torching to free it up for pulling, maybe an hour or two of work just for the two inner races on either side.
V3qmzCN.jpg


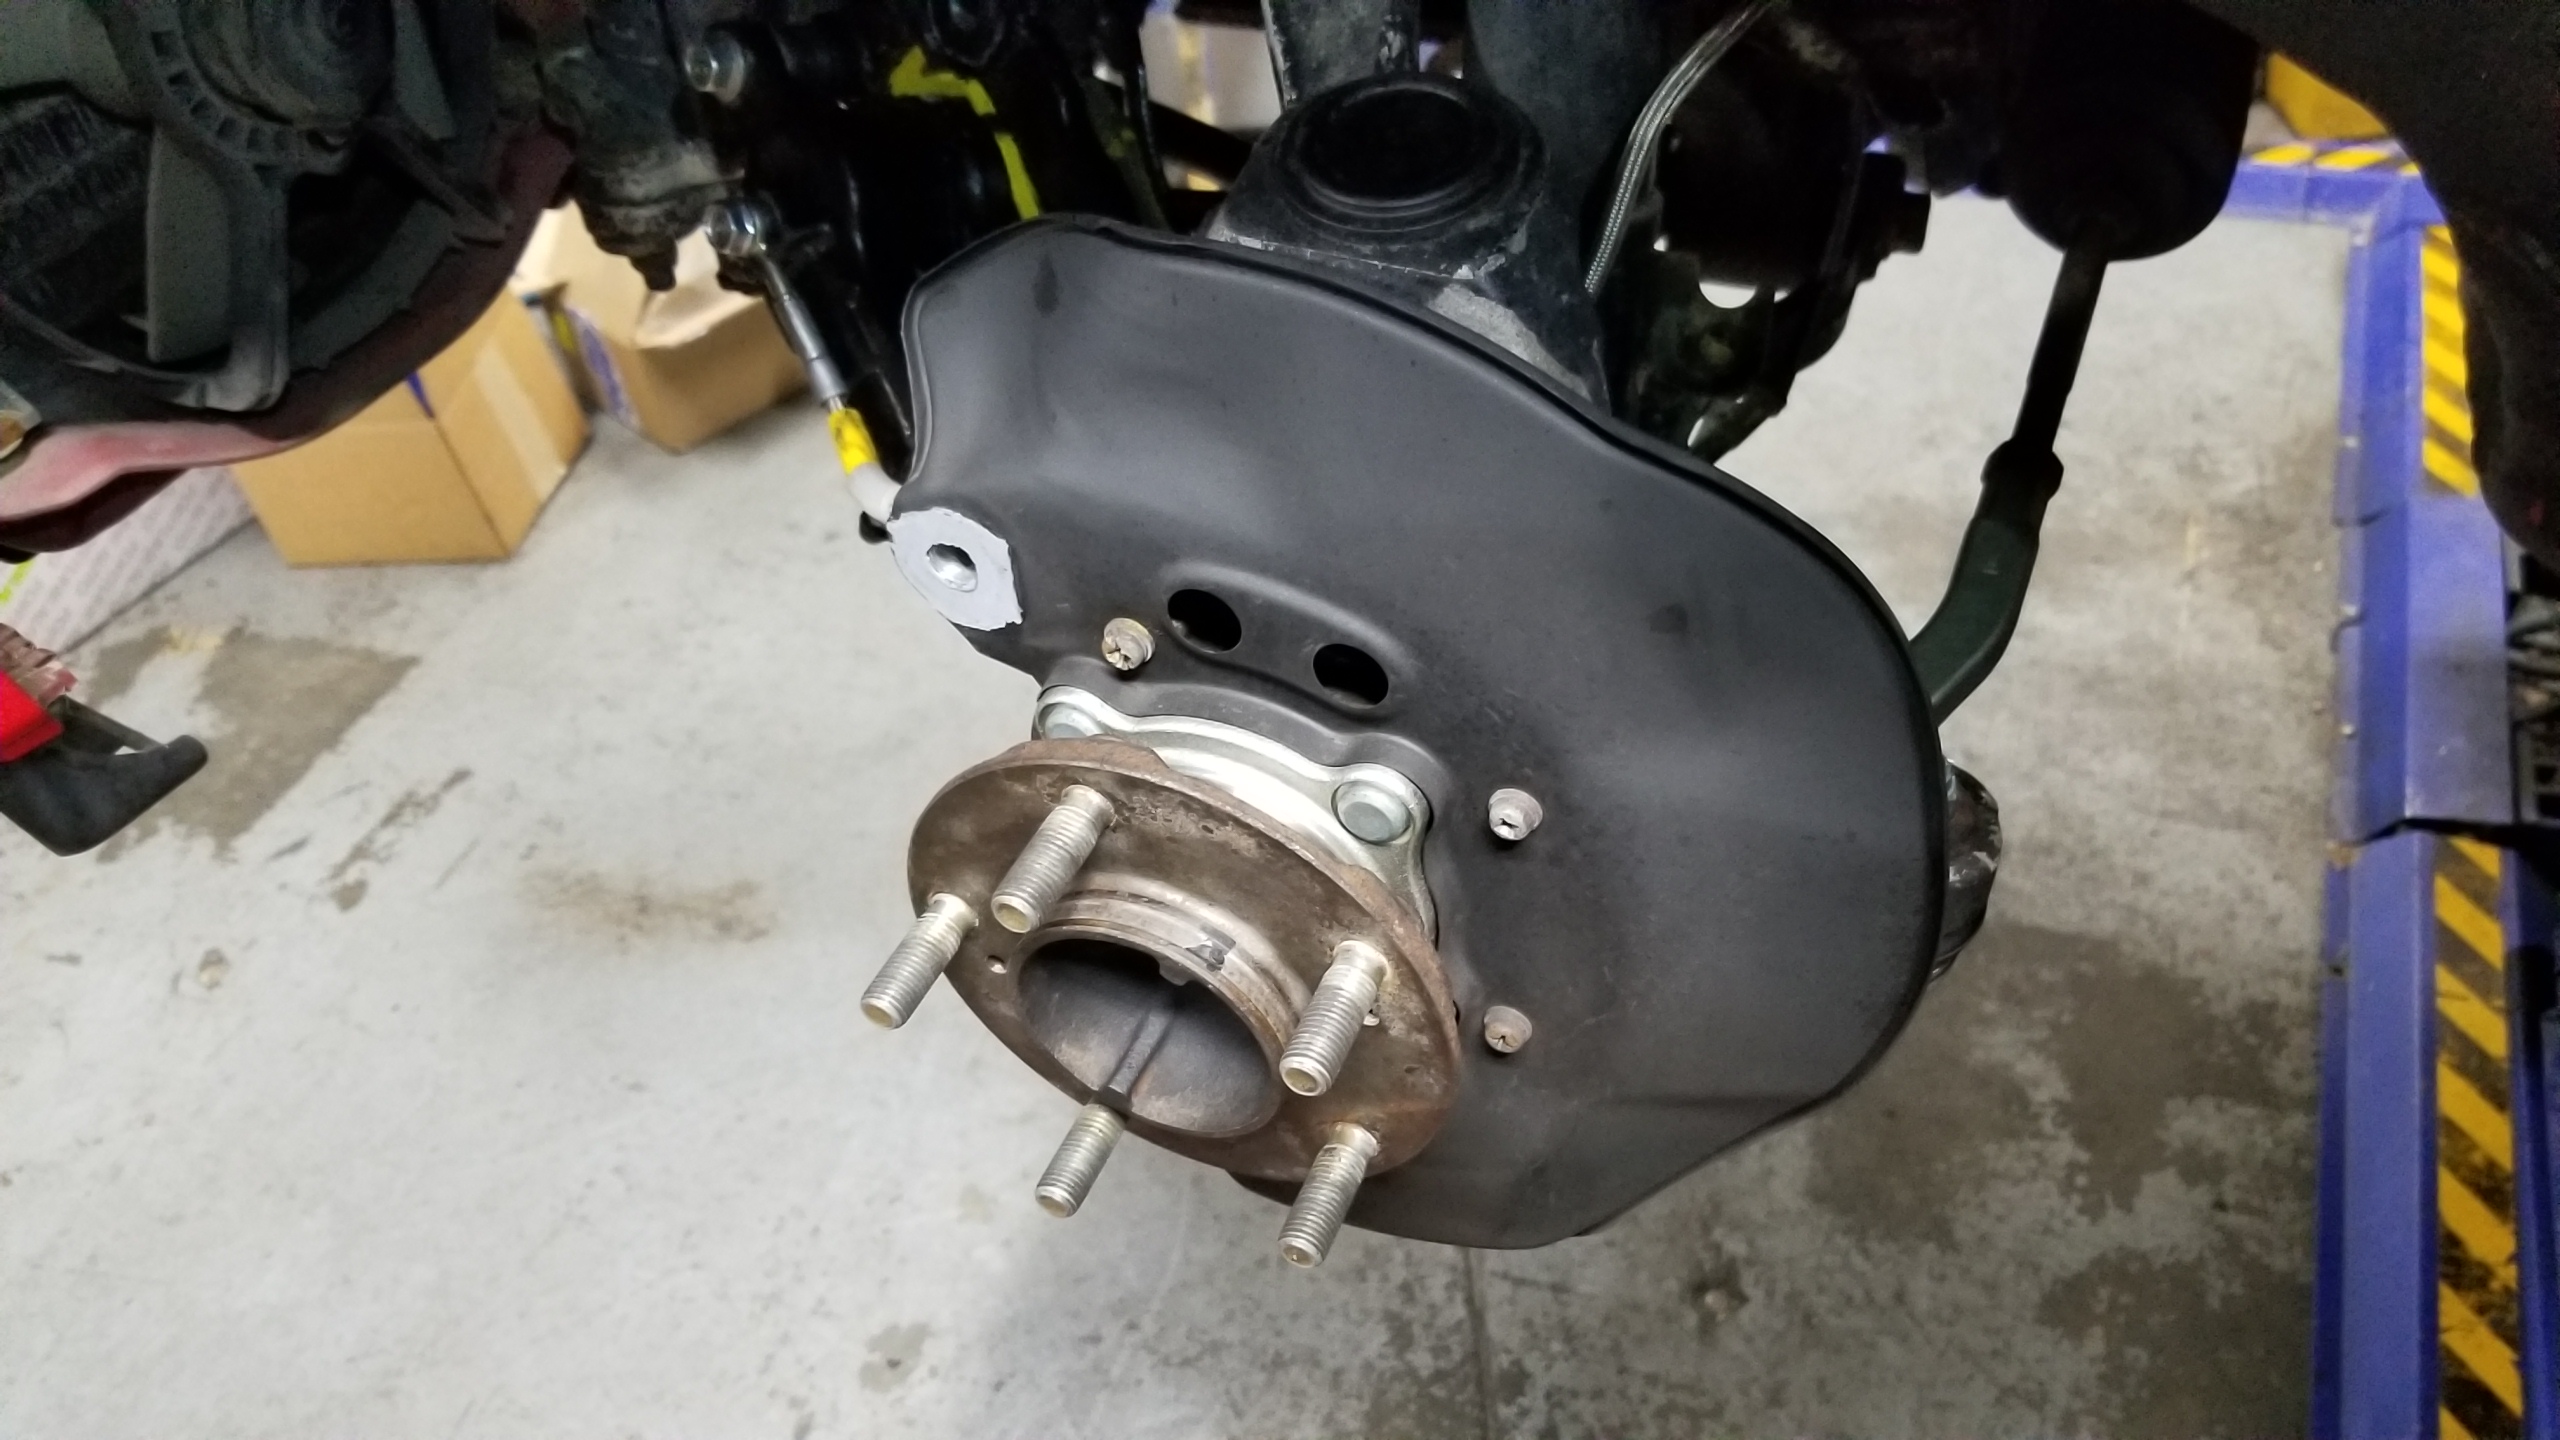
The new bearing assy is easily installed on the hub with a press and an old inner race as a press tool, then bolted back into the car with threadlocked nuts. Would be a 15 min job if the inner race wasn't so hard to remove.
58PQdAL.jpg


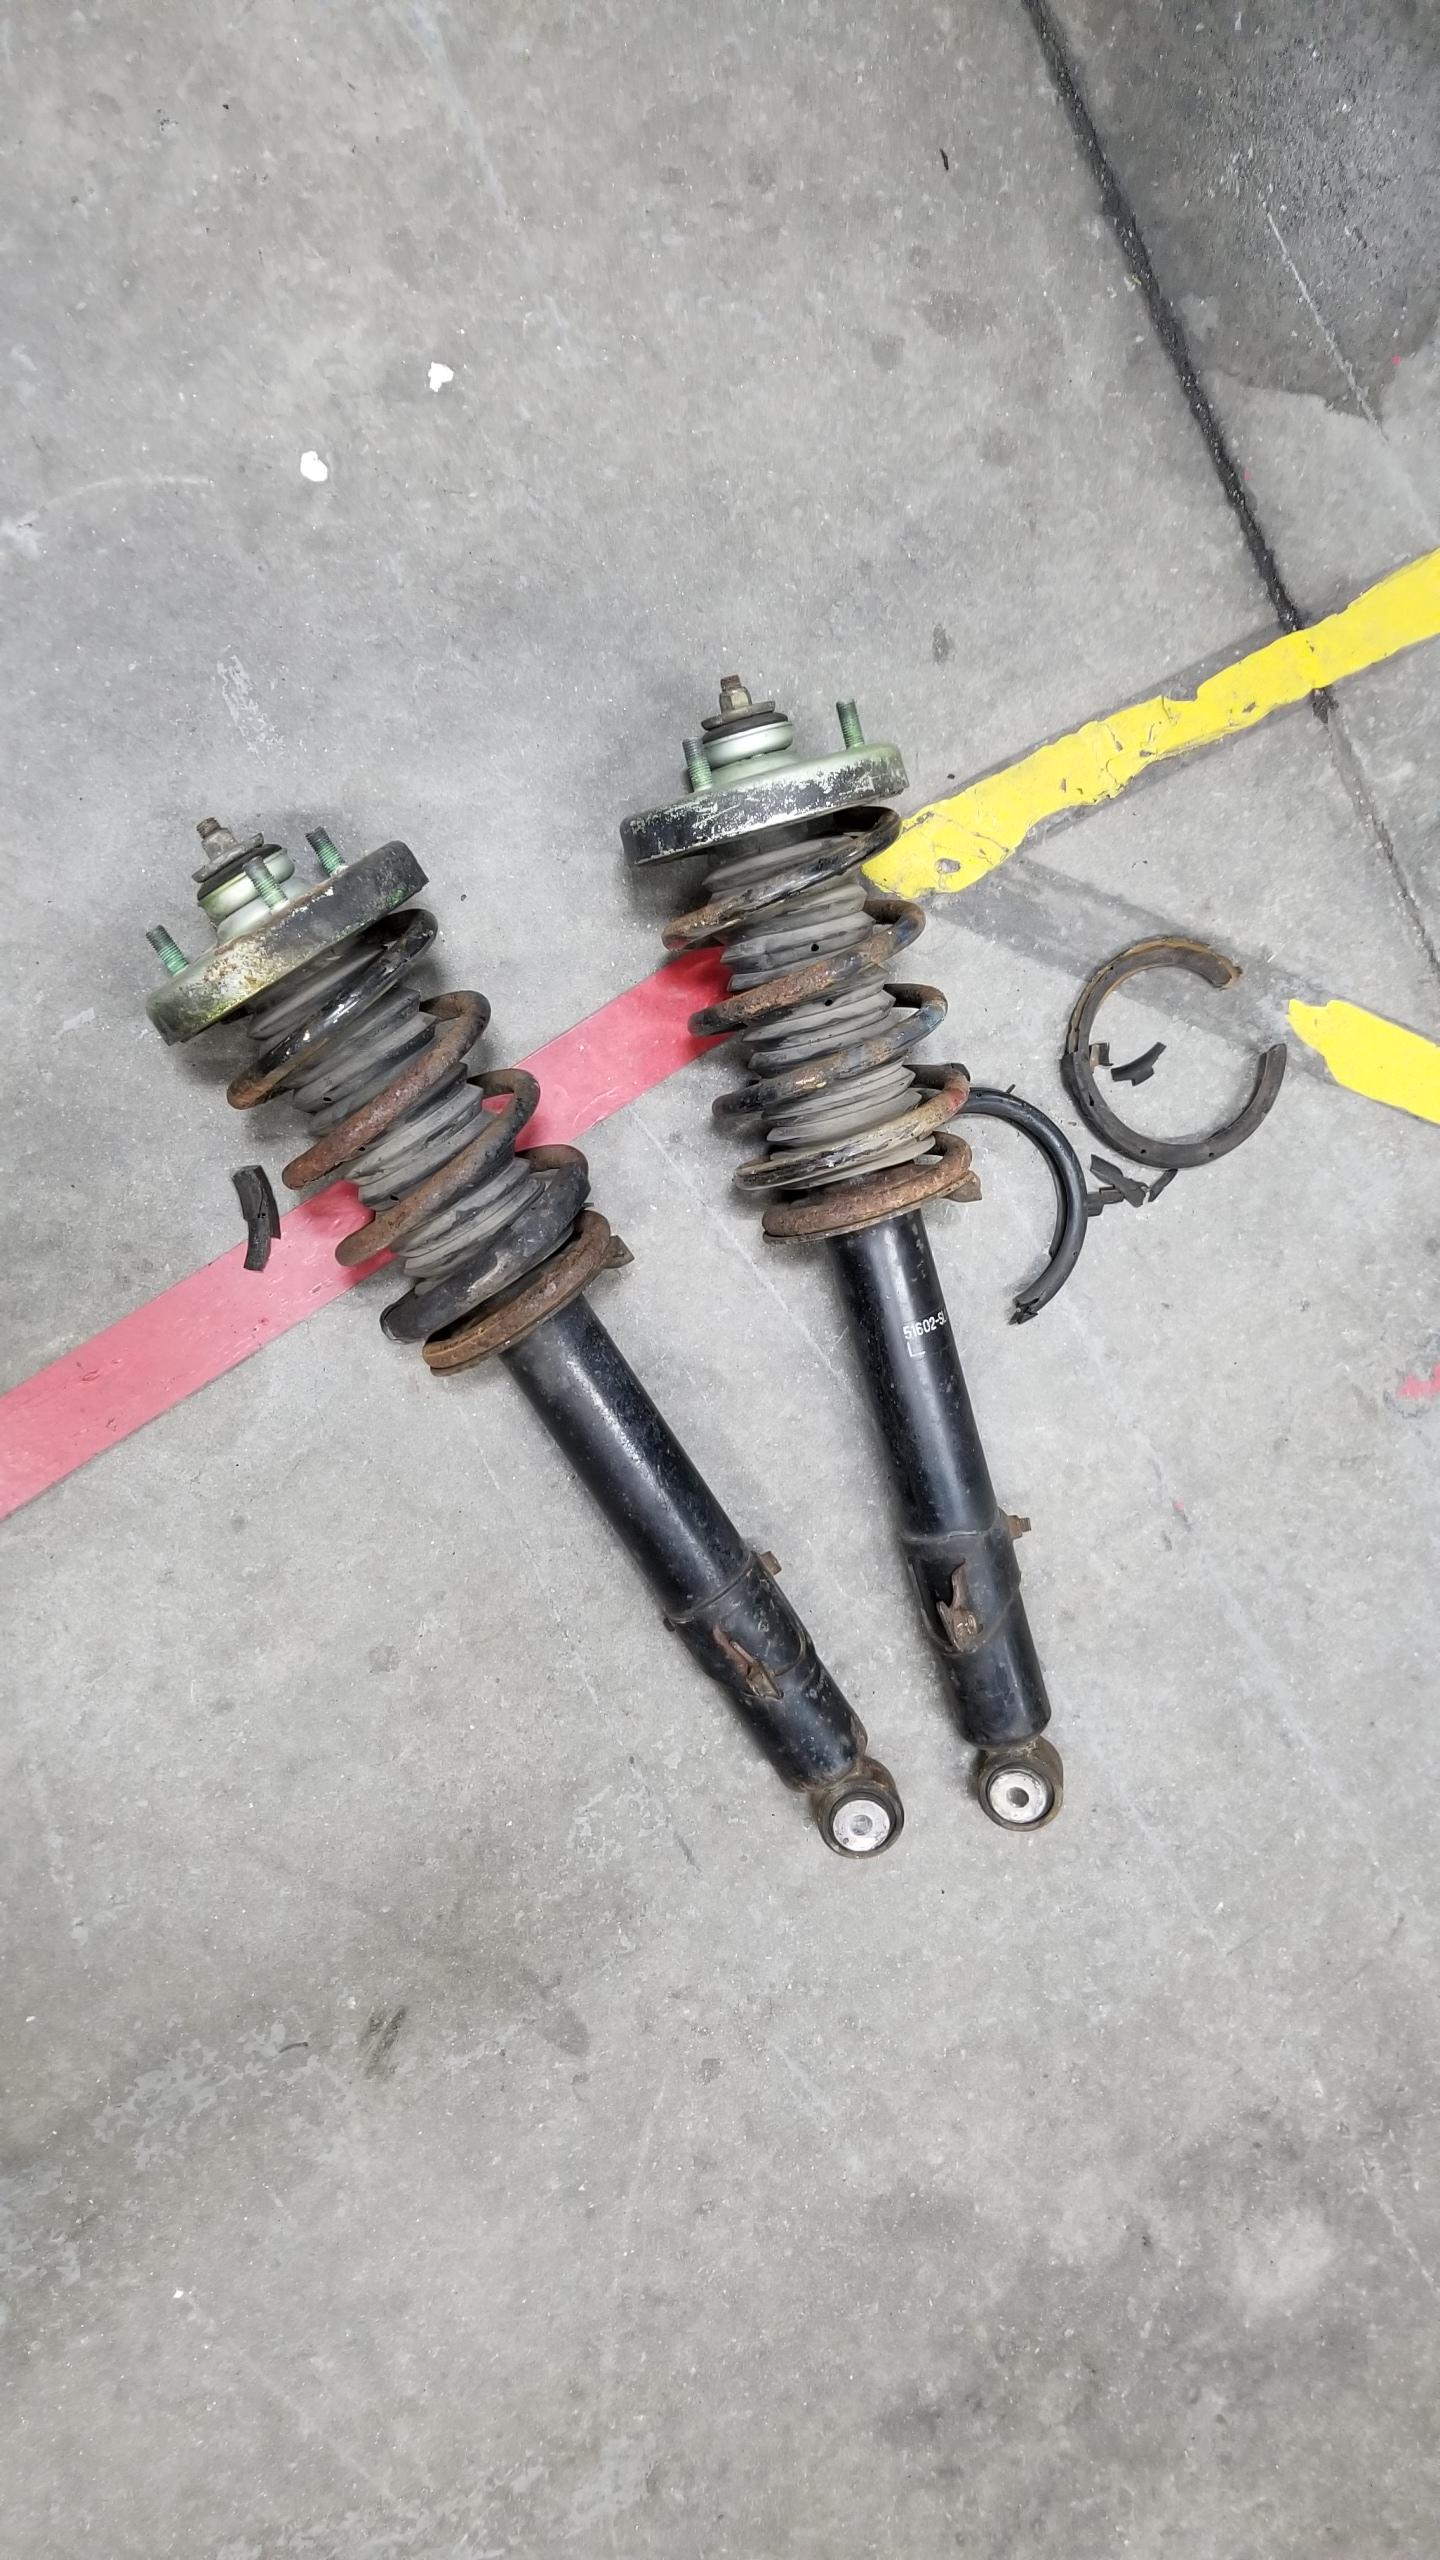
Next is removing the front struts. The bolts are simple to access and remove, the hard part is that the spring forces the end of the strut into the control arm and needs a ton of fiddling and prying to yank the strut out. Doing this over again I would've used spring compressors on the strut in-situ to make the removal much easier.

Obviously these have seen better days. They weren't leaking at all and felt fine, but age has not been kind to their appearance and the plastic covers on the spring.
Cco5hod.jpg


Strut removed.
6hxKjOO.jpg


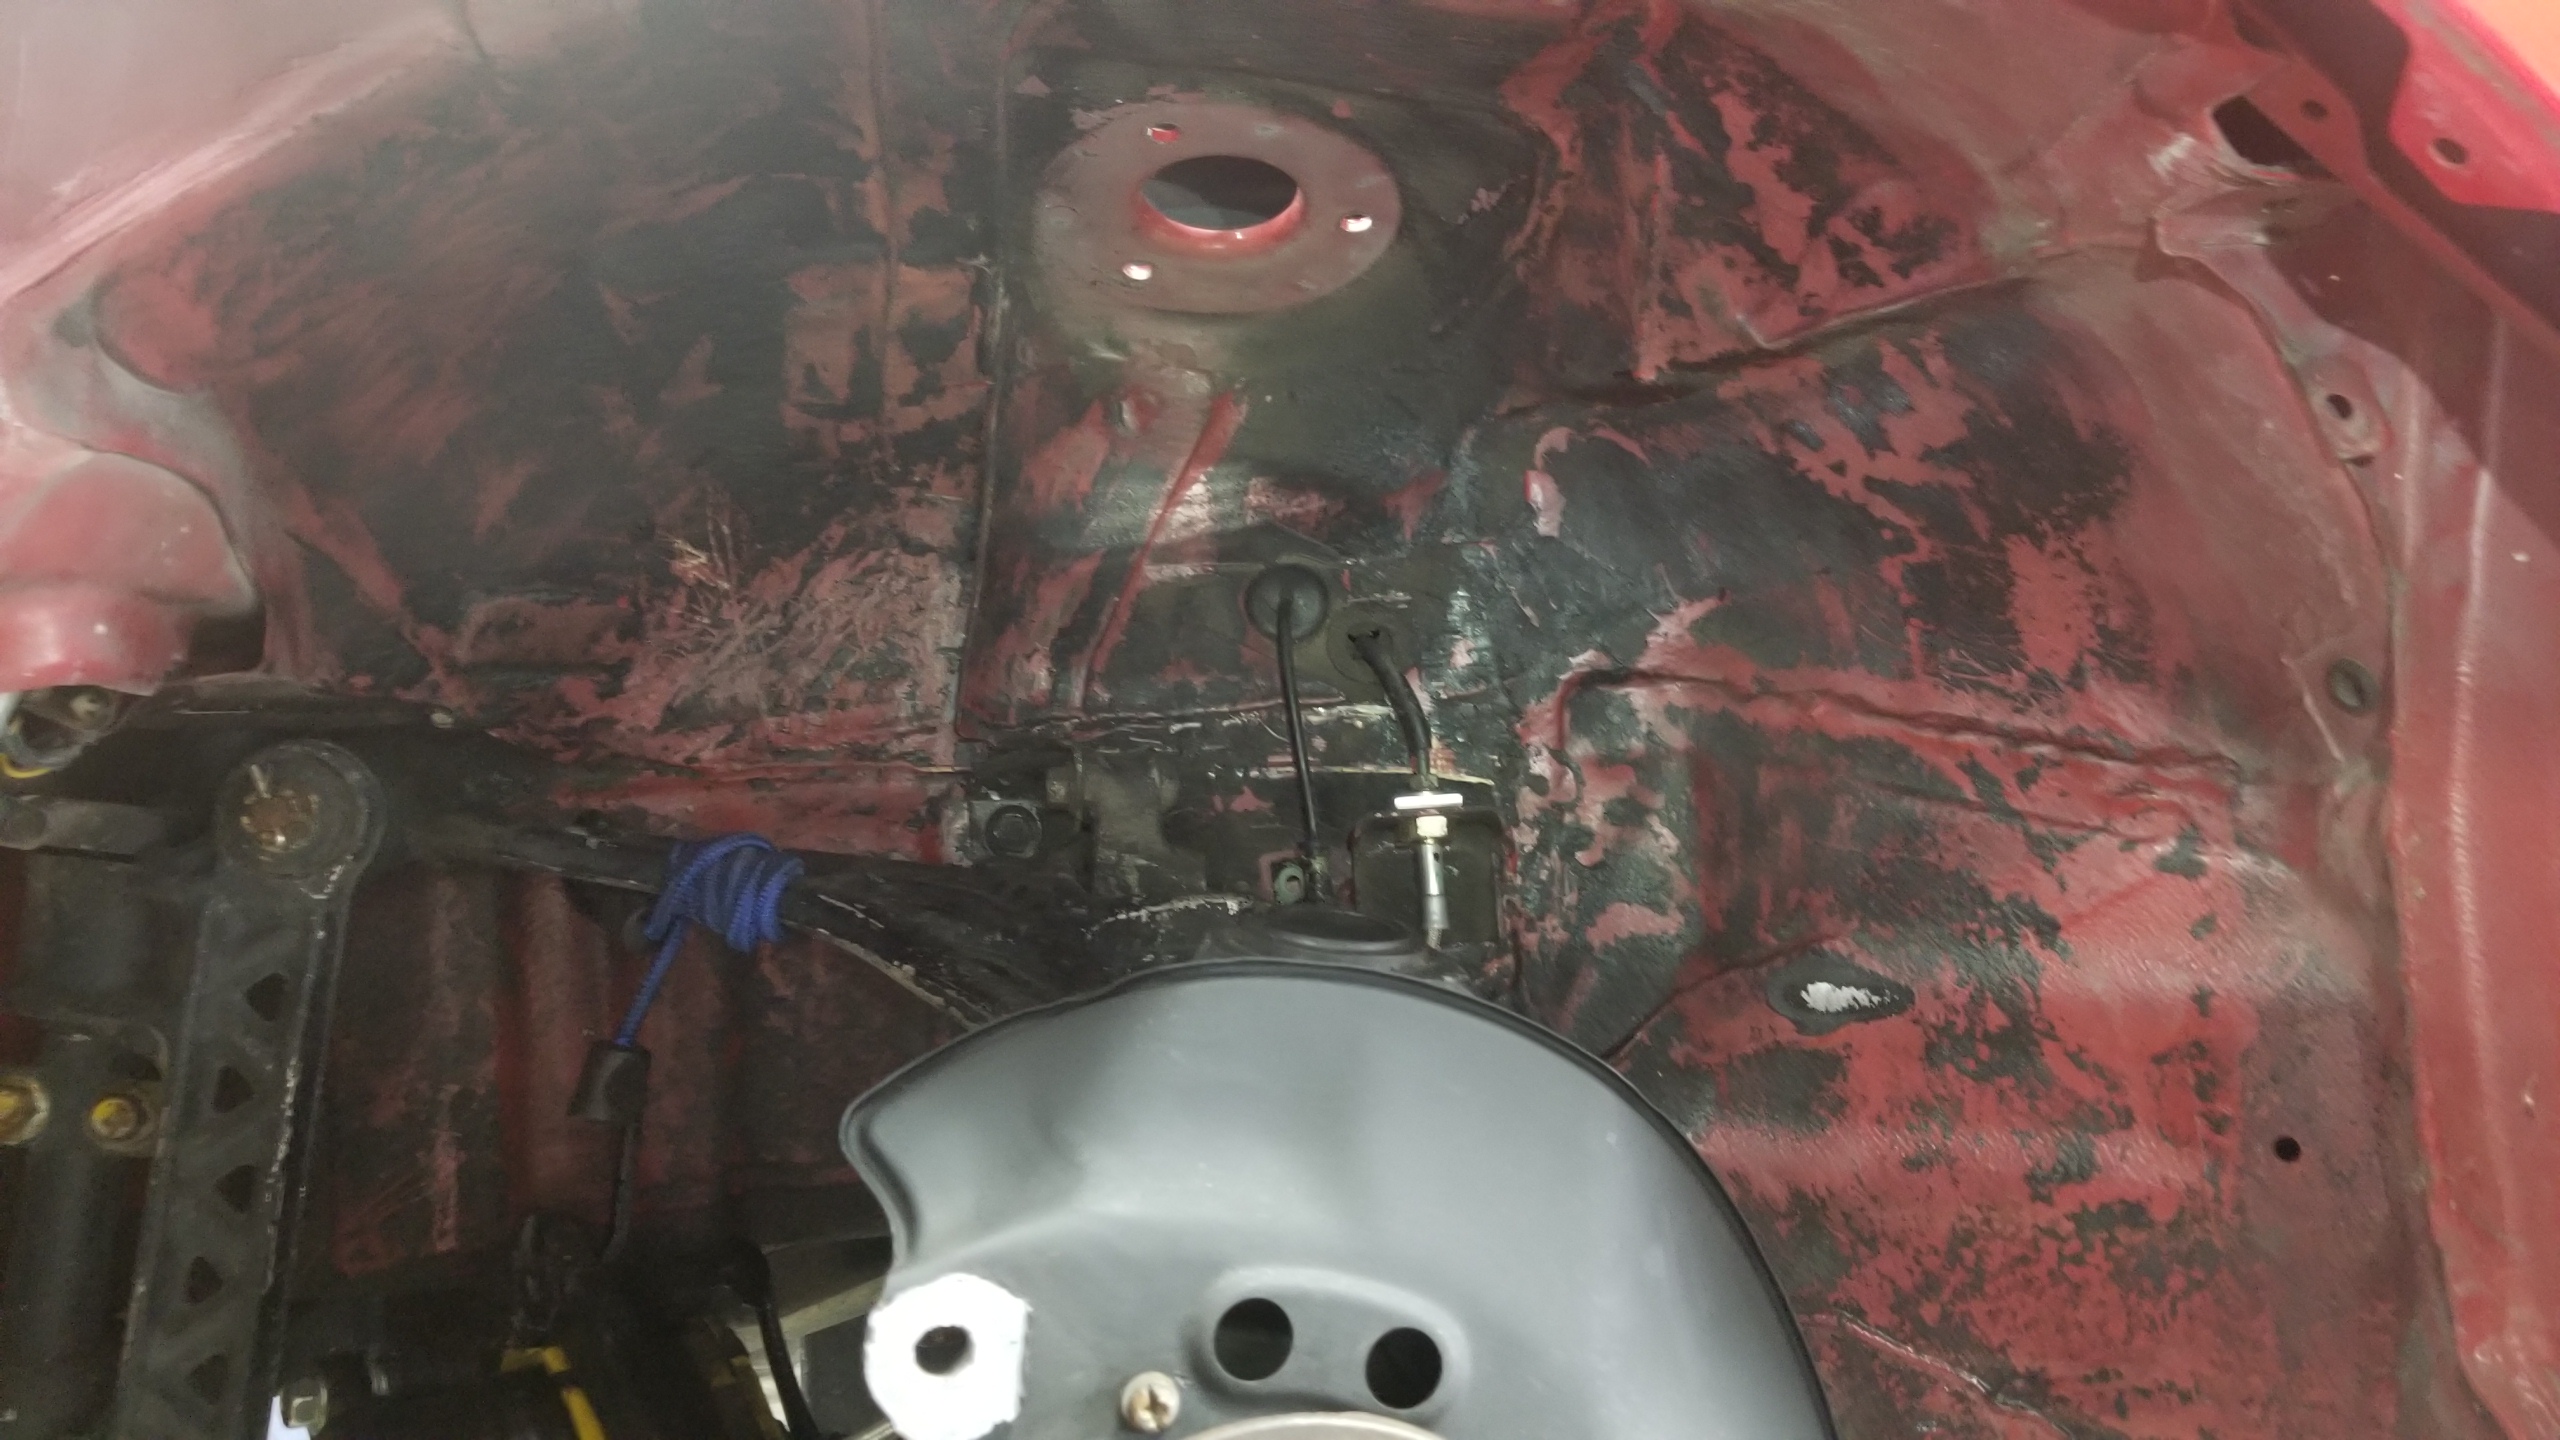
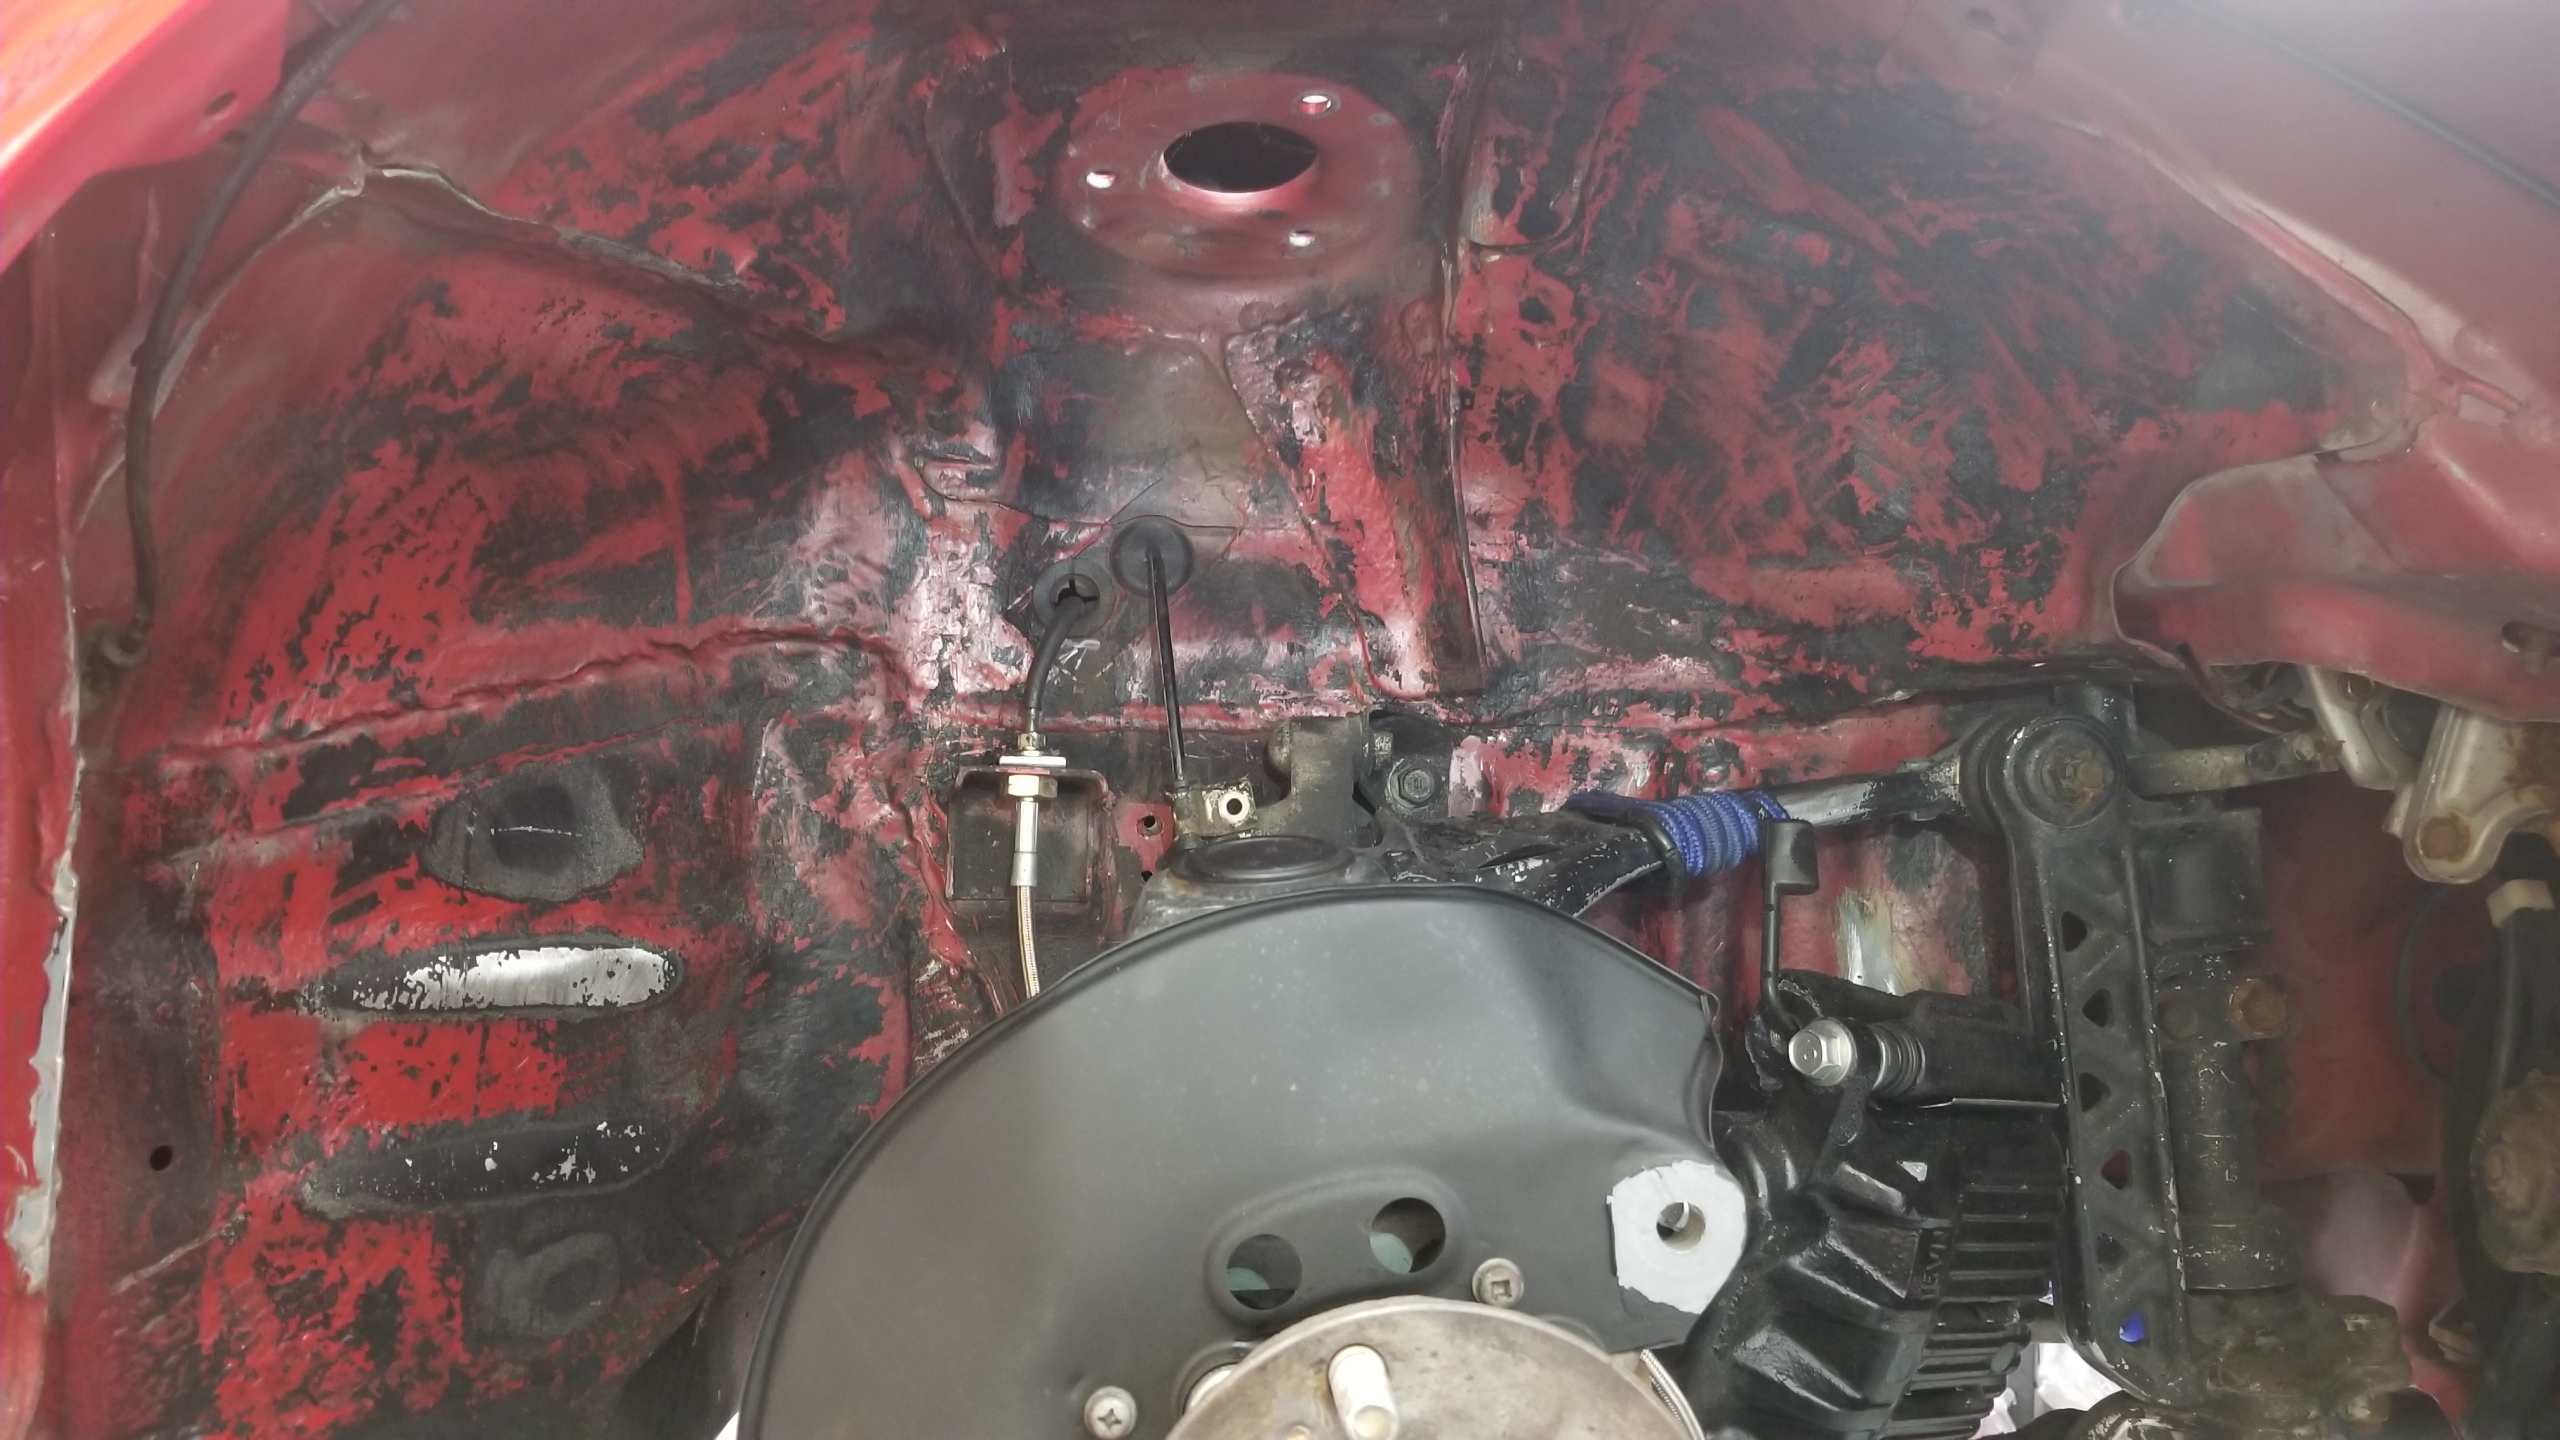
Plus another few hours of scraping and brass wire drill-brushing the old undercoating off. I wasn't aiming for a complete stripping down to plain red paint, I figured if the remaining coating was strong enough to withstand my first few attempts then it would be okay to leave on, I was mainly concerned about the flaky stuff.
QdRSH6P.jpg


Rear stripped. Unfortunately, the stock rear struts were even harder to remove because the spring forces the strut into the driveshaft boot and is very easy to tear. I was able to pry the left side out okay, but the right side ended up making a 1cm tear in my new boot which I sealed with RTV and hope it holds. Again, spring compressors would make this a much easier and safer removal.
9pci7KD.jpg


FR side stripped. Someone was rubbing tires pretty good on the front sides under prior ownership.
5c2Efyq.jpg


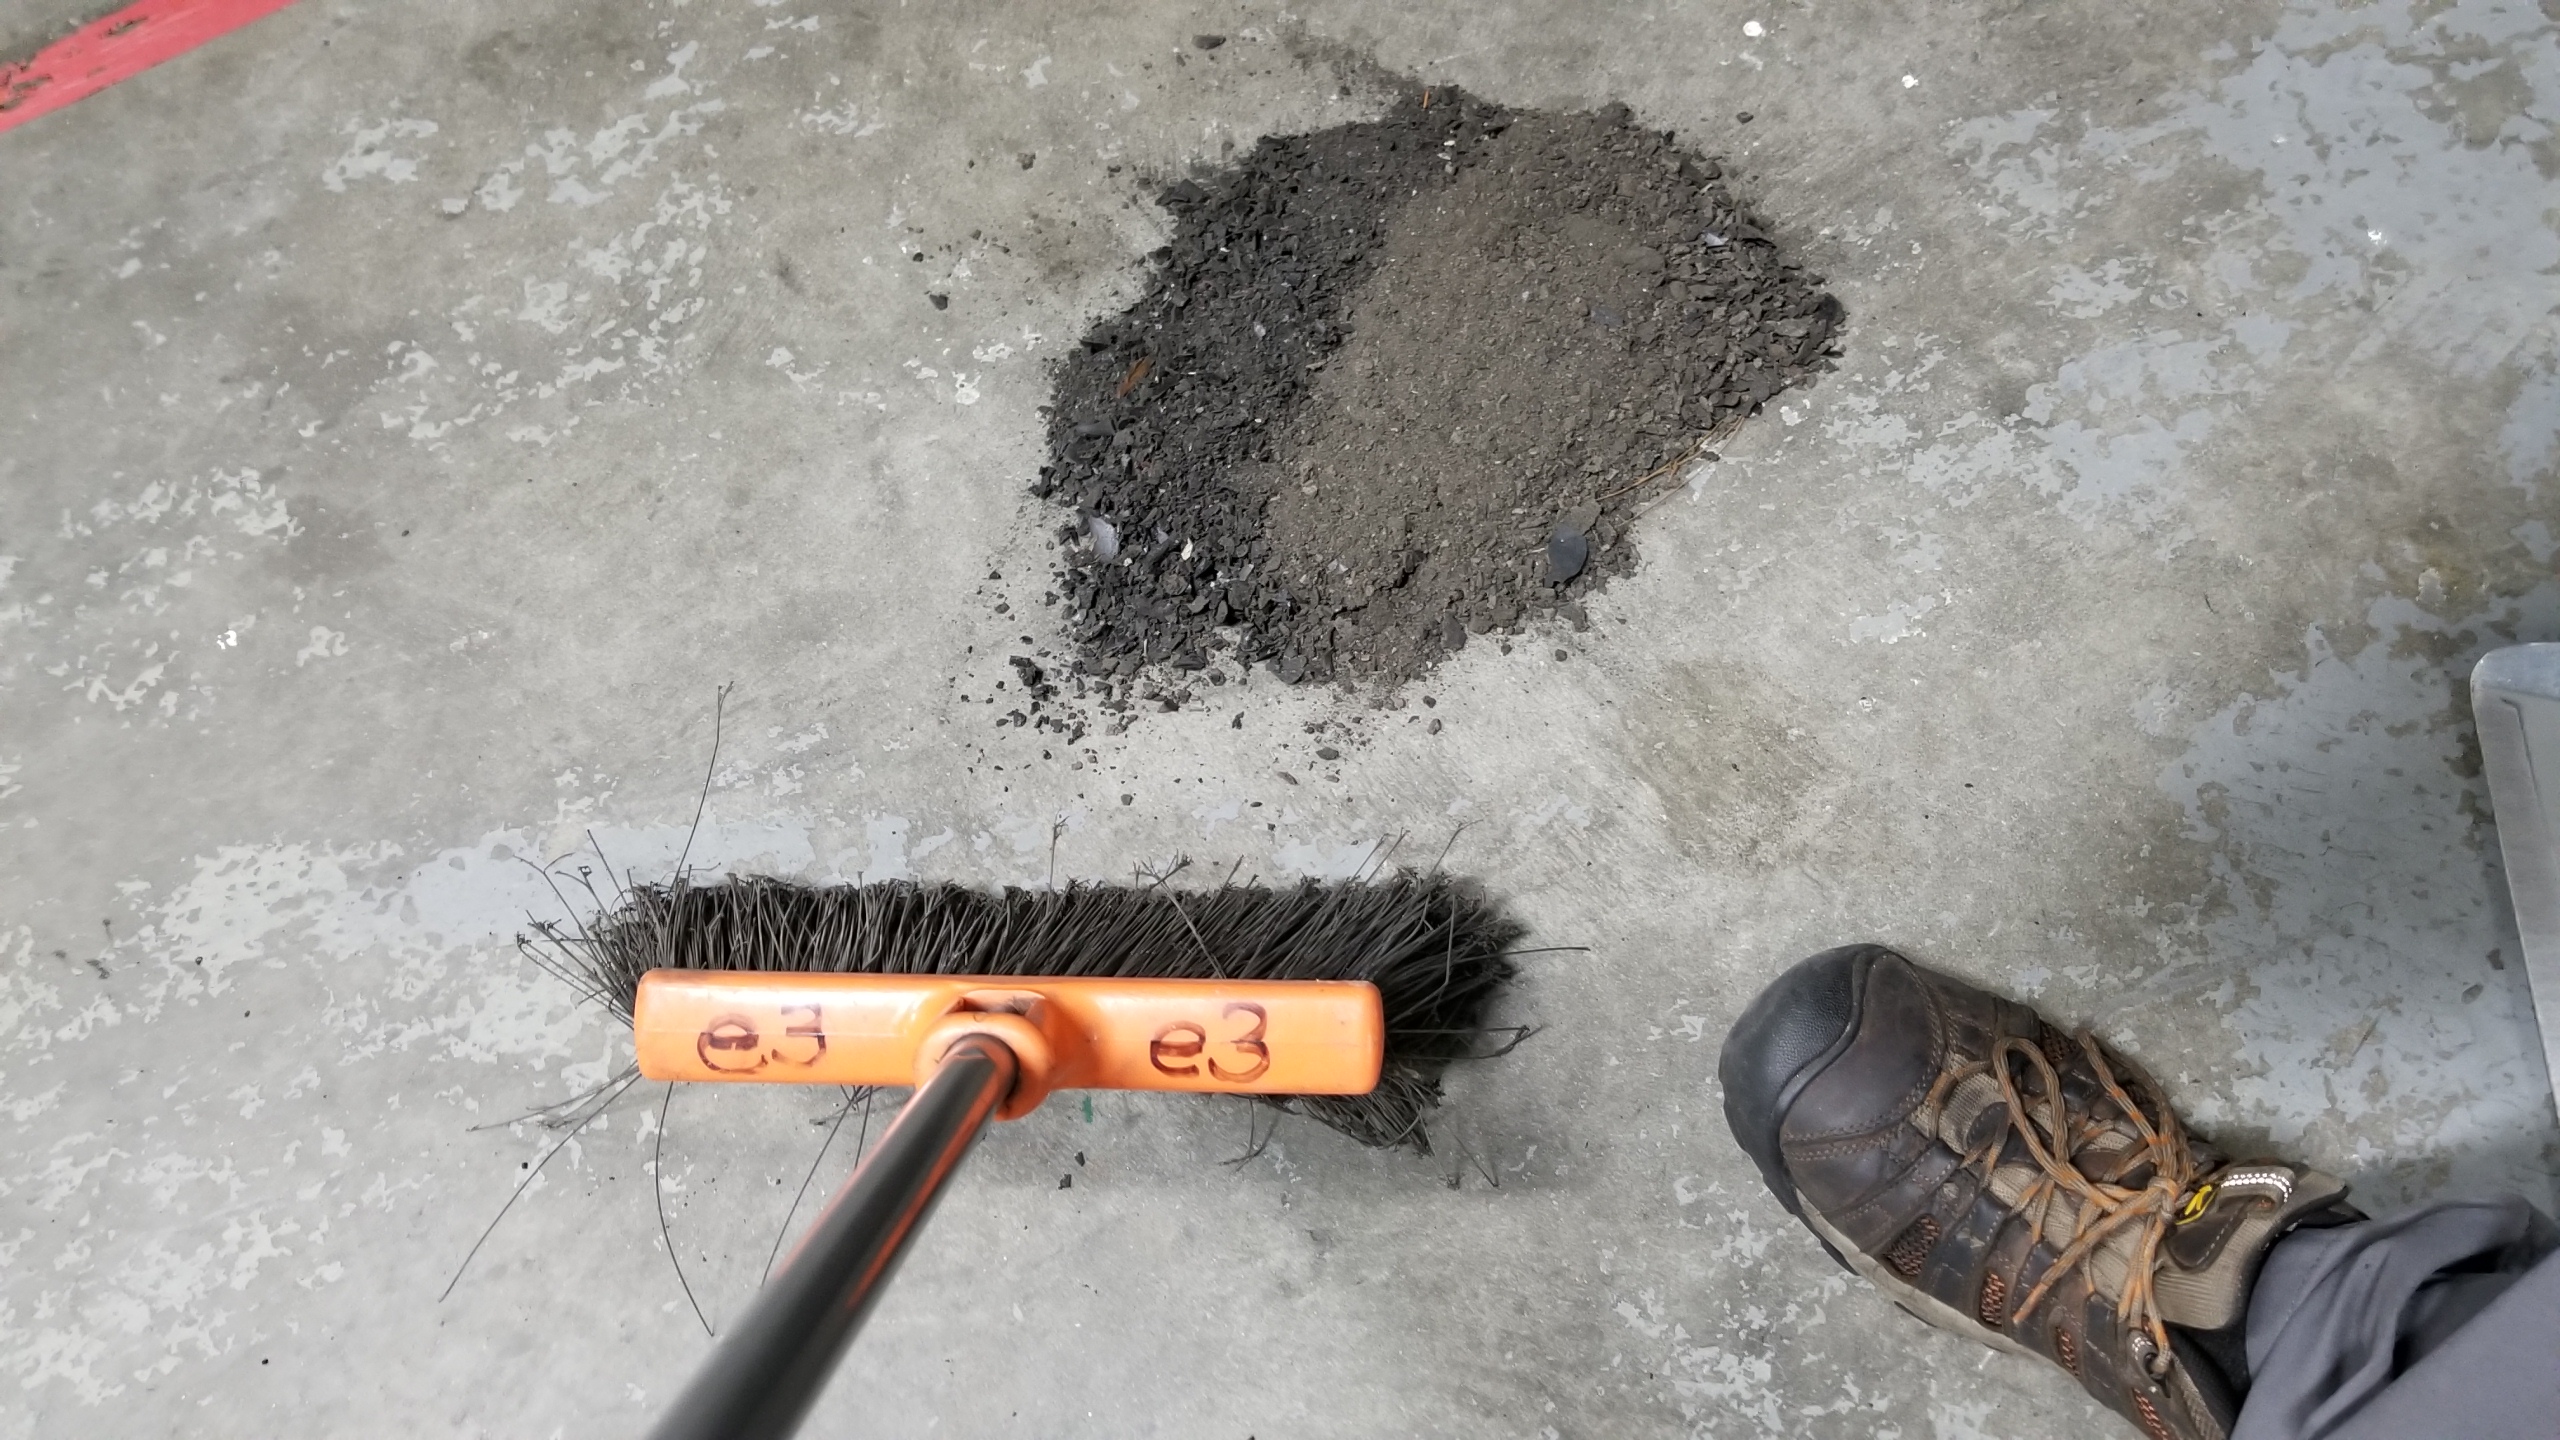
How's that for weight reduction? :biggrin: Maybe one half of the ancient dirt and coating removed.
zl2Uj6c.jpg


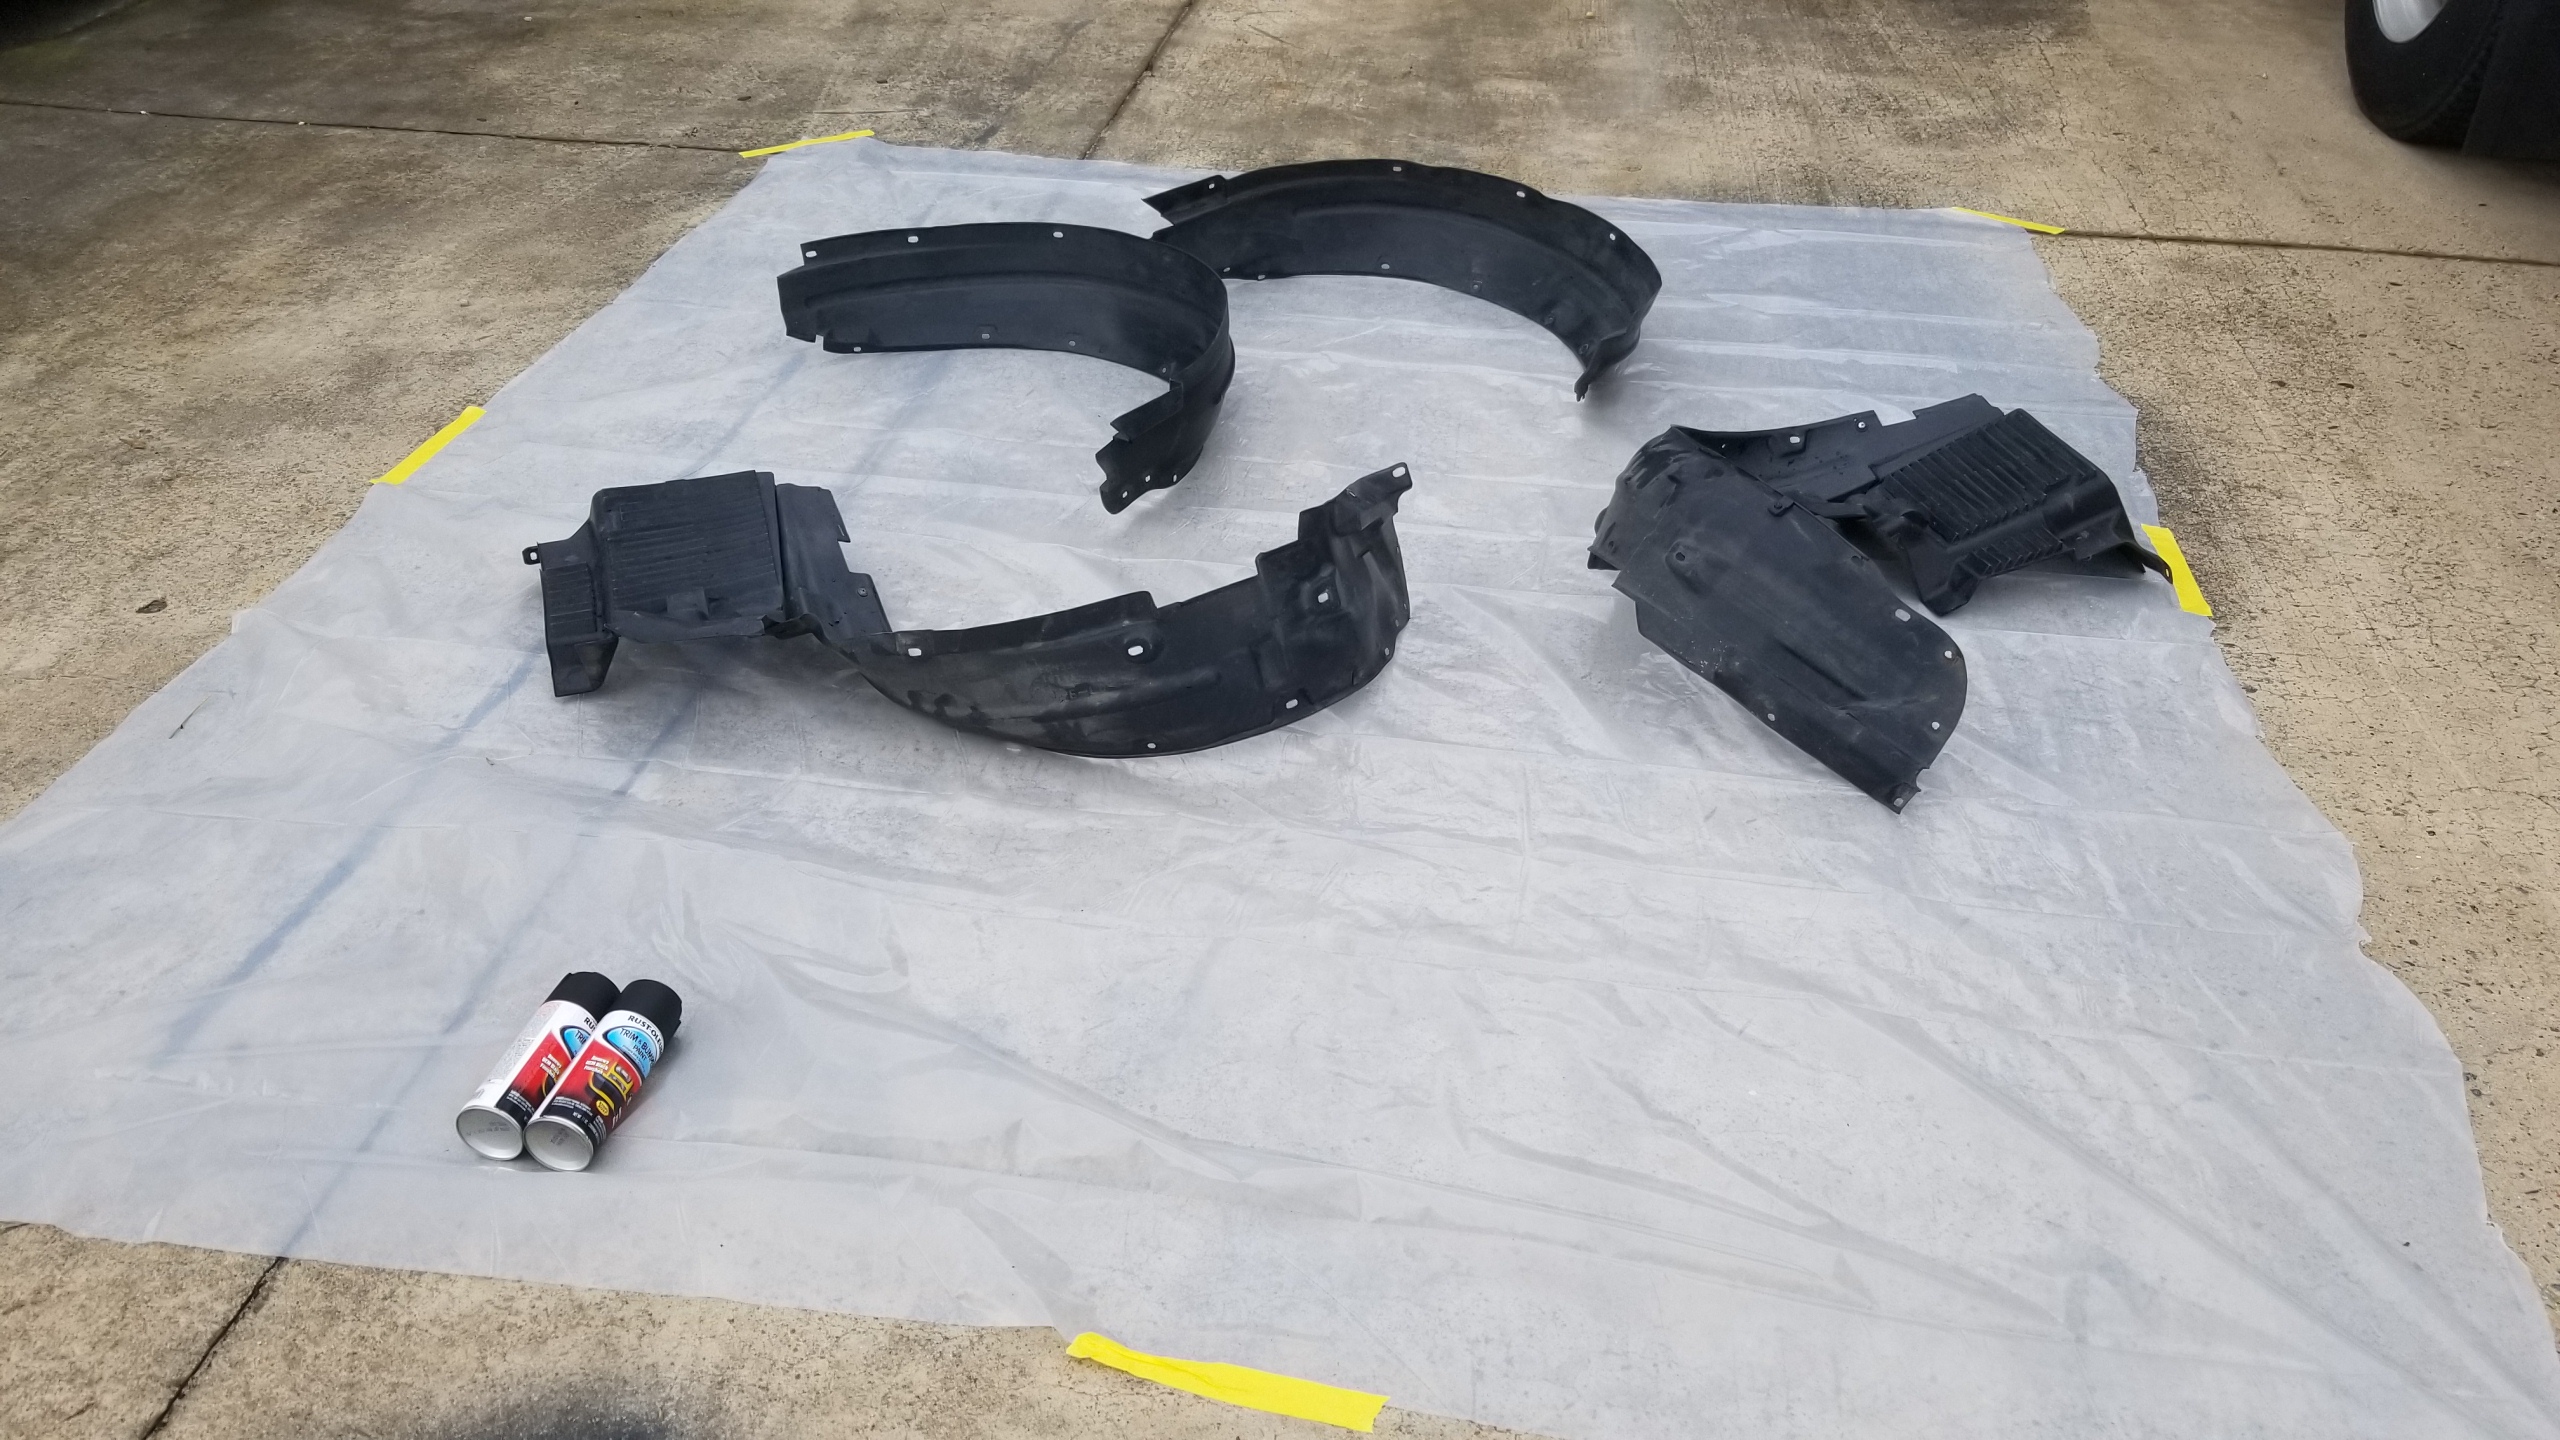
Setting up fender liners for repainting after degreasing, scuffing, washing, and drying off.
xqUpaiD.jpg


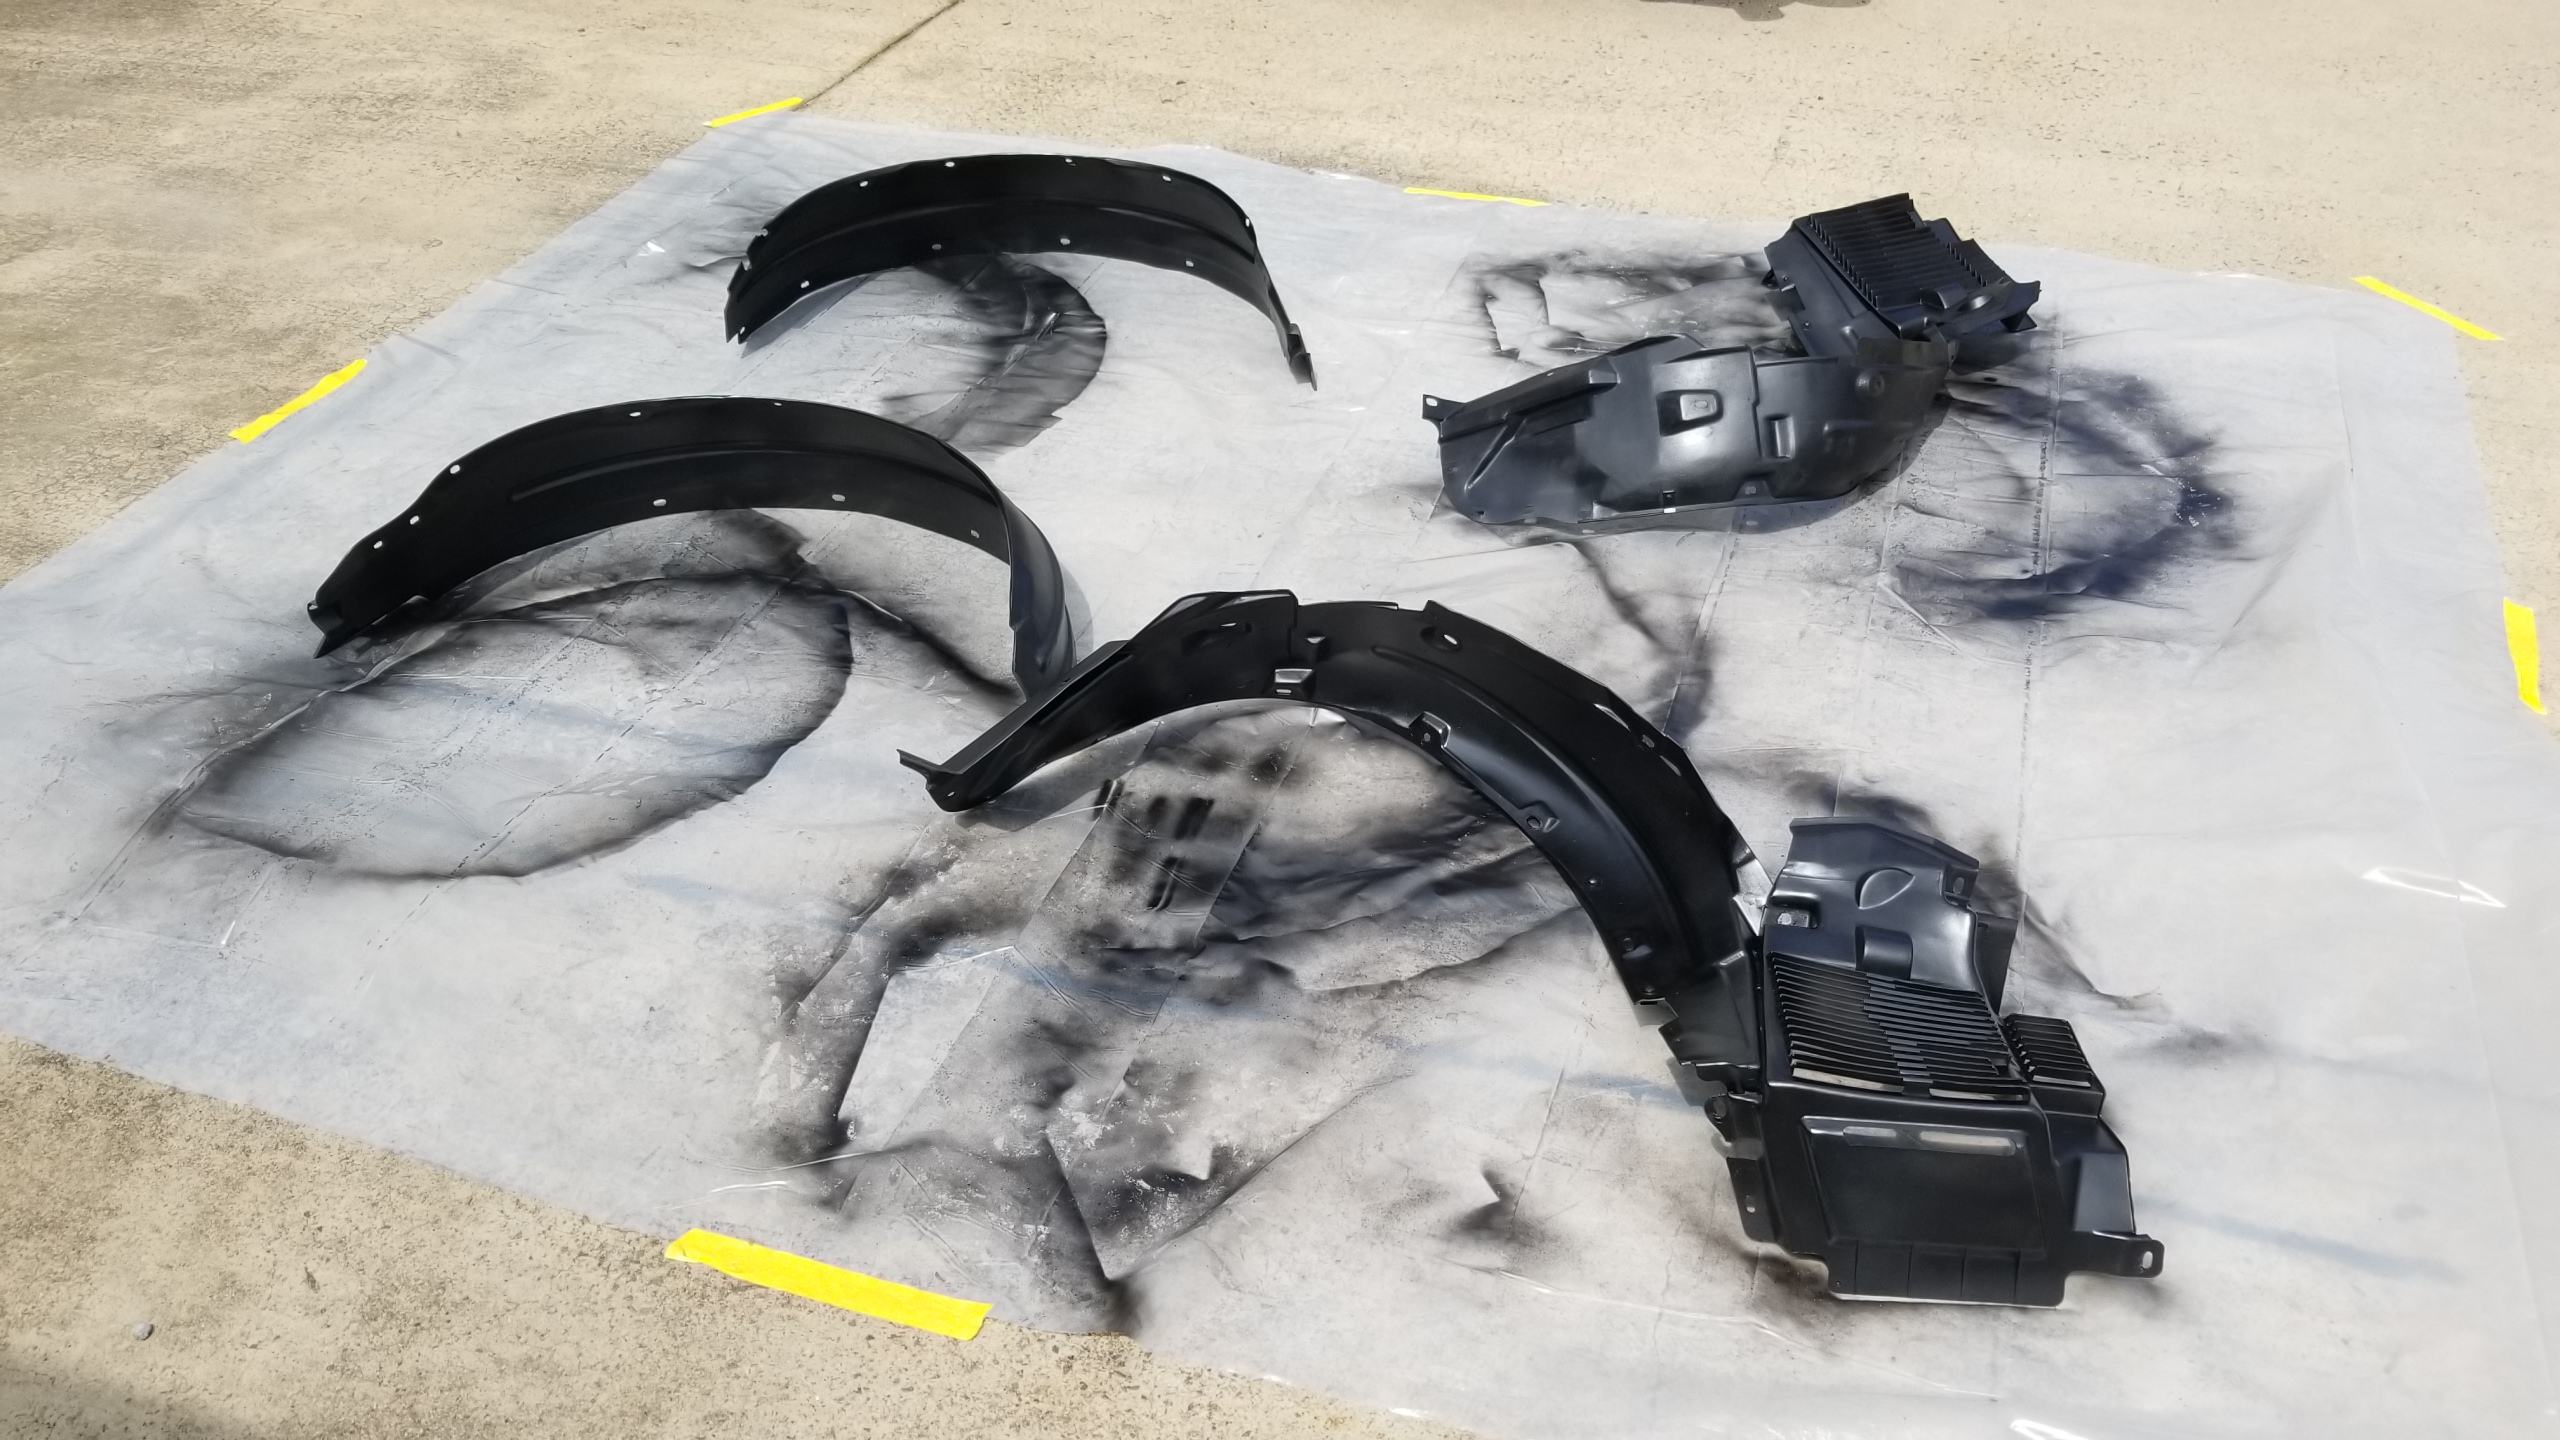
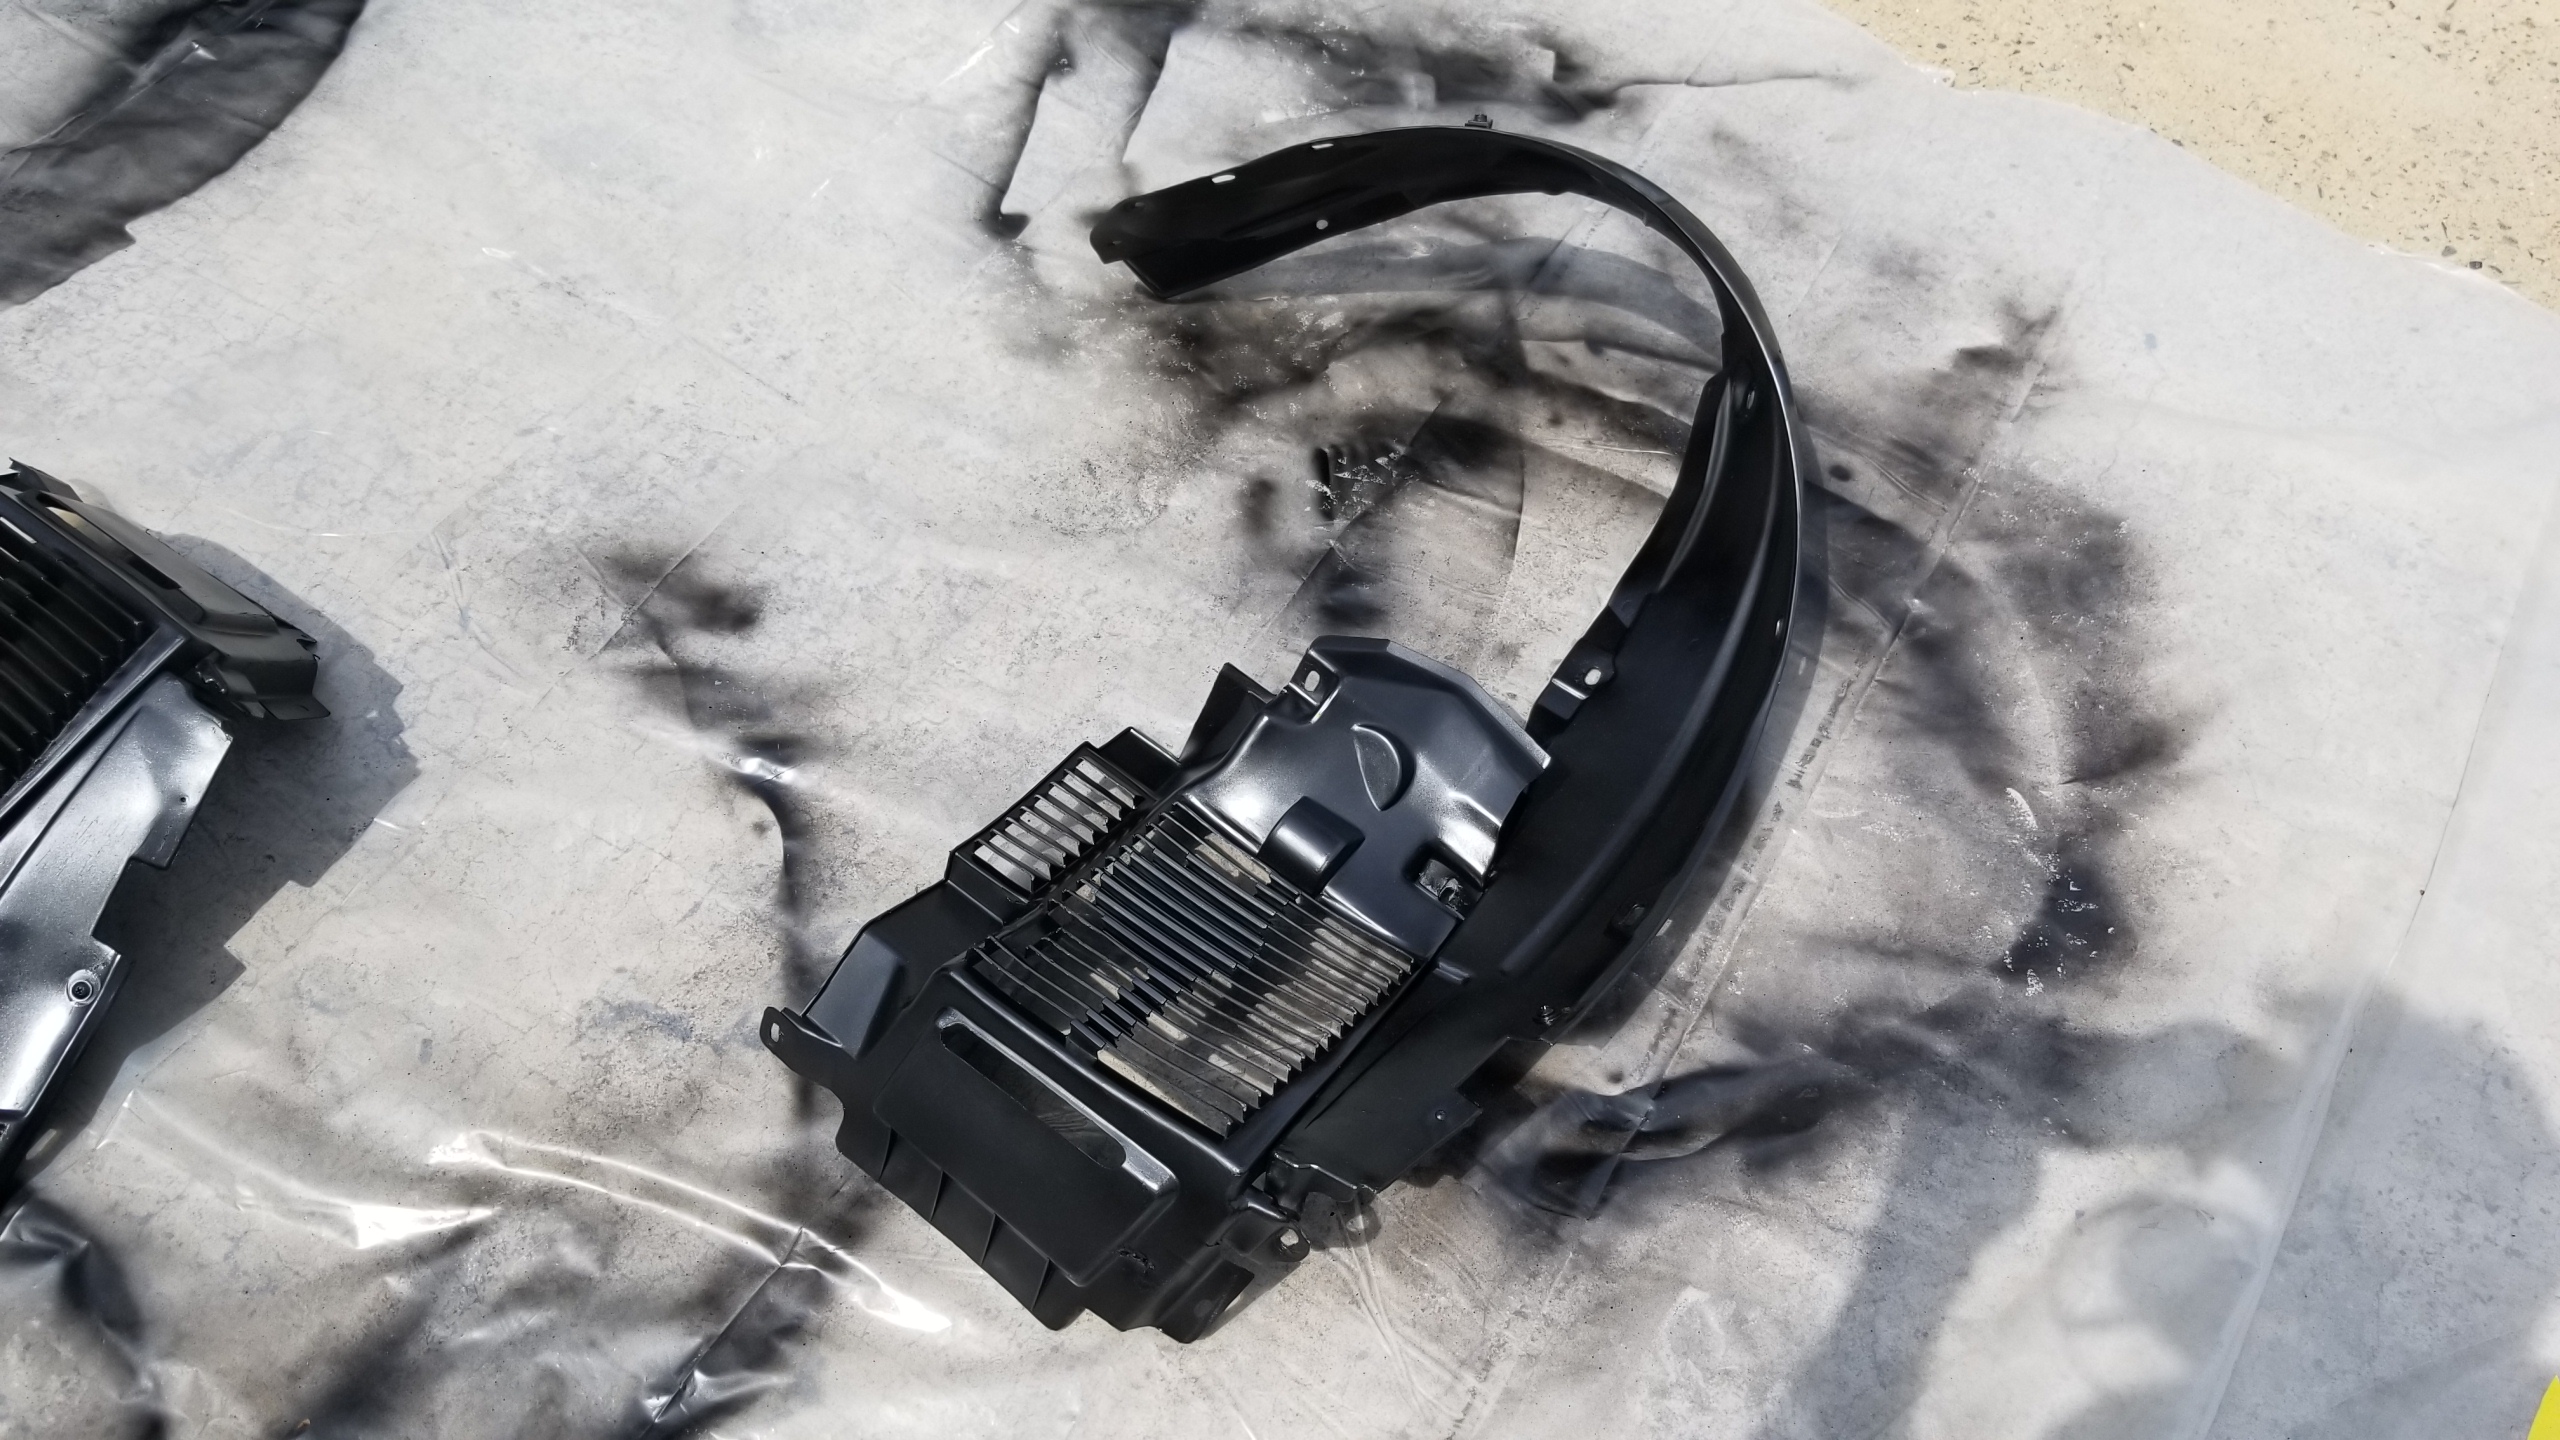
Few coats of trim paint on either side.
5vuiYOO.jpg


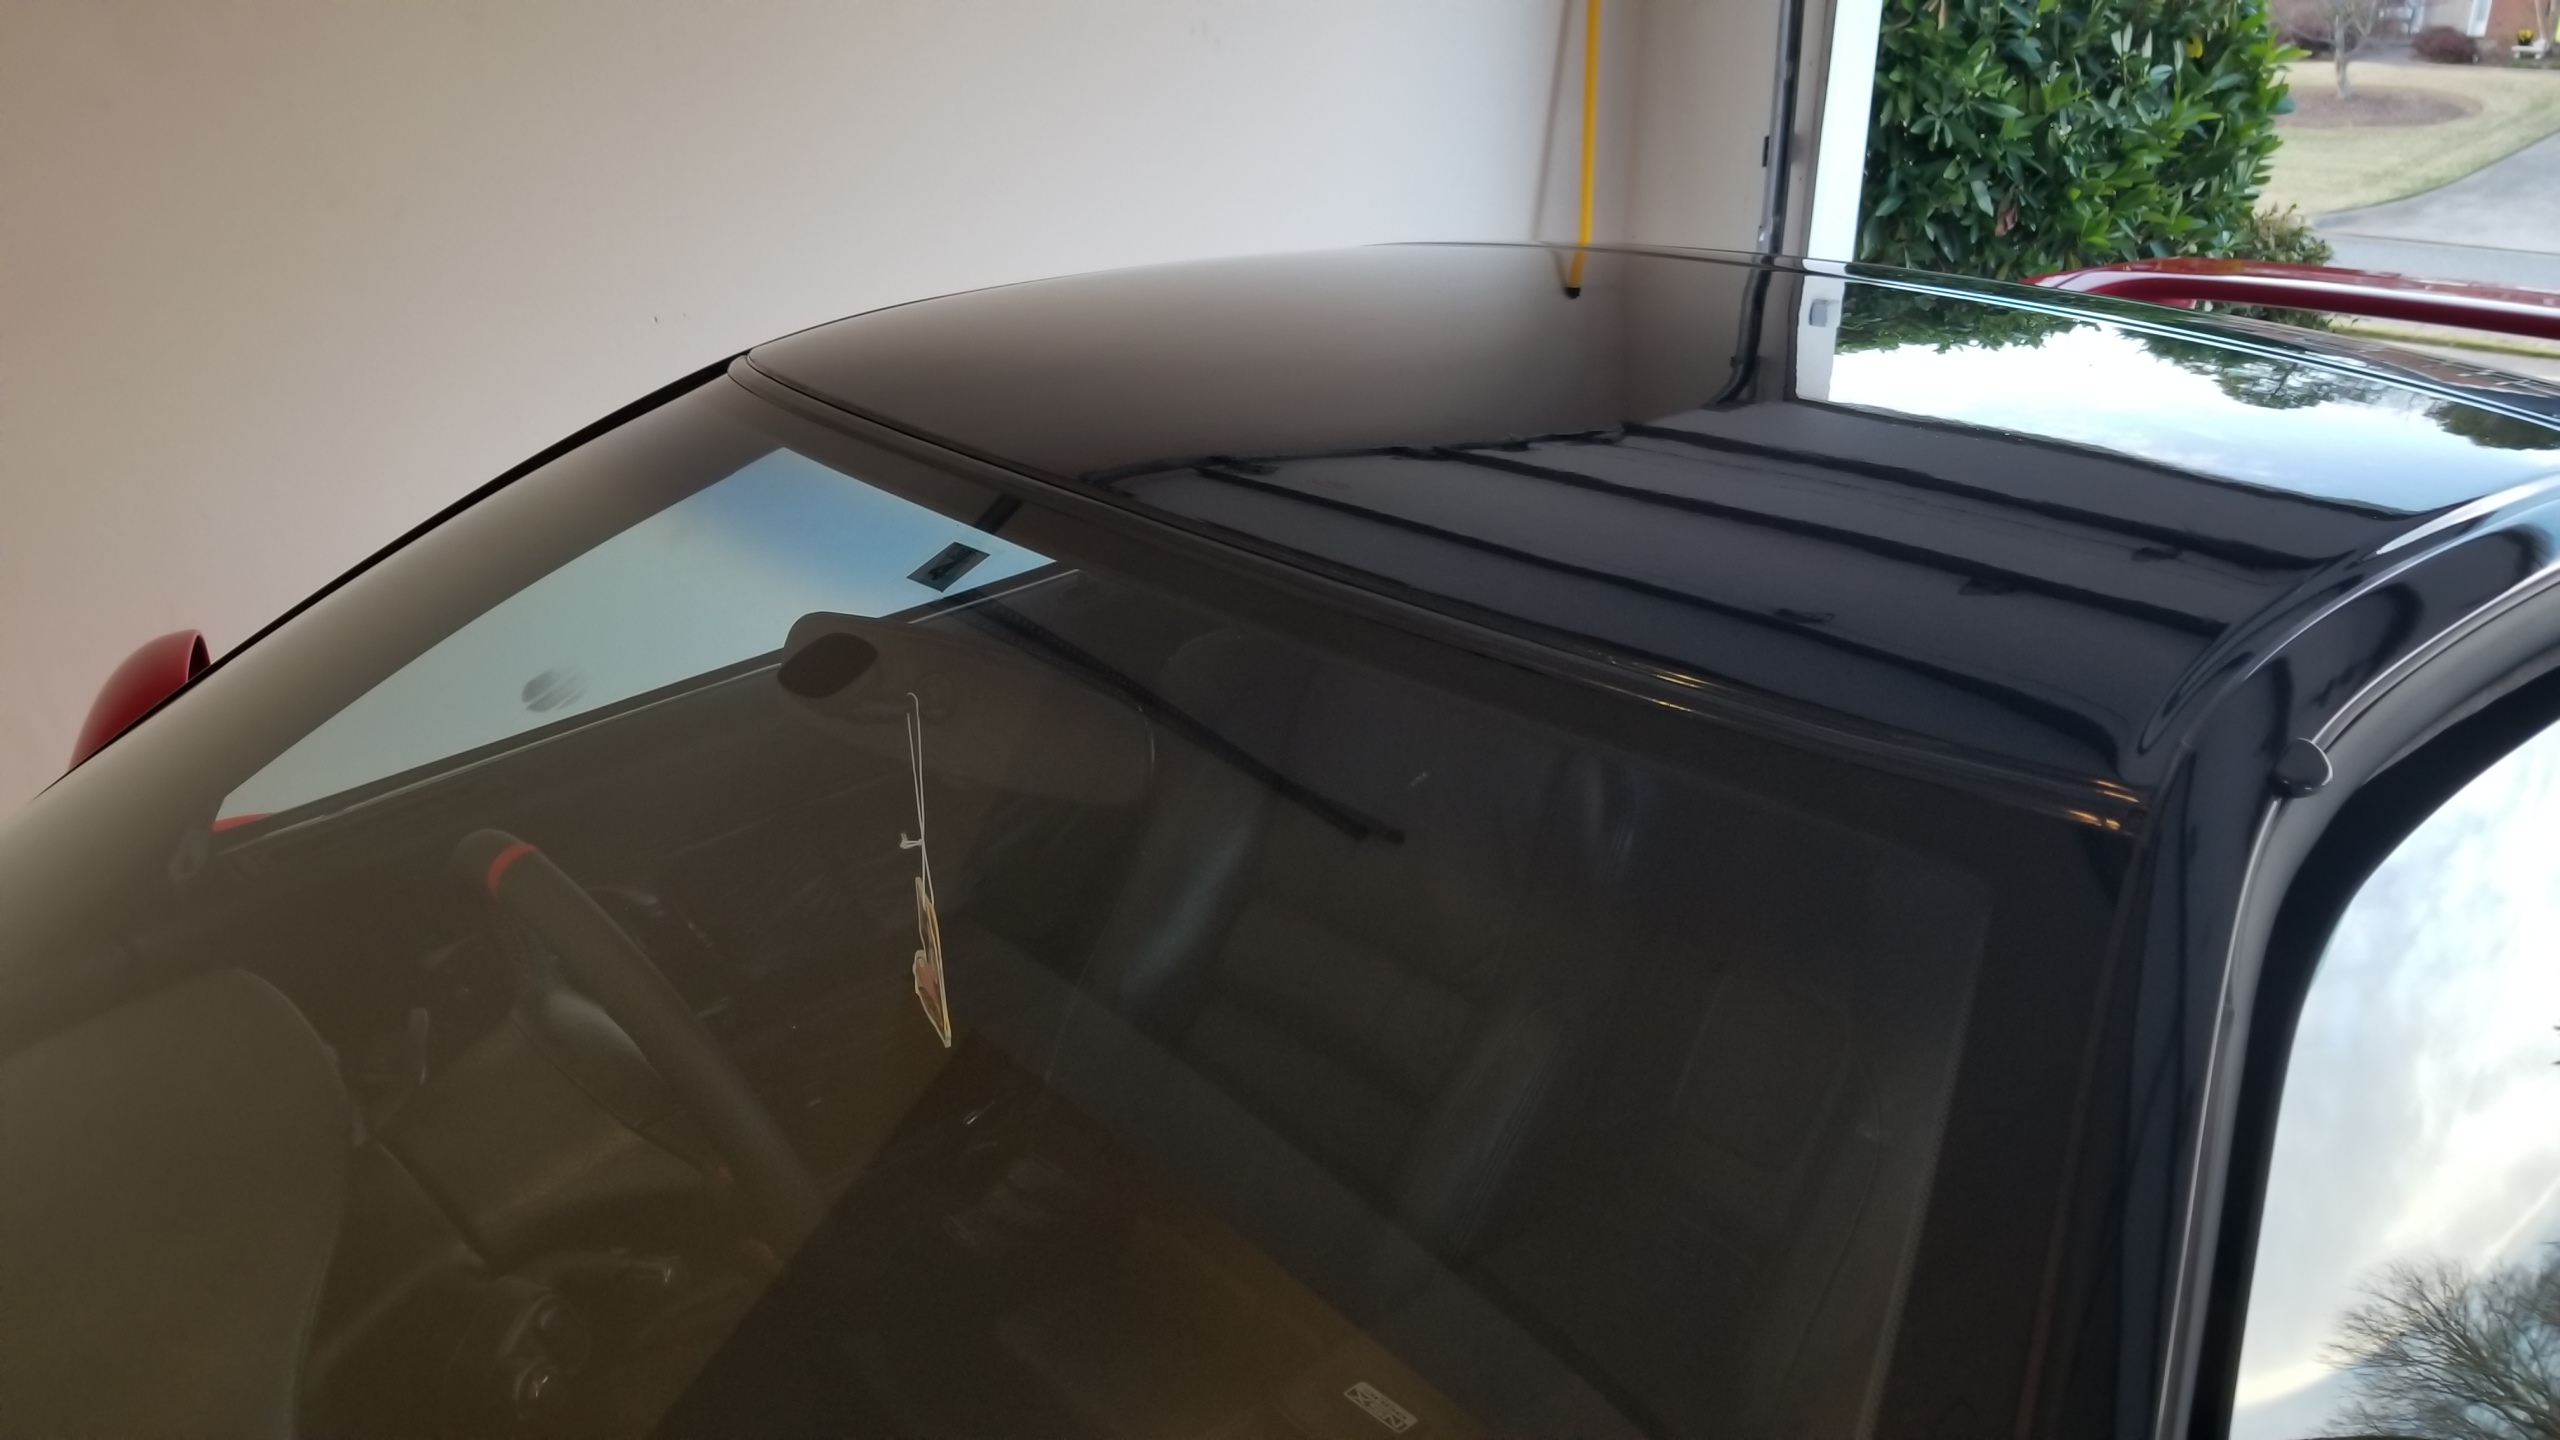
I like this paint a lot. Used it on my daily's windshield cowl which has been sitting in the sun for 2-3 years now and it still looks as good as new, unlike the rest of the car. This should be practically a permanent fix for these fender liners. There are some cheap aftermarket replacements I've read about that can also work but I didn't want to bother.
tpfyRlN.jpg


My little mini-paint booth setup for applying the undercoating without overspray going everywhere, worked great but the Rustoleum professional undercoating doesn't seem to generate much overspray anyways.
XdSJ7Sc.jpg


RL completed. The stuff lays down very well and is easy to spray. I had bought a few cans of black Plasti-dip for the coating, but I decided to buy true undercoating at the last minute and read good things about the Rustoleum Professional (vs. the basic one, not sure of the difference). Part of my personal vendetta against Plasti-dip I guess.
6WPtj2k.jpg


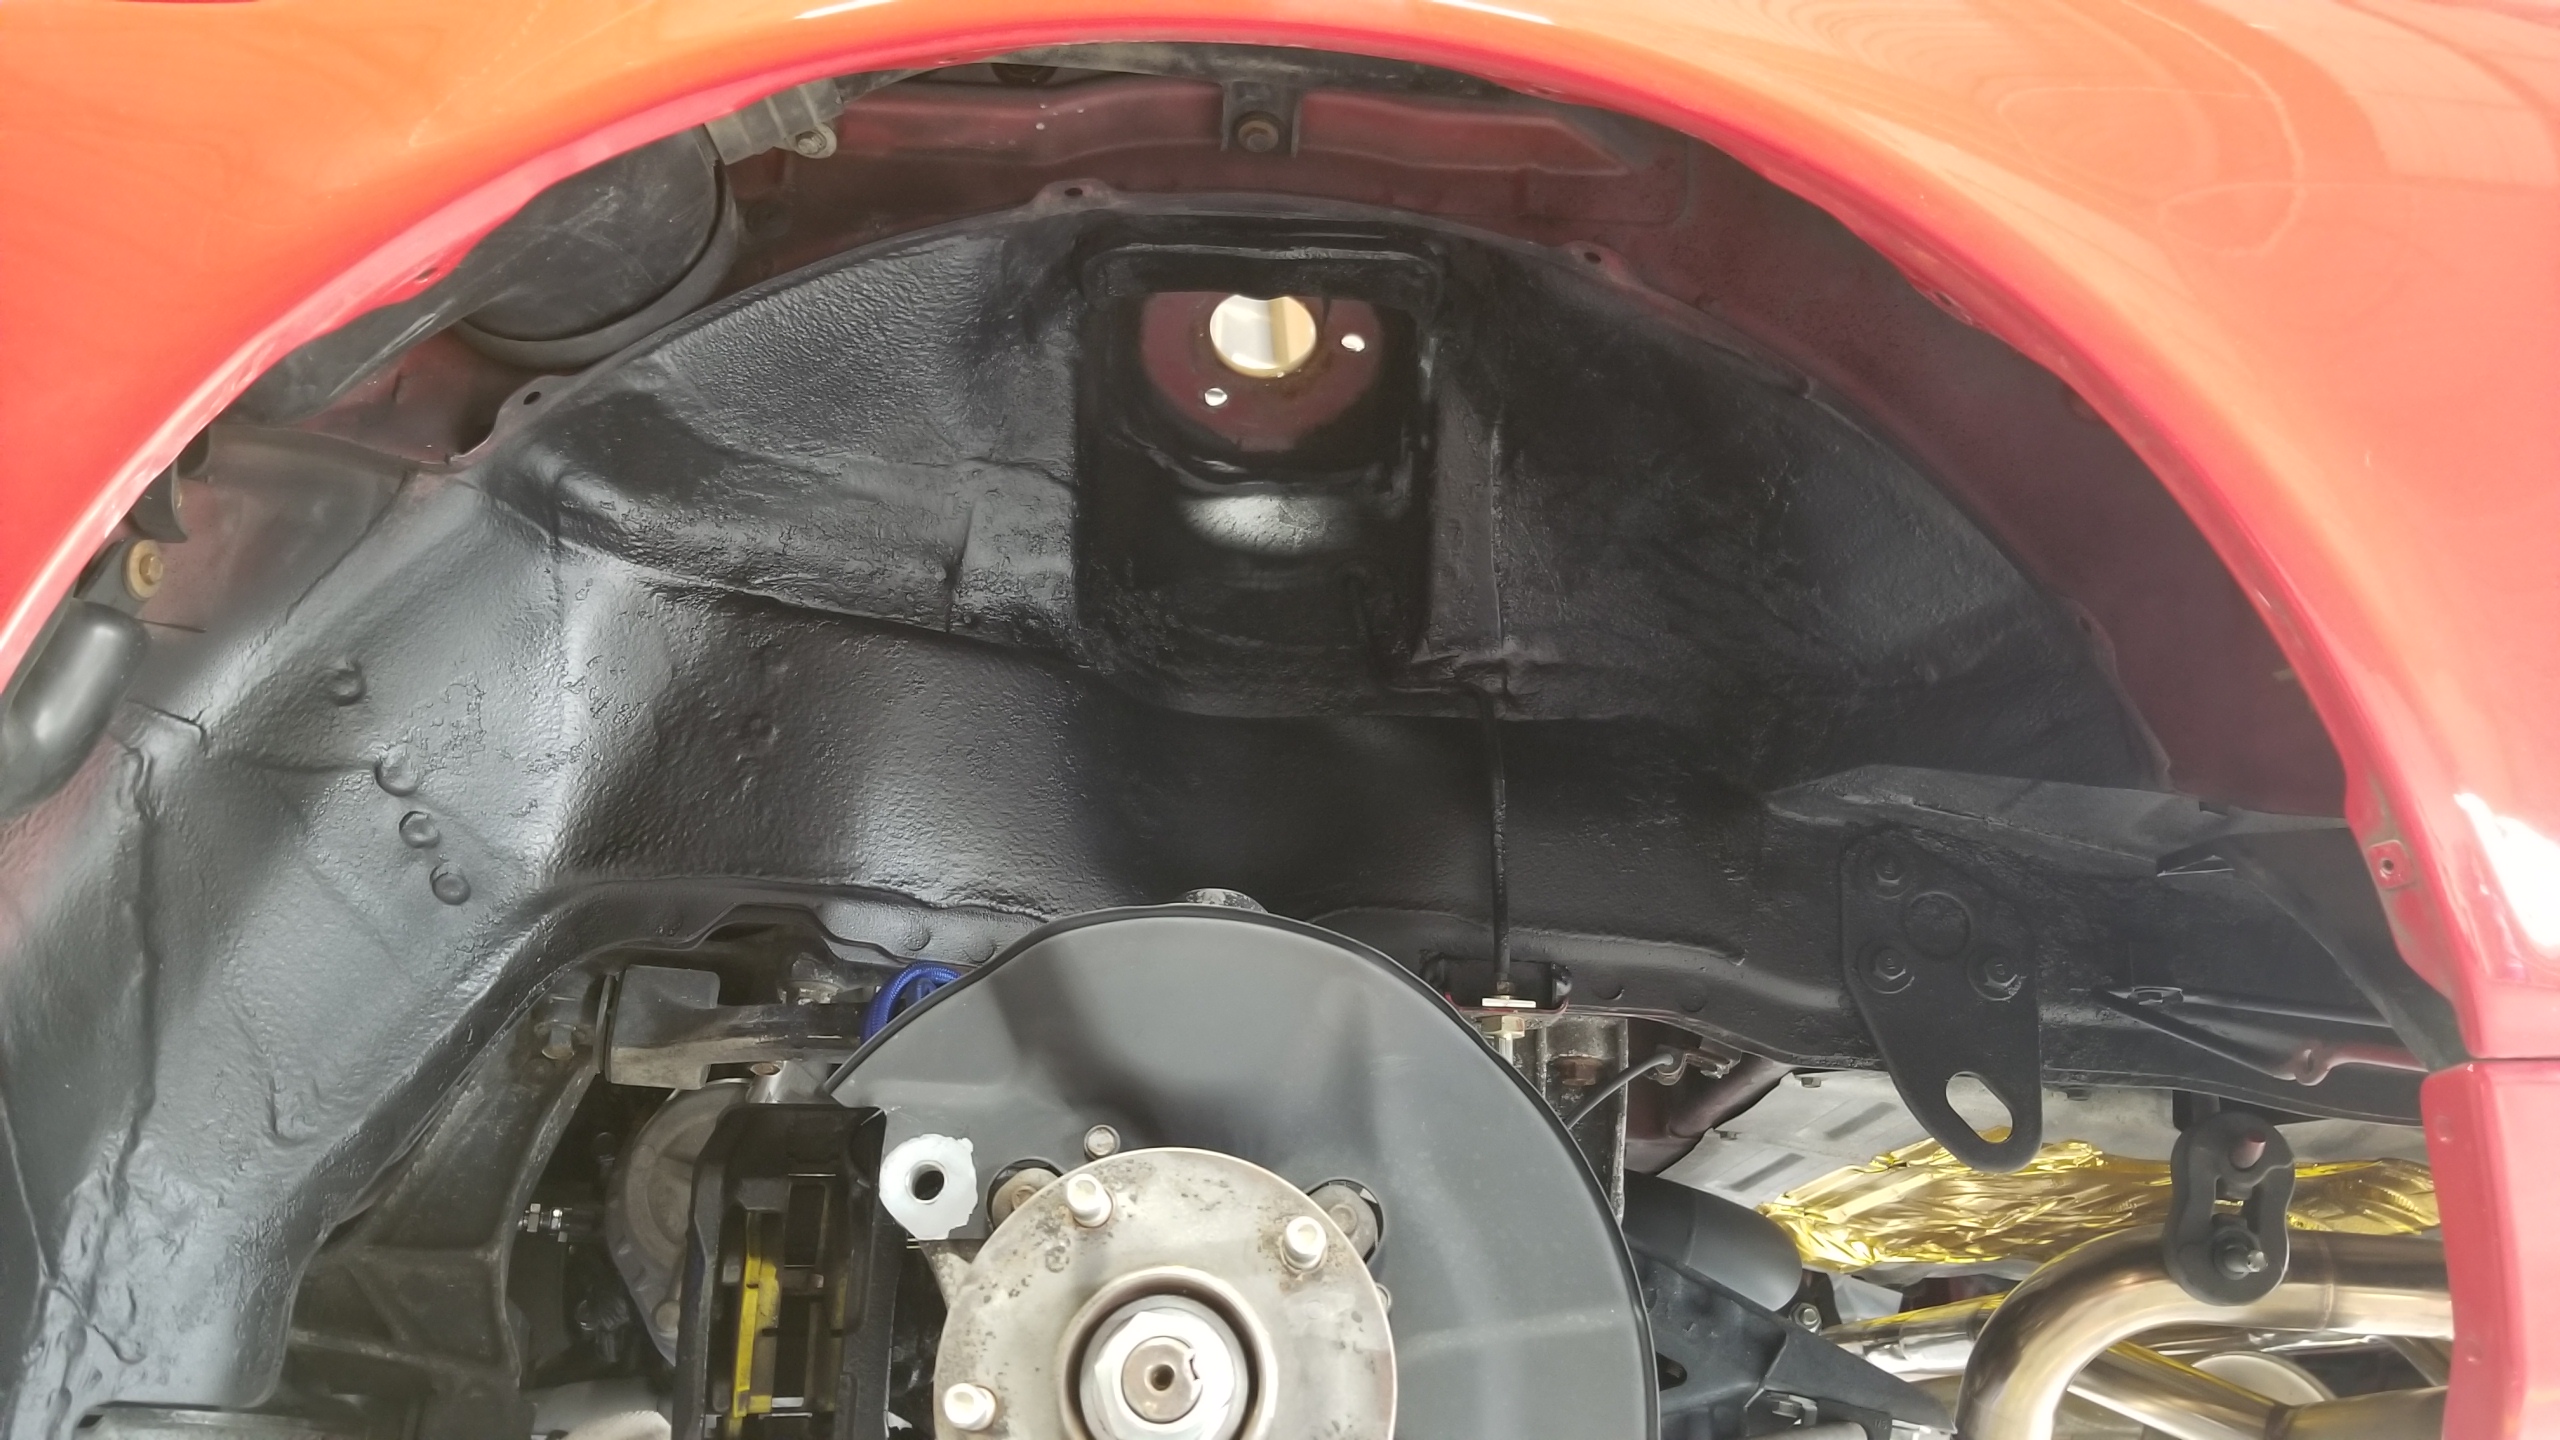
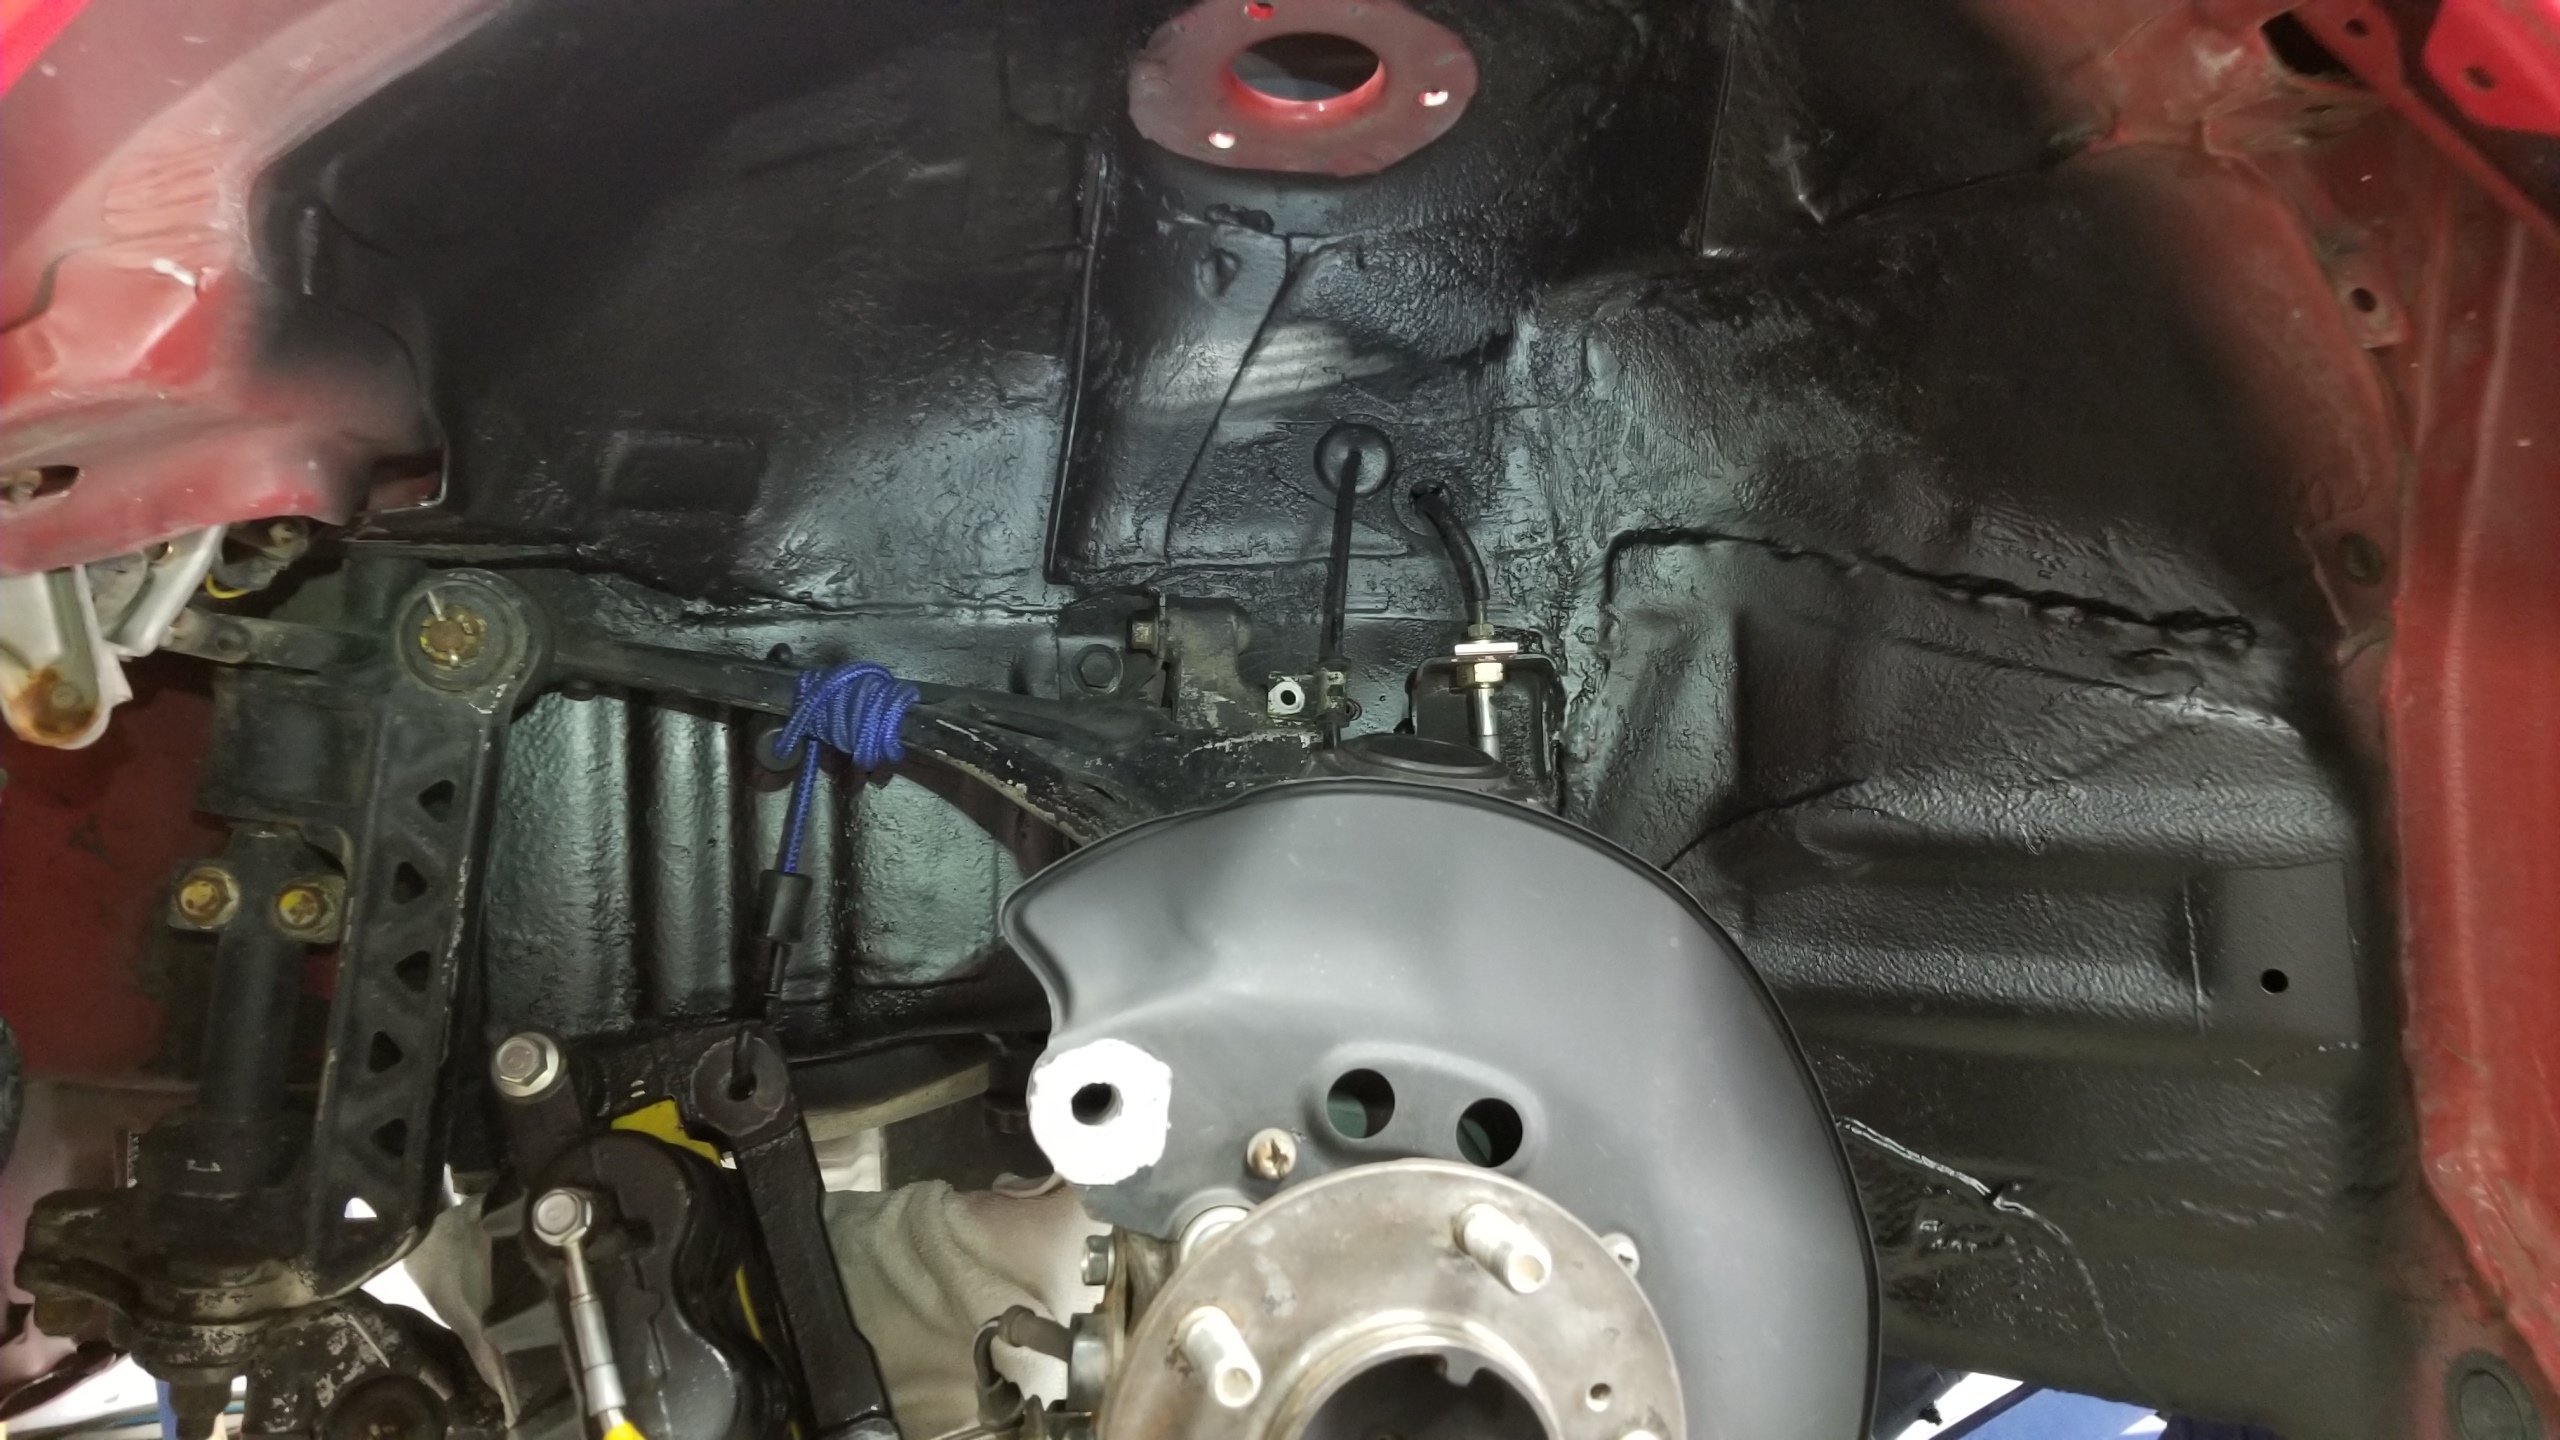
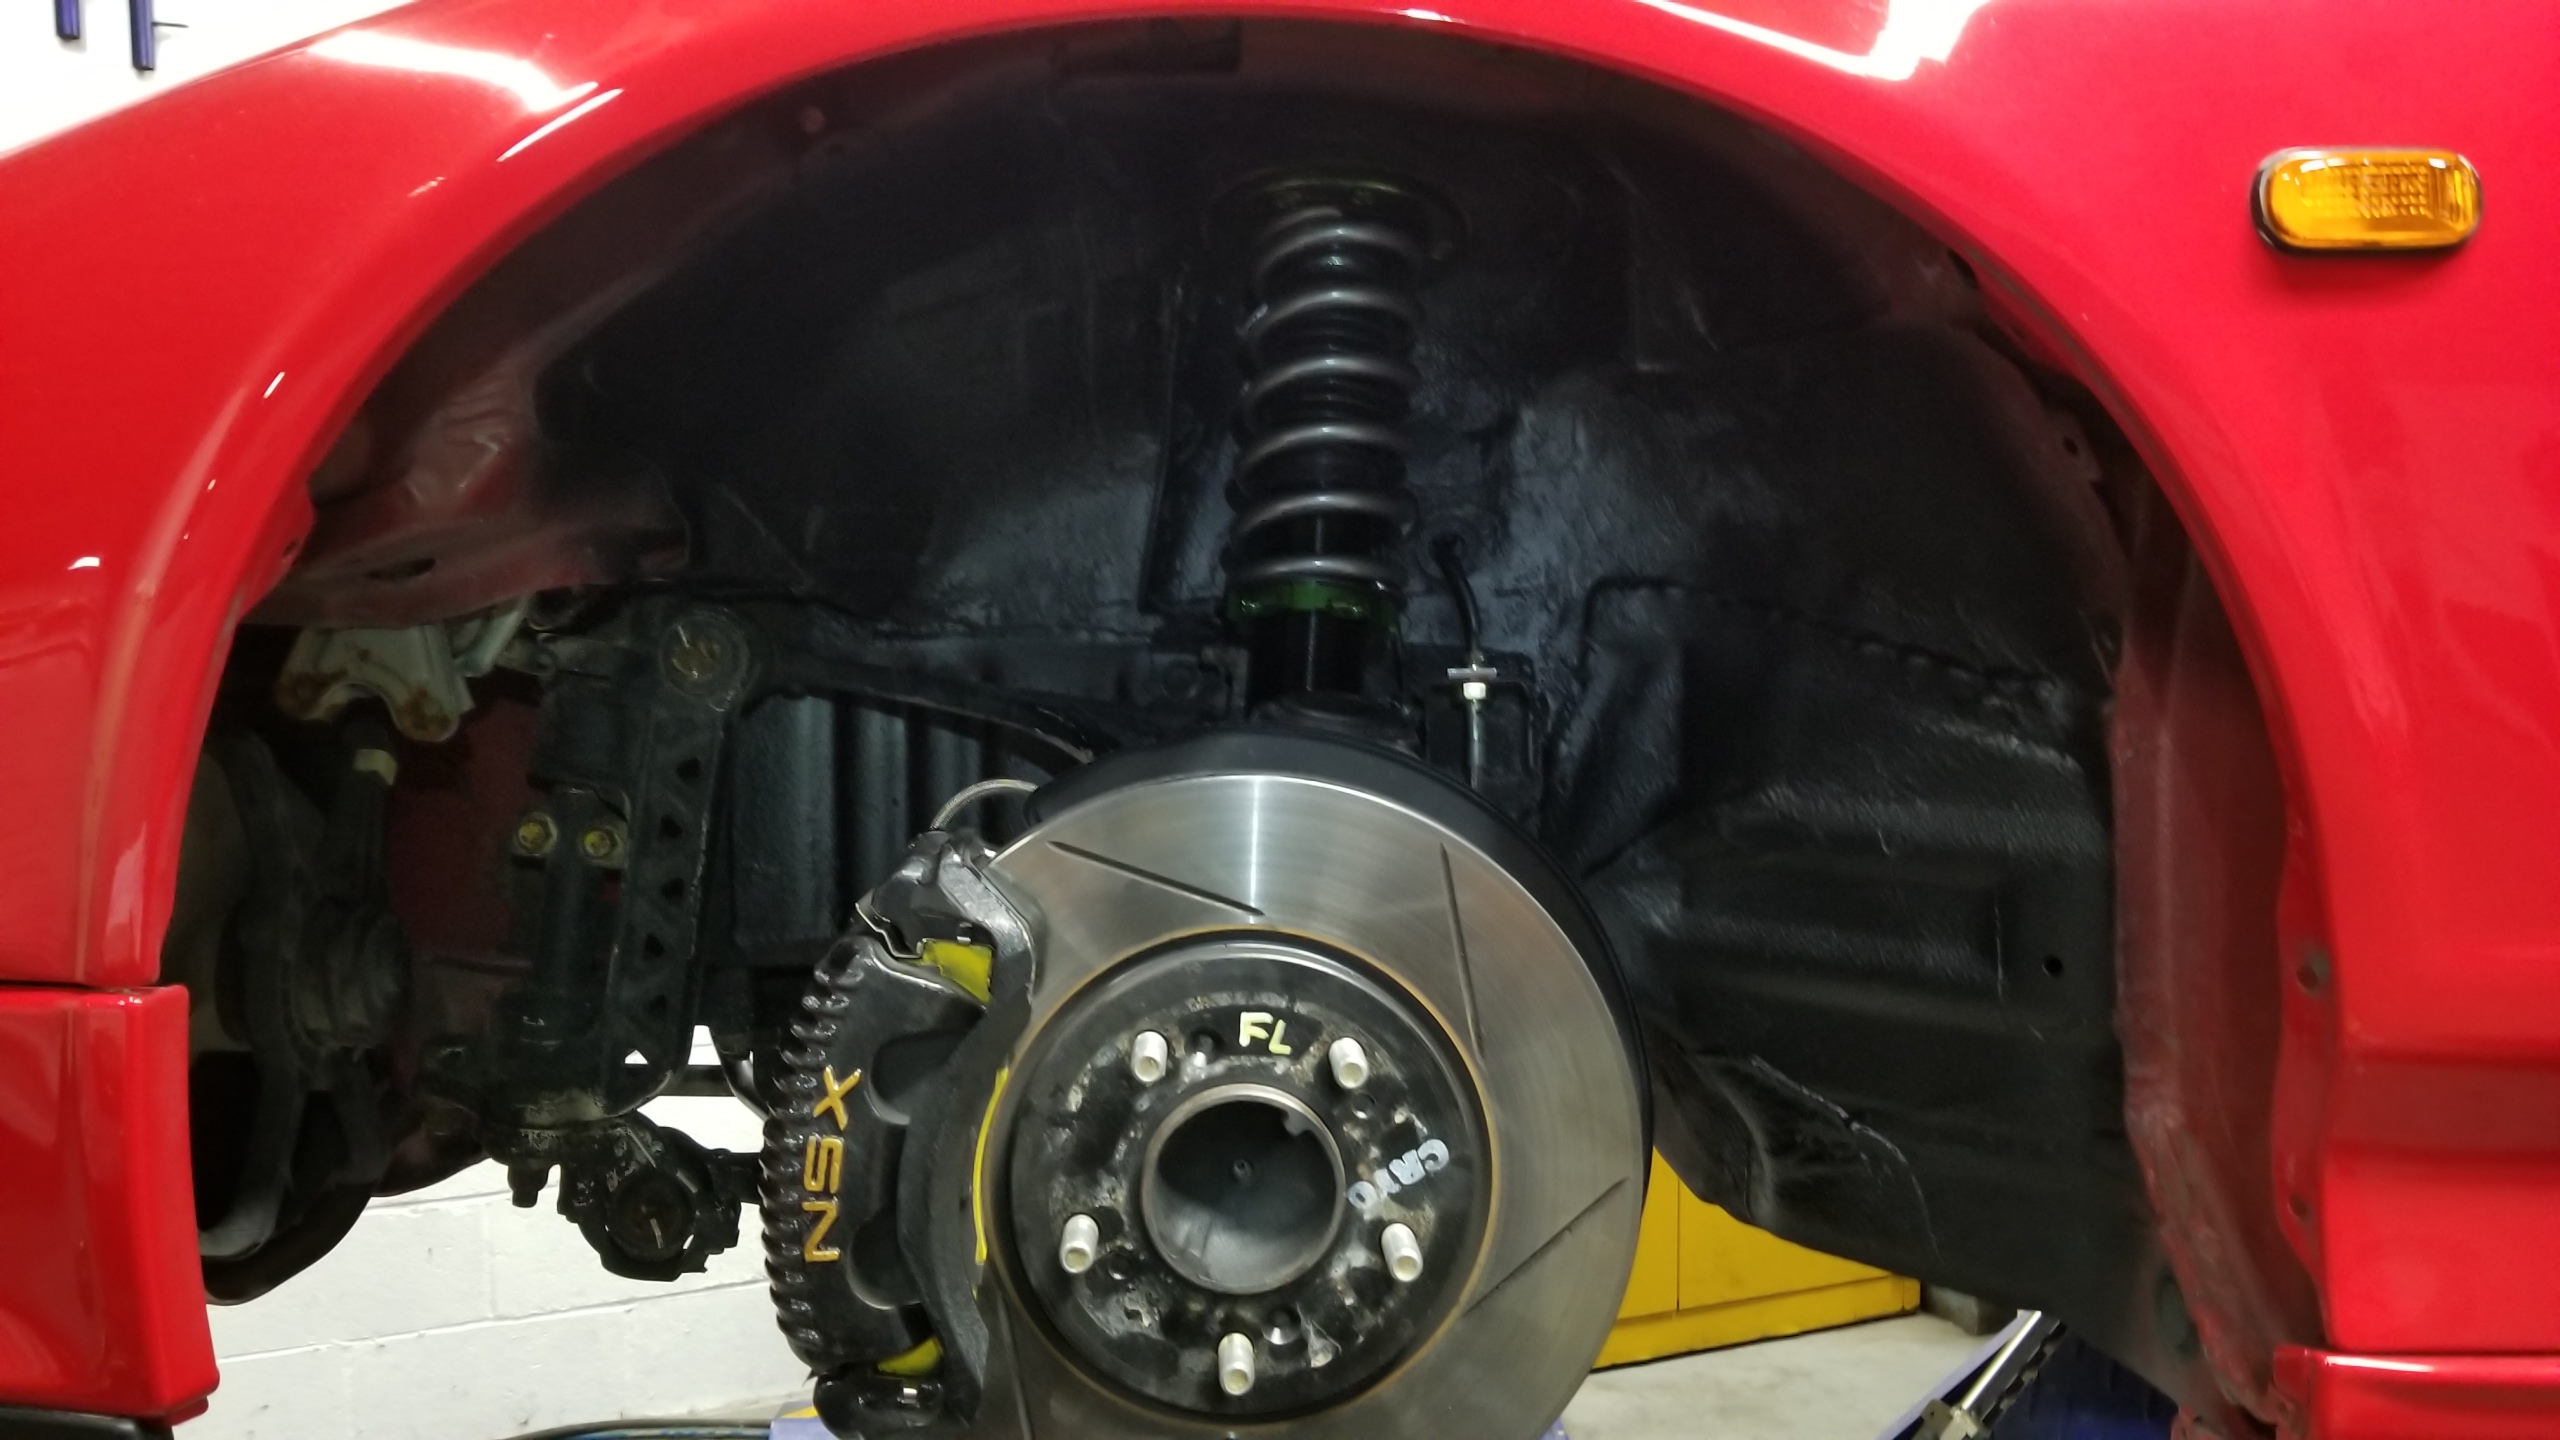
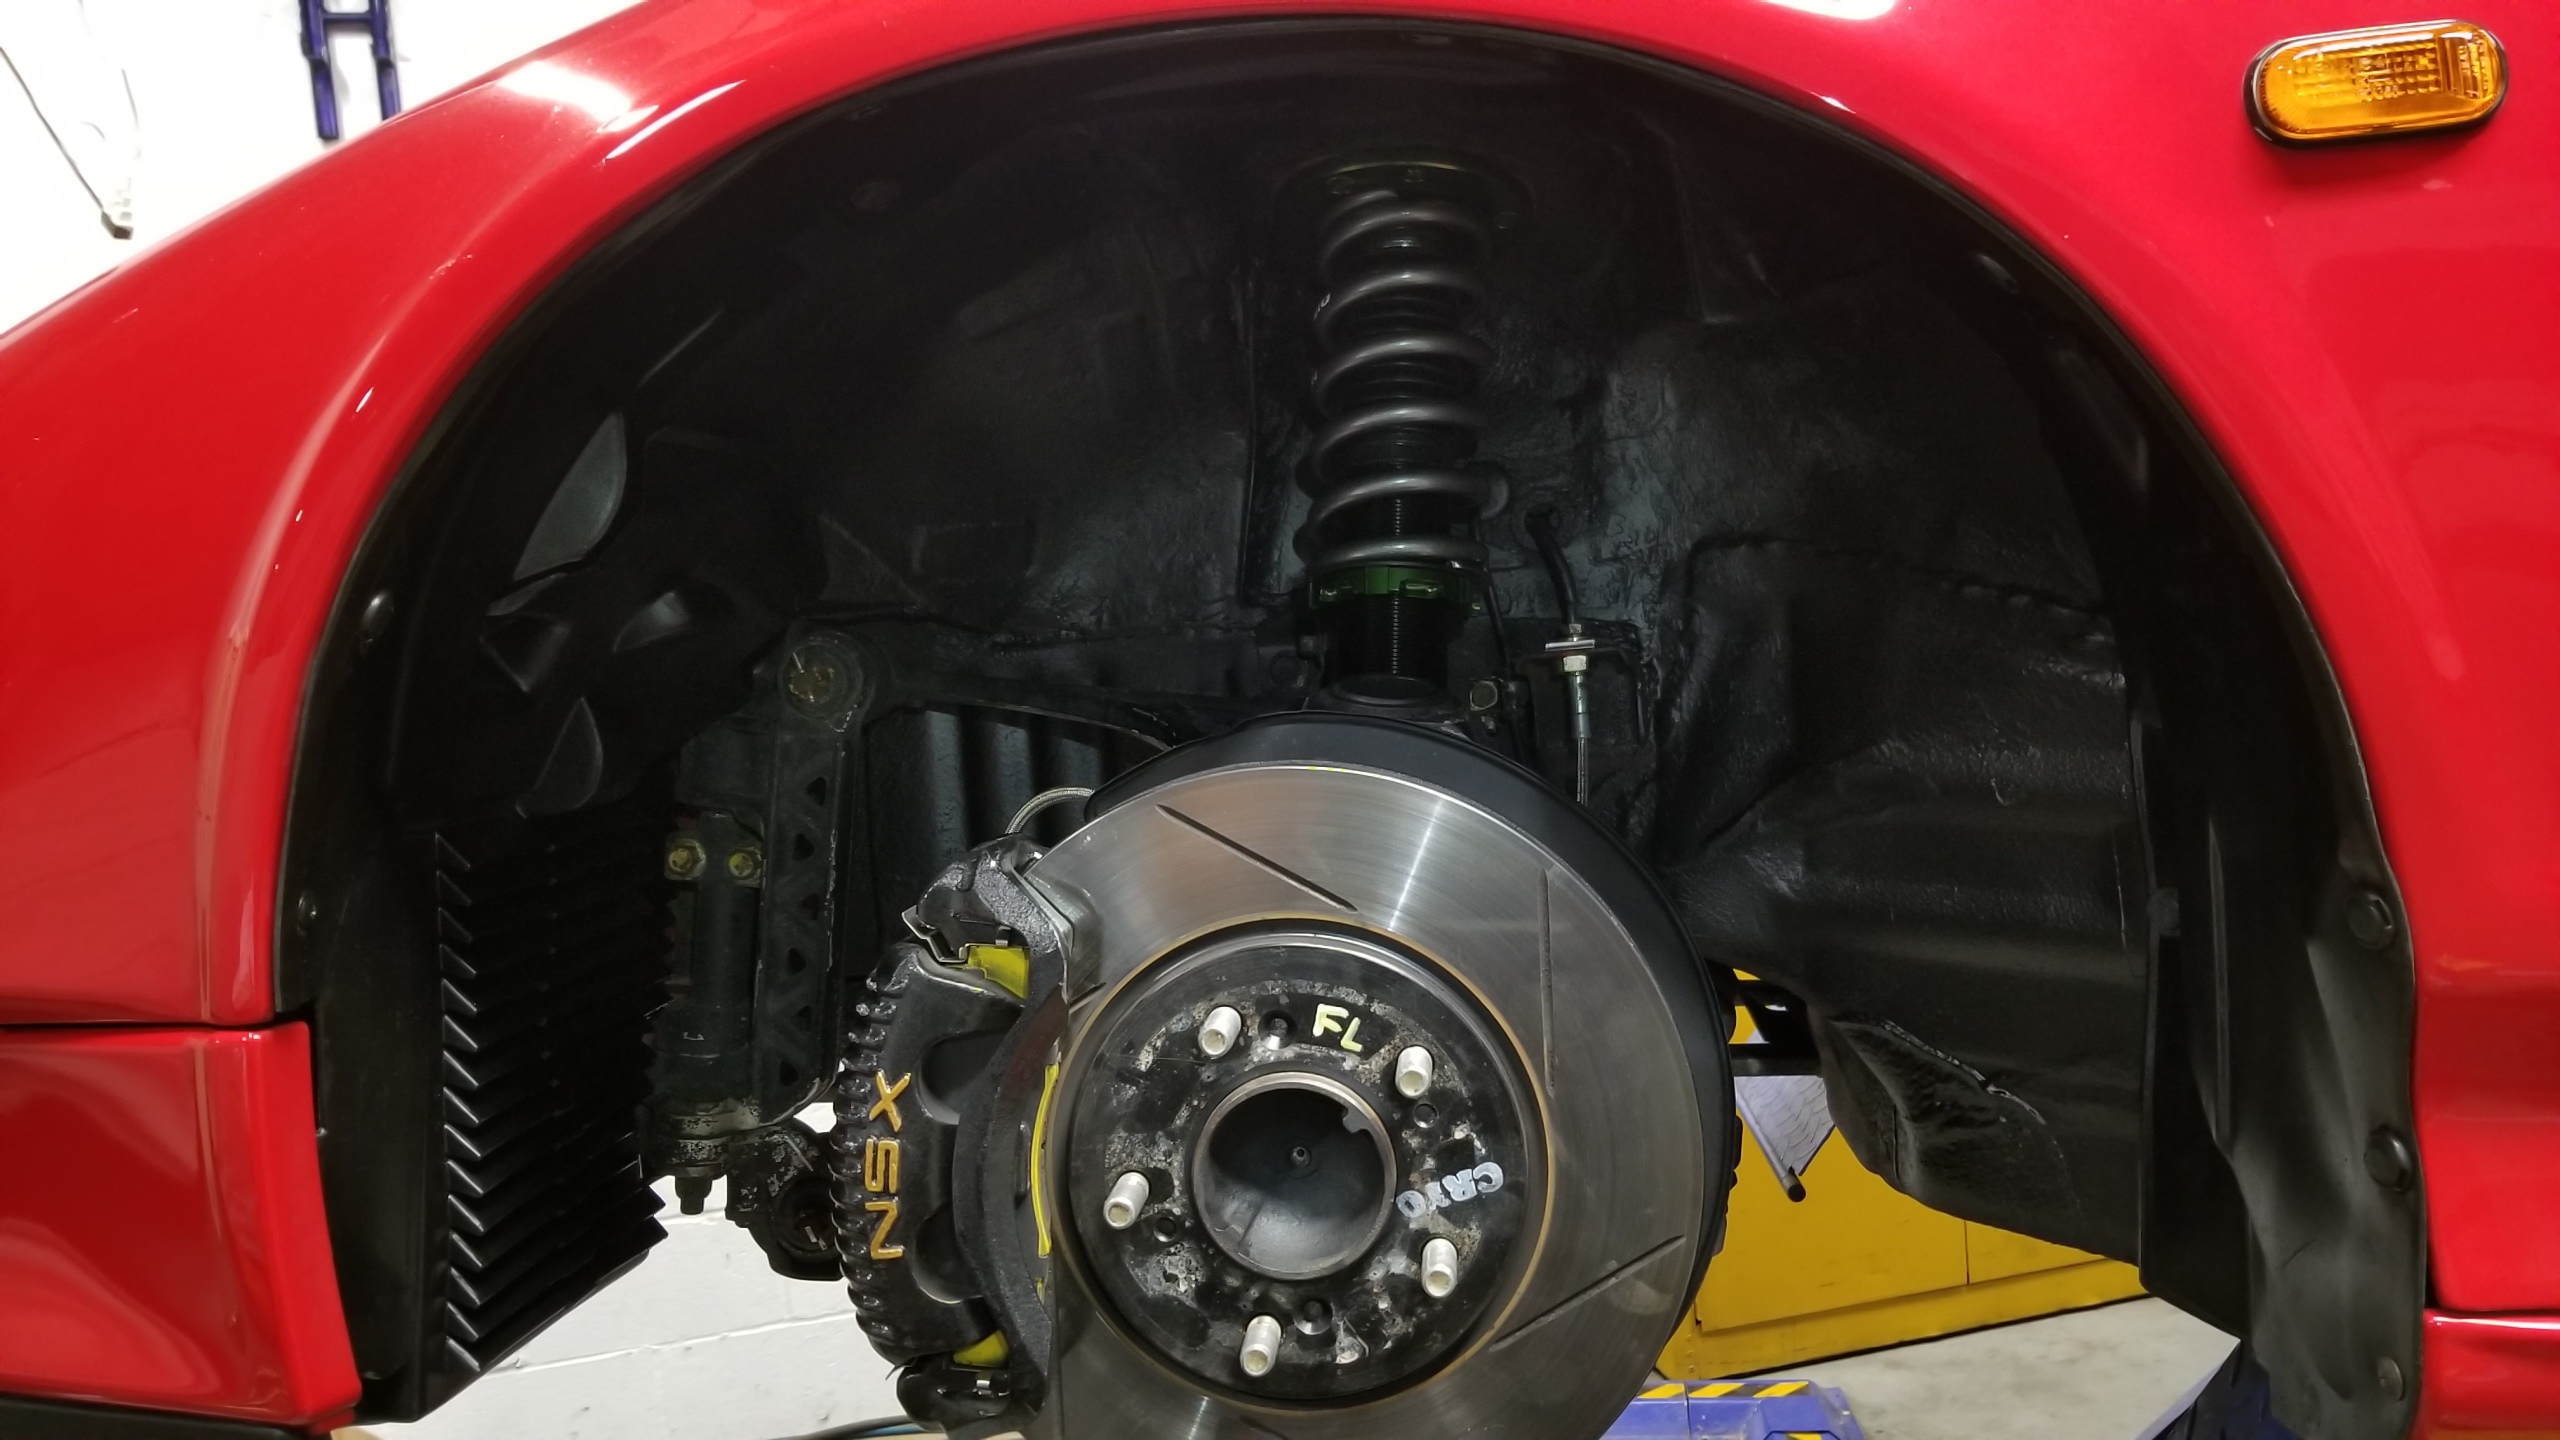
FL coated. The front is harder than the rear since the suspension components are in the way of most of it.
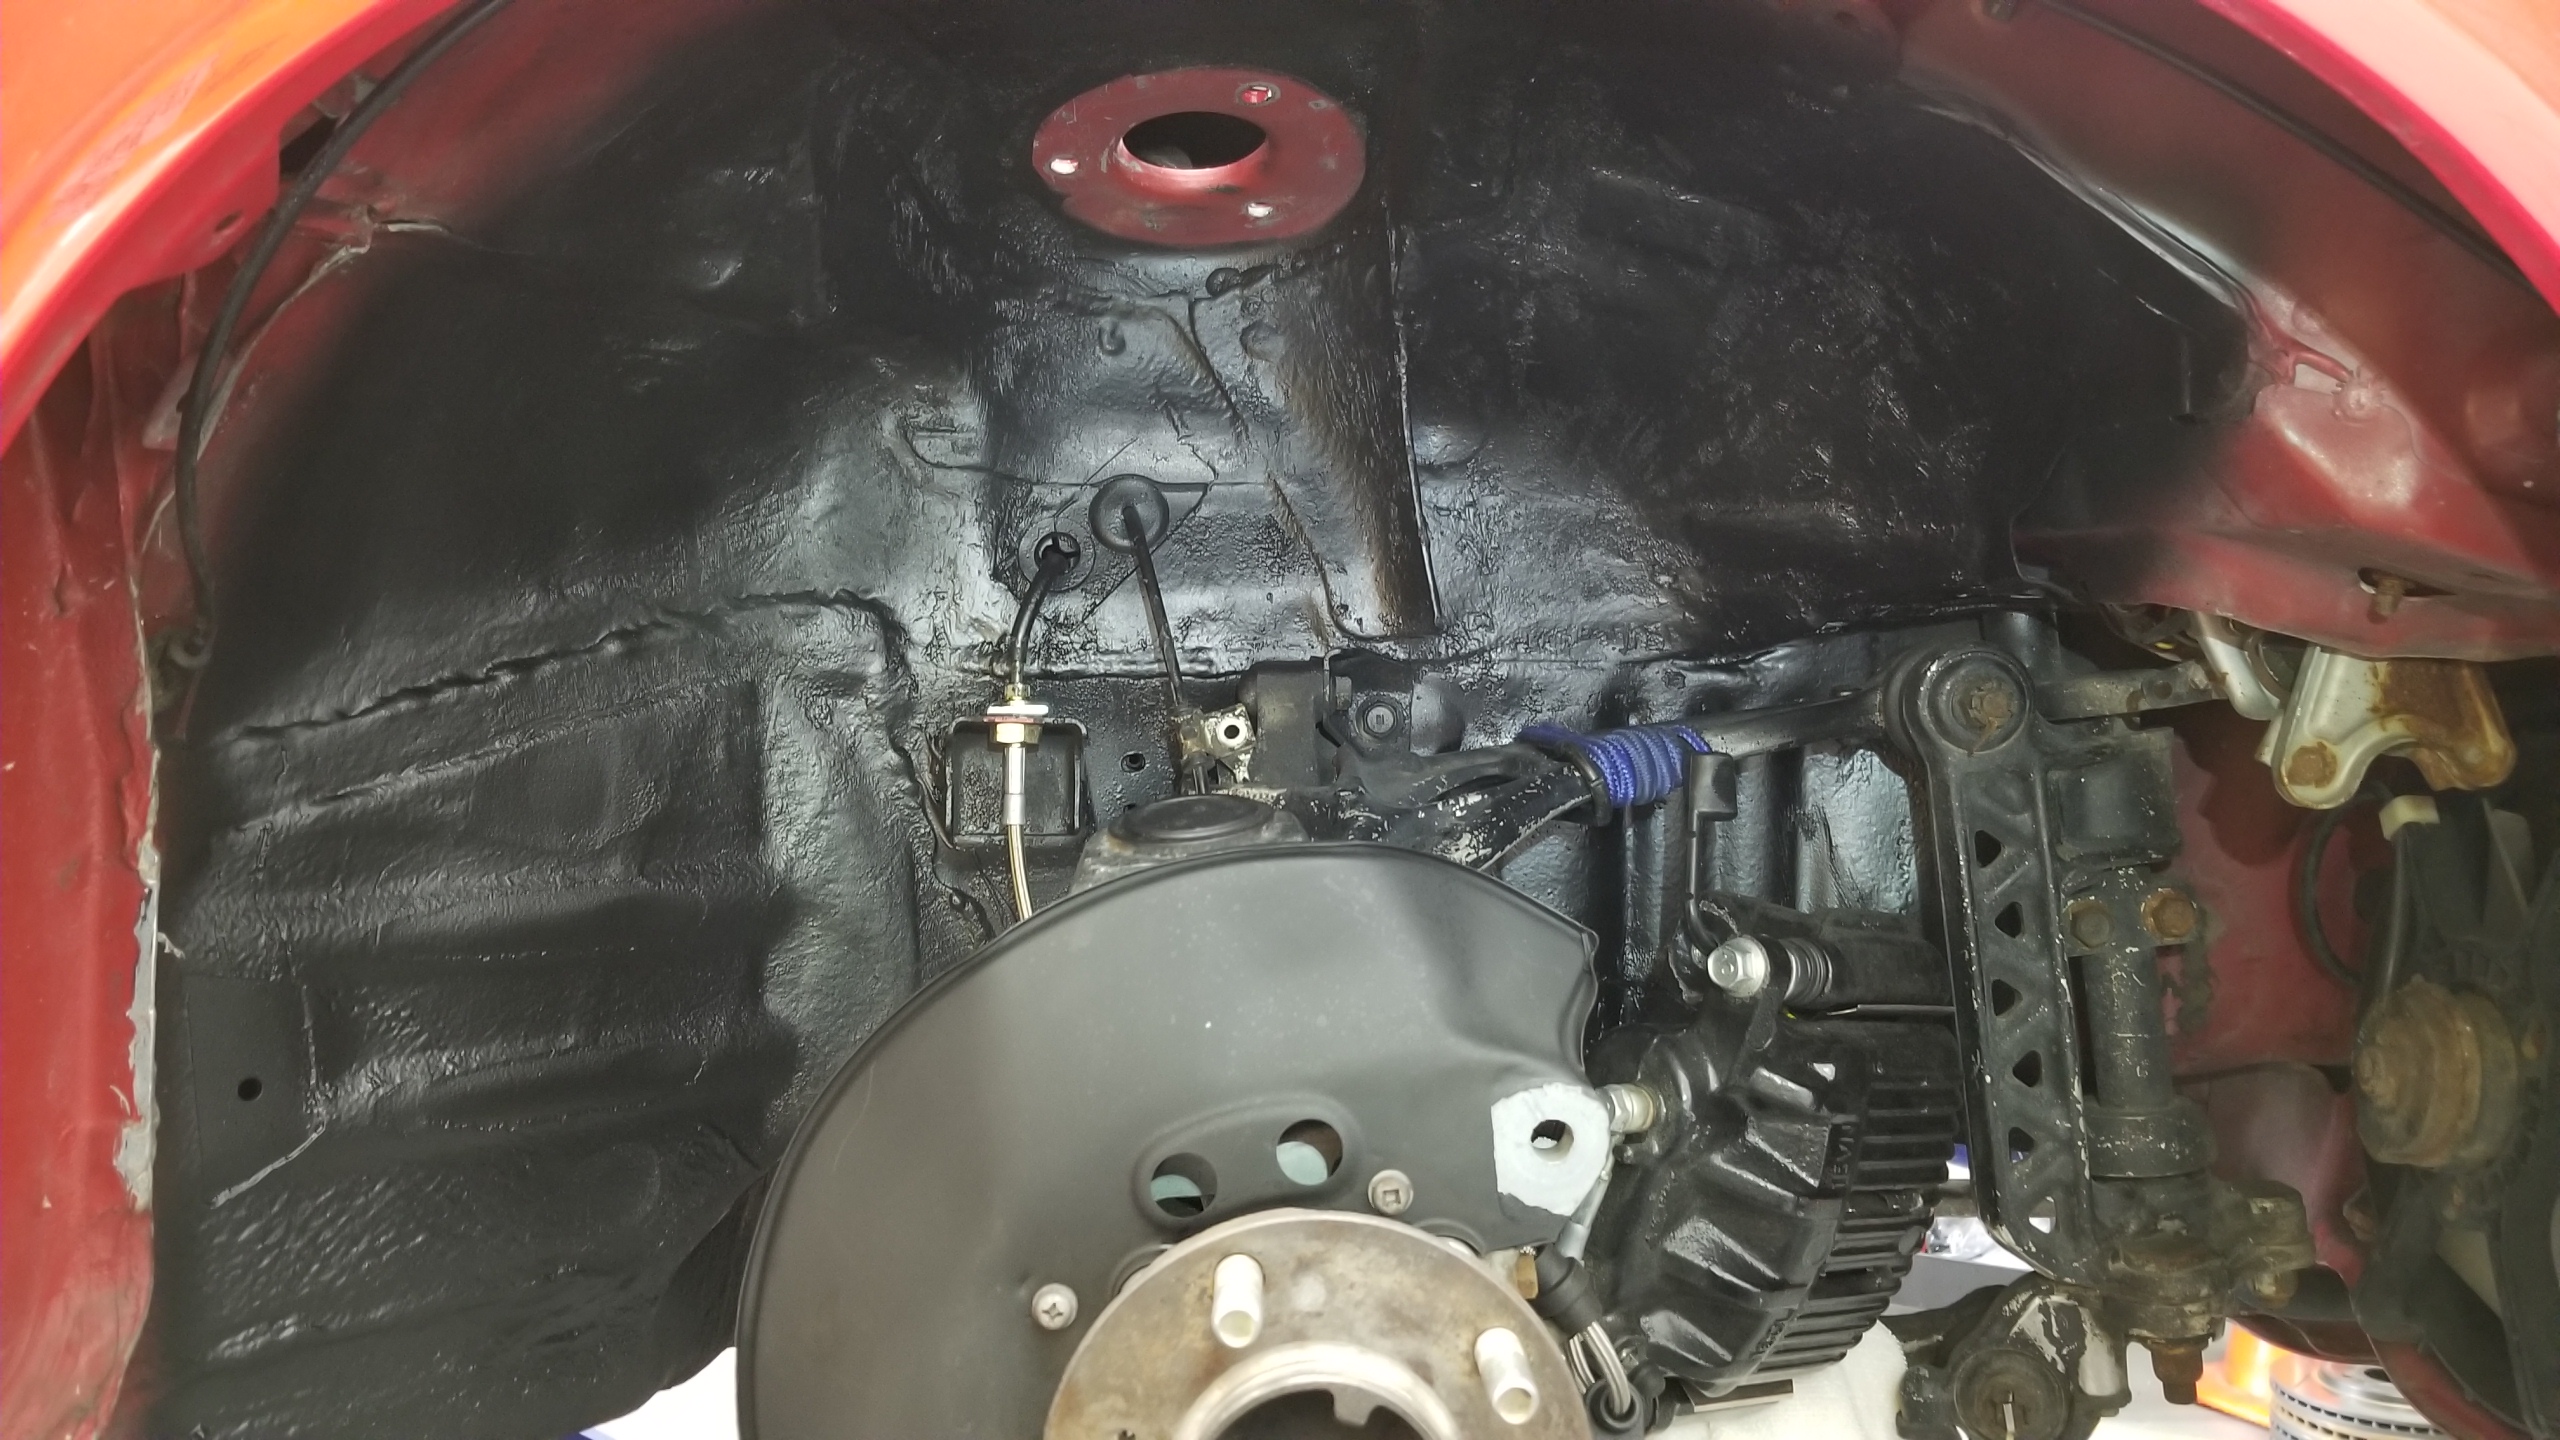
pXv7vdP.jpg


FR coated.
7RCZiEv.jpg


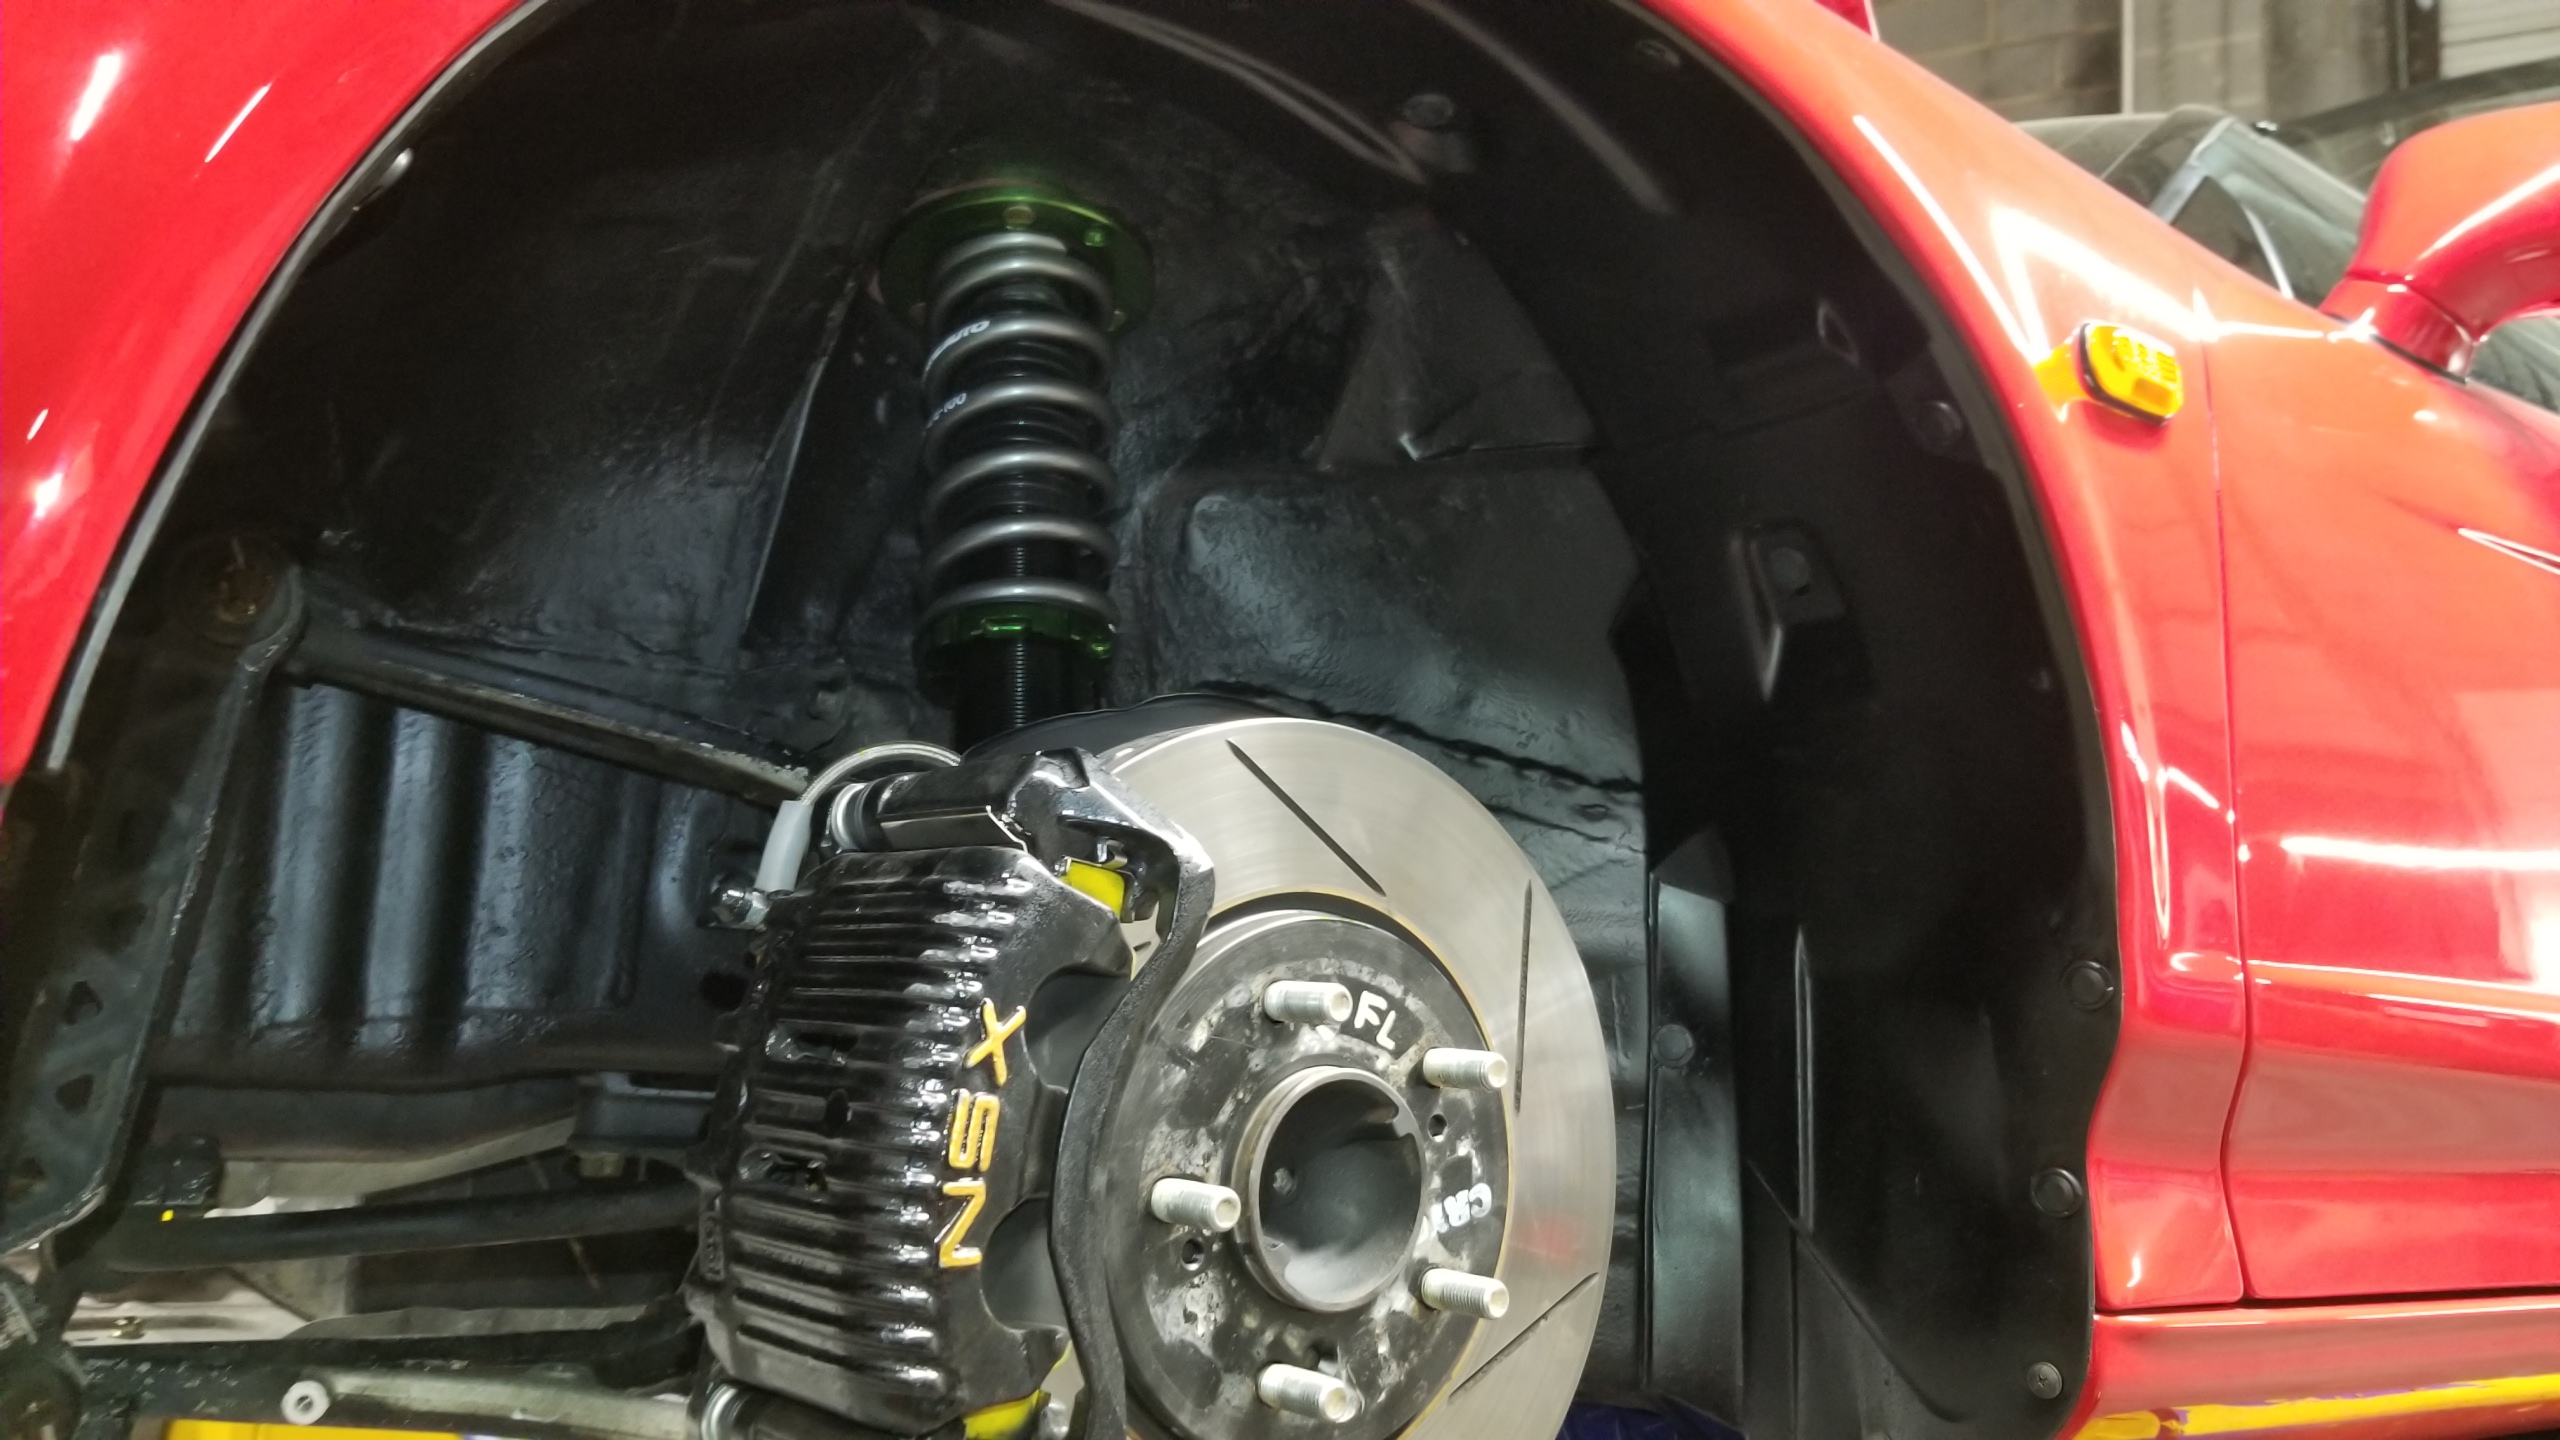
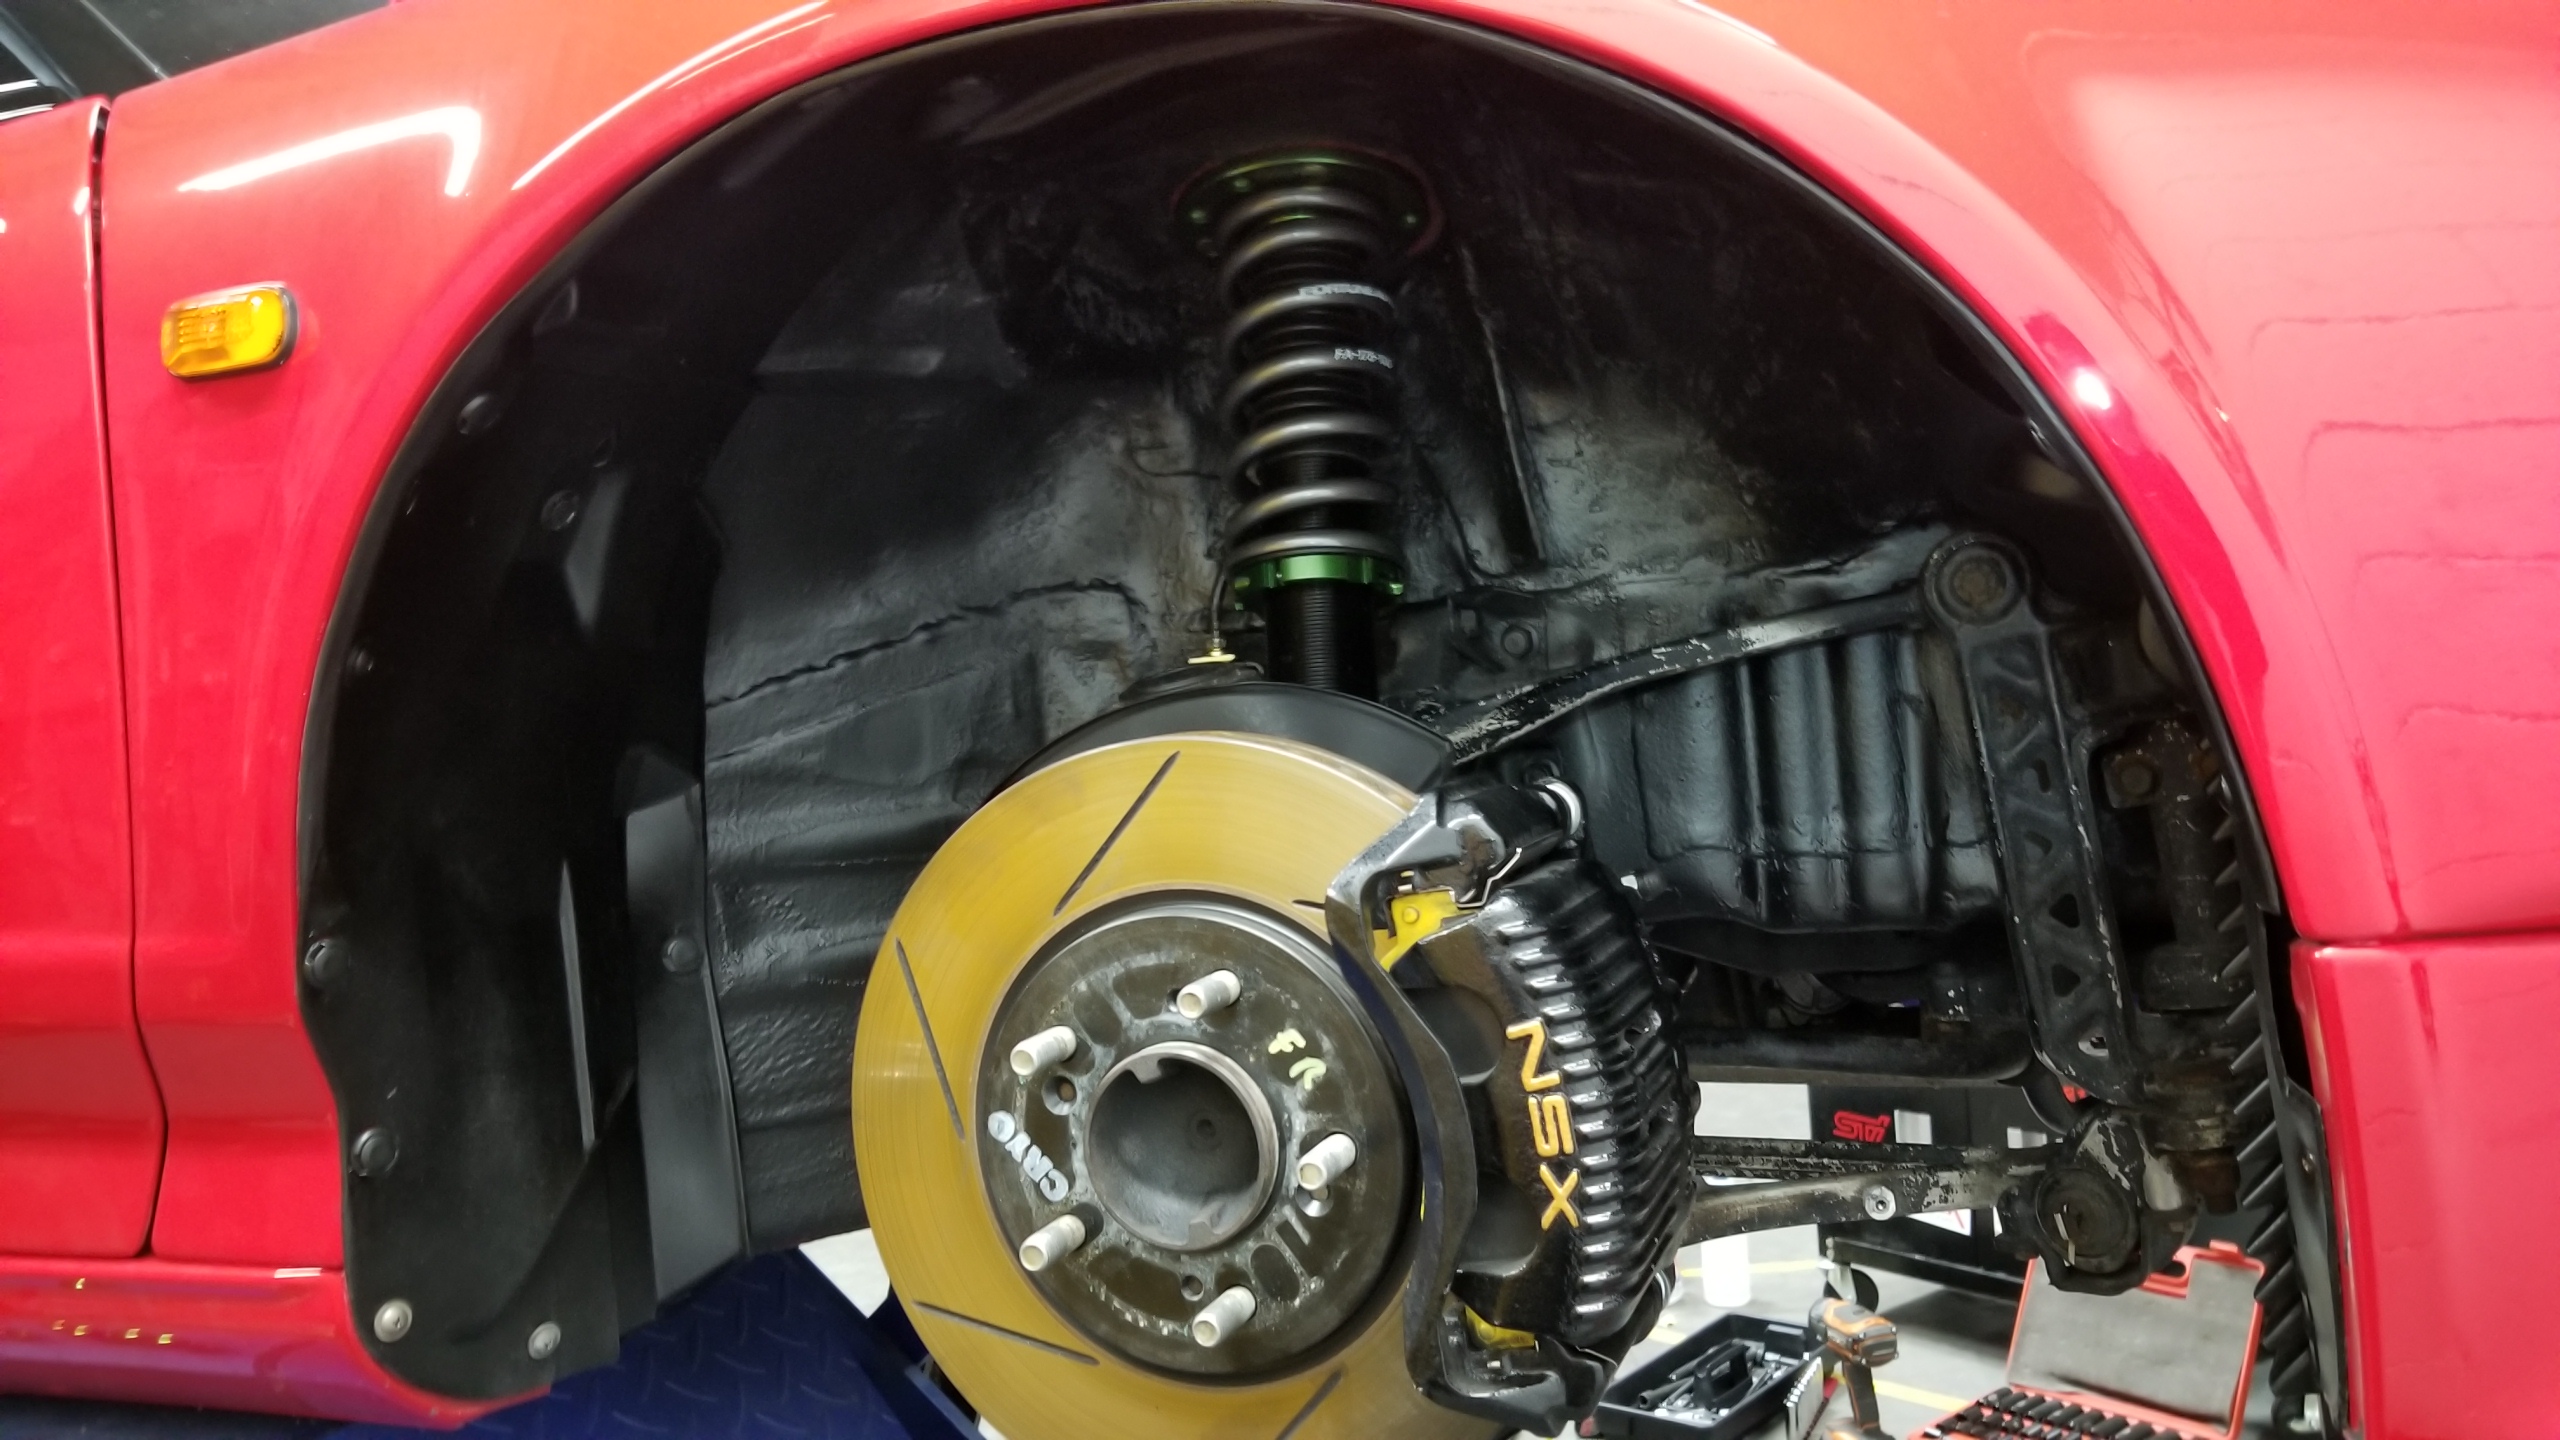
Finally, the coilovers are starting to go in. Spring preload adjusted, heights measured and adjusted vs. the stock struts, and bolted in with the bottom bushing torqued under load.
XBokJBE.jpg


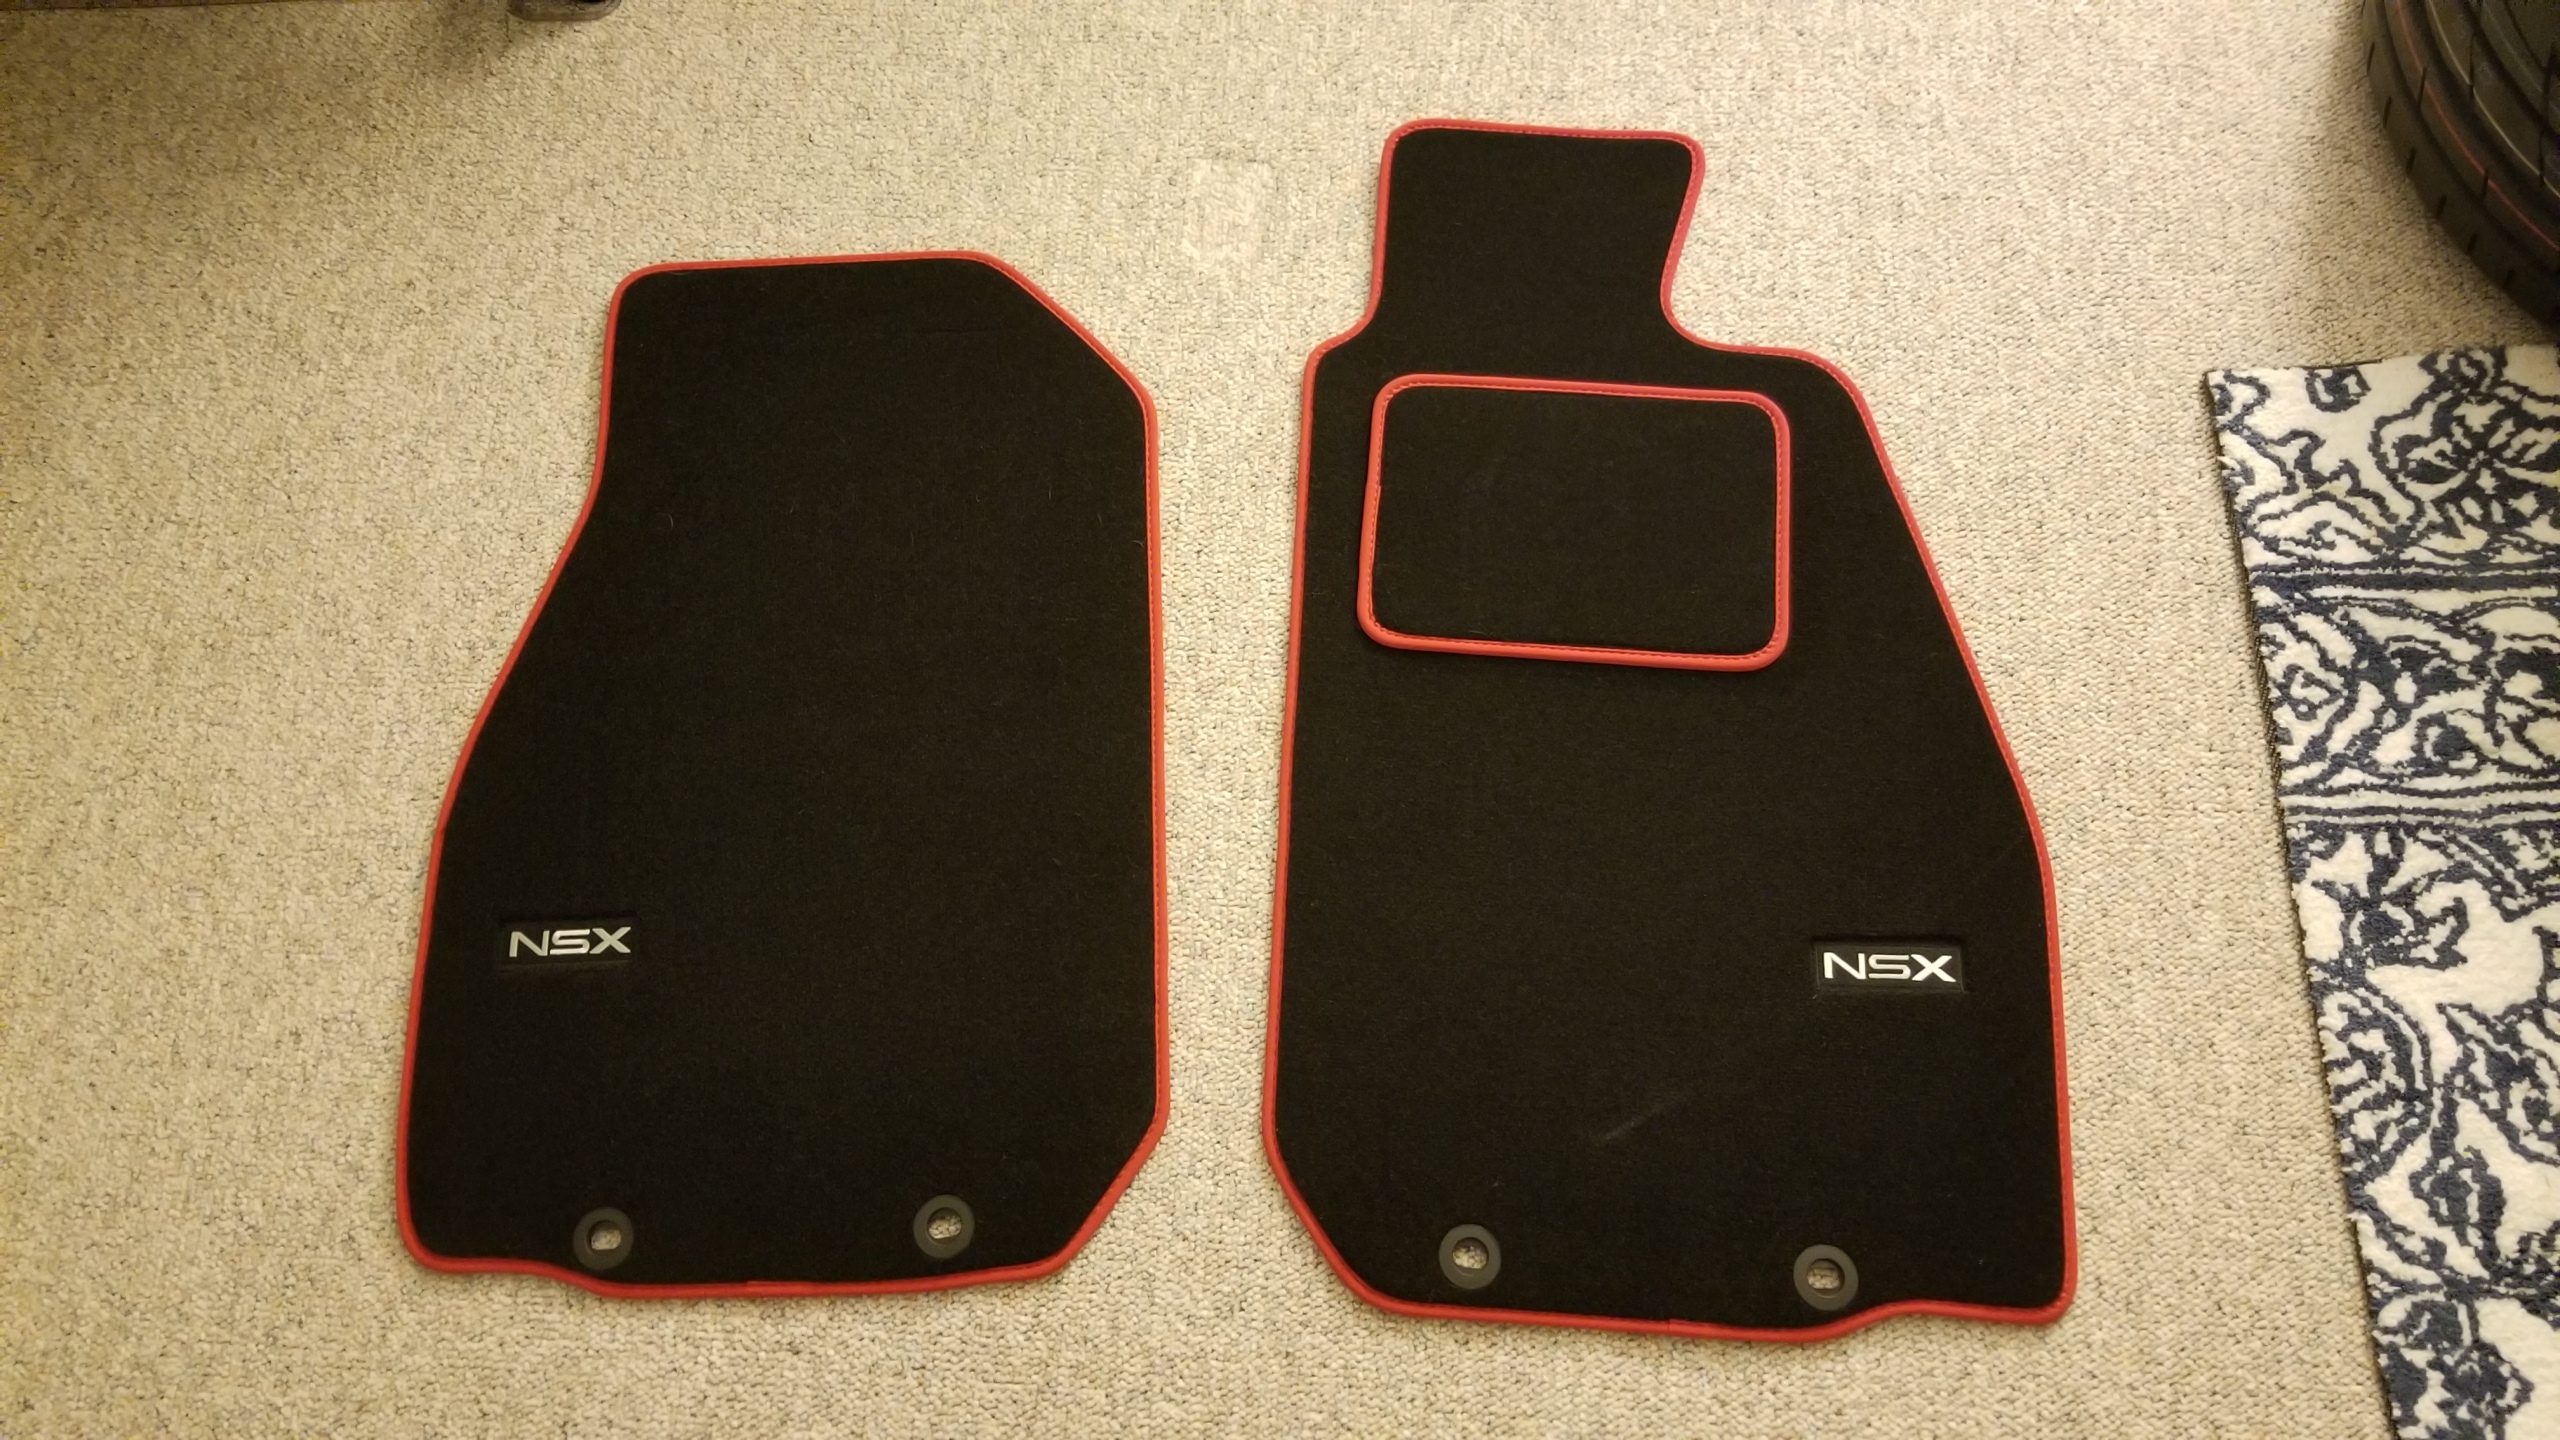
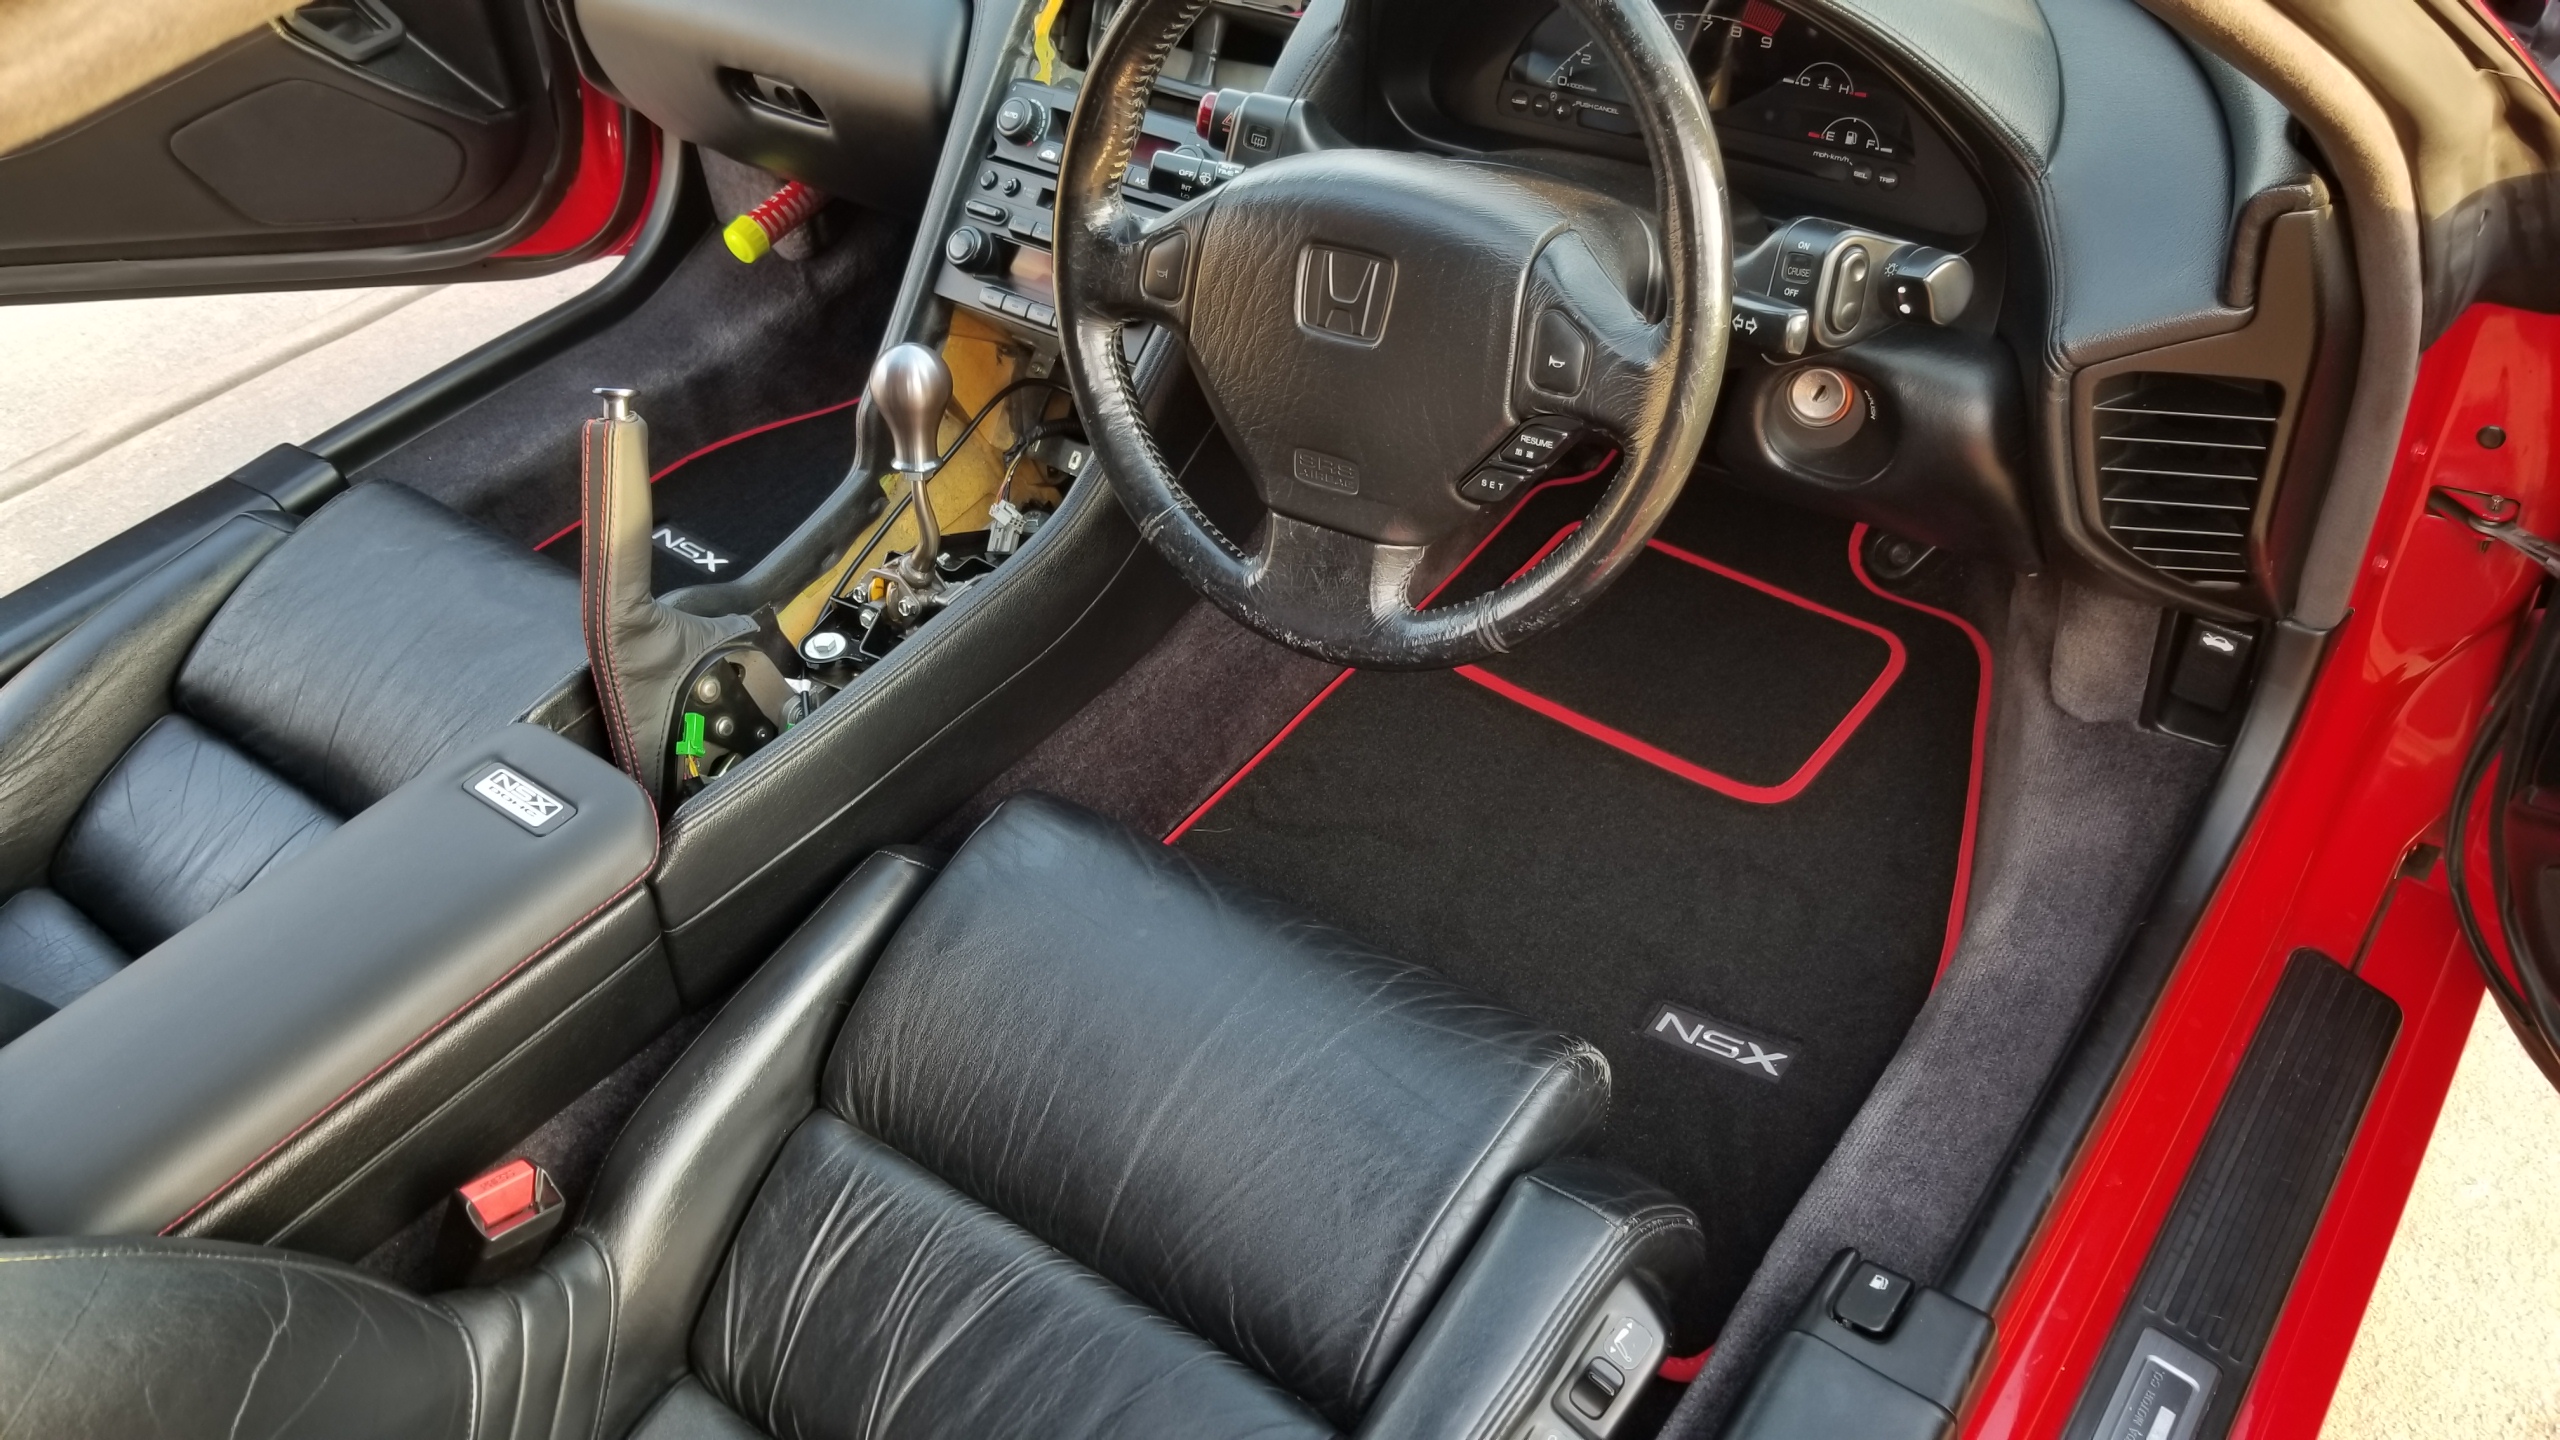
Nice picture of the rear installed with the "new" fender liners.
NQTatTY.jpg


Front all put together again. Predictably a few fender liner clips were already broken or of the wrong type, so I re-used the good ones and replaced the more visible ones on the outside with new clips. They're actually just these stupid cheap ones I bought off eBay last year, but the fitment is perfect and I would absolutely use them again. (https://www.ebay.com/itm/100x-FENDE...HONDA-CIVIC-ACCORD-ACURA-INTEGRA/254311632838).
QfmC2Ai.jpg


Before picture of the same side in case you forgot.
MZYWJcP.jpg


Another view. One day I'll also clean up the suspension pieces to make the whole area look factory(ish) fresh.
9KWiWqw.jpg


Other side installed. I still need to fix up the front A/C duct area a bit but otherwise, I'd say it turned out very well. I spent some time shimmying the fender liner around to make sure there weren't any gaps between it and the fender like before.
mSH8SQH.jpg


One more view.
hnaSfnH.jpg


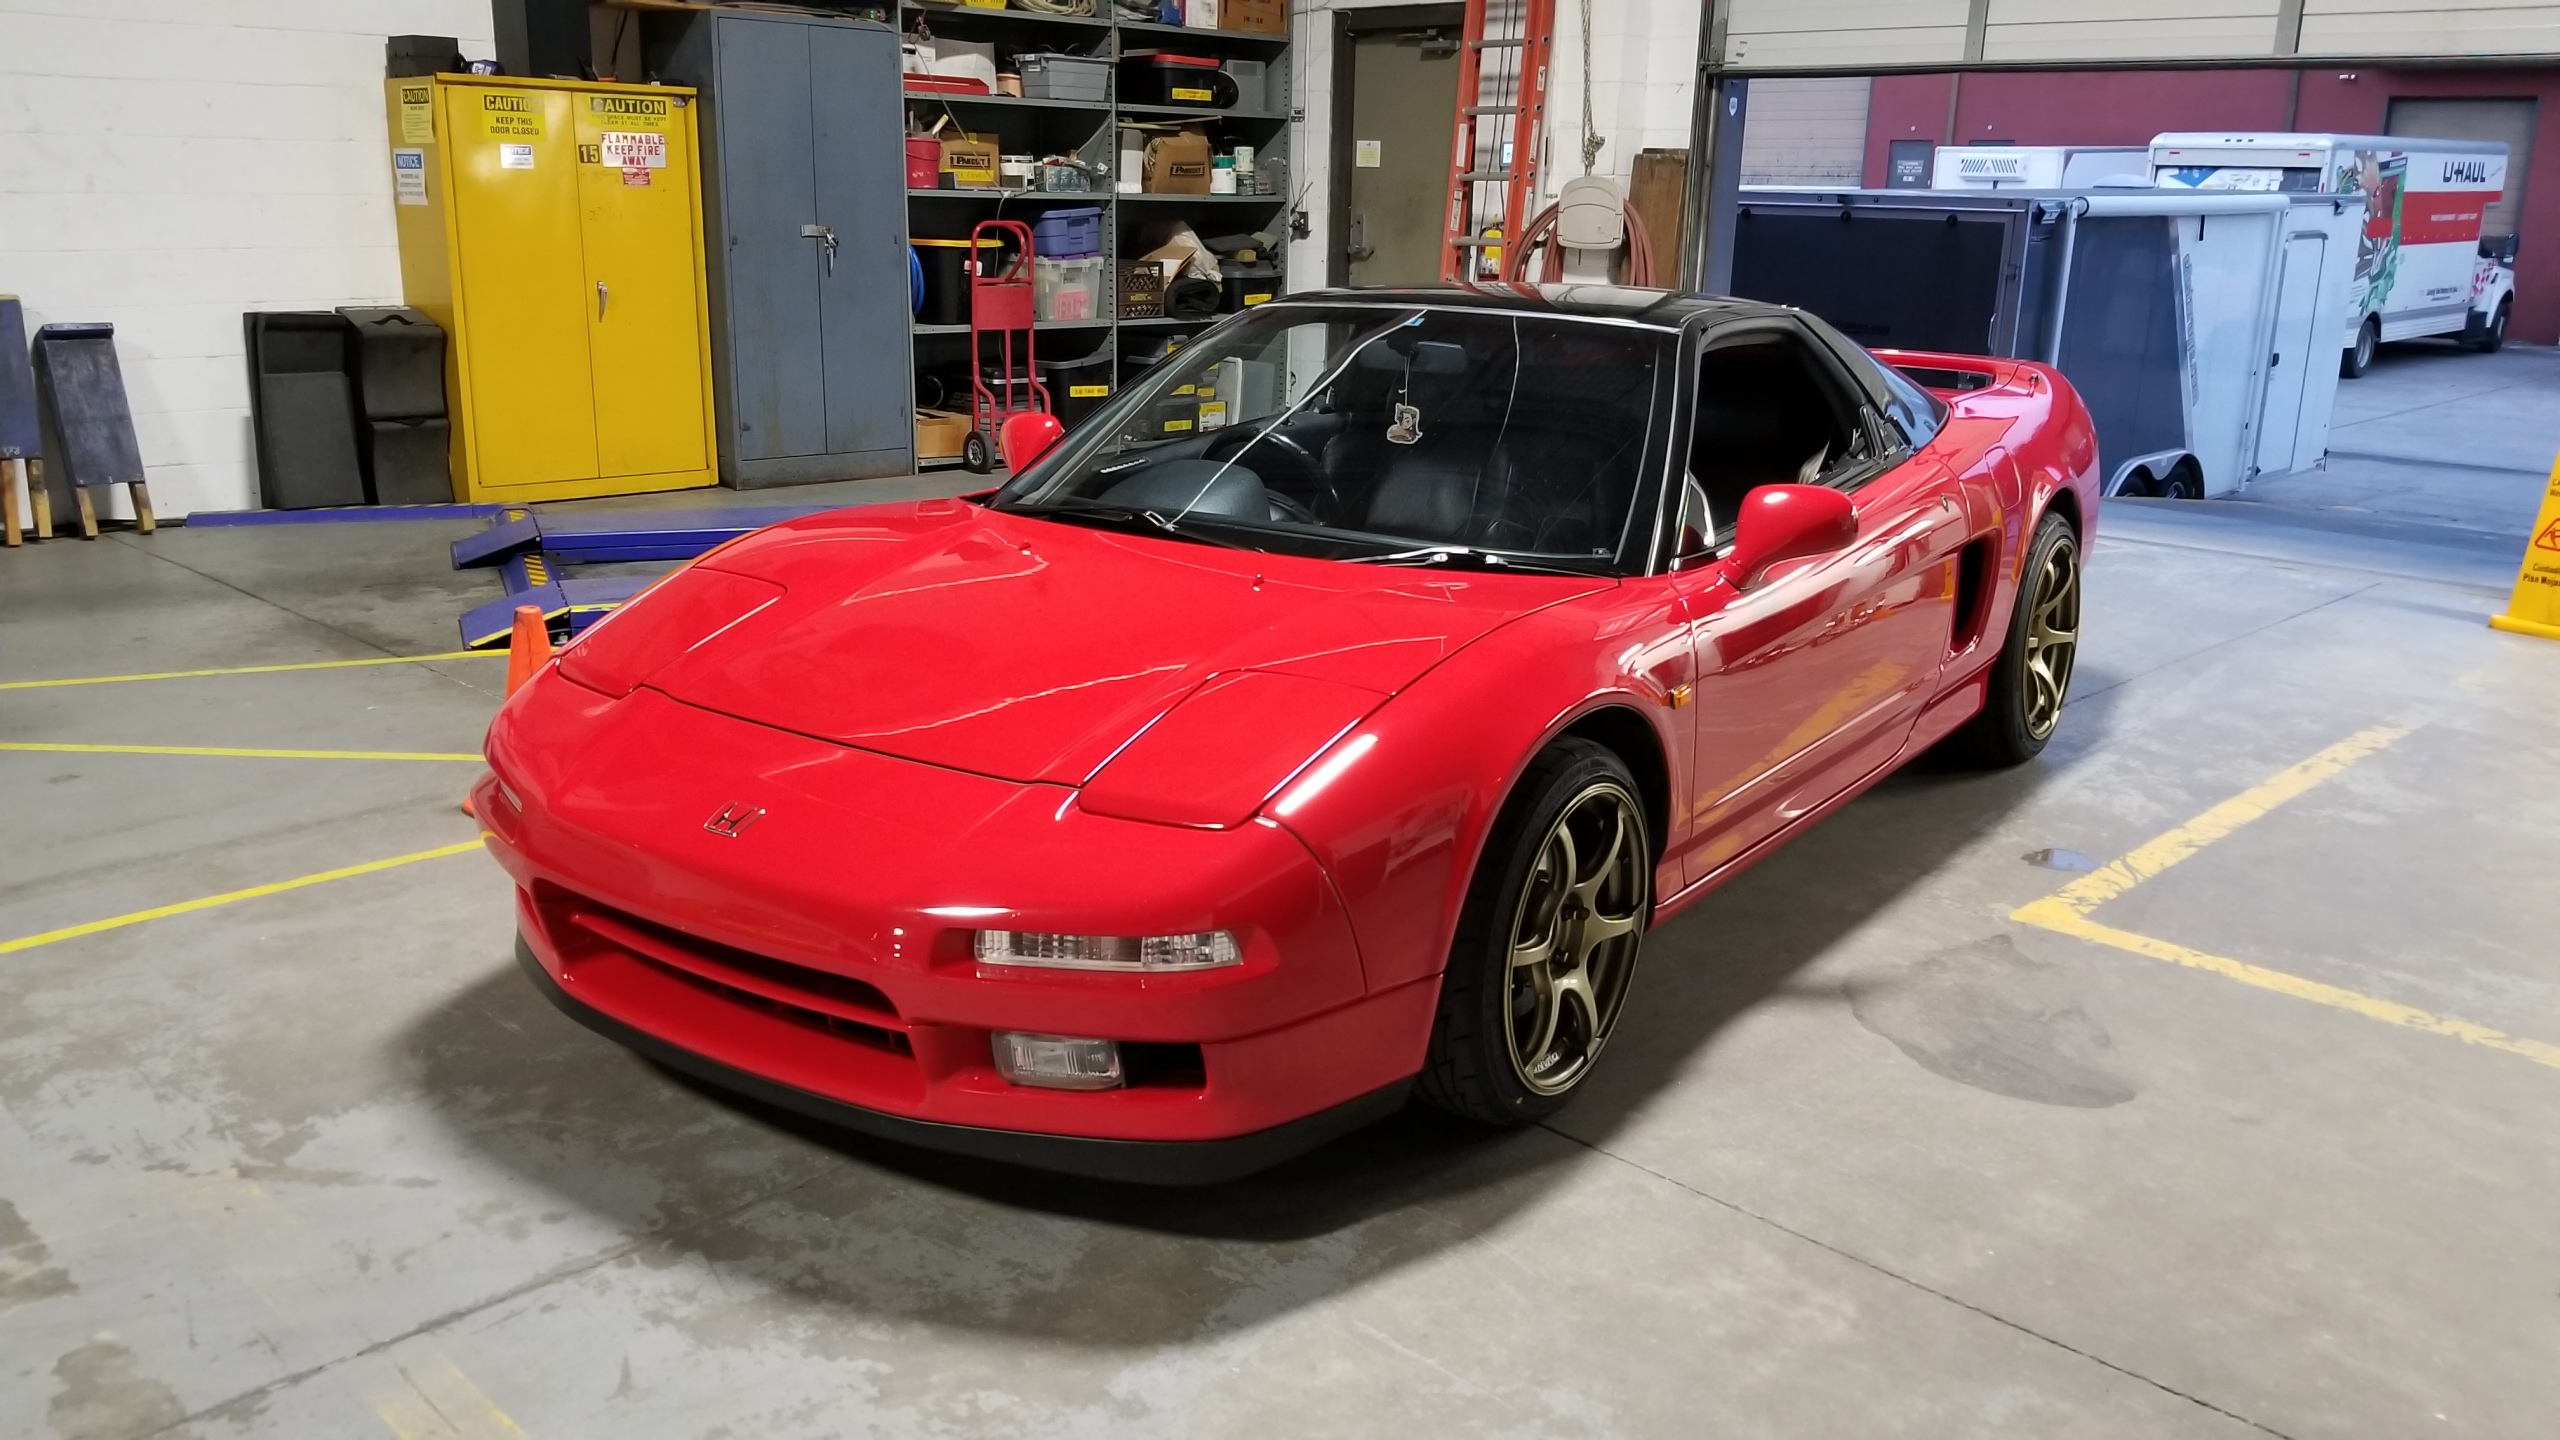
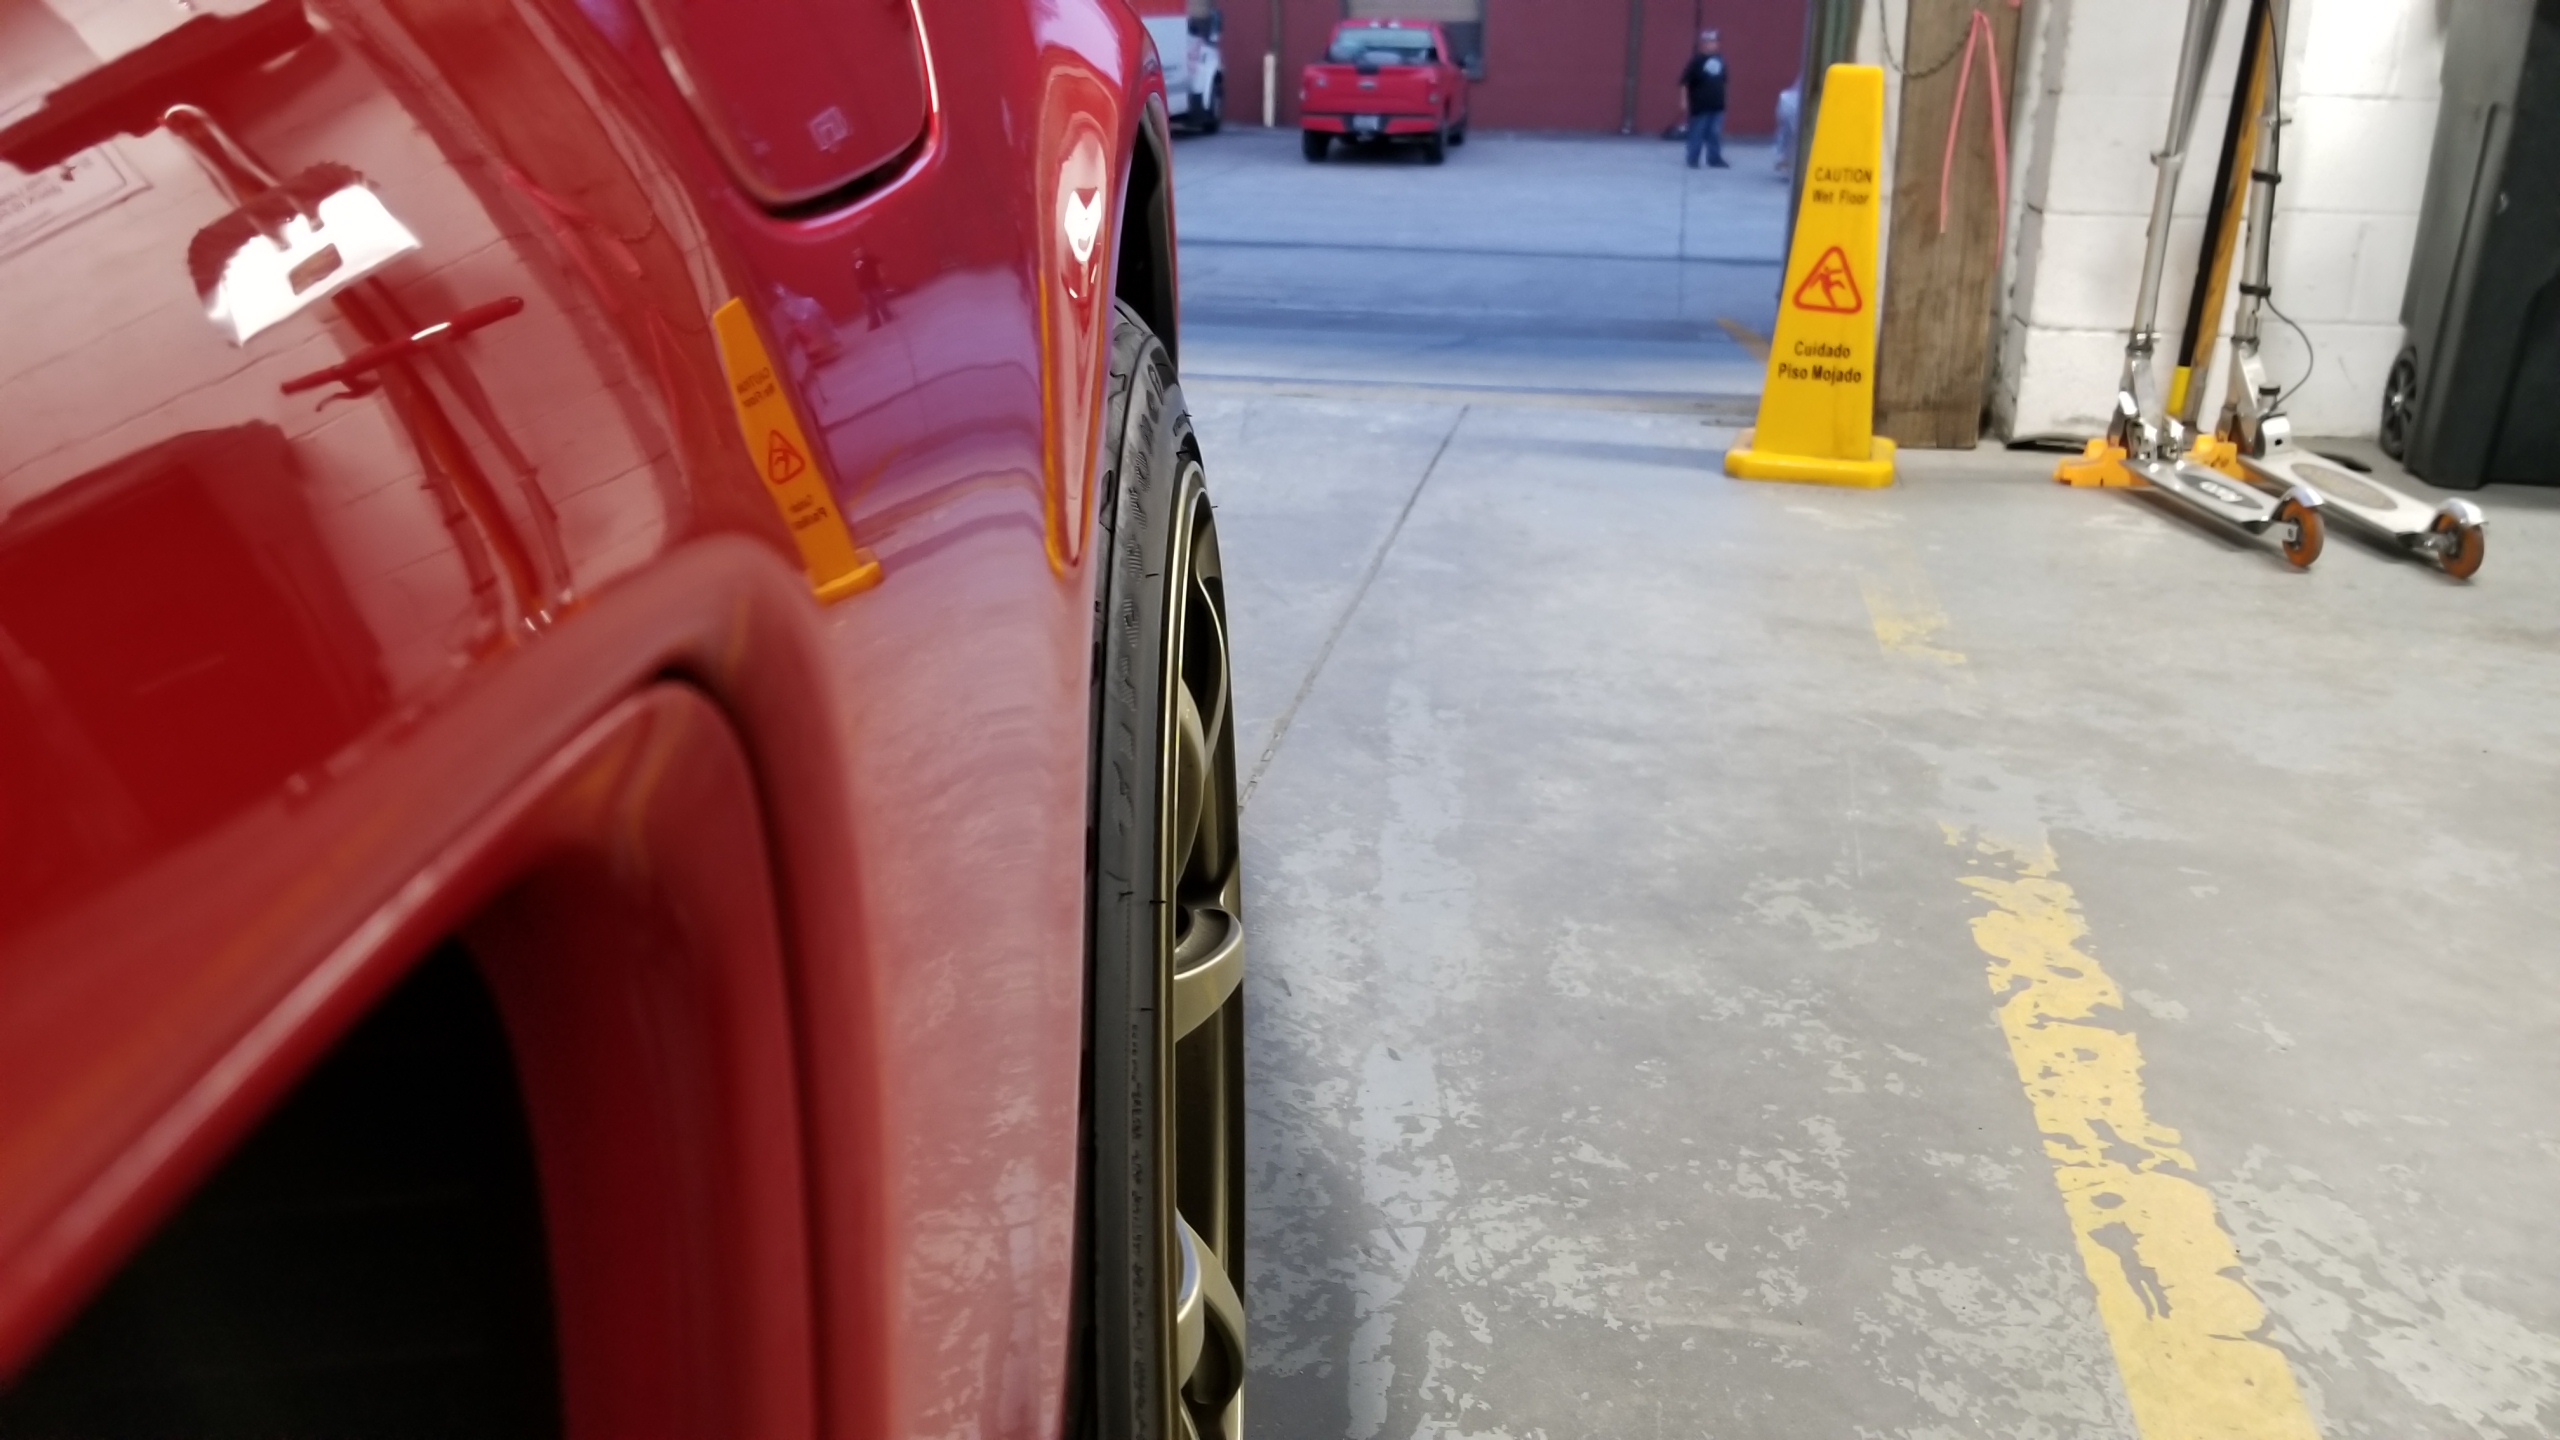
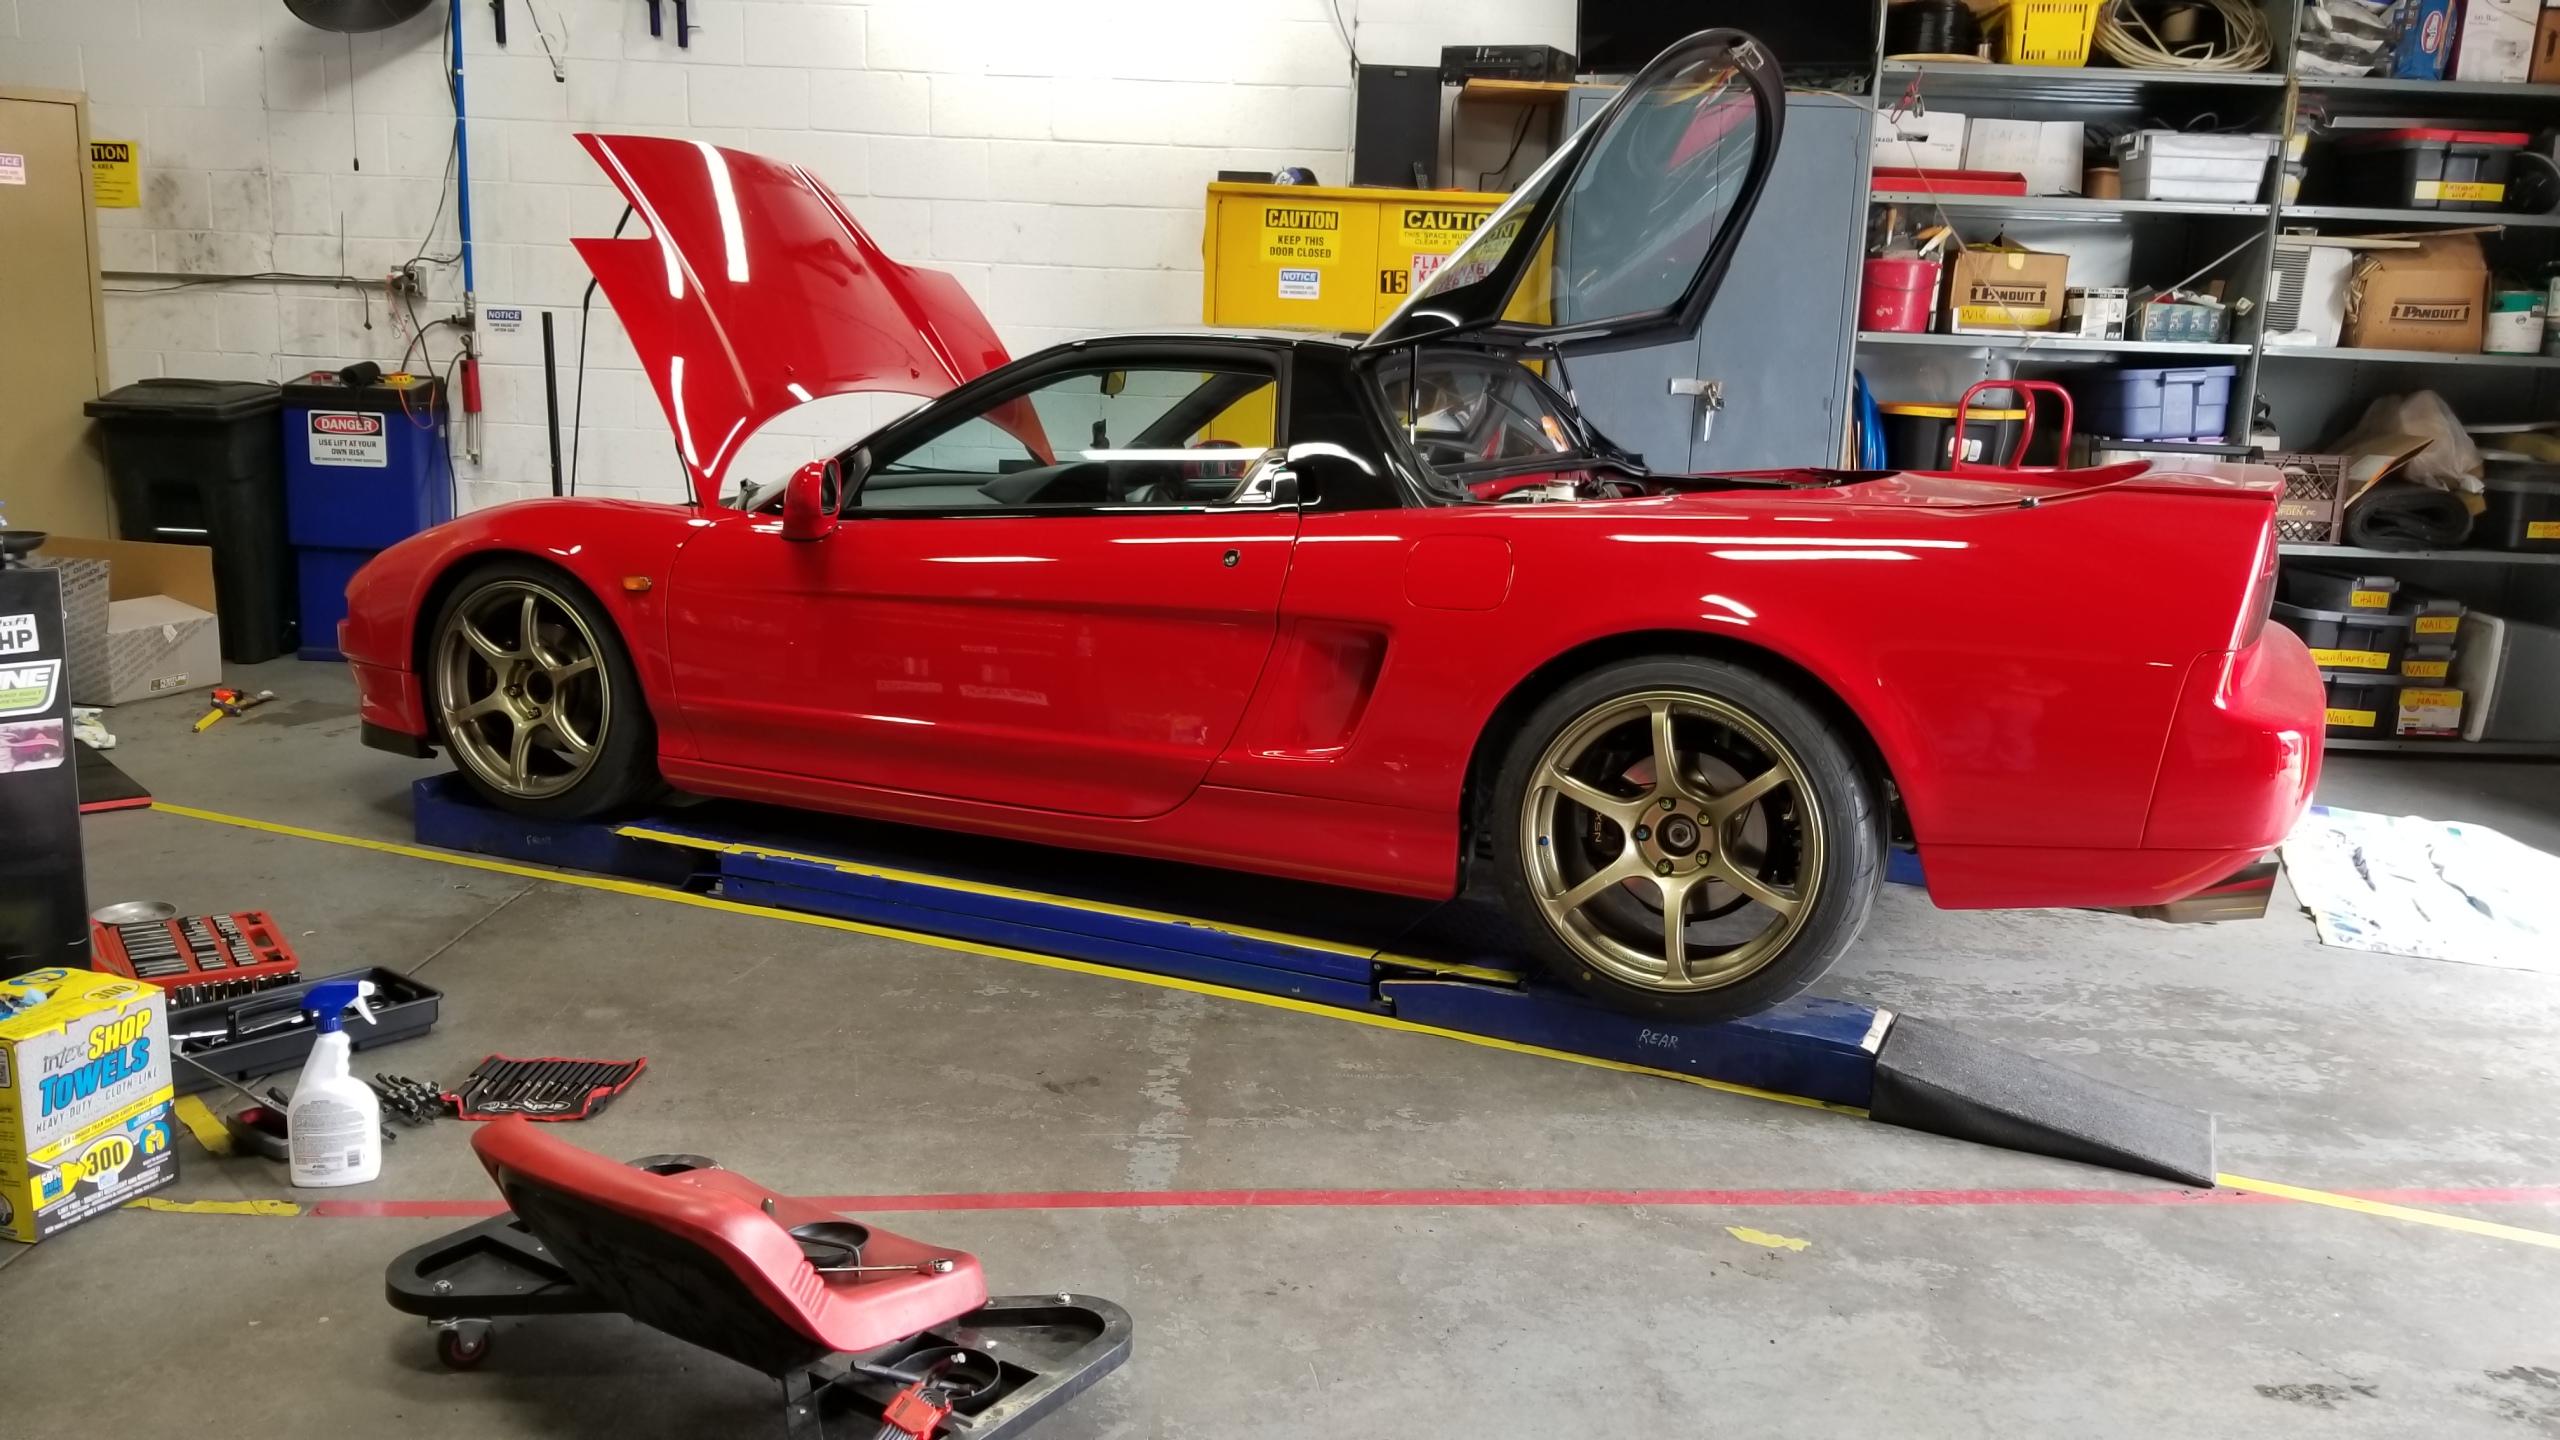
Here's test 1 of the new ride height with ~2 1/2" of drop compared to the stock strut length. The rears are just about where I'd like them but the front is a bit high.
NRhueZE.jpg


Front view. A bit too high, or so I thought.
Wx3mWzm.jpg


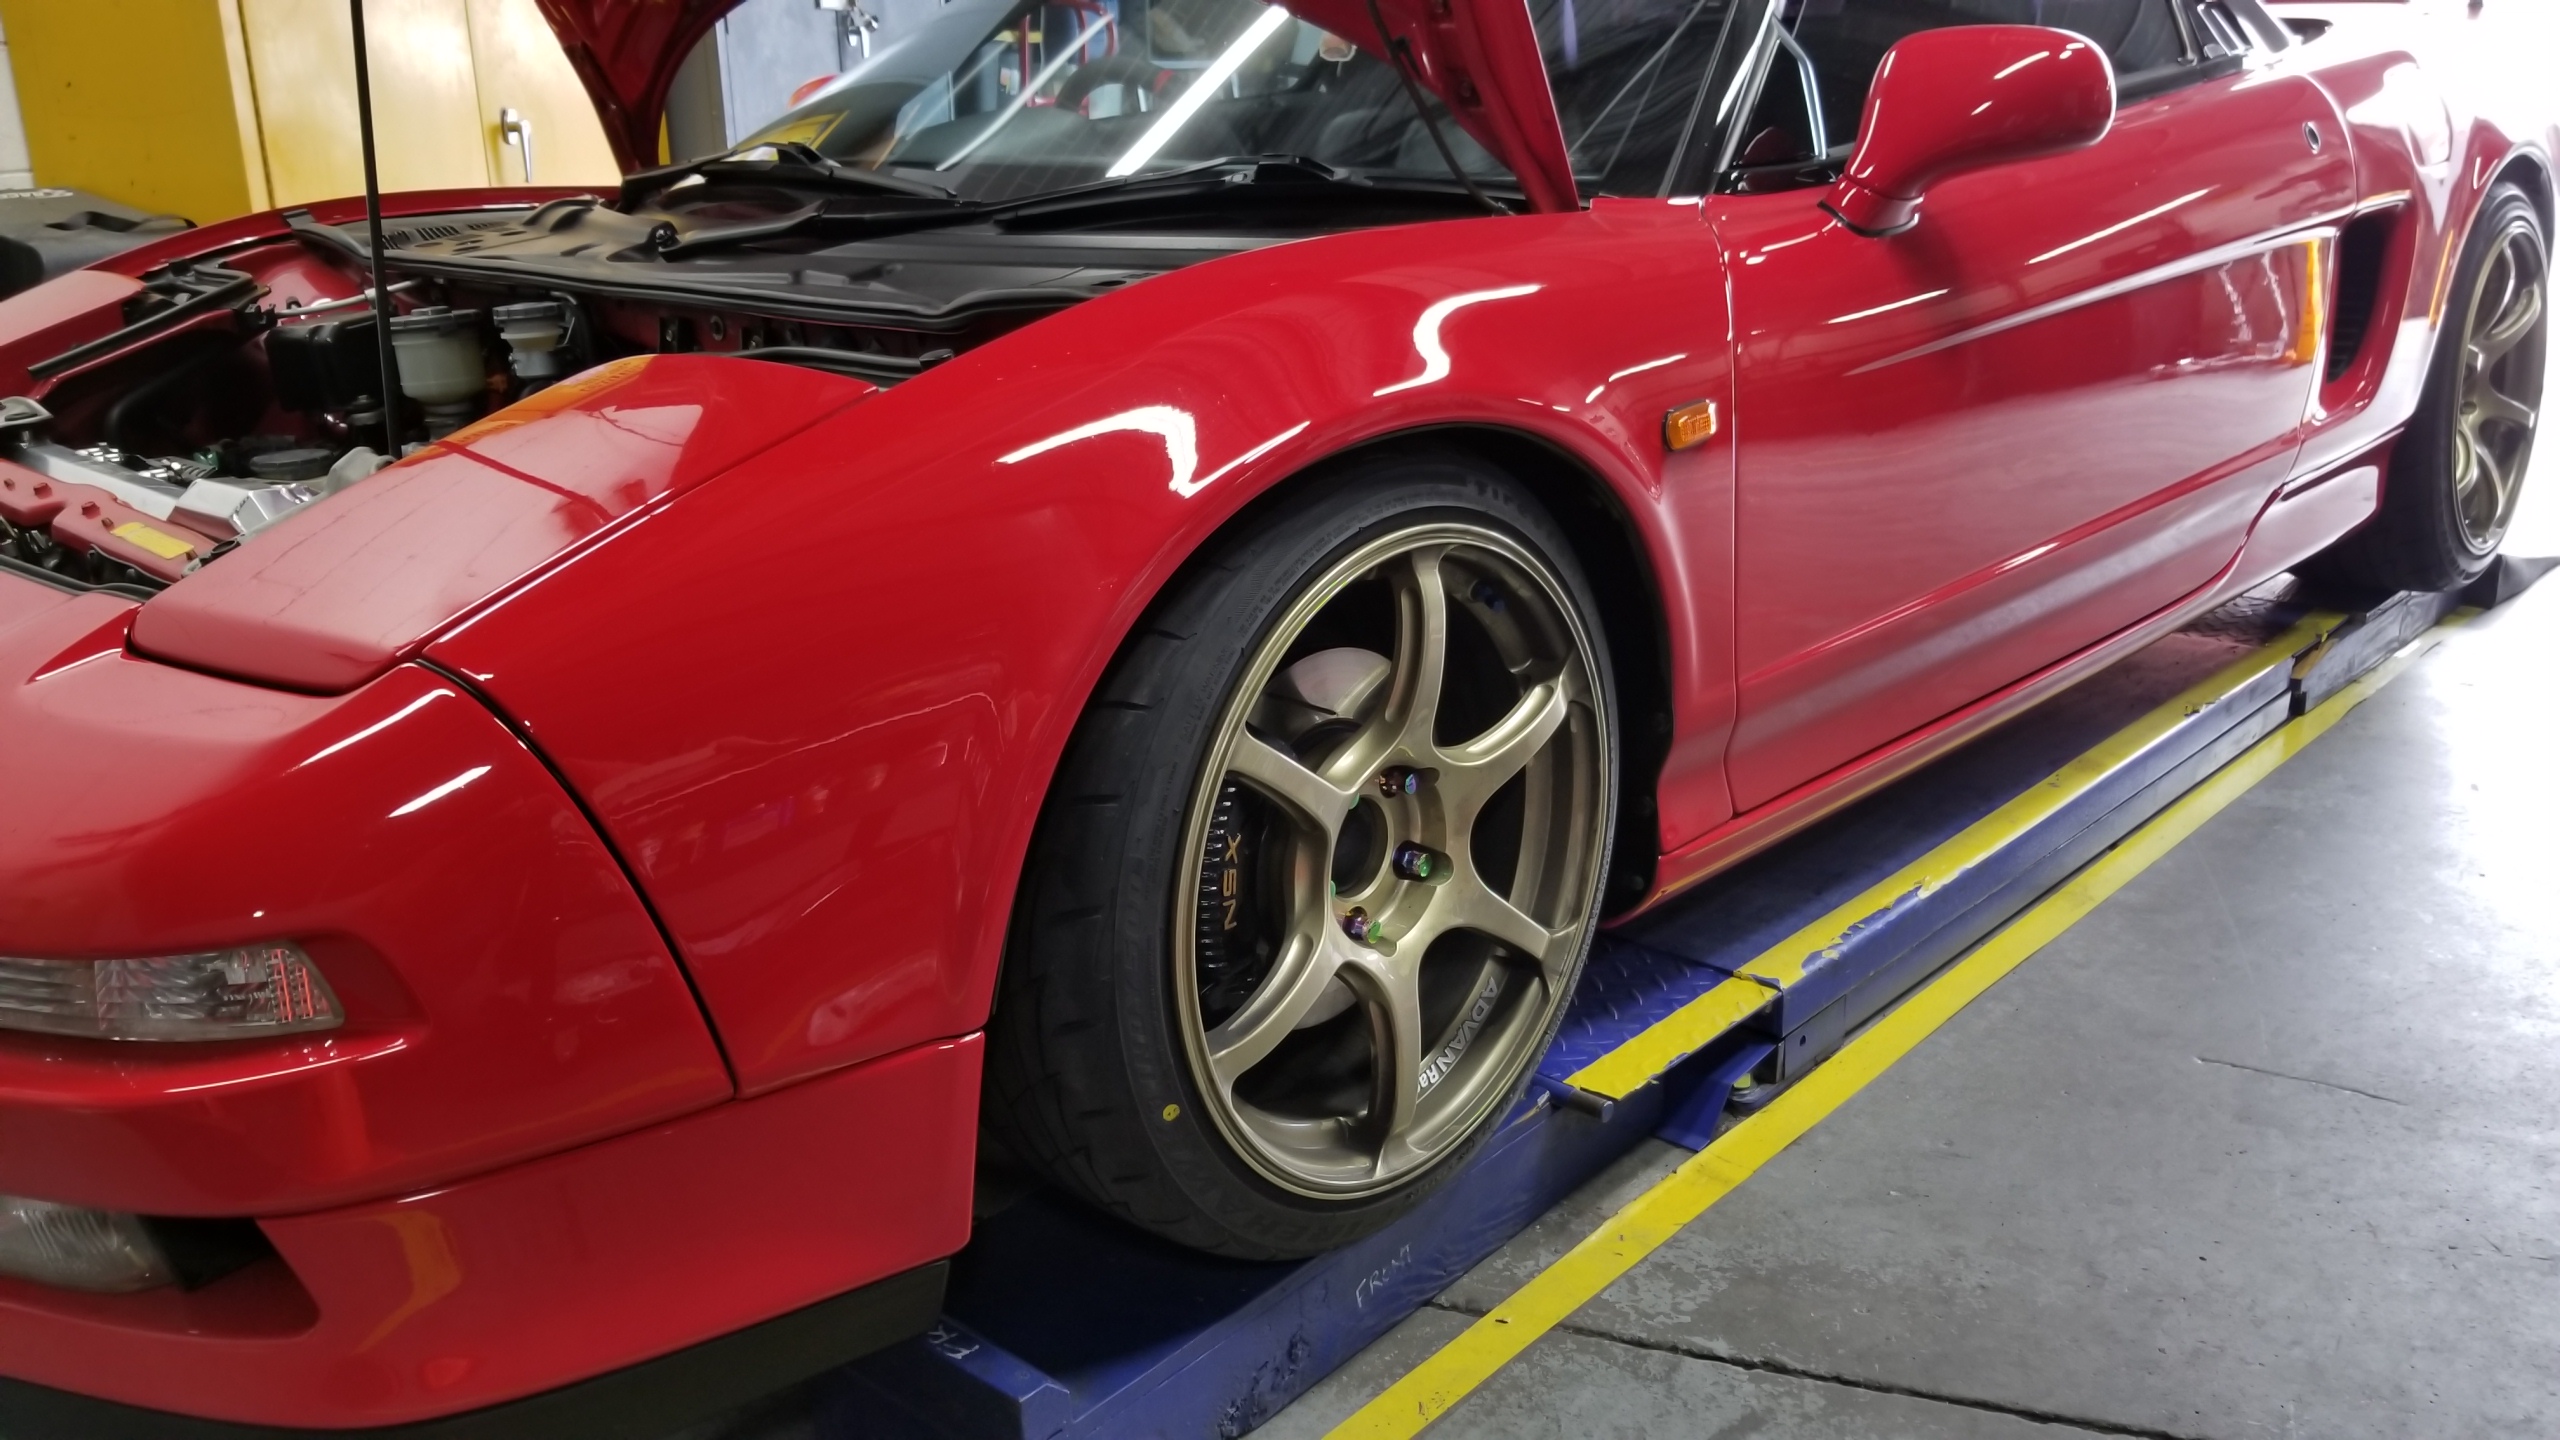
Height is pretty easy to adjust just by removing the bottom strut bushing bolt and rotating the bottom of the strut. This is test 3 after messing with the front height a few times, and this is how I have it now.

Unfortunately and predictably, the car was very hard to get off the lift without scraping the front lip, unlike before where I could just drive straight on and off. I can still make it (gingerly) up the garage ramp and my driveway, but I already scraped the lip on a dip entering a parking garage which I'll have to fix up, name of the game I guess. I'm going to raise the front by maybe another 1/2" especially after the coils settle a bit, which should give me a nice and useable fitment while reducing the chance I scrape up the bottom sides. I can see why people use air suspension now but I want to avoid it if I can.
yMKmSo1.jpg


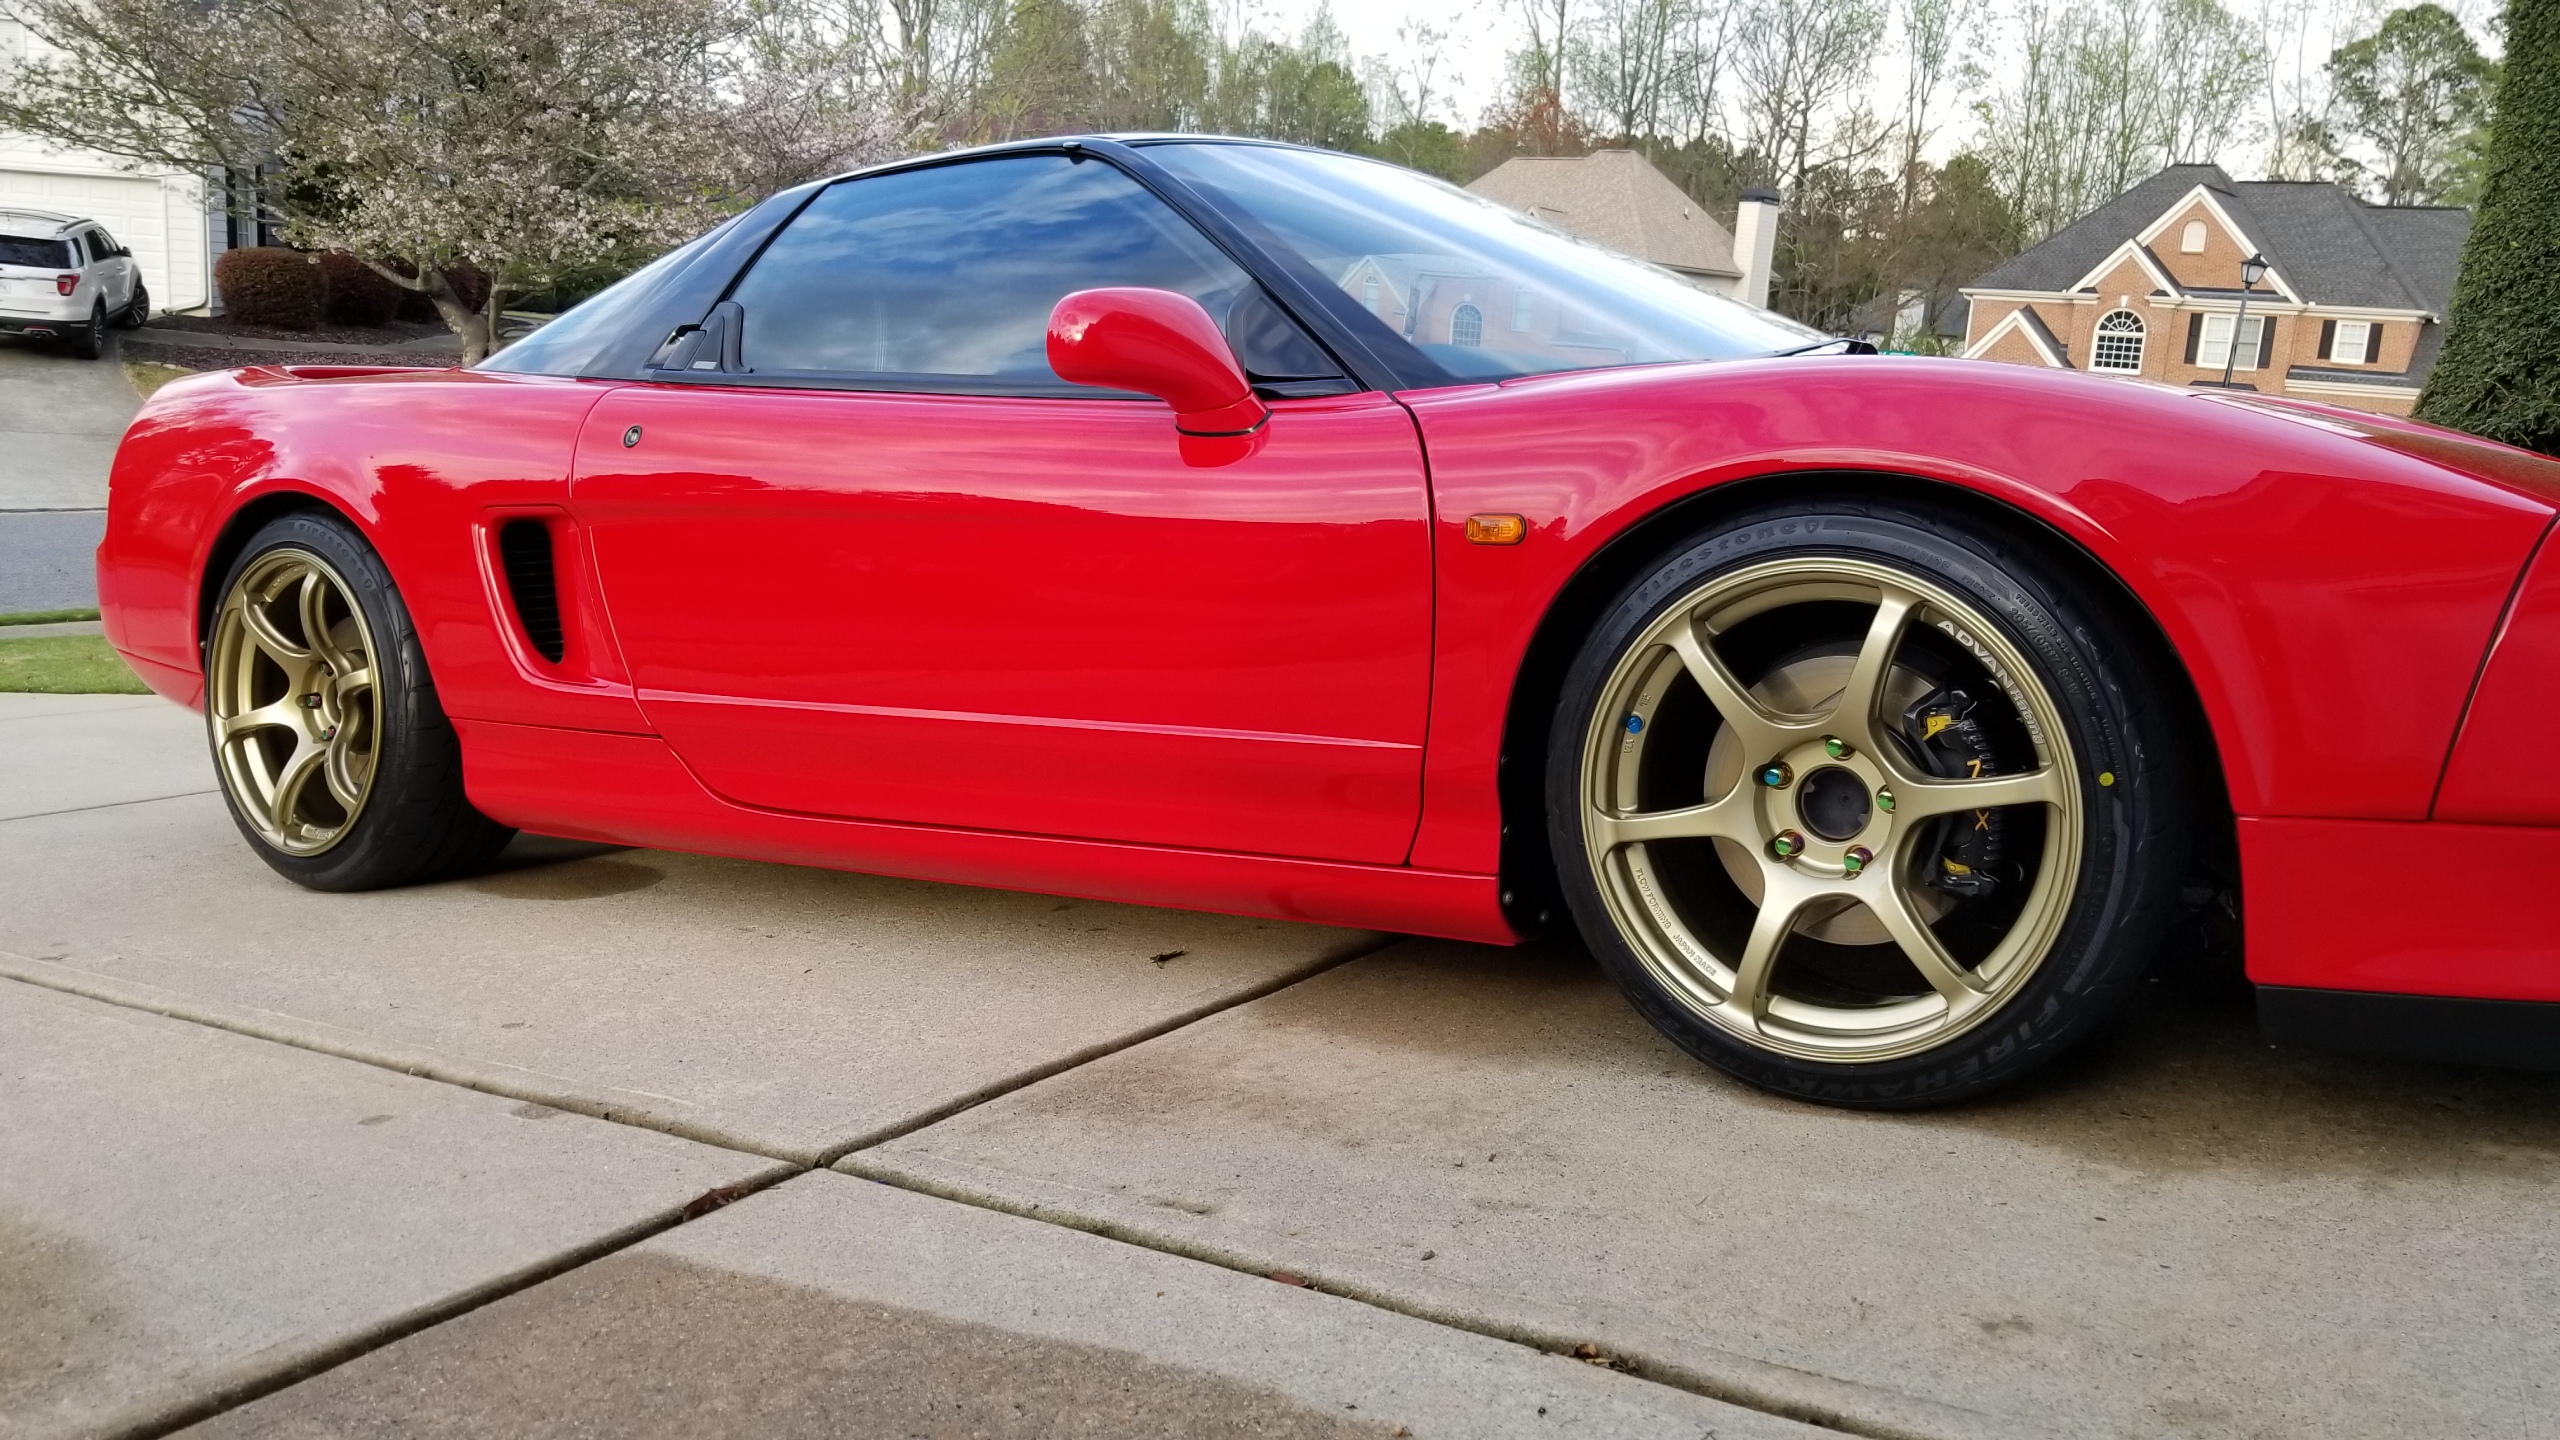
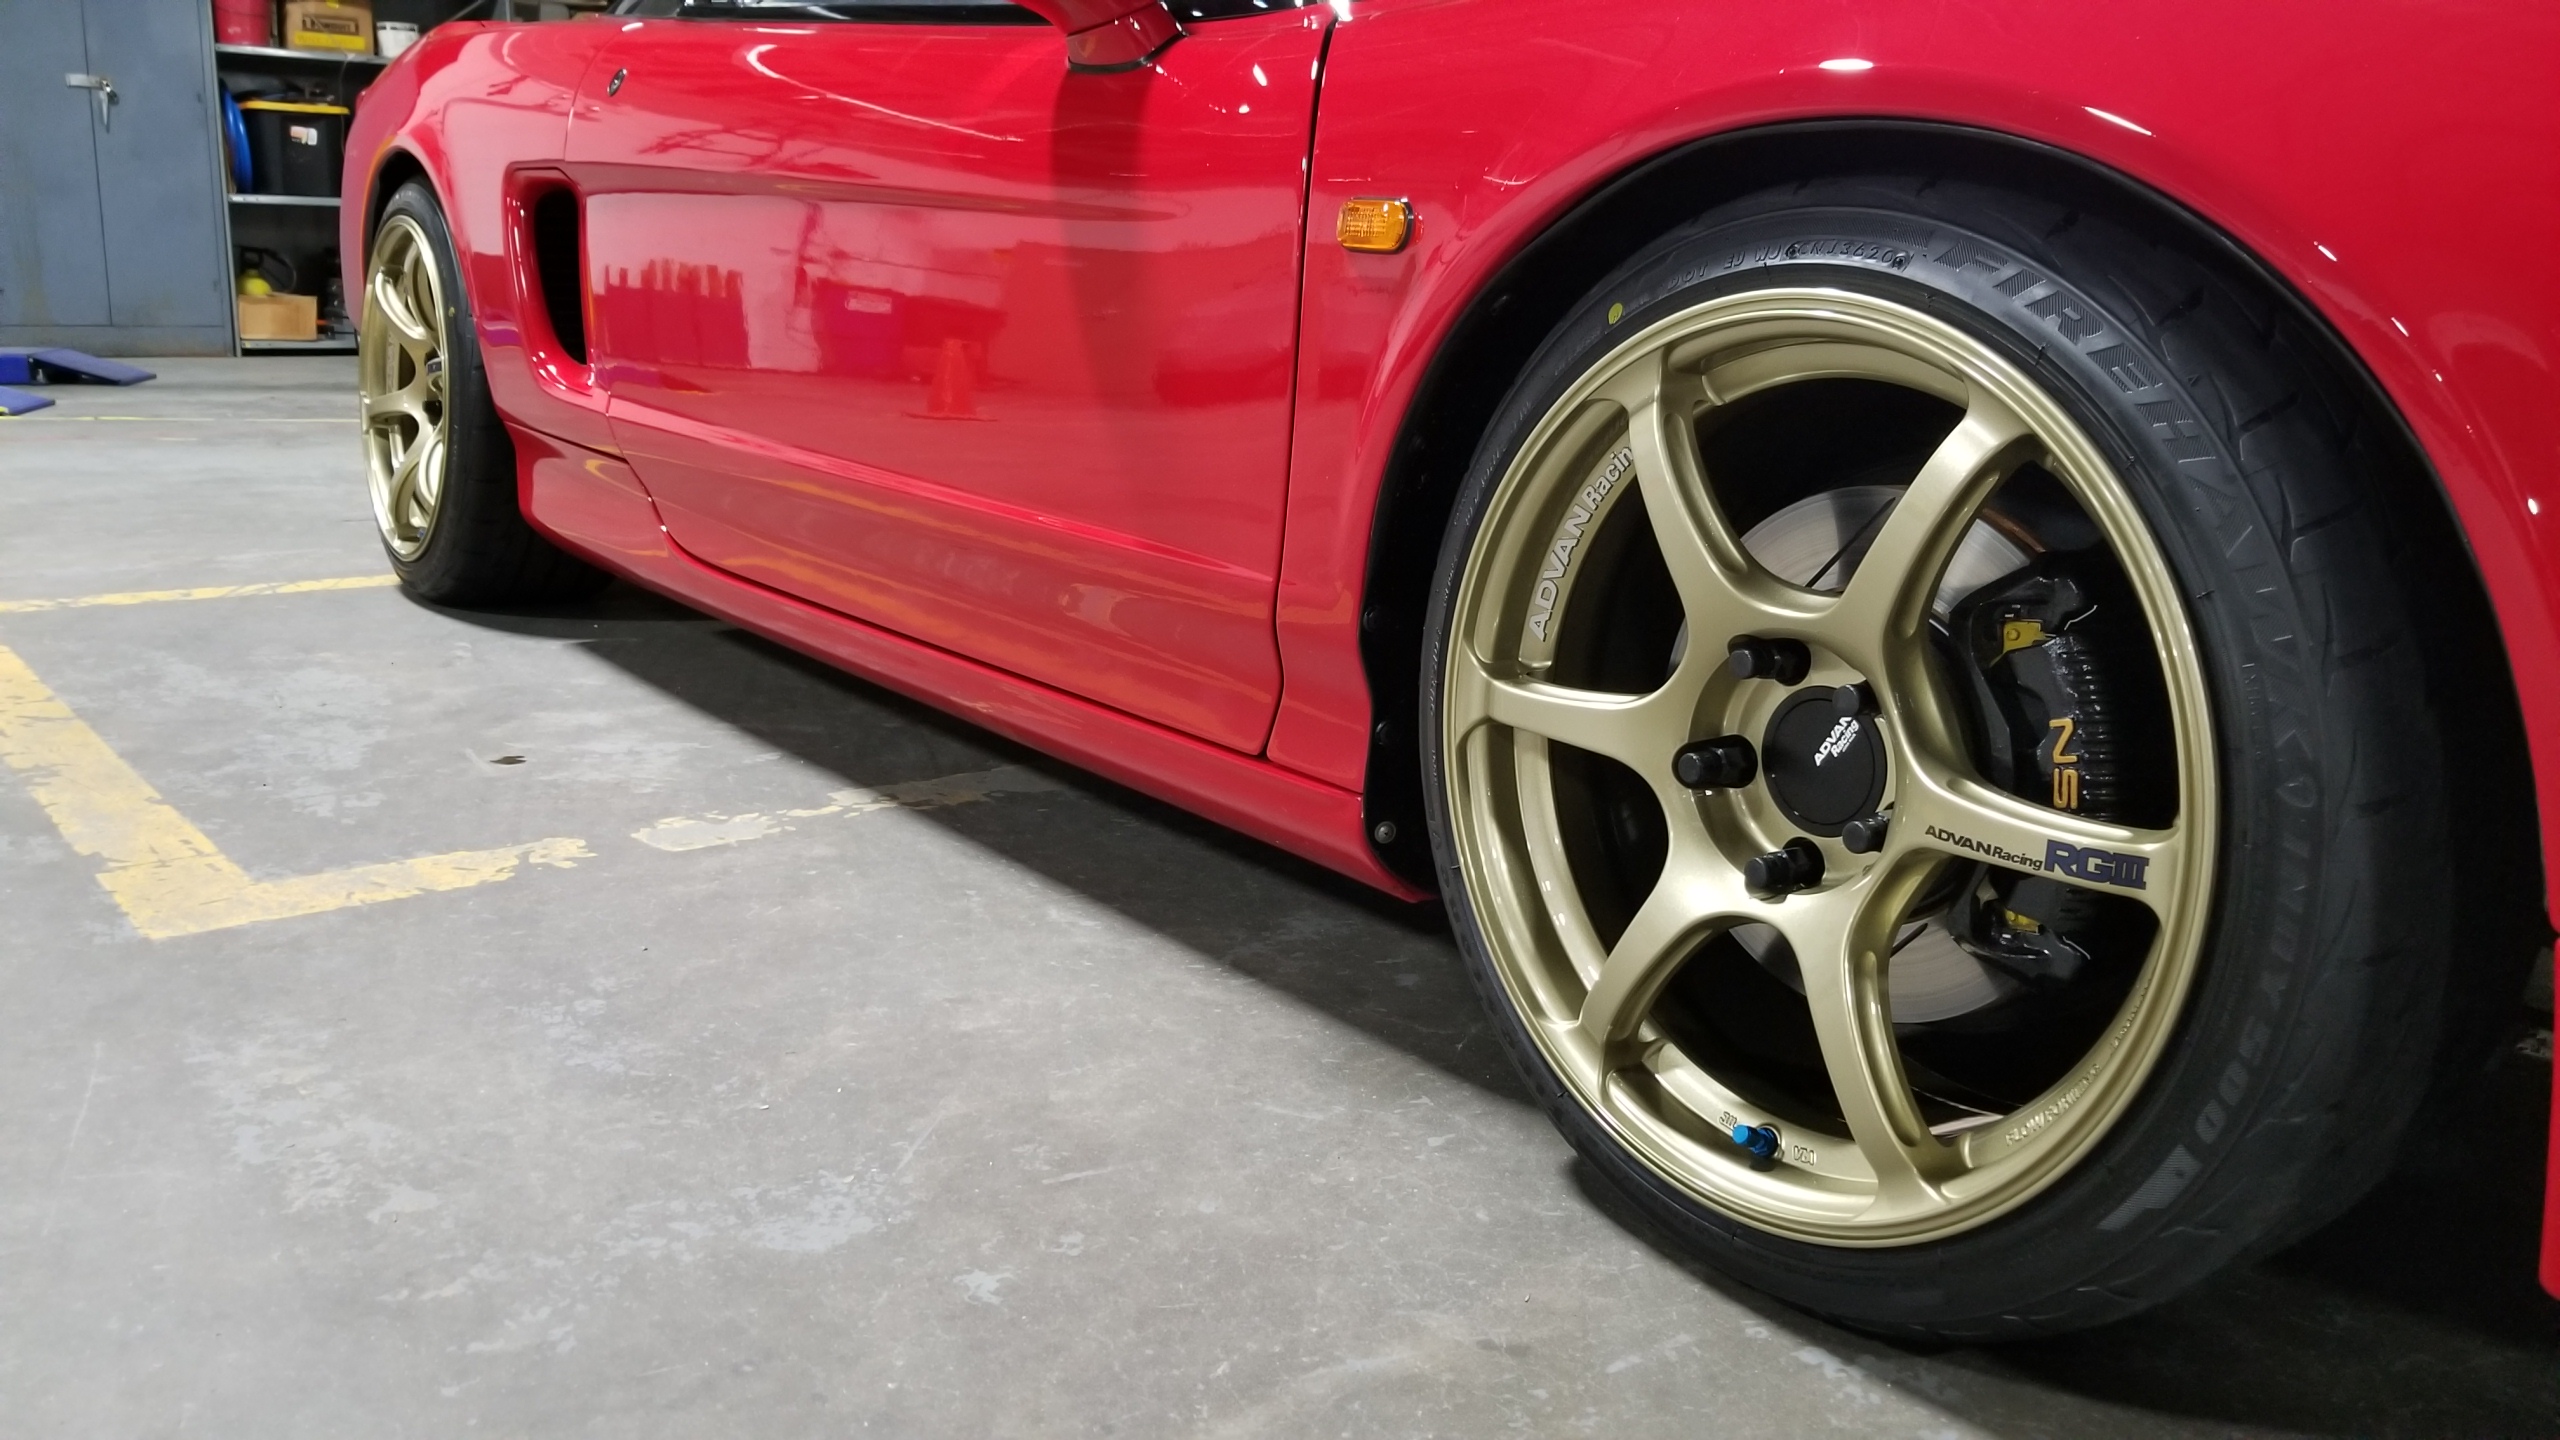
After a well-deserved wash and drive home. The EBC yellows still dust like crazy, on the plus side it makes washing the wheels more satisfying but I'll just go with the EBC reds next time.

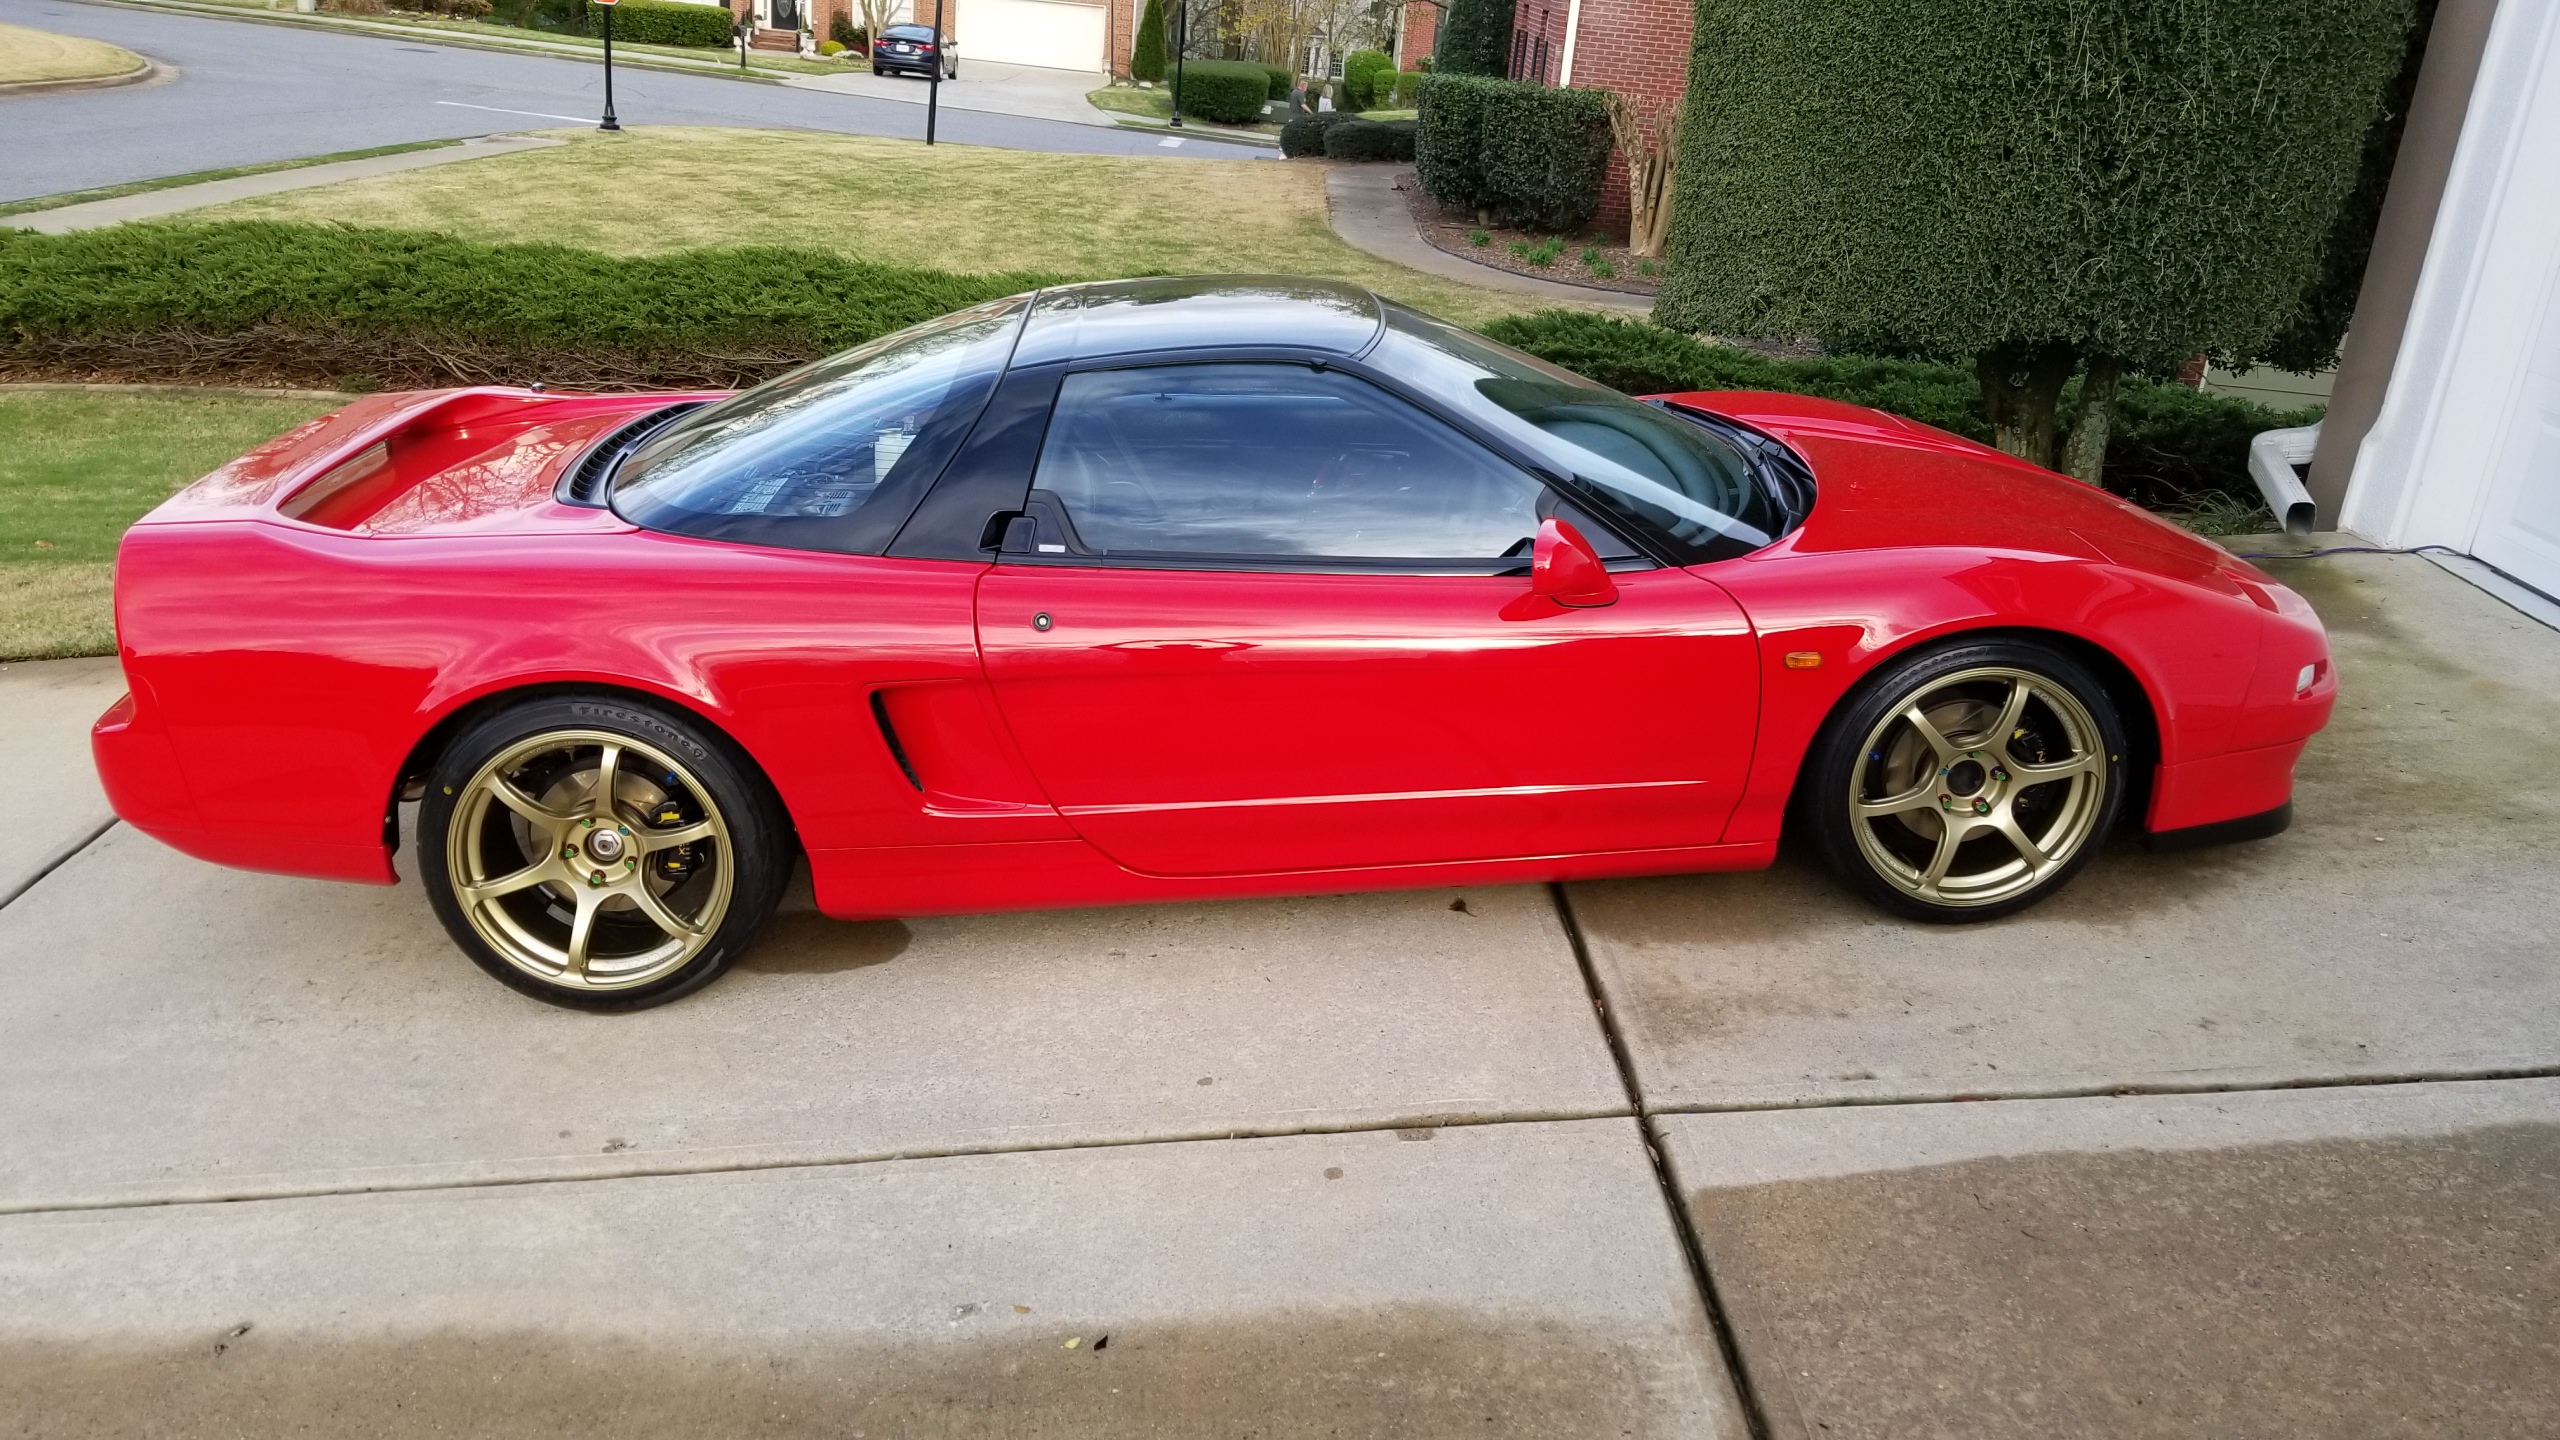
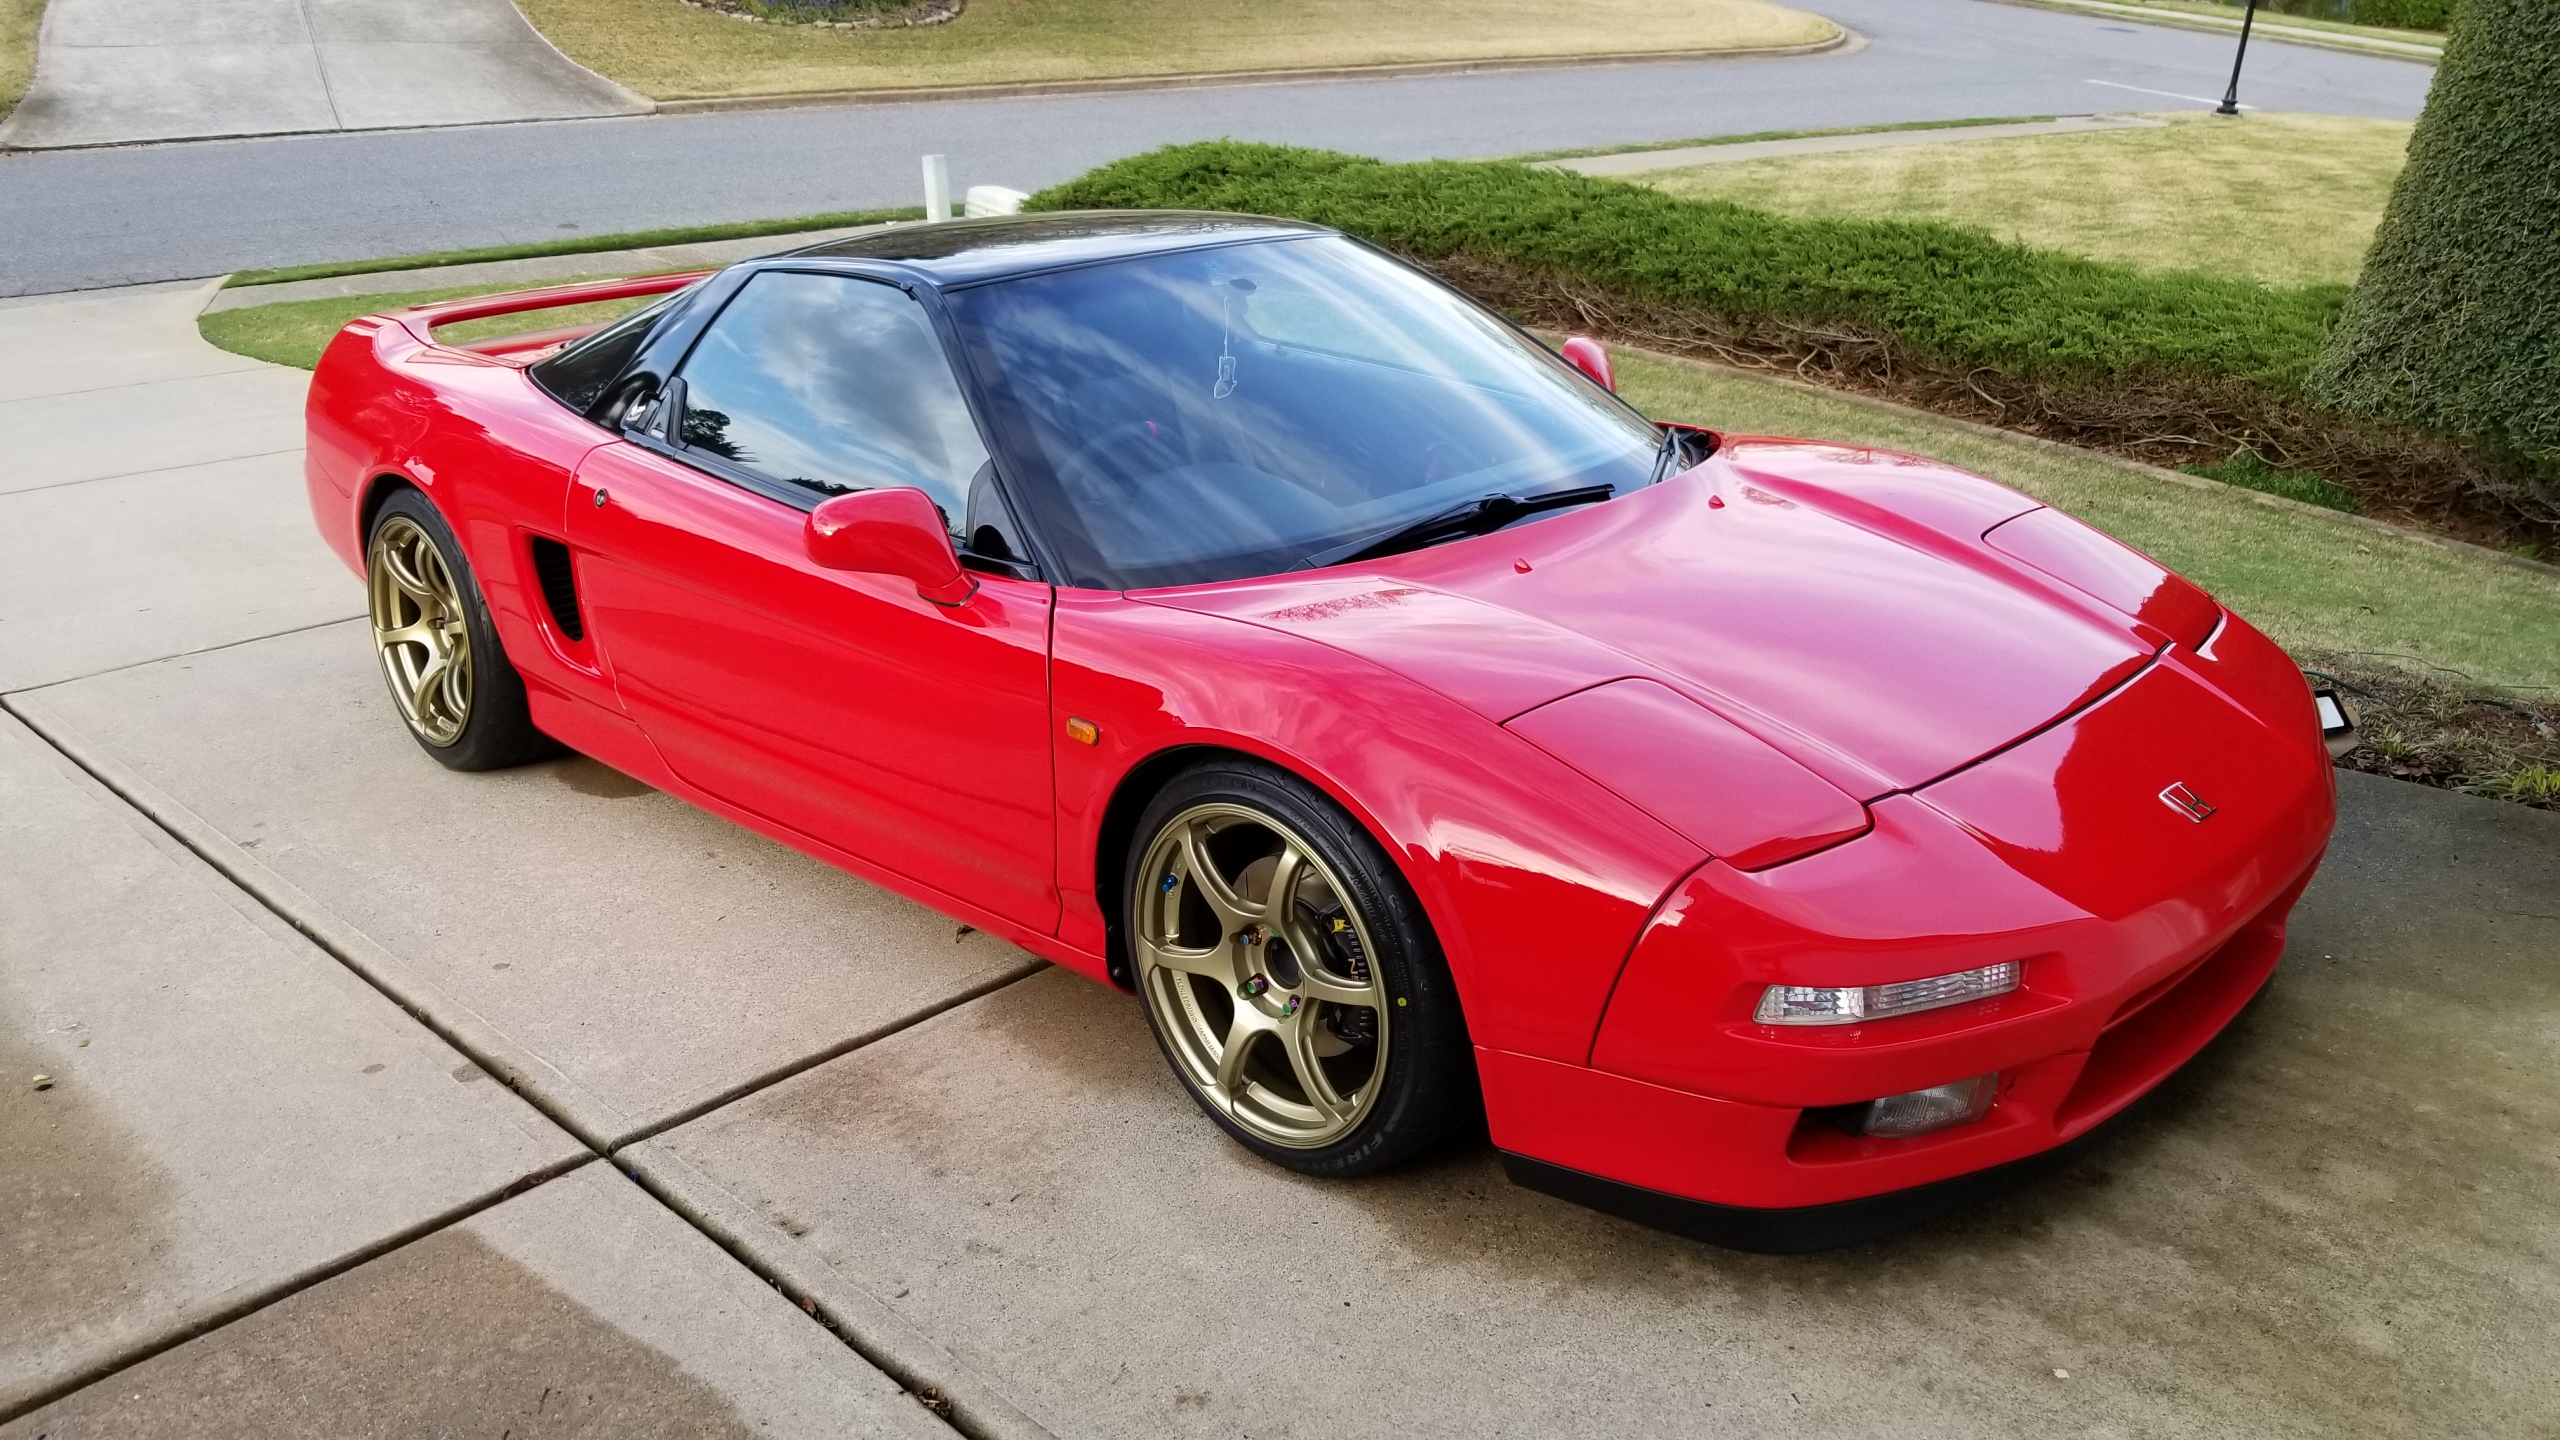
Big fan of how the rear is sitting, the front is about where I'd like it visually but I'll have to raise it a bit more to get some drivability back.
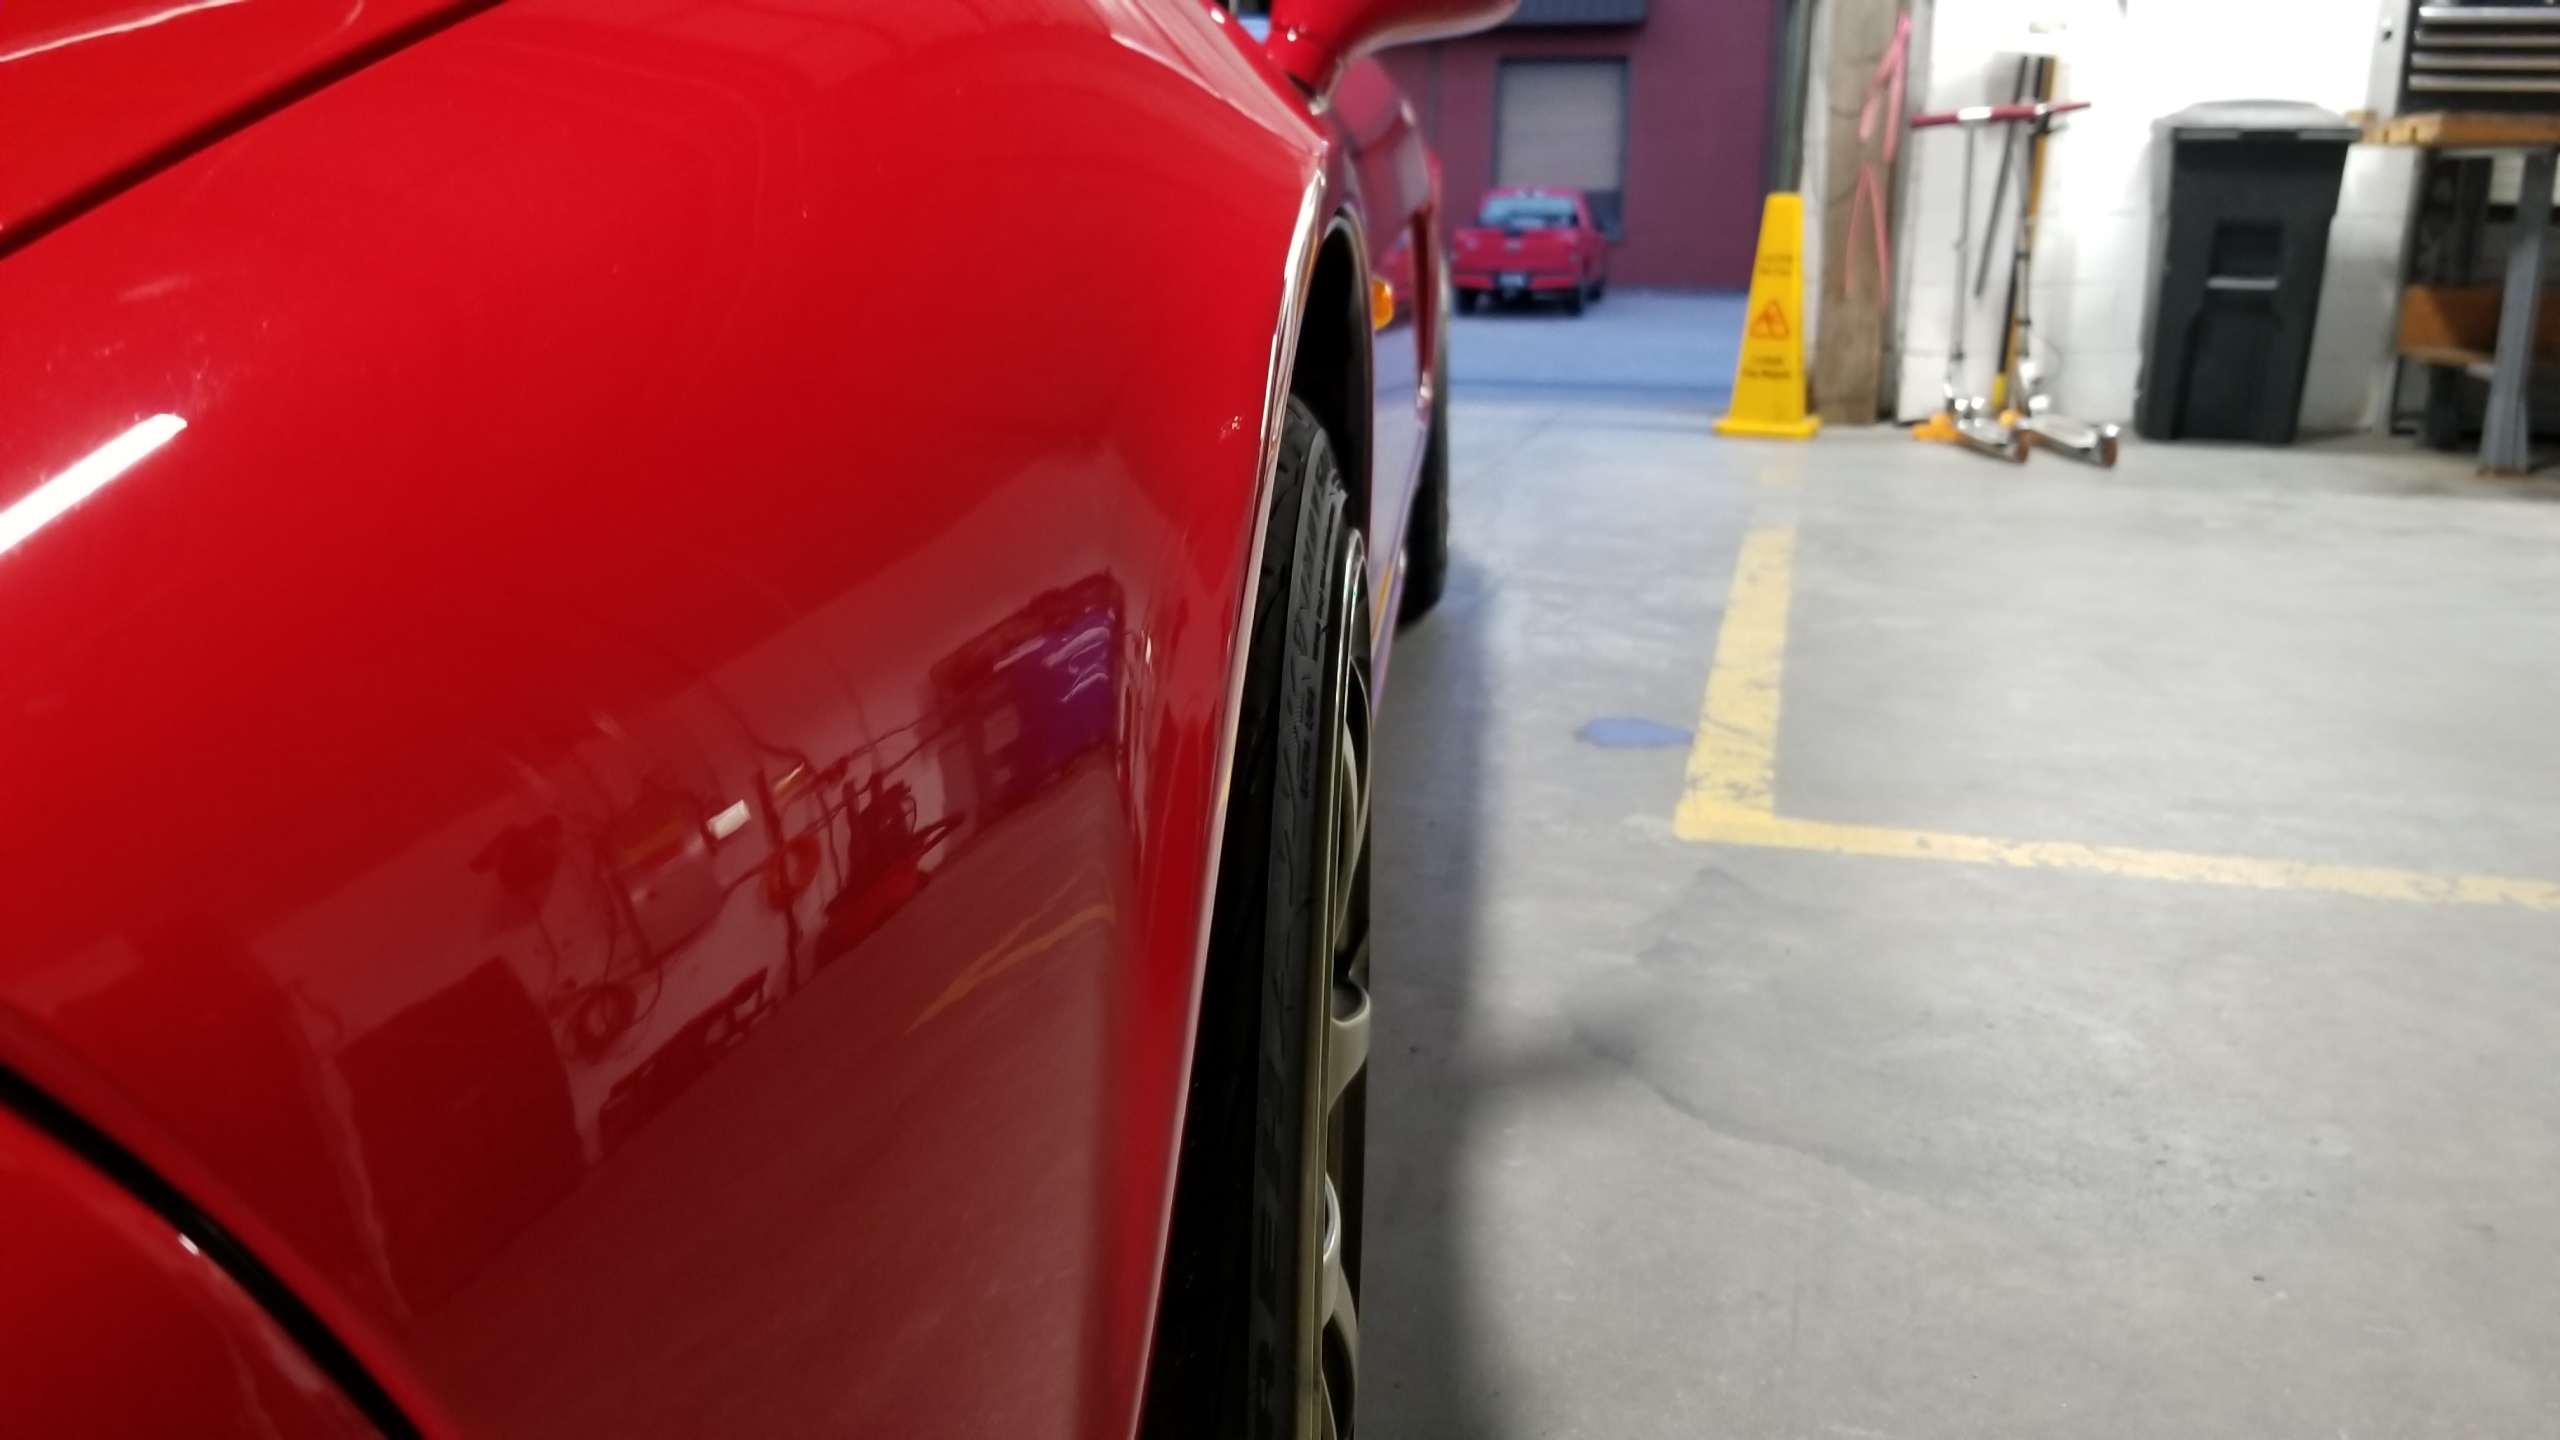
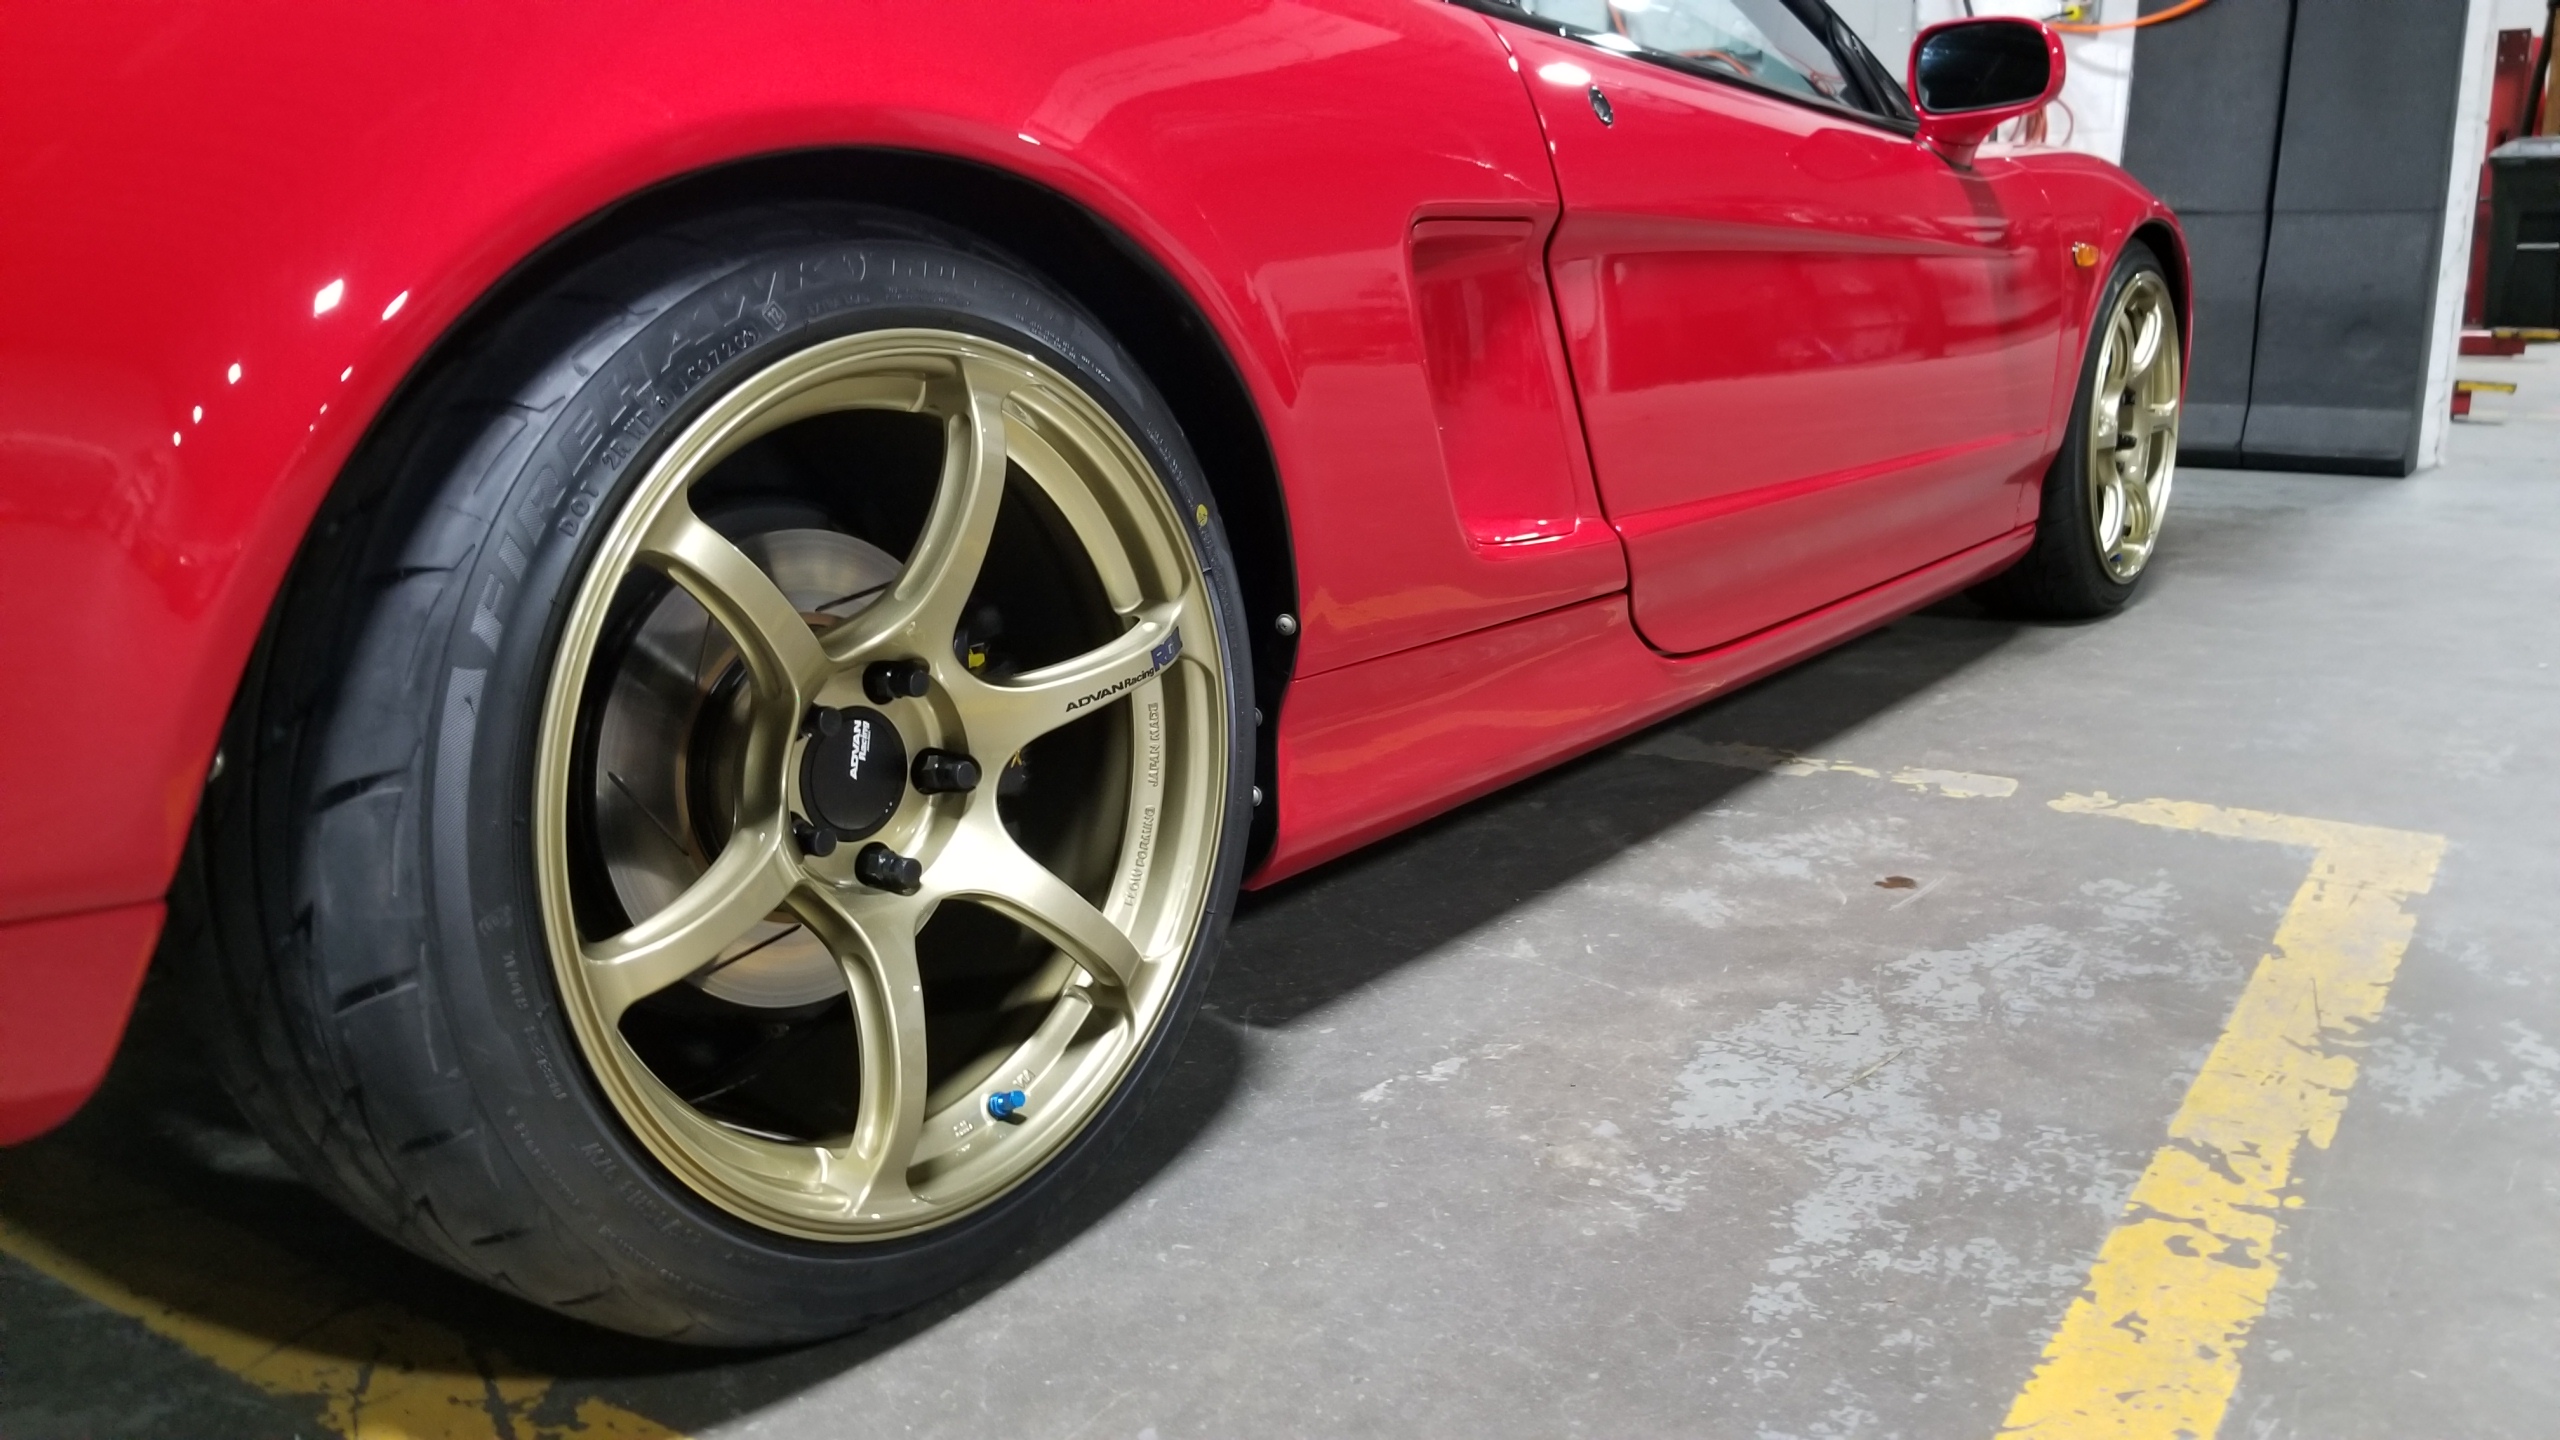
FuptjOq.jpg


Side
zmvtLTw.jpg


Last one.
RZp5AiV.jpg


First impressions of the Fortune Auto 500's is very good, with the two downsides being that I had to use spacer washers on the rear since the lower bushing was too narrow to fit snug in the knuckle and they didn't send brake hose bracket adapters for the front struts, so I'll have to install them when they arrive in a few weeks. Otherwise, they ride fantastically, actually a bit better than the stock struts on the street, I had them on the softest setting and they absorbed bumps better and rode smoother than stock. It was a bit too soft so I turned them up a few clicks. Not many miles on them but so far I'm very impressed.

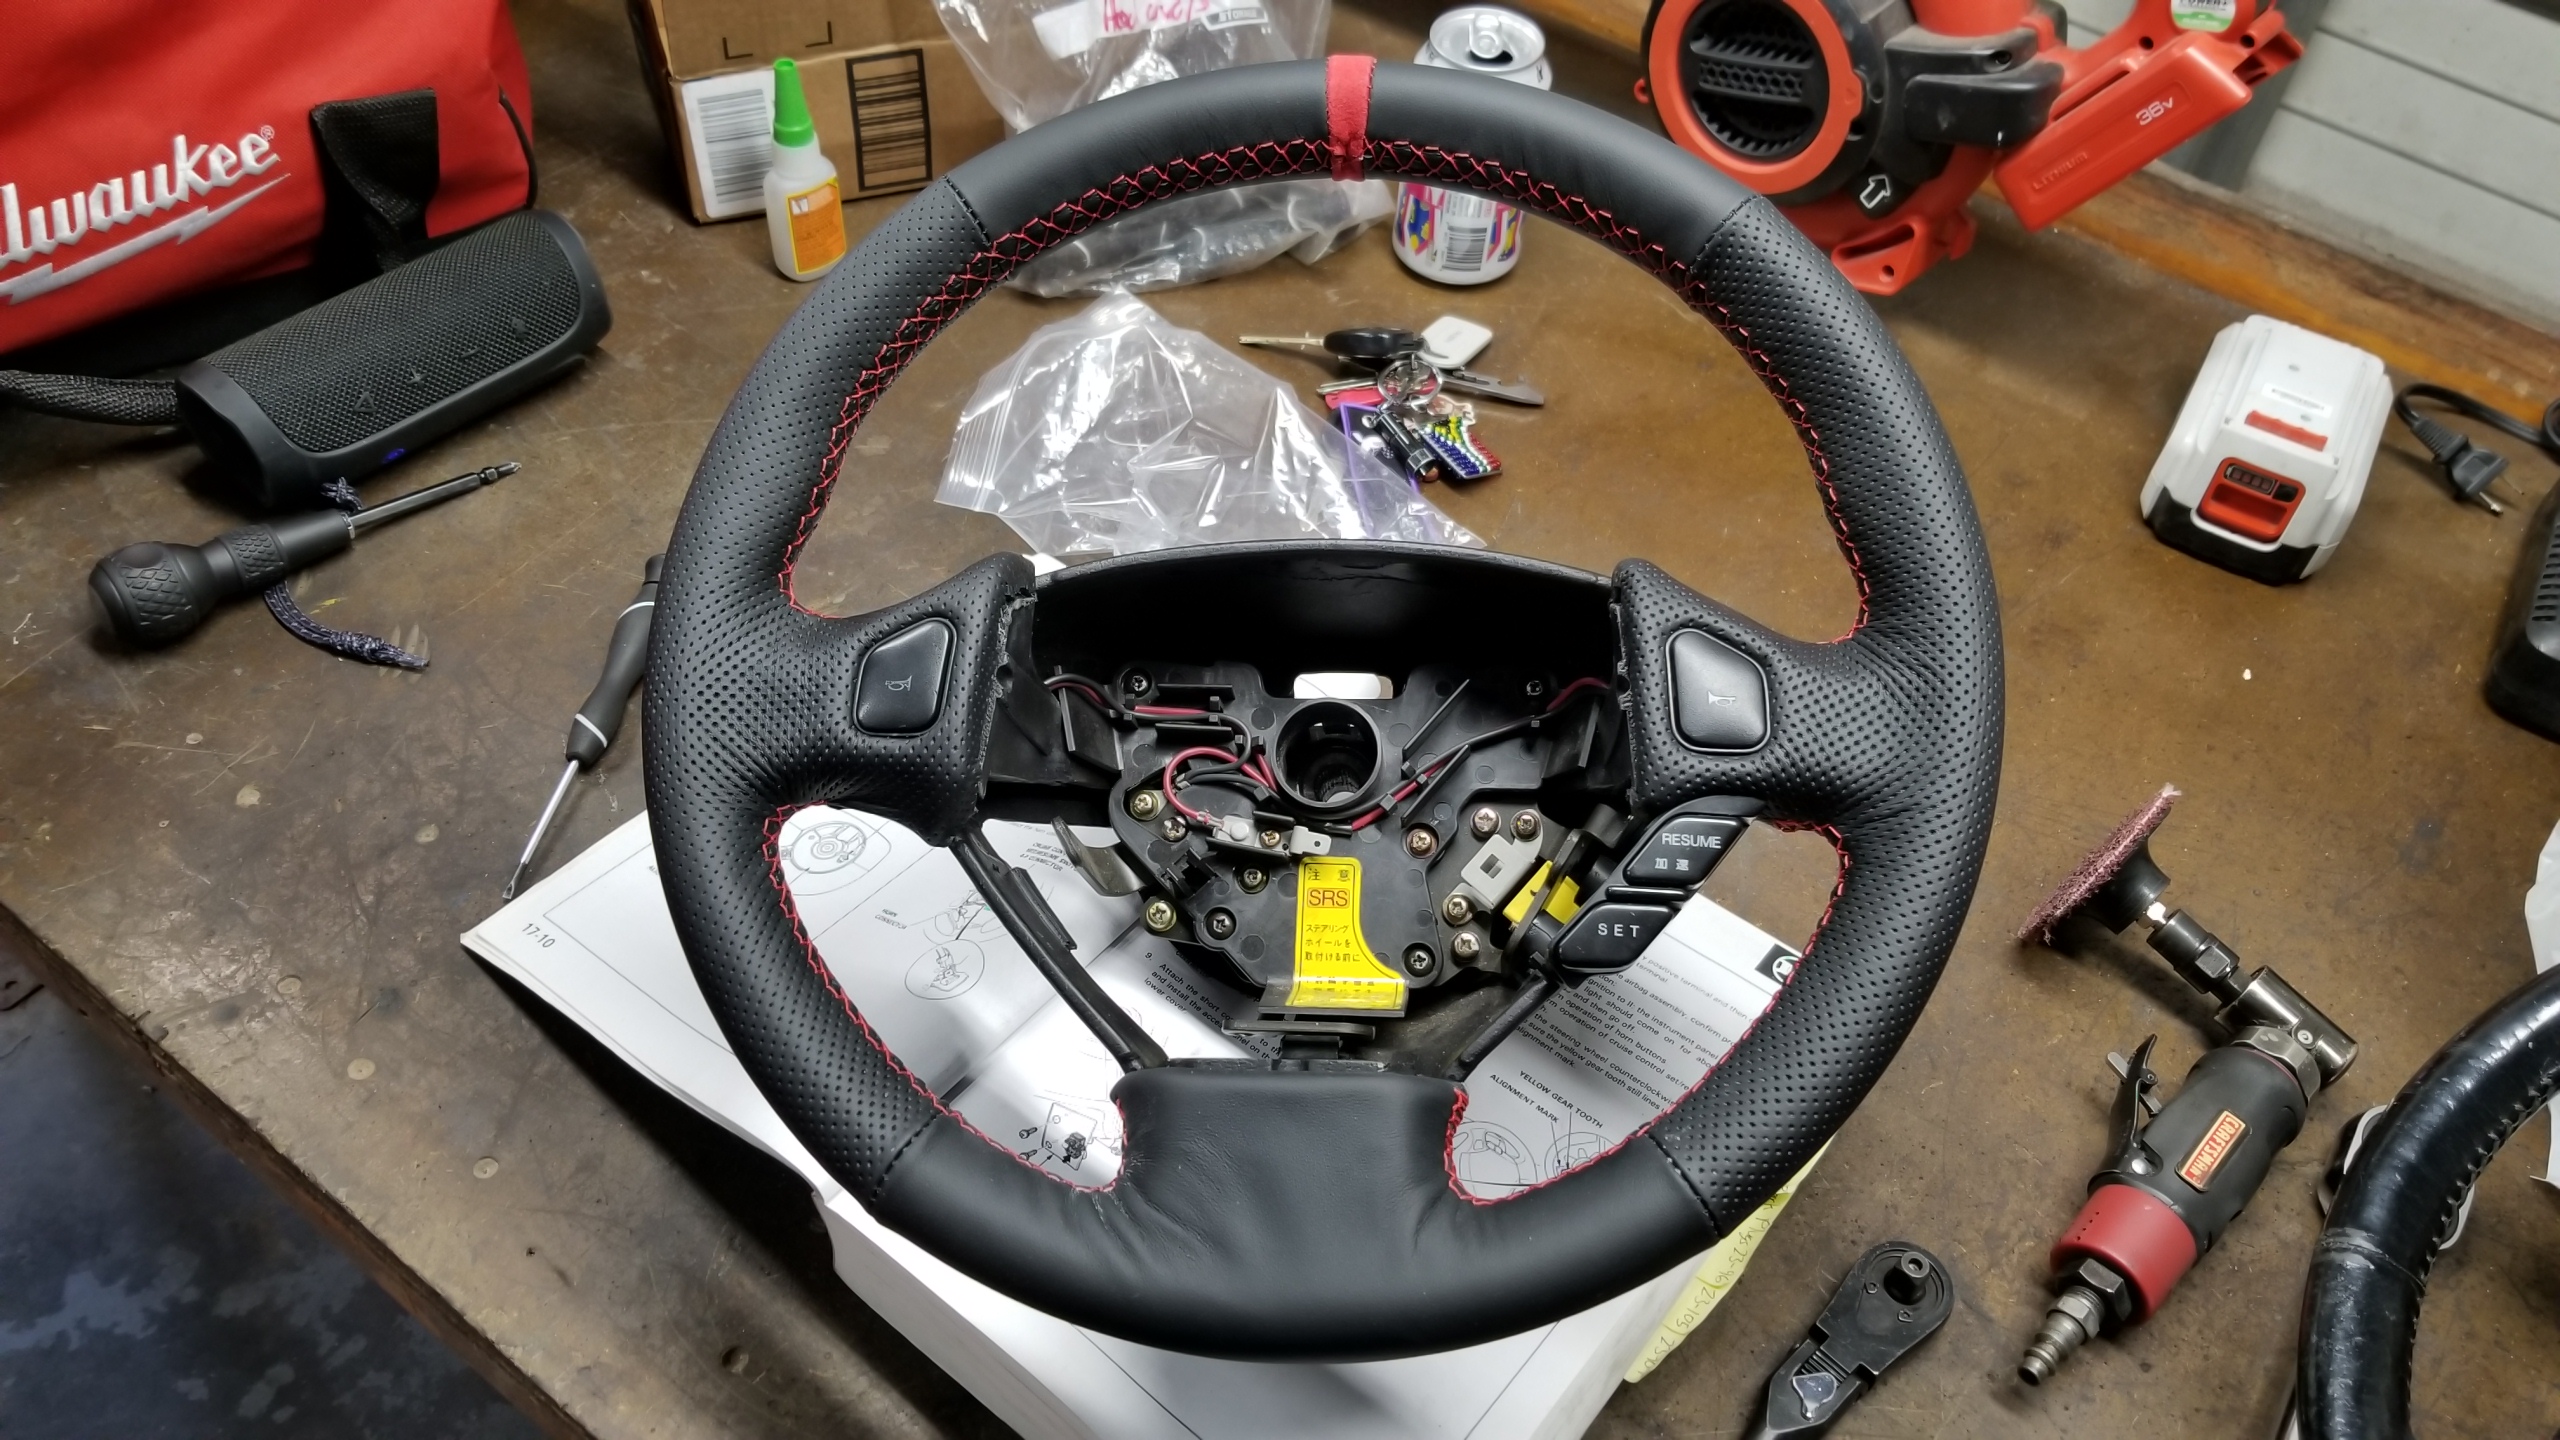
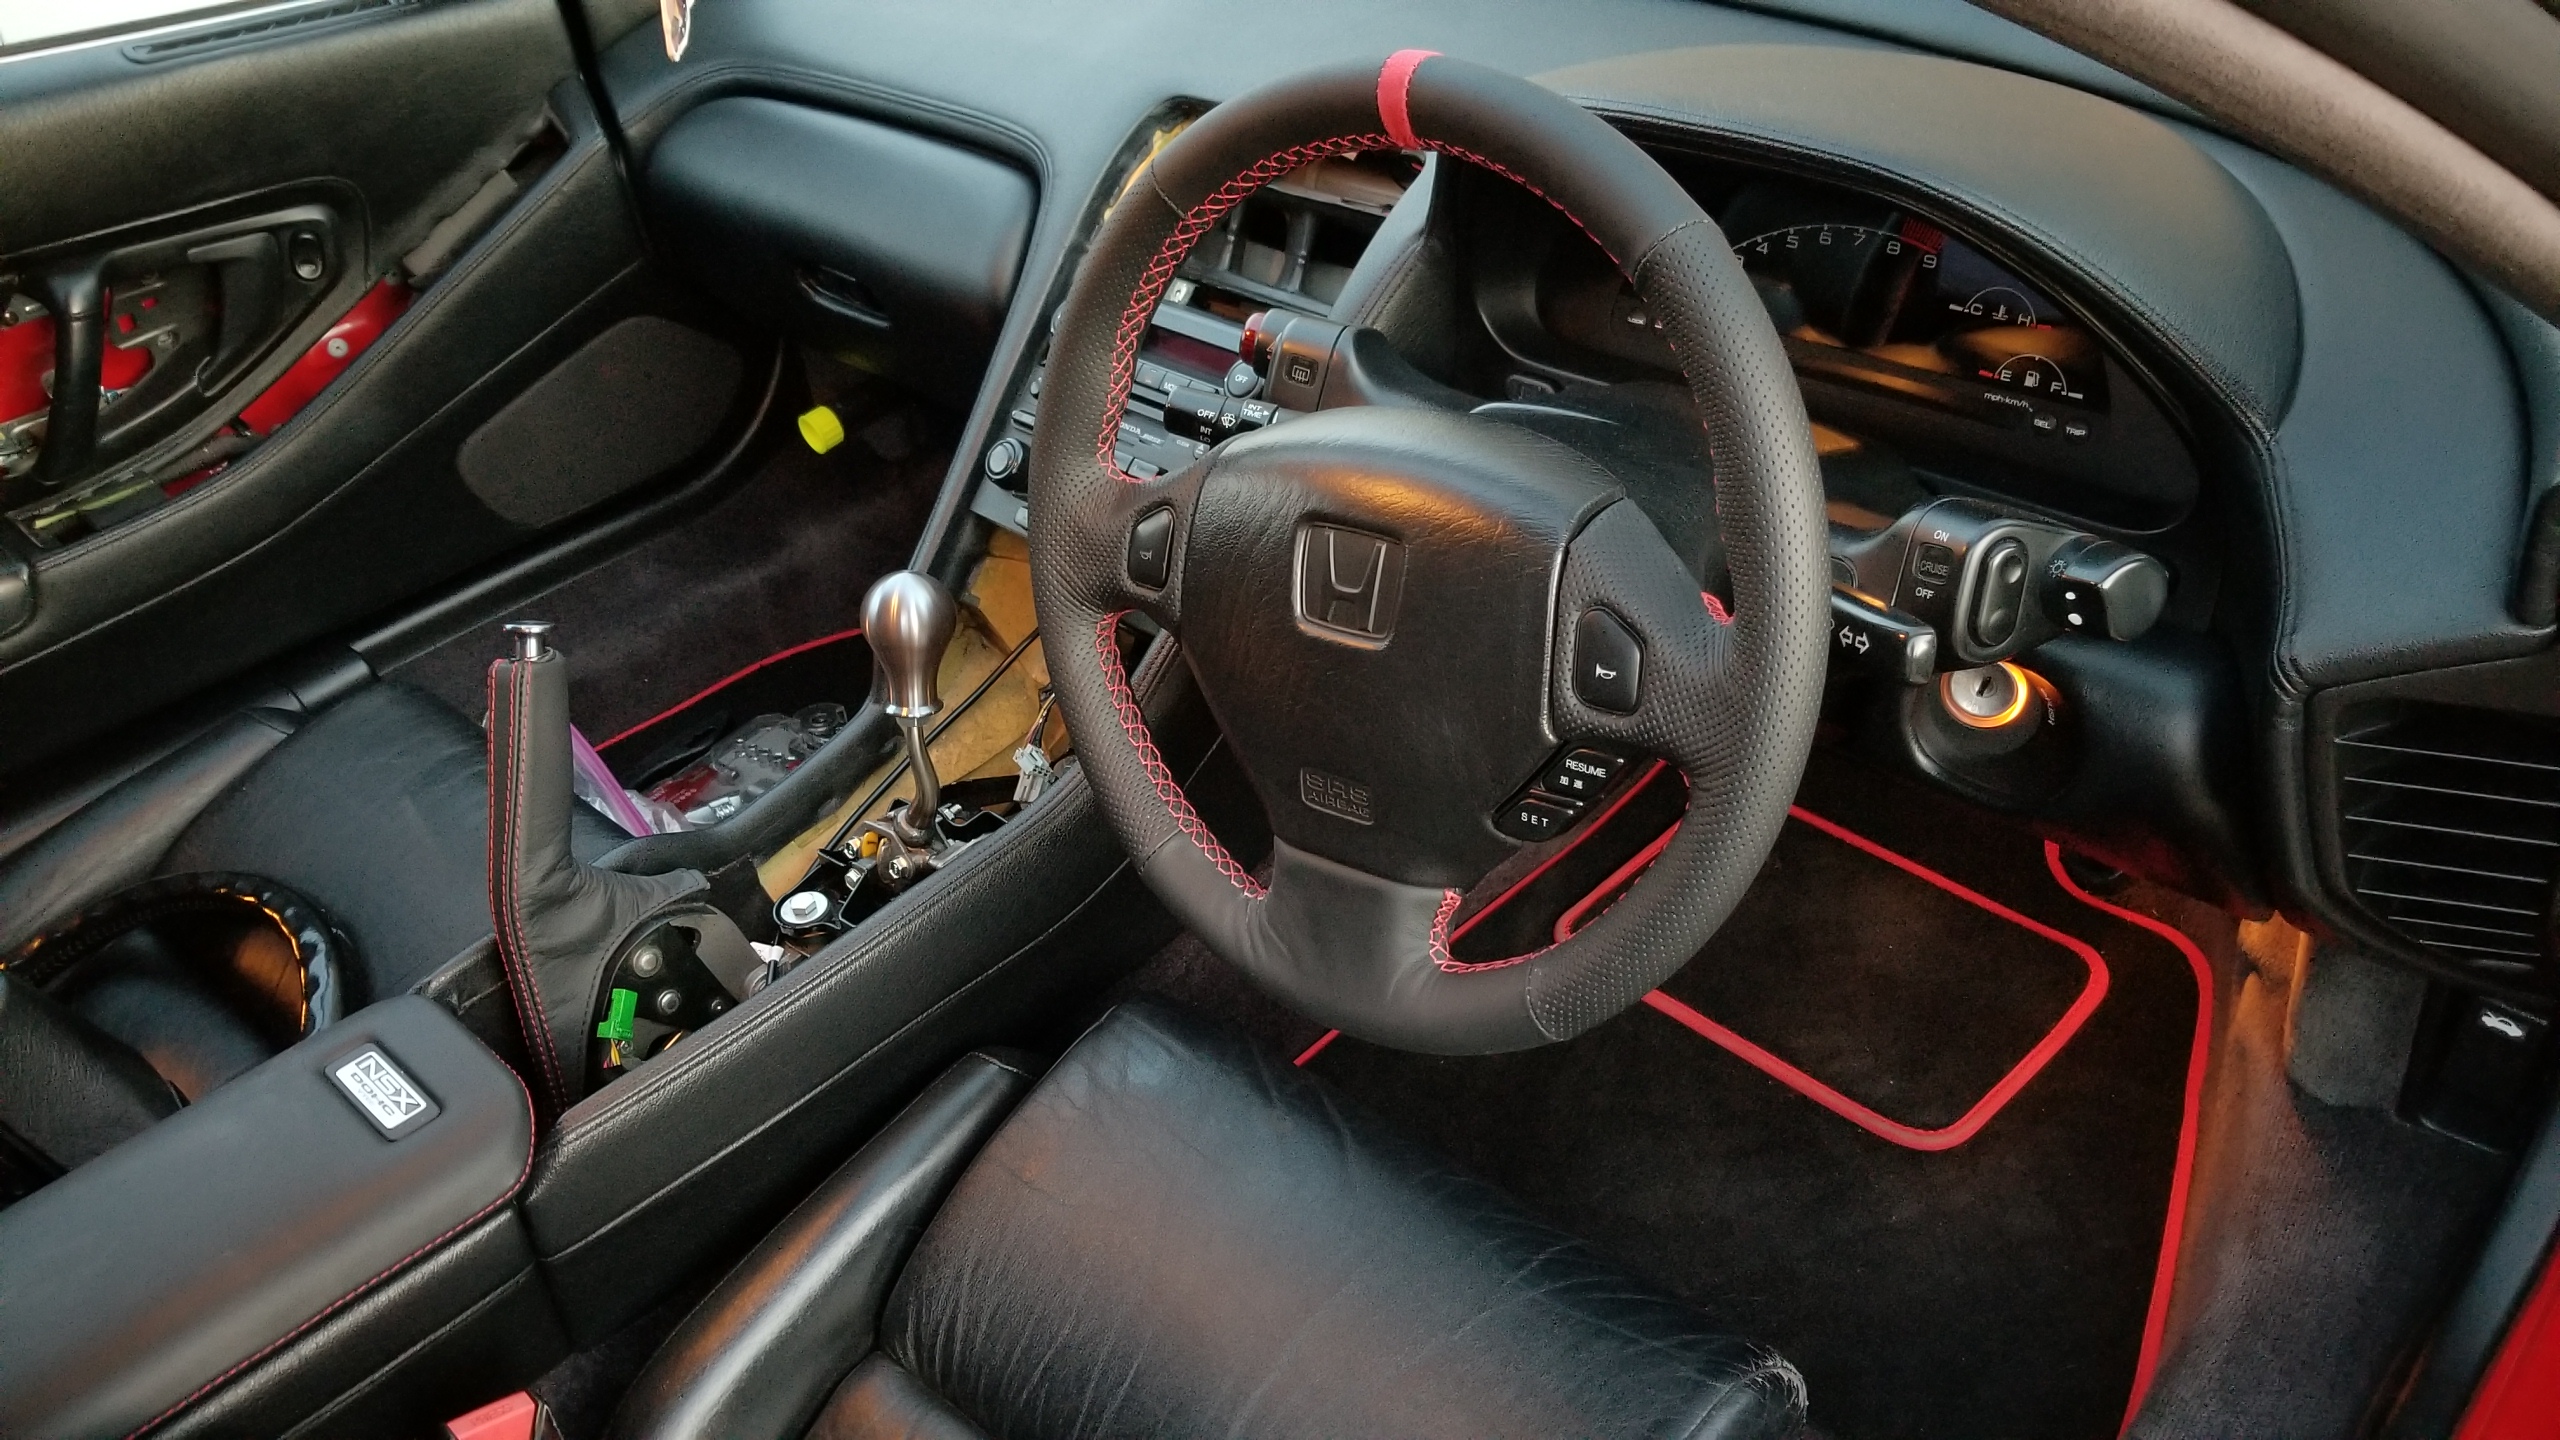
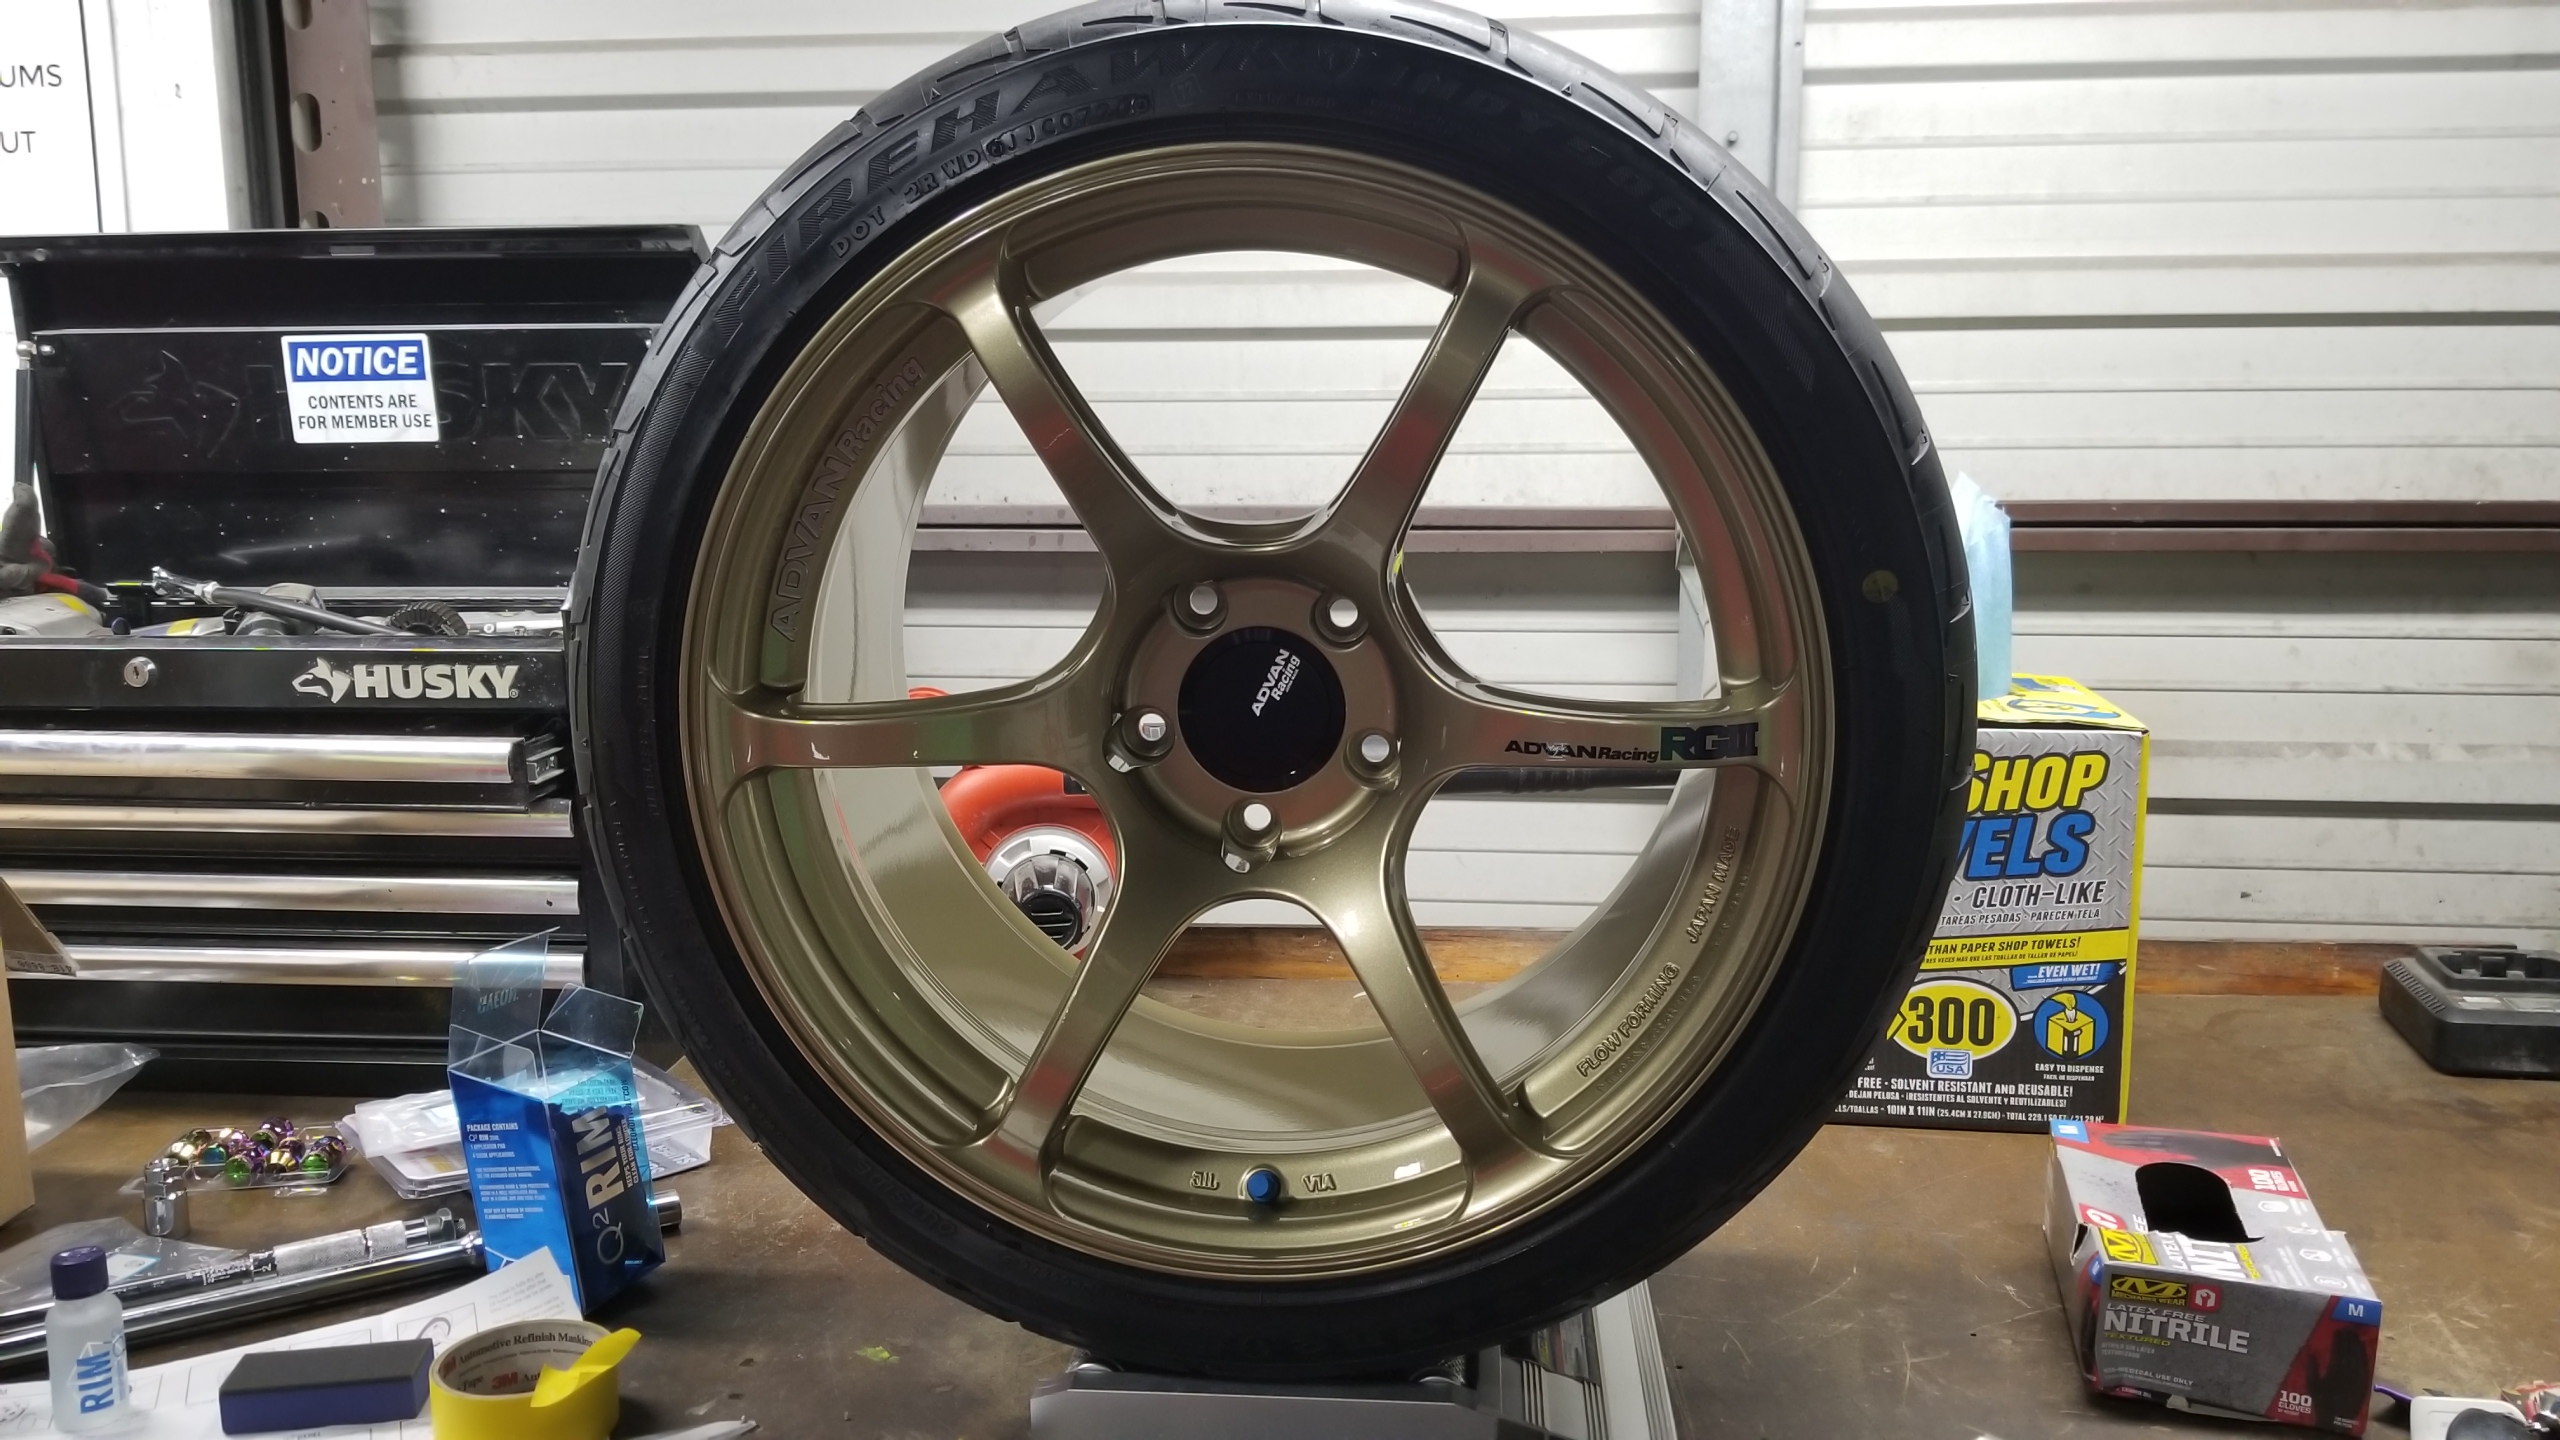
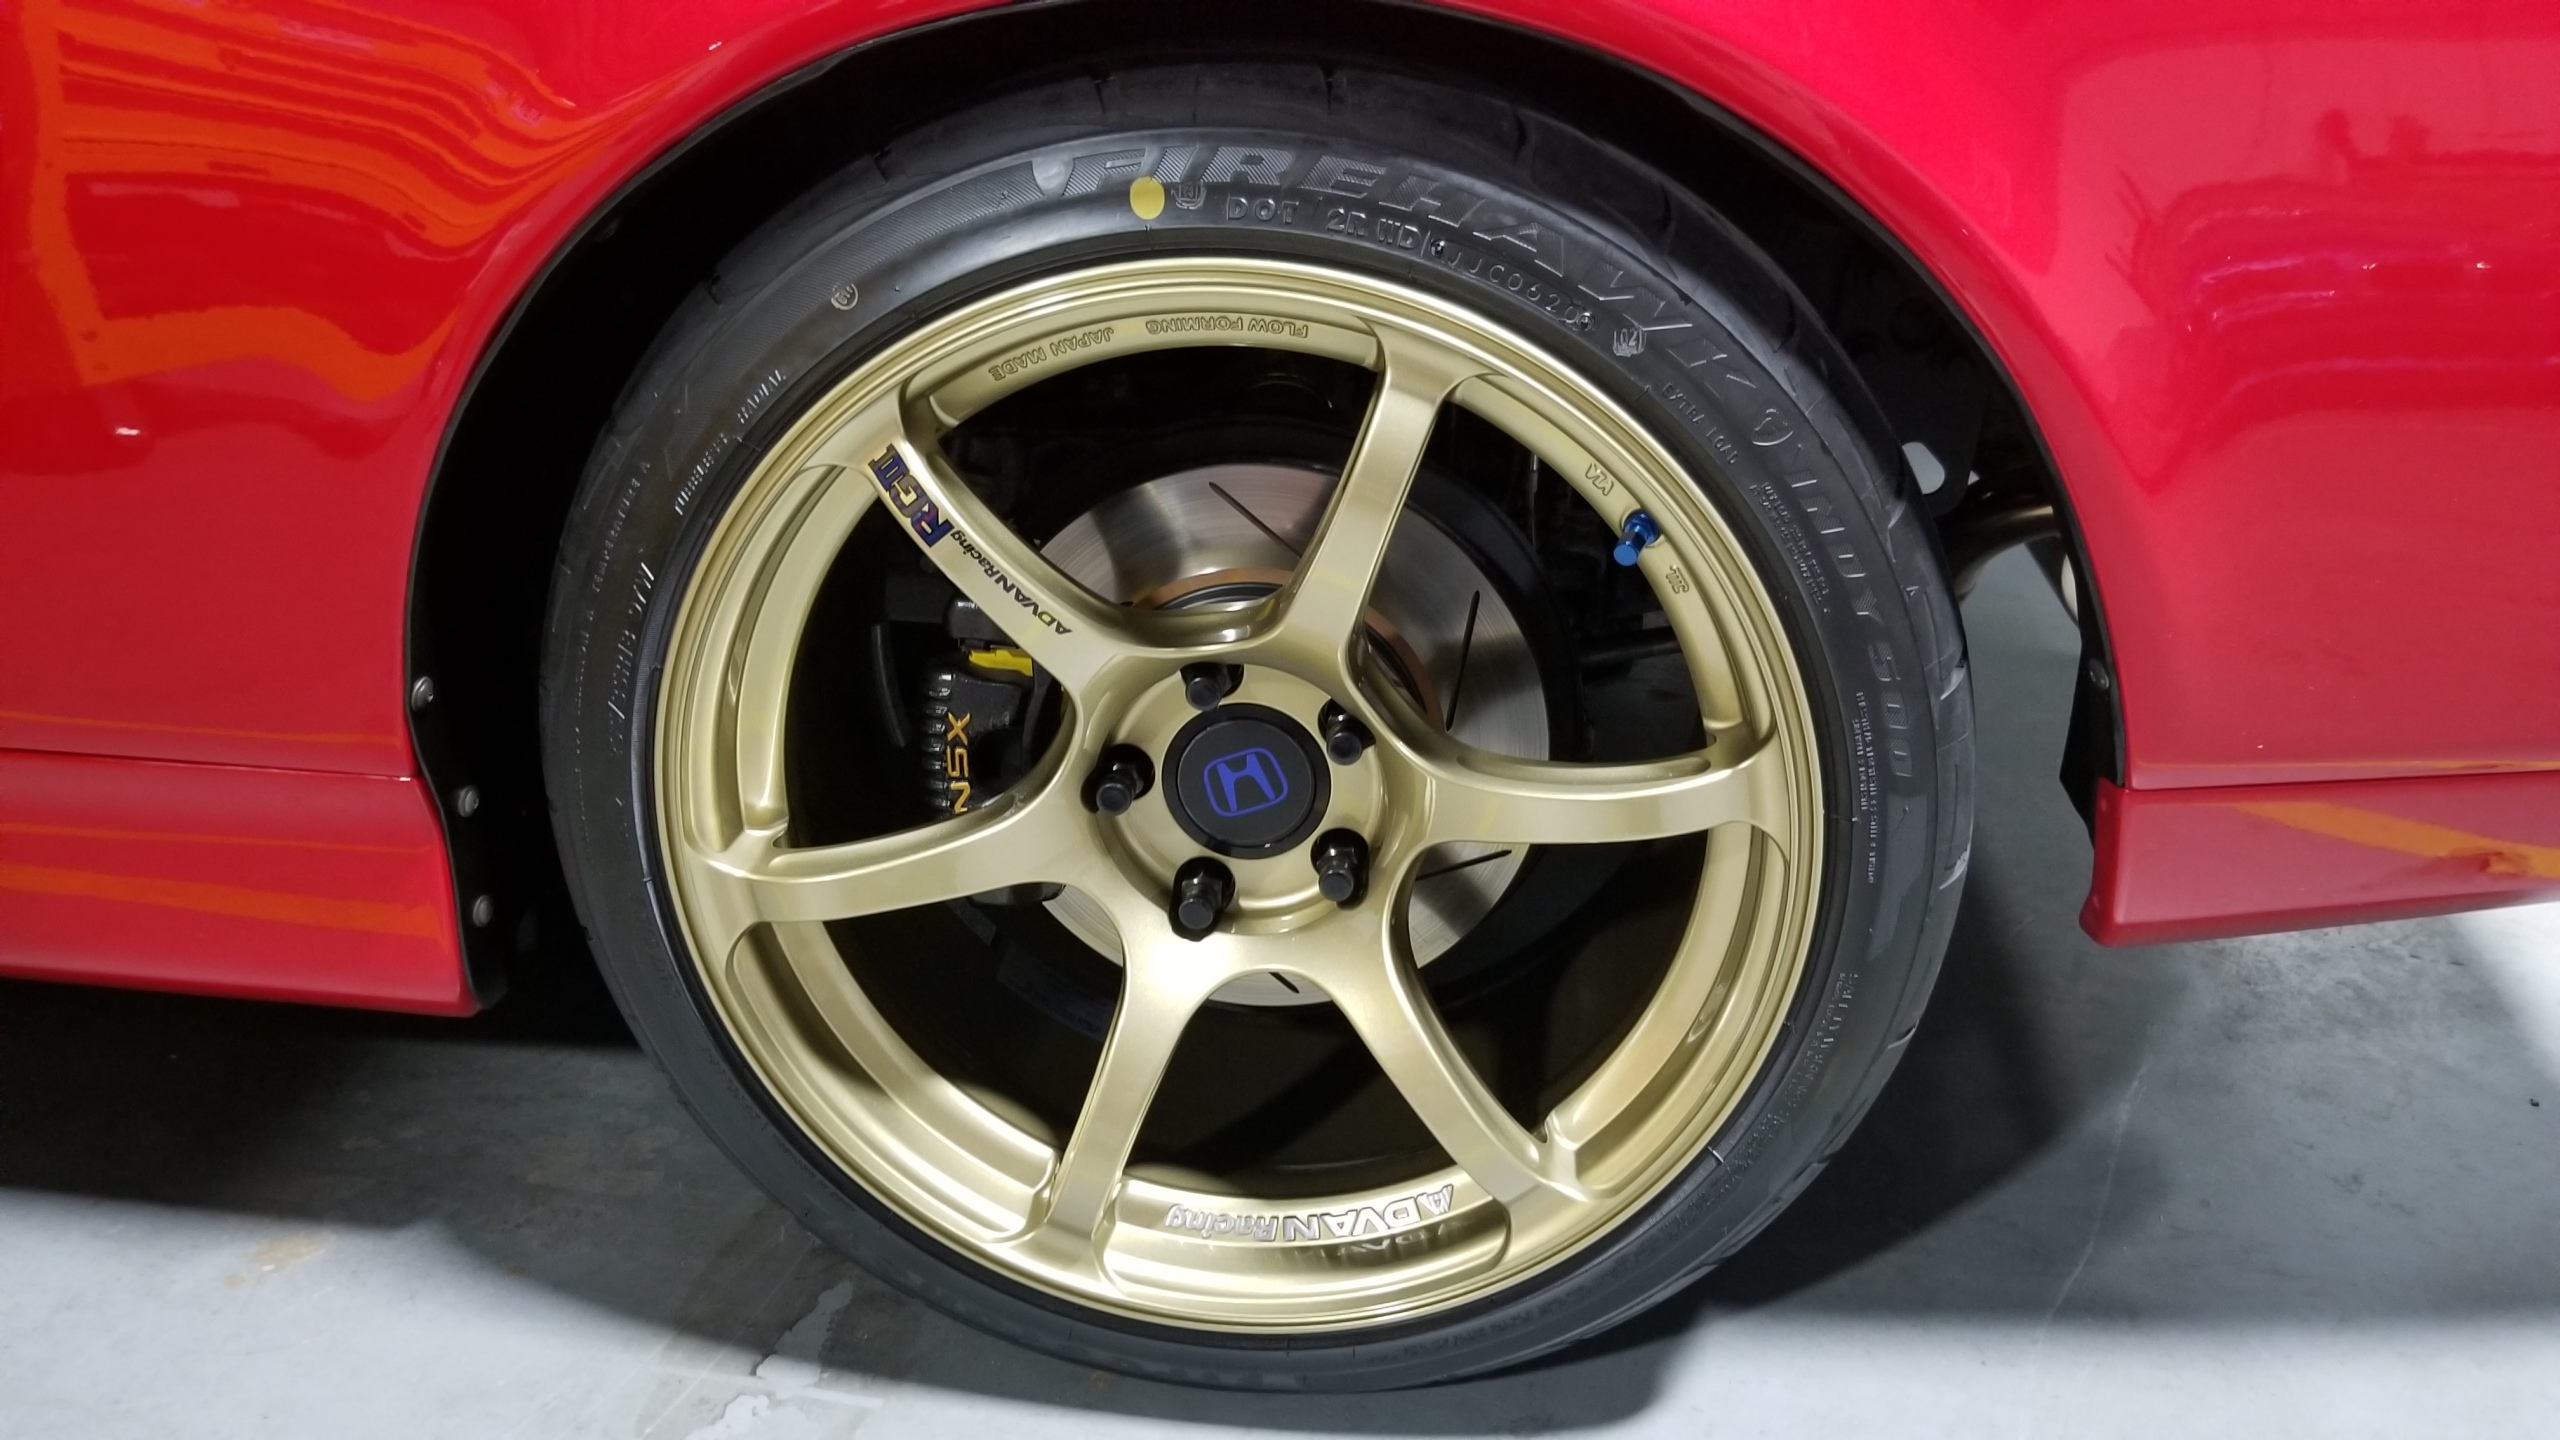
I'm working on ceramic coating the new wheels and putting the center caps & Advan stickers on. Still not sure how I feel about the Muteki lug nuts, I think there's a bit too much going on with the stock Advan blue valve stem and eventual blue RGIII sticker, and the locking nut is a different shade than the rest for some reason. Maybe just long black lugs or shell out for the Kicks R40 after all? I'm sure the black would look good with the black center caps.

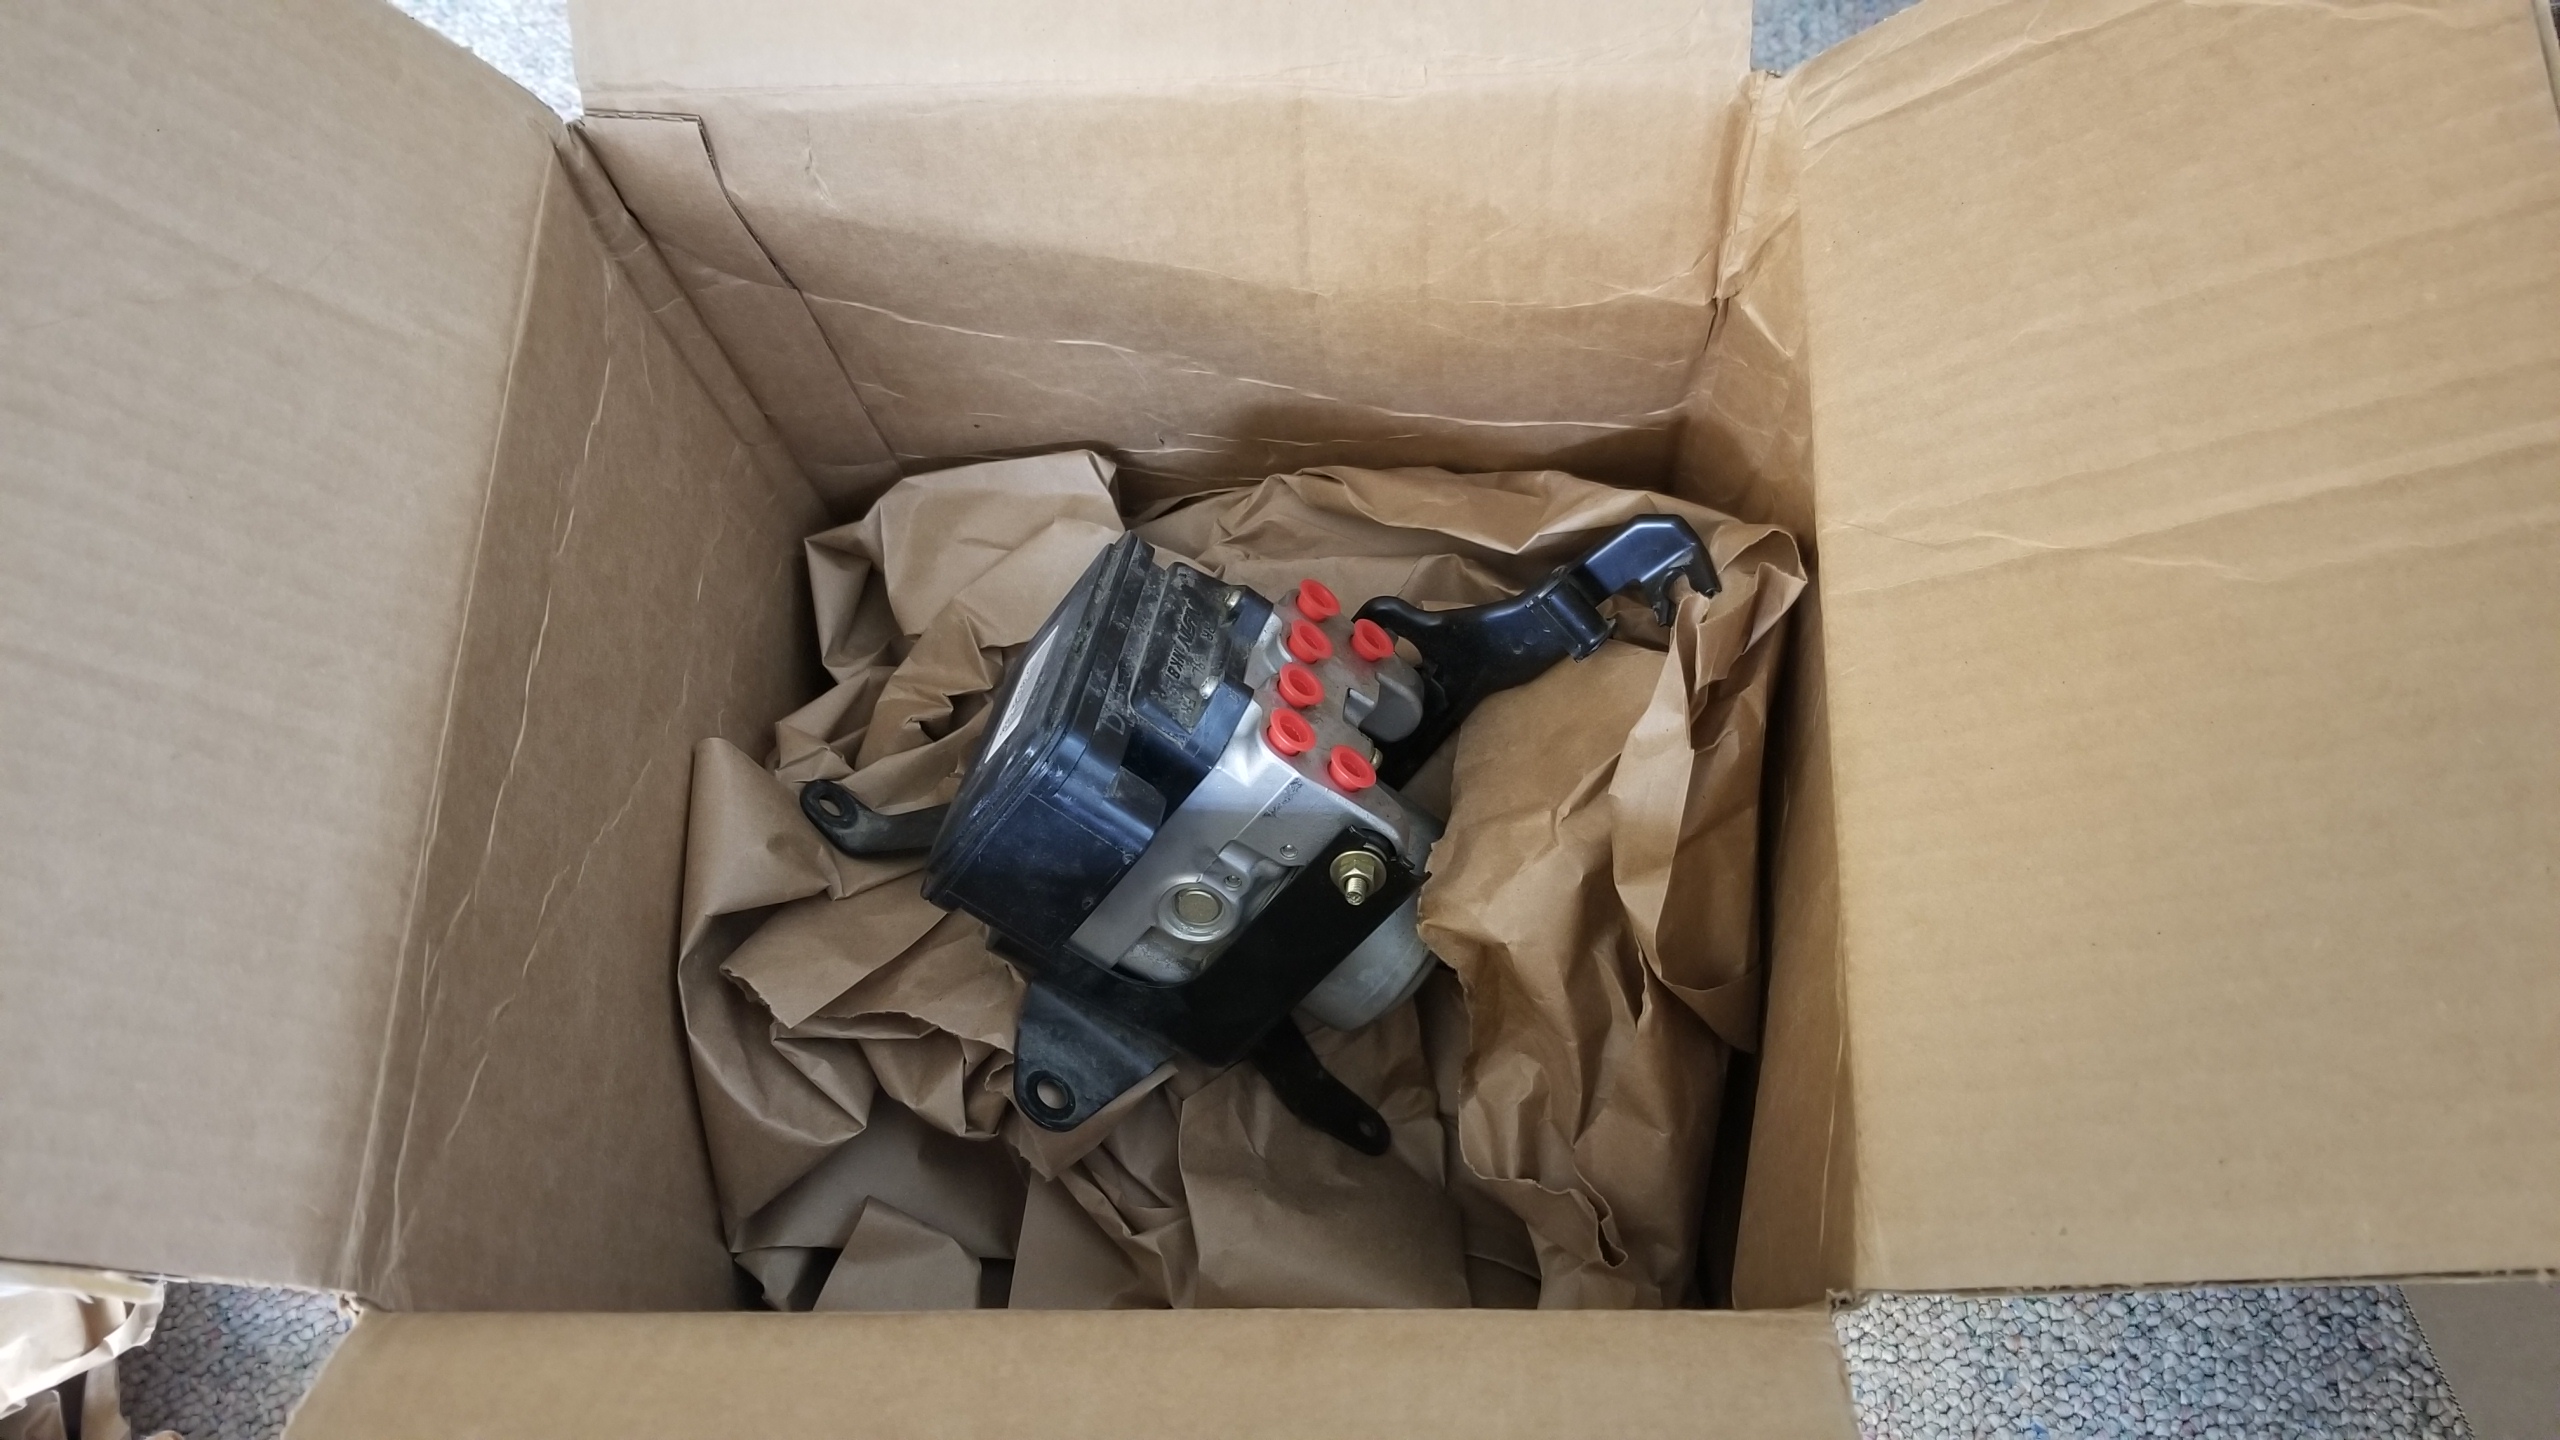
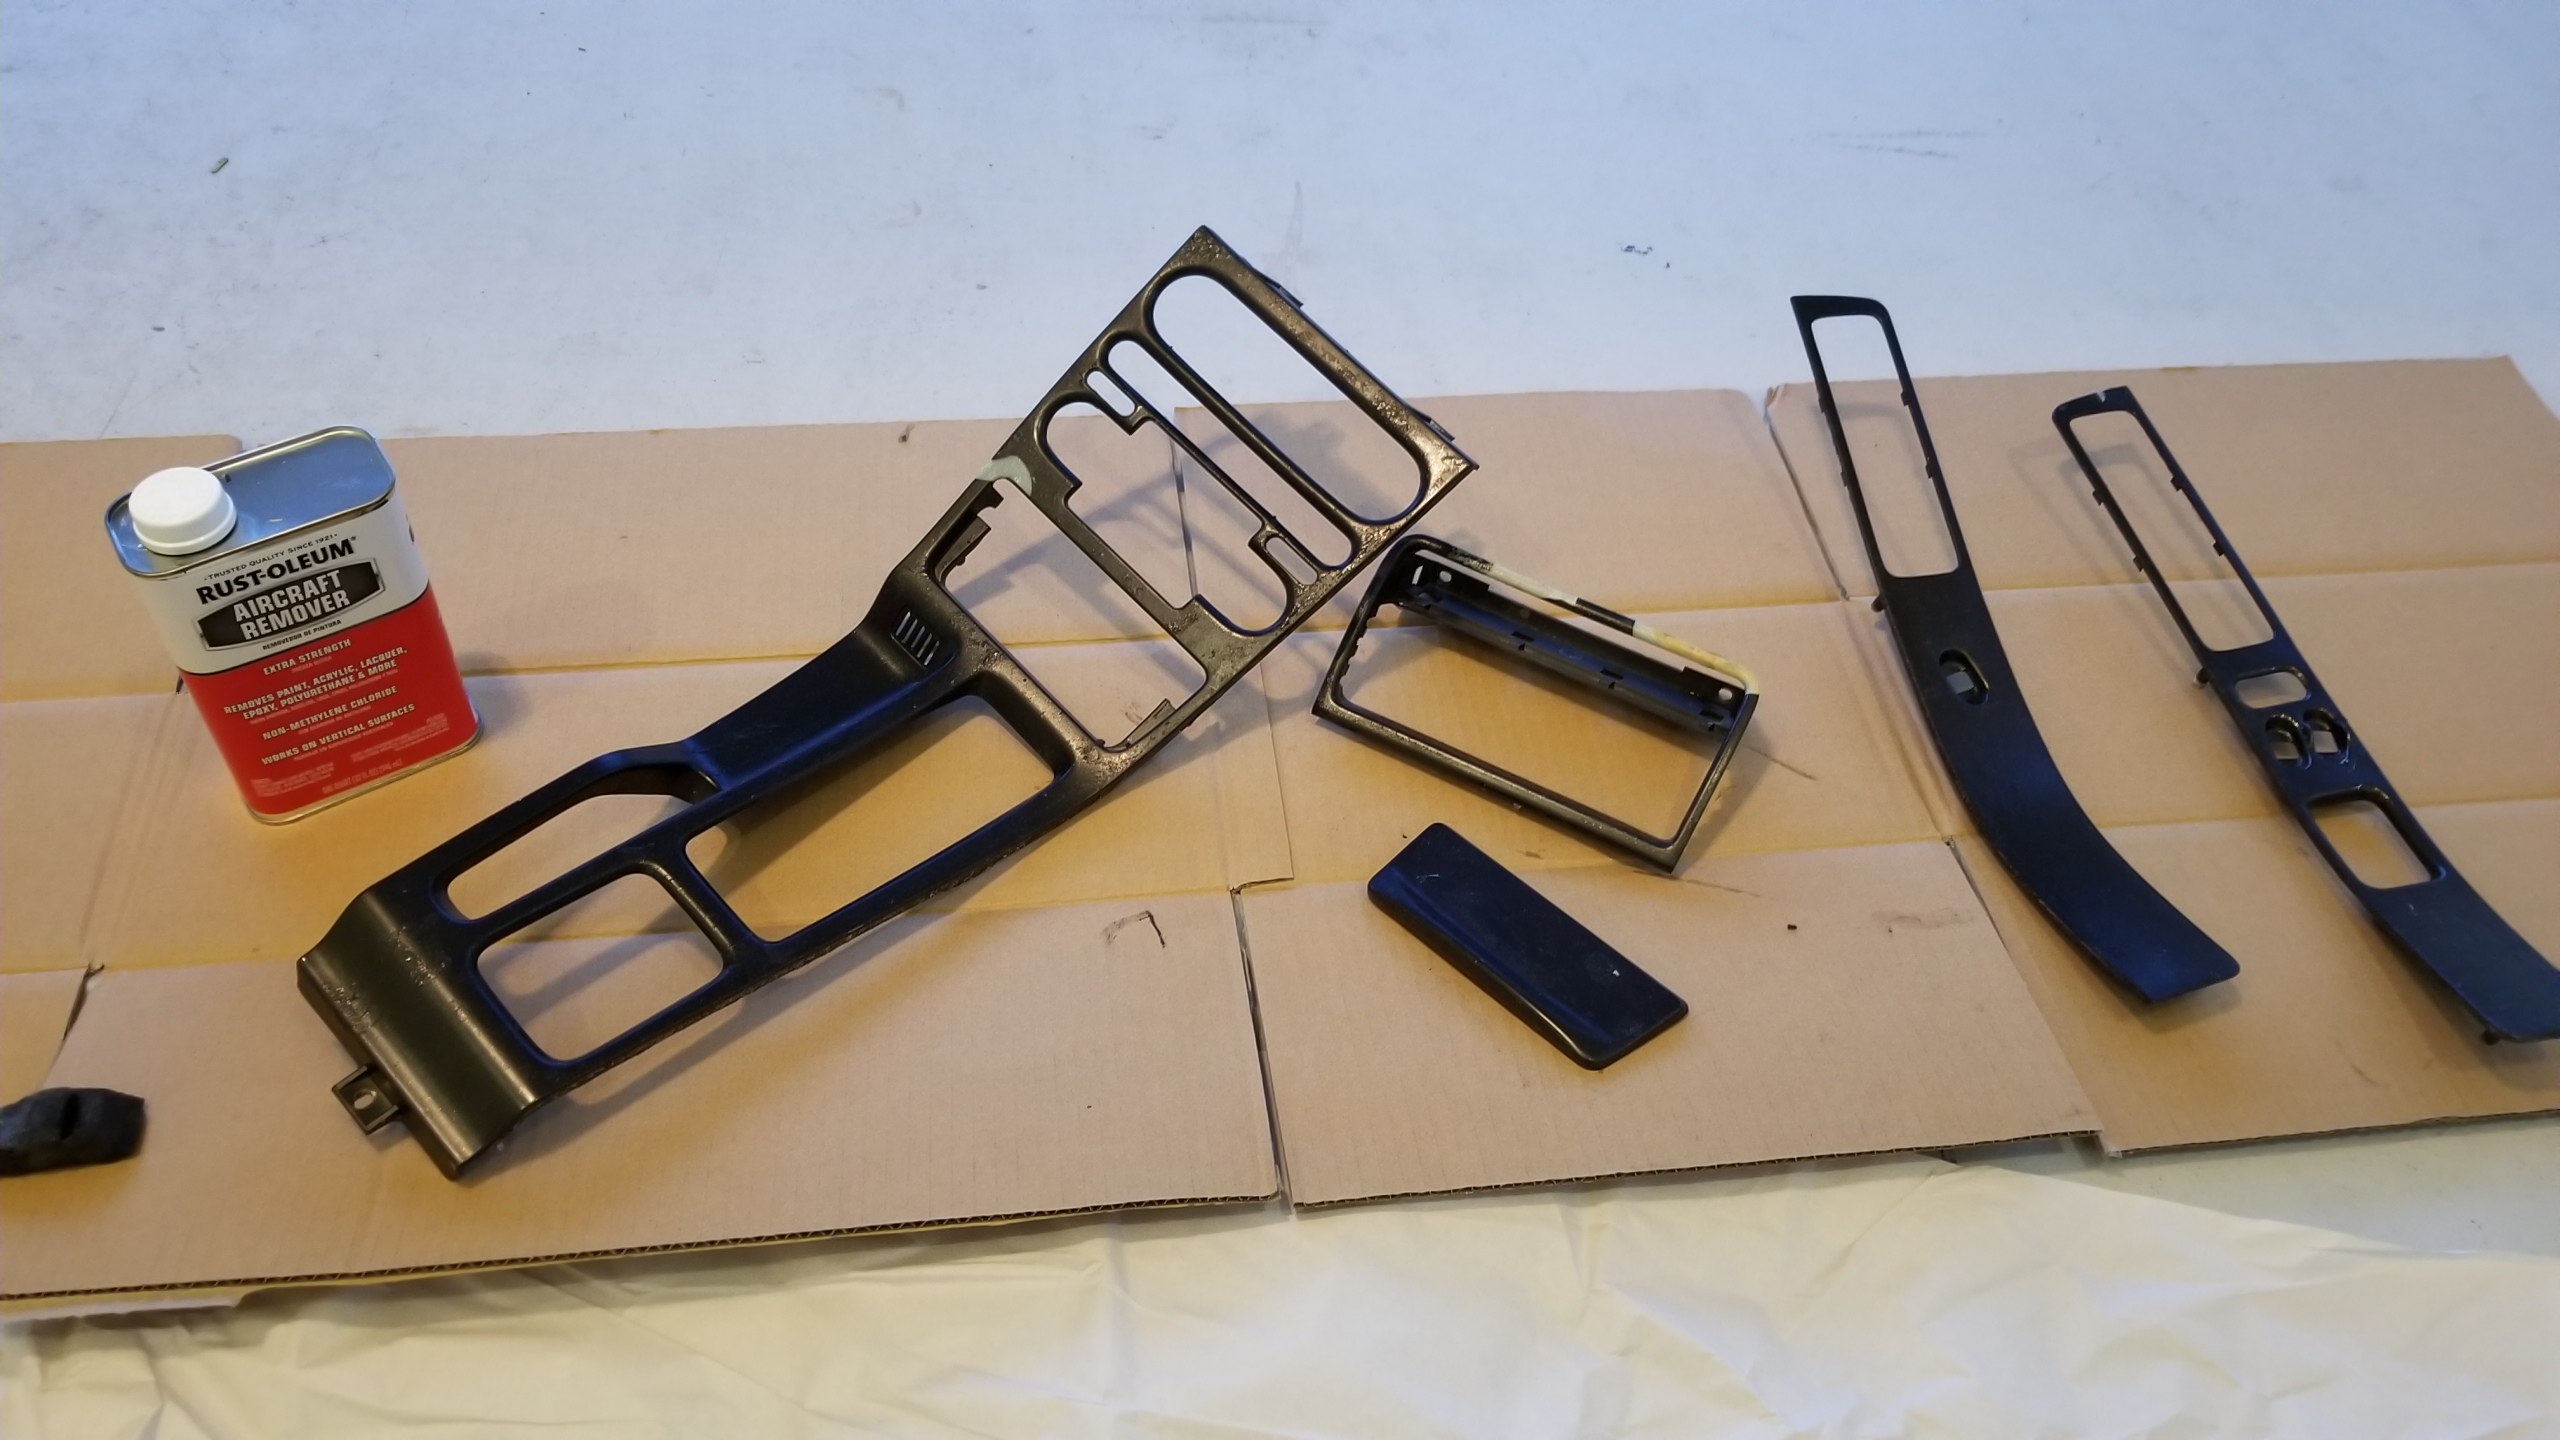
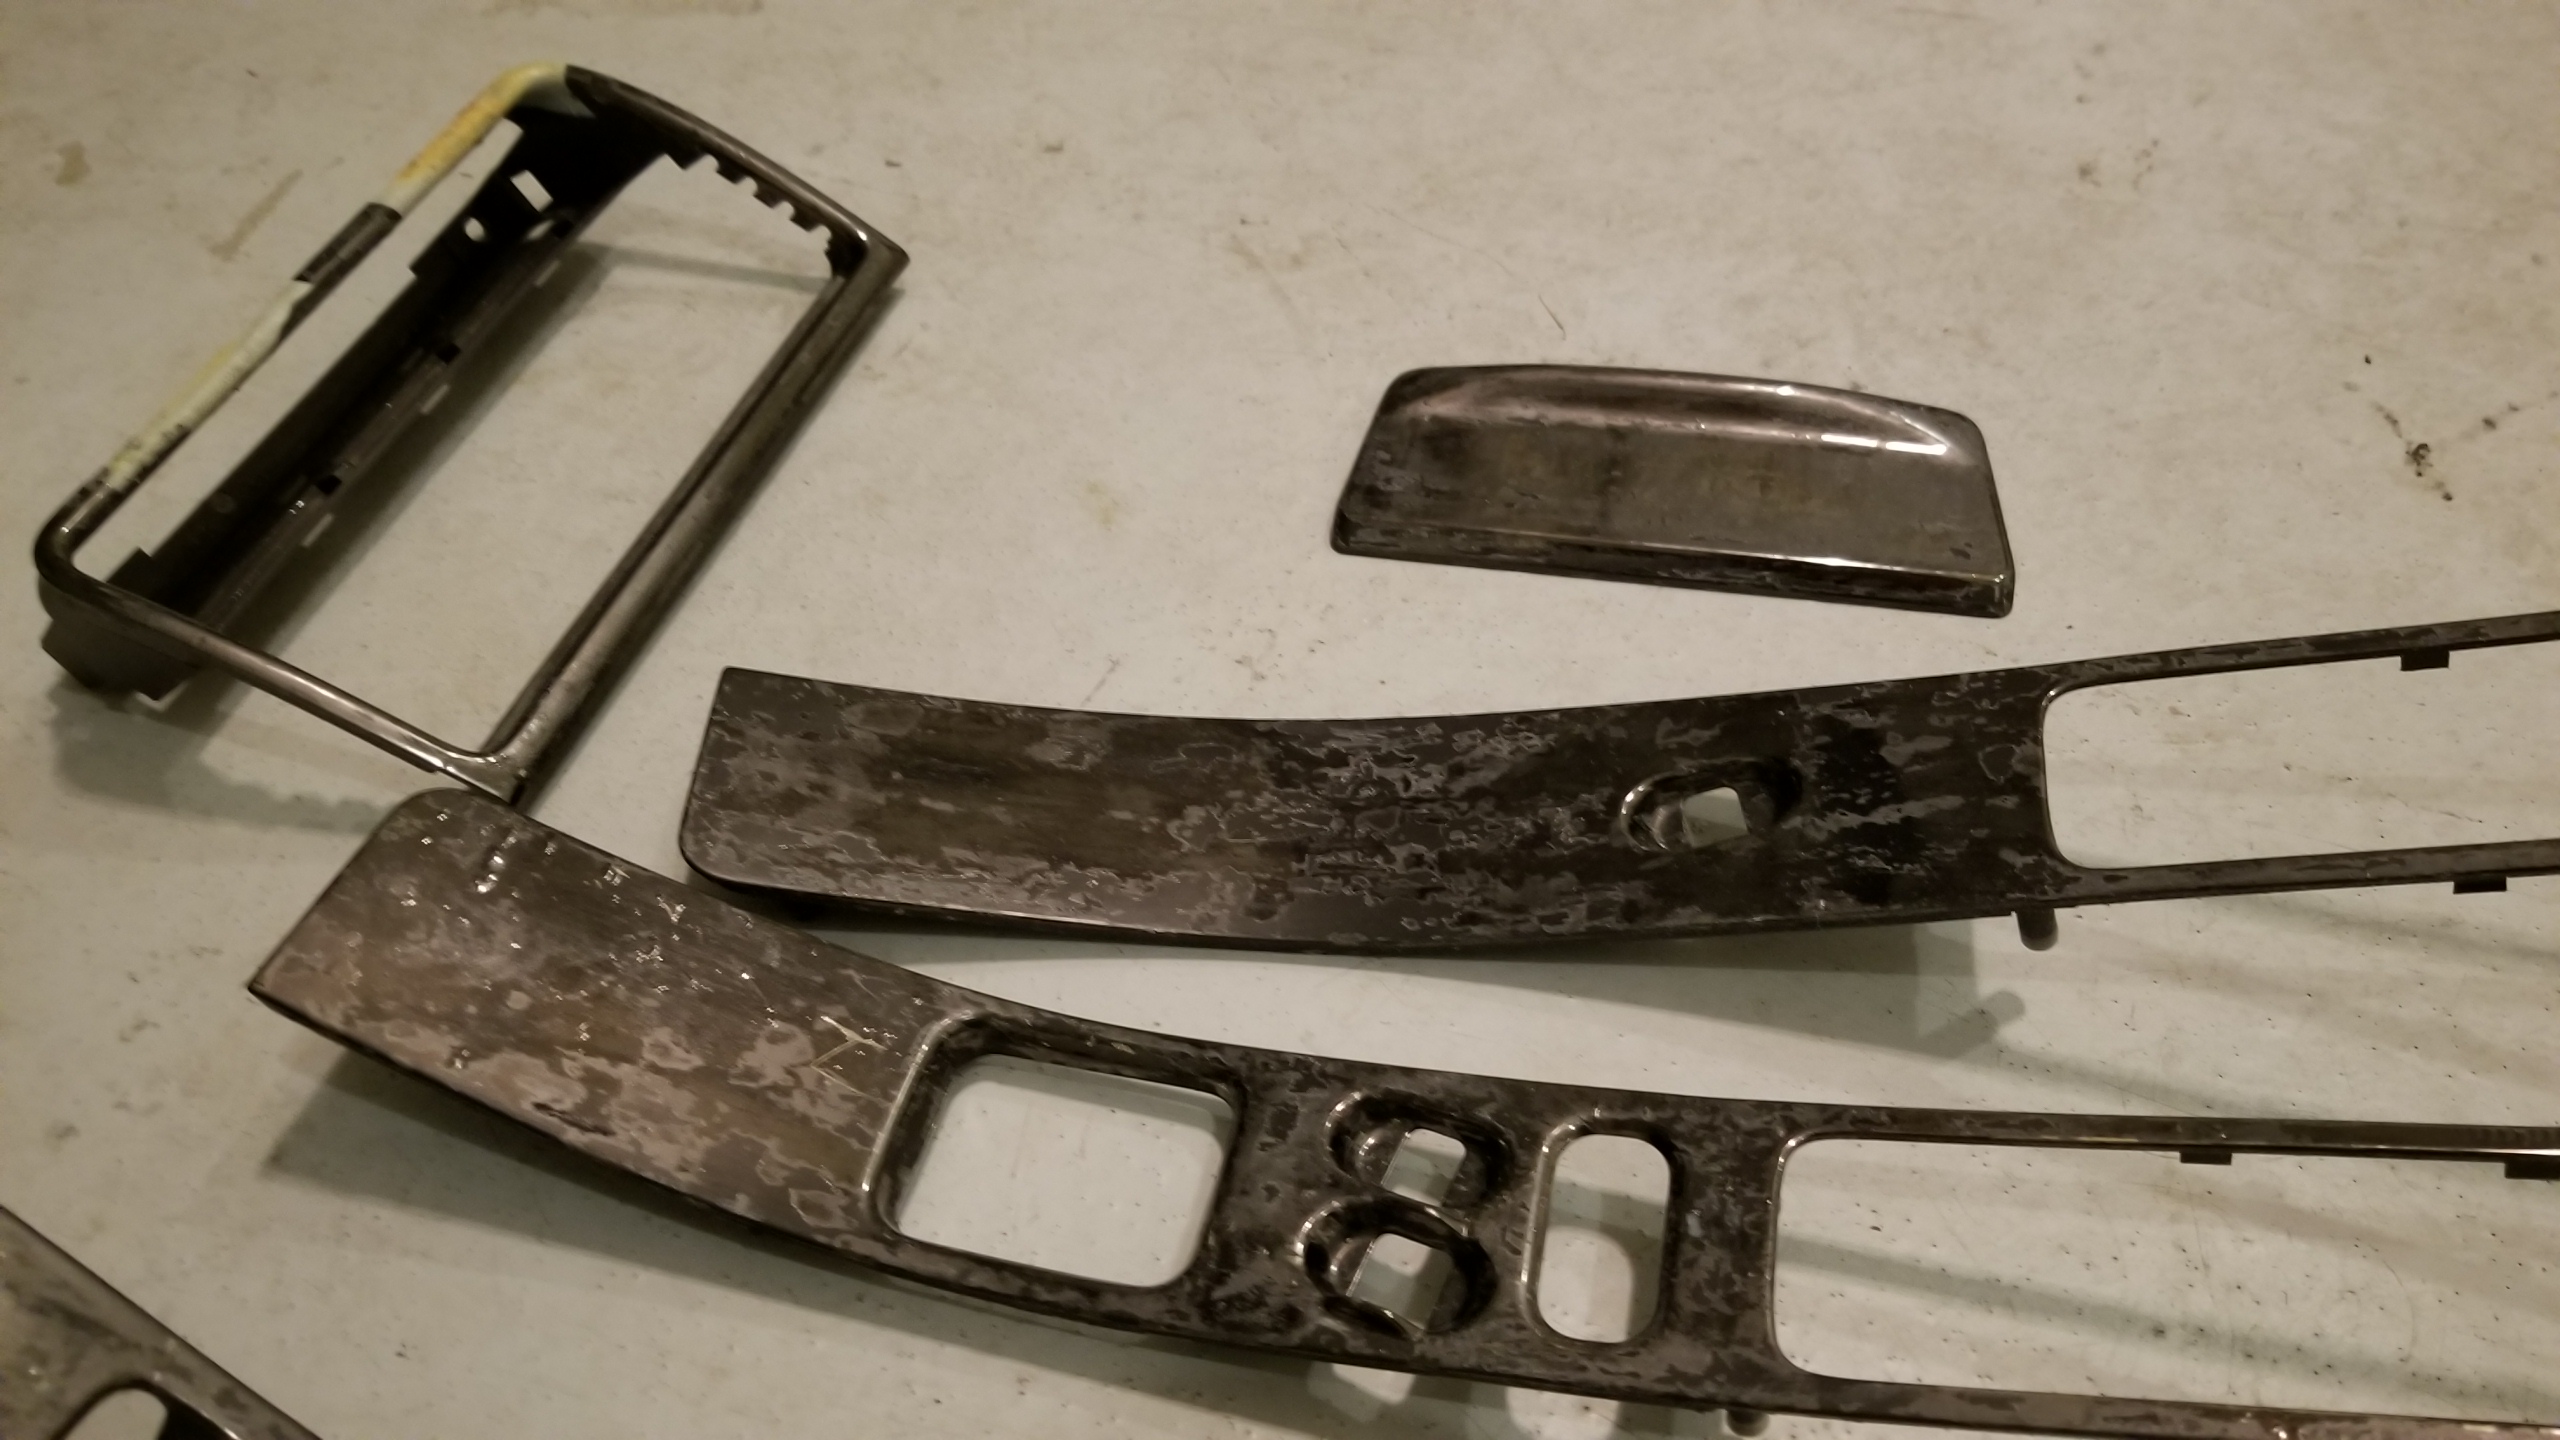
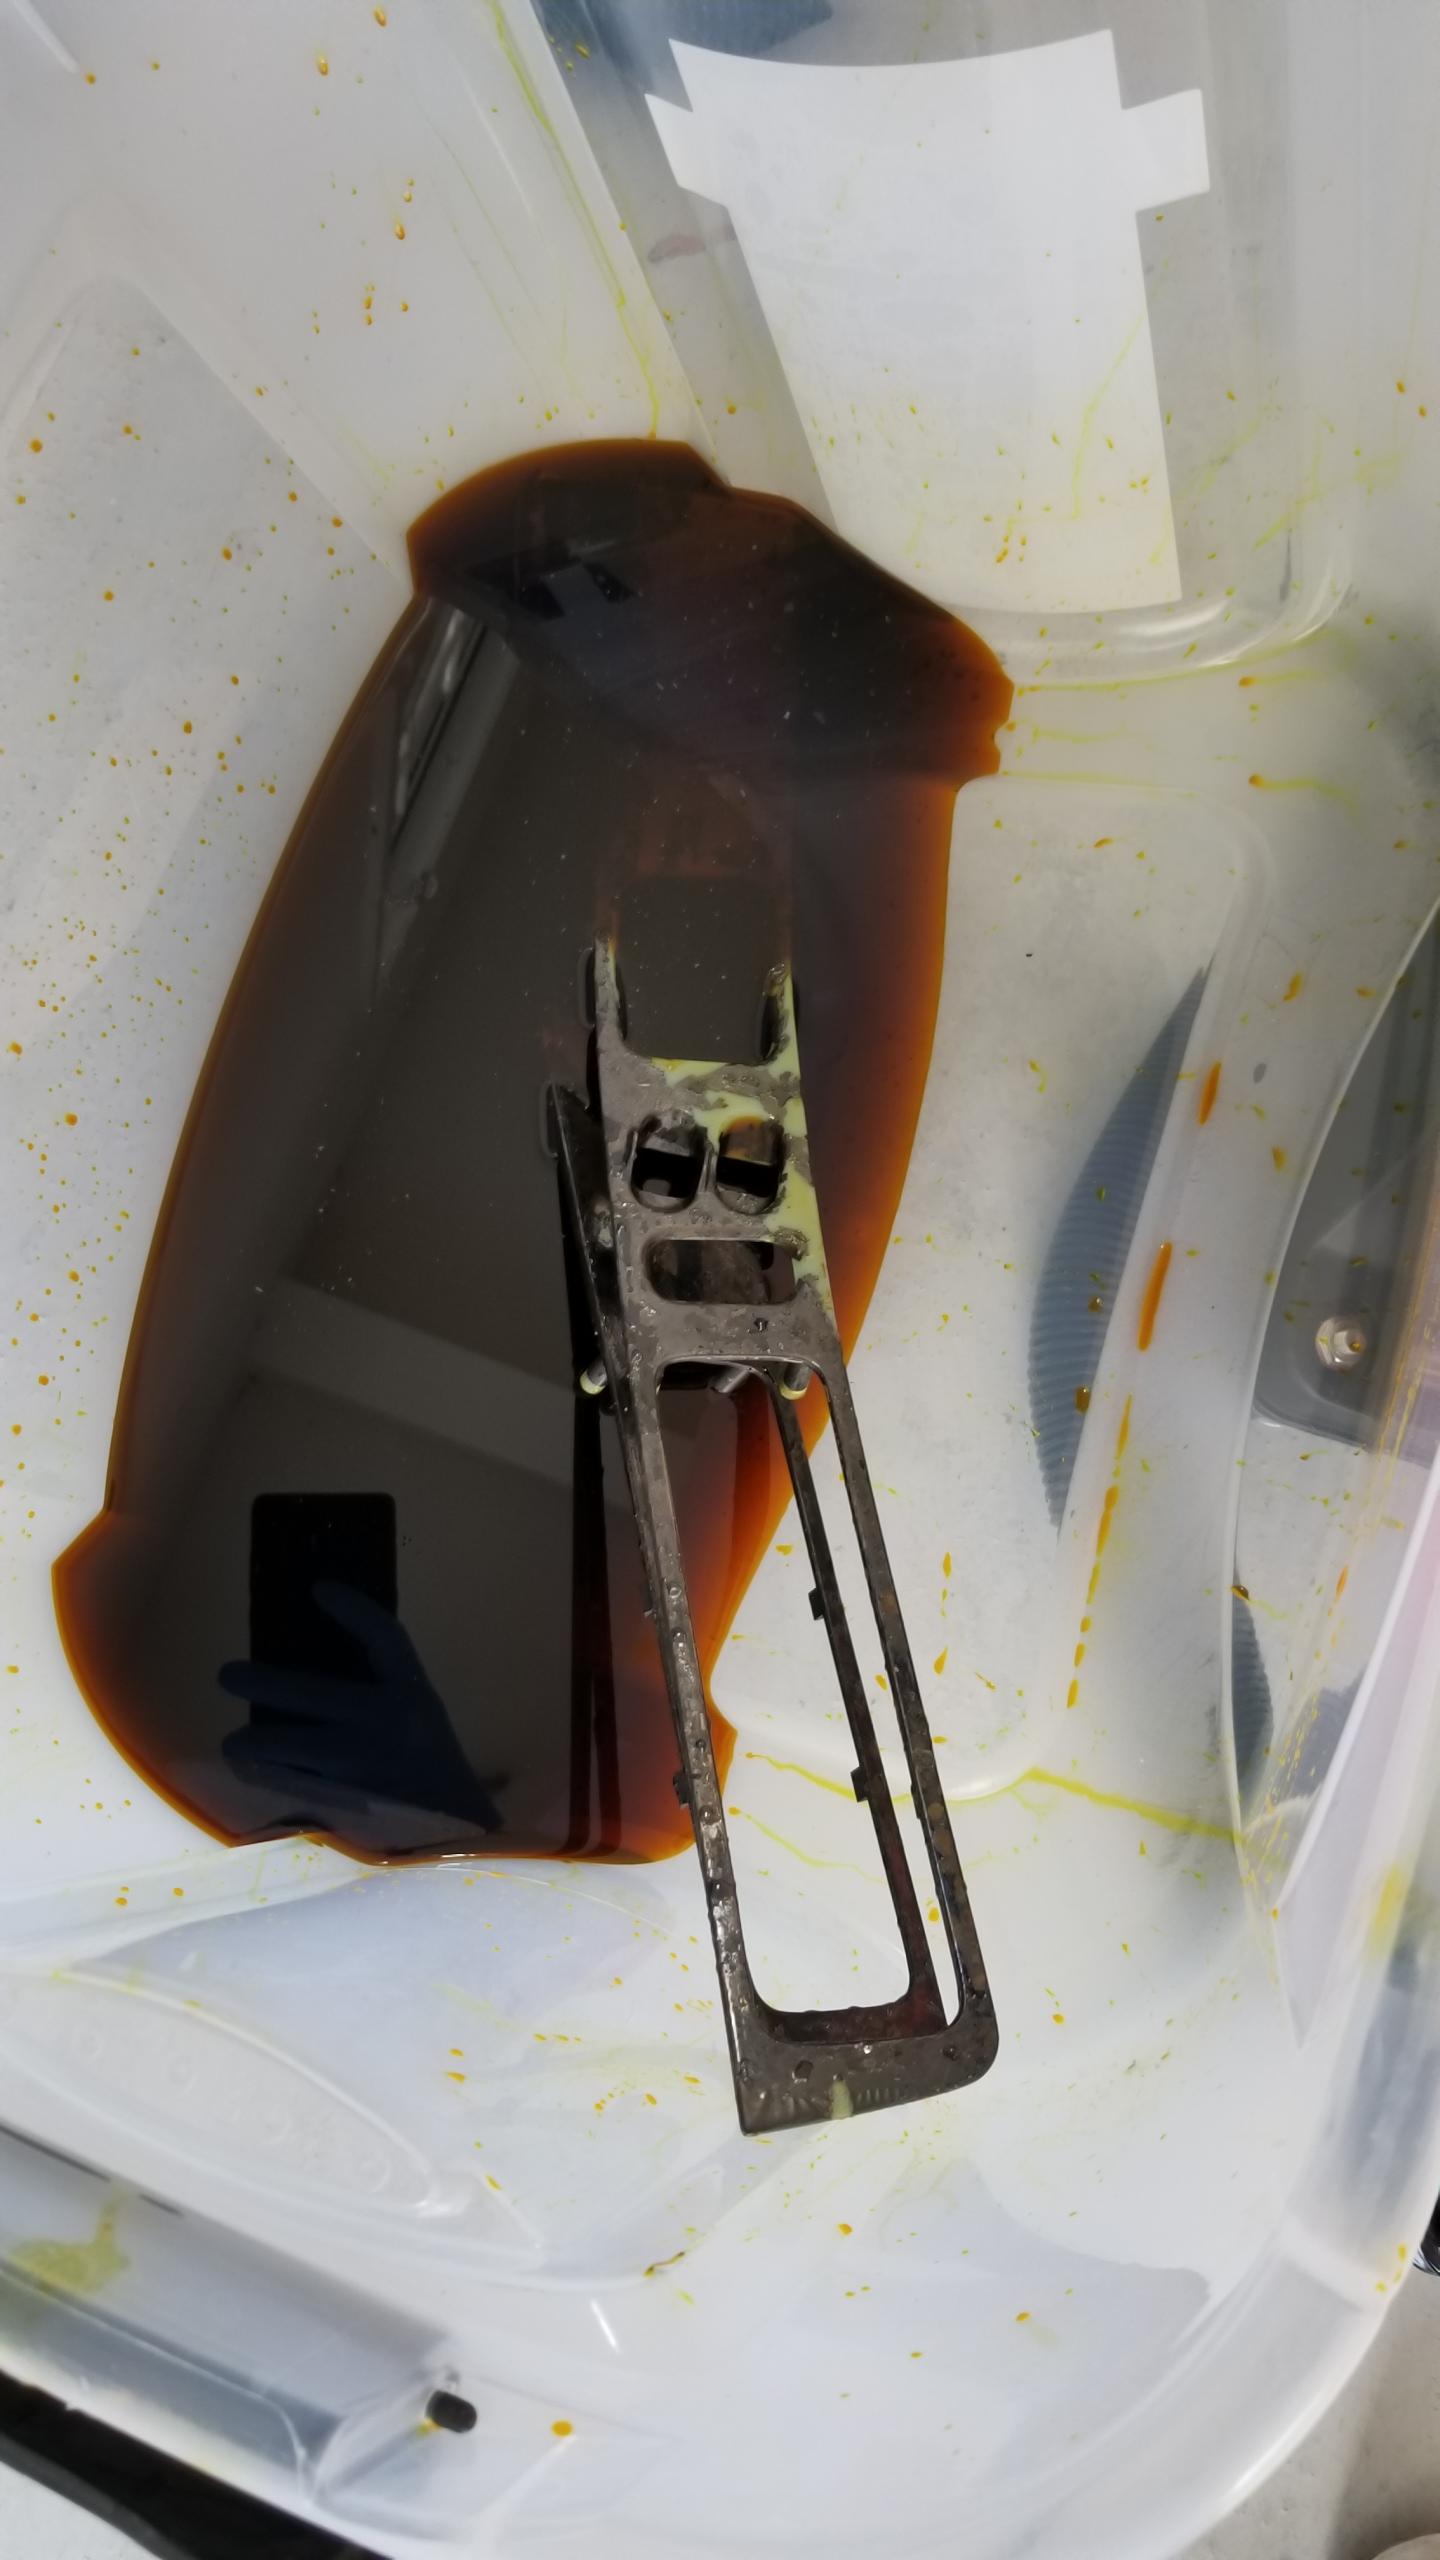
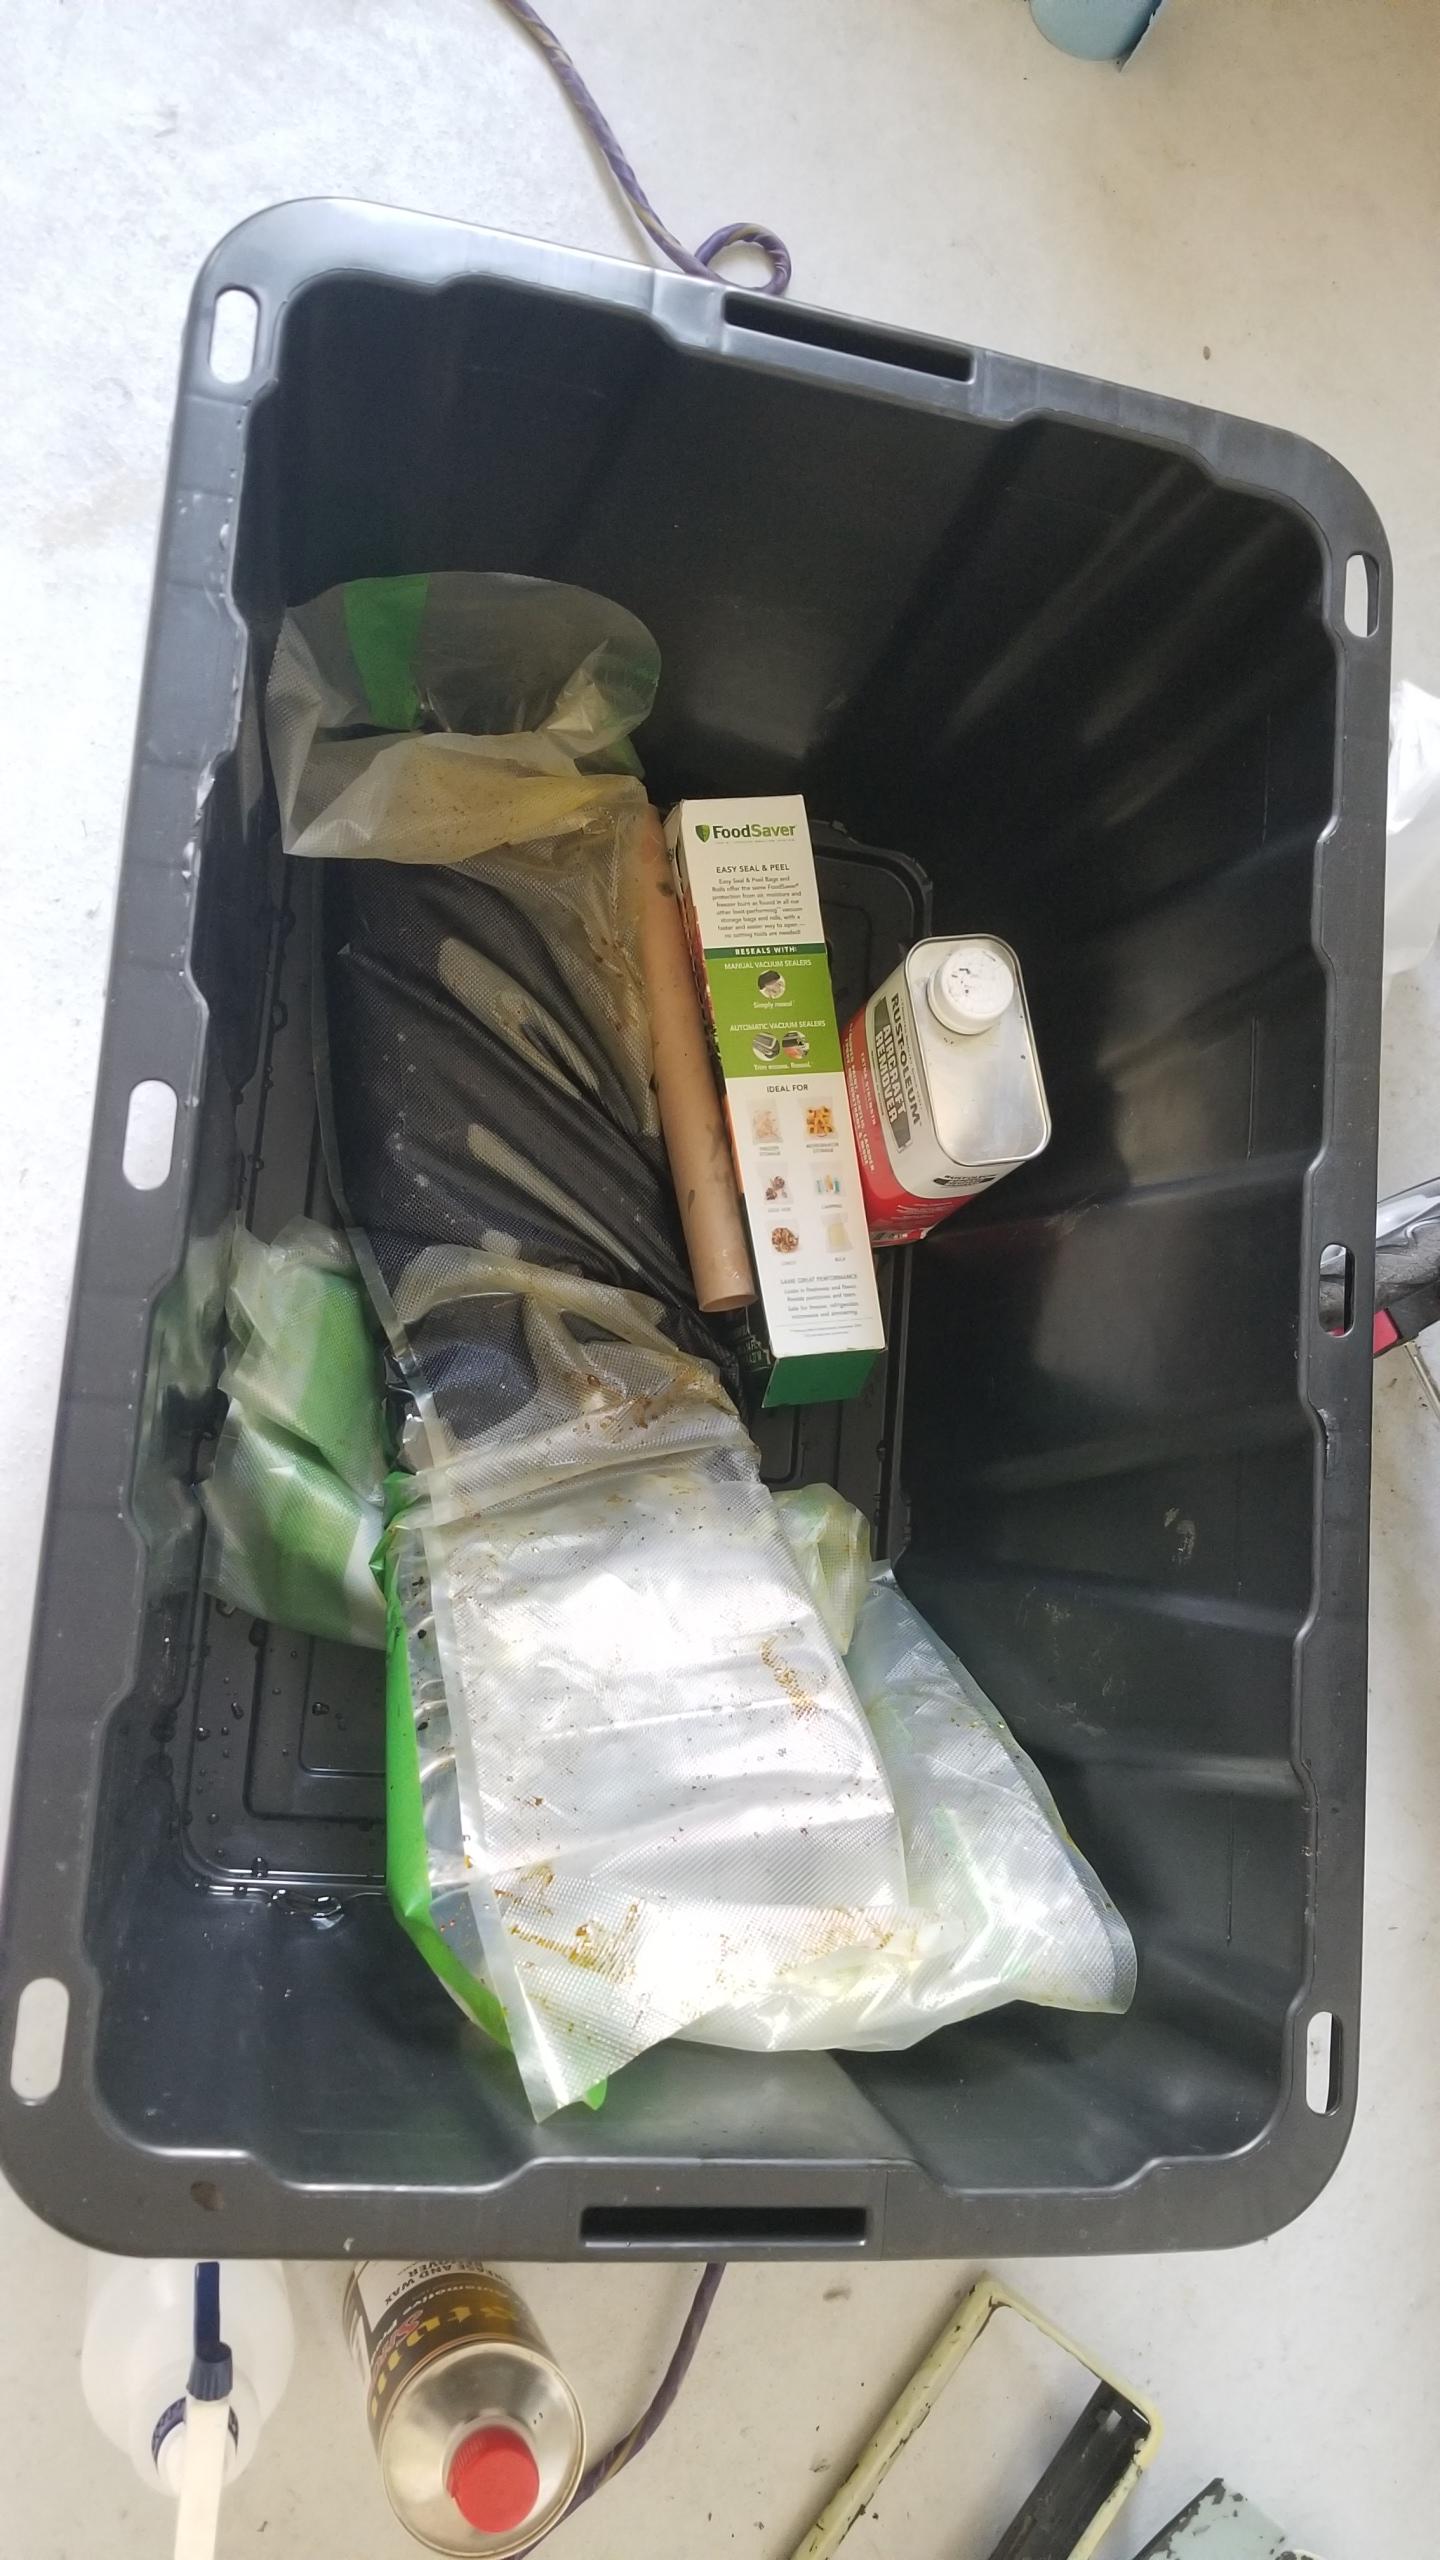
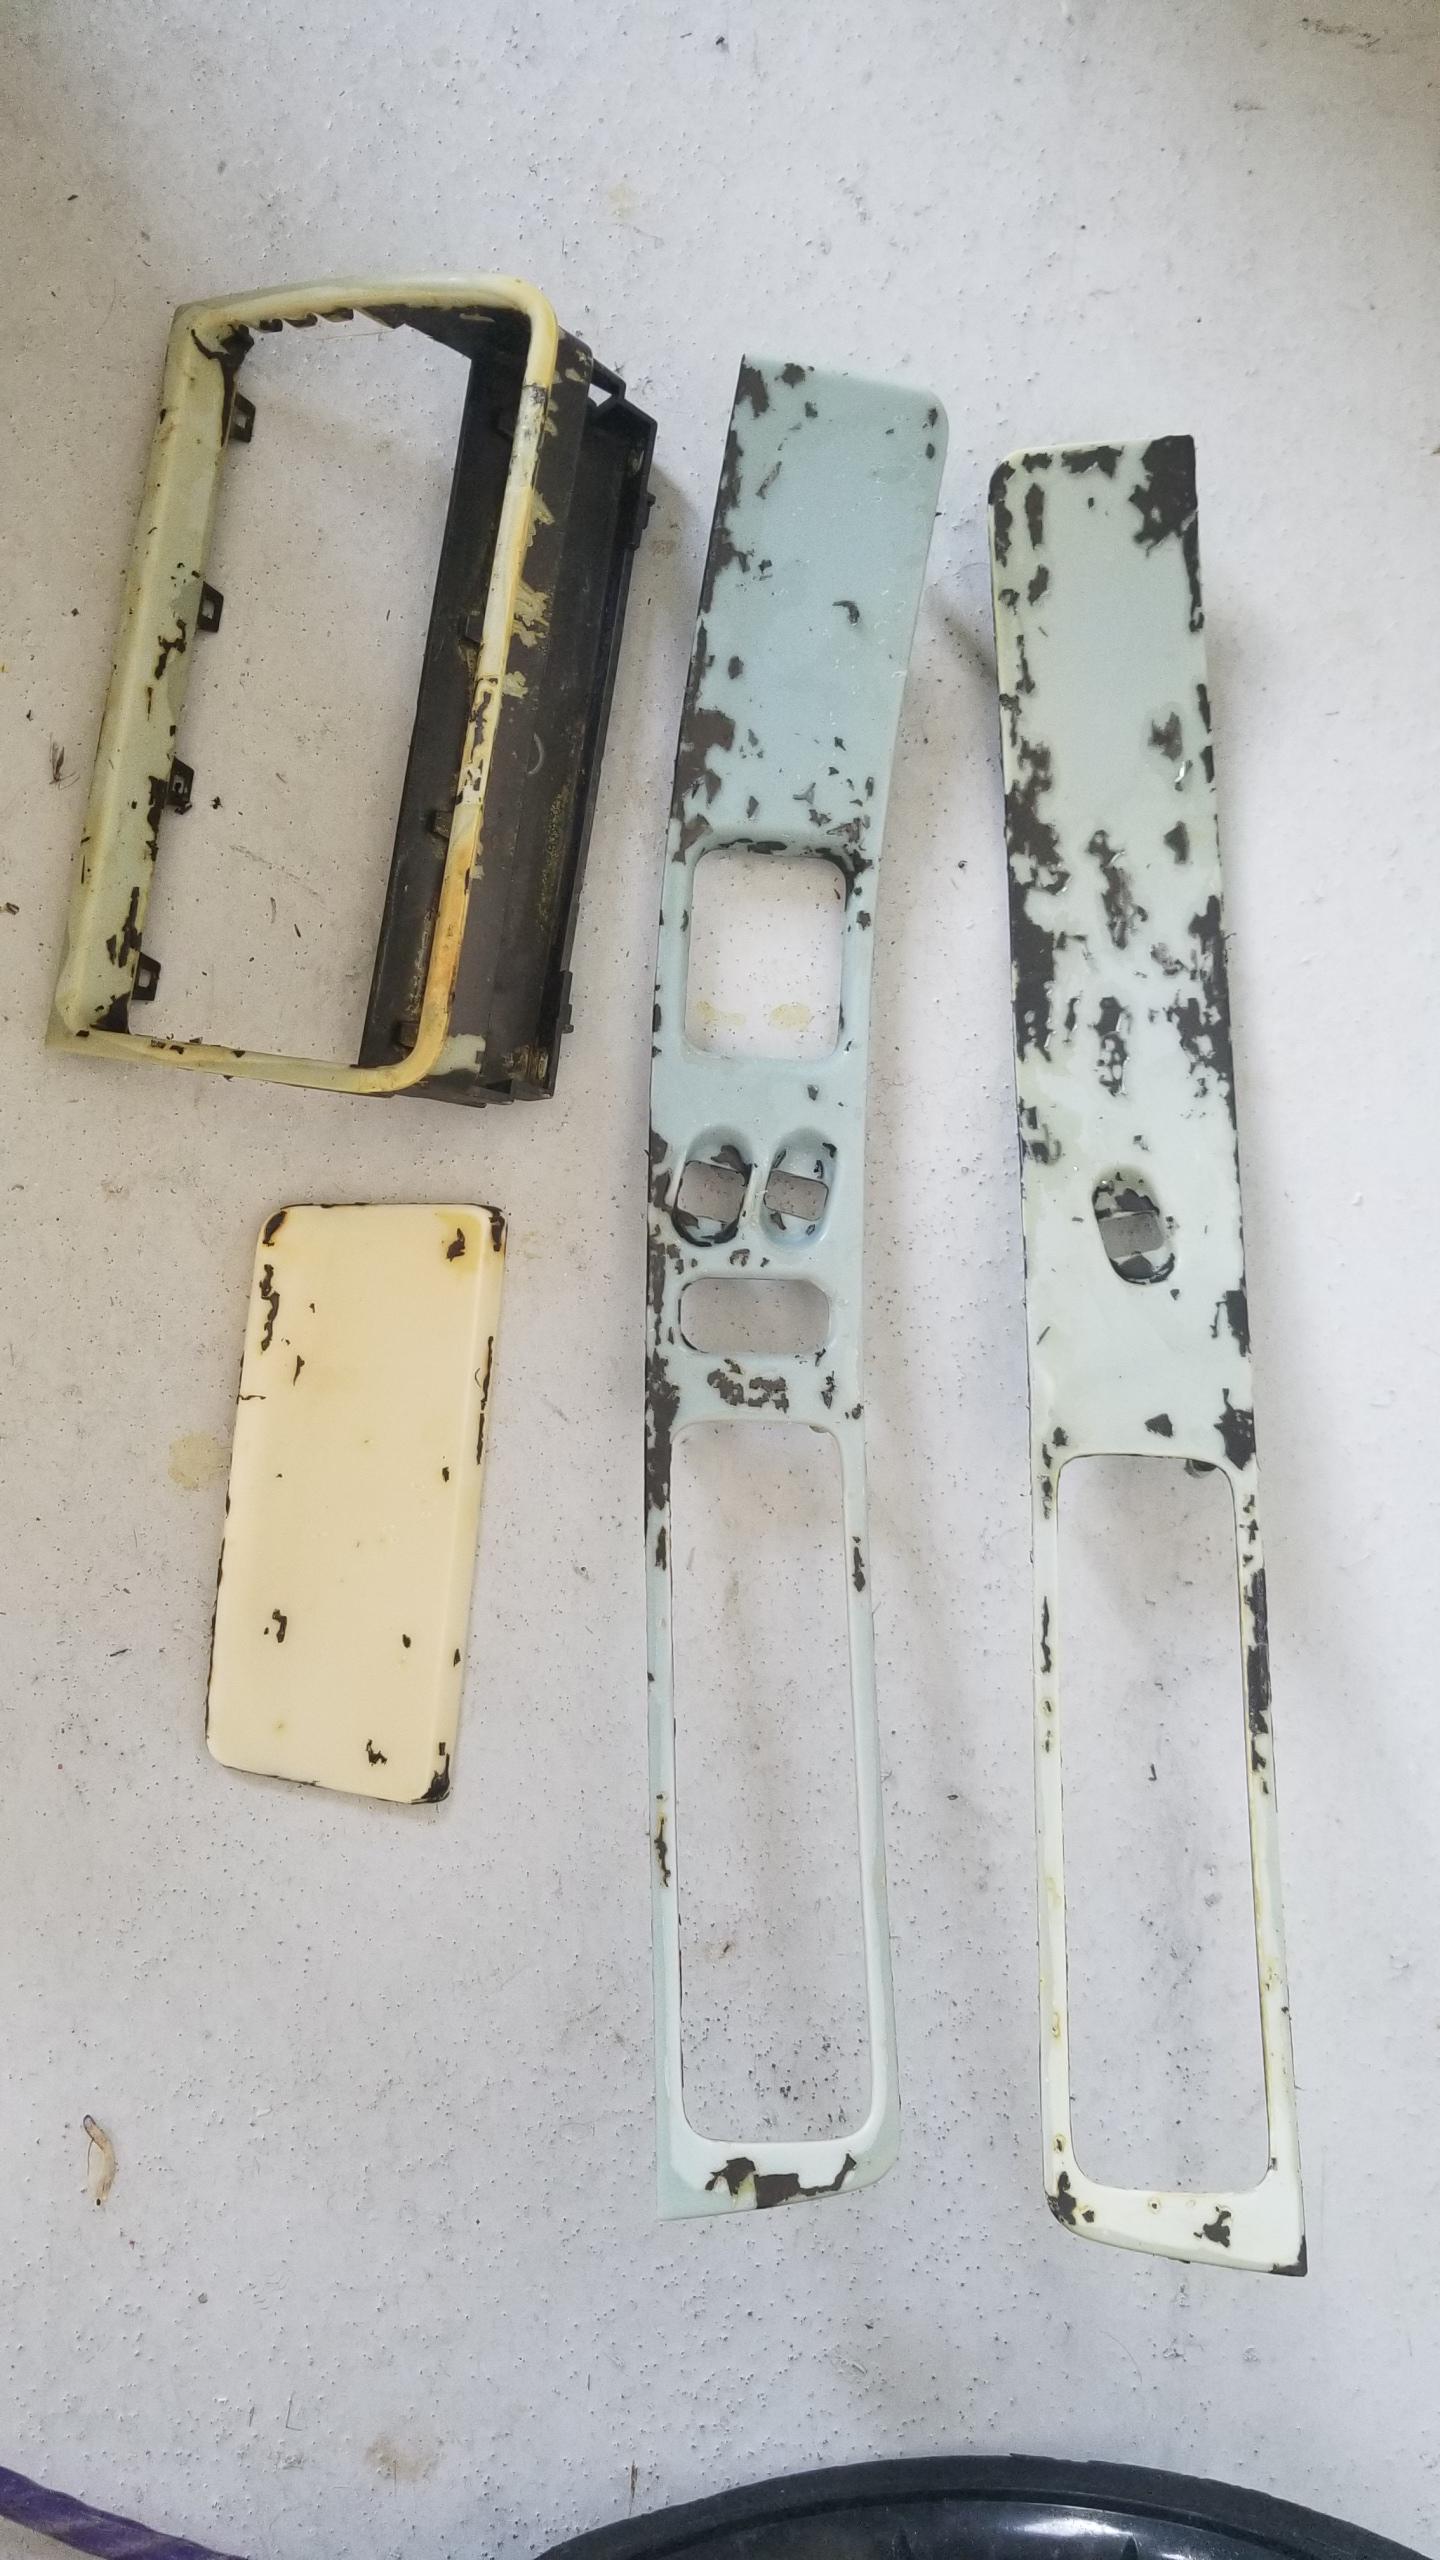
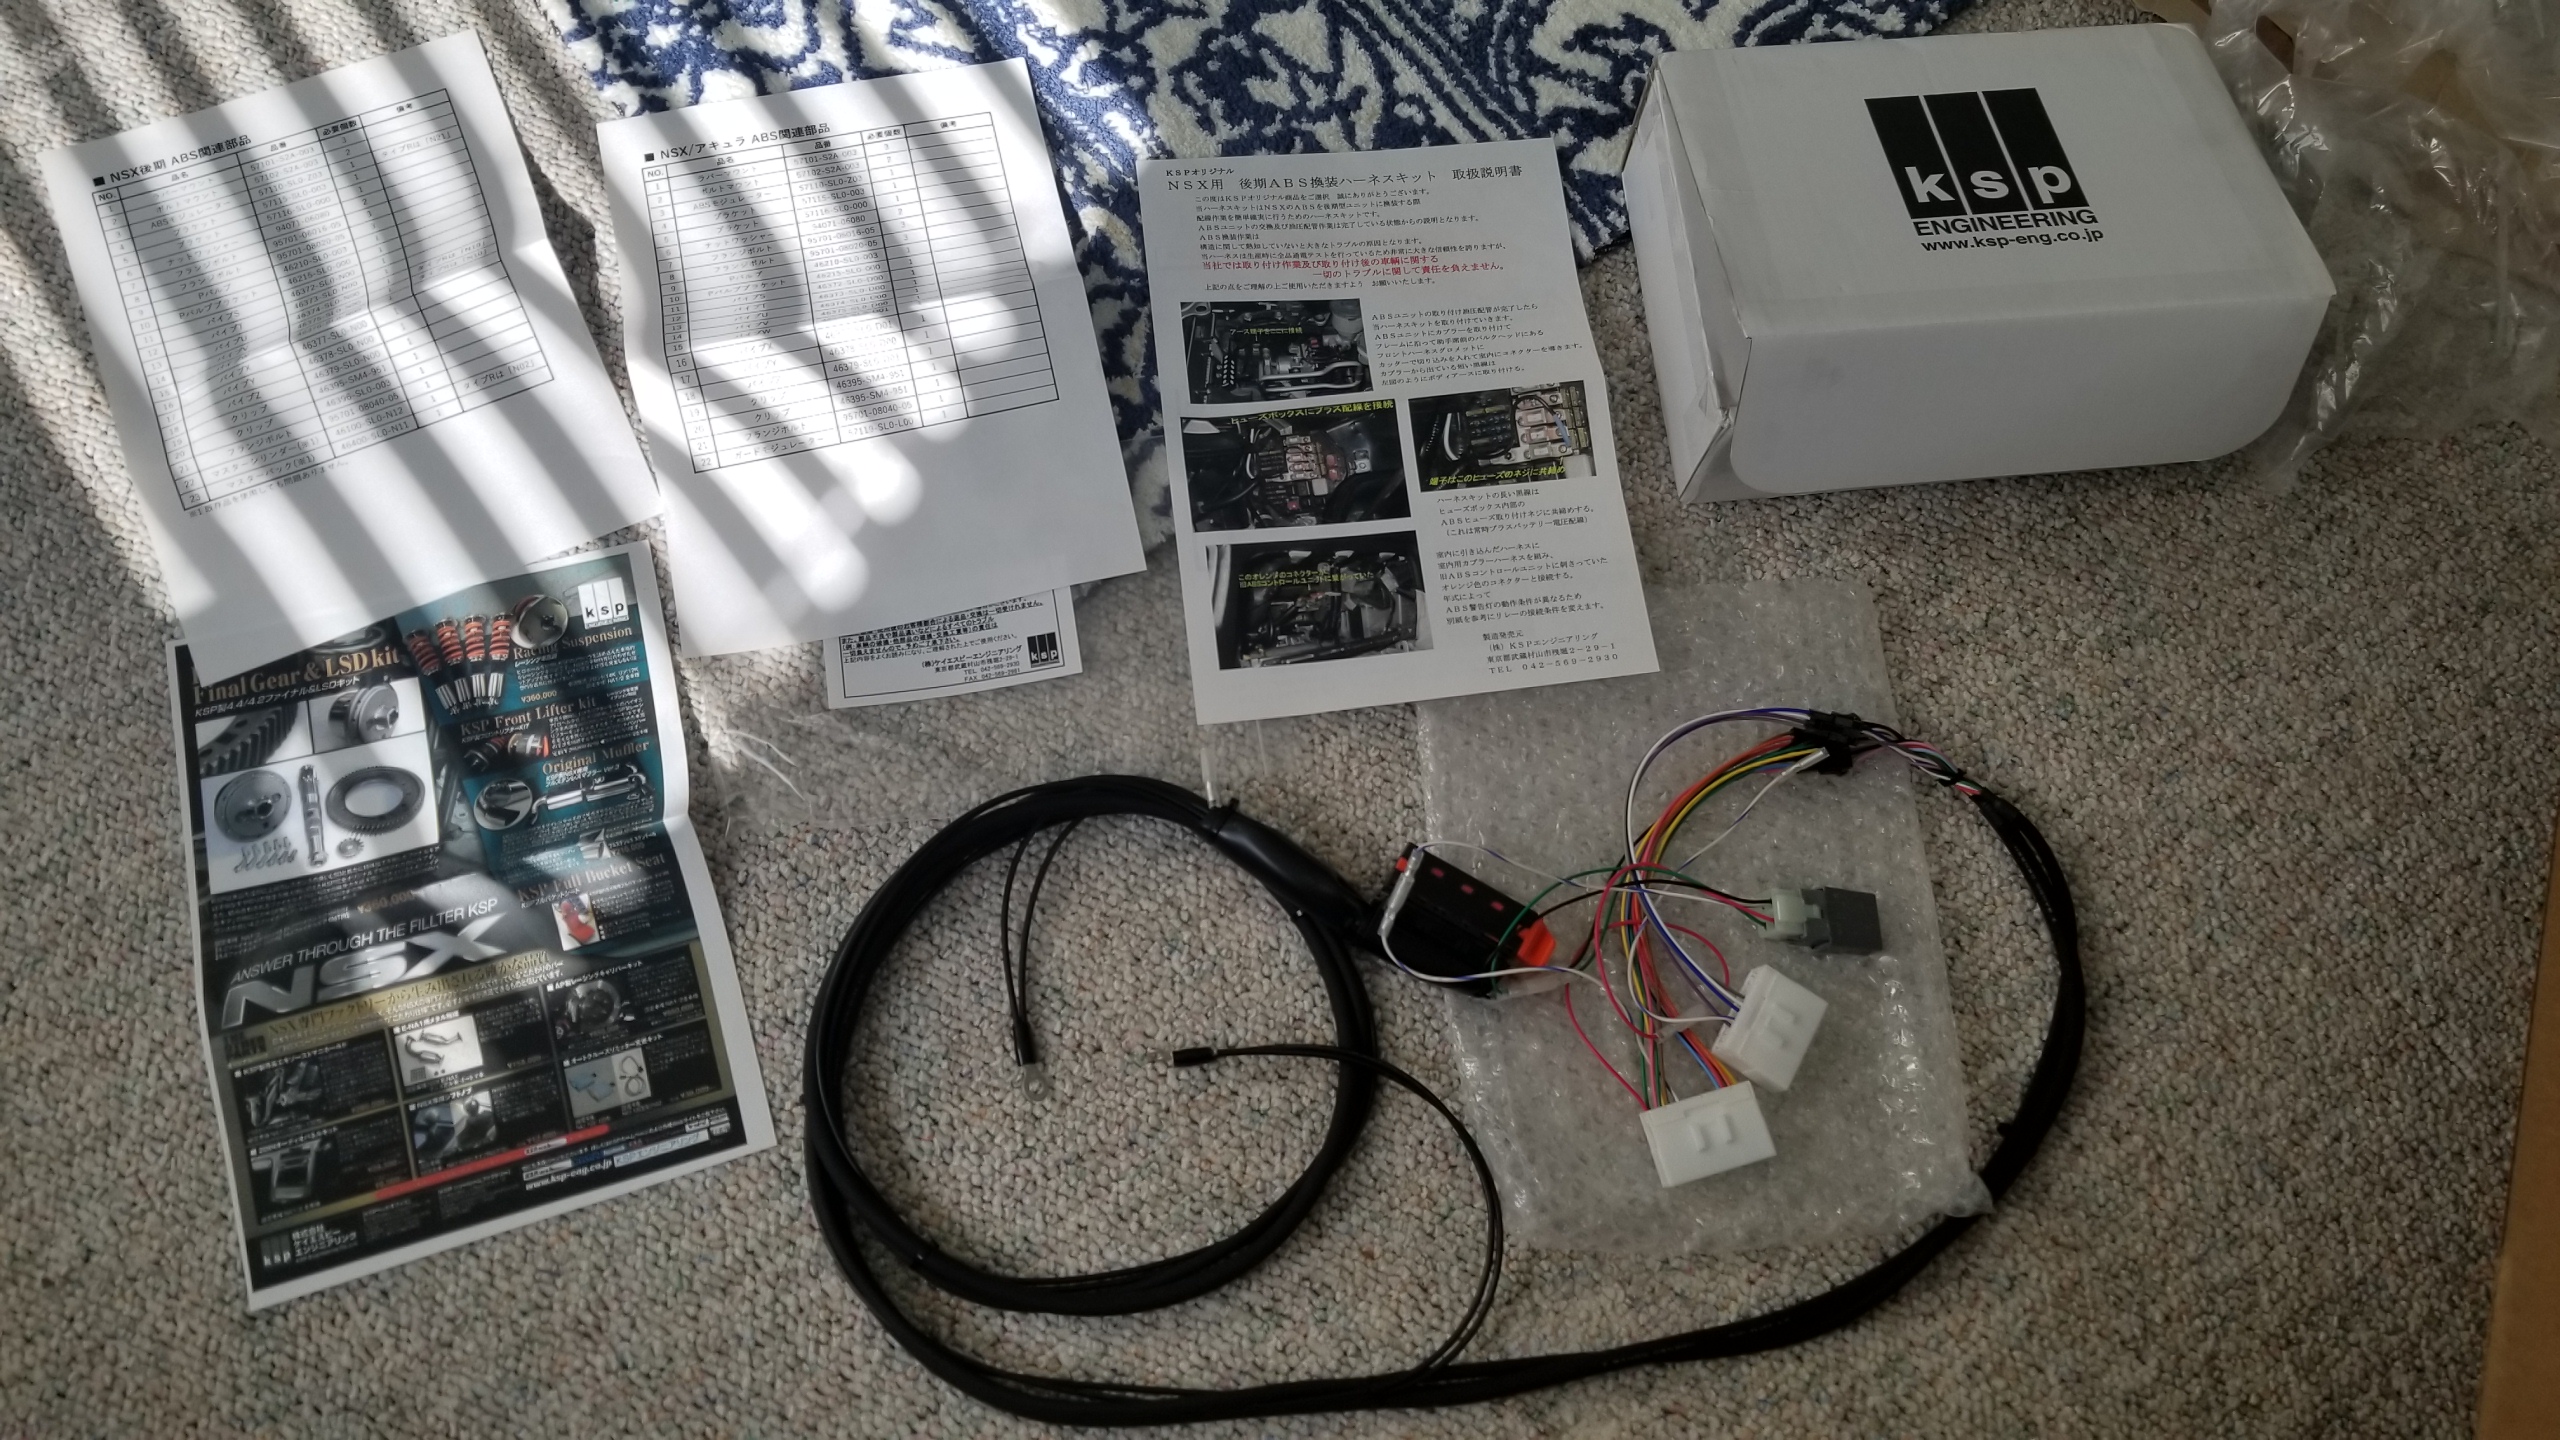
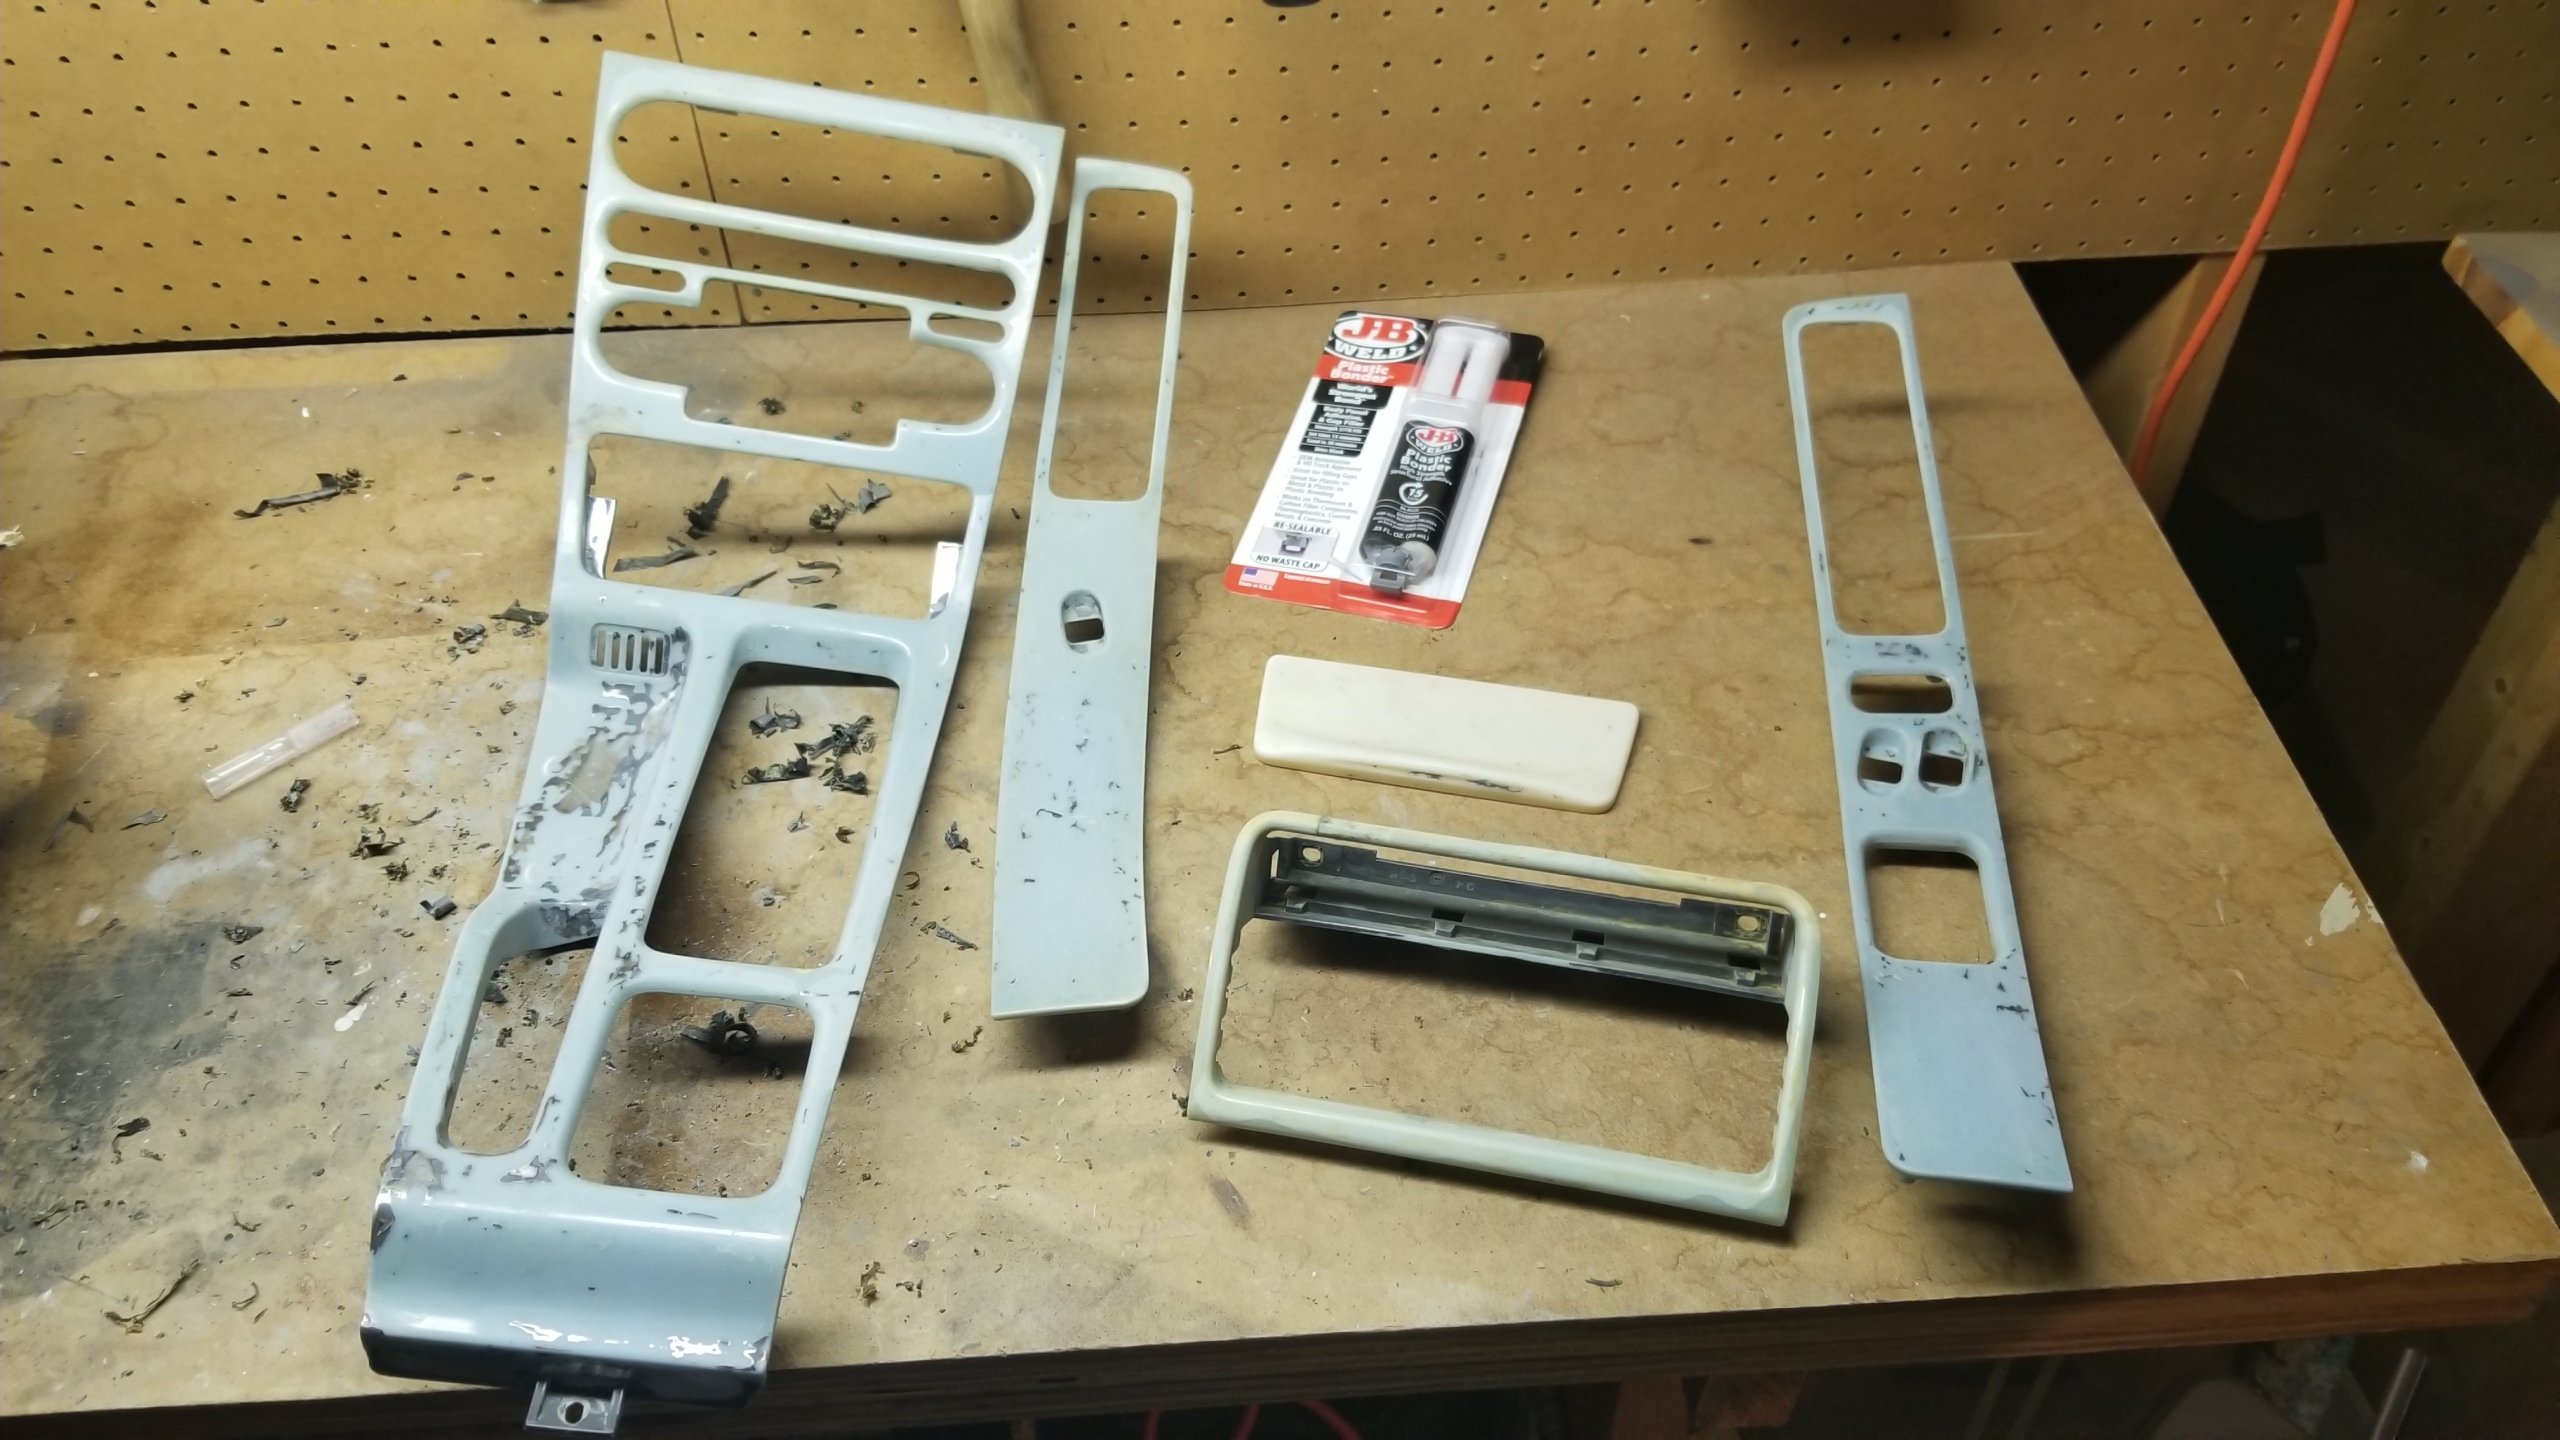
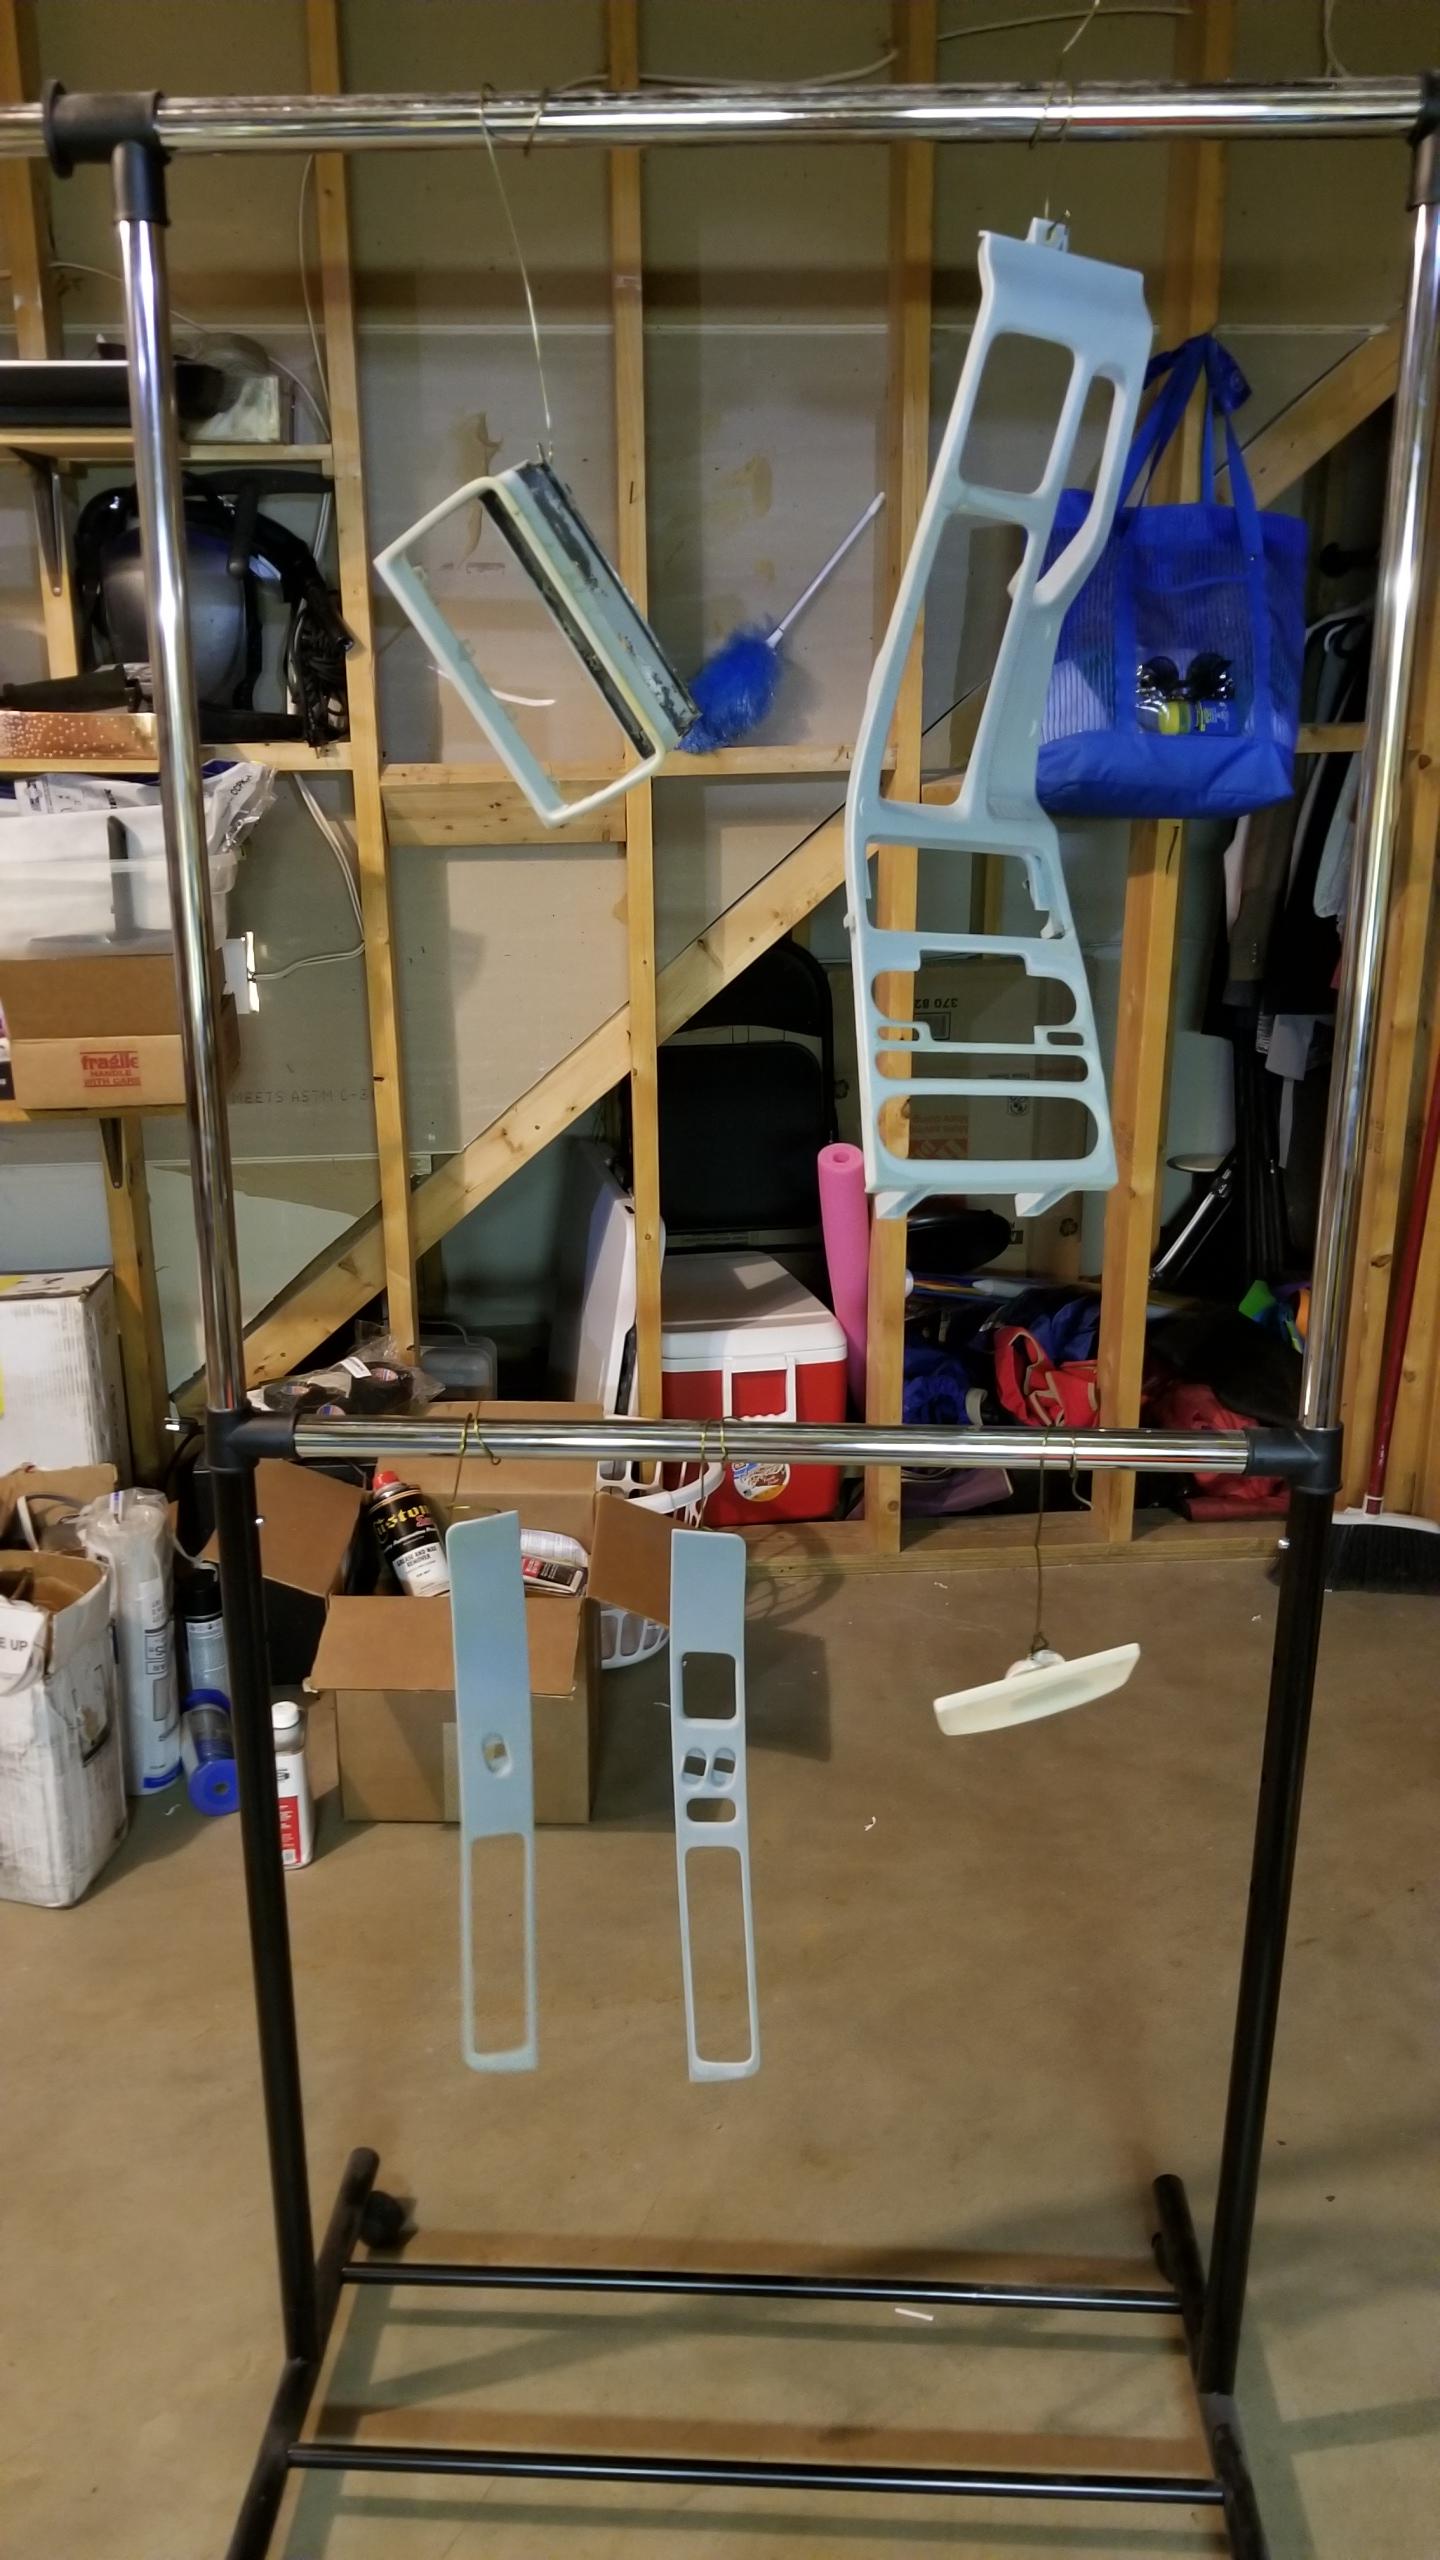
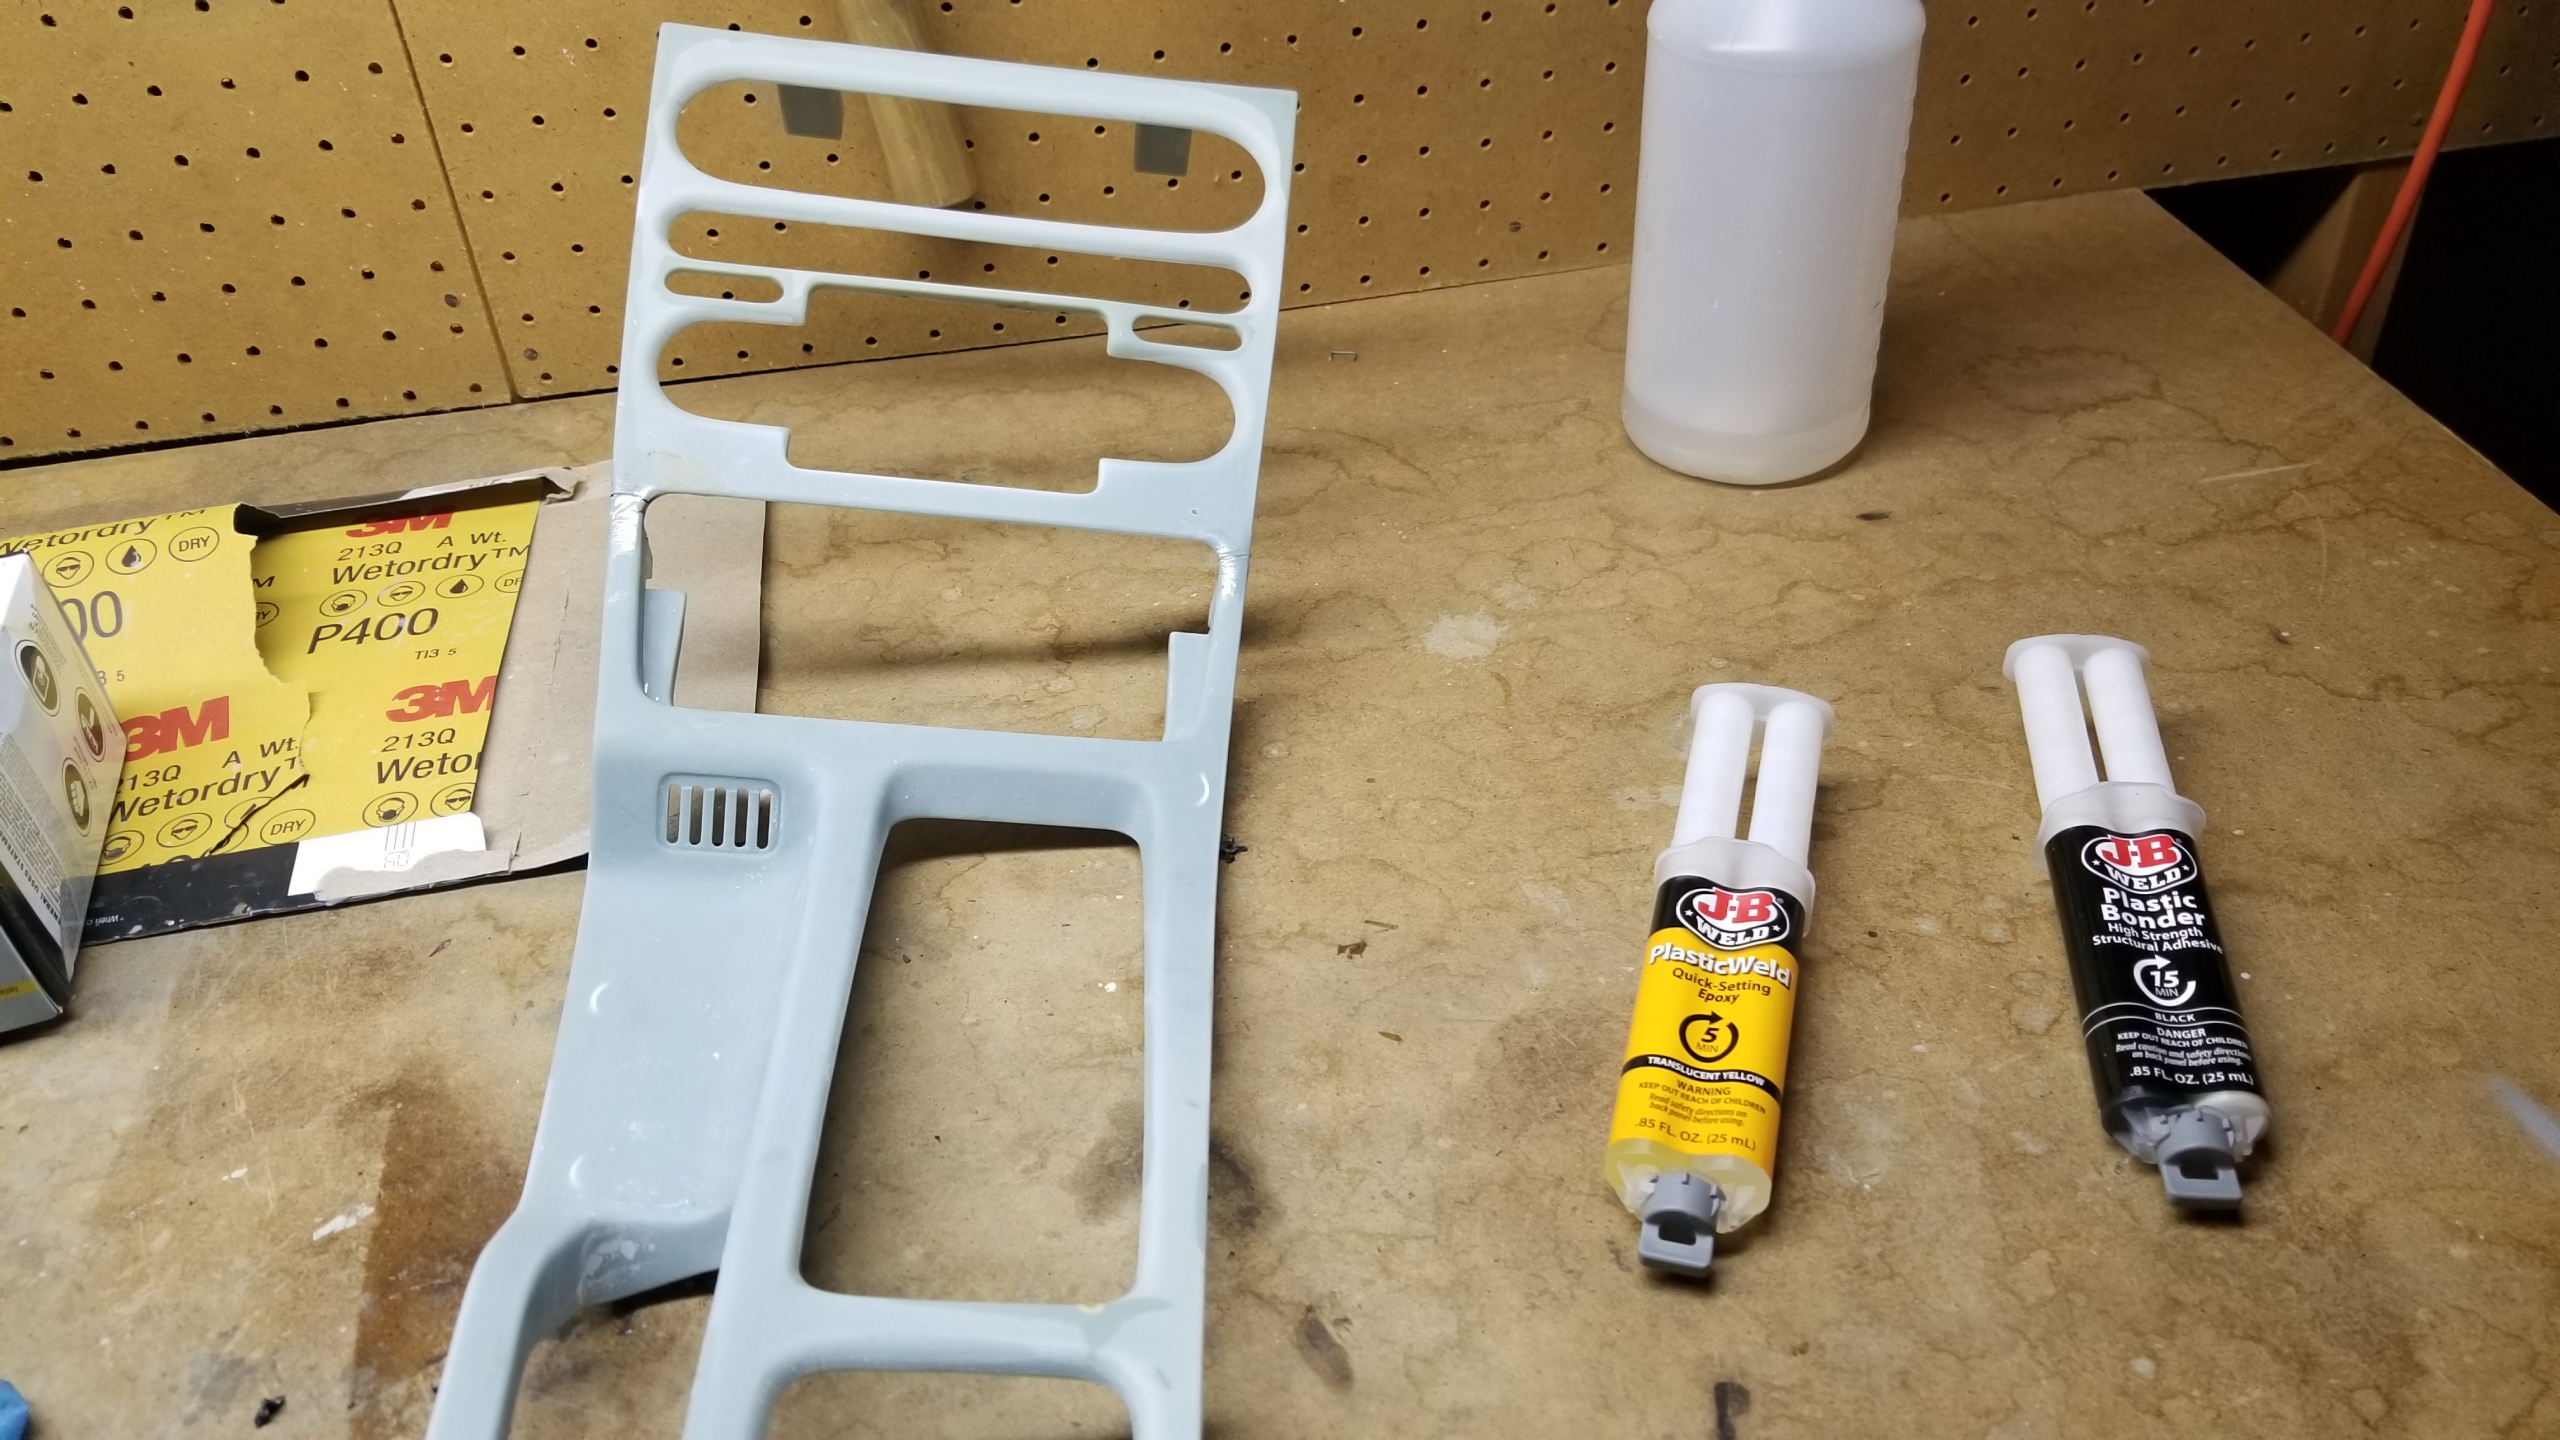
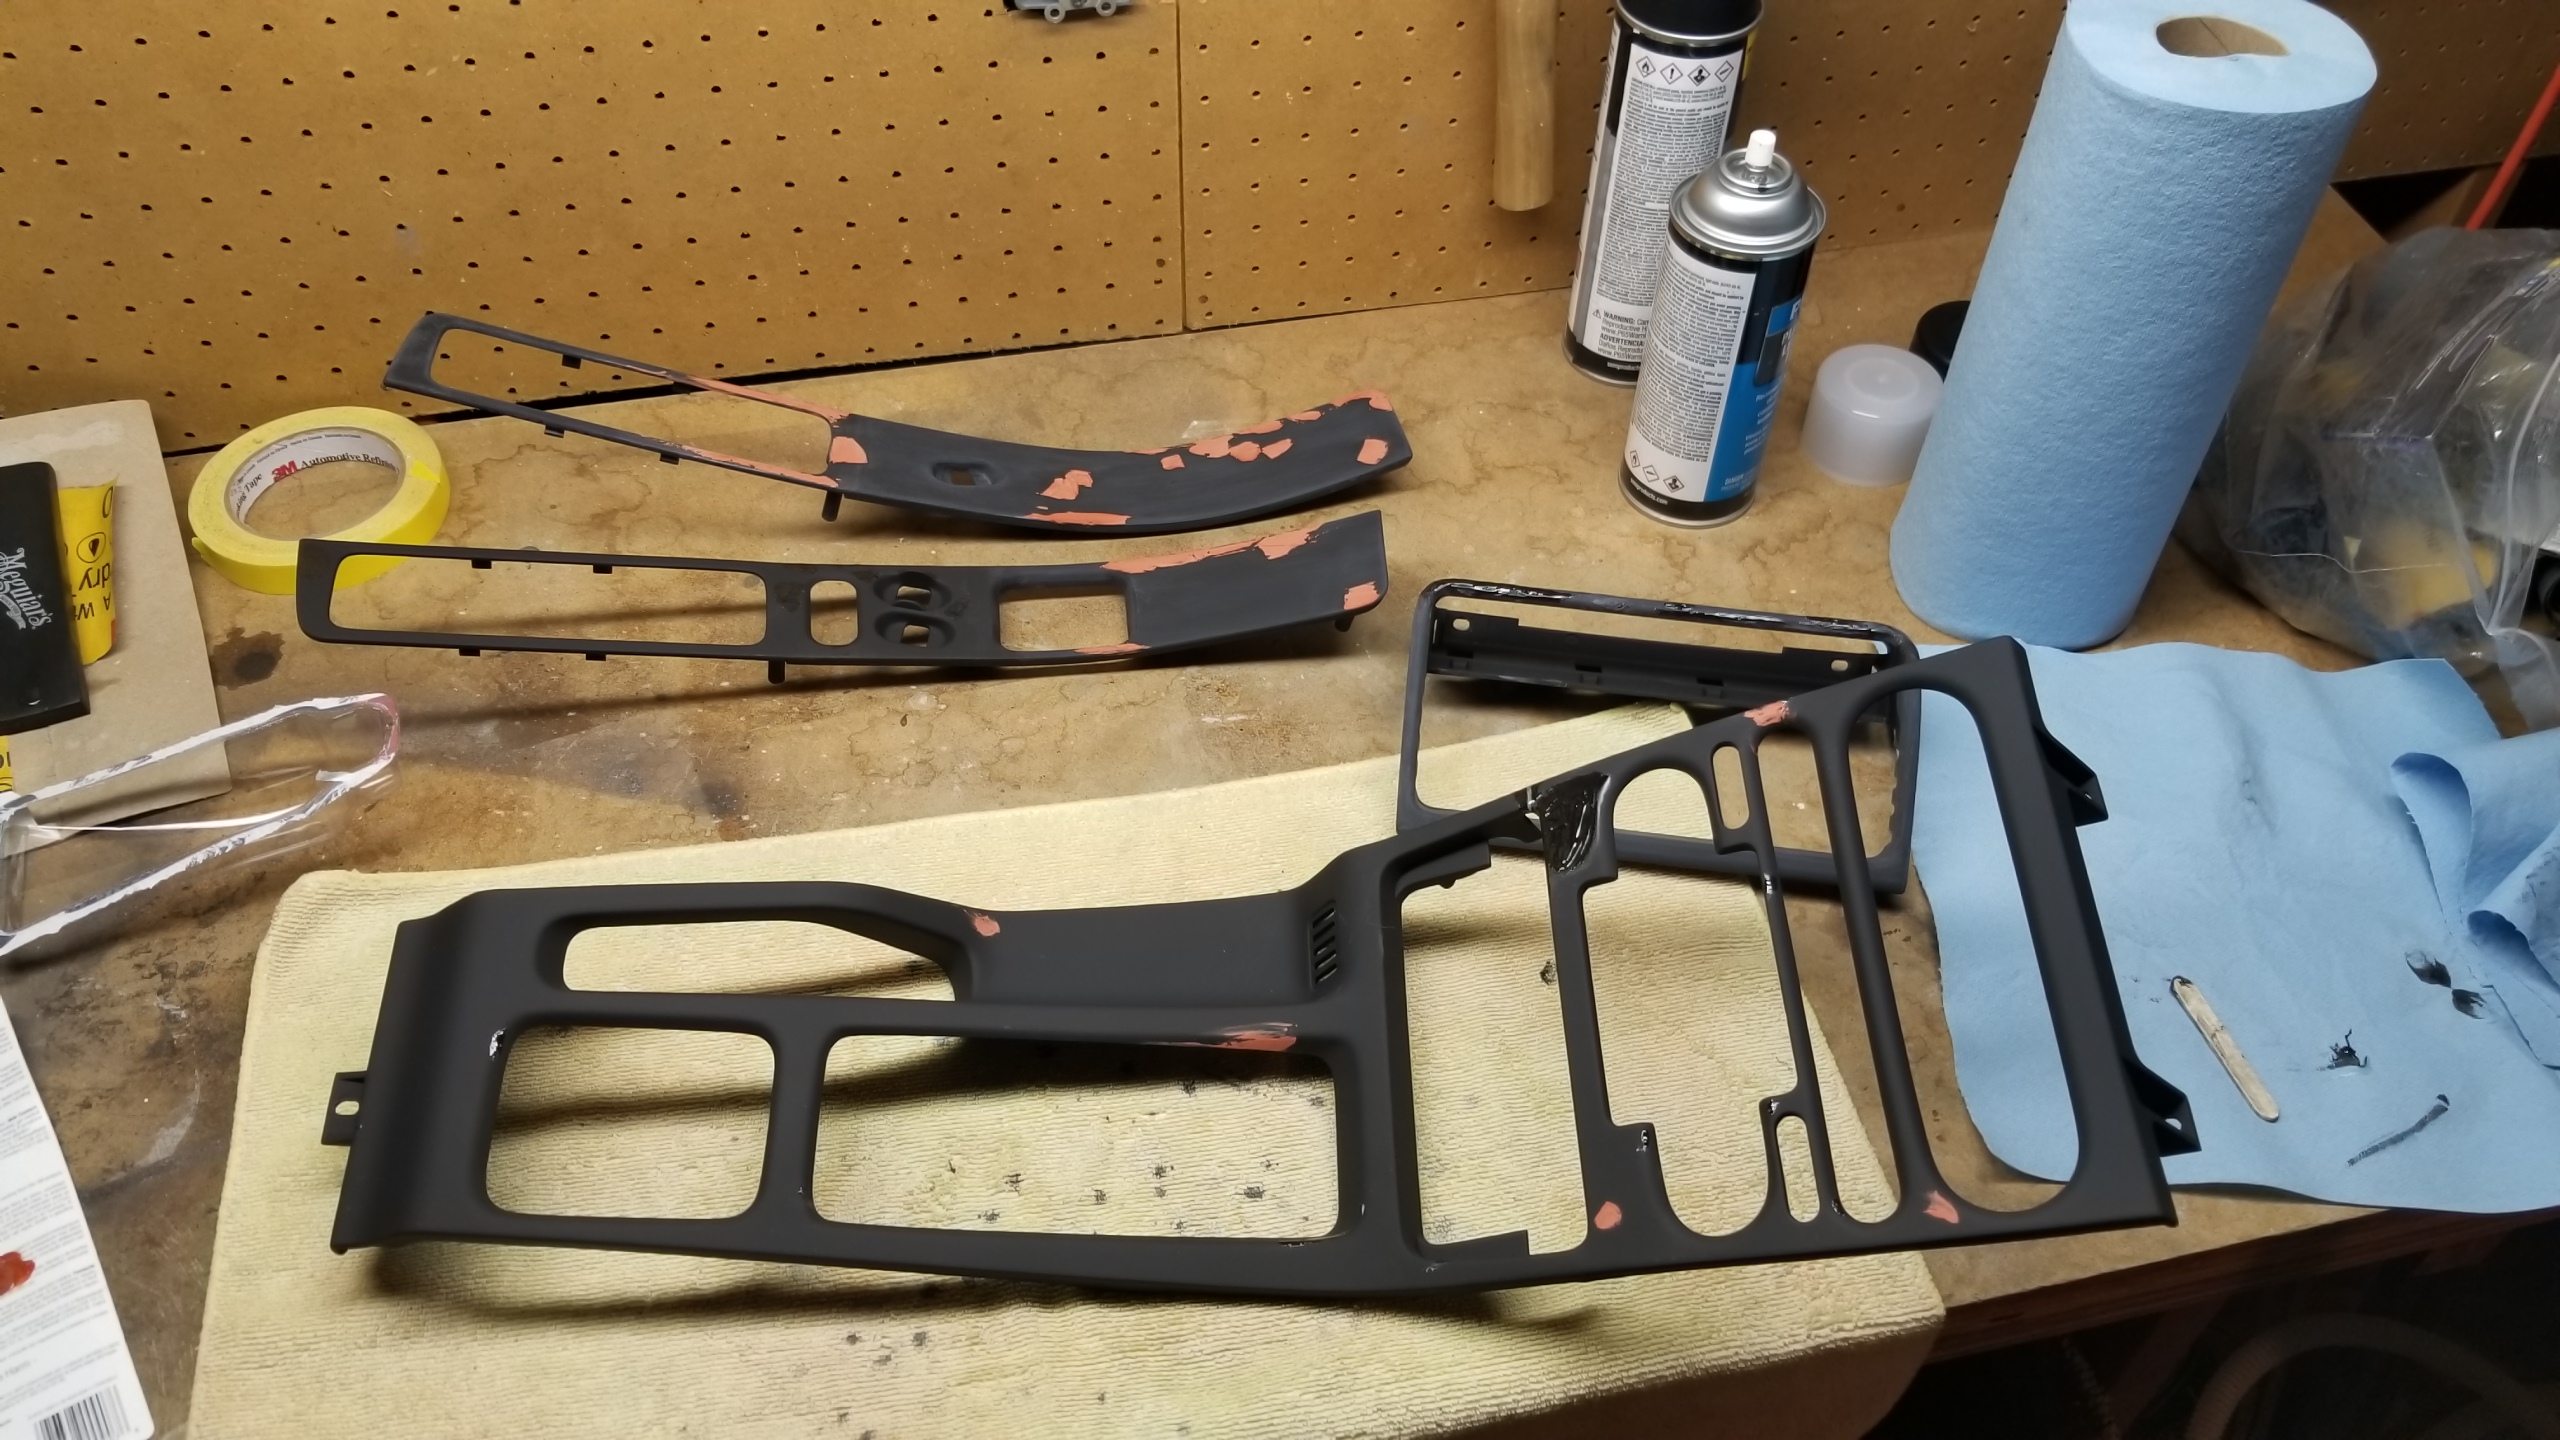
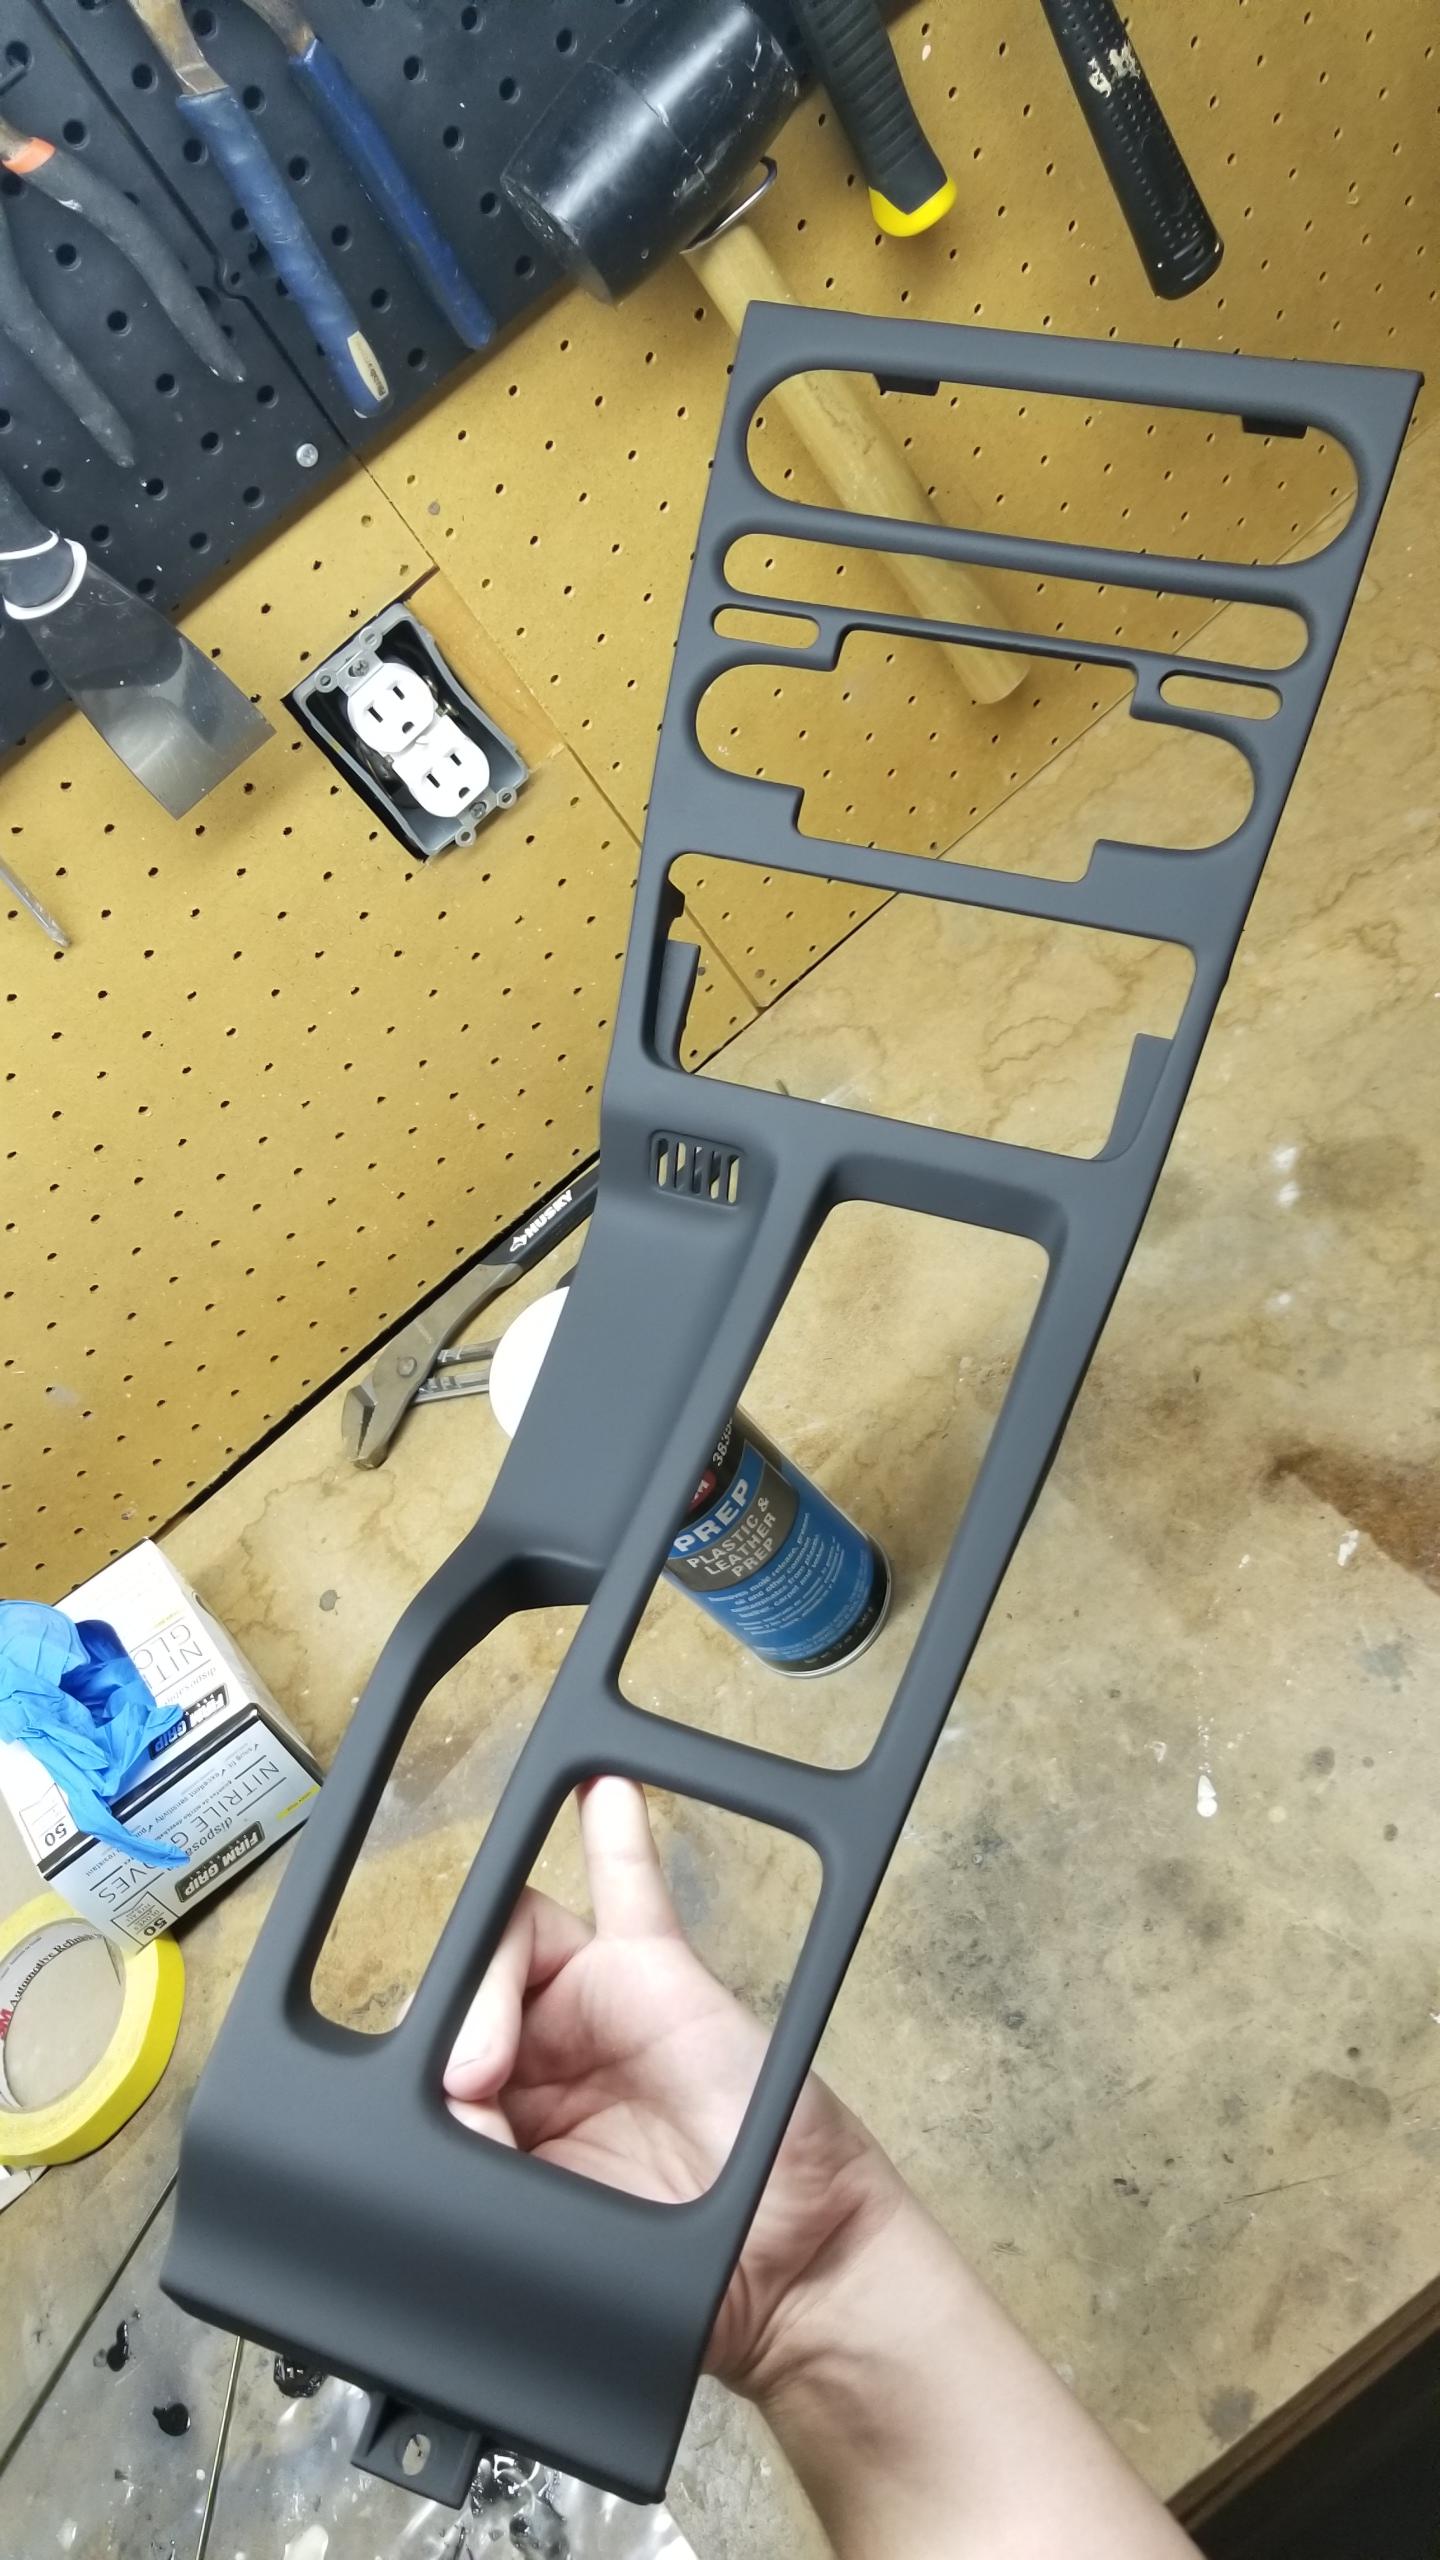
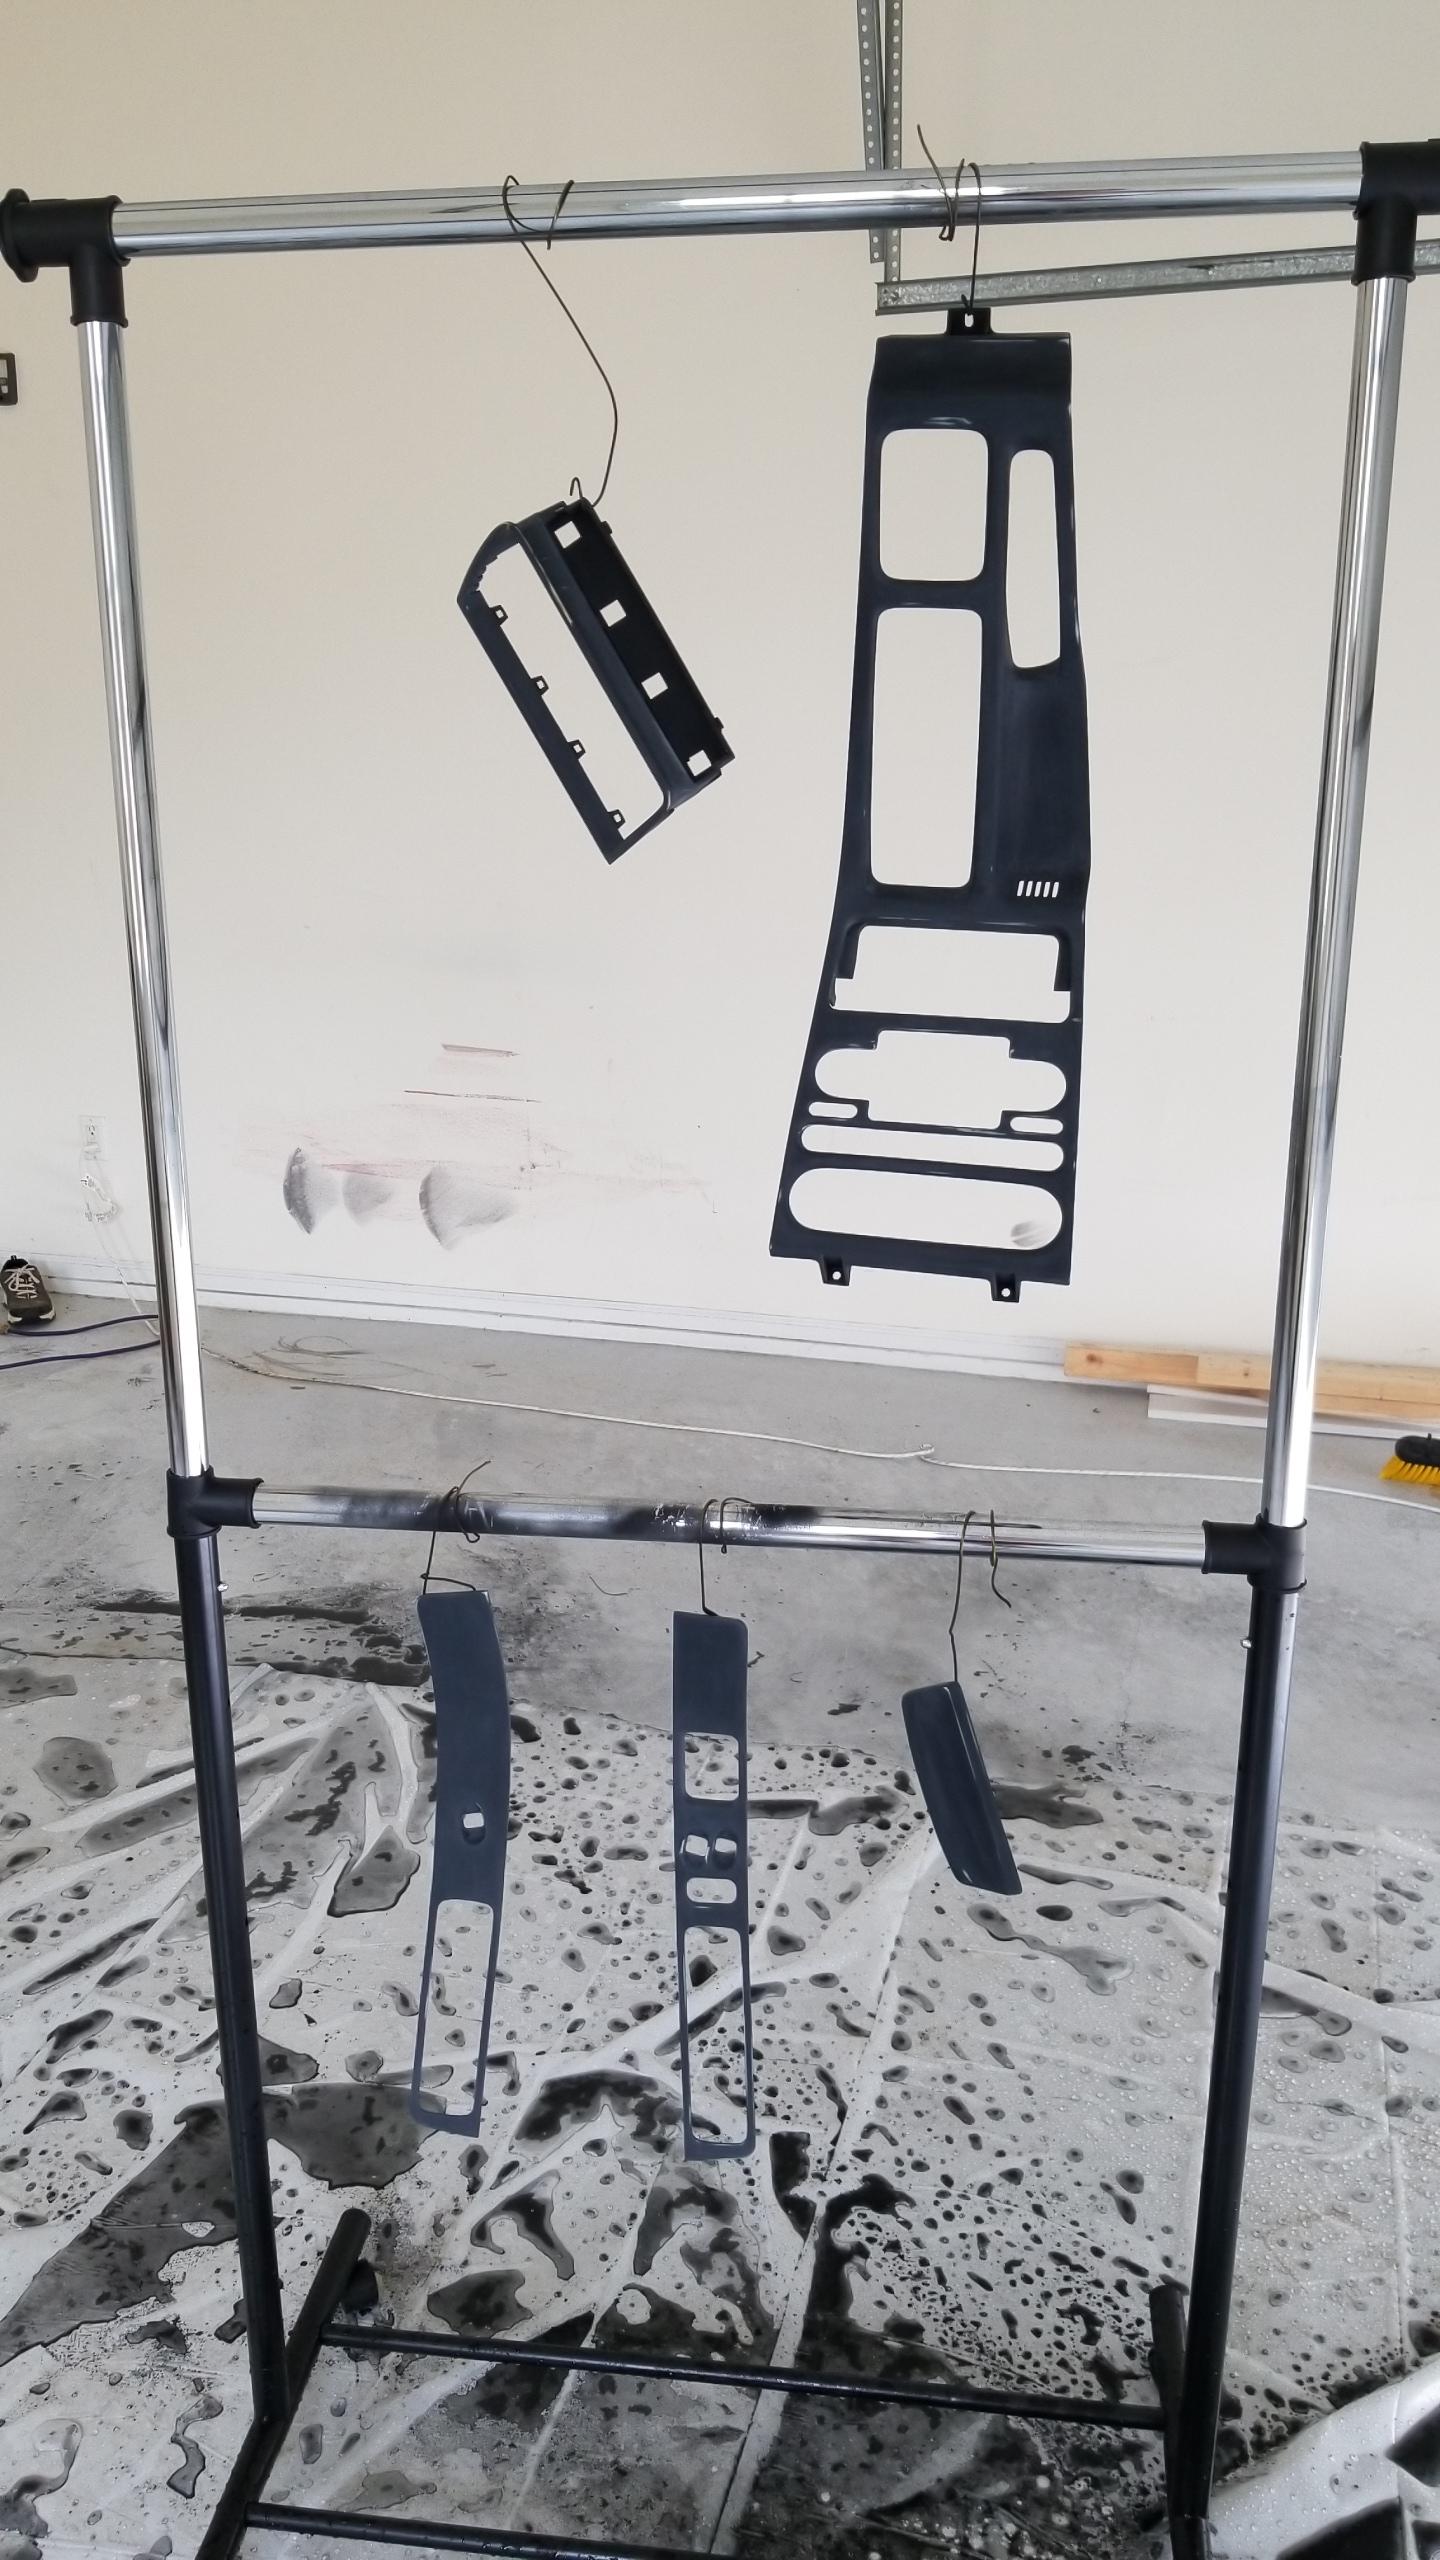
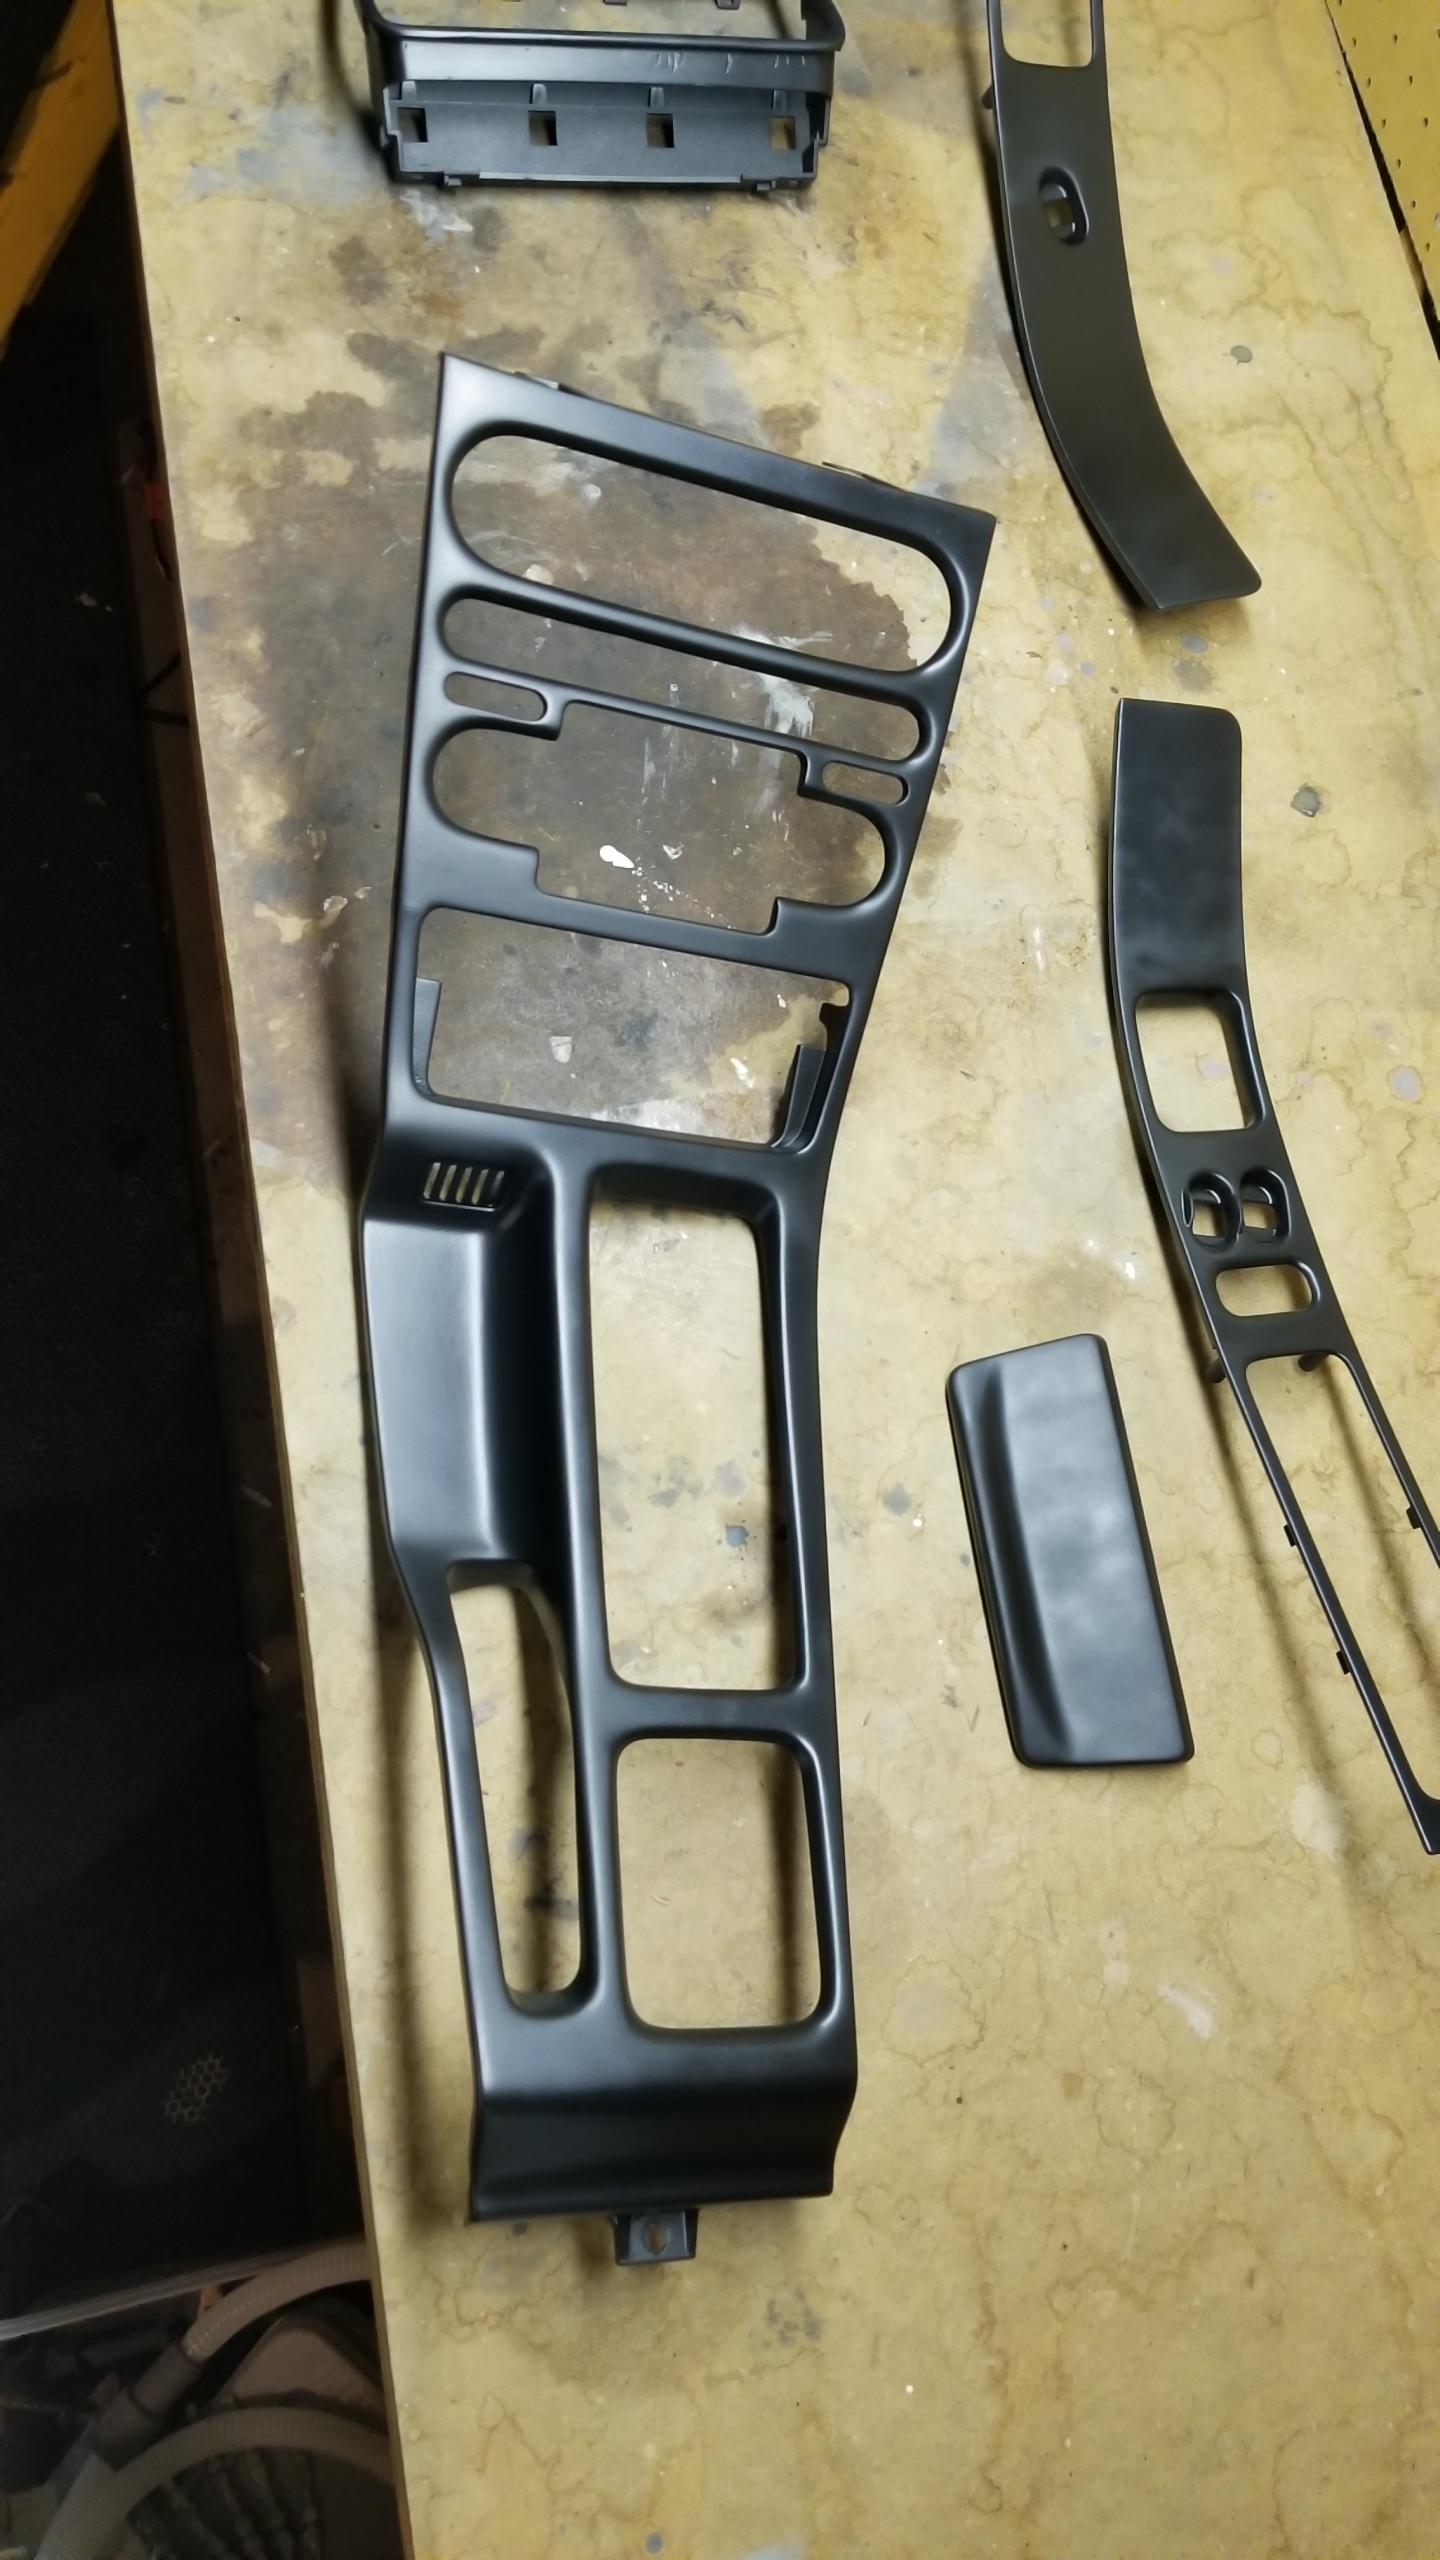
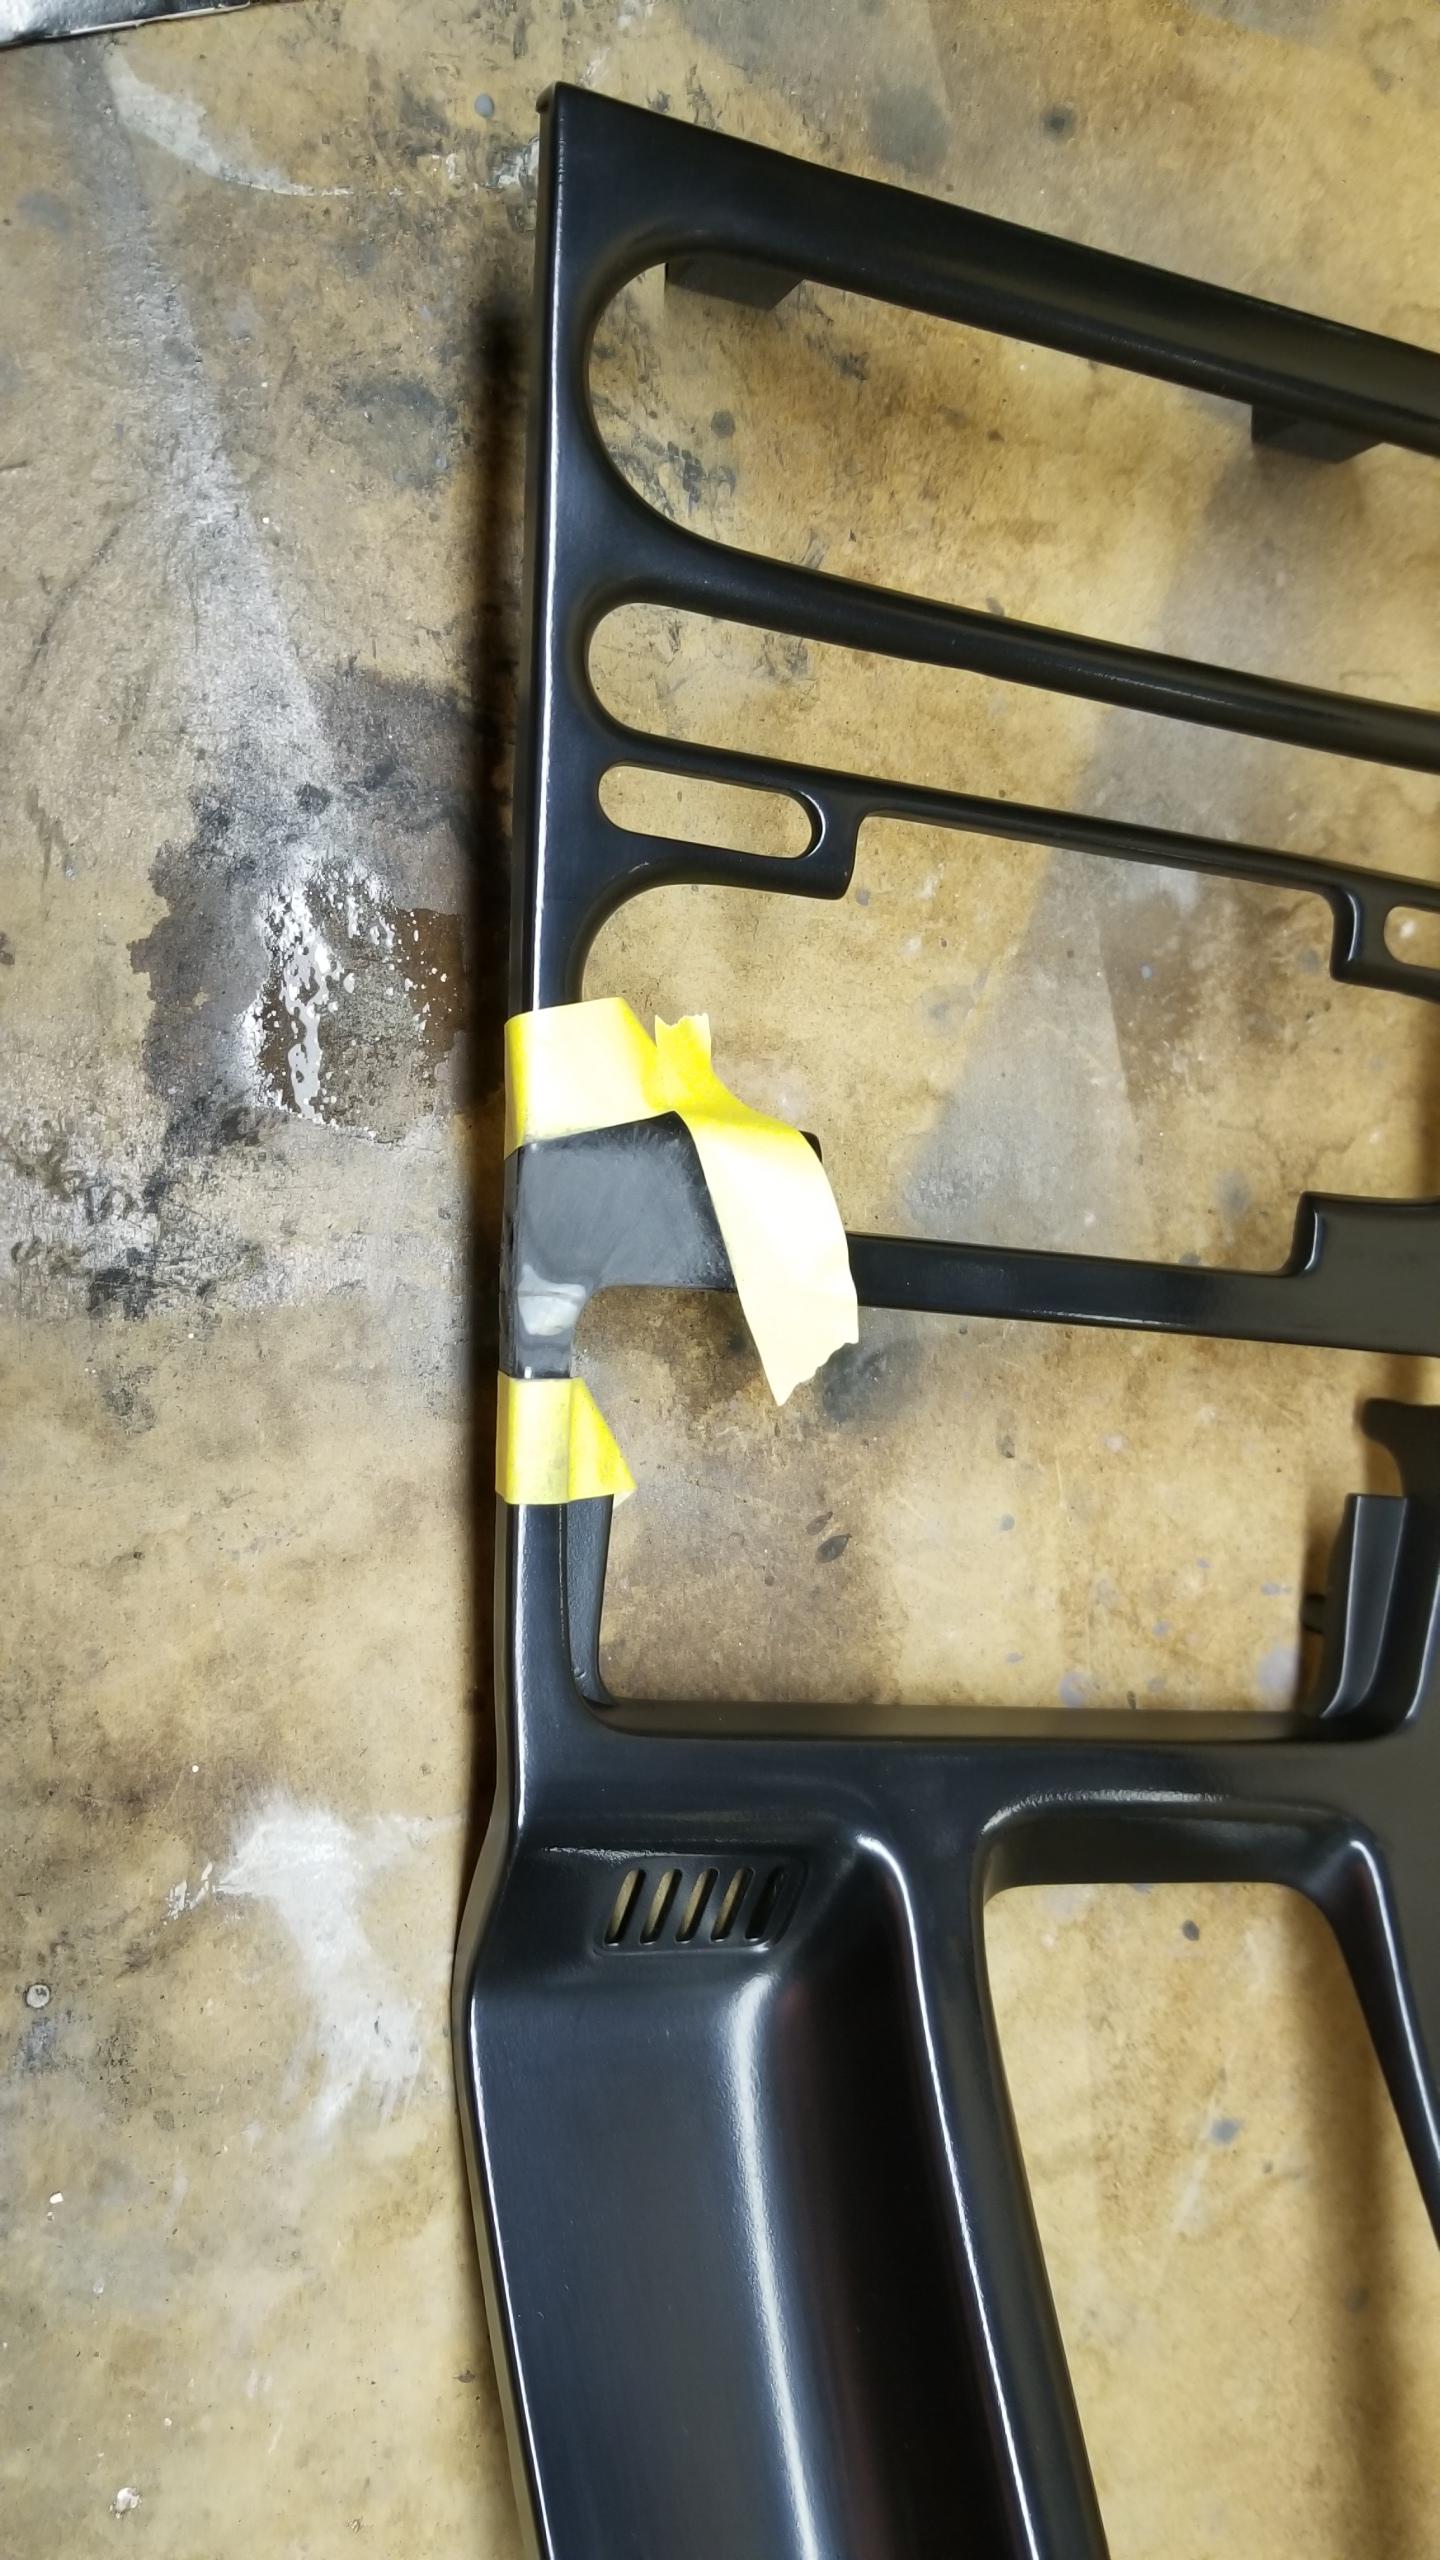
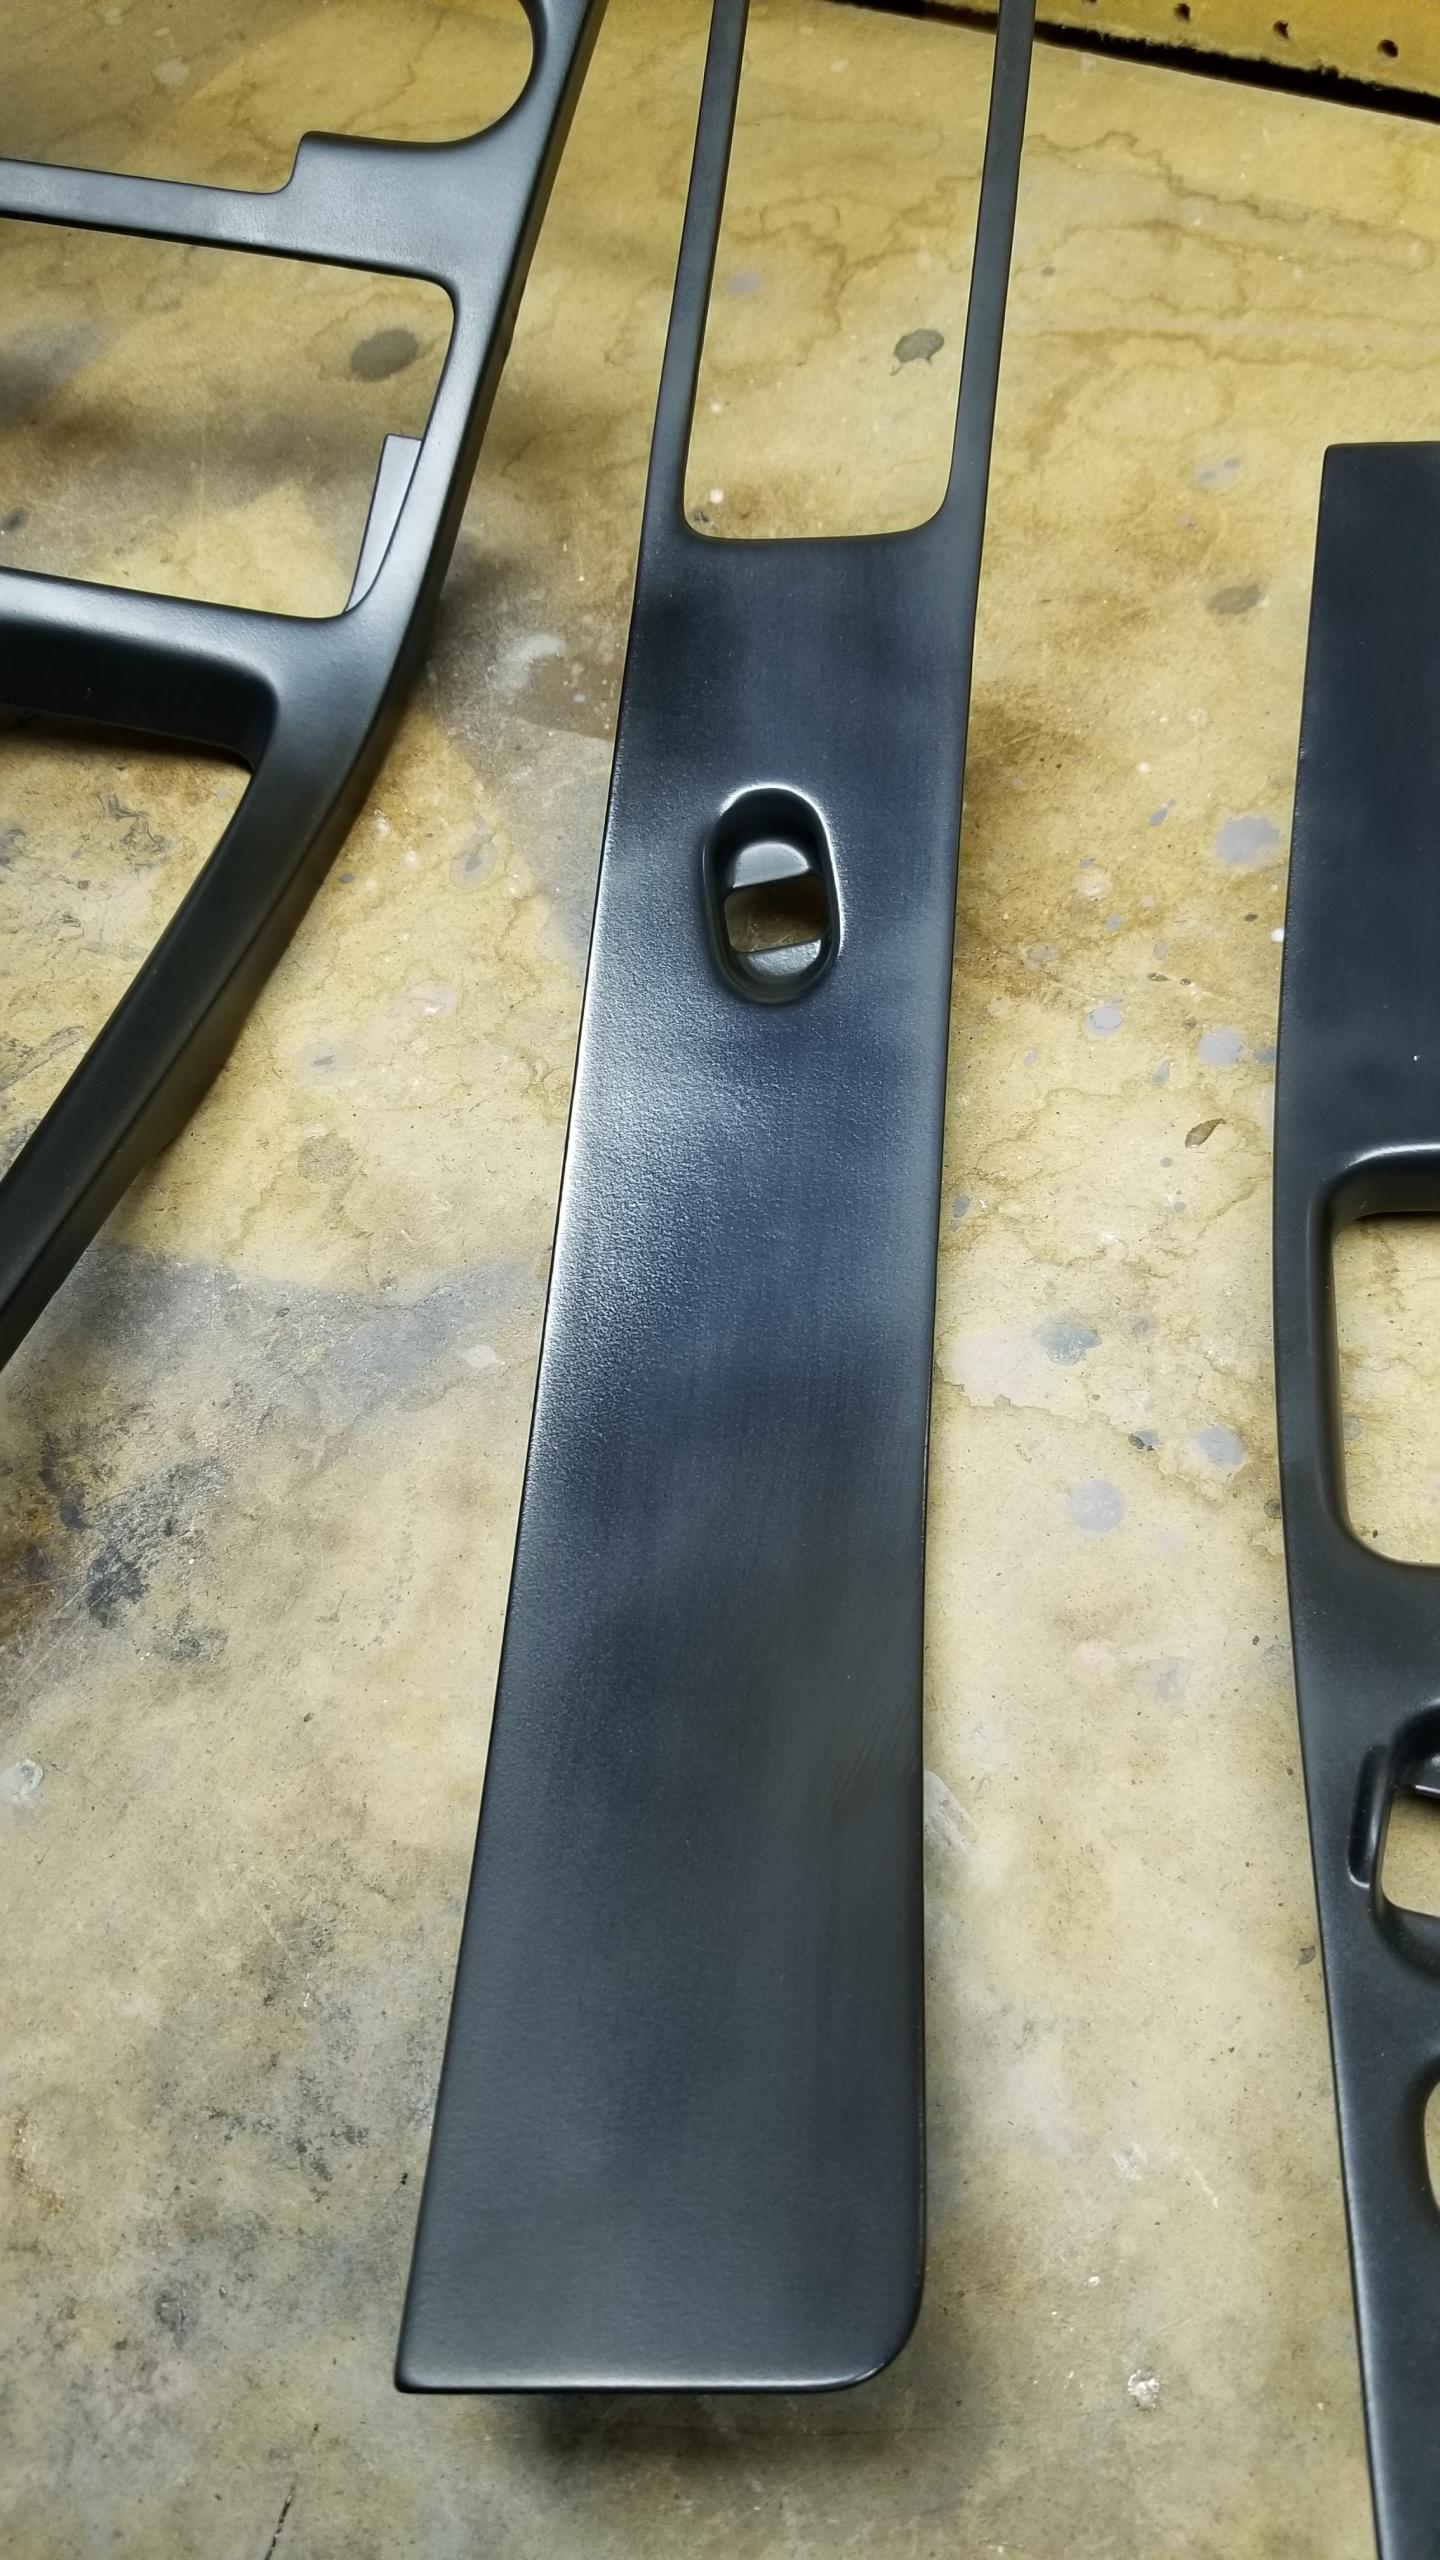
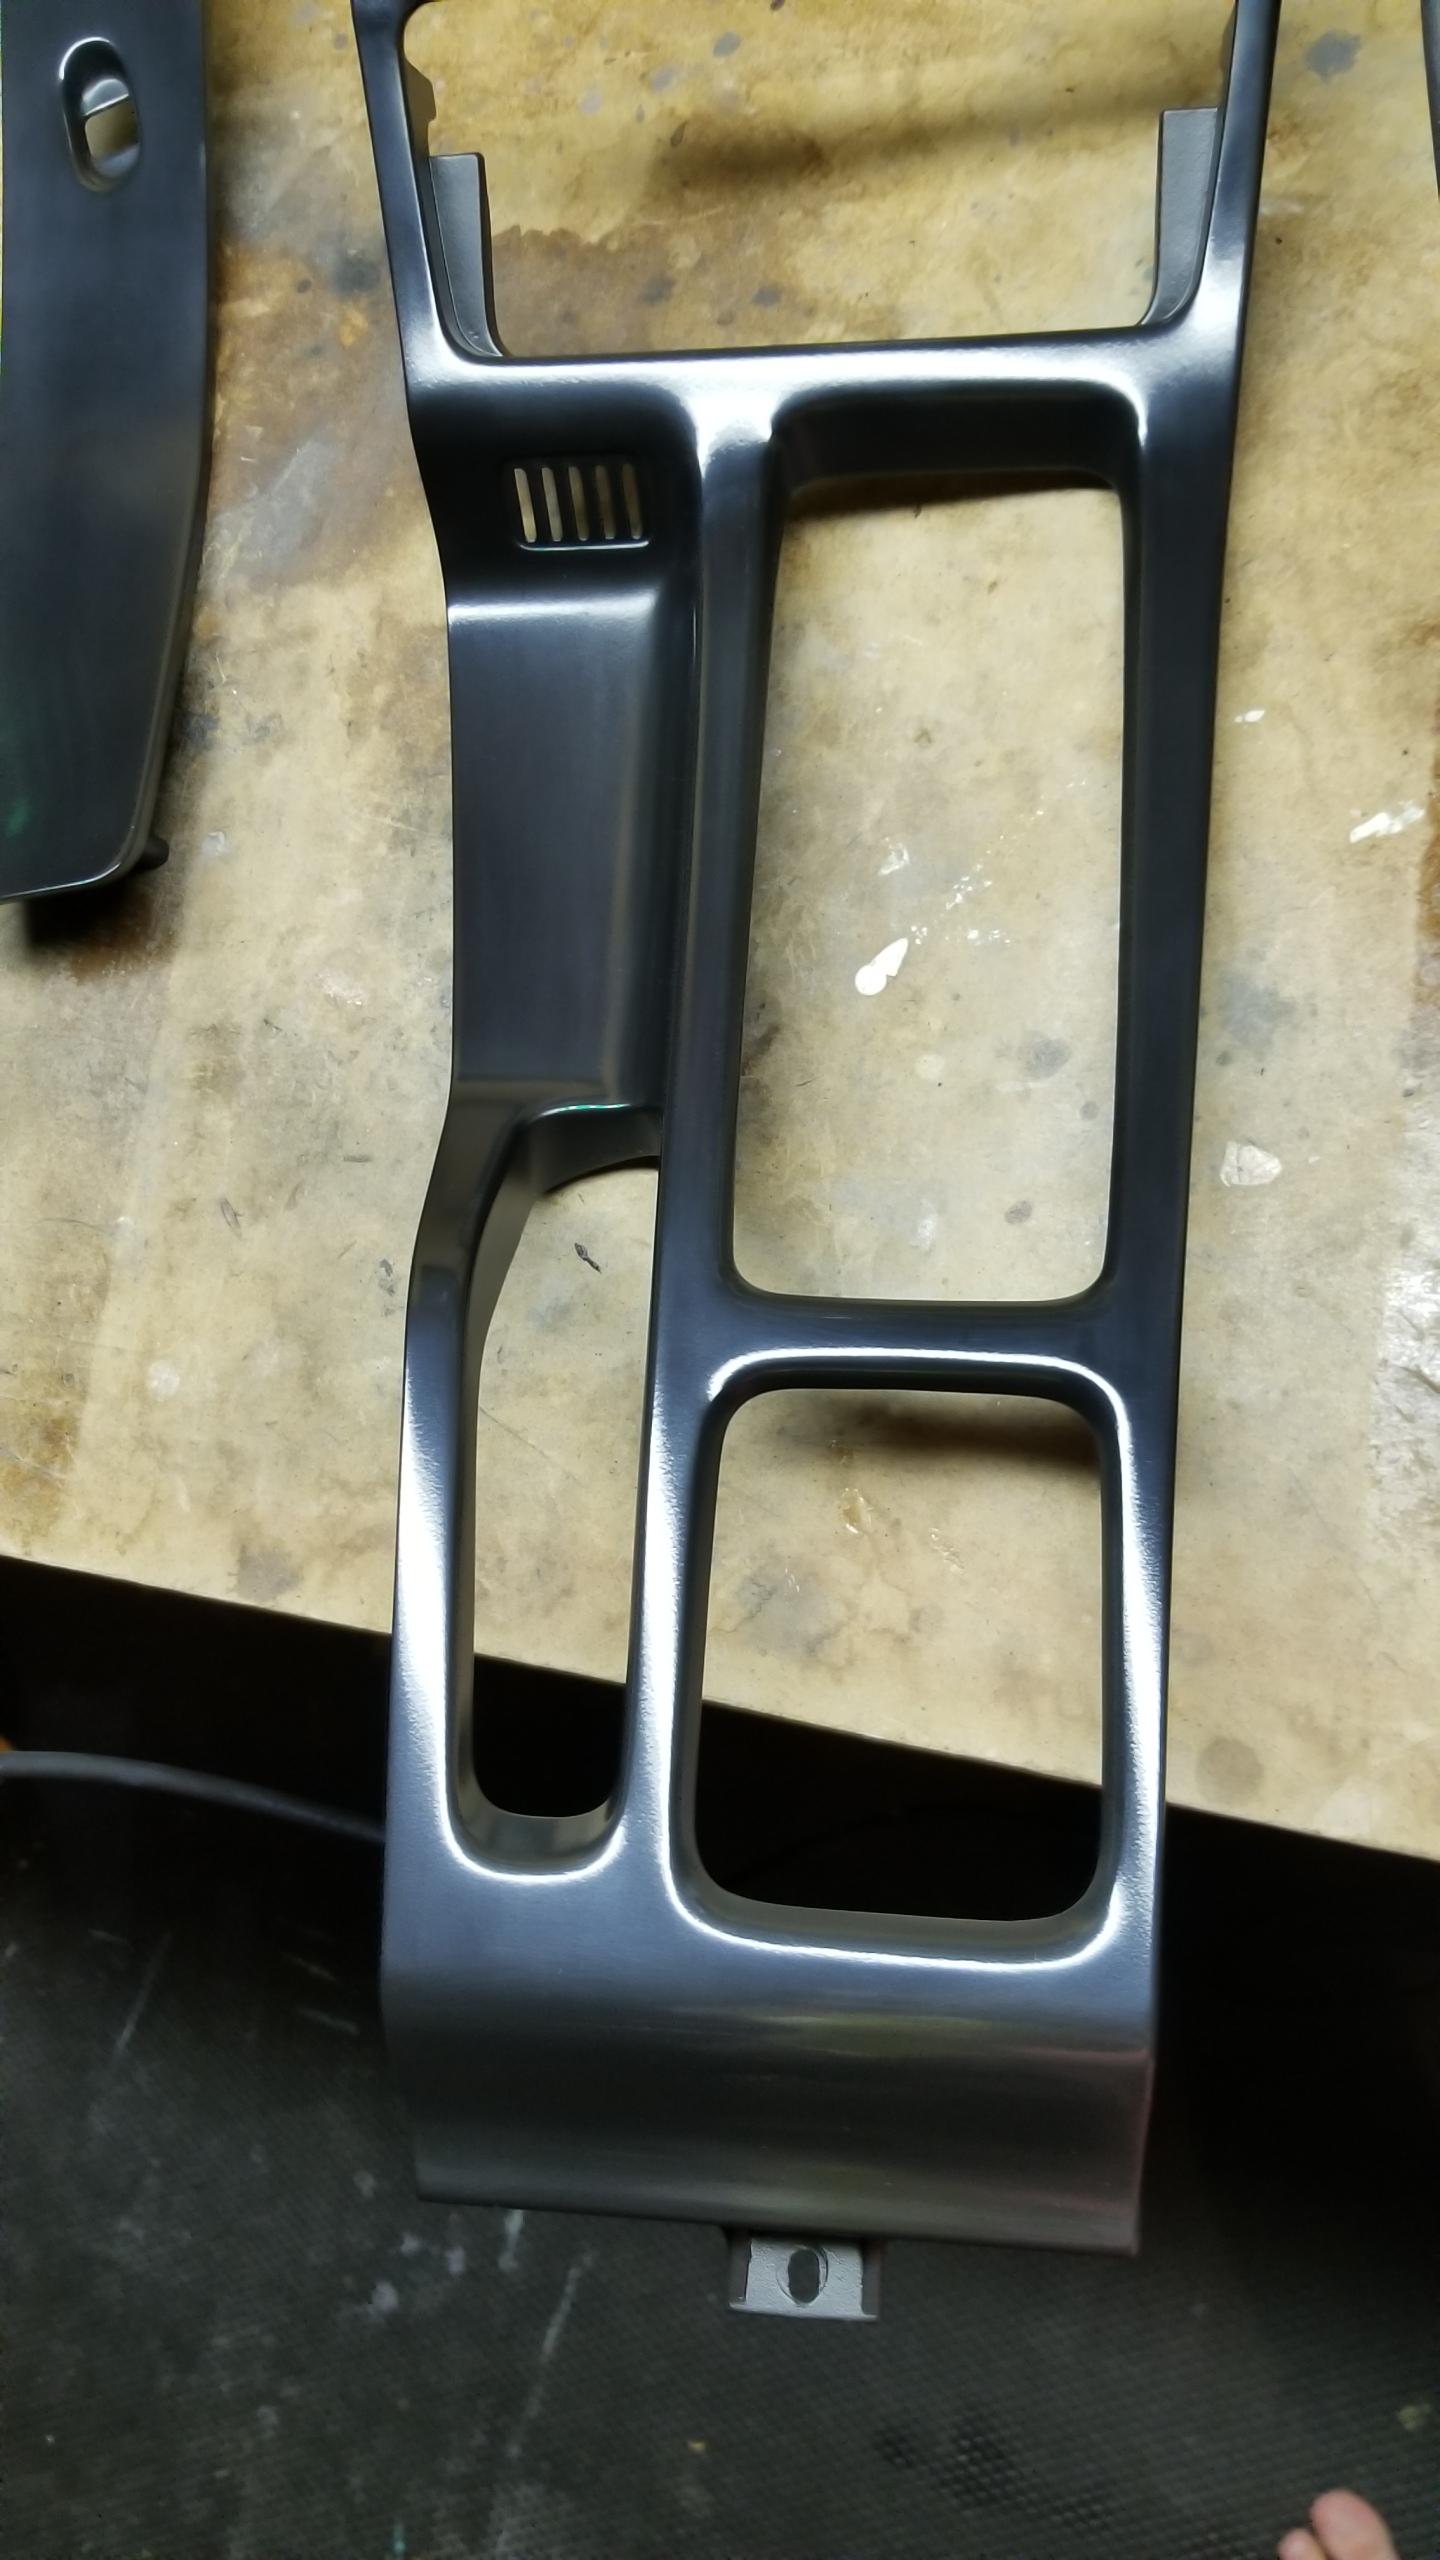
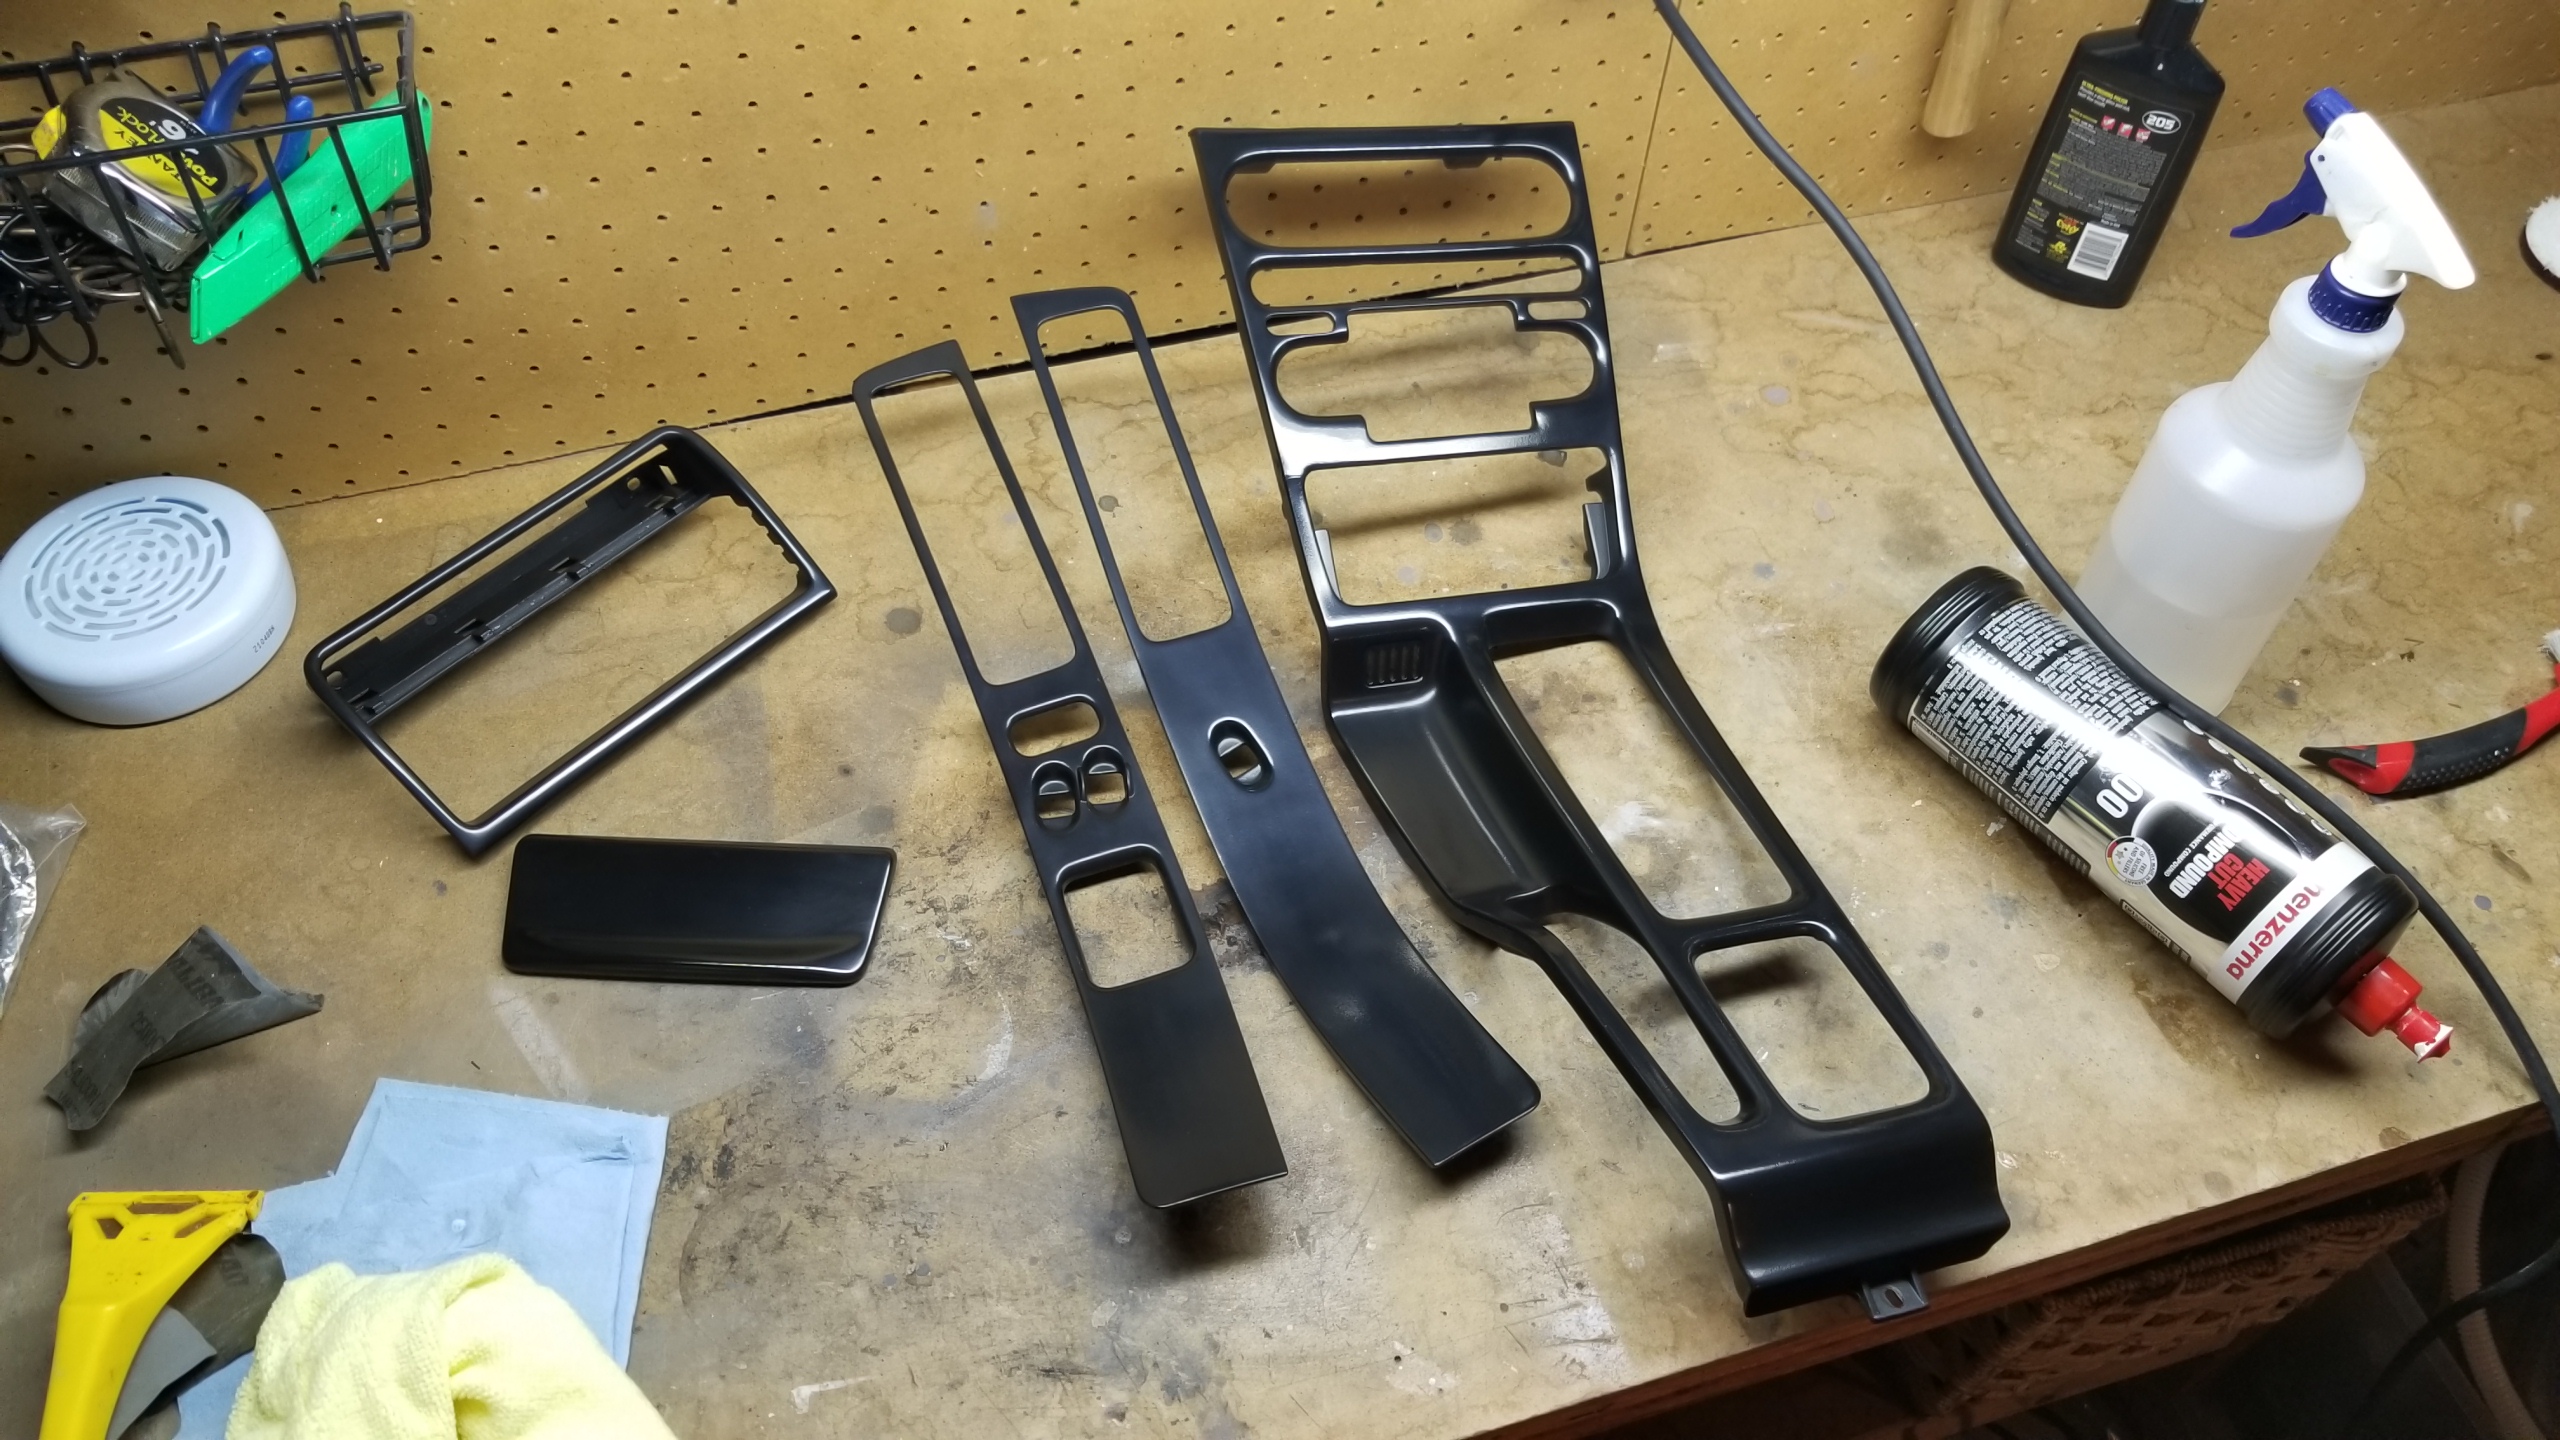
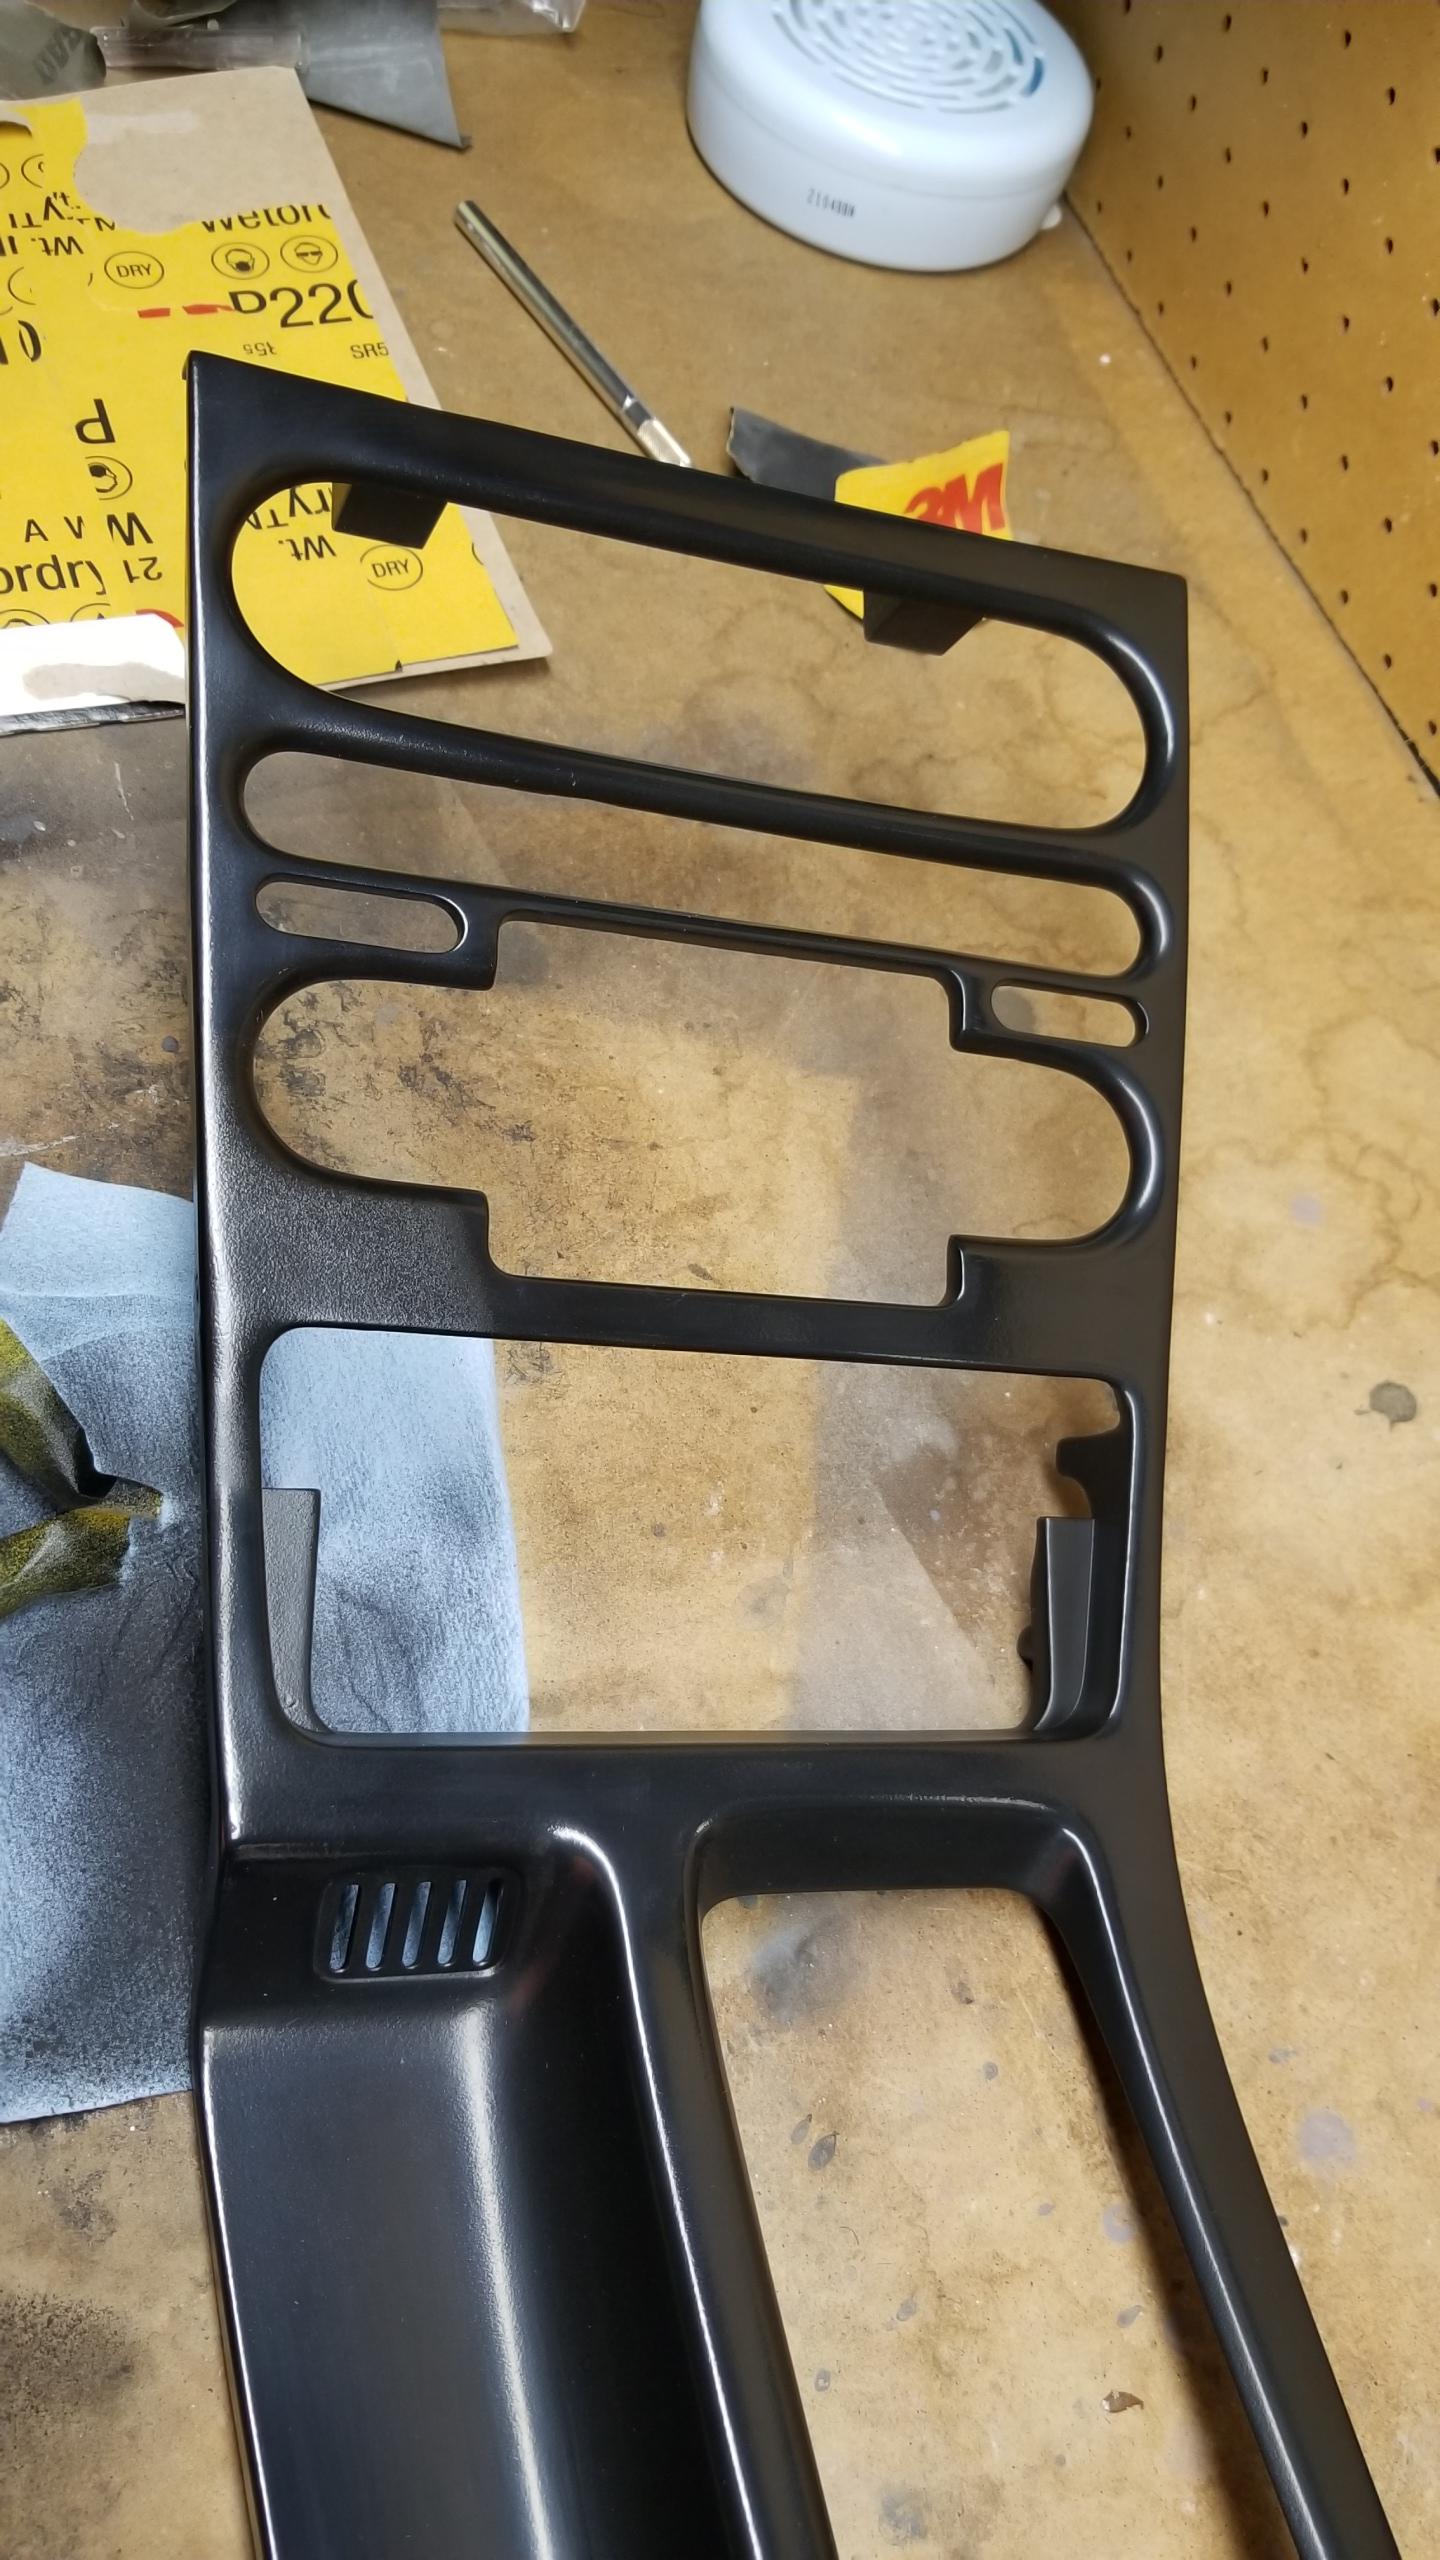
Otherwise I'm the prep on the interior trim pieces, and after that I should be getting a bunch of minor parts to swap out and then begin the ABS conversion.

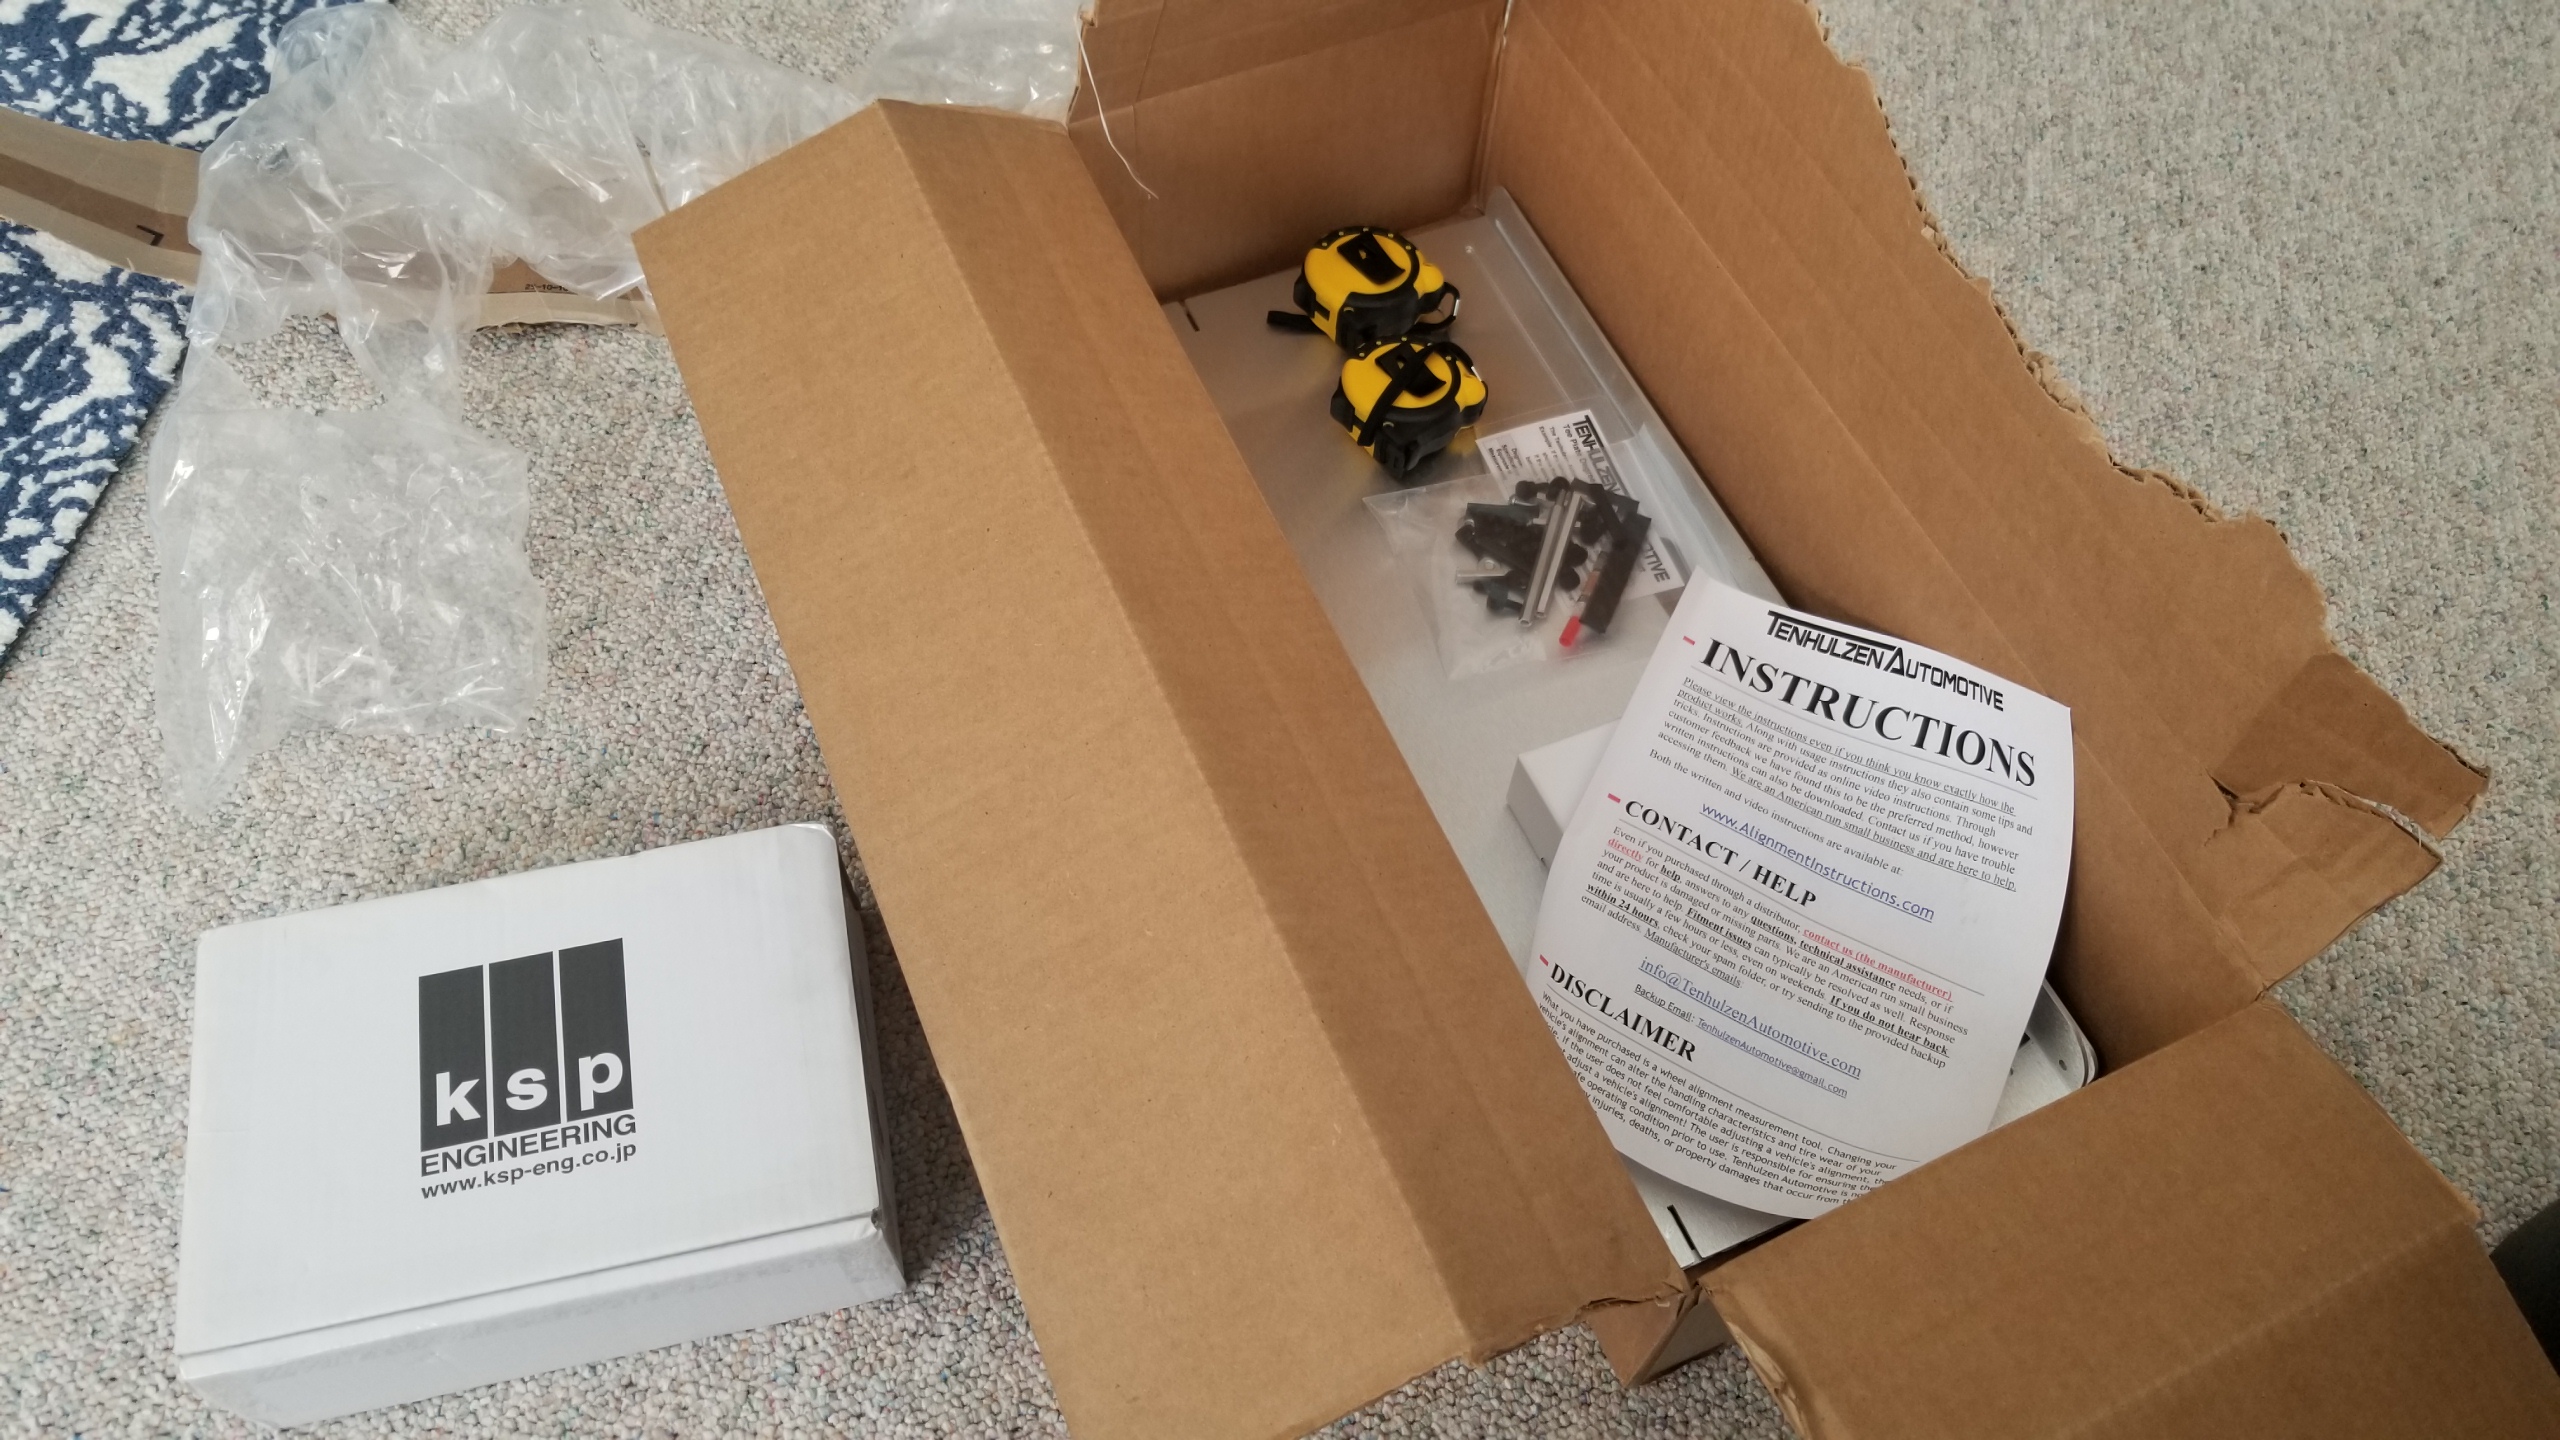
Oh yeah, and I'd still need to get another alignment once I get my strut lengths dialed in. I haven't measured it yet but I'm sure the rear camber is way negative, and I don't want to kill tires that quickly. I might buy a DIY alignment kit and try it out myself before I go to a shop again, especially since I'm expecting my camber bolts will be maxed out positive in the rear and I'd need to install eccentric bushings or similar to get back to sane camber...we'll see.
 
Last edited:
"The water pump and timing belt are already like $600 alone".

I assume you mean for both as opposed to each? In fact I don't see the costs being $600 unless you are also including all the sundries and the tensioner parts for a full meal deal TB replacement. I was curious about the prices so I checked my purchase from Amayama last year and the price (as of today) of the water pump has actually dropped by about 10% compared to when I purchased it last year. It is now about $234 (US $). The timing belt is now slightly less by about 5% ($155 US$). I expect that a lot of that is a change in the currency exchange rates. The up-side is that when I ordered last year I was able to ship by EMS. Amayama is no longer offering EMS to Canada and is now quoting shipping via UPS and that cost increase more than makes up for the drop in the parts prices.

Both yes, I was thinking of the Acura prices of ~$360 USD pump and ~$180 belt plus tax & shipping. I ordered my last WP from Acura and the belt from Amayama, but like you said now Fedex is my only option and for a mid-sized box the shipping is $150 minimum, maybe $90 for the smallest boxes with just a sensor or bolts. We should see in a few days what the new prices will be, I've done so much recent maintenance that I didn't stock up on those items since it would be several years until I'd need them. Hopefully EMS gets back to normal in a few months as well.
 
To actually drive a low NSX and not constantly pull your hair out you just have to try to accept that the lip is sacrificial or install air cups. I think I scraped mine the day I installed a brand new lip, I went with the newer style which hangs down lower than the thin early lips and was used to the clearance of the old lip. Made it as far as the bottom of the driveway before scckkrrrrreeeeeeeee.

The new wheels look great.
 
Last edited:
To actually drive a low NSX and not constantly pull your hair out you just have to try to accept that the lip is sacrificial or install air cups. I think I scraped mine the day I installed a brand new lip, I went with the newer style which hangs down lower than the thin early lips and was used to the clearance of the old lip. Made it as far as the bottom of the driveway before scckkrrrrreeeeeeeee.

The new wheels look great.

Seems like it, on my lowered daily I could rip the bumper off and not care too much but my NSX lip was previously replaced and is the longer version that was in perfect condition so I was pissed lol. Hopefully some rubbing and black trim dye will get it back, I'll probably be refinishing it every few months or before shows..

Grazie :)
 
More misc. updates, as always there's a lot in the works and it's hard to identify a specific point where I should update the thread but I've been collecting plenty of pics.

April seems to be the month where car meets all start up again, now there's at least 2 every week.
51ayScQ.jpg


The traditional monthly C&O in ATL, though I think this time the Noble M400 stole the show for good reason. The chassis had a South African manufacturing tag which I thought was also interesting. Don't see these every year.

You might have also noticed my missing front lip, in my infinite wisdom I managed to absolutely muller a low curb on the way home in the rain and took the lip nearly clean off, and scratch up the bottom of the lower bumper up to the tiedown hooks. I did get very lucky in the damage is limited and it's really not noticeable at the lowest point of the car after some touchup paint was applied, and it gives me an excuse to try and get my hands on a Shine GT lip. If I can do that it'll let me save repainting the lower bumper until I inevitably run over debris on the highway or too many cones at an autoX in the future. Bumper is coming off anyways soon for the chassis bar install and other misc. checkup items.
yeW9eV7.jpg


Parts collecting continues with the KSP ABS conversion harness, it was the cheapest option I could find that was easy to get through RHDJapan, T3TEC and others are harder to order from and US vendors are almost twice as expensive. The quality of the harness seems very good, it doesn't have solder joints to crack like some early harnesses and using it for the S2000 system should just require re-pinning the orange connector. I do need to figure out how the service check connector is going to work though.
xuCndsA.jpg


Also got a DIY 2-wheel alignment kit for camber, caster, and total toe that I want to try out. I don't want to have to pay and wait every time I want to check or change alignment so I think this is a good investment.

I confirmed already that my camber up front is now -1.5*° and rear is -3.5° after lowering, so I'm looking into some options for camber correction in the rear to get back to a more reasonable street setup. Total toe can also be measured with this, but individual wheel toe would still require a string box setup. I figure if I start with a known matching toe on the D/P sides then changing both sides by the same amount should just let me divide total toe by 2 to get individual values.
VSnSwmE.jpg


The saga continues with these things, the first ferric chloride acid bath removed most of the remaining foil but not everything (esp. that which the paint remover didn't get to). Another few hours of peeling by hand and then another acid bath to get absolutely everything off. My pro-tip would be to sand down any leftover paint before the acid bath to allow the foil to dissolve without having to do multiple baths.
ZnG1Qbn.jpg


A few days later and they were finally completely stripped down to bare ABS. They're all ABS by the way, not polypropylene.

This is my DIY paint stand with some wire coat hangers to hold the pieces up.
GORJP5Y.jpg


Unfortunately in the process of stripping the center console, the weight of the acid and shape of the bag cracked the console at the top corners of the ashtray lid. I experimented with some different epoxies and landed on the yellow JB PlasticWeld, the black stuff is completely useless. The yellow epoxy is more easily sandable and seems to stick better.

This was my main regret with this project, the filled-in cracks still show up in the final finish because the epoxy flexes. What I should've done is melted or plastic welded the ABS back together since it's a thermoplastic, even a soldering iron and some ABS rod probably would've worked okay and fused the crack so that you couldn't see anything when painted. I might go back and fix it, might not.
LAj9jph.jpg


Parts primered with SEM high-build flexible primer and sanded, glazed, sanded again, primered again, sanded again, etc. The primer laid down very well and left a smooth finish, but I sanded anyways with 400 grit and used some glazing putty to fill in any scratches and imperfections. There were a few spots especially on the upper vent where the ABS was brittle and came off with the foil so those had to be filled in as well.

I tried some bumper-style filler since it's for flexible parts but that was a huge waste of time, glazing putty was much better and easier to work with.
rCn9ZEM.jpg


This is a before pic but the final primer coat was 400 to 1000 sanded before the color coat was applied.
xosM2DS.jpg


Right before color went on. I wetted the floor down "like the pros do" to reduce the amount of airborne particles that might get stuck in the finish, especially since it's pollen season out.
X0CrISB.jpg


A few coats of SEM landau black and satin clear later, the parts were allowed to dry for a few hours and then inspected. Gotta say, at the primer stage I was about to give this job a 9 out of 10, but seeing the parts now makes me think it was more of a 6. For one, the finish came out mottled as hell, like some parts of the same piece were randomly matte, satin, or gloss. My theory is that the high local humidity in the garage with all the water and lack of ventilation probably messed with the solvent flashing of the clear coat and made the finish inconsistent. Also, the epoxy repairs on the center console were too visible and it bothered me.

I'm close to actually being a decent painter, but it seems like every paint project I learn something new after messing up at least once..
EhFMXOO.jpg


Fixing the ugly bump on the repaired area. Pretty easy to blend in the color and clear afterwards without having to completely repaint.
y9t8ohV.jpg


Closer up of the finish on the passenger switch panel. Blech.
rJrVEXg.jpg


My last-ditch attempt to fix the finish involved hand-polishing the parts with some compound to try and get the finish more even. This actually worked well, but there shouldn't have been the need to polish anything in the first place.
DfzeTv7.jpg


Progress pic. Much more acceptable finish, but the polishing turns the satin into more of a semi-gloss finish which wasn't what I originally intended
5k4iiz5.jpg


After repair on the center console, before polishing to blend.
ickq7BT.jpg


Here's a test fit inside the car. In the end, I think the finish in-context looks much better, and I'll run with it like this. Honestly, the primer stage looked so good that the final product after color and clear was pretty shocking, I had spent many hours over a few days trying to get the parts perfect for it to be ruined at the last minute. They look like painted parts instead of the factory-like finish I was aiming for, but I've spend too long on them already and it still looks better than the old peeling stuff from before. I'm being pretty picky but I think it's still a decent job.
O9IKFcH.jpg


Finally, I did end up getting new lug nuts and finally got around to ceramic coating the new wheels and adding the RGIII stickers. The wheel stand made this pretty easy but still time consuming.
C0V7Fem.jpg


New lugs and cleaned wheels installed. These are just longer black Gorilla-brand lugs. Much better than the Muteki's IMO.
pQKLF5S.jpg


Only thing I'd change is the stock blue valve stems for black or dark blue to match, I'm not sure why they came in this color. Next tire change.
pUq1sLn.jpg


Tons of other stuff in the works, just waiting on parts. NSX-R chassis bar, S2K ABS conversion, Shine GT lip, Modulo CF wing, all my Amayama parts, the list goes on.
 
is it just me? or are pics not working?
 
Looking good McLargeHuge if only I had a name like that my life would be complete

It takes a lot of hard work and dedication to get this McLargeHuge, but you can do it.

is it just me? or are pics not working?

Usually that's because Imgur is blocked on whatever network you're on, my job's wifi has it blacklisted so no pics will load.
 
Big McLargeHuge said:
Unfortunately in the process of stripping the center console, the weight of the acid and shape of the bag cracked the console at the top corners of the ashtray lid. I experimented with some different epoxies and landed on the yellow JB PlasticWeld, the black stuff is completely useless. The yellow epoxy is more easily sandable and seems to stick better.

This was my main regret with this project, the filled-in cracks still show up in the final finish because the epoxy flexes. What I should've done is melted or plastic welded the ABS back together since it's a thermoplastic, even a soldering iron and some ABS rod probably would've worked okay and fused the crack so that you couldn't see anything when painted. I might go back and fix it, might not.

New lugs and cleaned wheels installed. These are just longer black Gorilla-brand lugs. Much better than the Muteki's IMO.

Tyler you are my hero on the JB yellow epoxy. Just ordered some from Amazon for my console pieces. I forget how lucky I am to be in Colorado, where there is basically no humidity. I like to think I'm this great painter, but- real talk- it's just that the paint dries really well here versus the swamps of Georgia. :D

I've been using Gorilla lug nuts since the 90's and have always been pleased with their quality, despite many people on the forums considering them a "bubba" Pep Boys part lol. I just ordered a 17mm chrome closed set for the S wheels.
 
I like the yellow epoxy (besides the fact that it smells like ass), but if you're repairing cracks or splits in the ABS I'd still prefer trying to plastic weld it together so that the cracks don't show when the console flexes, and use the epoxy as a sandable filler. Also wait a few hours or overnight before you move the part around or try to sand it, not "5 minutes" that it says on the package.

The black epoxies (plastic bonder or bumper filler) don't sand nearly as well since they tend to peel off with friction, and they don't seem to hold as strongly. Total waste of time imo. The Bondo glazing & spot putty is not flexible and tends to flake and crack, but it's so much easier to work with to fill small gouges in the plastic (i.e. from peeling off the foil).

I know professionals like to wet down the floor when they paint to reduce the amount of airborne dust, but their booths have regular air exchanges to keep the humidity down. I didn't get any dirt in the paint this time, but the finish didn't turn out well. I kept the garage door closed as well to keep the pollen out but that made the humidity worse. Every mistake I make gets me closer to a decent level of competency..

Yeah the Gorillas seem nice, I was worried about not having locking nuts but most of them are useless anyways. Here's a bonus image of me trying out some custom Honda center cap stickers since I couldn't find 73mm bore Honda caps, I decided against using them shortly after.
IOvW8M5.jpg
 
More parts coming in. Thanks to MITA for providing this S2K ABS conversion kit. Now I have essentially everything I need to actually perform the conversion, including a used ABS unit ($40!) and the KSP NA2 harness.
8JcIGbW.jpg


Added bonus, MITA also provided pre-cut main & monel keys in addition to the hard-to-get rear glass hatch rubber trim. The keys are ordered straight from Honda who also cuts them to your key code, very convenient. The extra folder with gloves and other misc items was also a nice touch.
tmLfm7U.jpg


Older pic that shows the faded hatch trim that will be replaced, it'll make a subtle but great improvement to the exterior appearance. Instructions for install are on FSM pages 20-33 and 20-35. Not sure if I should bother buying "glass primer" before applying the weatherstrip adhesive, I'm hoping some simple Permatex black silicone adhesive will work okay.
gJ5JZZi.jpg


I also got a Pride Modulo replica wing locally after looking for one for a few months. These are pretty expensive new, this one had some major shipping damage that I'm going to try my hand at repairing.
Ua19VU3.jpg


Both sides split open with spiderwebbing on the resin all over the place. I've never owned or tried to fix a piece of carbon fiber before but it doesn't look too hard, another learning experience. With the splitting of the carbon weave in a few places I doubt it will ever look perfect again, but if it turns out badly I was considering getting it painted berlina black anyways and it'll look perfect as long as the surface is evened out. Not sure how I feel about keeping it carbon or black yet.

Why did I want this over a stock or Type R wing? Looks cool and I took some inspiration from the VF-1S Macross NSX which is one of my favorite builds. I'm keeping the stock wing as well. One of these days I'll start prototyping some custom tail lights as well that I started thinking about way back in 2019..
GyQmwiU.jpg


Still waiting on my Amayama shipment of a bunch of panic-bought items, but the lower door seals were 1-3 month backordered which is holding it up. The Shine GT lips are 8-10 weeks out too so I might just get another stock lip in the meantime.
 
The work never stops. Center console fully installed for the first time in months.
acXXZIW.jpg


I think it turned out okay in the end. Final grade 7.5/10, still looks much better than before and I won't cut my hand on a piece of peeling foil.
eql28tQ.jpg


Finally hit 50k miles on the way to a show. Many more to come.
ka0V5lE.jpg


Starting permanent repairs on the door cards. I dremel'd off the old broken tab mounts to make a flush surface for some custom 1/8" thick ABS sheets to epoxy to.
L2l5z0P.jpg


Measured and cut ABS sheet to size, and used more JB plasticweld to secure to the door frame. I also reinforced all the inner screw tabs since those break all the time. The uppermost ones were already broken which caused the ends of the door card to flop around. Once the epoxy sets fully, the new tabs are stronger than the door card itself so I'm confident this will last. The stock screws are still long enough to thread into the door with the added 1/8" thickness.
aFhCM8Z.jpg


Left door card fully repaired and reinforced all the way around and felt tape on the edges like factory to reduce rubbing. It's no custom 3D-printed super-door but if it works it works. I left the metal straps where I could to save some work.
g9pqyic.jpg


Driver door fully repaired a few hours later. This one needed more work since almost all the tabs were gone and the left-side plastic edge was damaged pretty good, so I added more reinforcement to it as well. This took pretty much all day, and ABS is very easy to melt when cutting and the fumes are horrible. Anyways, it's very solid now and looks perfect from the outside. Last to-do is to drill holes in the tabs once I locate the card onto the door to mark the exact spots.

Before I do that I still need to adjust the windows and get my new lower door seals which are still backordered from my Amayama order last month. Both the fuel differential pressure hose and the L/R lower door seals were 1-3 months out, now I'm just waiting on the L door seal before everything ships out.
FvHgTqw.jpg


Before installing the door trim panels, I used new foam insulating tape on the side vents to replace the completely mummified, crumbling OEM foam. Armacell is the real good industrial-grade stuff. I'm sure the HVAC unit needs the same treatment once I remove the dash at some point. These vents clip tightly back into the side trim and I added some dots of black RTV like the factory glue that was scraped off.
iq6peP8.jpg


This should be the "last" item I need for the ABS upgrade. Normally, any available NA2/S2K ABS harness has a SPST NC mechanical relay for the ABS warning light. For reasons beyond my electrical expertise, it's recommended to use a solid-state relay to replace the mechanical one especially if you have a digital gauge cluster like my S2K one or an AEM, etc. This relay is pretty expensive but fits the bill, I'll just need to make my own patch harness with a 4P connector and flying leads to the 4 screw terminals.

Thanks much to [MENTION=18194]Honcho[/MENTION] as always for providing his own S2K wiring diagrams and assistance with my questions on this project, he's done all the hard work already.
5ptHuTN.jpg


I found that my FL brake caliper (potentially also the FR) was leaking because my master cylinder fluid level had dropped and the bottom of the caliper was wet with fluid. I'm not sure why yet but my guesses are the Centric seals or pistons were bad, or the square-cut seal surface was contaminated.

I saved my old OEM pistons that look almost perfect on the outside, but the insides were pretty badly pitted/rusted so I spent a while with naval jelly and wire brushes to clean out all the rust so that I can re-use them and eliminate one potential leak. Also shelled out $70 for one 01463-SL0-020 (thanks MotorMouth93) which is the 94-96 front brake rebuild kit still available from Acura. The P/N is a bit hard to find since most seal kits online are for 97+ or the aftermarket ones which have the wrong piston boots. I don't regret at least trying the Centric kit since it was 1/8 the price and the re-rebuild shouldn't take long at all.
doRJqZW.jpg


Finally, starting repairs on the Modulo wing. I had to cut a hole in the bottom to allow all the loose debris to fall out and stop rattling around inside.
udtgoah.jpg


Then it was a long process of using a carving bit to cut out all of the cracks in the resin and prep for new epoxy. There were a ton of spiderwebbed crackers on both ends and they went down all the way to the fiber so this took a while. The resin is ~2mm thick in most places which gives a lot of room for sanding, but would take forever to get all the cracks out.
3AIC9ql.jpg


In progress. Absolutely no idea what I'm doing, lol. It was at this point I reconsidered my sanity.
27Dr1NO.jpg


After a while, I had dug into each crack and sanded down the area with 180-400 grit. The cracks went deeper than I thought so there are still some shown that I had to dig even deeper into.
WBPEWik.jpg


The setup for repairs. The resin is a high-performance 3:1 two-part system that I had to mix in gram quantities since I'd have to do multiple stages of resin filling.
MWw6Yl7.jpg


First pass in a less-noticeable area. There was a long crack in the middle of the shiny area that I covered first. I learned that in the first few minutes, the mixed resin is still low viscosity and tends to run a lot and drip off the ends. After a few more minutes, the exothermic reaction with the hardener causes the resin to thicken up, so there's a ~15 minute window where the resin is thick enough to spread evenly without much running before it reaches the point where it's too hard to spread well.
GLpIuWI.jpg


First pass on the worst area. To get the filled-in areas to be even enough with the surroundings will take multiple rounds of application, 24hr curing, sanding, and re-application of resin until the surface is built-up enough to block sand everything and get a level finish. The only problem is that the deep cuts I had to make also creates a visual distortion in the weave because of the edges of the "troughs" reflecting light unevenly, but there's really no fix for that that I know of besides completely removing the thick resin layer and re-covering everything which would take ages. I would consider trying that if I had a machine sander but then I'd also have a very good chance of damaging the weave fibers anyways.
sd7yX5T.jpg


The front tip also had a dime-sized piece of resin missing which cleaned up perfectly with one coat. I would feel confident fixing damage like that in the future since there's less surface area to cause visual distortion, but repairing so many deep cracks is a different story. I'm still in the process of waiting for the curing to finish to sand & fill again with more resin.
Jdur0g5.jpg


I also got a Shine GT lip from another helpful Prime member that somehow arrived in 3 days with Greyhound from Cali to ATL. The package is huge and oddly shaped so the normal methods were $350+.

This one is scraped up on the underside and took a hit on the front-left which cracked the FRP open. I'll use some fiberglass filler and mesh to fix everything up to make it look good before painting in gloss black. At least this way was much cheaper and took less time vs. waiting for a new one. Again, never repaired fiberglass before but a good chance to learn something. I have a new OEM lip to put on as well if needed.
zRZNqZp.jpg


My next upcoming goalpost is to prep the car for display in the showcase parking at the Why2k car show on May 15th in north GA. There's a lot of work to do be done in-between now and then so I took the week before off. Kinda like the Space Race advancements during the Cold War but completely different.

List includes:
-Finish repairs on the Modulo wing to install, potentially having it painted black along with the rear hatch garnish and A/B pillars
-Same for the Shine GT lip spoiler
-Window adjustment
-Replacing door lock connectors with WPC spec
-Re-assembling doors
-Replacing rear hatch rubber trim
-Front bumper removal for NSX-R chassis bar install, new horns, & fitment re-adjustment
-Full detail and re-polishing of some problem areas
-ABS conversion if I have enough time left

I doubt I'll get everything above done by then but most of it should be achievable. Who wants to come on down to help for some free beer/kombucha/whatever? :biggrin:
 
Before I do that I still need to adjust the windows and get my new lower door seals which are still backordered from my Amayama order last month. Both the fuel differential pressure hose and the L/R lower door seals were 1-3 months out, now I'm just waiting on the L door seal before everything ships out.

Ugh lucky you! After agreeing to wait the time frame for those items, Amayama cancelled both my lower door seals, the fuel differential pressure hose, and the window seals. Ordered lower seals from Tim but that order has been "processing" now for a month. Ordered the window seals from Mita, but forgot the trunk seal. Of course Amayama has the trunk seal for 58 but the shipping is 176! I'll be ordering that one stateside. The huge run of orders really screwed things up.
 
Windows

Wow, you're sure getting there!

2 steps forward, 1 step back ;)

Ugh lucky you! After agreeing to wait the time frame for those items, Amayama cancelled both my lower door seals, the fuel differential pressure hose, and the window seals. Ordered lower seals from Tim but that order has been "processing" now for a month. Ordered the window seals from Mita, but forgot the trunk seal. Of course Amayama has the trunk seal for 58 but the shipping is 176! I'll be ordering that one stateside. The huge run of orders really screwed things up.

When did you order? Mine went in on March 17. Interesting you also ordered that hose, I just added a bunch of stuff I thought would be useful to my cart. Did Tim give you an ETA? I was going to get the lower seals for a while but finally got them right when everyone else was trying to. I'm hoping they get here along with SoS's NSX-R front bar the week of the 9th so I can put everything on in time. My NSX-R coolant cover and some other dress-up parts are stuck in JP too. It's also Golden Week so the timing sucks.


Took a bit of a cheat day today to get some work done. Unfortunately I checked again and my FR caliper is also leaking fluid but not as badly, so I ordered another OEM seal kit. $140 total down the drain for some rubber circles..

The rest of the day was adjusting the windows. I've been putting this off for about a year now if that indicates how much I didn't want to do it.

Not sure what I'm trying to convey with this pic but you can see all the adjustment bolts shown. I'll also scrape off the old door plastic sealant and have new plastic screw grommets for the ones that are missing.
Wu9Gfnl.jpg


First off, I only just realized due to Honcho's recent pics that I didn't put in my new upper door seals correctly, the small inside upper lip wasn't pushed into the A-pillar cover. I fixed that on both sides but the seals might have set in the wrong position already. I'm not buying new ones again though.
nA8FCZJ.jpg


Can't really show progress pics but watch the F/R sashes to make sure the rubber edge isn't pushed out too far or it'll tear. Both of my door handles are torn already so that wasn't a concern.
y9LyeKQ.jpg


First test of the left window before adjusting the window guides. Some leakage.
LcsHbfU.jpg


Second test. Much better even with the "old" new door seal. That was about 6 hours of work. Though I'm using the FSM as reference, I'm not bothering taking measurements of anything and just doing it by feel, had a feeling if I tried the FSM procedure exactly it wouldn't work at all since this seems like more of an art.
9tj1vgj.jpg


Another 7-8 hours later, this is the best I could get on the right side. I expected this one to be easier than the left since that side actually didn't go above 90% up without help even with the door open, but this side was much harder.

Basically, my biggest challenge is finding the optimal balance between pulling the window inwards enough to stop water/air leaks but not so far that the window can't be fully raised with the door closed because it's too tight against the door seal.

I managed to find that perfect spot on the left side, but the right side didn't work out as well. The window was already pulled very far inwards to begin with, but even with adjusting all the guides as far outwards as possible, the window was still pointed too far in. I had to adjust the door striker inwards first since someone previously had adjusted it too far out, presumably to try and quickly fix the window without properly adjusting it.

Also, I needed to shift the whole window forwards by another ~2mm but I couldn't get it any further than this even by loosening everything and pulling the window as far forward as I could. That resulted in the window hitting the B-pillar if everything else wasn't perfect. I had to pull out part of the seal back into the prior wrong position to get a decent seal in the end.
bm8SIEr.jpg


Even after all that, my right window goes up 99% by itself with the door closed(barely), but I just can't find the right combo of adjustments to get this one perfect. The window needs to go forward but I've run out of adjustment, so I can't raise the front stopper any more or the glass hits the B-pillar, and I also ran out of adjustment to bow the window further out. I also probably need to readjust the A-pillar cover on this side which might help the seal a bit.

All I got is the right window guides might be warped, who knows. At $700 with shipping or $900 for the T3TEC Teflon-coated guides, I'll pass this time and just deal with it, that's about where I draw the line. Total time spent was about 12 hours and I hope to never have to do that again, but I might mess with the right side a bit more once I recharge my willpower. Kaz is right when he says this process required a 3D visualization of the window's position to get everything right. I almost wish these weren't frameless windows.
 
More likely your door was removed and re-installed out of position-- this is the side the car was hit on, right? The glass can be moved fore-aft by about 5 mm in either direction via the glass bolts on the regulator trolley. Just loosen them and you can slide the entire piece of glass backward or foreword. This is not well-described in the manual. You might be able to sneak the glass away from the B-pillar a few mm this way. of course, you'll have to re-do the alignment.
 
Possibly, I'll take a closer look at the hinge positions but I don't think there was a need to remove it. They definitely moved the striker so I had to move it again to get the body lines right.
Good idea on the regulator bolts, I didn't think about that. If I can use that to move the window forwards a bit, I should be able to bring the front stopper up another 2 mils or so and get a better seal on top. That might be the magic bullet I needed.
 
Back
Top